Quantcast
Channel: Korena in the Kitchen
Viewing all 71 articles
Browse latest View live

Pistachio, Rose & Strawberry Buns

$
0
0

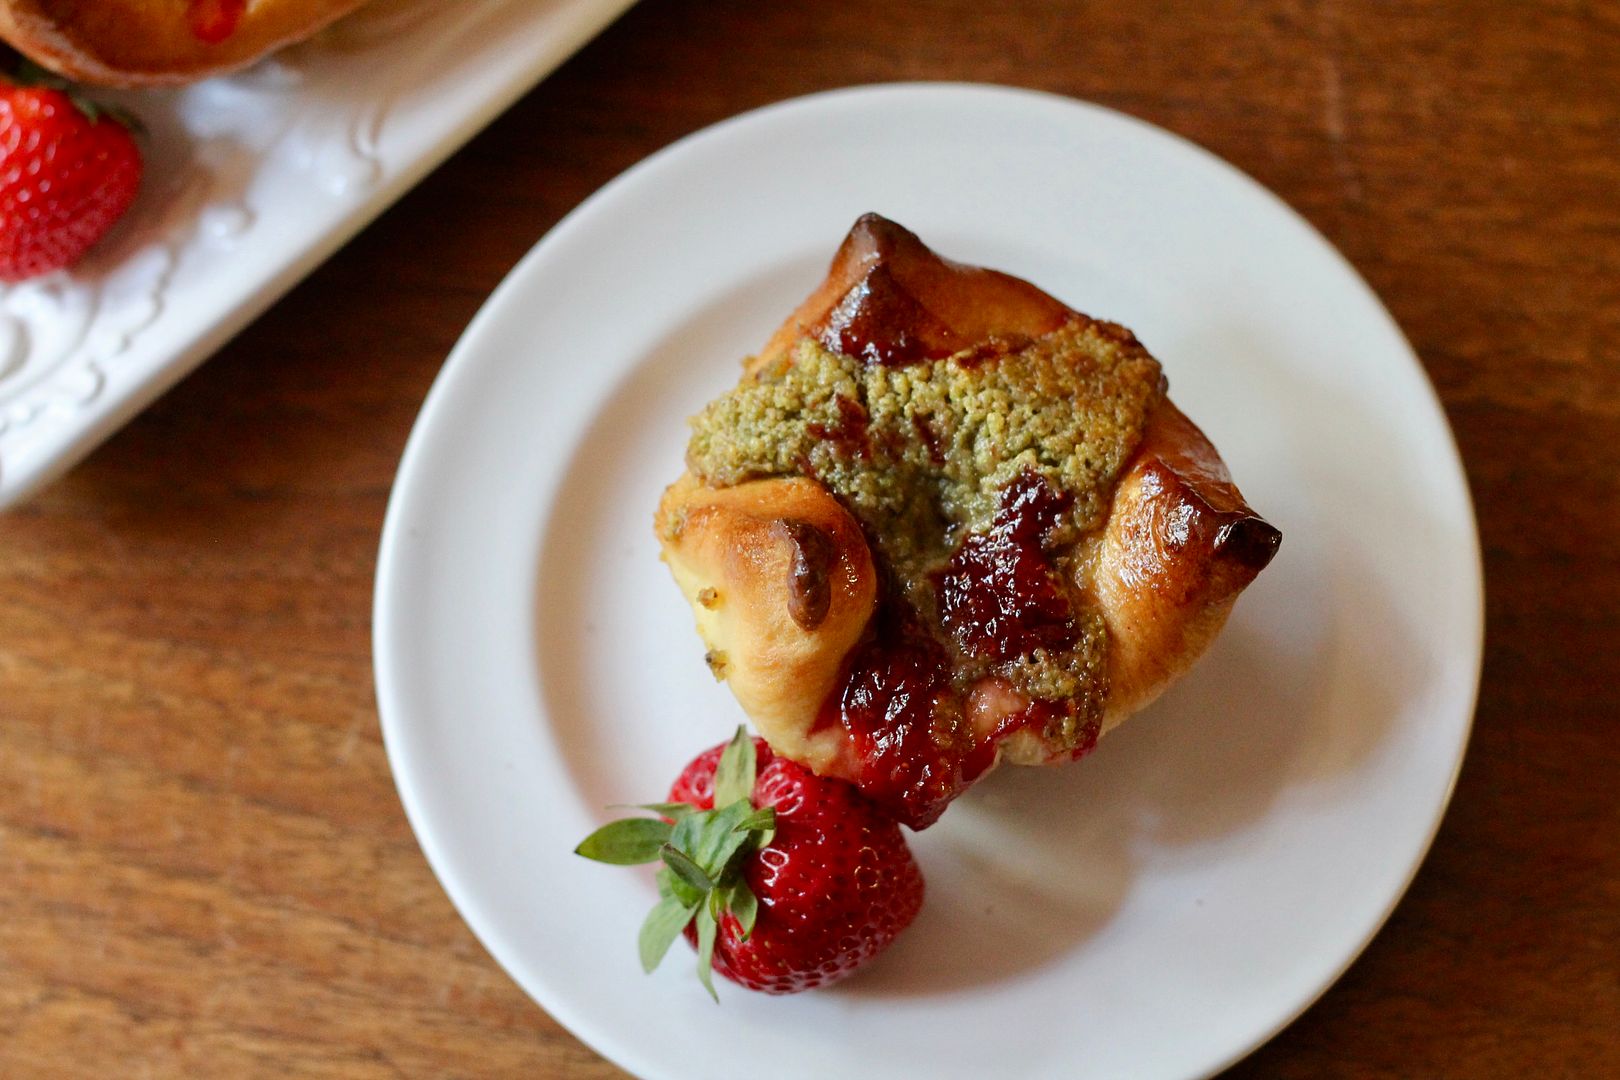
I came across this recipe for brioche buns filled with pistachio cream and strawberry jam and brushed with rose-flavoured syrup in the Food52 Baking Club on Facebook, where we are baking from the book “Golden” by Itamar Srulovich and Sarit Packer for the month of June. Despite not being too sure about rose-flavoured things (the last time I baked with rosewater I ended up with sugar cookies that tasted like they’d been made with old potpourri, ie: not good), after reading a few enthusiastic reviews, I decided to try them myself. All my uncertainty was for naught, because THESE – these are amazing!

Pistachio, Rose & Strawberry Buns | Korena in the Kitchen

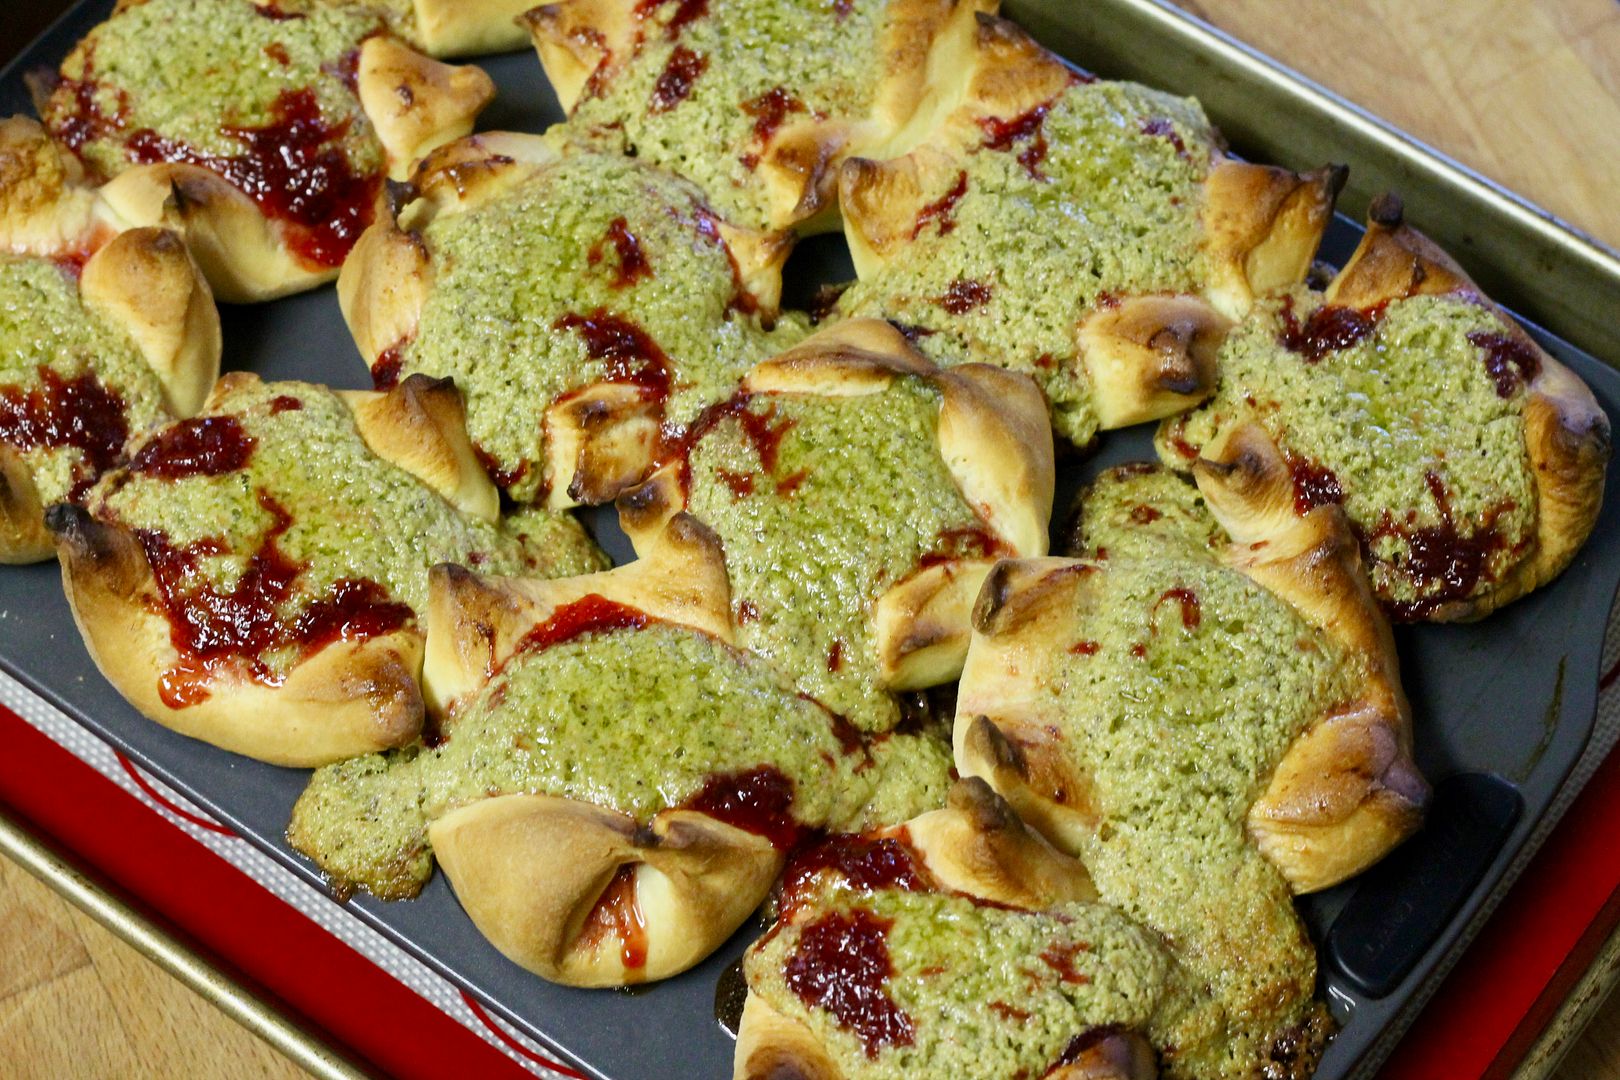
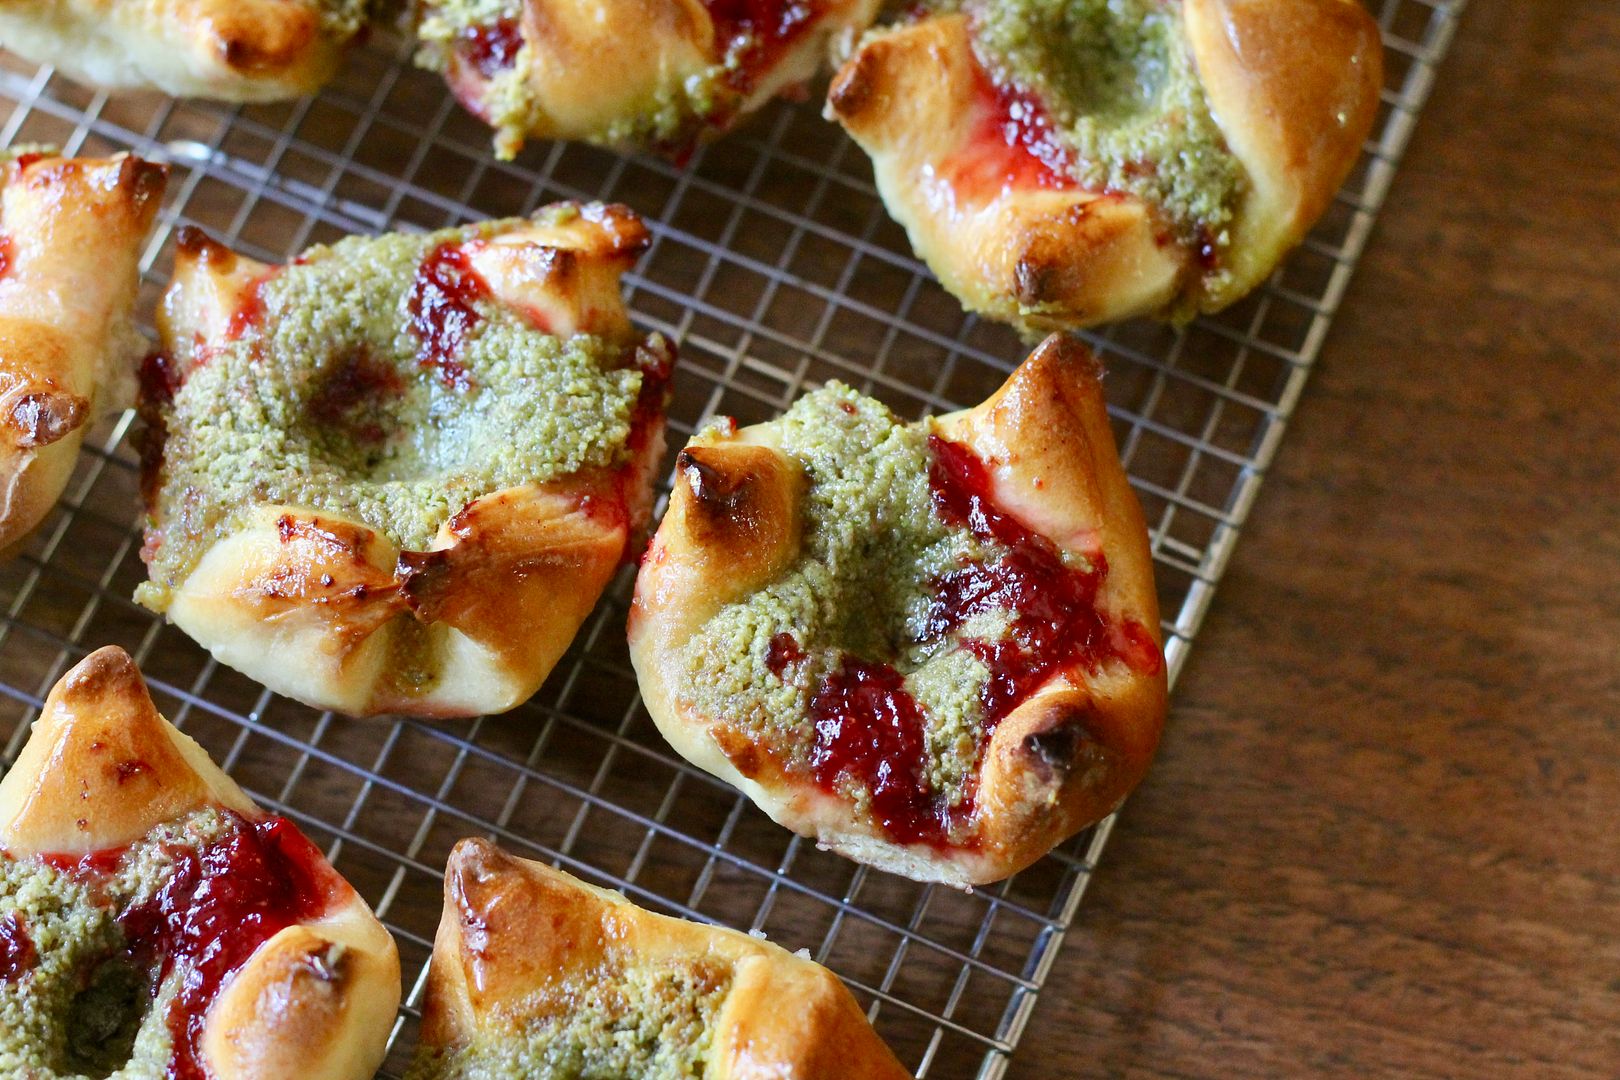
I scaled up the recipe to make 12 buns instead of 8, but I should have only scaled up the dough and kept the pistachio cream filling and syrup at the original yield (as reflected in the recipe below), because the buns were overfilled and they exploded pretty epically in the oven – when I took them out, my first thought was, “Well, I haven’t had a total baking fail in a while – I guess it was time!”.

baking fail

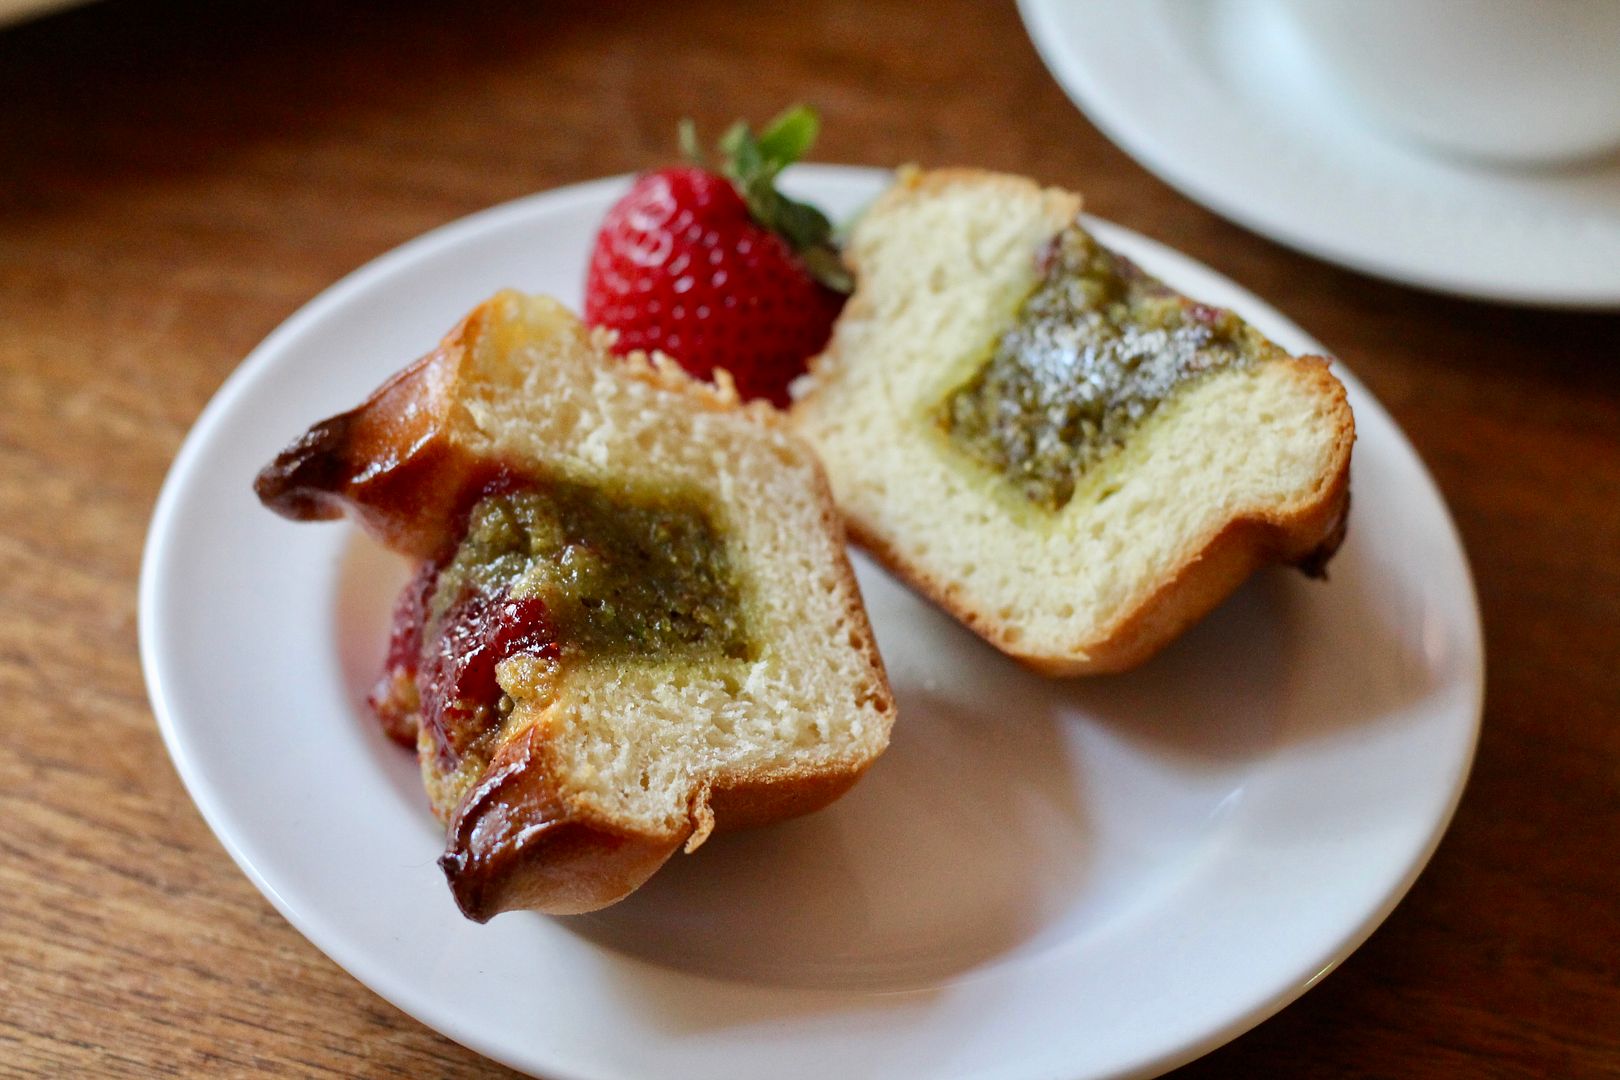
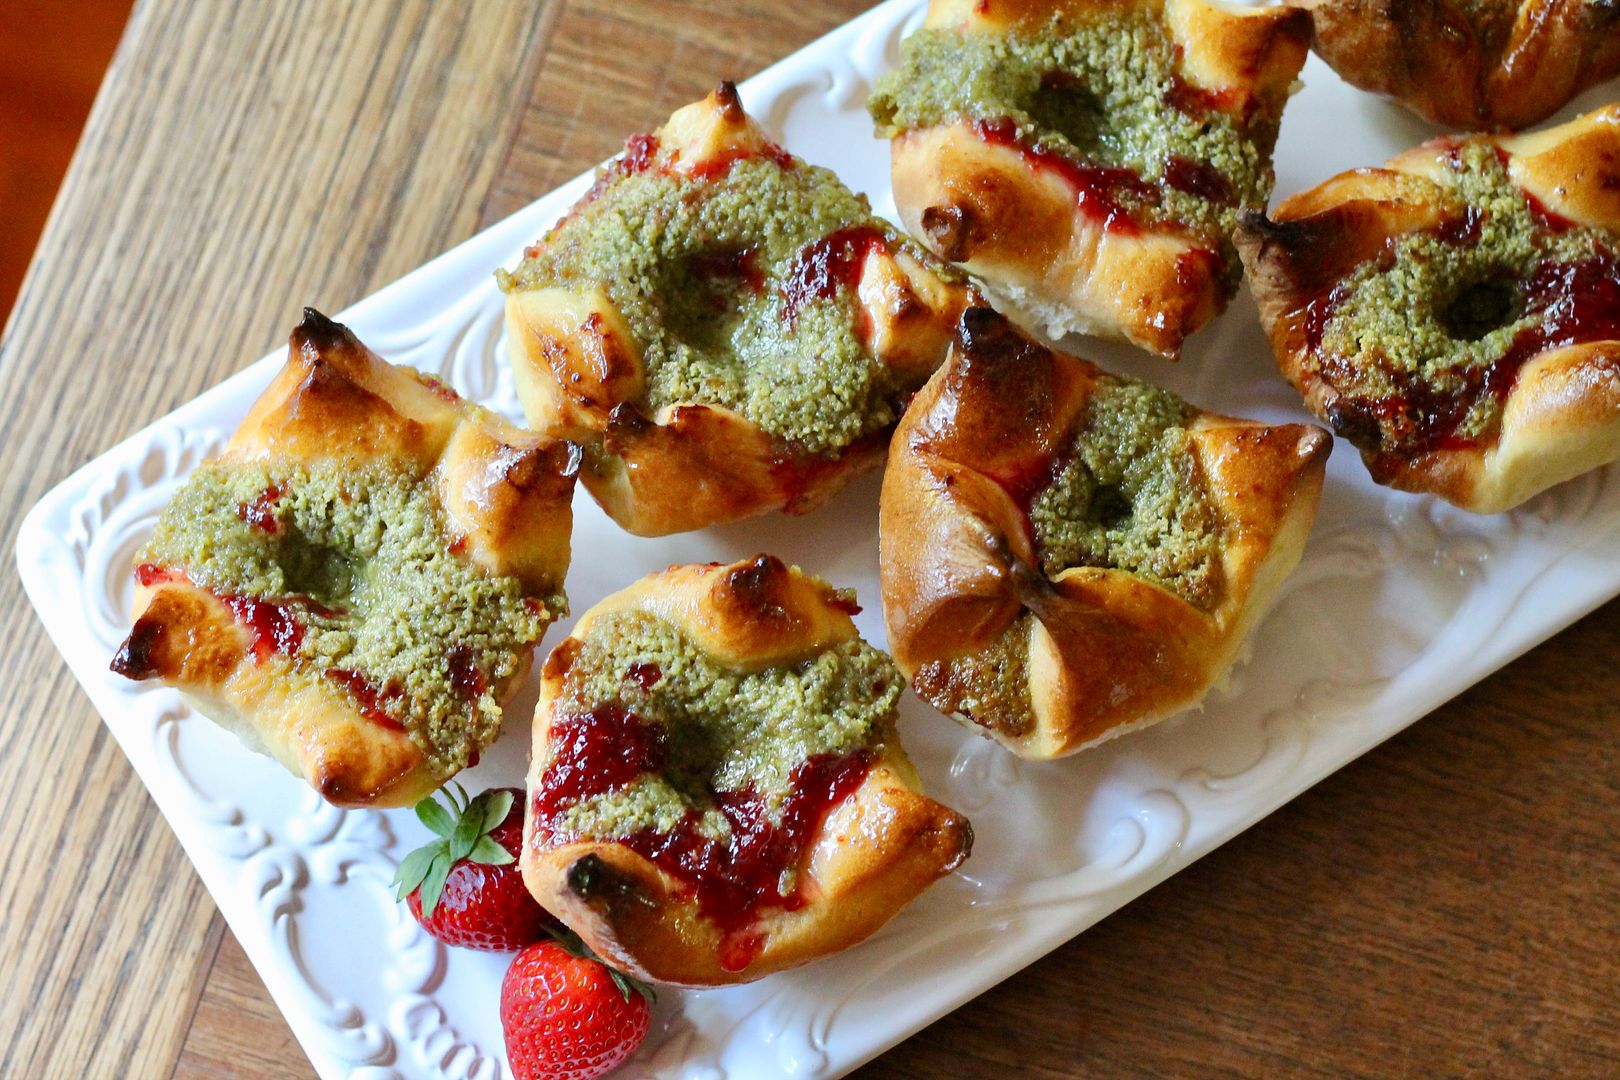
I glazed them anyway and took them out of the muffin tin to cool, and they started to look marginally better. Then I actually got around to tasting one and all thoughts of aesthetics were blown from my mind, because good gracious these are delicious! The brioche dough is soft yet sturdy, the pistachio cream is so so so yummy, and the strawberry jam sort of caramelizes in the oven. The rose syrup that you brush over top after baking gives them just the slightest floral taste that you probably wouldn’t identify as rose unless you knew it was there, but it enhances both the pistachio and the strawberry and makes the buns wonderfully sticky to eat.

Pistachio, Rose & Strawberry Buns | Korena in the Kitchen

These are seriously, seriously excellent. I took most of the batch to work the next day and my co-workers went nuts over them, despite their looking kind of wonky. I left them in a container in the lunchroom and at least four people went out of their way to tell me how delicious they were, and at the end of the day there was a note on the container that said, “Thank you, these are amazing!”. So if you want to make friends at work I highly suggest you make these. Just don’t overfill them!

Pistachio, Rose & Strawberry Buns | Korena in the Kitchen

Pistachio, Rose & Strawberry Buns

Adapted from Golden by Itamar Srulovich and Sarit Packer via Financial Times. Makes 12 buns. Click here for a printable PDF of the recipe.

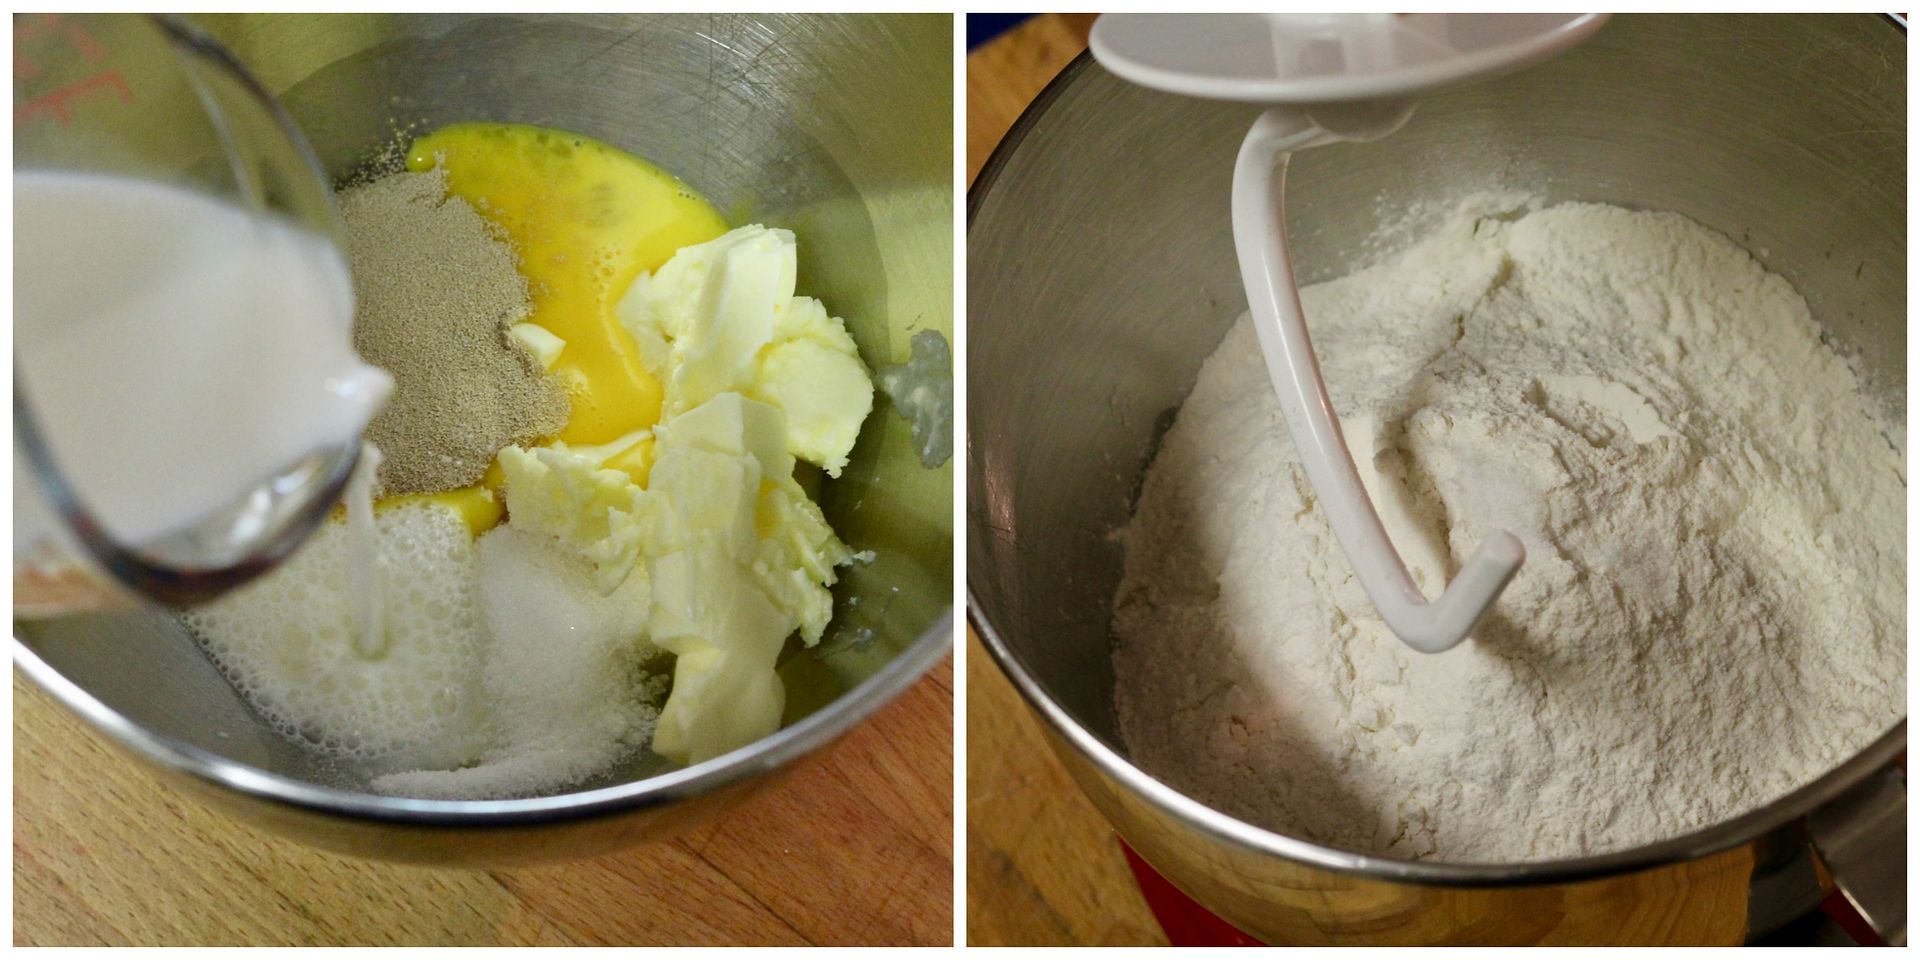
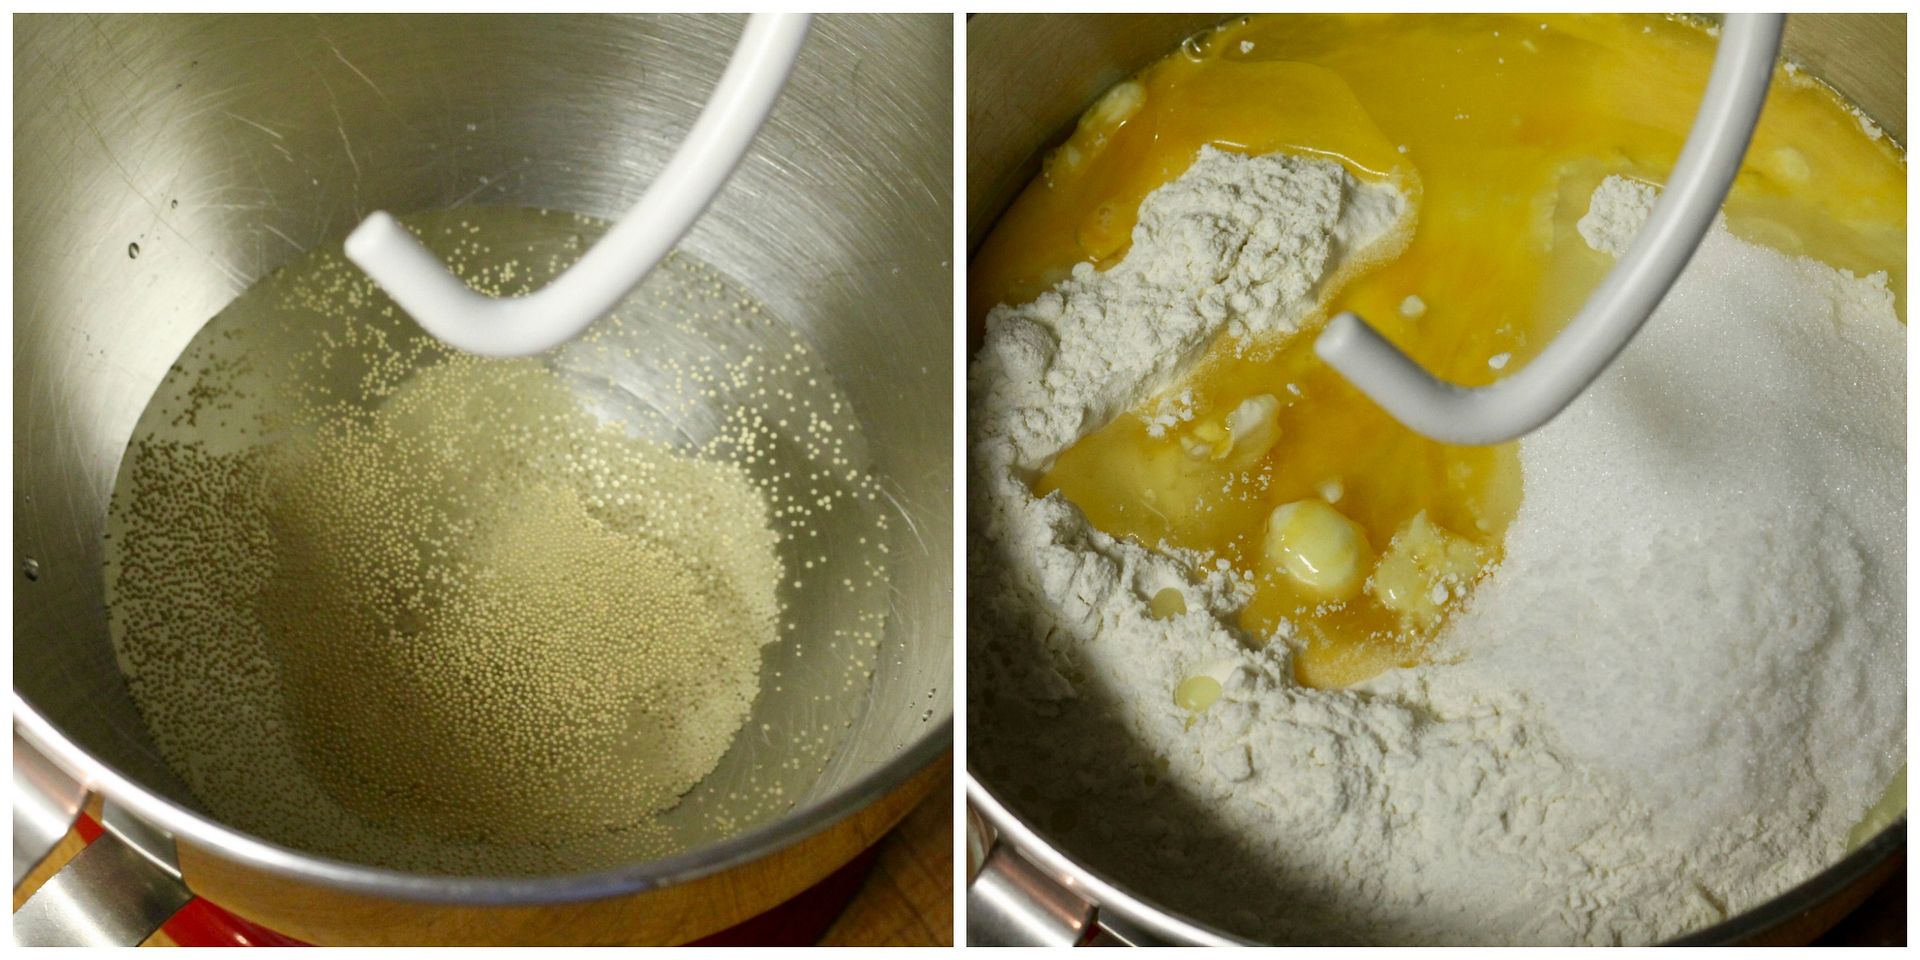
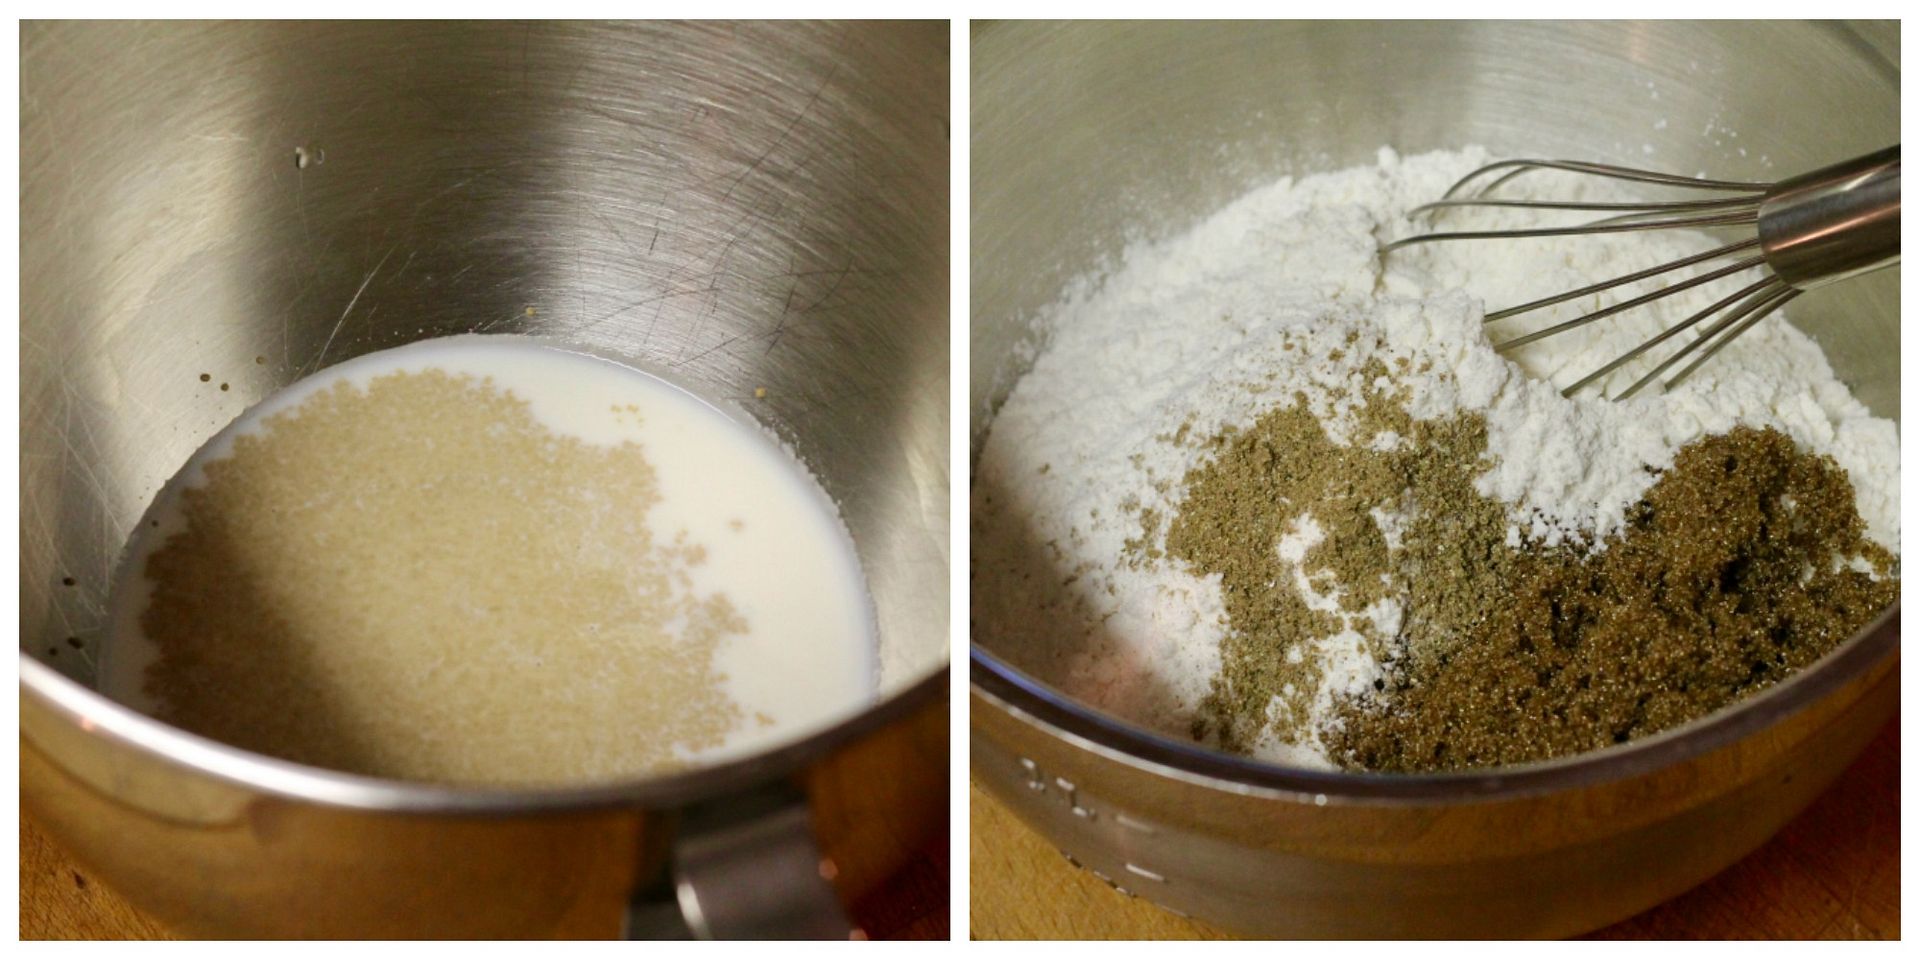
In the bowl of an electric mixer fitted with the dough hook, place in order:

105 g unsalted butter, cubed and softened to room temperature

2 1/4 tsp instant yeast

1 egg + 1 egg yolk

45 g granulated white sugar

120 ml milk

450 g bread flour

pinch fine sea salt

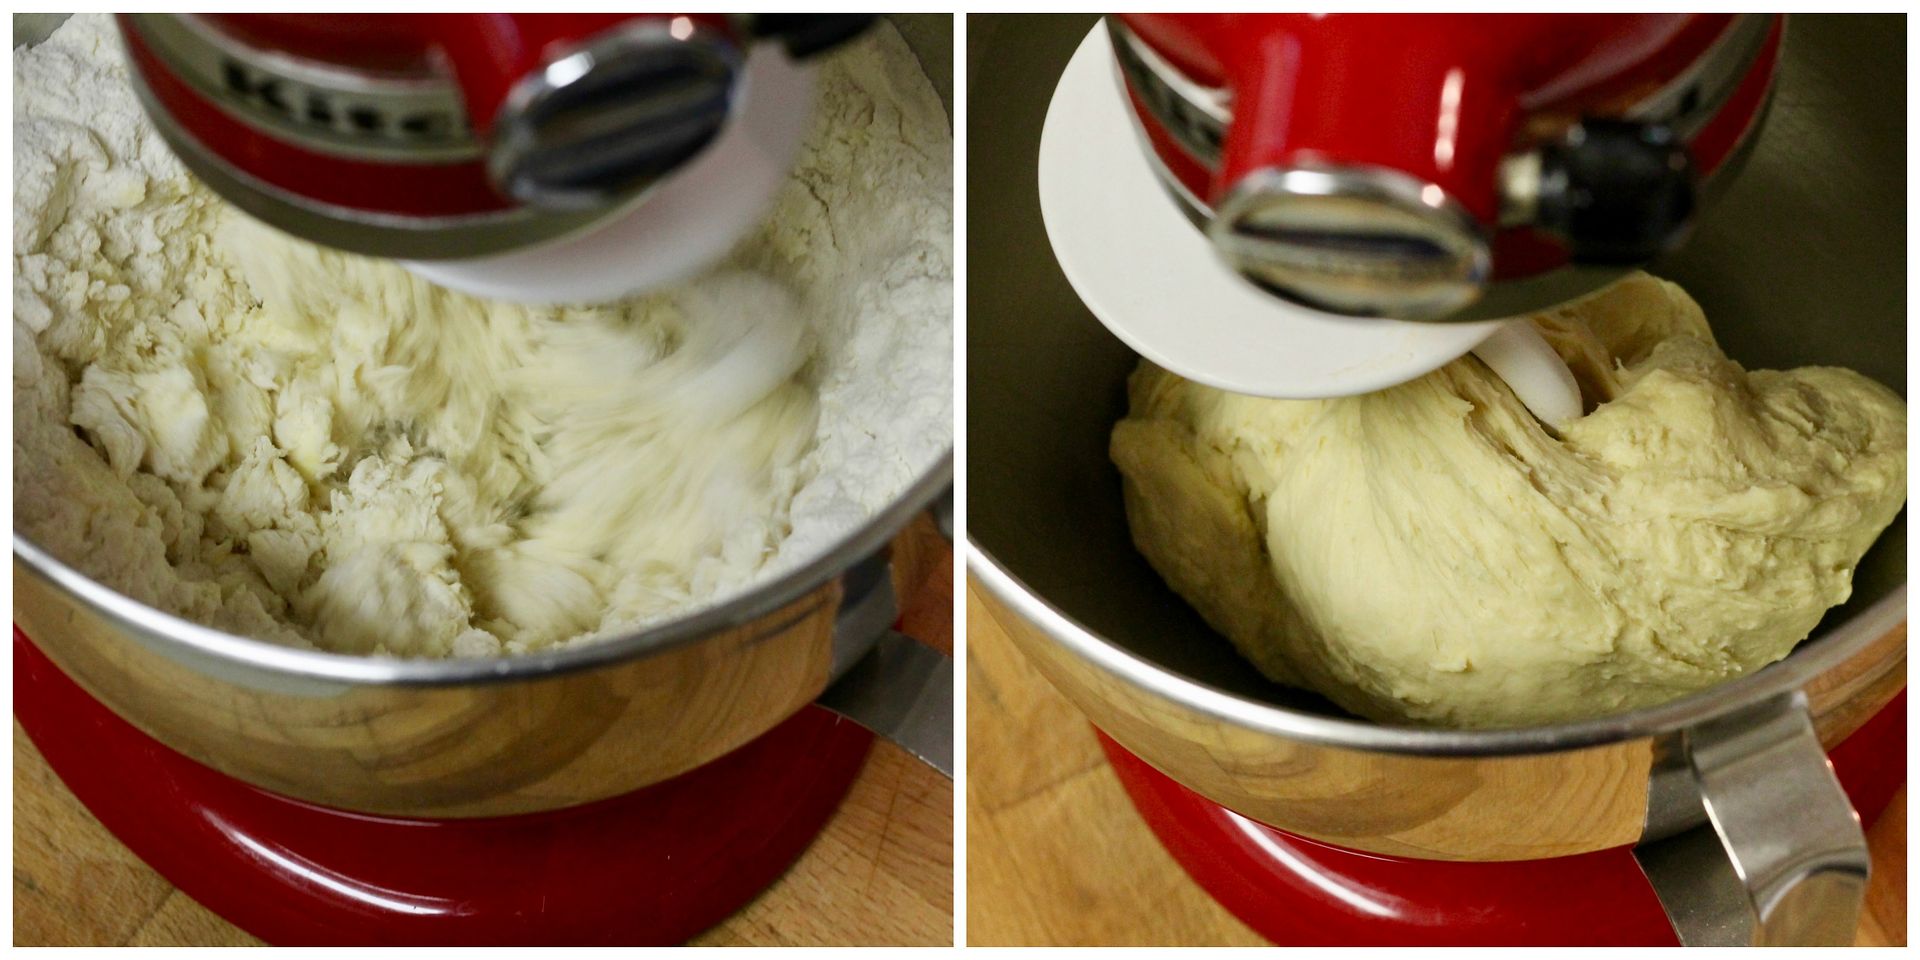
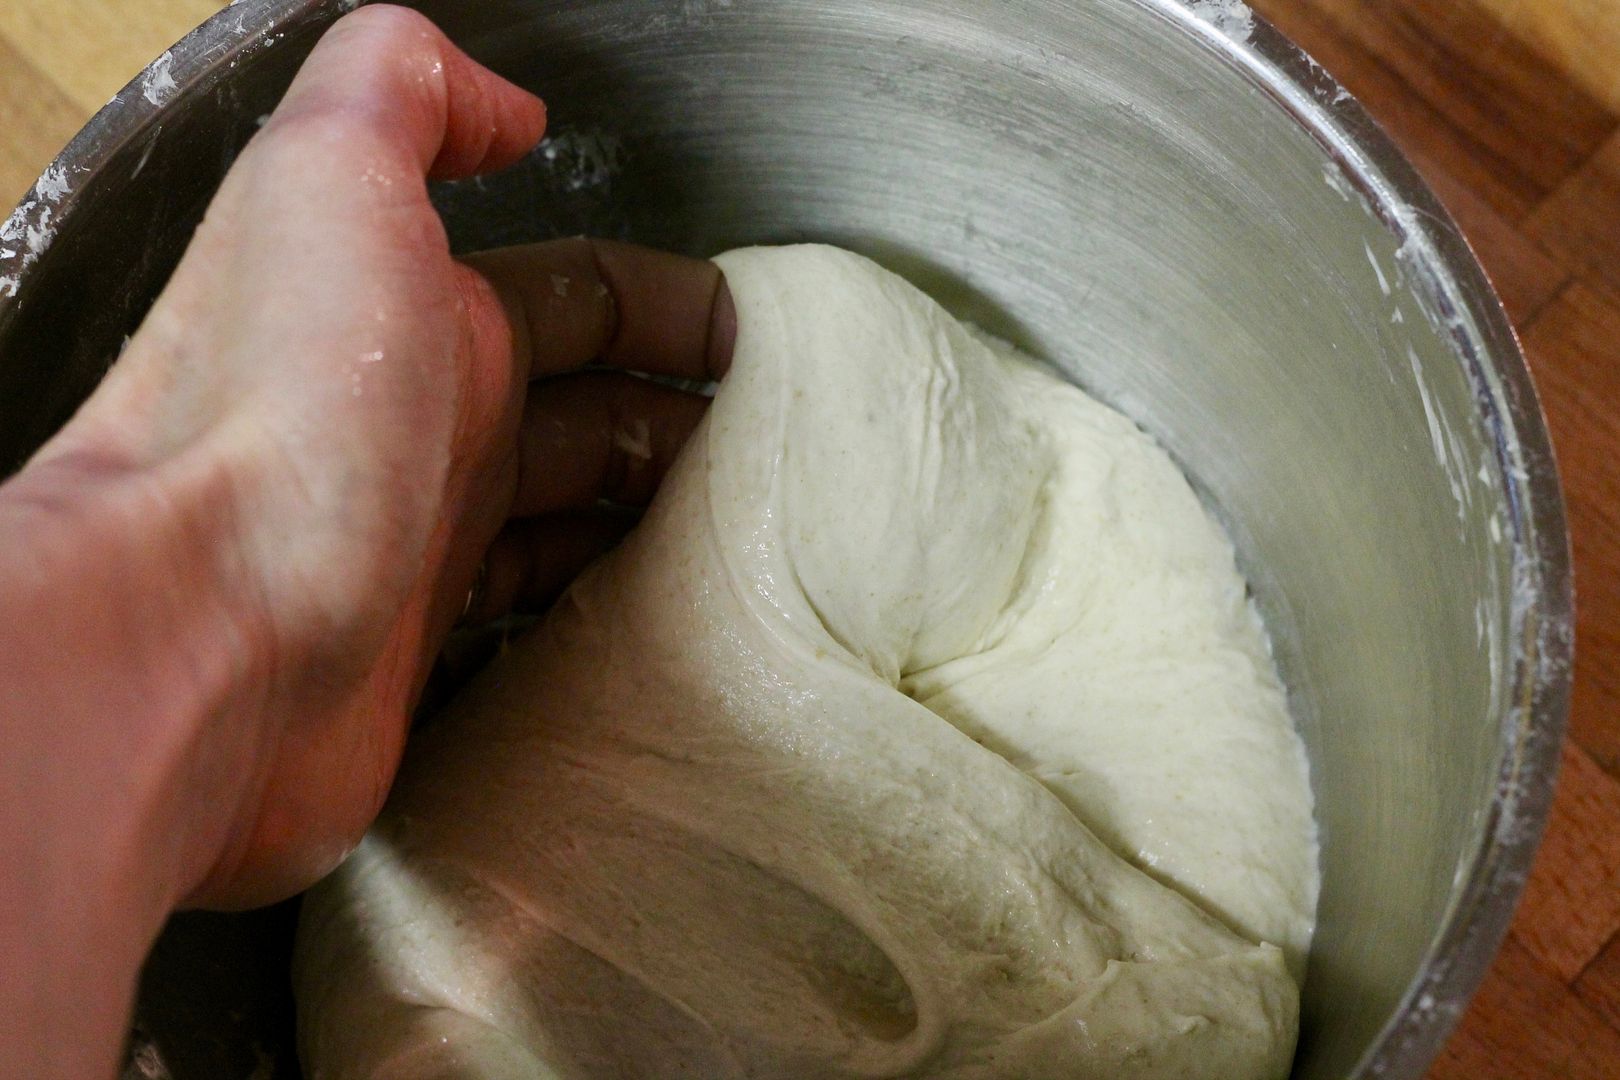
dough1

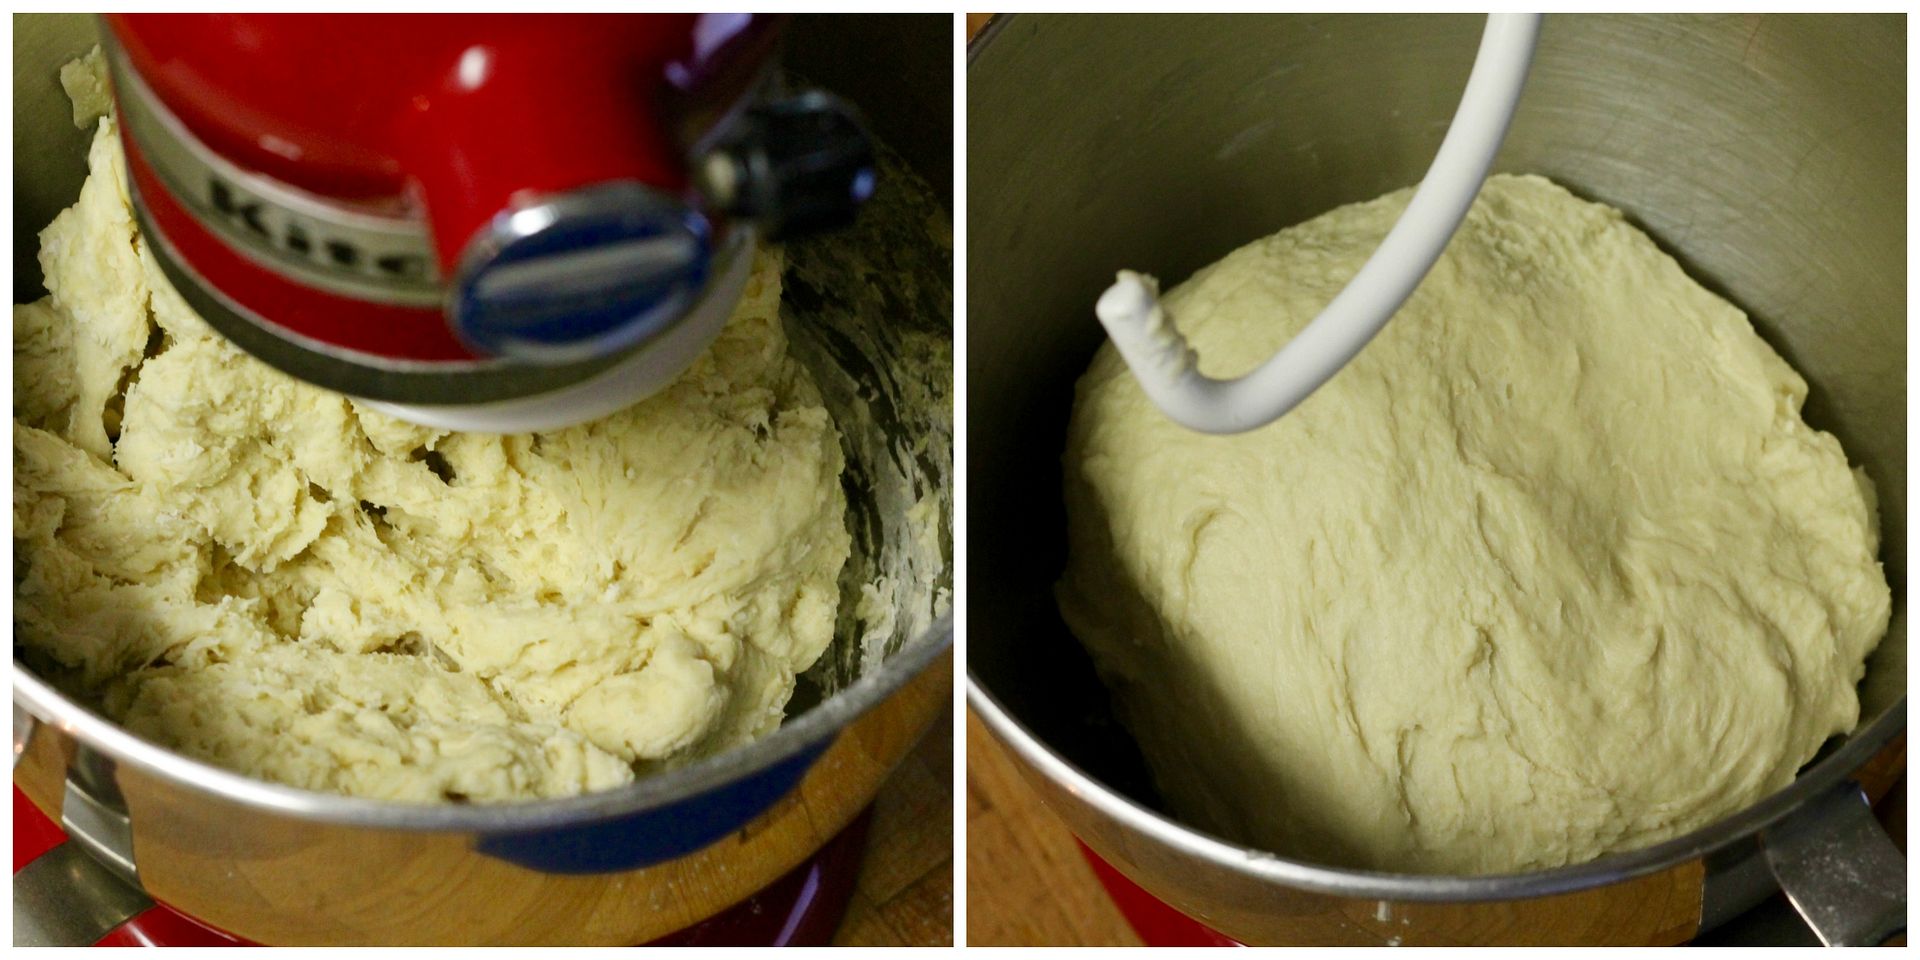
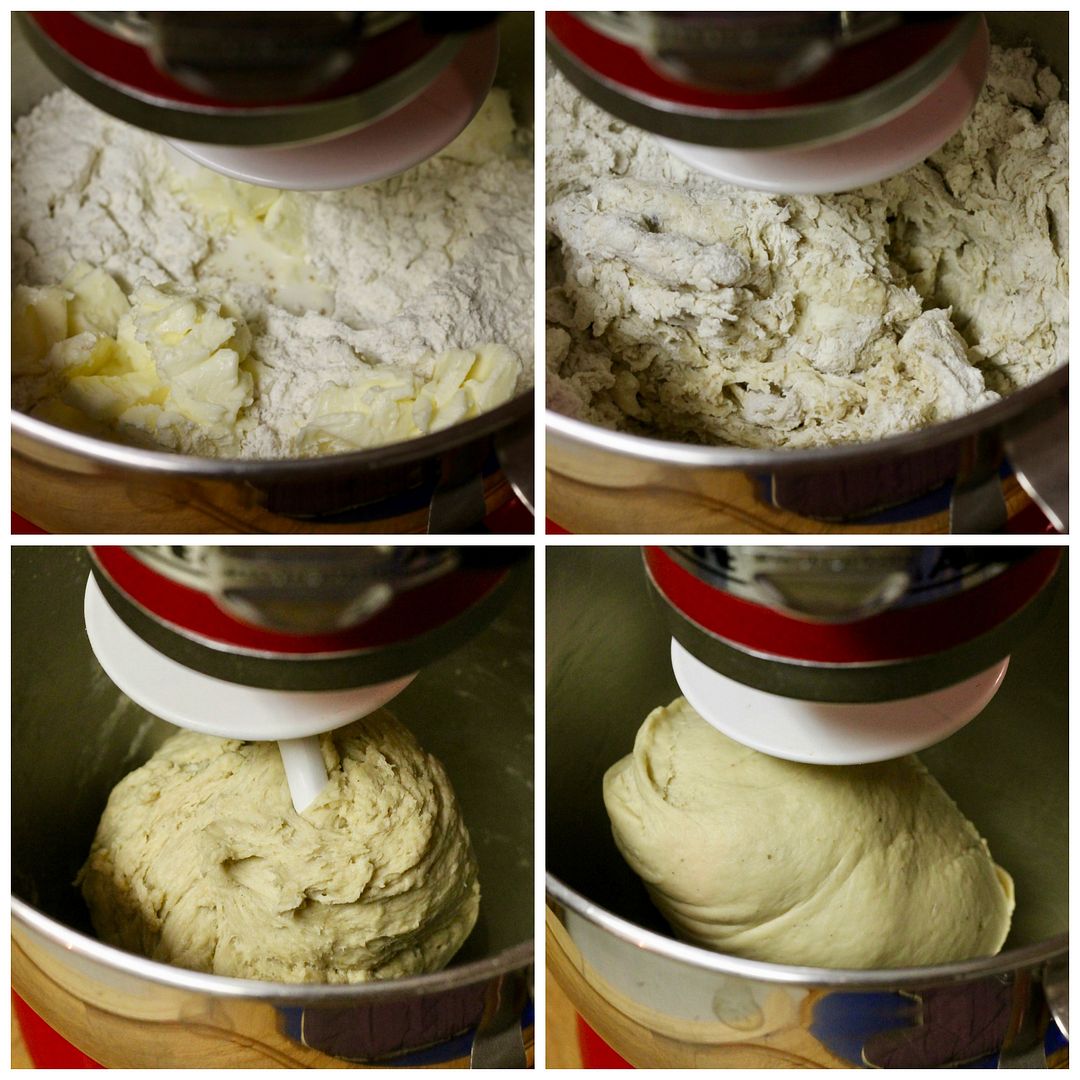
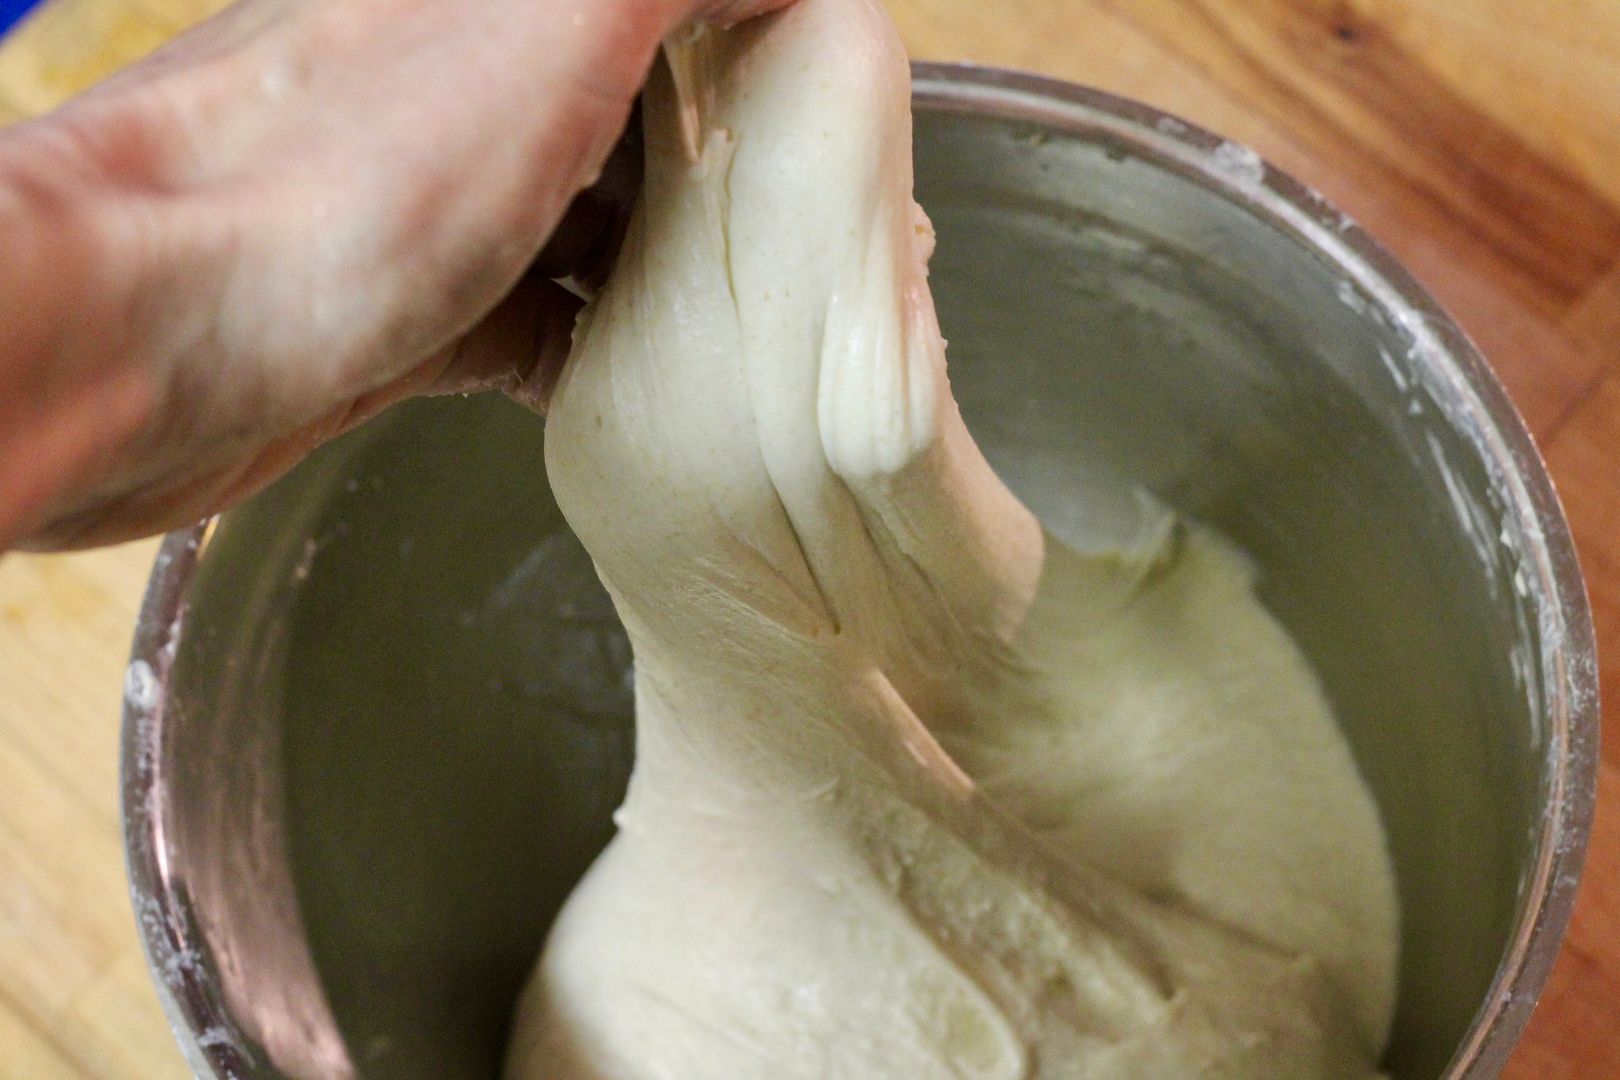
Mix on low speed with the dough hook, adding up to 30 ml additional milk as needed to help incorporate all the flour if it seems too dry. Knead on medium speed until the dough is smooth and elastic and cleans the bottom and sides of the bowl, about 10 minutes.

dough2

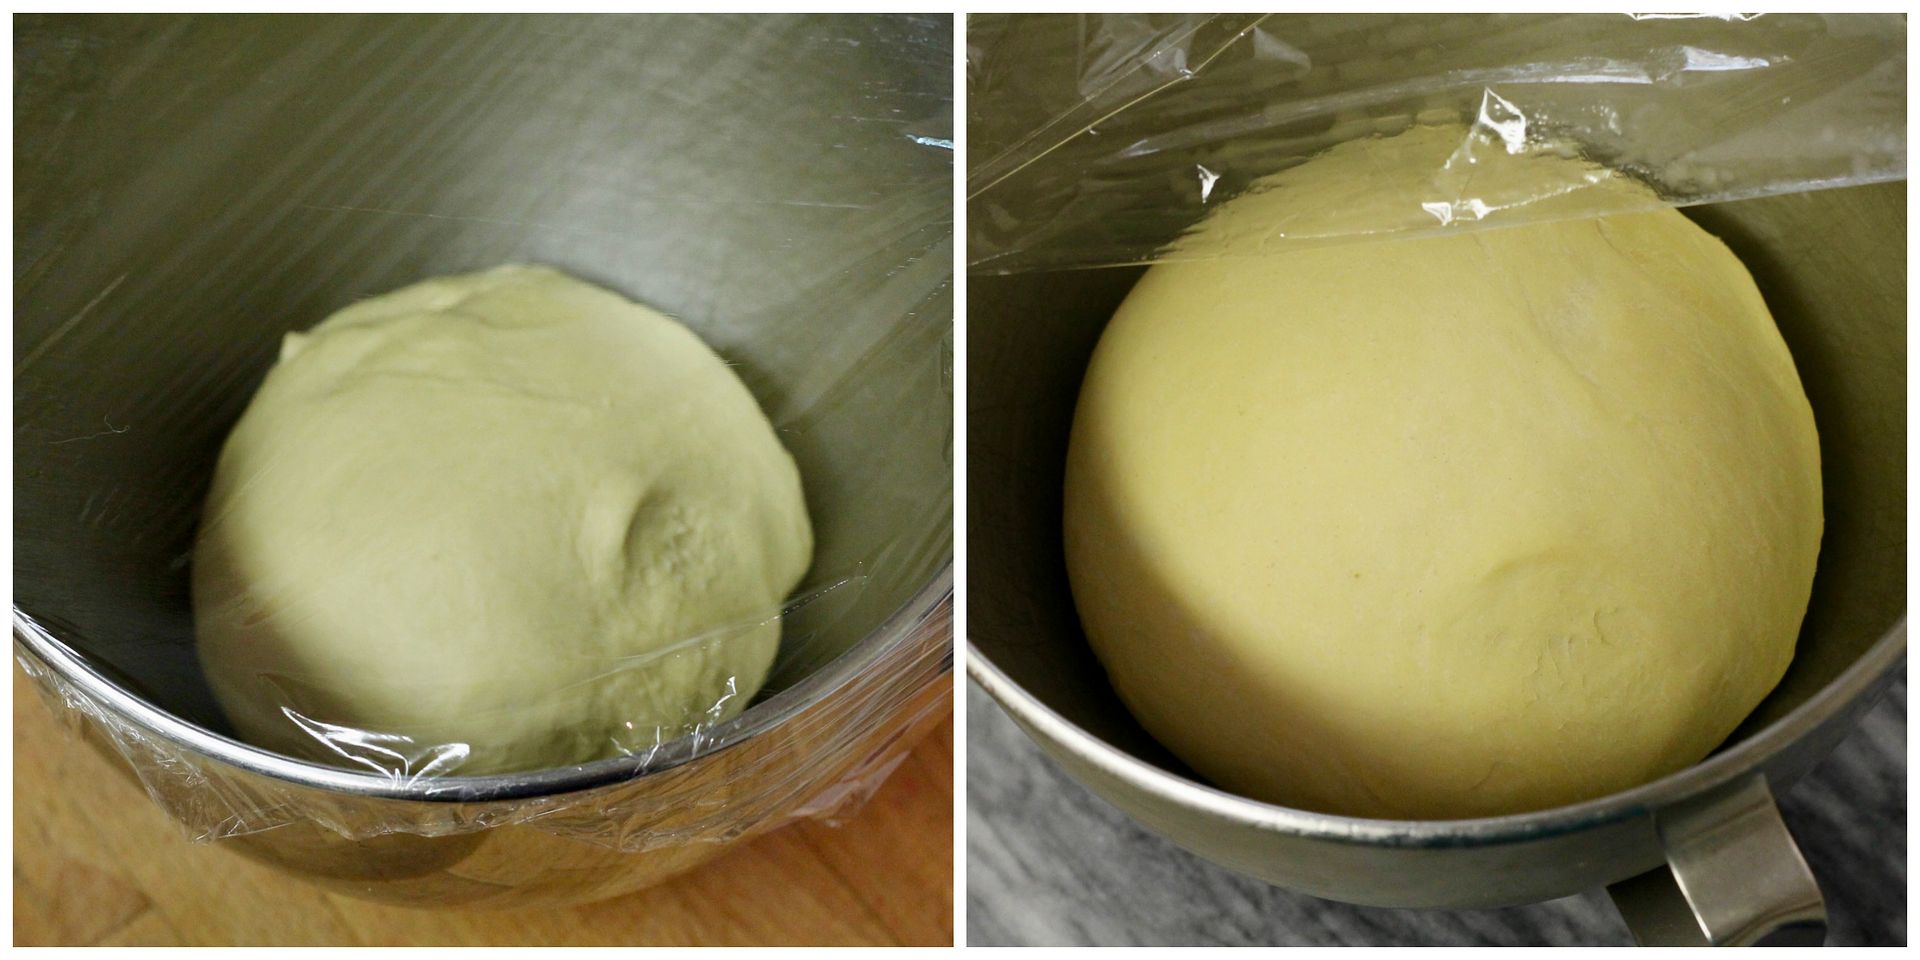
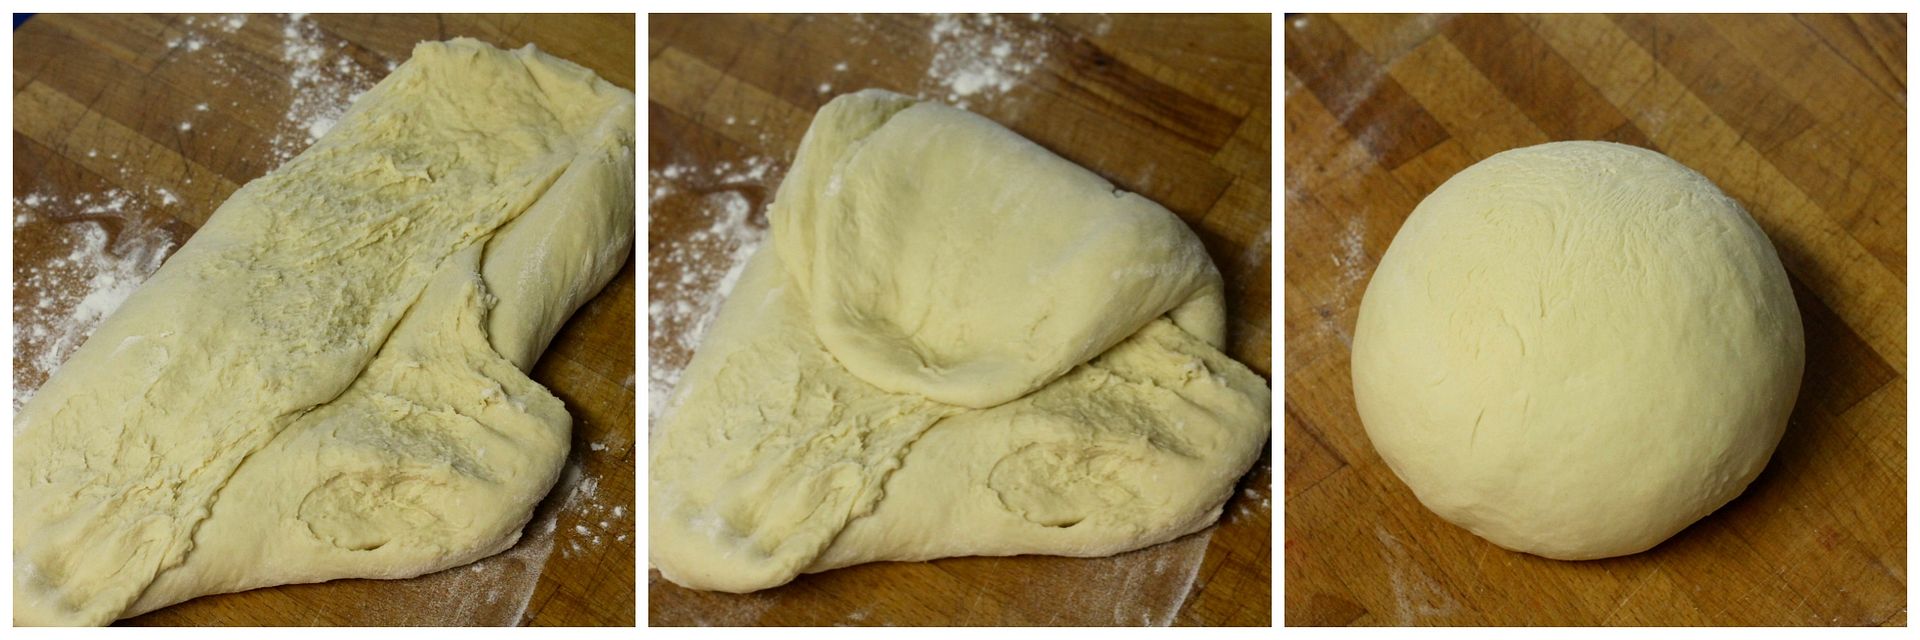
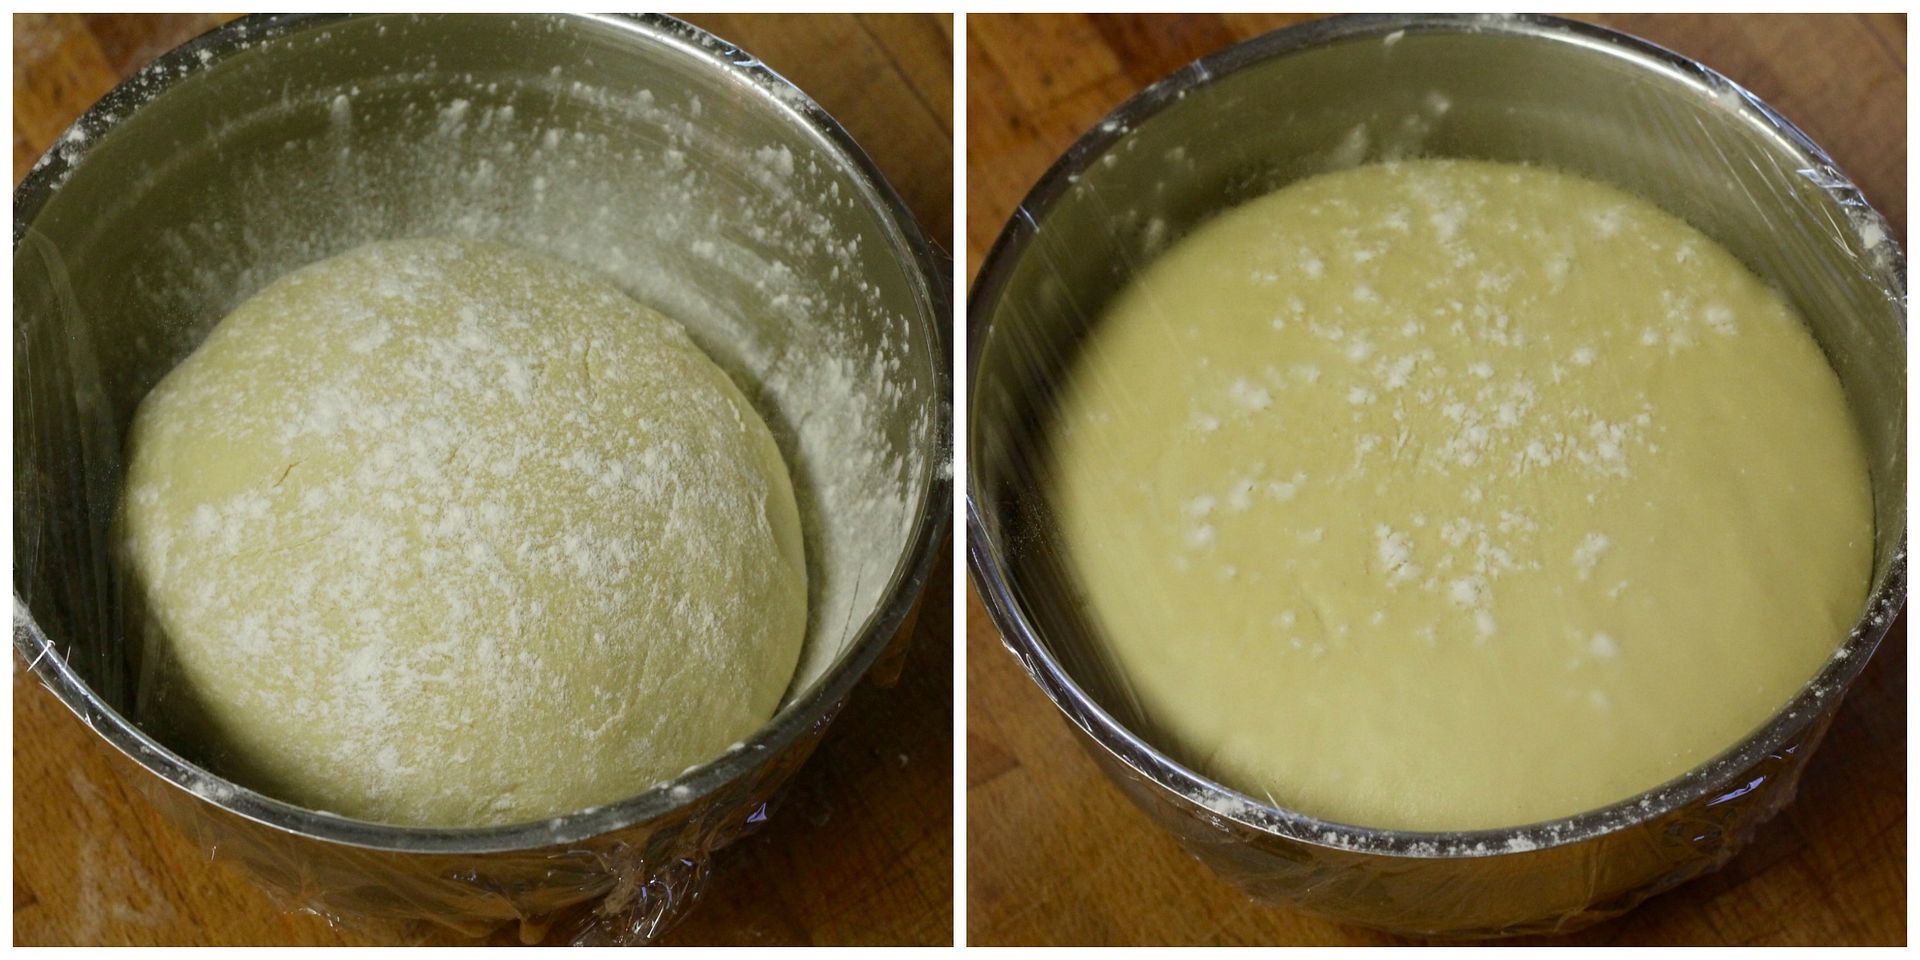
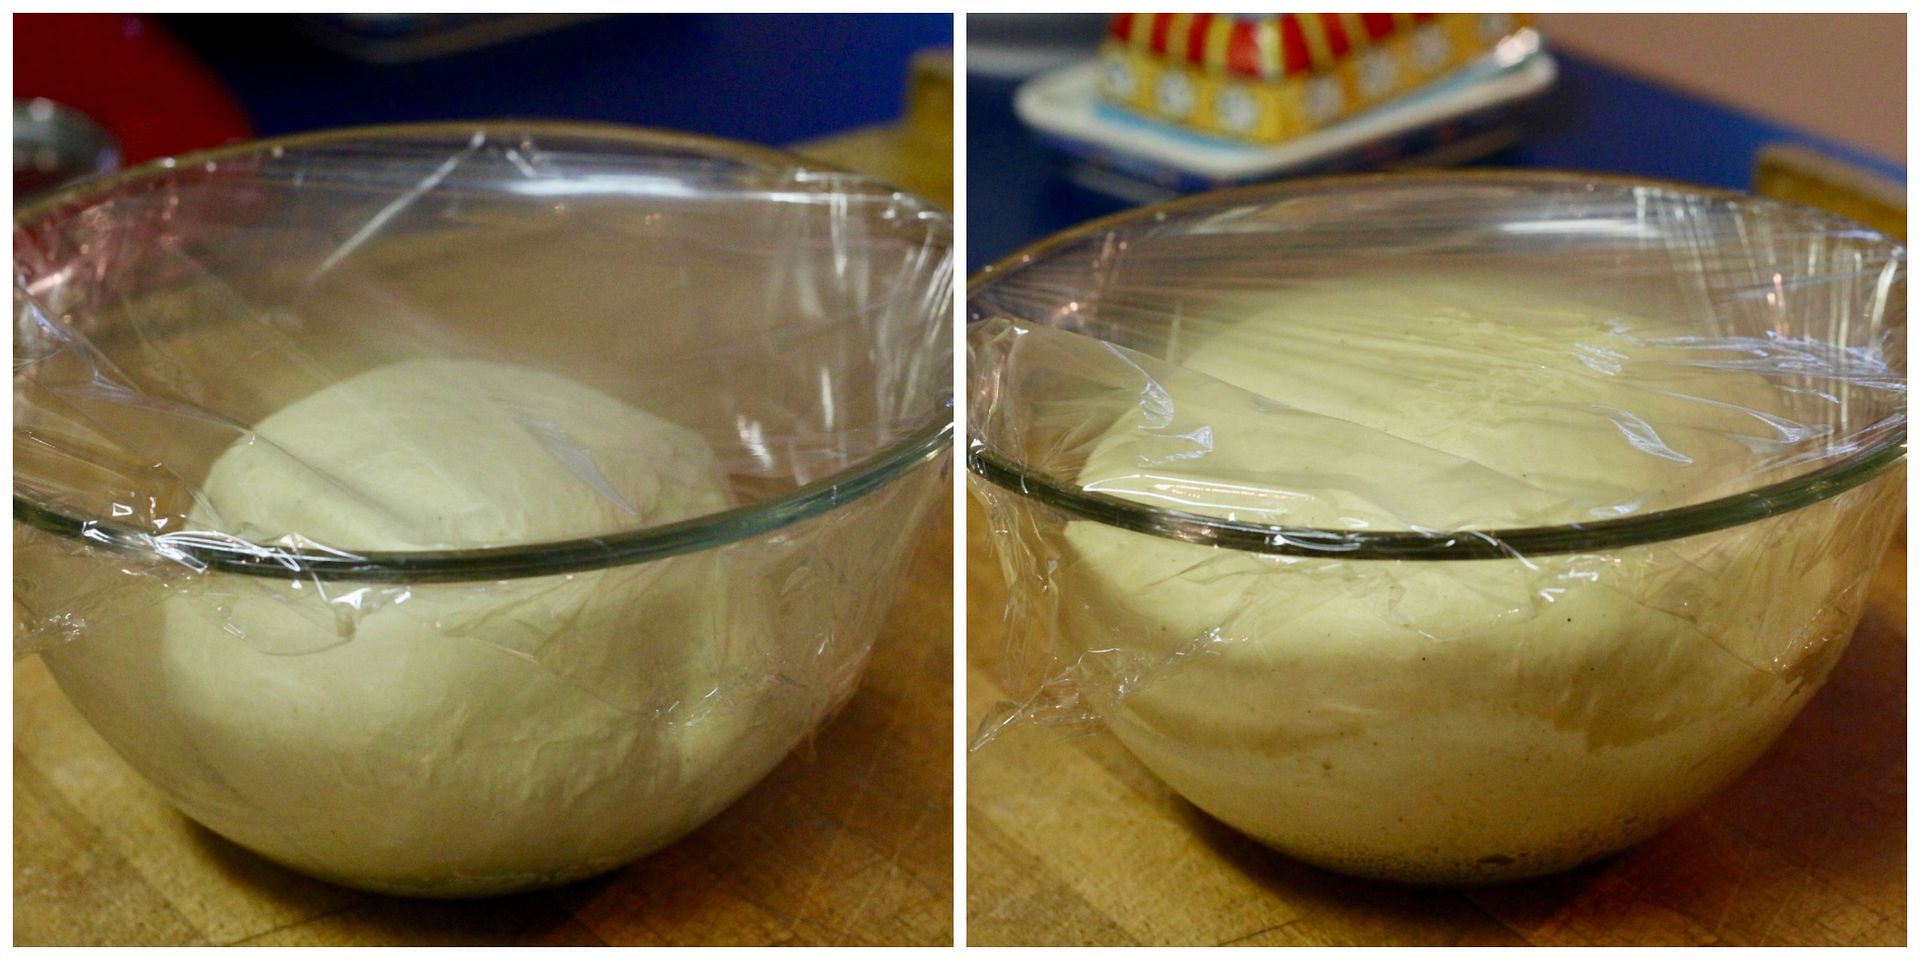
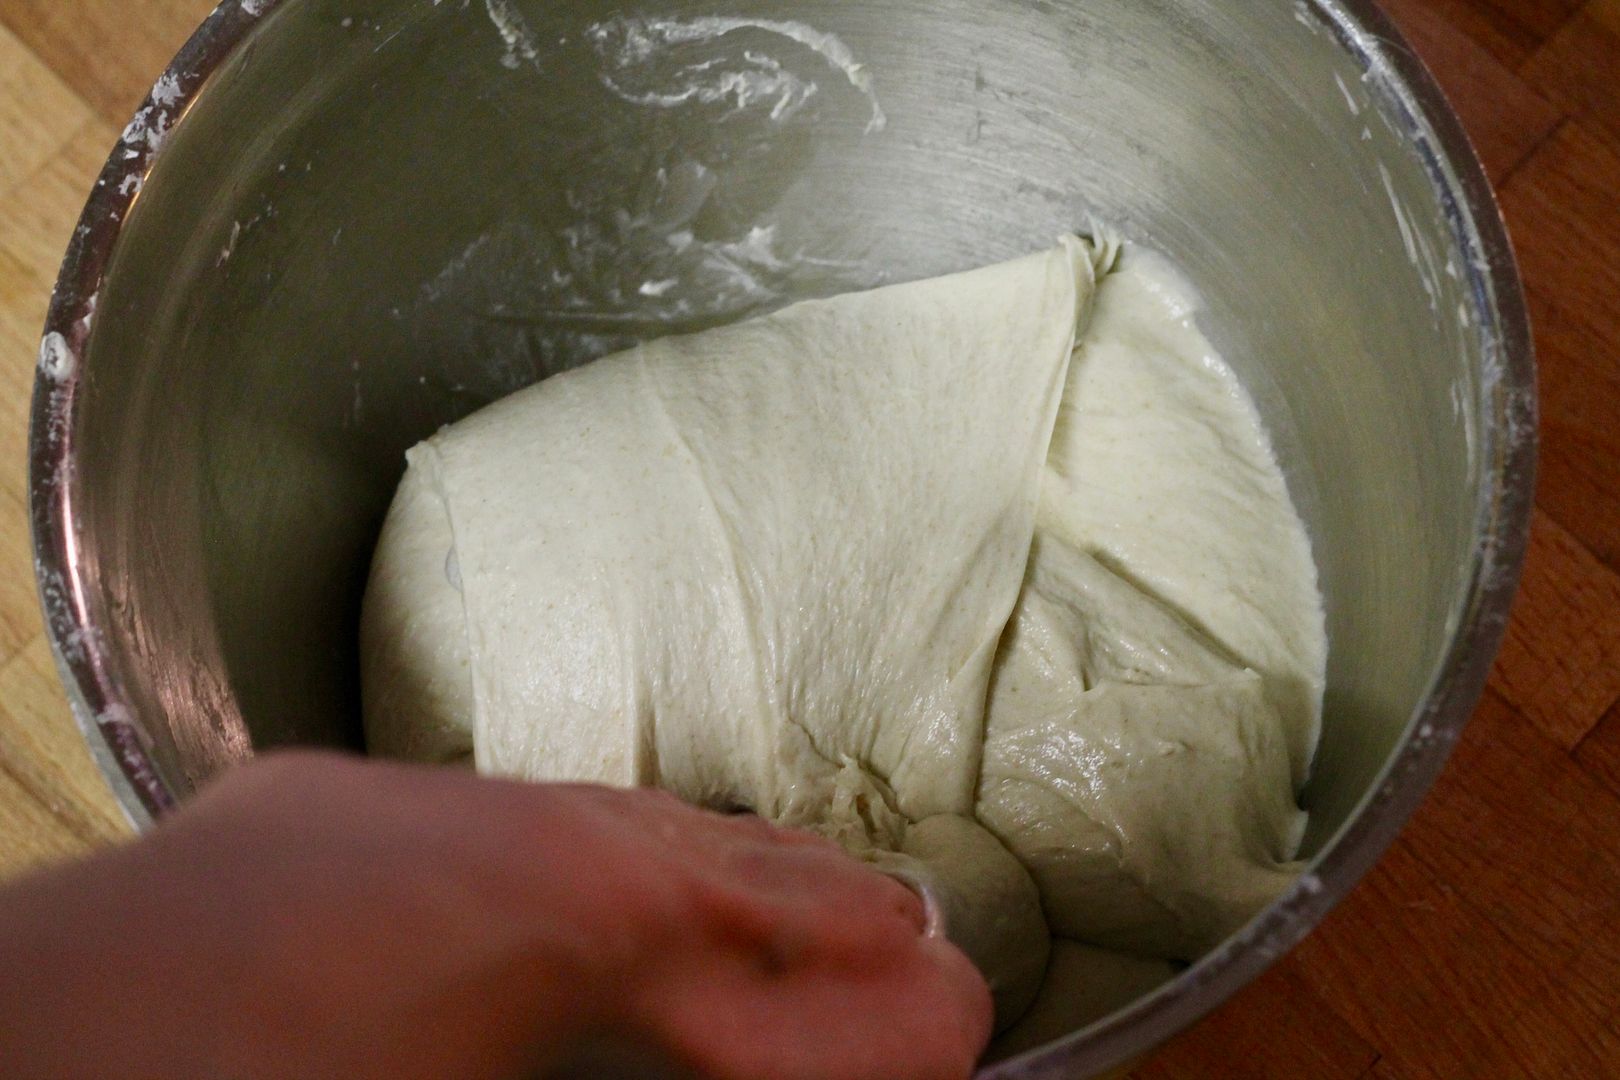
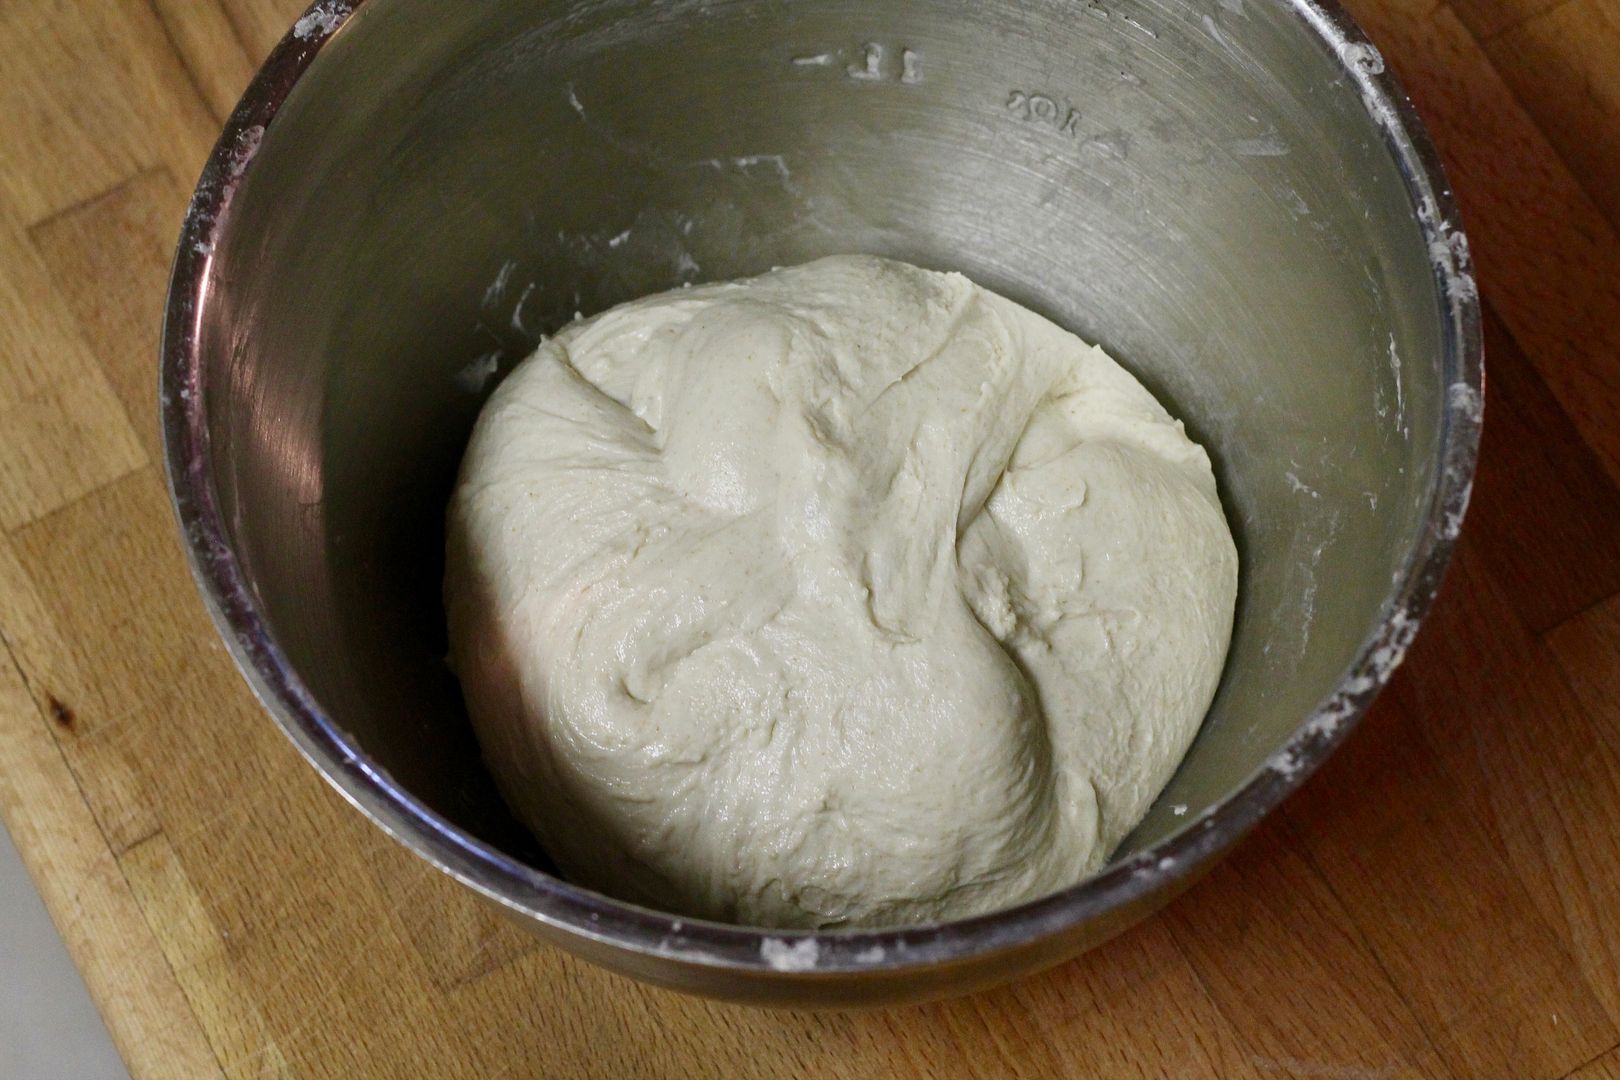
Form the dough into a ball, cover the bowl with plastic, and chill in the fridge for at least 2 hours (or up to 12 hours), during which time it should start to rise.

dough3

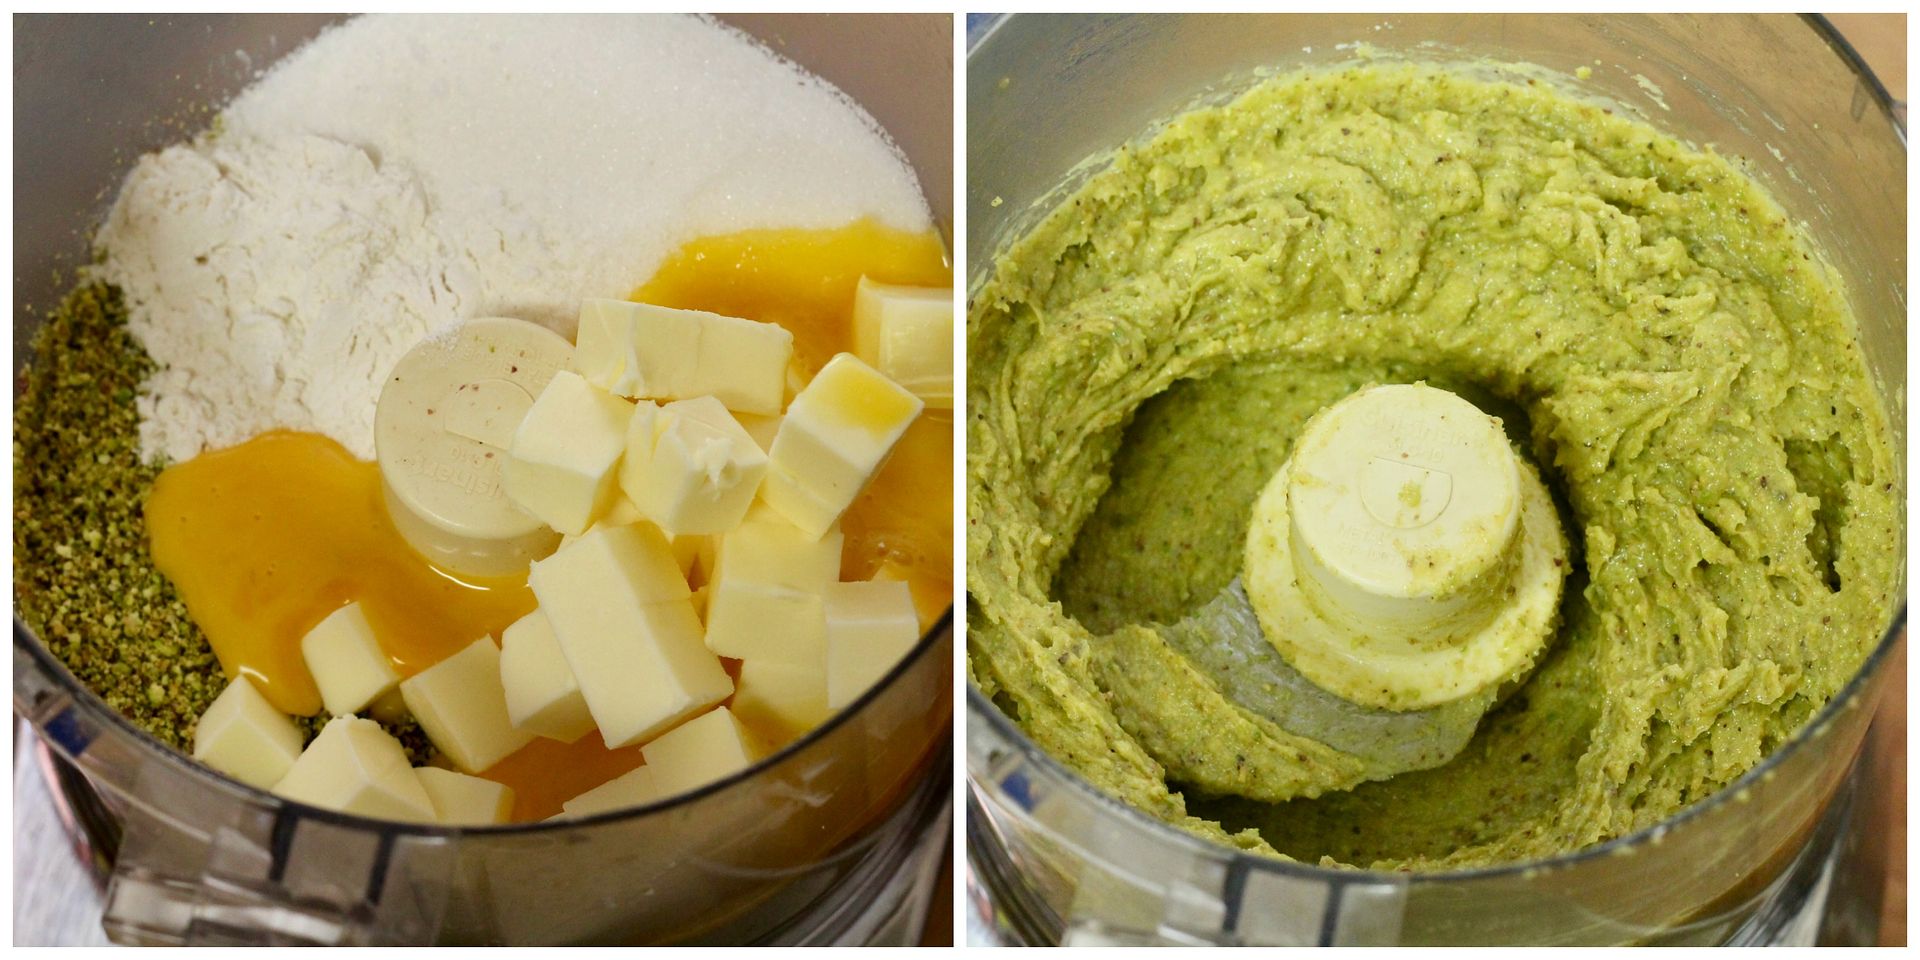
While the dough chills, make the pistachio cream filling. In the bowl of a food processor, process 80 g shelled pistachios until they resemble fine bread crumbs. Add:

80 g unsalted butter, softened to room temperature

80 g granulated white sugar

1 egg

1 tbsp all purpose flour

Process until well combined and creamy, scraping down the sides of the bowl once or twice.

pistachio cream

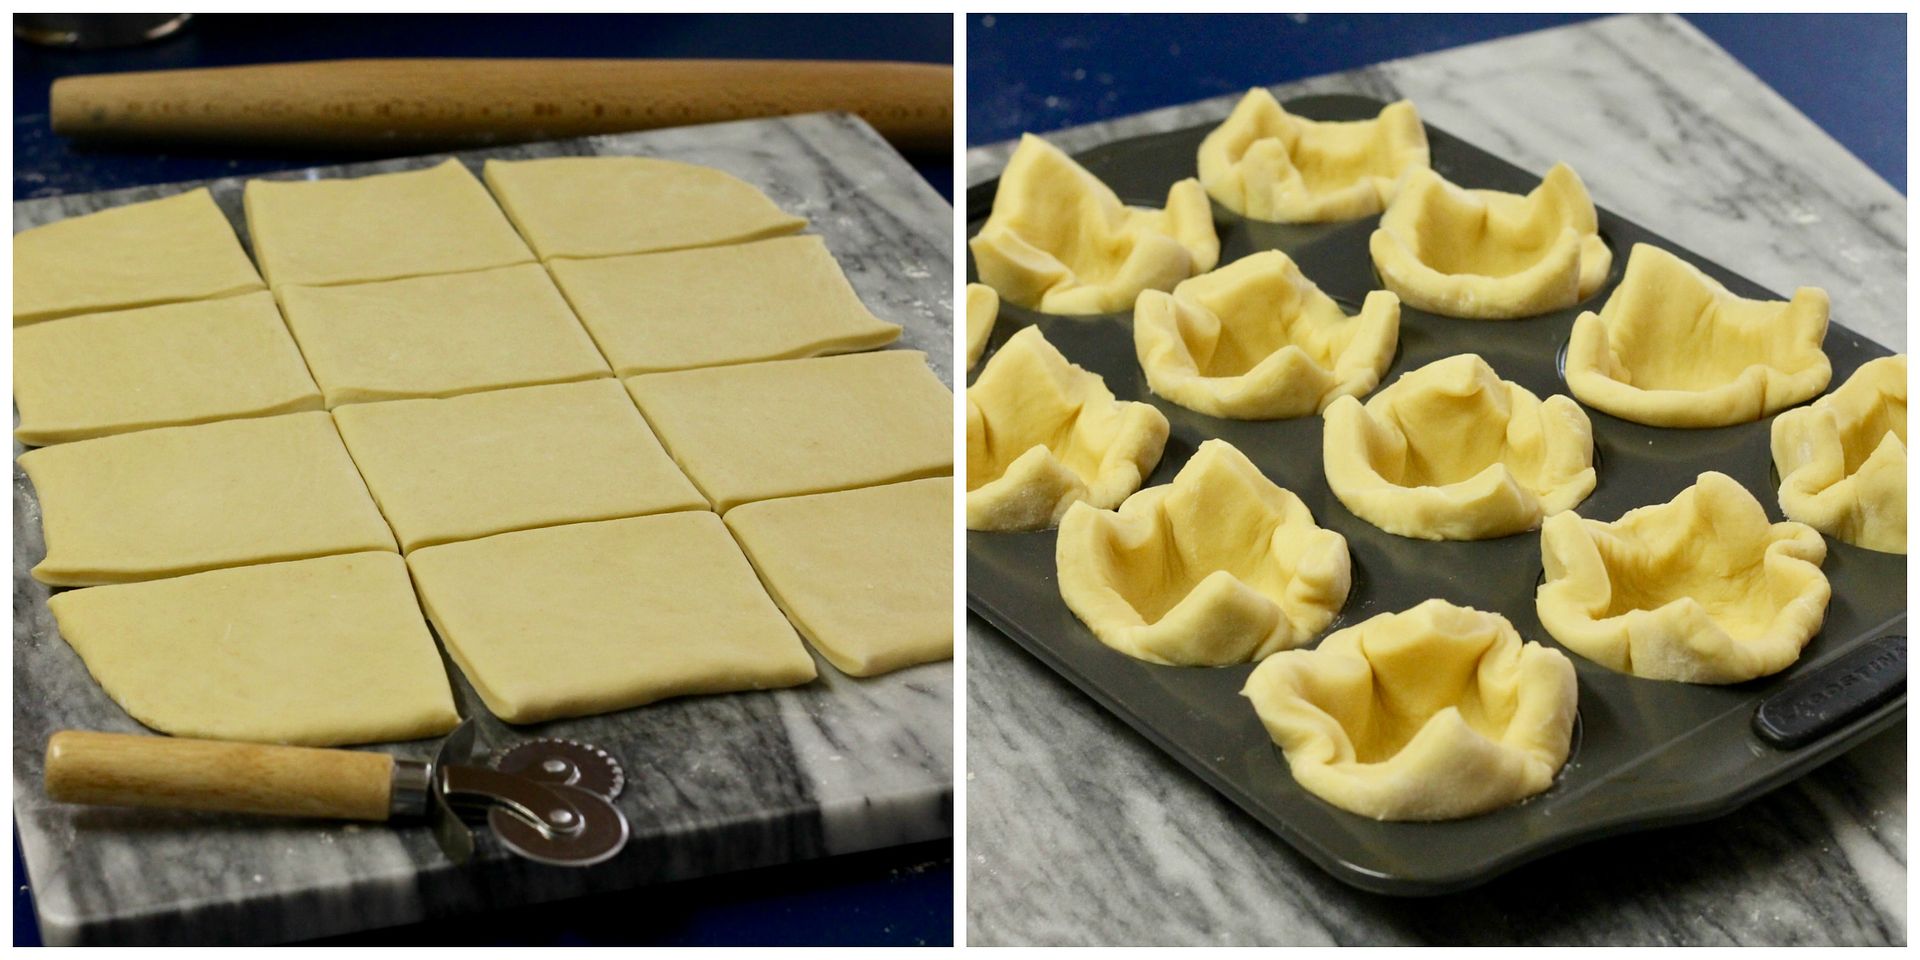
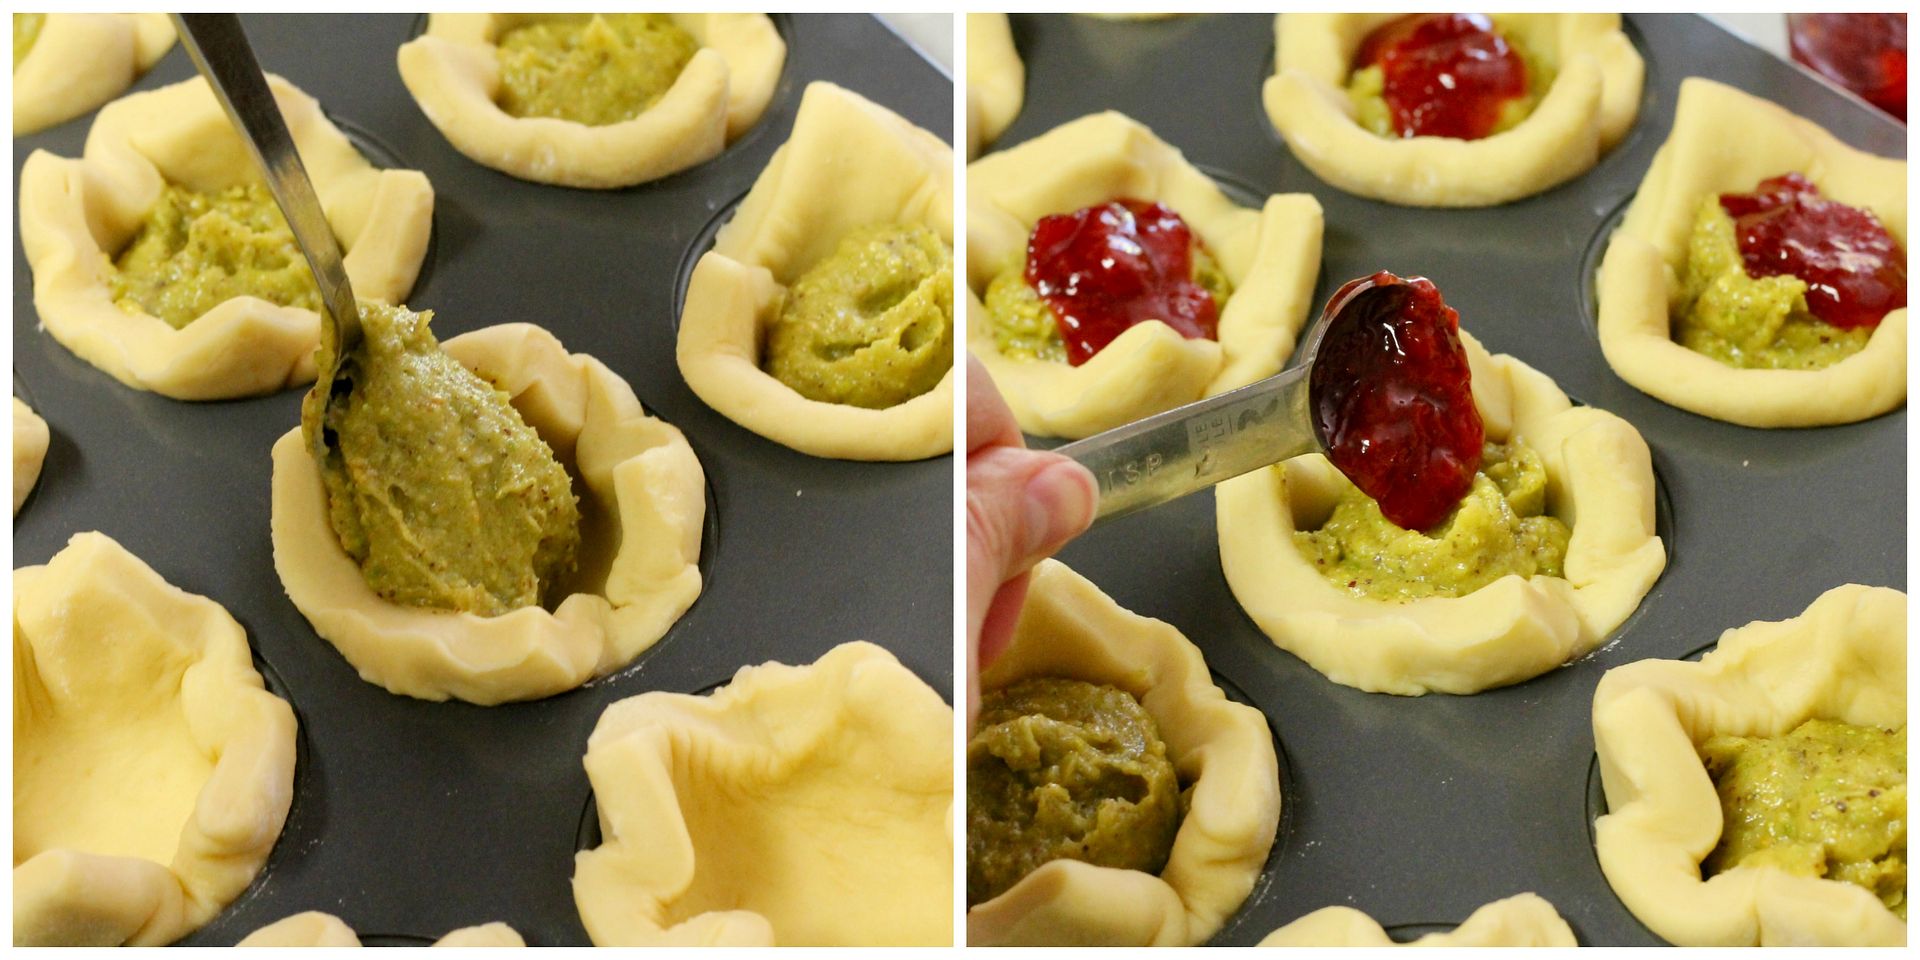
Lightly butter the cups of a standard muffin tin. Turn out the chilled, risen dough into a lightly floured surface and roll it out to a 40 cm x 30 cm rectangle. Cut into 12 squares, each 10 cm x 10 cm.. Gently press each square into the bottom of each muffin cup, letting the excess dough lay over the sides.

muffin tin

Divide the pistachio cream evenly between the dough squares, then top each with 1 tsp strawberry jam (you’ll need 1/4 cup jam total).

filling

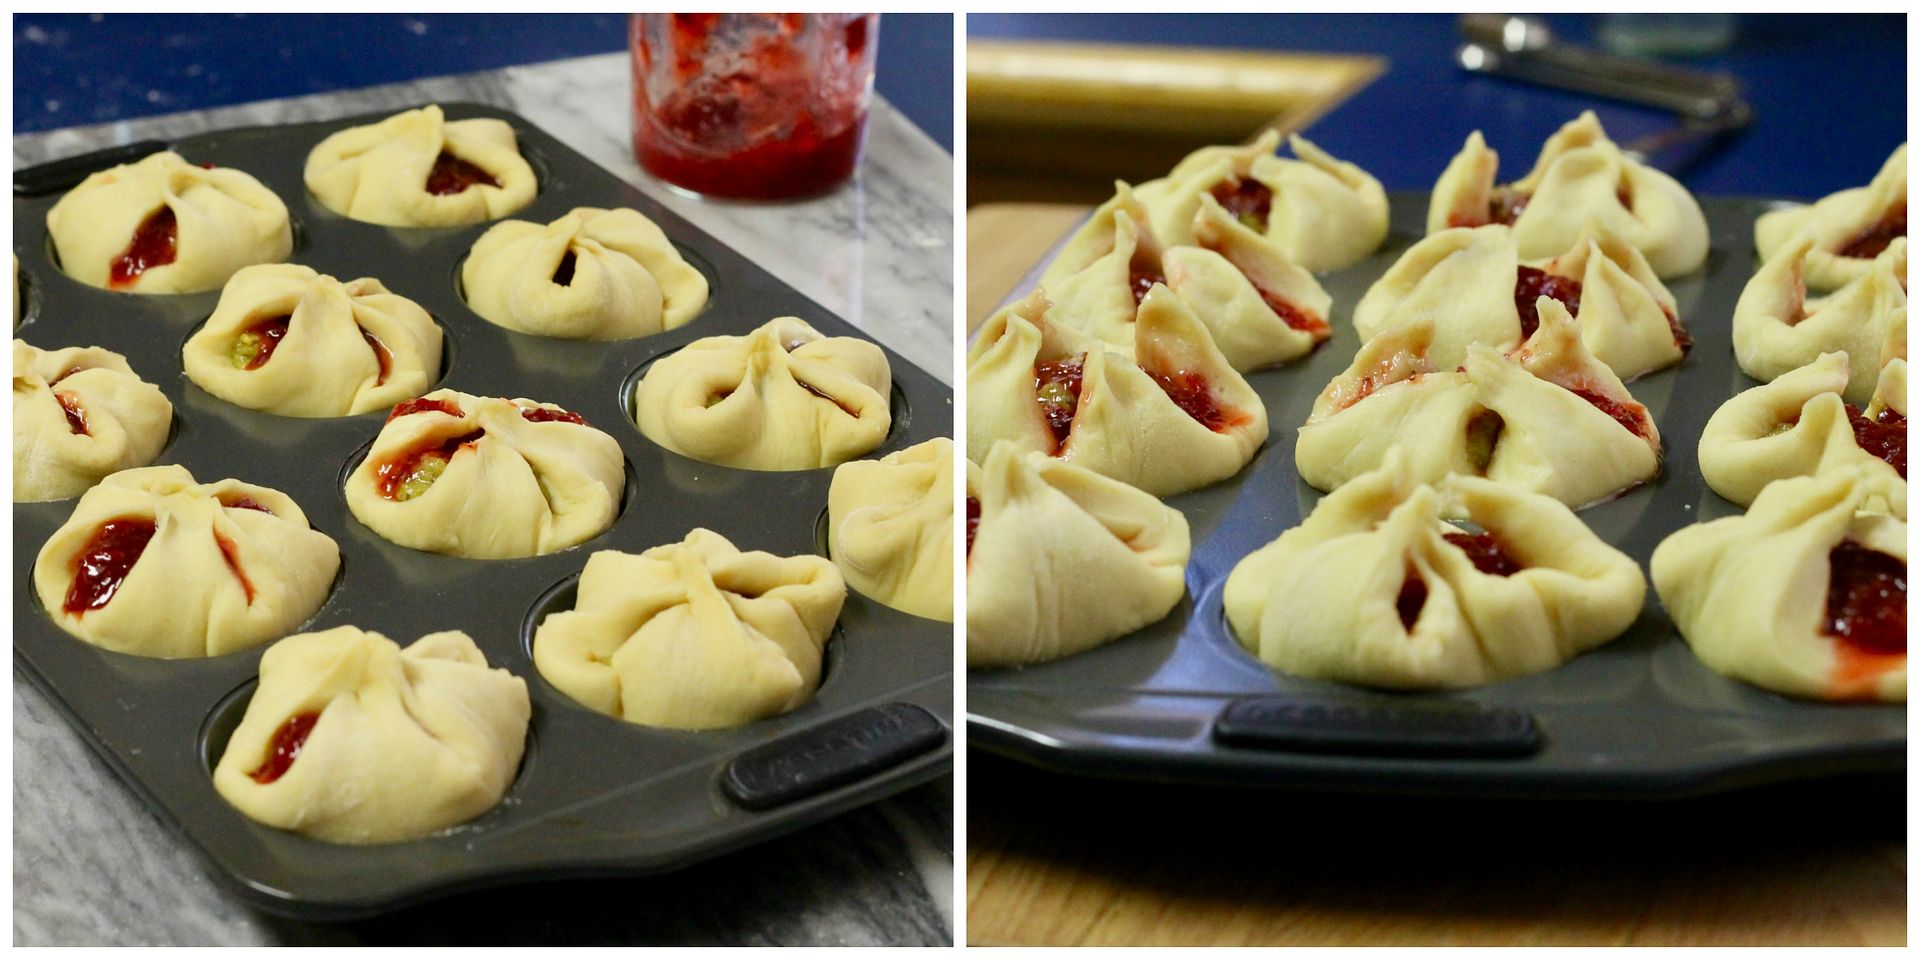
Fold the overhanging points of each dough square into the middle over the filling (you don’t need to pinch them closed, liked I did). Let the buns proof while you preheat the oven to 400˚F (375˚F convection). You’ll know they are ready to bake when the points of the dough start to stick up slightly (after about 30-40 minutes).

before & after proof

While the buns proof, make the rose syrup. In a small saucepan, combine:

100 ml water

100 ml granulated white sugar

1 tbsp honey

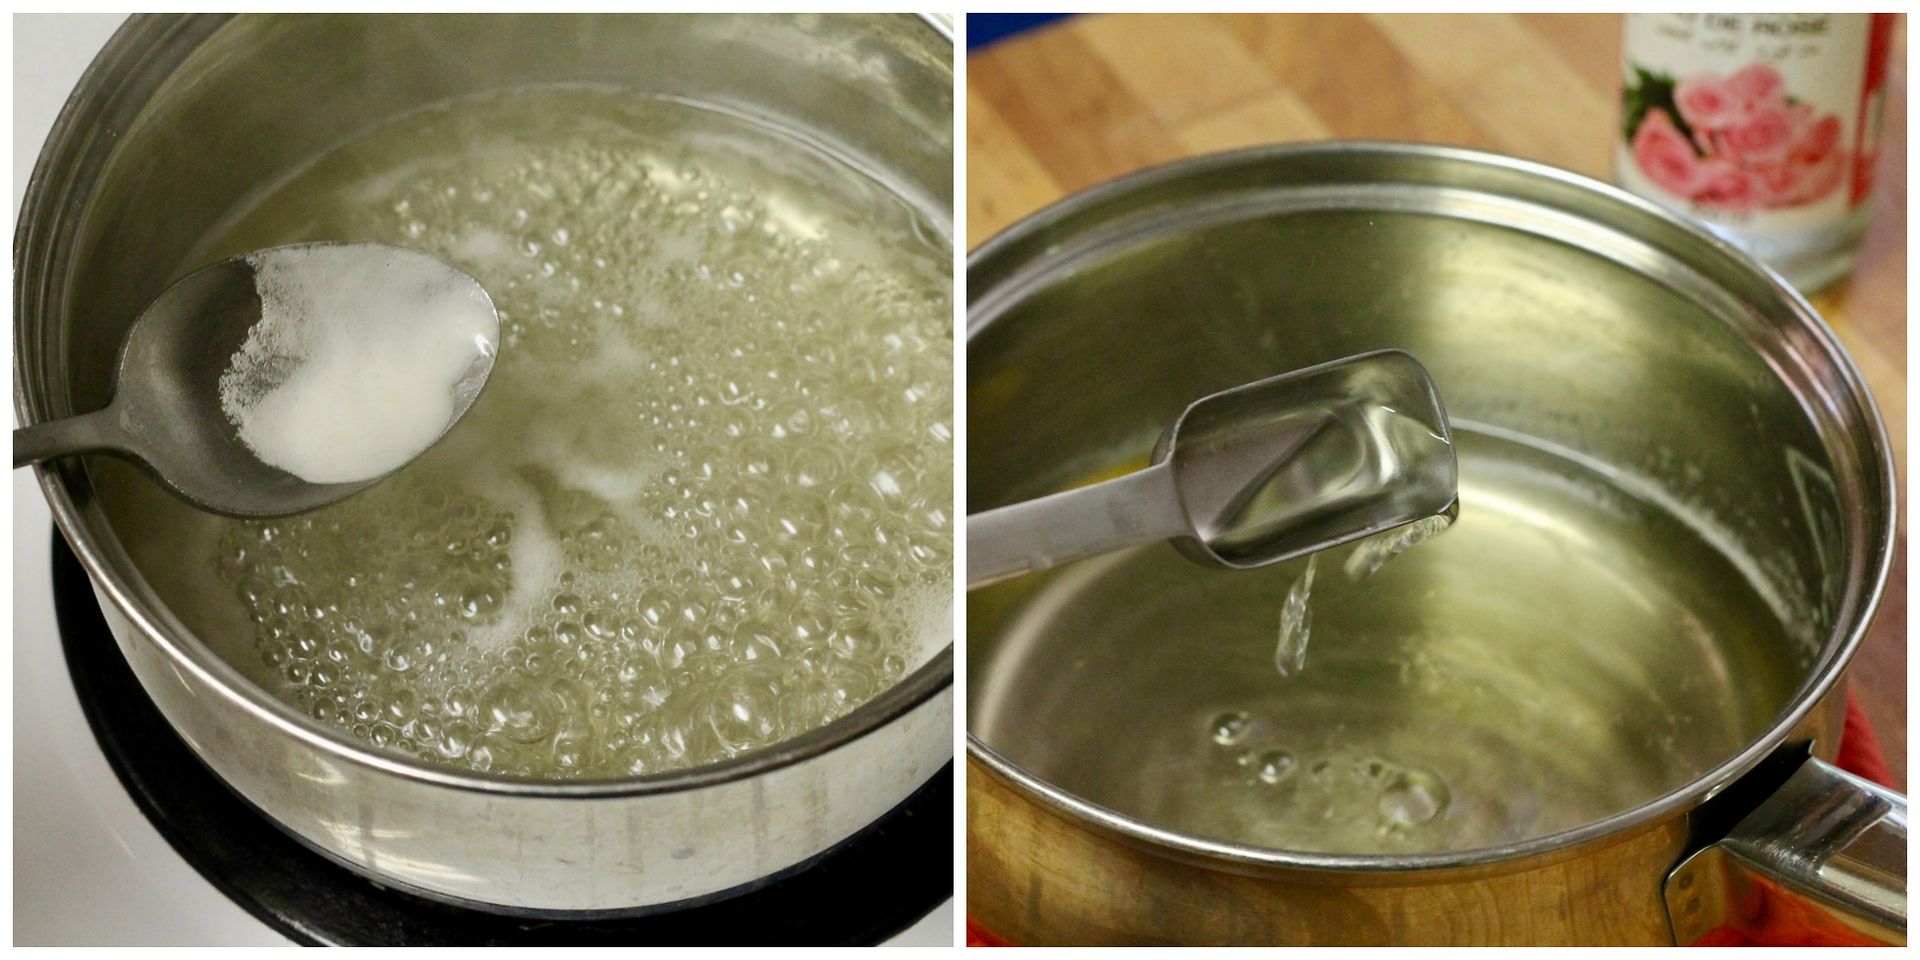
Bring to a boil over medium-high heat, stirring to dissolve the sugar. Skim the foam from the top with a spoon, then remove the syrup from the heat and stir in 1 tbsp rose water (I used this brand).

syrup

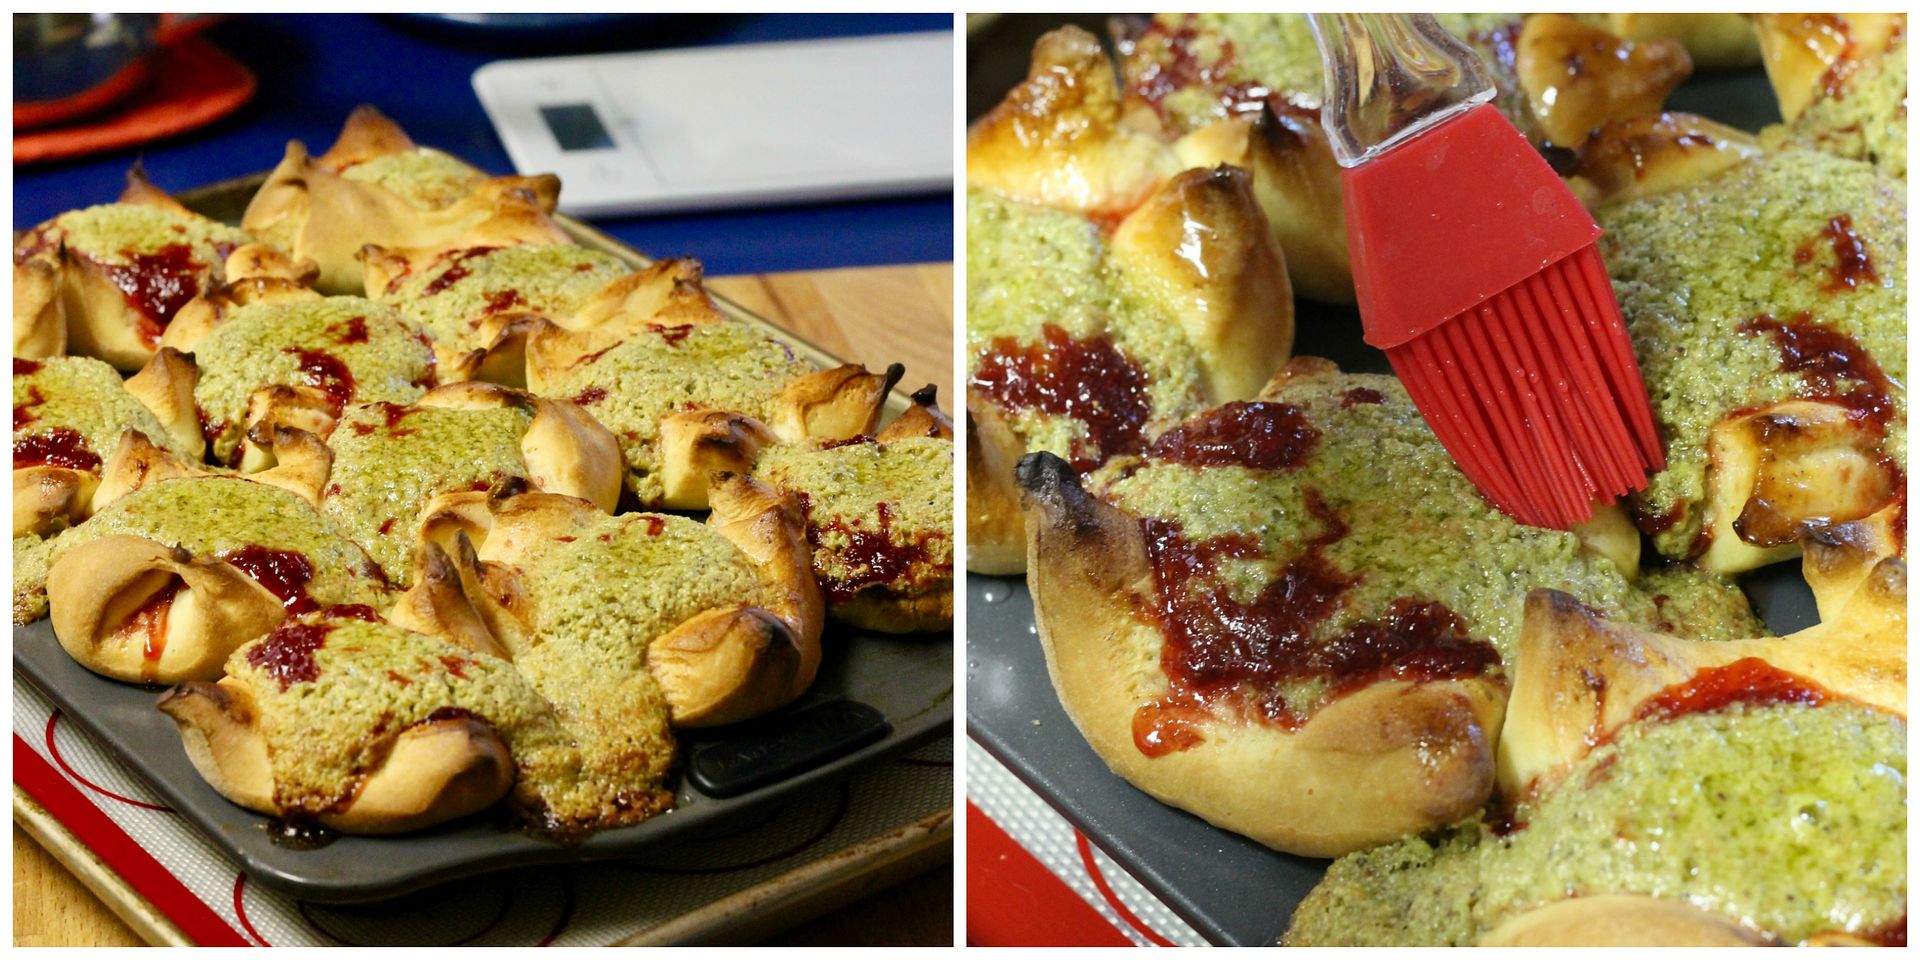
Baked the proofed buns in the middle of the preheated 400˚F (375˚F convection) oven for 10 minutes, rotating the pan halfway through. Reduce the heat to 350˚F (325˚F convection) and bake another 10 minutes, again rotating them halfway through, until golden and puffed (and hopefully your filling has not exploded like mine did). Brush the buns generously with the rose syrup when you remove them from the oven.

baked+brushed

Cool in the tins for a few minutes, then remove to a rack to cool further.

These are best eaten fresh, but you can keep the buns in an airtight container at room temperature for up to 2 days and re-heat them in a low oven if you wish.

rack


Rum Raisin Sourdough Hot Cross Buns

$
0
0

I first got into sourdough baking back in 2011 after making my own starter as part of a Daring Bakers Challenge. I loved baking with it and maintained it faithfully for almost four years, but then my schedule started getting busier and my poor little sourdough starter eventually died from neglect in the back of my fridge 🙁 I was pretty sad about it (and kind of embarrassed too – you’ll notice that I never mentioned it here until now!), but I didn’t have the time or energy to put into cultivating or acquiring and maintaining a new starter. Recently though, I’d been wanting to get back into the sourdough game (have you SEEN all the gorgeous sourdough bread on Instagram?!), so last week when a friend offered me some of her 100 year old rye starter, I jumped at the chance. I have been nursing a little glass jar of bubbling flour and water on my kitchen counter ever since and I couldn’t be happier about it! I’ve noticed that this well-established starter is more reliable and predictable than the one I made myself, which probably never quite achieved its full strength as a starter, and I’m very excited to experiment with it.

sourdough starter

See all those happy little bubbles?

So anyway, because this past weekend was Easter, my first project with my new starter was these beautiful sourdough hot cross buns, studded with rum-soaked raisins, vanilla, spices, and lots of citrus zest. I wouldn’t necessarily recommend these as a first bake if you are totally new to sourdough, but for me it was a great way to get back into it. I like that the levain (the pre-fermented mixture that you inoculate with your existing “mother” starter and use to build the dough) contains a bit of brown sugar, which is supposed to tame the acidity of the final dough but I think it also helps keep the little yeasty beasts happy and more active. Either way, it did the trick: the resulting spiced buns have a light, shreddable, brioche-like texture and rich flavour but a very mild sourdough tang.

Rum Raisin Sourdough Hot Cross Buns | Korena in the Kitchen

They also contain a good quantity of raisins macerated in rum and vanilla, which add flavour and moisture to the buns. If rum isn’t your thing, you could soak the raisins in orange juice or tea instead. If you really want to play up the rum-raisin flavour (I wish I’d thought of this sooner), you could add some rum to the brown sugar syrup that is brushed on the buns after baking. I’ve upped the amount of cinnamon because I wished the buns were a touch spicier, but otherwise, these were excellent and a great re-entry into sourdough baking. I can’t want to to make more sourdough things!

Thanks so much for sharing your starter with me, Karin! <3

Rum Raisin Sourdough Hot Cross Buns | Korena in the Kitchen

PS – there are seven other versions of HCBs on my blog, in case these ones aren’t your cup of tea!

Rum Raisin Sourdough Hot Cross Buns

Recipe adapted slightly from the beautiful blog my daily sourdough bread. Makes 12 buns. Click here for a printable PDF version of the recipe.

My 3-day baking schedule for these buns was as follows – your schedule may vary, depending on the strength of your starter and ambient room temperature:

  • Day 1: macerate raisins in a jar with rum and vanilla
  • Day 2, morning: mix levain and leave to rise all day
  • Day 2, late afternoon: mix dough and leave to ferment a few hours
  • Day 2, before bed: shape buns and chill in fridge overnight
  • Day 3, morning: proof buns until doubled (several hours) and then bake

A note on the flour: I used unbleached organic Canadian all purpose flour, which has about 13% protein content, meaning it is a fairly strong flour. Alternatively, you could use bread flour, which has a similarly high protein content / strength.

Rum-soaked Raisins (Day 1)

In a small jar, place 90 g raisins. Pour over about 75 g dark spiced rum to just cover them, along with 1 tsp vanilla extract. Screw on the jar lid and give the raisins a shake. Let them sit and macerate for at least 24 hours, shaking occasionally.

(I forgot to take a picture of this – so just imagine some raisins in a jar with some rum 😉 )

Levain (Day 2, morning)

In a small bowl or medium-sized glass jar (so you can see the yeast activity), dissolve 20 g brown sugar in 35 g room temperature water. Stir in 25 g active sourdough starter until dissolved, then stir in 80 g unbleached strong all purpose flour or bread flour. The mixture will be quite stiff and dough-like.

levain 1

Cover the jar with the lid (not air-tight) and let ferment until the levain has doubled in size – anywhere from 4-12 hours, depending on the strength of your starter and the temperature of your kitchen.

levain 2

Dough (Day 2, afternoon and evening)

In the bowl of an electric mixer, whisk together 110 g room temperature milk with the seeds from 1/2 a vanilla bean. Add:

50 g brown sugar

2 lightly beaten eggs, at room temperature

1 tsp ground cinnamon

1/4 tsp grated nutmeg

pinch ground cloves

all of the levain, torn into little pieces

dough 1

Mix everything together with the paddle attachment to combine (don’t worry of the levain is still in separate bits), then switch to the dough hook and add 350 g unbleached strong all purpose flour or bread flour and 7 g fine salt (about 1 tsp). Knead on medium speed for 3-4 minutes until the dough comes together, then let rest for 20 minutes.

dough 2

While the dough rests, measure out 85 g unsalted room temperature butter and divide it in half. Knead half the butter into the dough – it will seem very messy at first but will eventually incorporate.

dough 3

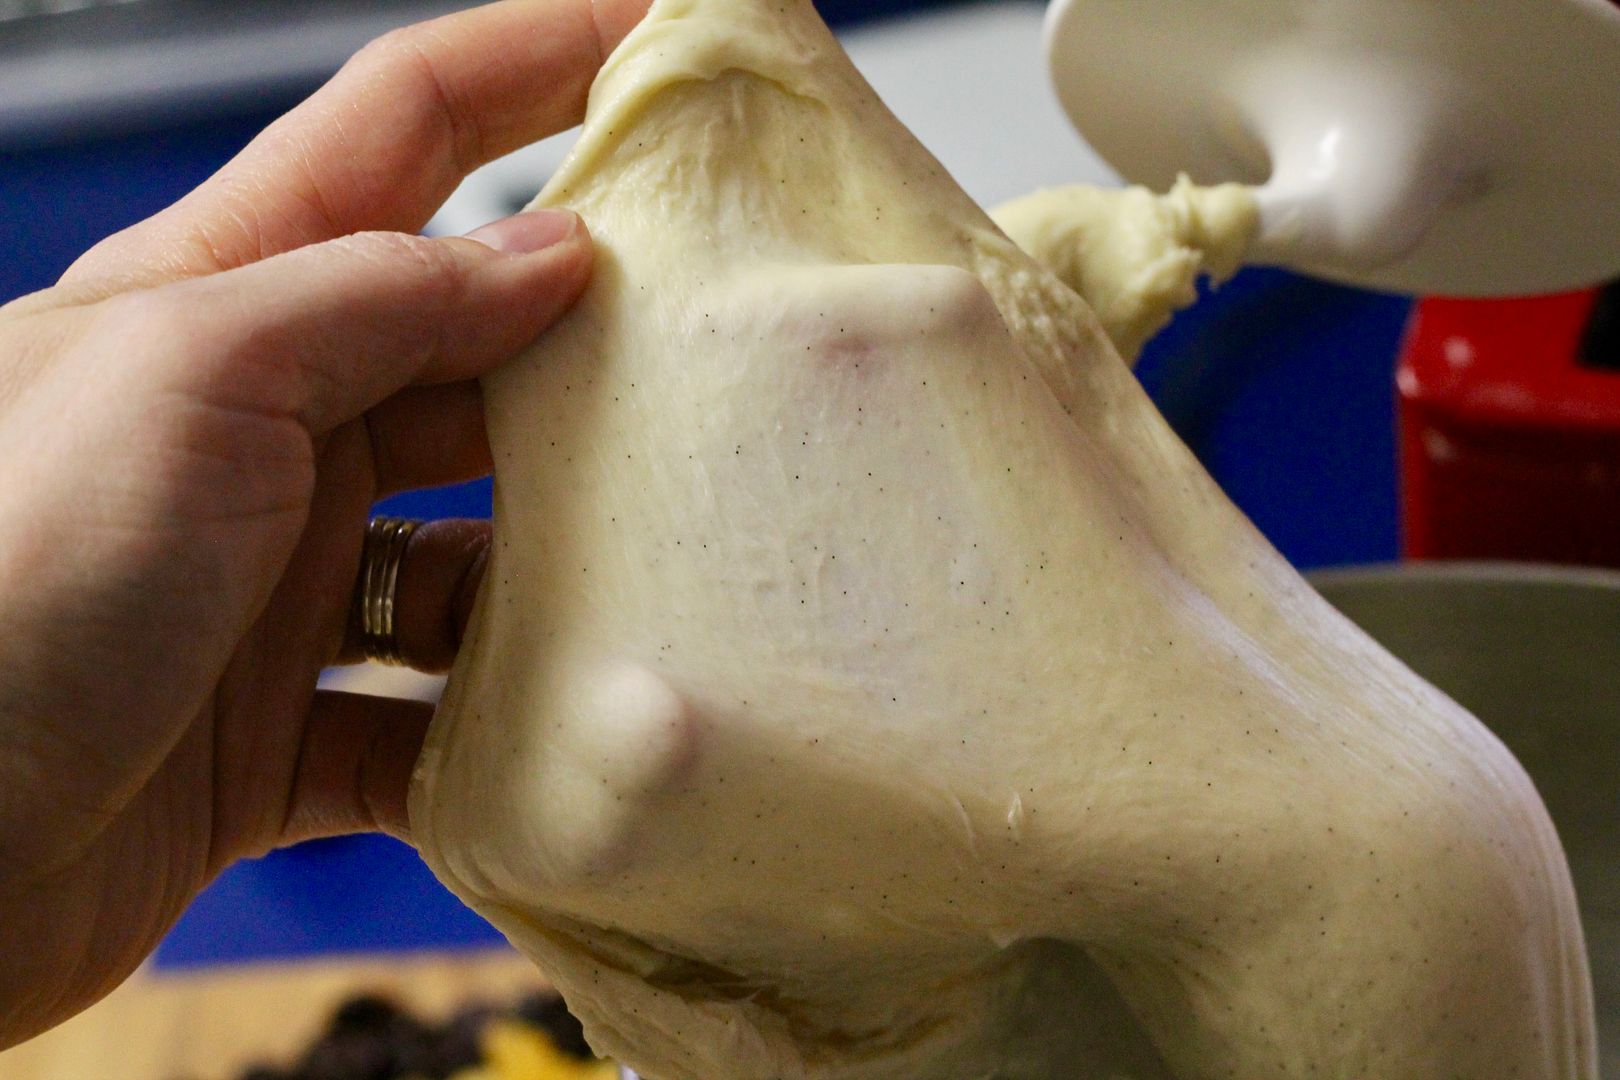
Knead in the second half of the butter, then continue kneading for 8-10 minutes, until the dough passes the window pane test (that is, you can stretch it thin enough to see through without tearing). Let the dough rest again for 5 minutes.

dough 4

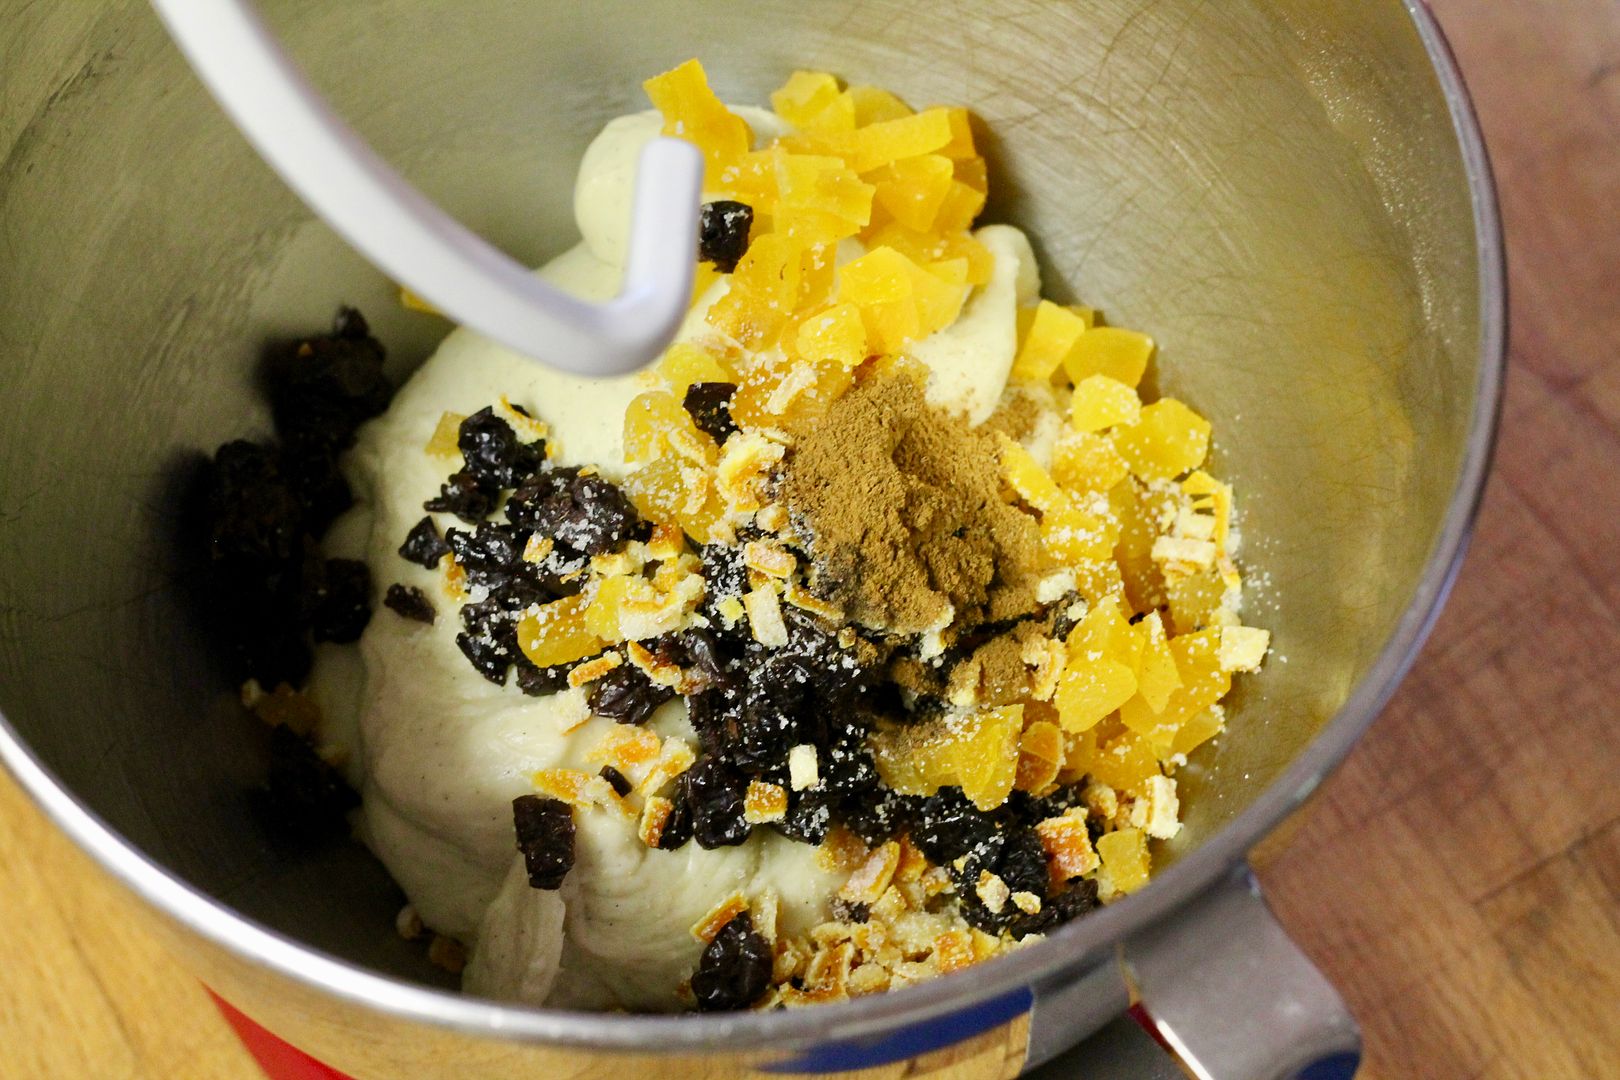
Drain the excess liquid from the rum-soaked raisins and add them to the dough, along with the finely grated zest of 1 orange and 1 lemon.

dough 5

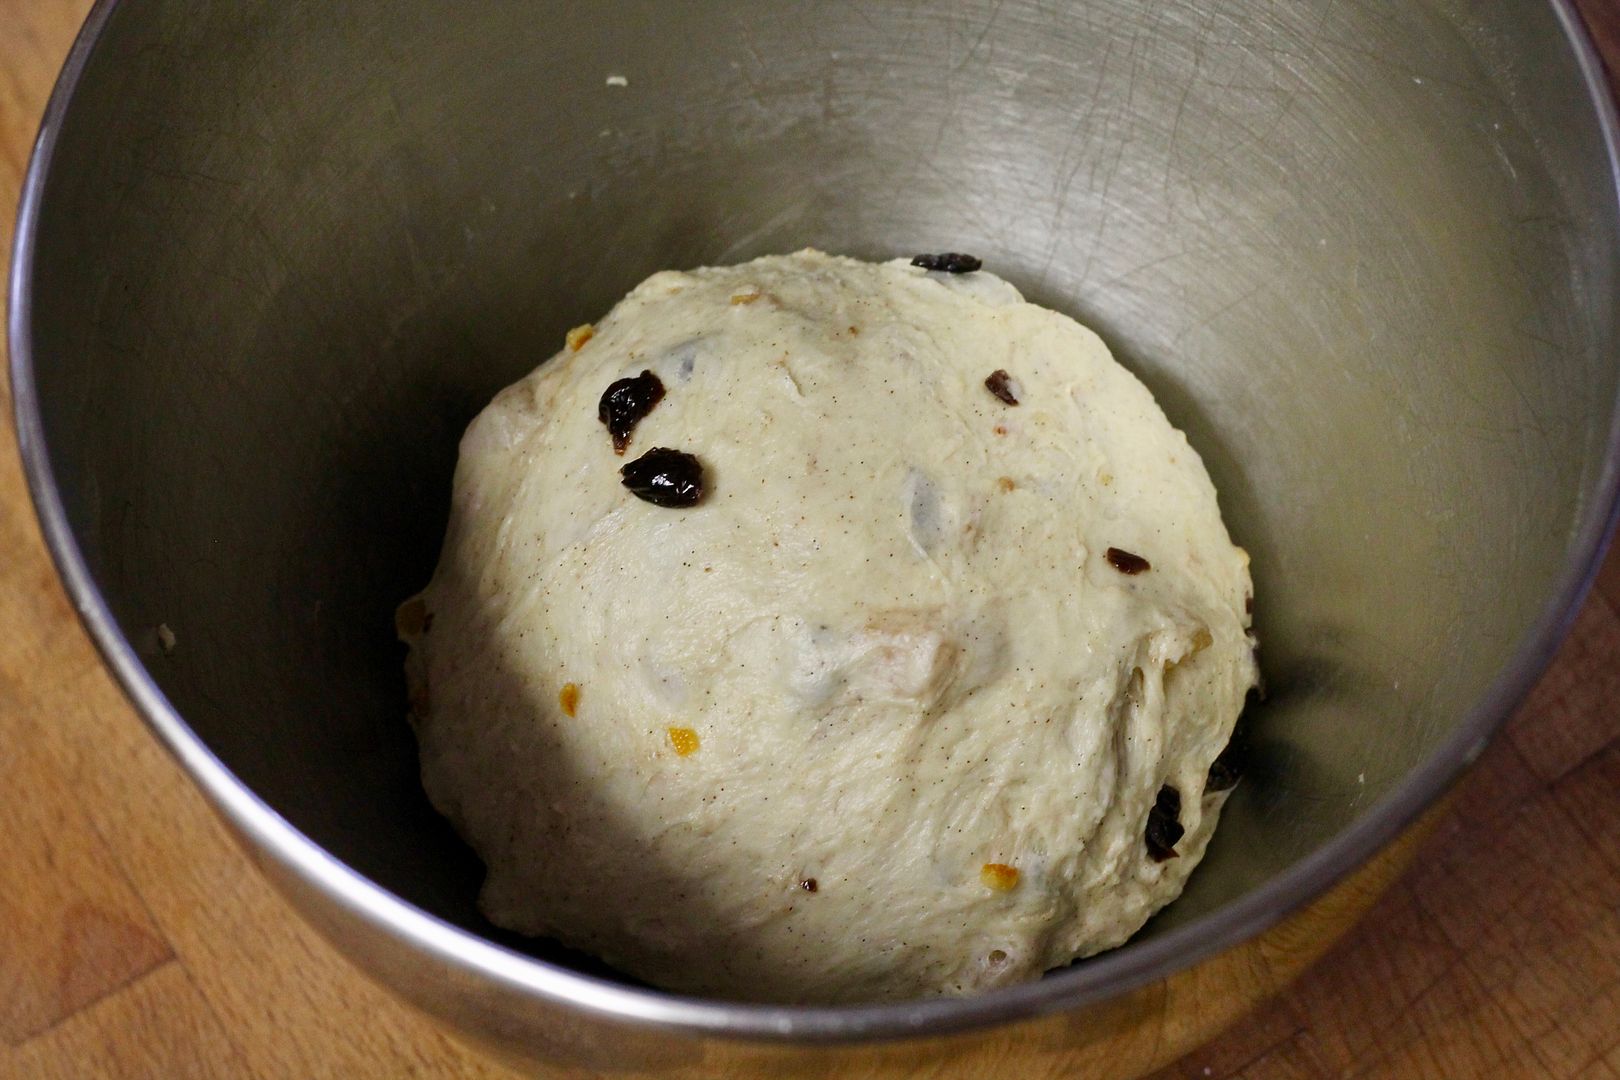
Knead with the dough hook until thoroughly incorporated (I was worried that the raisins might get mashed into the dough, but they were fine) and then give a final few kneads by hand to make sure everything is evenly distributed throughout the dough.

dough 6

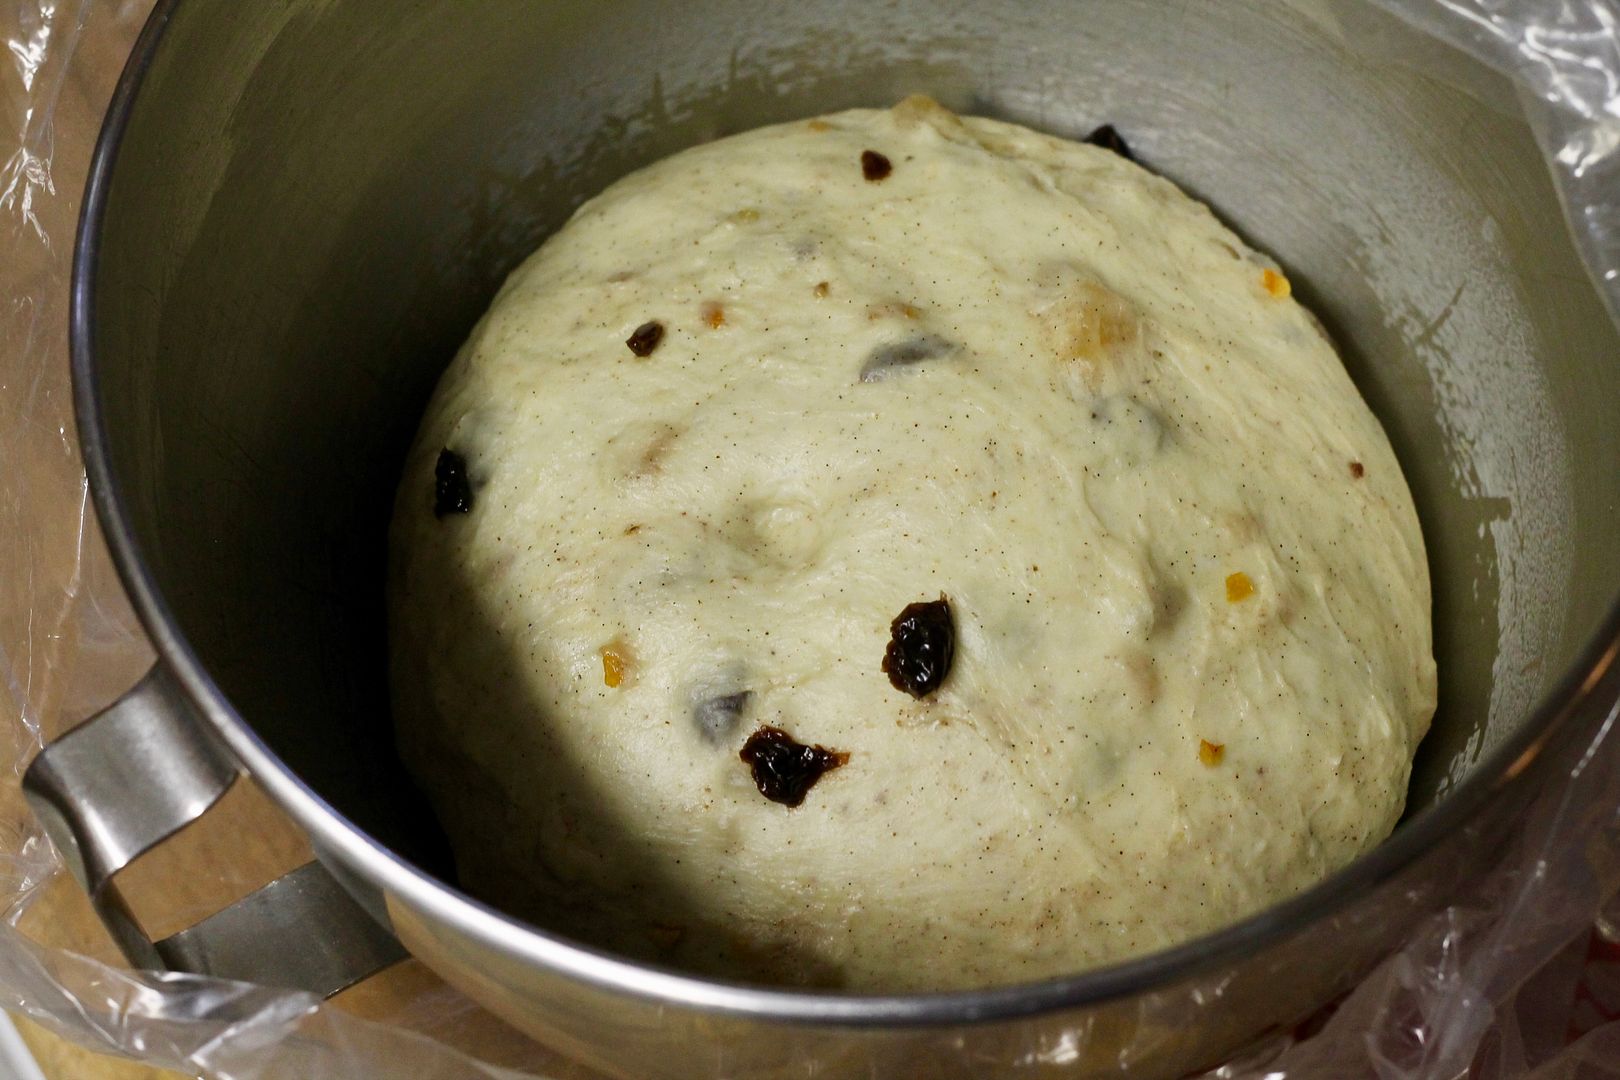
Scrape the dough into a clean bowl, cover it with plastic wrap, and let it ferment at room temperature for 3-4 hours. It will look slightly puffed, but will be nowhere near doubled in size.

dough 7

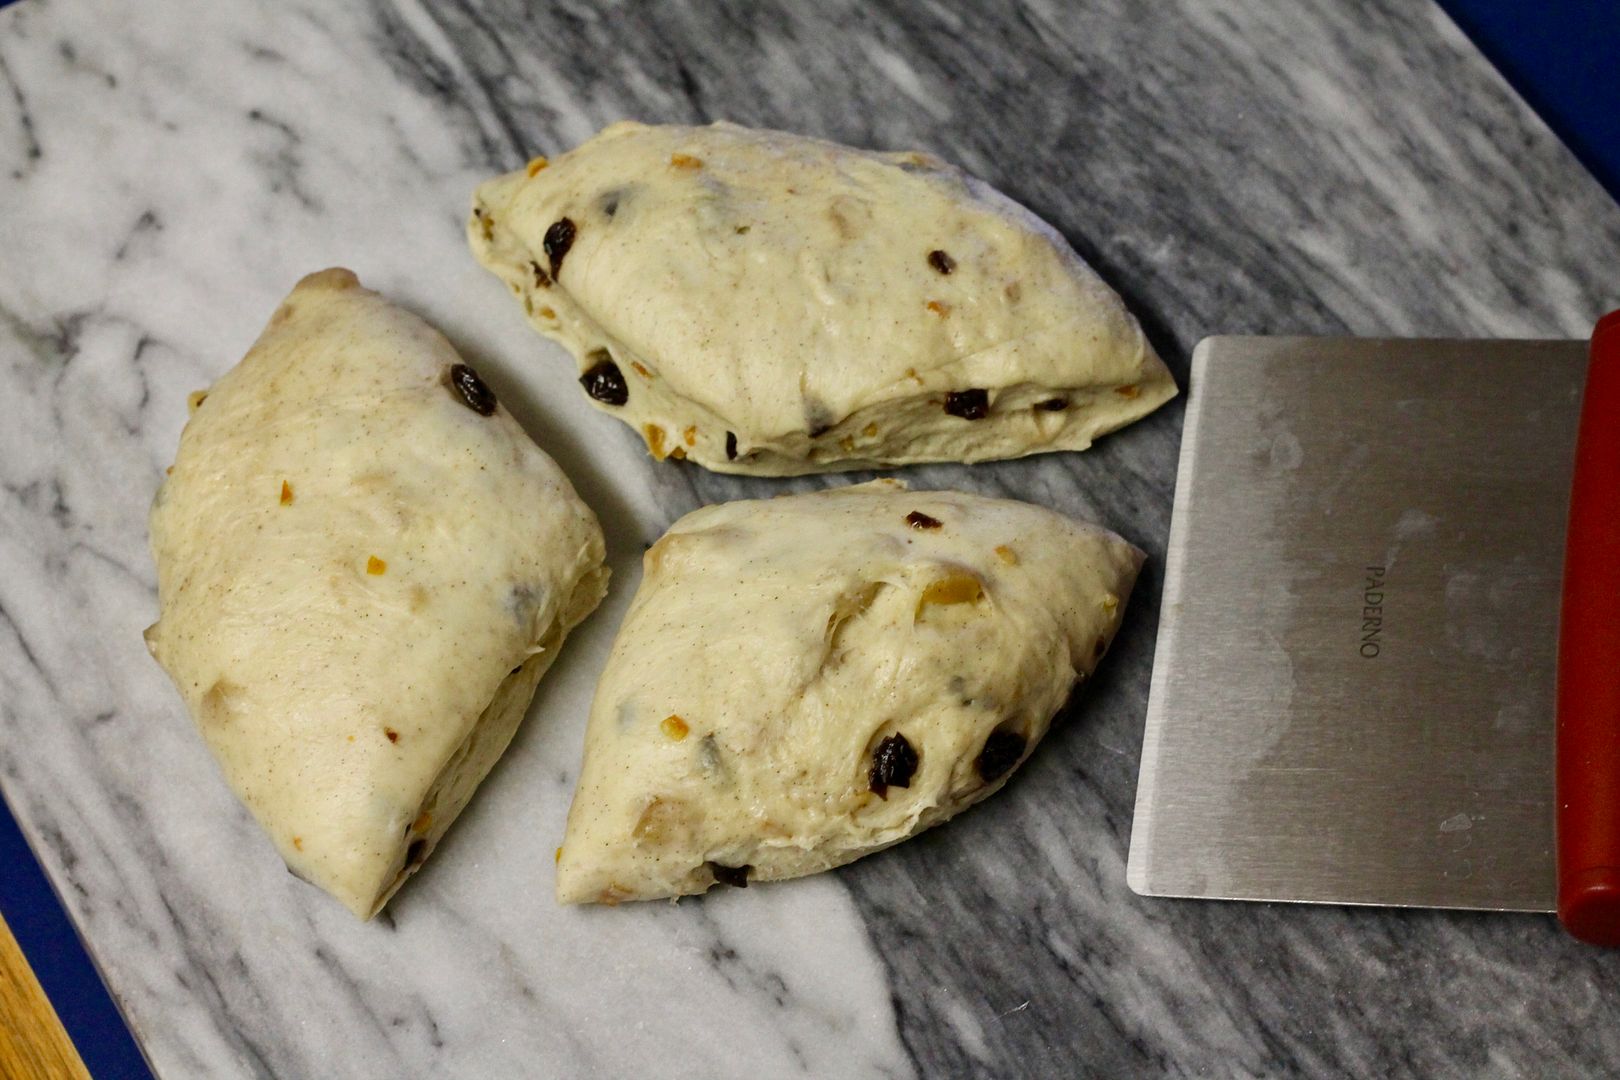
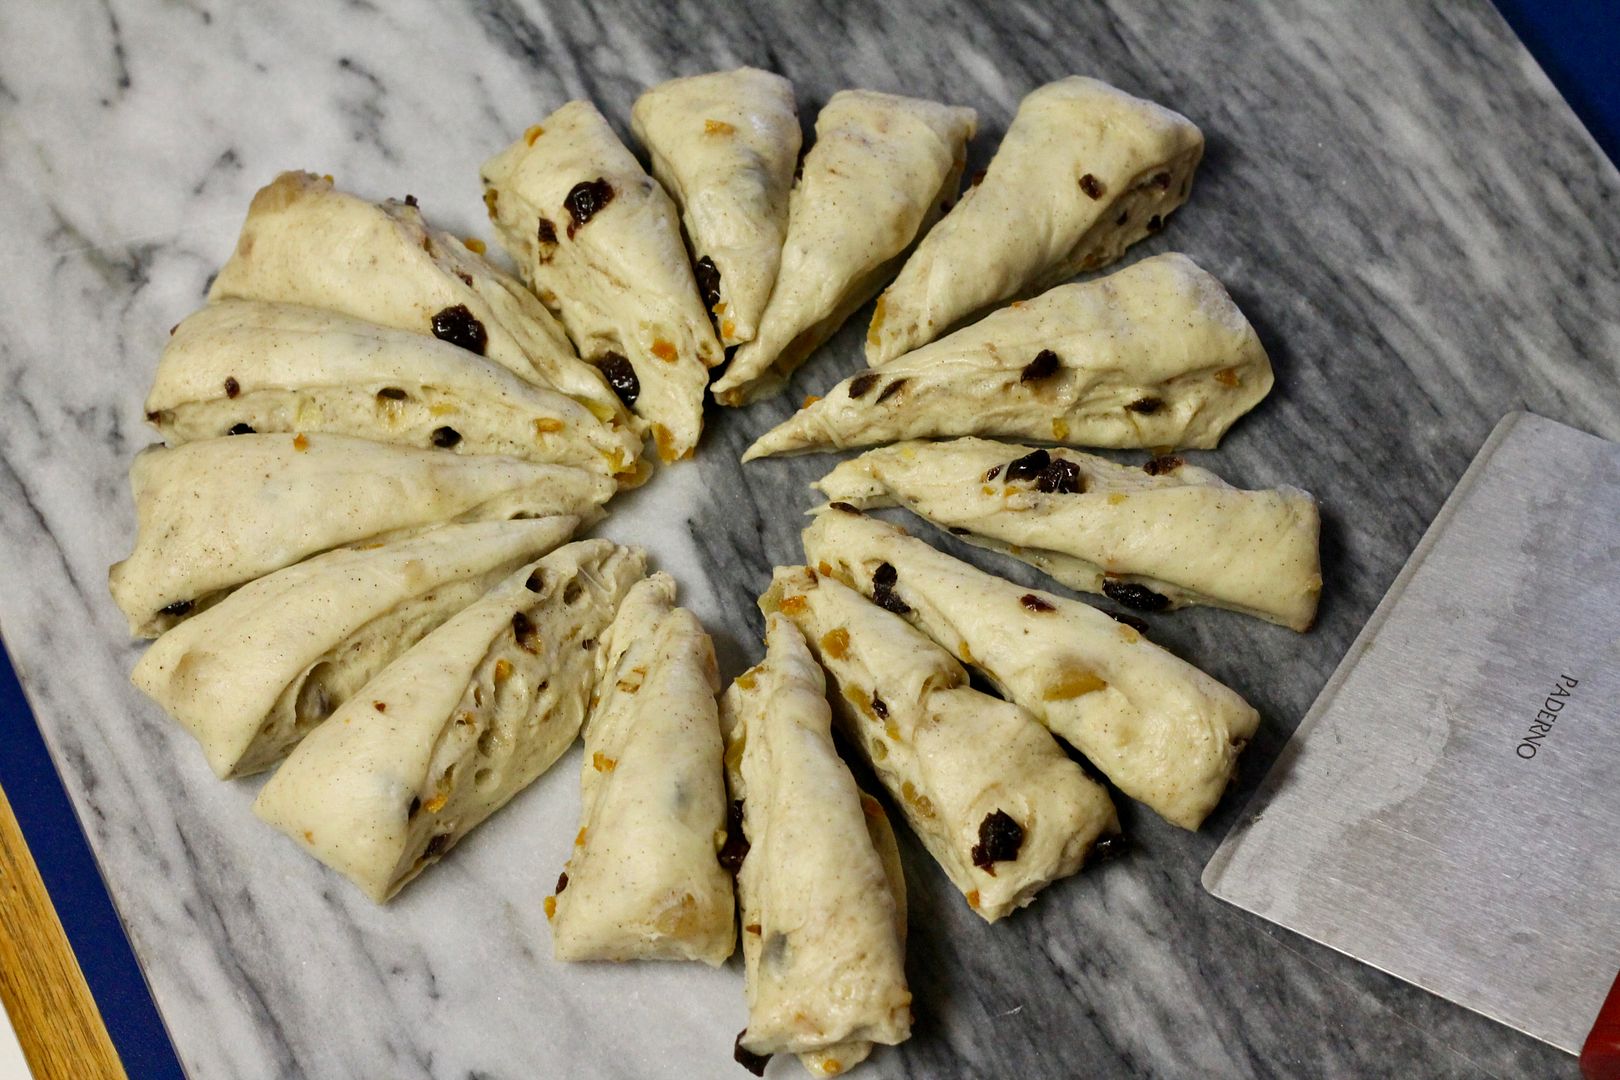
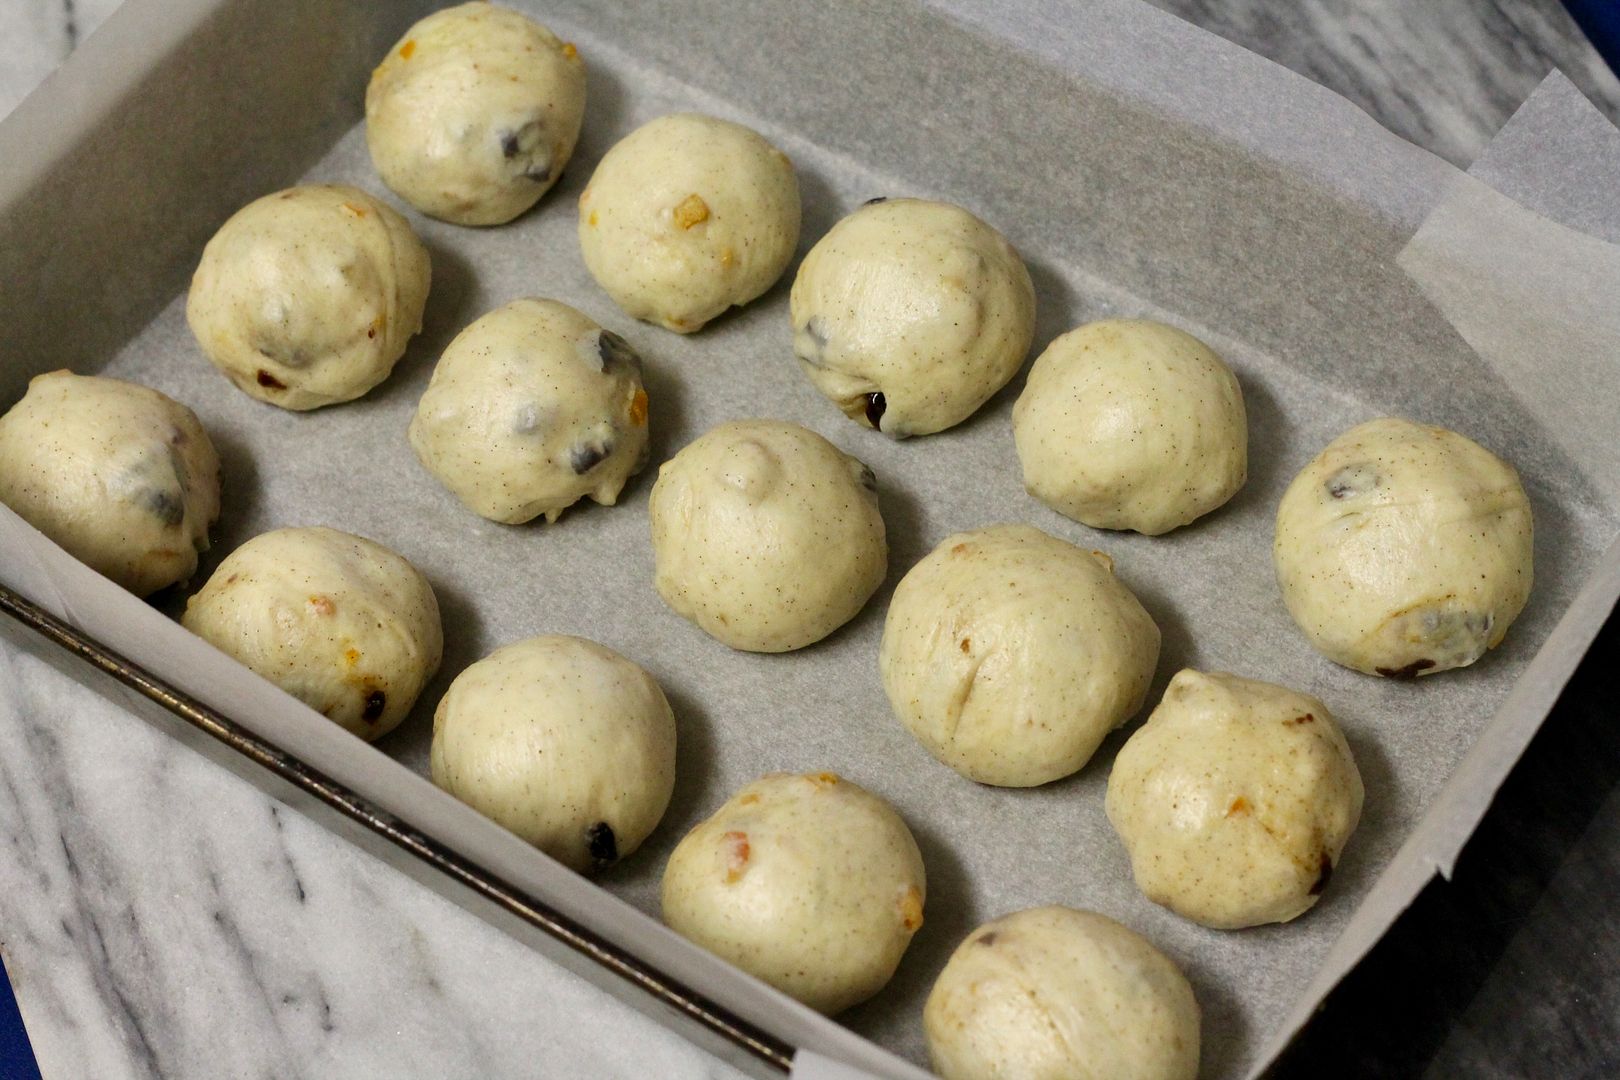
After the dough has fermented, turn it out onto a slightly floured surface and divide into 12 even pieces, each about 80 g. Shape each piece into a ball and place them in a 9″x13″ pan lined with parchment paper. Cover with plastic wrap and place in the fridge overnight.

shaped

Baking/Assembly (Day 3, morning)

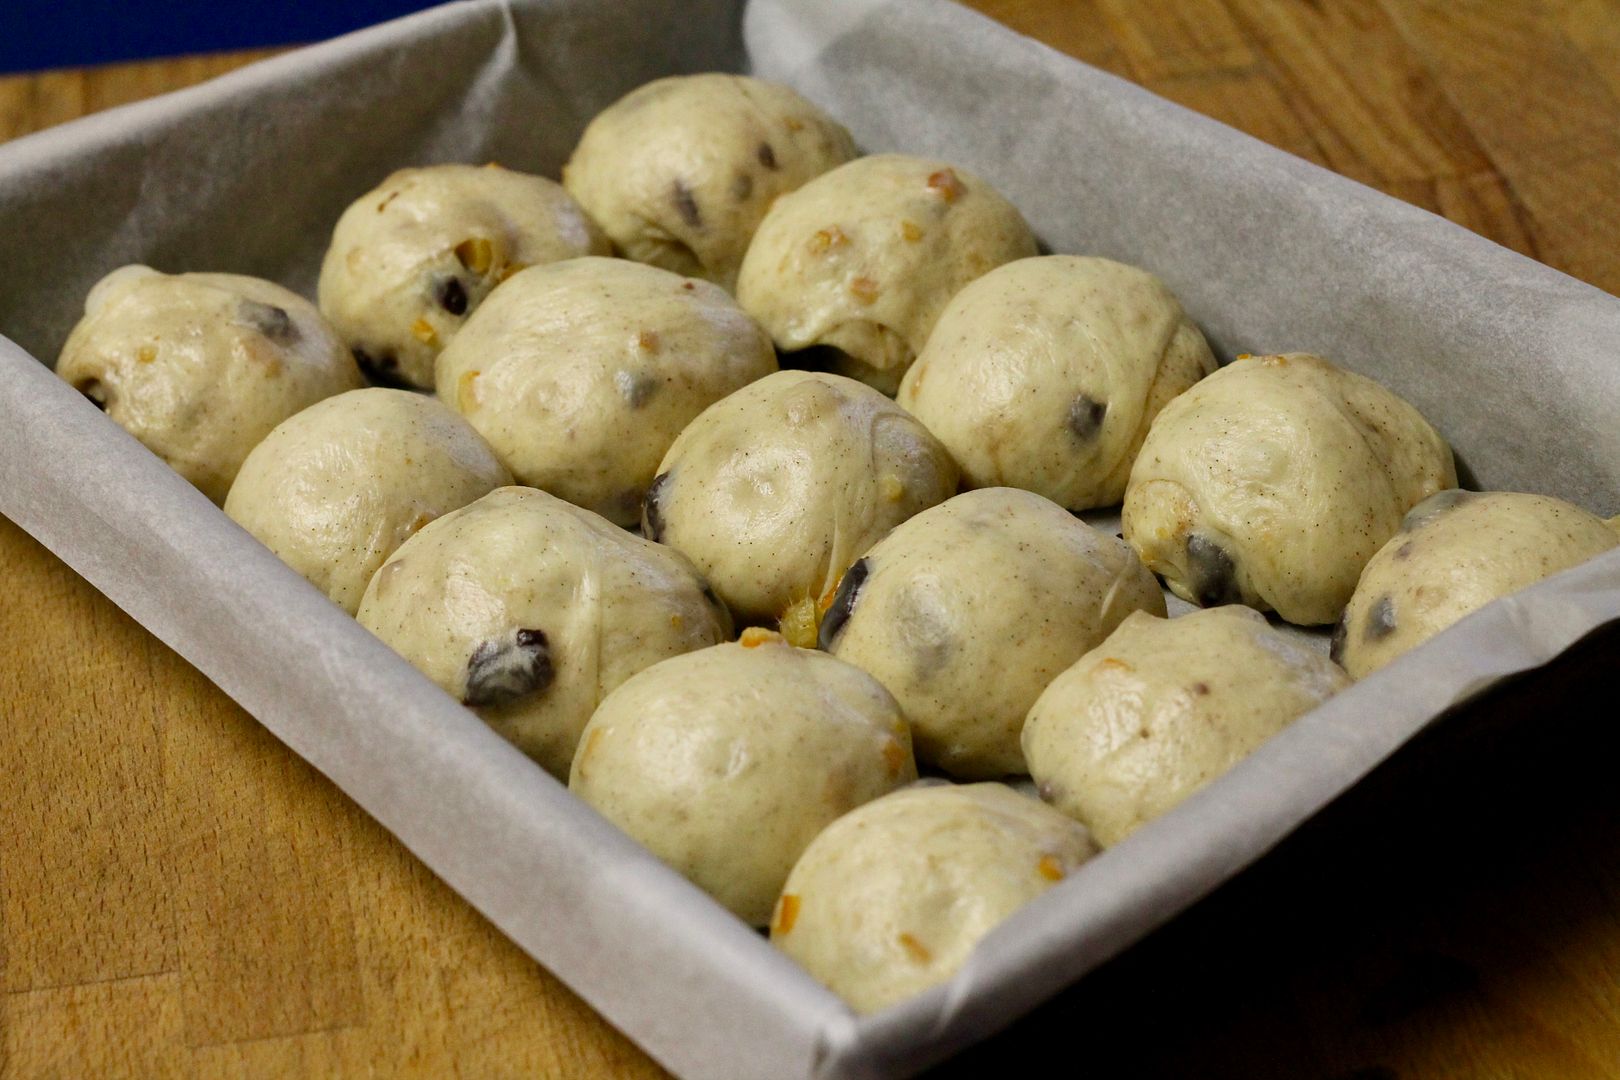
The next morning, place the buns (still covered in plastic) somewhere warm to finish proofing – this may take several hours. You want them to be puffed to nearly double their size, and when you poke them lightly with your finger, the indent springs back slowly.

proofed

Just before the buns are fully proofed, preheat the oven to 425˚F (400˚F convection).

In a small bowl, mix together 35 g all purpose flour and 10 g vegetable oil. Add 30 g water and mix until smooth and pipeable (you may need a few extra drops of water). Place the paste in a piping bag, snip off the end, and pipe crosses on the proofed buns.

crossed

Bake the buns in the preheated 425˚F (400˚F convection) oven for 10 minutes, then lower the heat to 390˚F (365˚F convection) and bake until golden brown.

baked

While the buns are baking, mix together in a small bowl:

1 tbsp boiling water

1 tbsp brown sugar

1 tsp vanilla or rum

Brush the brown sugar syrup over the buns as soon as they come out of the oven, and allow them to cool on a rack. Serve slightly warm or at room temperature.

glazed

Hong Kong Style Pineapple Buns

$
0
0

I’ve been feeling a little bereft after the disbanding of the Daring Kitchen last month – those challenges have been a constant in my life and on this blog for the past six (!!) years, and they always provided me with that nudge to get in the kitchen, make something, and post about it, no matter how busy or unmotivated I might otherwise be. So, I’m pleased to have found a new monthly challenge to take part in, hosted by Gabby, aka The Food Girl in Town. Myself and eight other bloggers will be cooking, baking, and eating our way “Around the World in 12 Plates” (or ATW12P), expanding our horizons and learning about other cultures through my favourite medium: food! Each month will feature the cuisine of a different country and our task is to do some research, choose a recipe (or several), and make something we haven’t made before. I am all about baking, so that’s how I’ll (most likely) be participating.

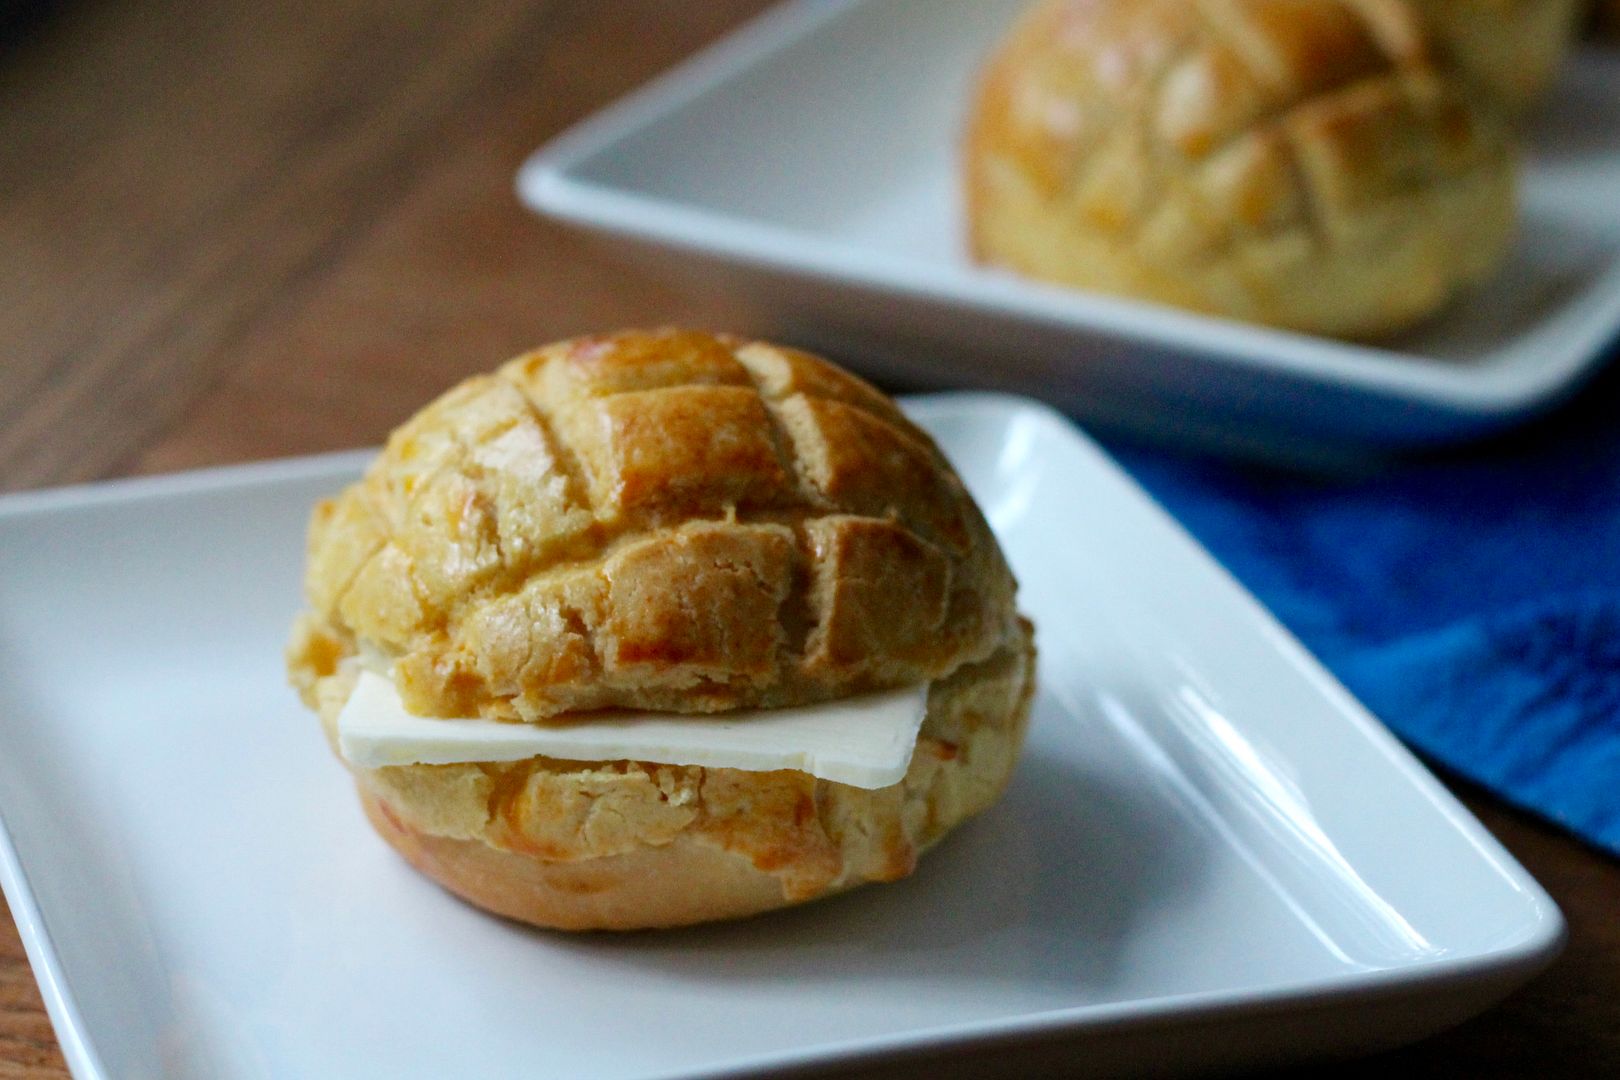
Hong Kong Style Pineapple Buns | Korena in the Kitchen

With Chinese New Year beginning on January 28, we fittingly begin our journey around the world this month in China. Chinese baking isn’t something I’m super familiar with beyond the delicious honey buns and barbequed pork-stuffed buns available in Chinatown, so I first did a Google search to figure out 1) what is out there, and 2) what is authentically Chinese. I discovered that Chinese baking favours buns of all kinds – steamed or baked, plain or stuffed with sweet or savoury fillings or wrapped around hotdogs, topped with crunchy sweetness or even rolled in pork jerky fluff. I’ve made a few Asian-style buns in the past – steamed and filled with barbequed pork, and baked and filled with coconut custard – but they were both pretty loose interpretations of anything authentic. So, after reading several delicious-sounding descriptions and finding out that it is #440 on the list of Hong Kong’s 480 living heritage items and therefore reliably authentic, I settled on the pineapple bun (you can read an interesting history of the bun in Hong Kong here).

Hong Kong Style Pineapple Buns | Korena in the Kitchen

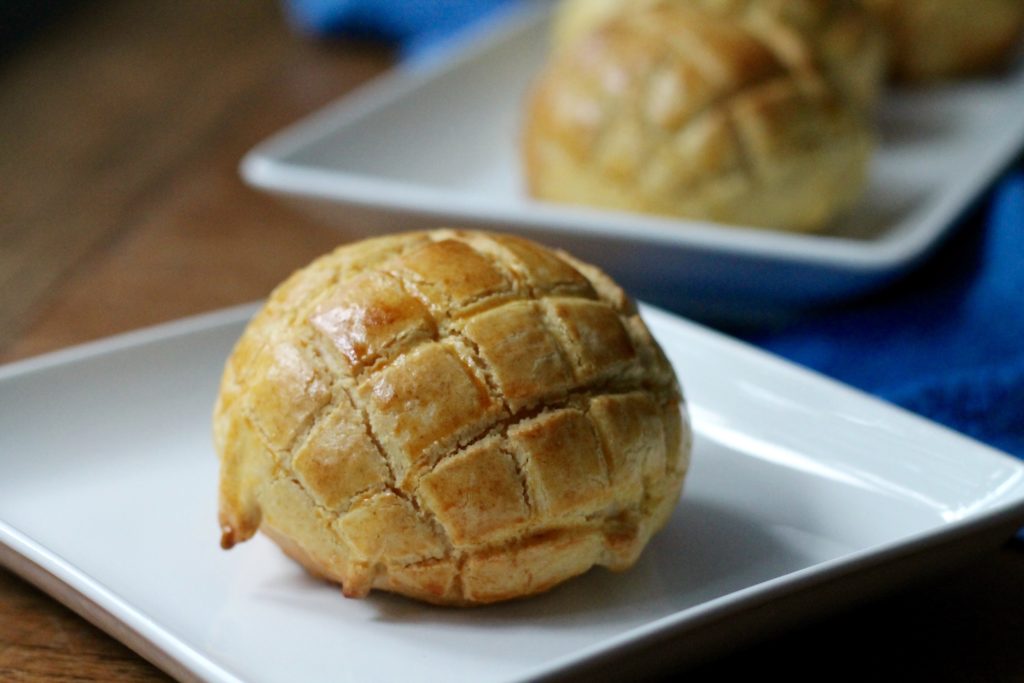
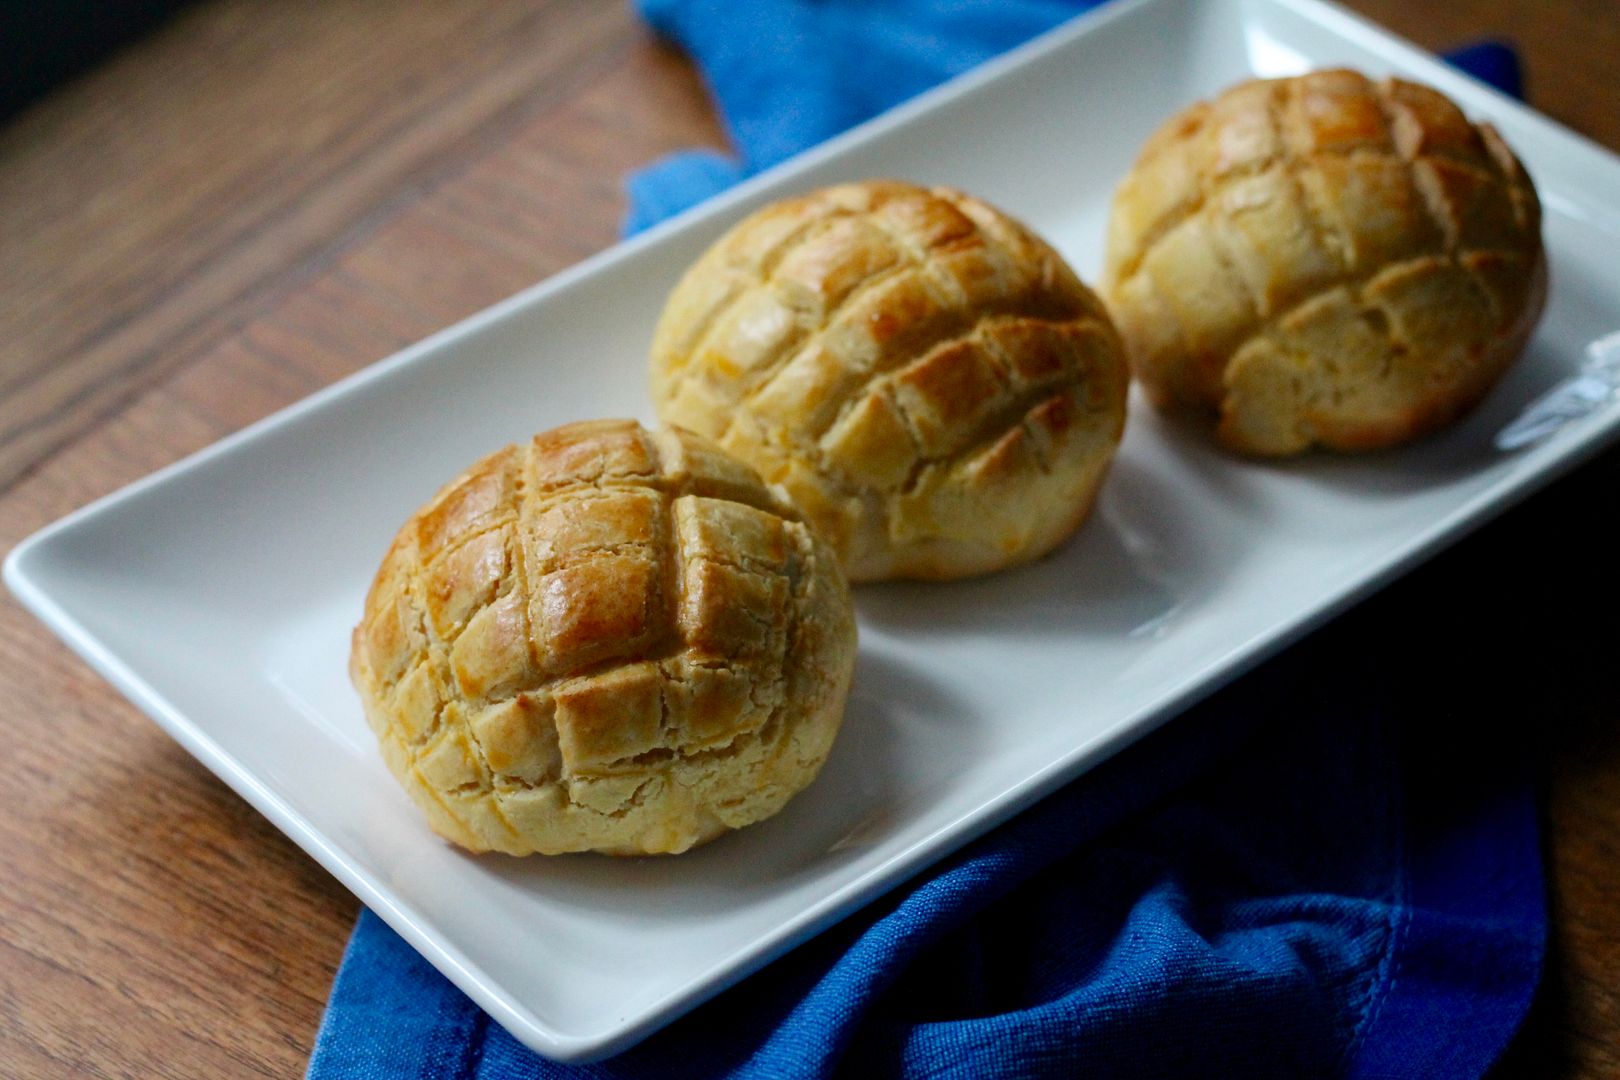
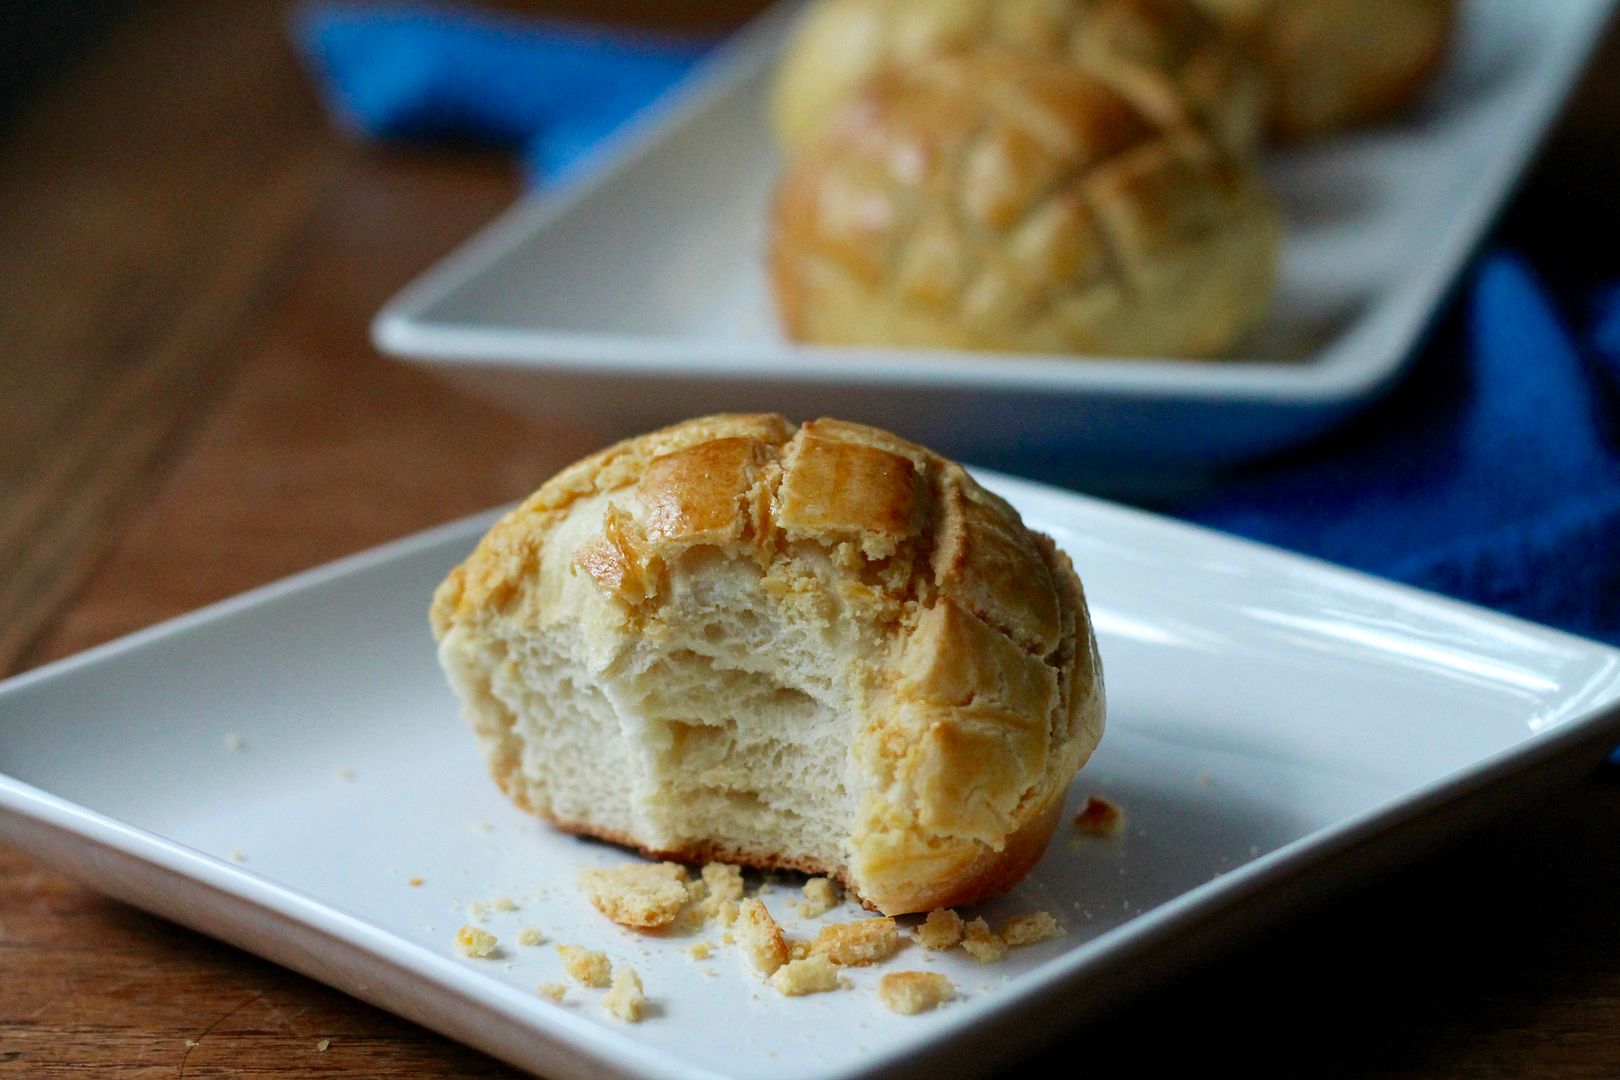
Despite its name, the pineapple bun contains no actual pineapple: instead, it is a soft, sweet bun covered in a crunchy, cookie-like topping that bakes up golden brown and textured and is supposed to resemble the rind of a pineapple. And though it is pineapple-less, it is very, very good. Traditionally eaten for breakfast or with dim sum, these buns are either served plain or split and sandwiched around a slab of butter. No, not a smear of butter – a slab! I can attest that it is delicious (but really, how could it not be?!). Most Chinese buns and baked goods are meant to be consumed as soon as possible and preferably warm out of the oven, as they tend to lose their freshness quickly, however this recipe adds tang zhong, or water roux, to the traditional milk dough, giving it an improved shelf life as well as a light, fluffy texture. You can store any leftover buns on an airtight container, where the crunchy topping softens a little and becomes almost cakey and crumbly. Mmmmm.

Hong Kong Style Pineapple Buns | Korena in the Kitchen

Want to see more Chinese cuisine? Check out the other ATW12P blog posts:

And if you want to follow along on social media, check us out #ATW12P 🙂

Hong Kong Style Pineapple Buns

Adapted from Yi Reservation. Makes 10 buns.

Bun Dough

First, make the tang zhong (water roux). In a small saucepan, whisk together:

80 ml milk

20 g all purpose flour

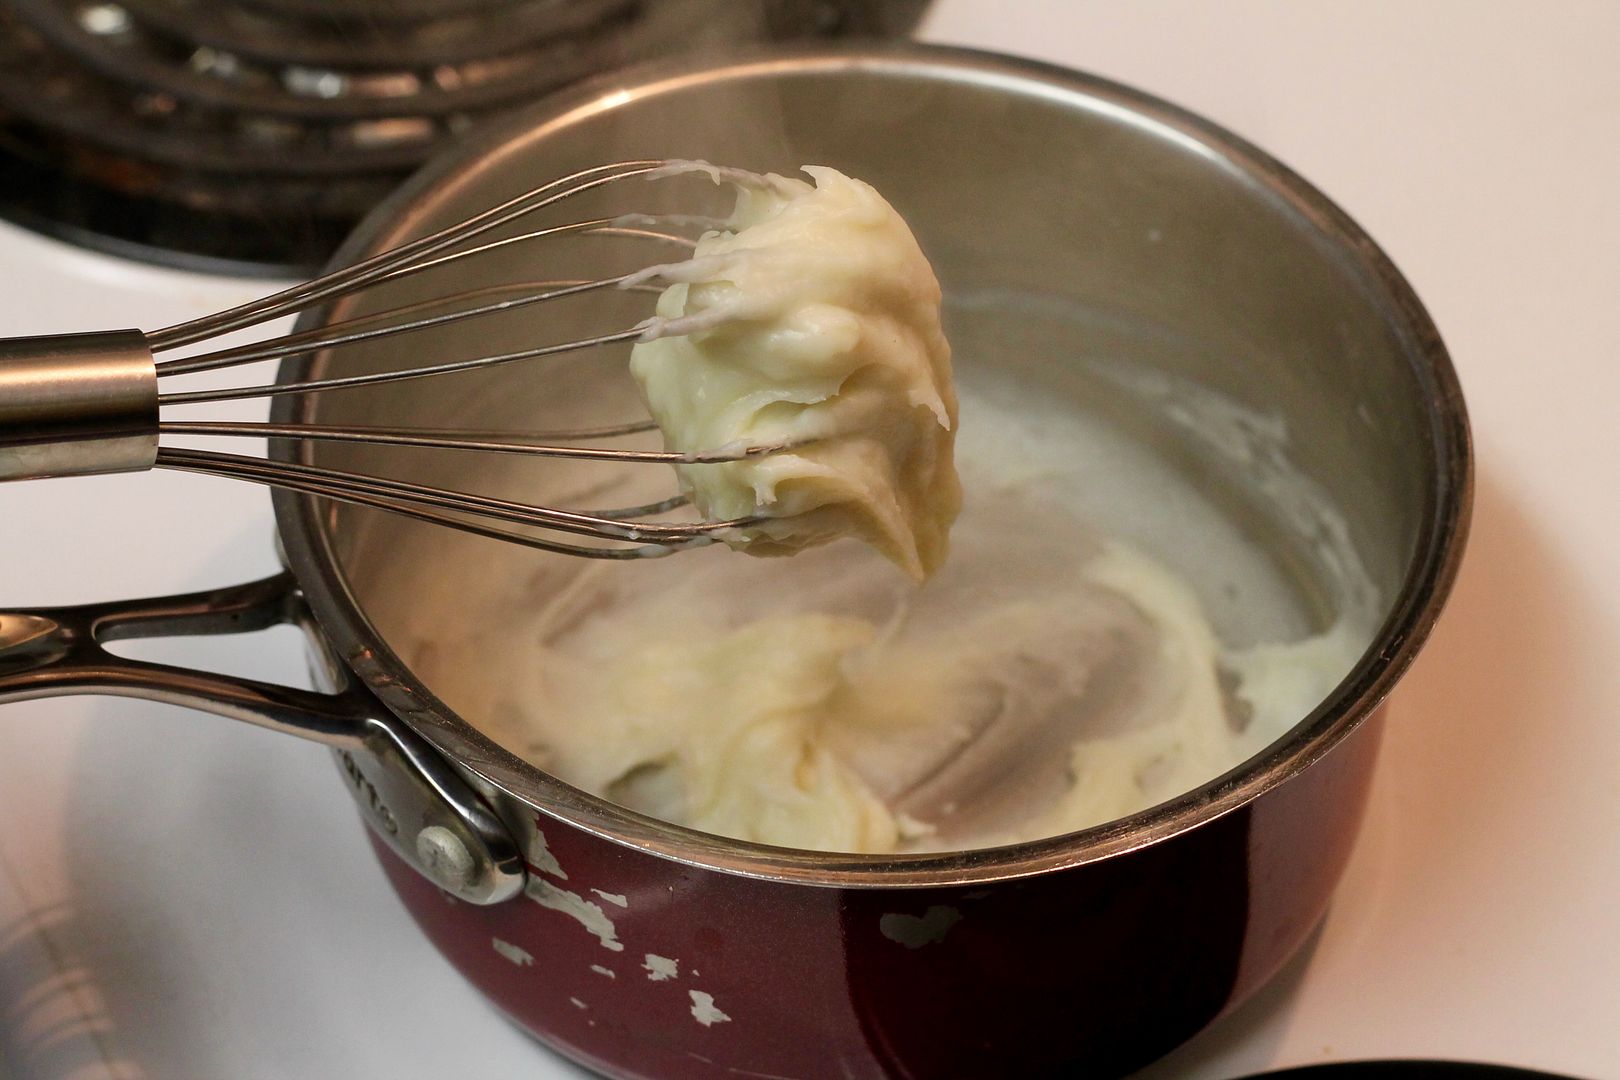
Place the saucepan over medium heat and whisk the mixture as it heats up and starts to thicken. As it reaches a boil, it will turn into a thick paste. Cook for a minute or two until it is thick enough to form “soft peaks”.

roux

Scrape the tang zhong into a bowl, press a piece of plastic to the surface (this prevents a skin from forming), and chill in the fridge until cool. This can be done the day before if you prefer.

When the tang zhong is cool, continue with the rest of the dough recipe. In the bowl of an electric mixer, stir together:

310 g bread flour

50 g granulated white sugar

5 g instant yeast

3 g fine sea salt

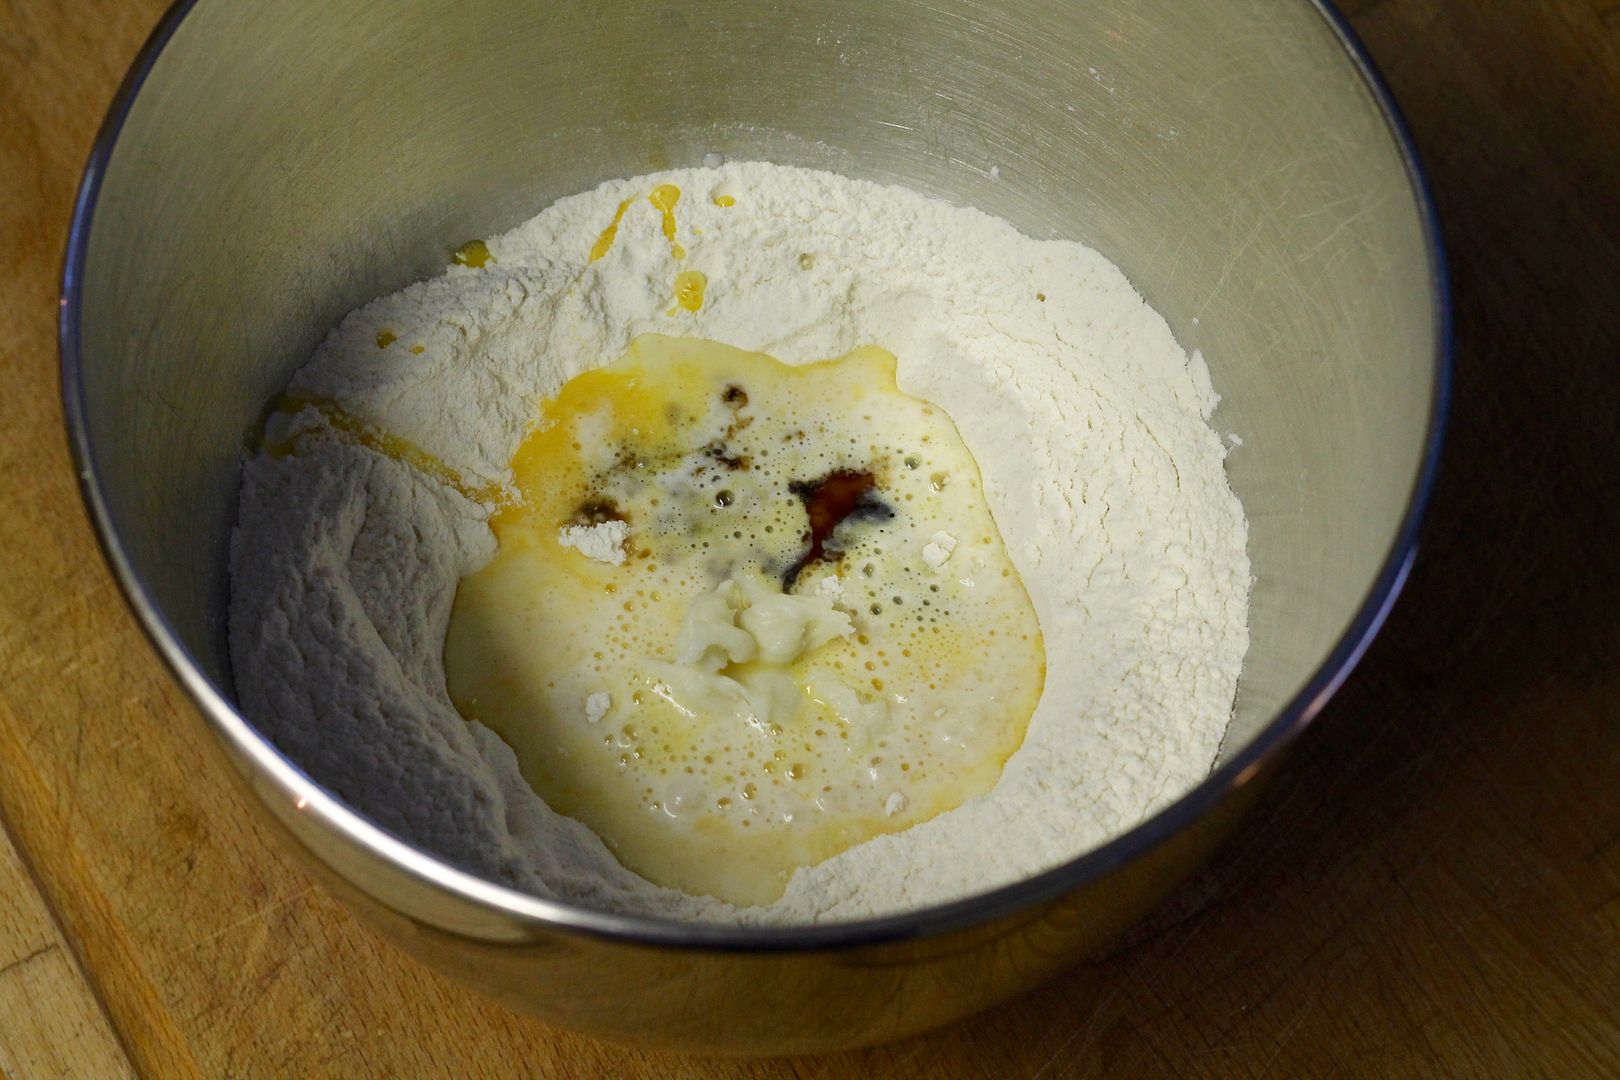
Make a well in the center of the flour and add:

the cooled tang zhong

100 ml warm milk

1 large egg, lightly beaten

1 tsp vanilla extract

wet in dry

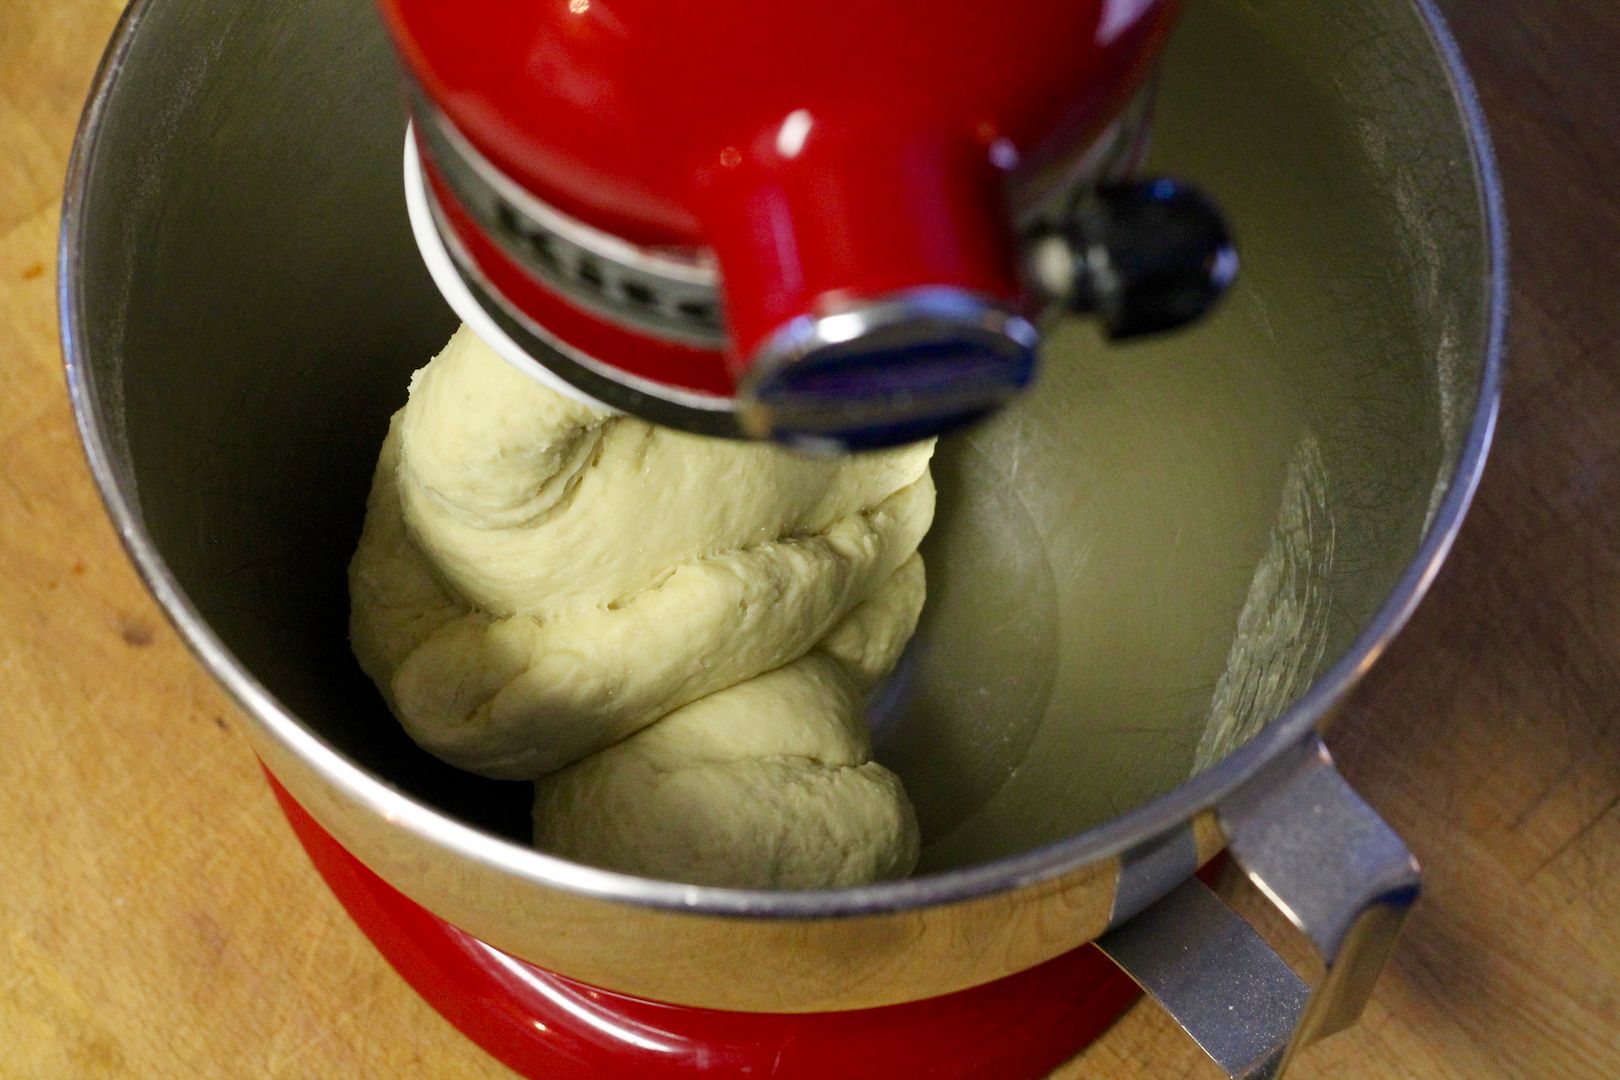
Mix with the dough hook on medium speed to bring the dough together – it may seem crumbly at first but should come together in a soft, slightly sticky dough that cleans the sides of the bowl. I added about 2 tsp water to achieve this. Continue to knead for about 10 minutes, until the dough is smooth and elastic.

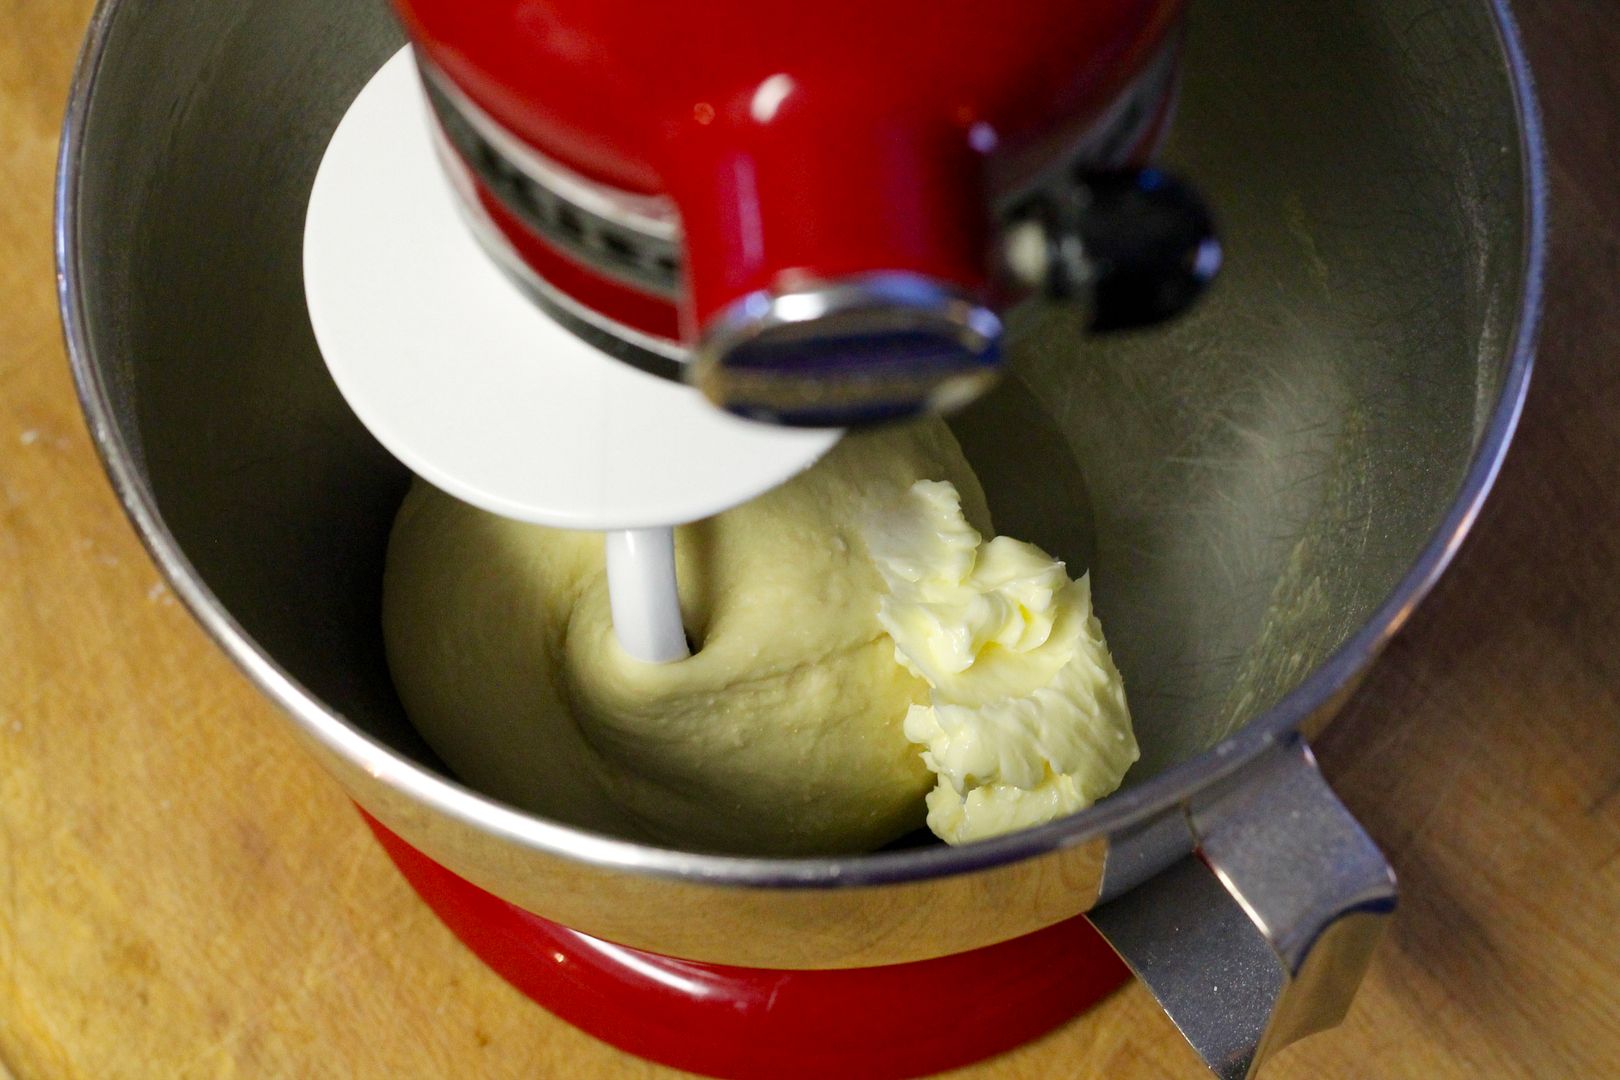
dough1

Add 50 g soft unsalted butter. The dough will get really messy so scrape down the sides of the bowl and pull the dough off the dough hook several times during kneading to make sure it is mixed evenly.

butter

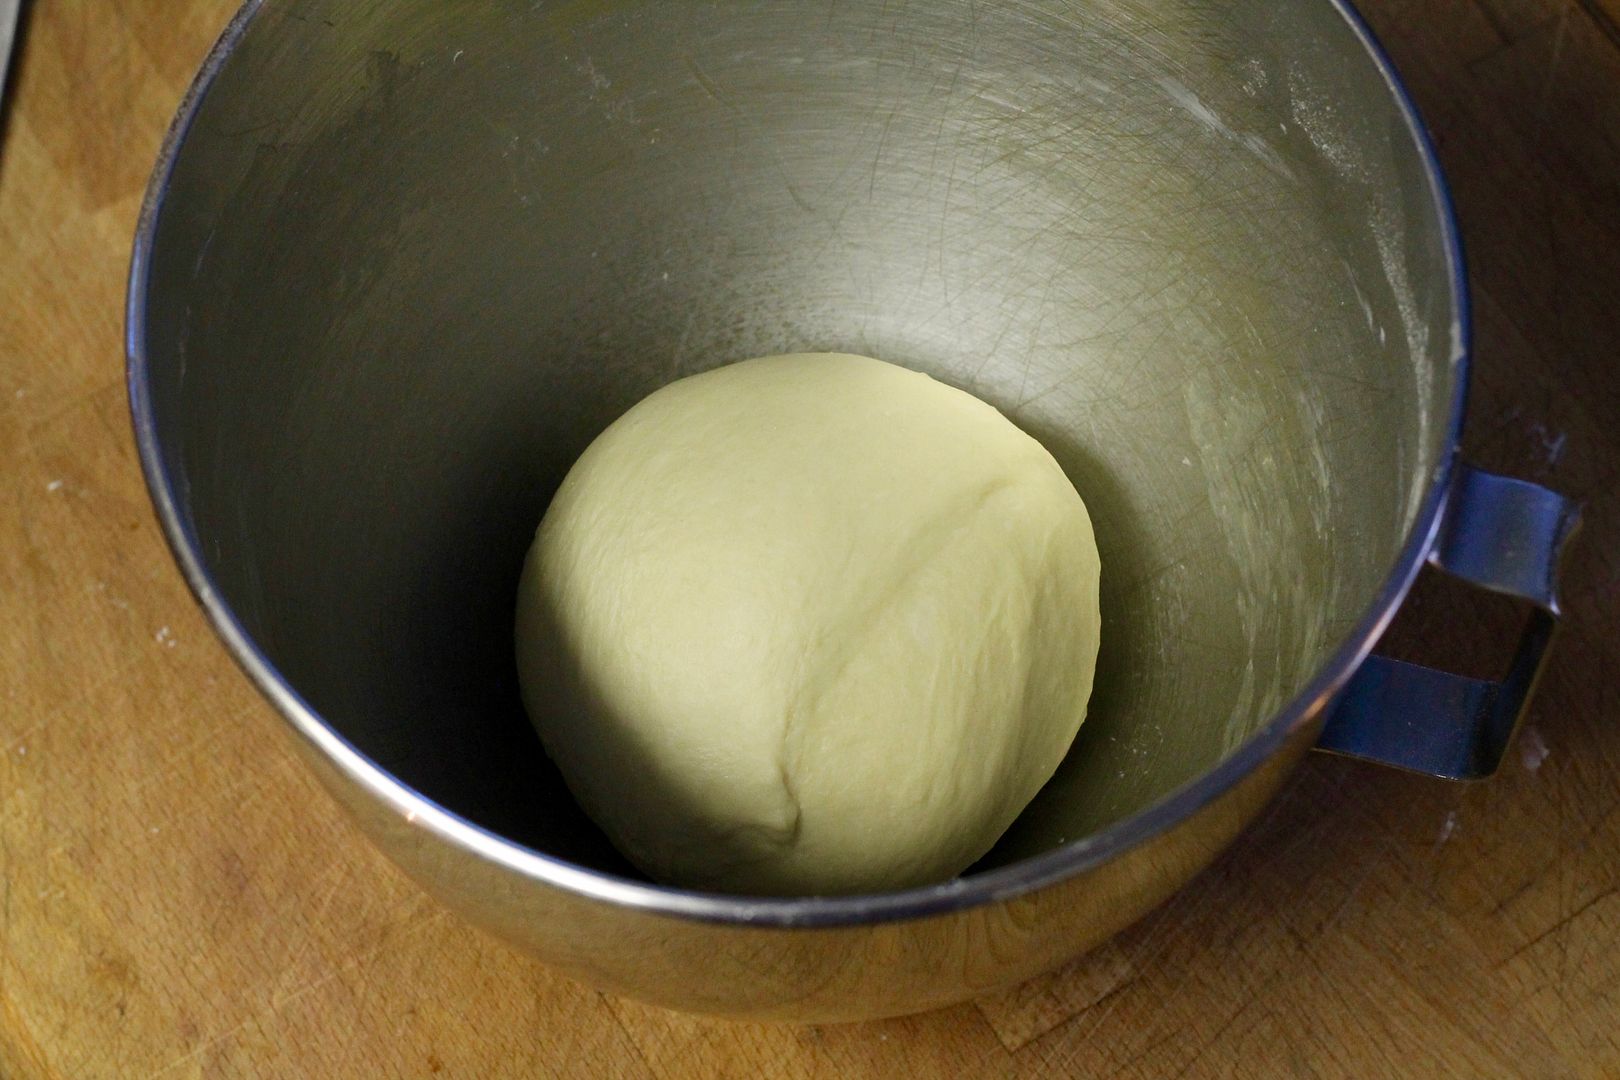
Knead until the dough is again smooth and cohesive.

dough

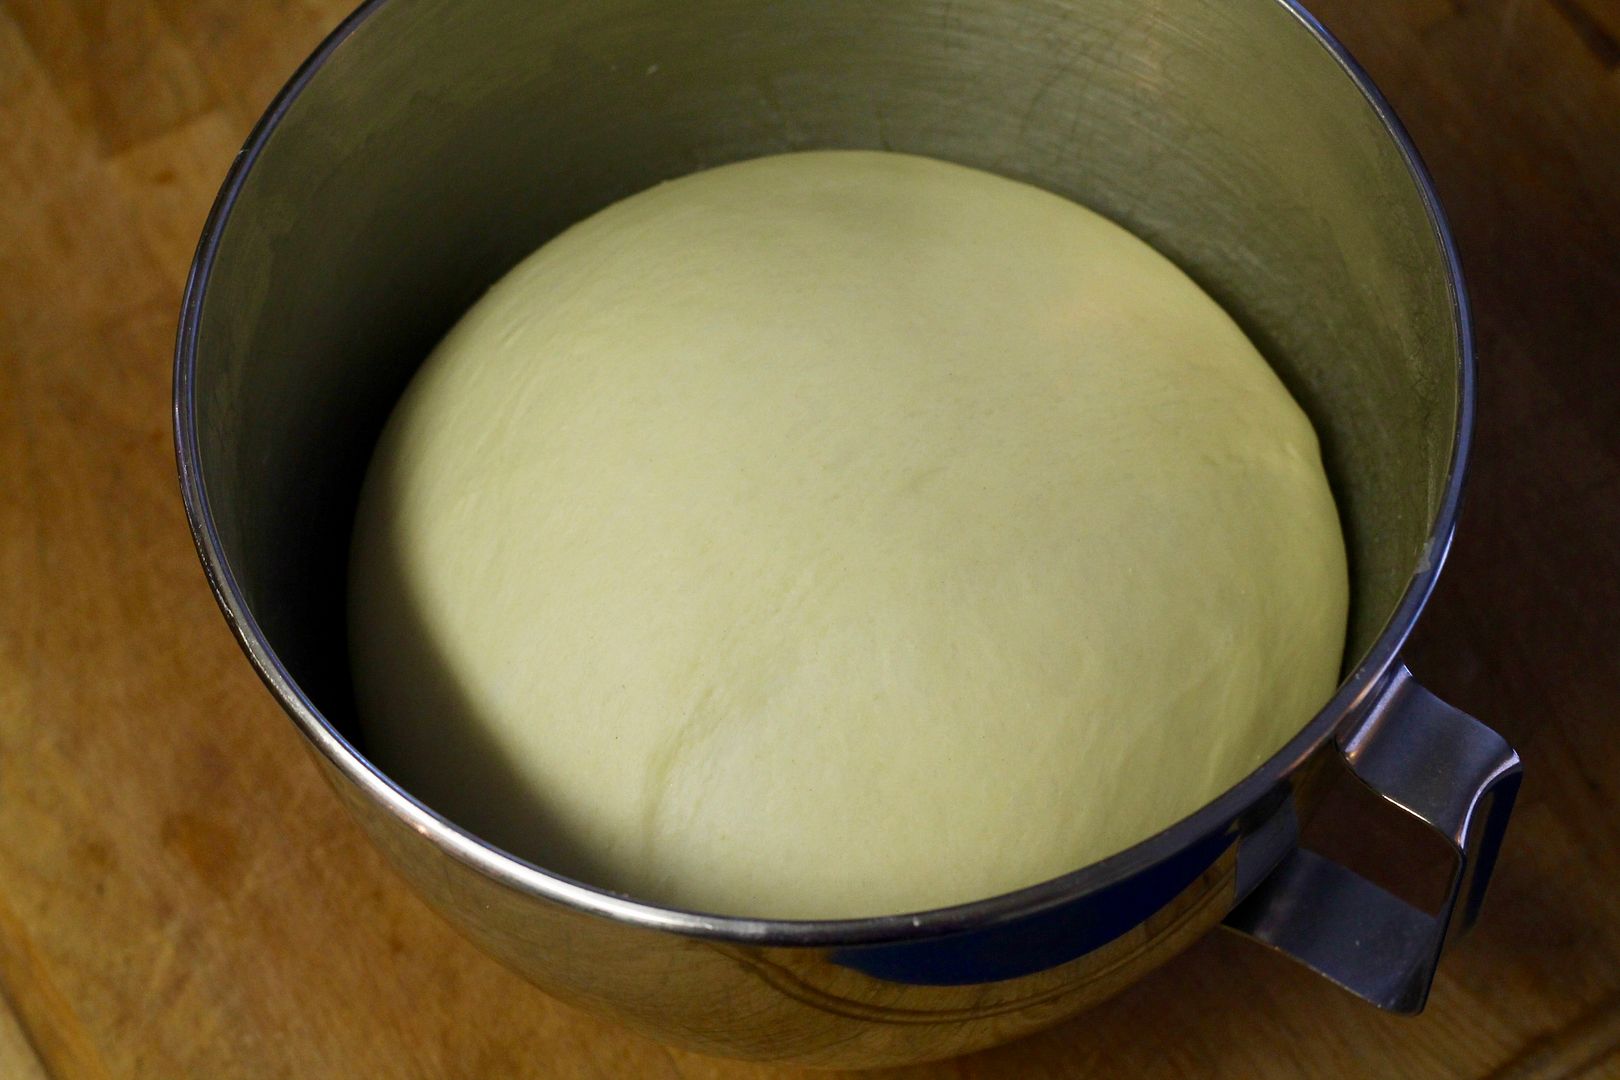
Cover the bowl with plastic wrap and let the dough rise in a warm place until doubled, about 45 to 90 minutes.

risen

While the dough rises, prepare the pineapple topping.

Pineapple Topping

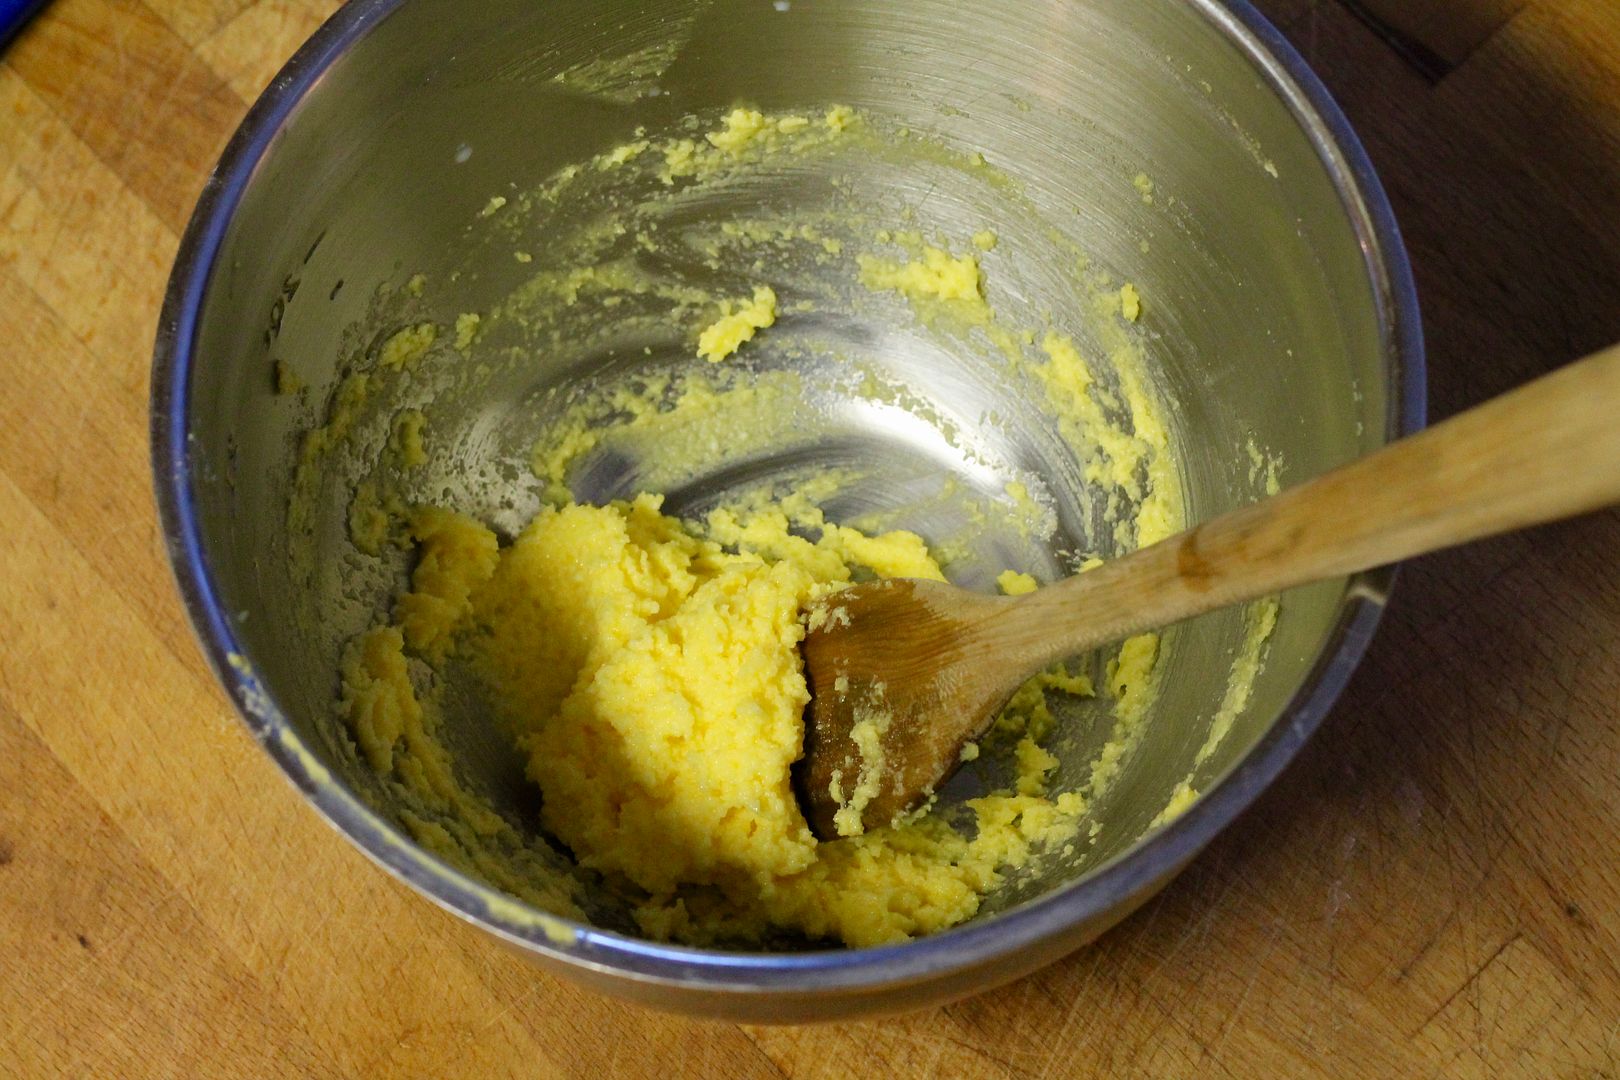
In a medium bowl, cream together until well combined and fluffy:

50 g soft unsalted butter

1 egg yolk

45 g granulated white sugar

Add 2 tsp milk and beat until combined.

creamed

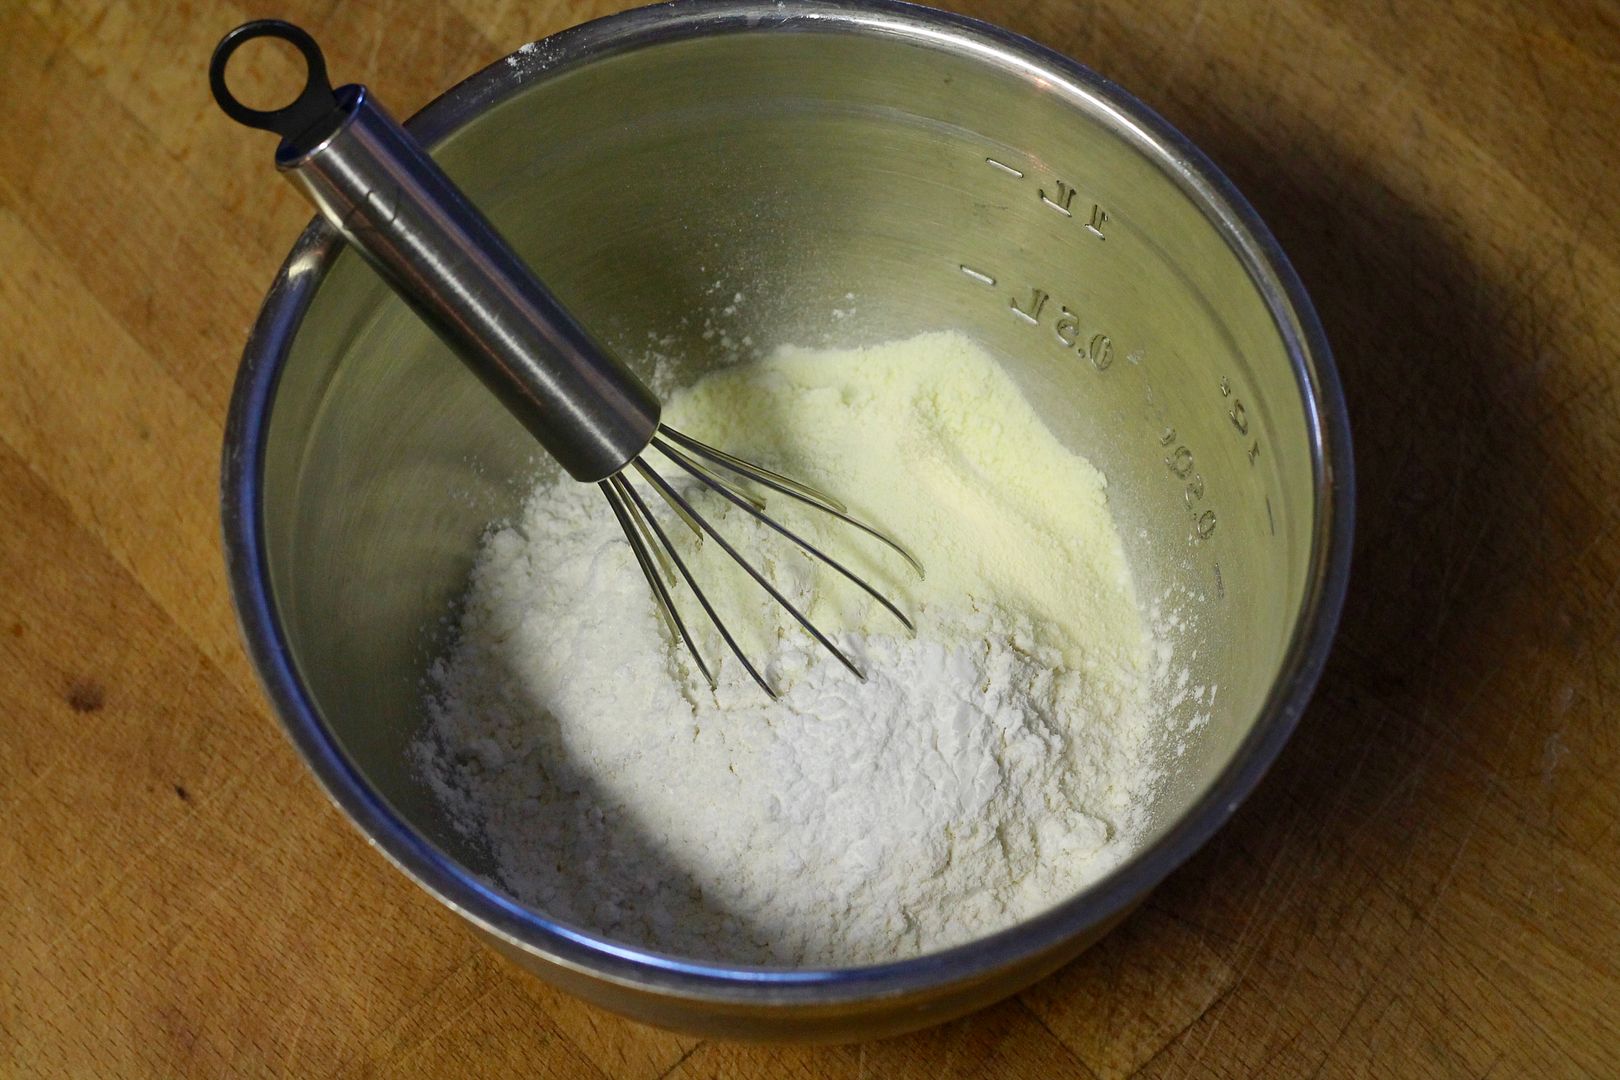
In a bowl, whisk together:

110 g cake flour

10 g powdered milk

2 g salt

slightly heaped 1/2 tsp baking powder

dry

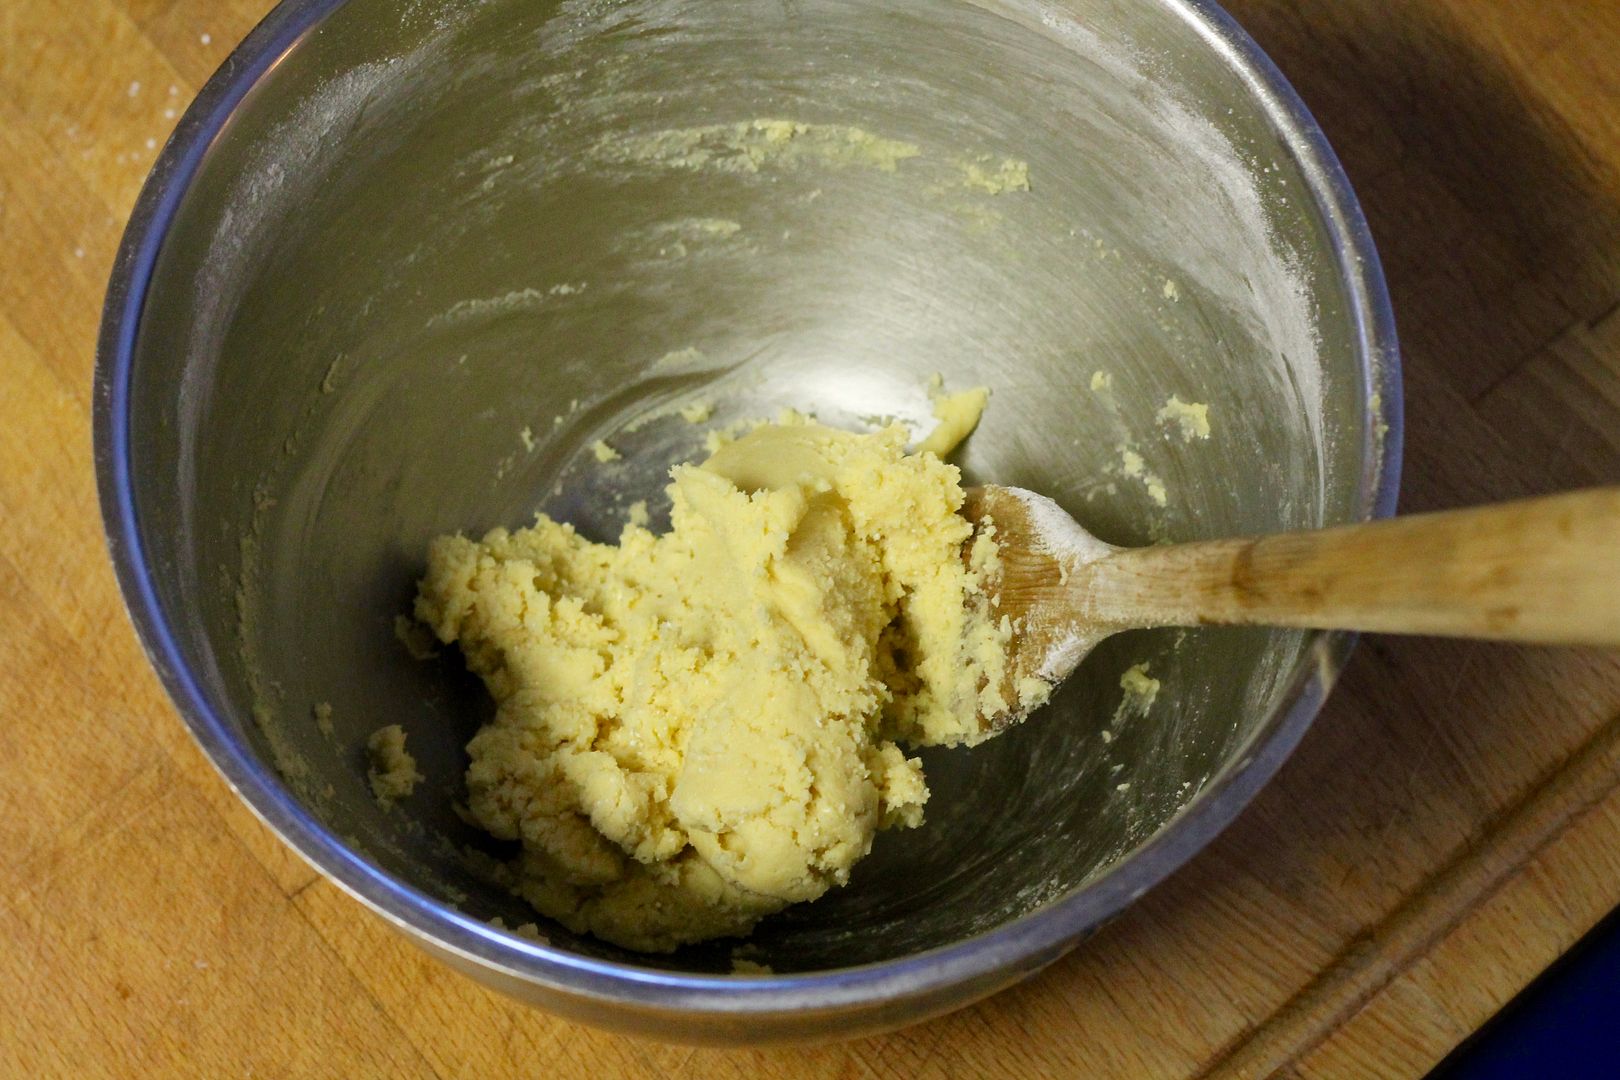
Add the dry ingredients to the cream butter mixture and stir to combine – it should resemble cookie dough. Shape into a disc, wrap in plastic, and chill while the dough rises.

cookie dough

Bun Assembly

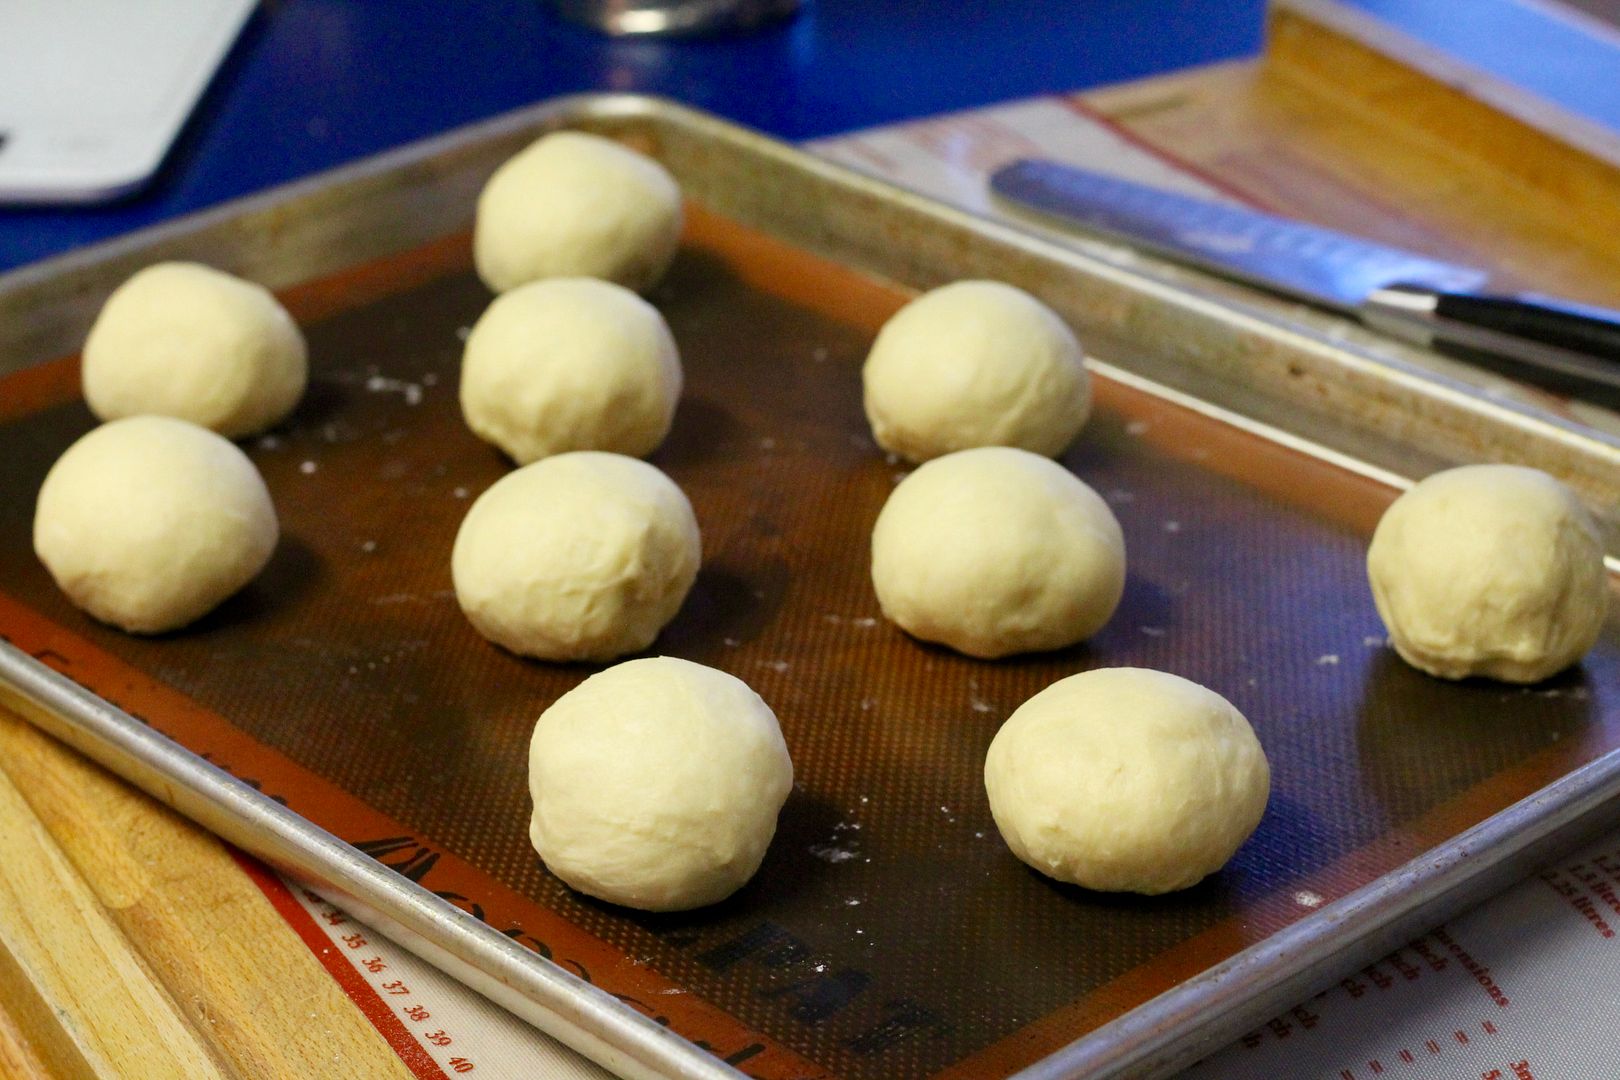
Turn the risen dough out onto a flour surface and knead a few times to deflate. Shape into a ball and cut into 10 equal pieces. Shape each piece into a ball and place on a baking sheet lined with a silicone mat or parchment paper. Let rest for about 15 minutes.

divided

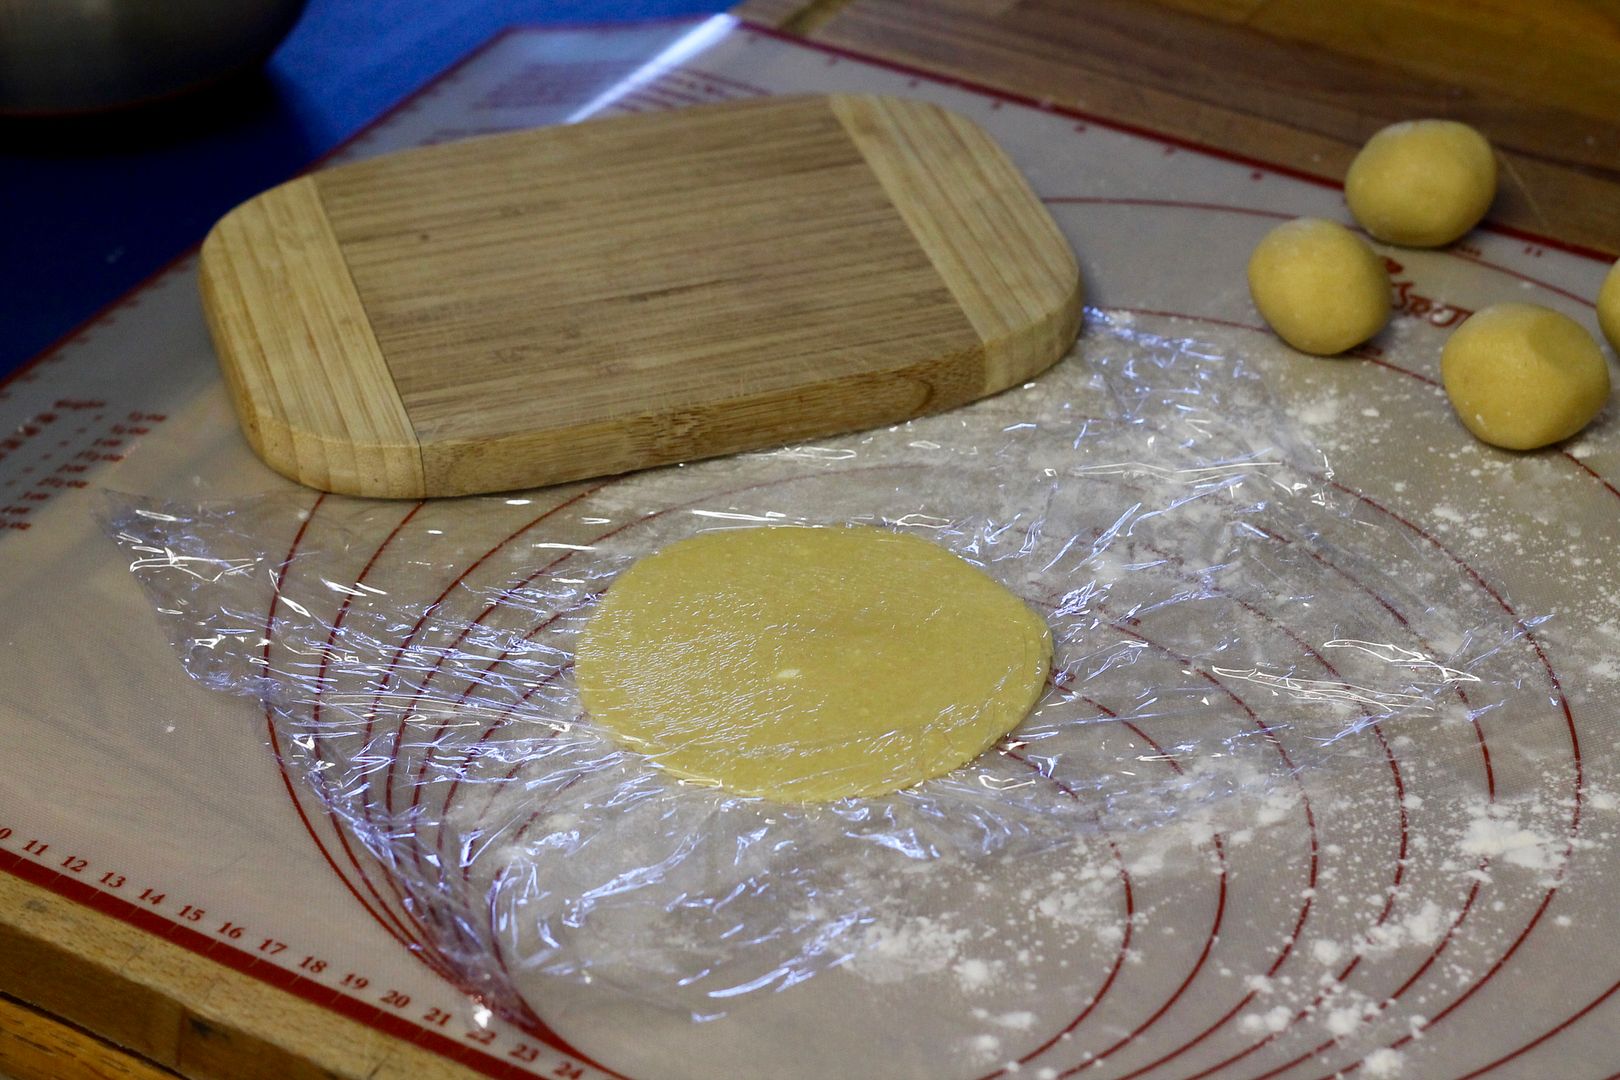
Meanwhile, divide the pineapple topping into 10 equal pieces and roll each into a ball. Place one ball between two pieces of plastic wrap and using a small cutting board or bottom of a plate, press down and squish the ball into a 4″ circle.

squish

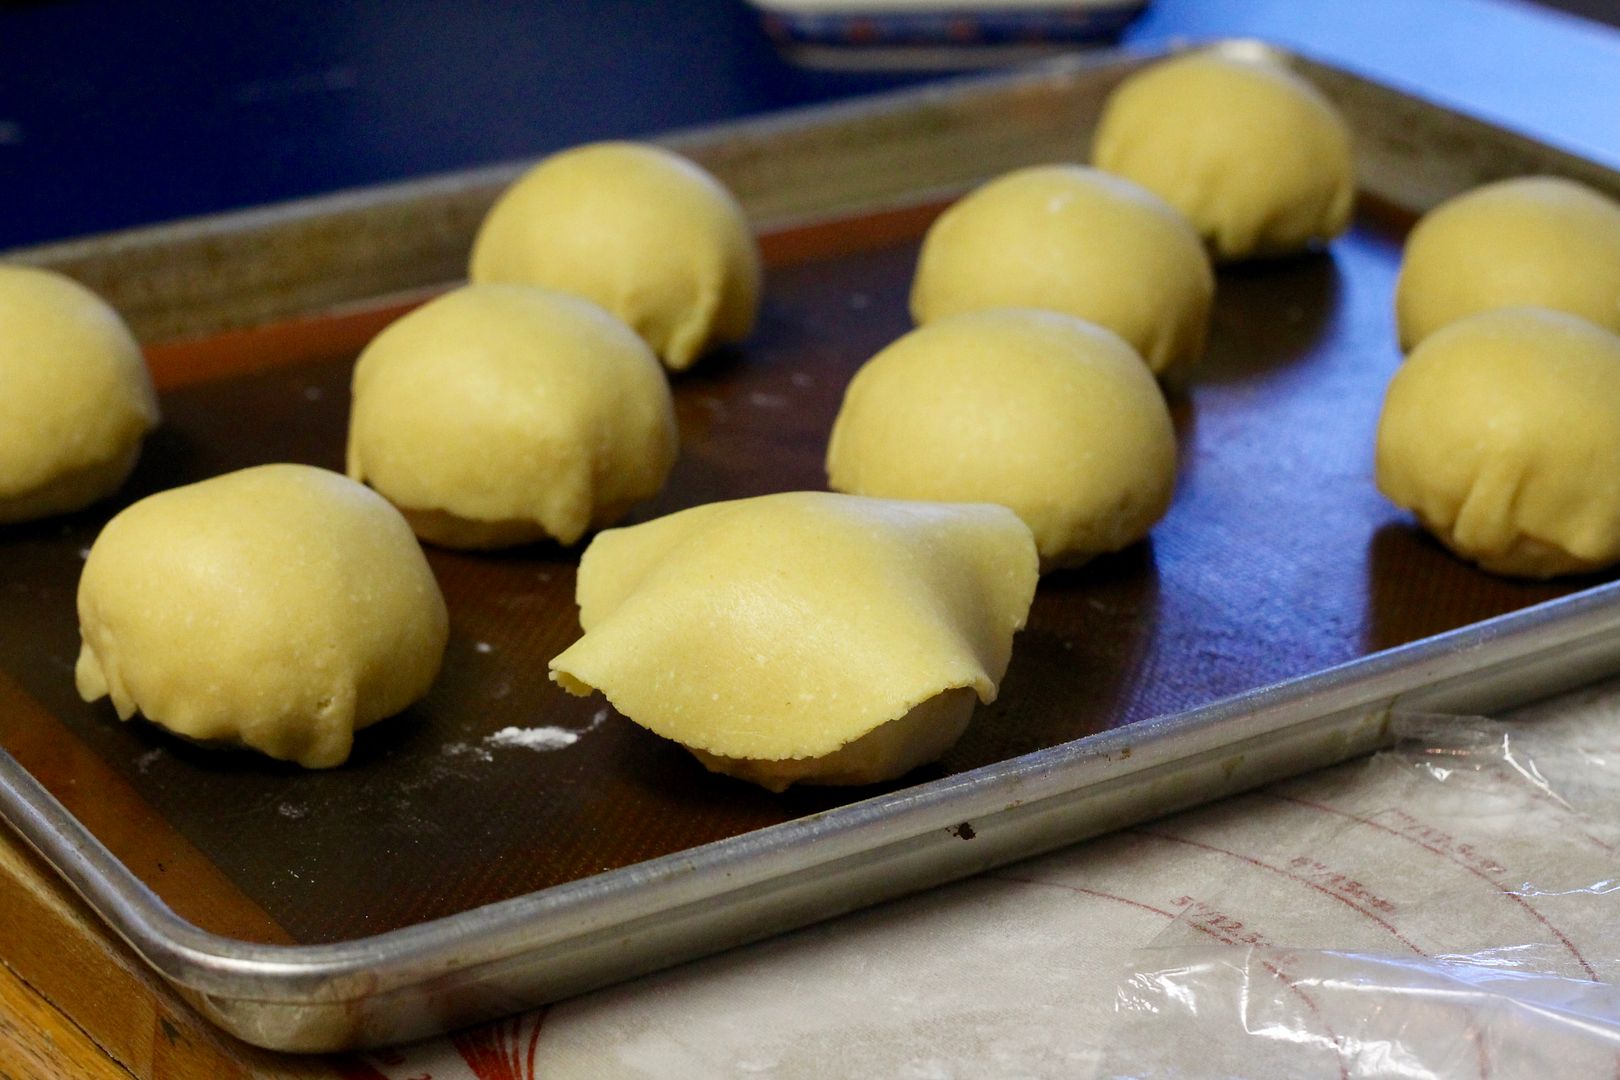
Peel the pineapple topping off the plastic wrap and drape it over one of the shaped buns, pressing gently to adhere and tucking and folding the edges to fit around the bun. Repeat with the remaining pineapple dough and buns.

drape

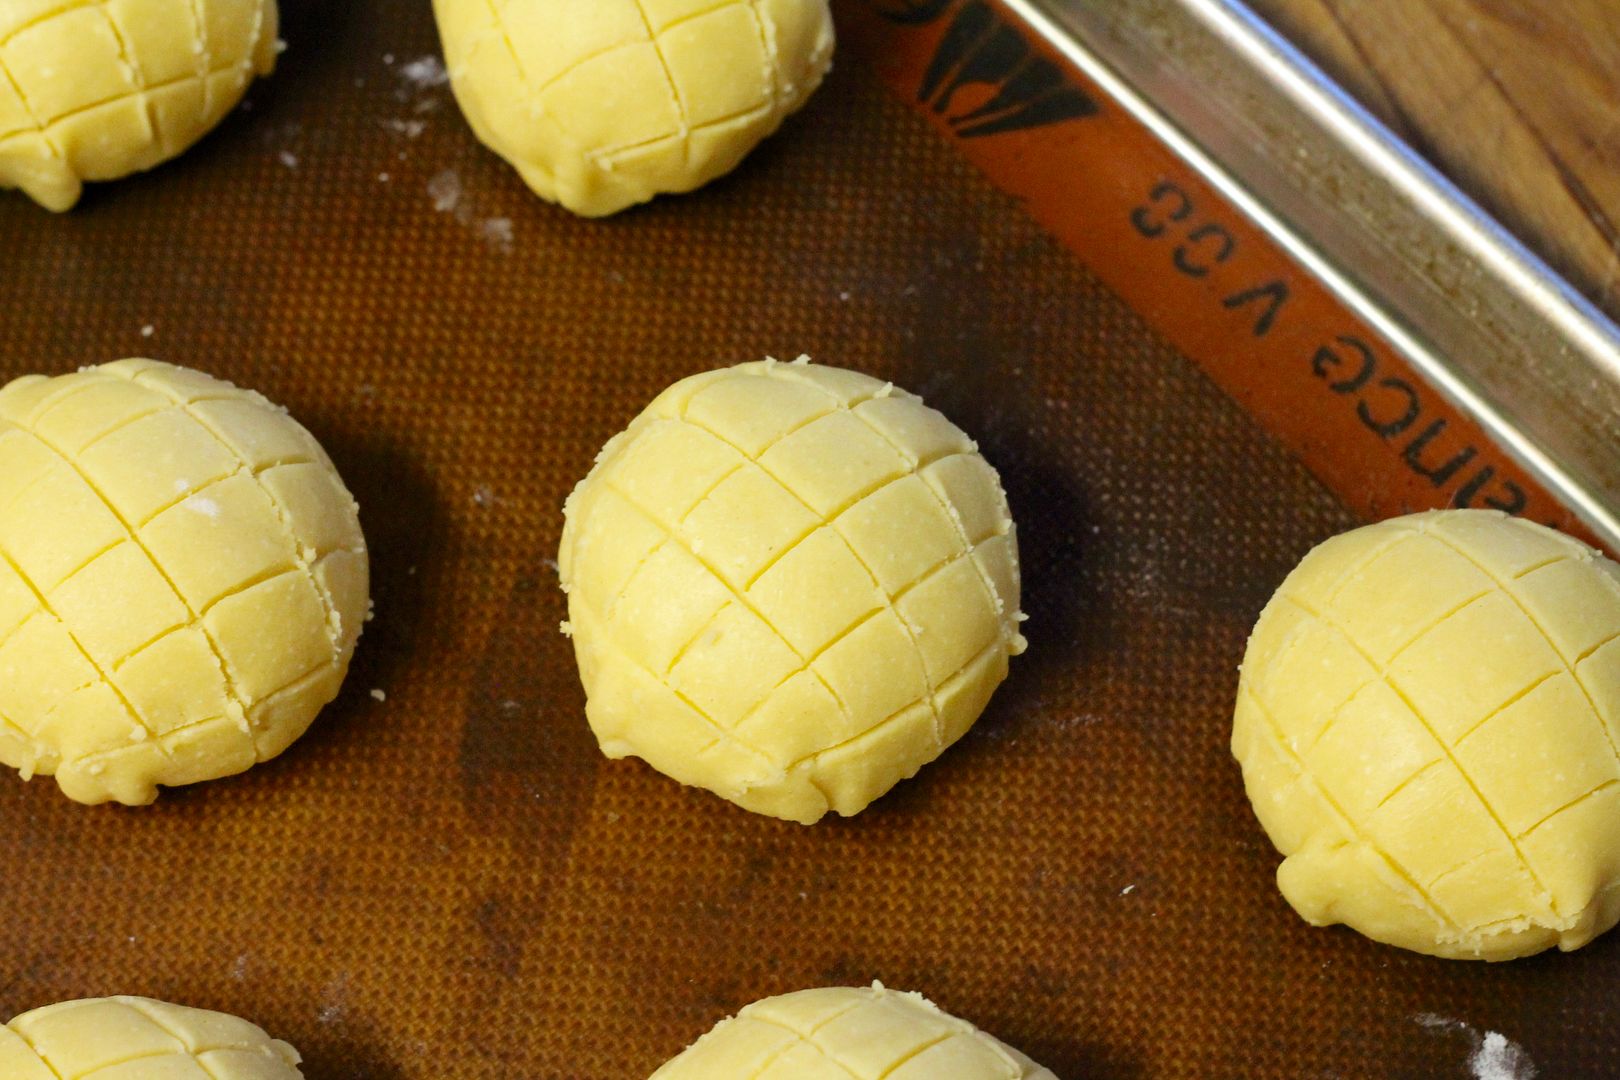
With the blunt edge of a dinner knife, score a crosshatch pattern over each bun, taking care not to cut all the way through the pineapple topping.

crosshatch

Cover the buns lightly with plastic wrap and set them somewhere warm to rise for 30-45 minutes, until almost double in size.

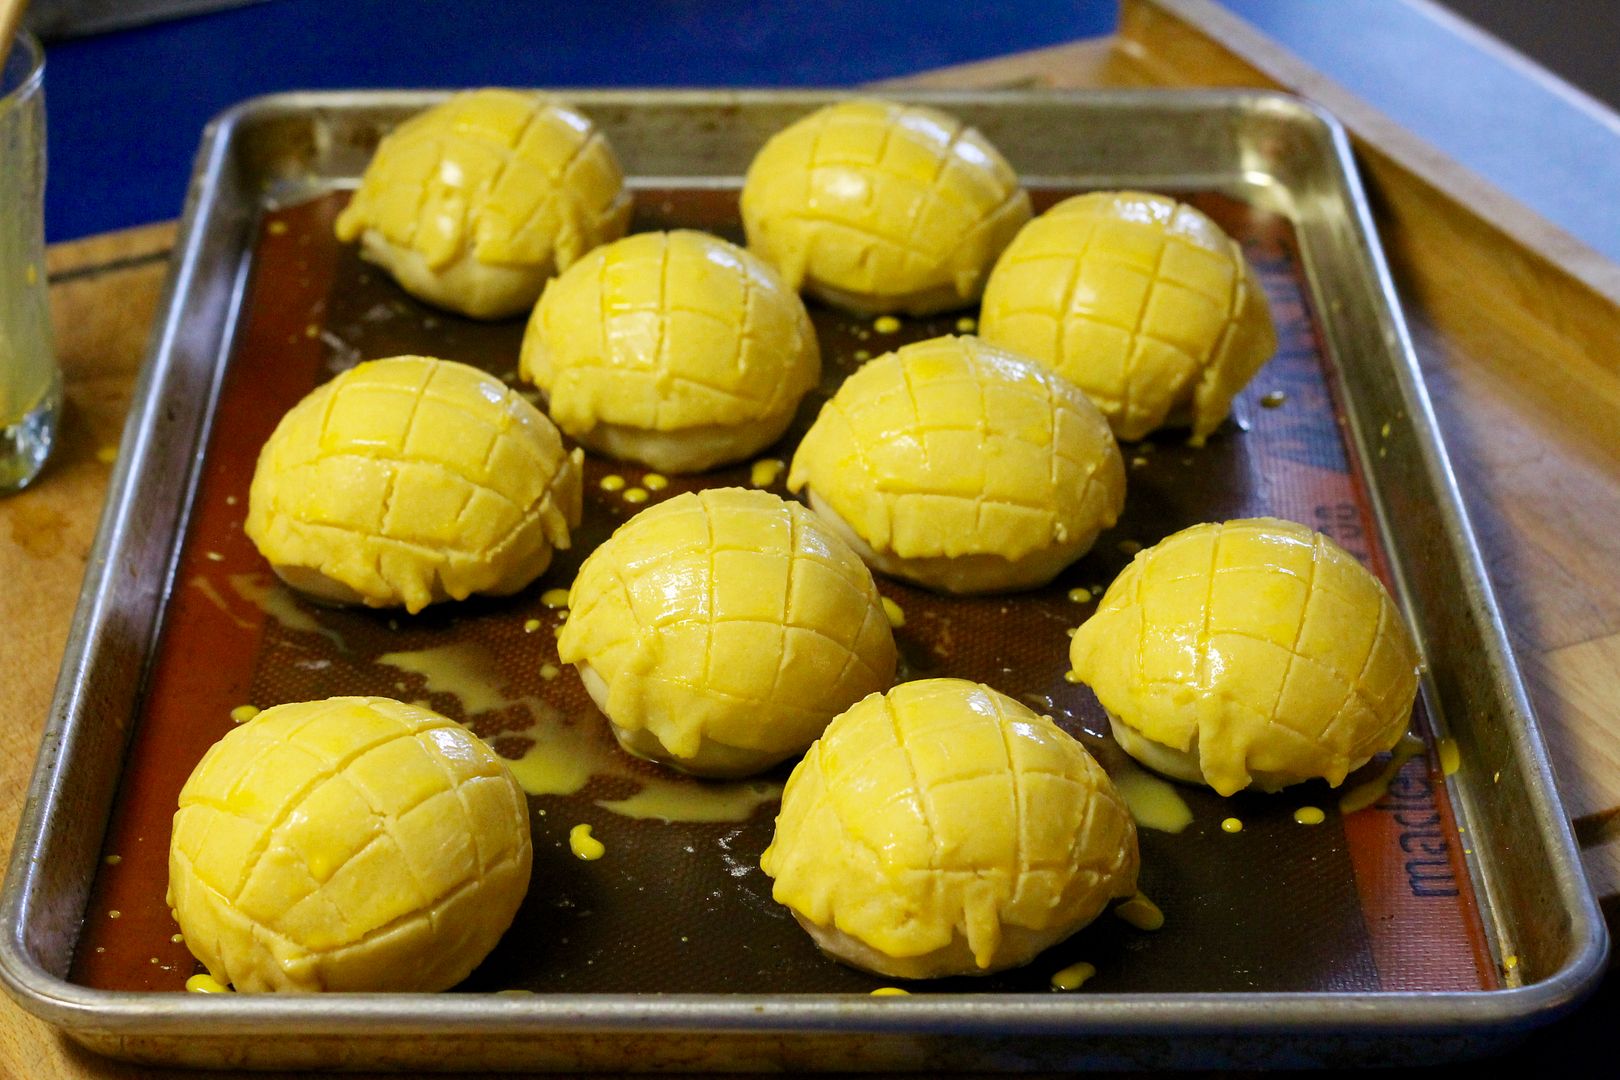
Preheat the oven to 380˚F (355˚F convection). Whisk together an egg wash of 1 egg yolk + 2 tsp water and brush it over the pineapple topping on the buns – this will make them extra yellow and shiny.

egg wash

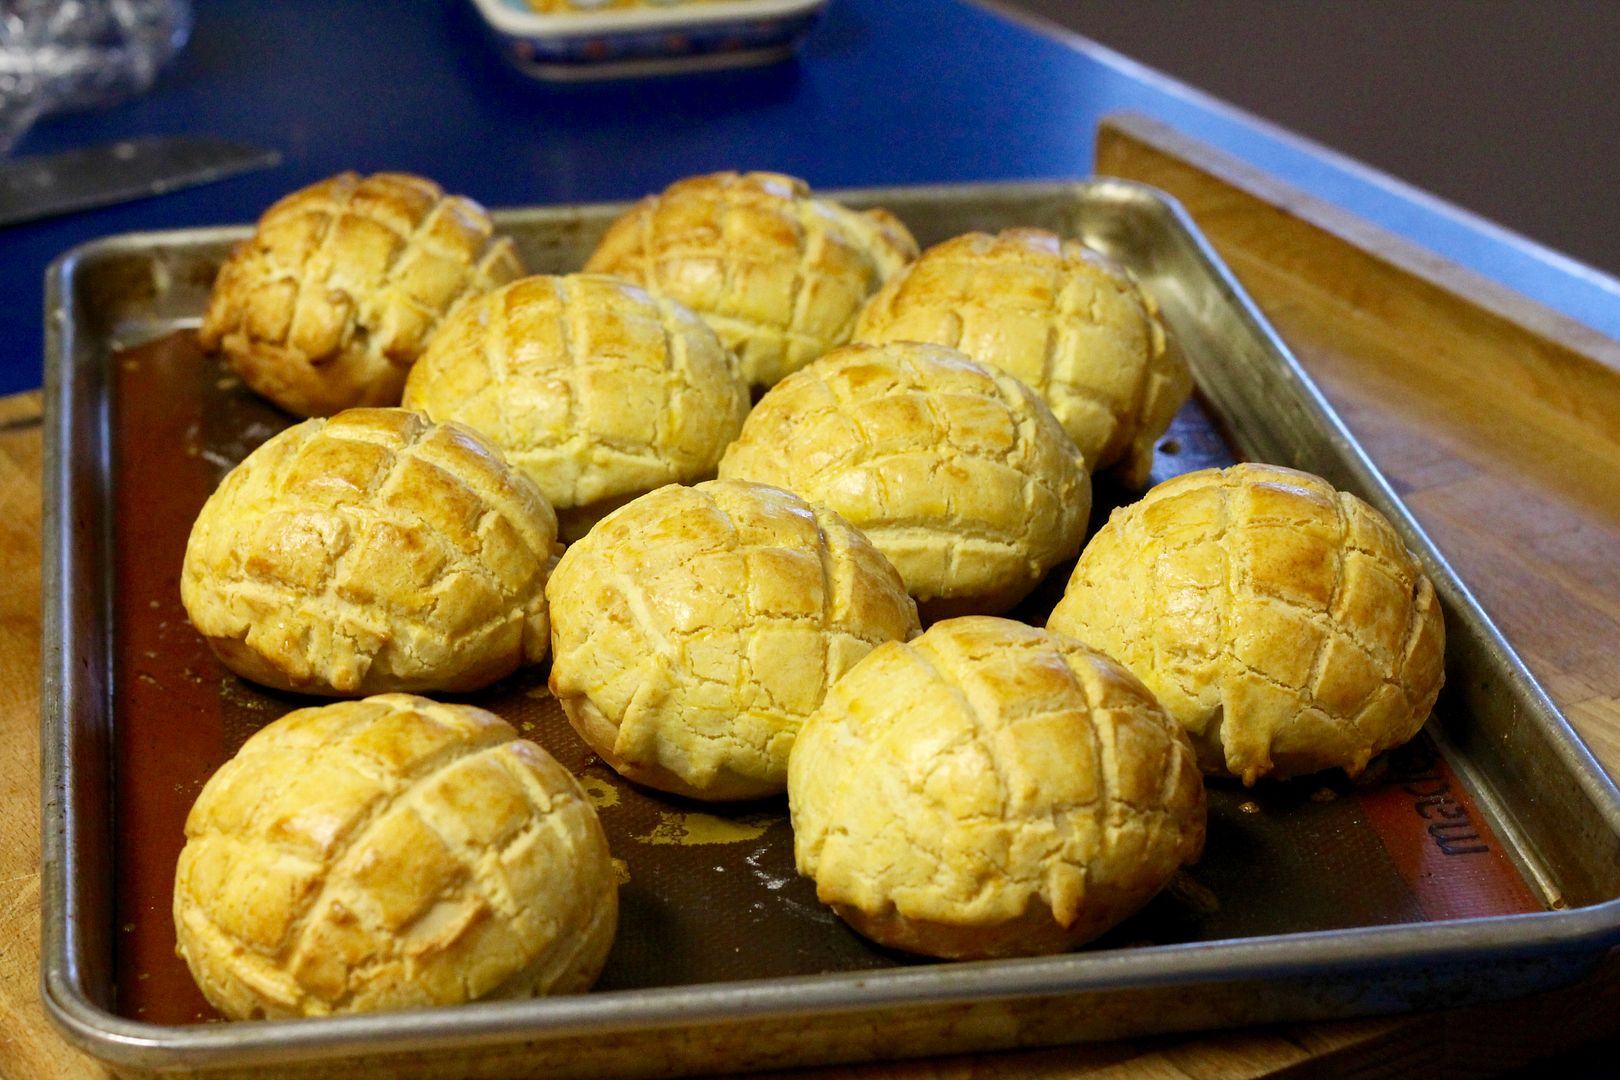
Bake for 8 minutes at 380˚F (355˚F convection), then reduce the heat to 350˚F (325˚F) and bake an additional 10 minutes, until golden on top and hollow sounding when tapped on the bottom. Cool on a rack and serve while still warm if possible. Leftovers can be stored in an airtight container for a few days.

baked

Save

Save

Save

Save

Save

Crescia al Formaggio {Italian Easter Cheese Bread}

$
0
0

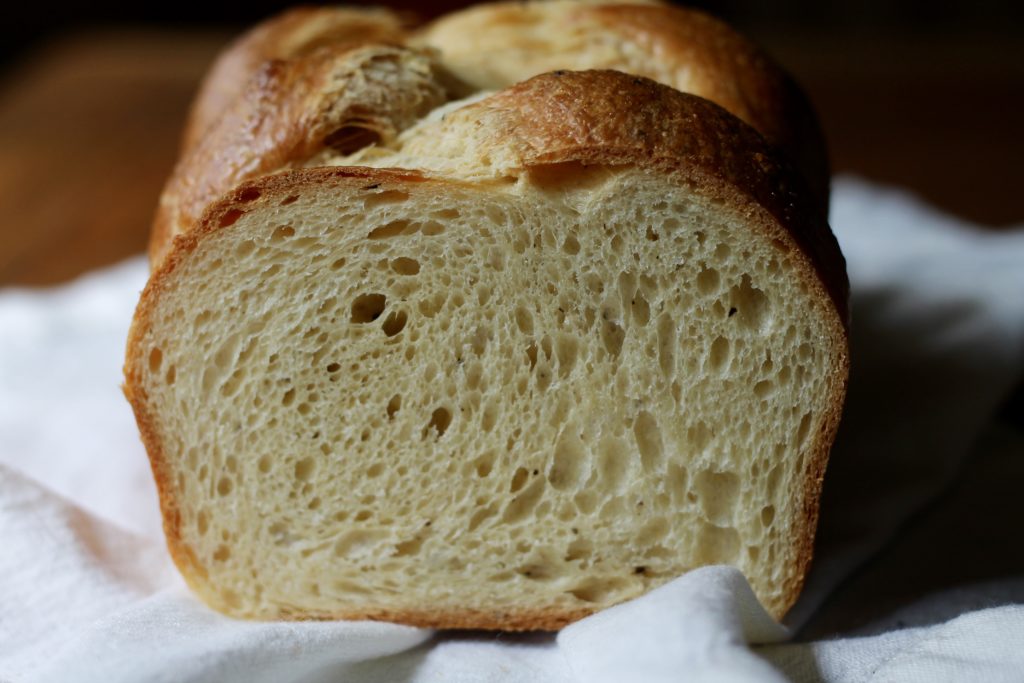
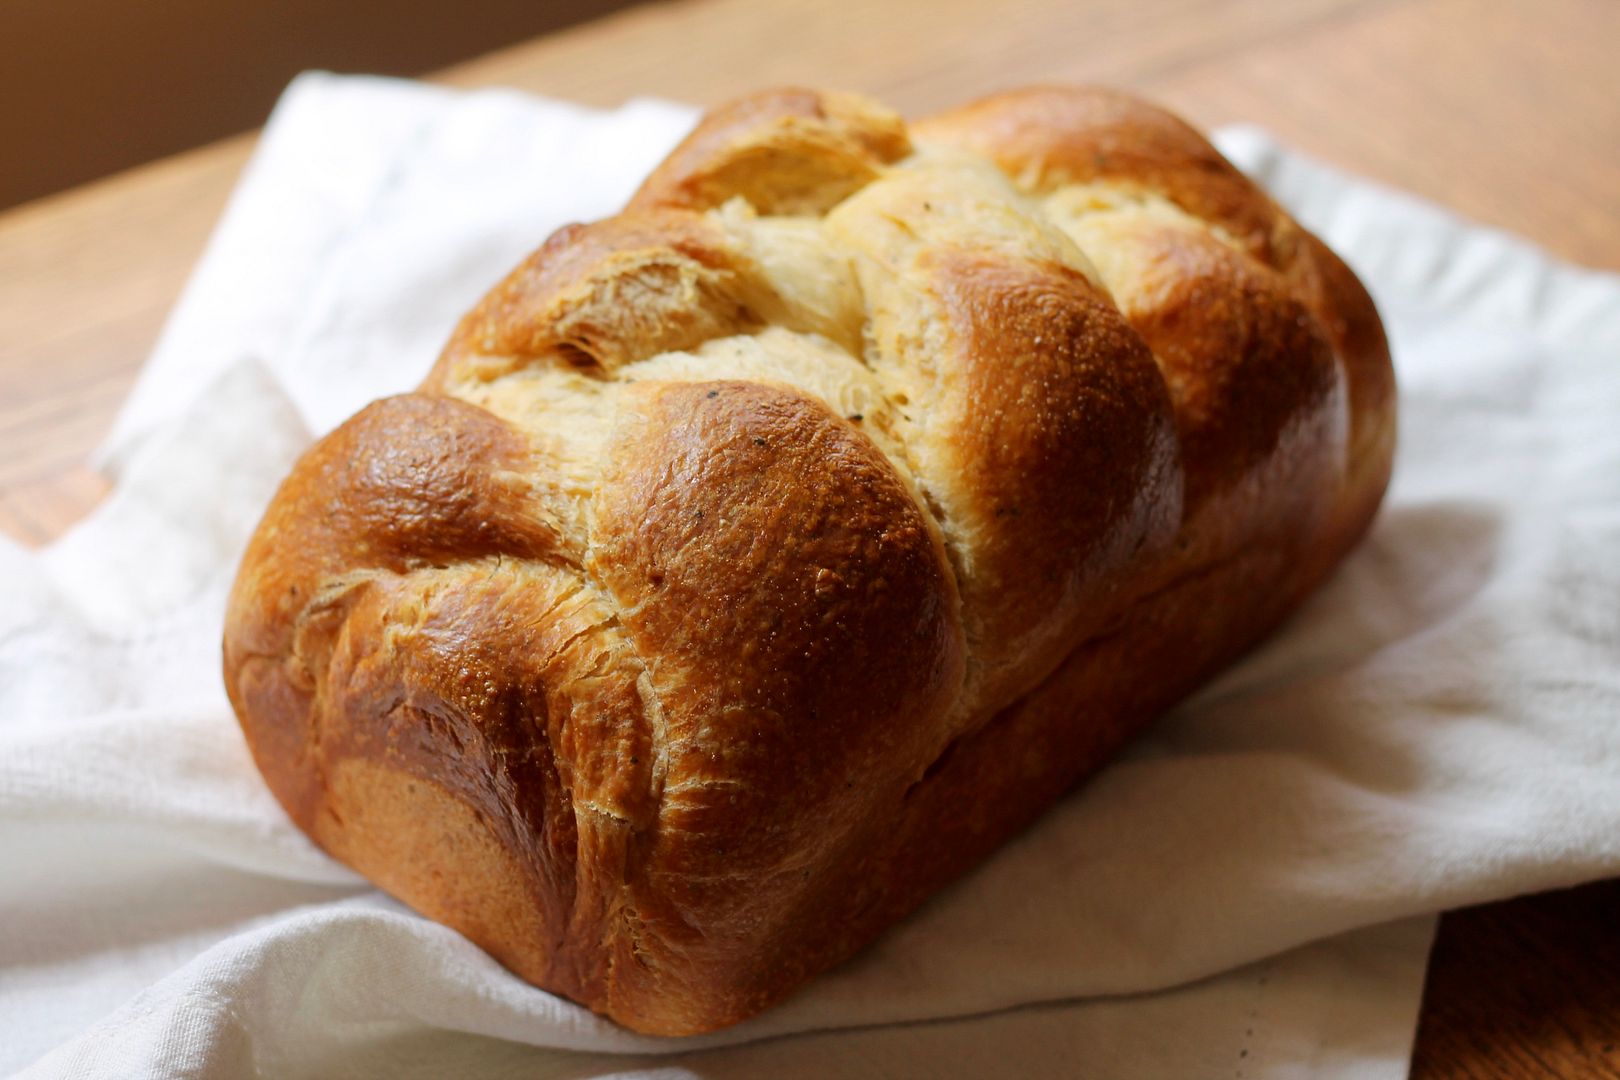
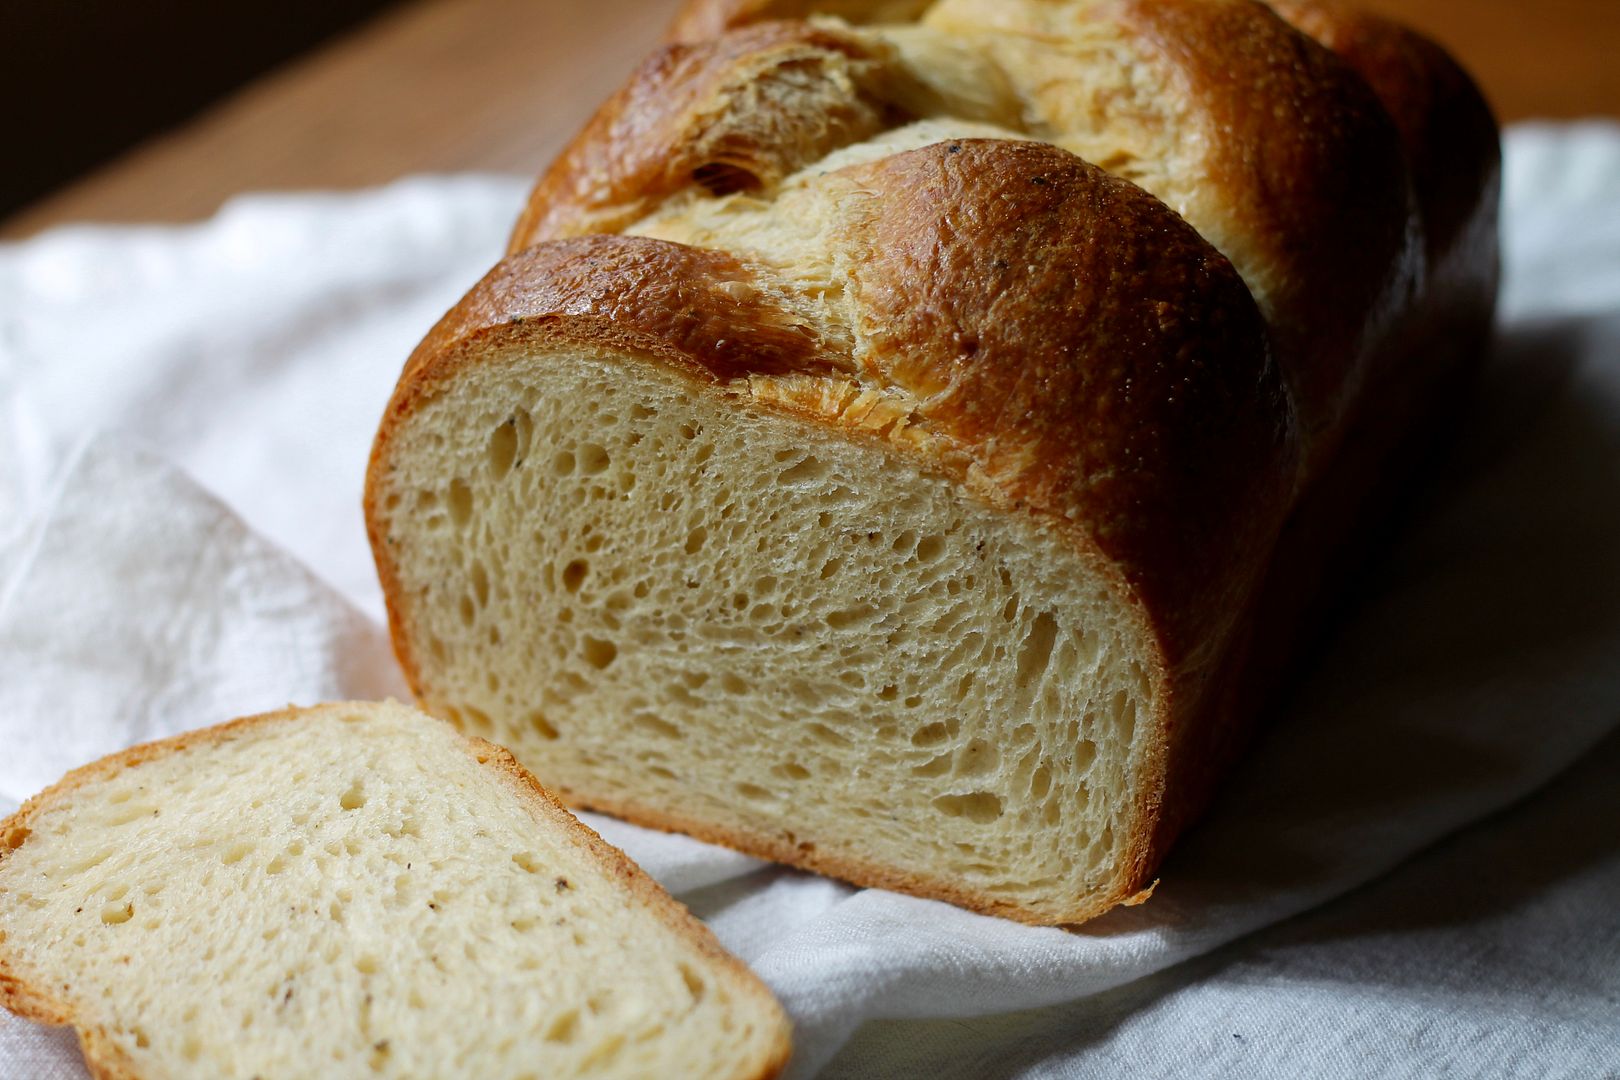
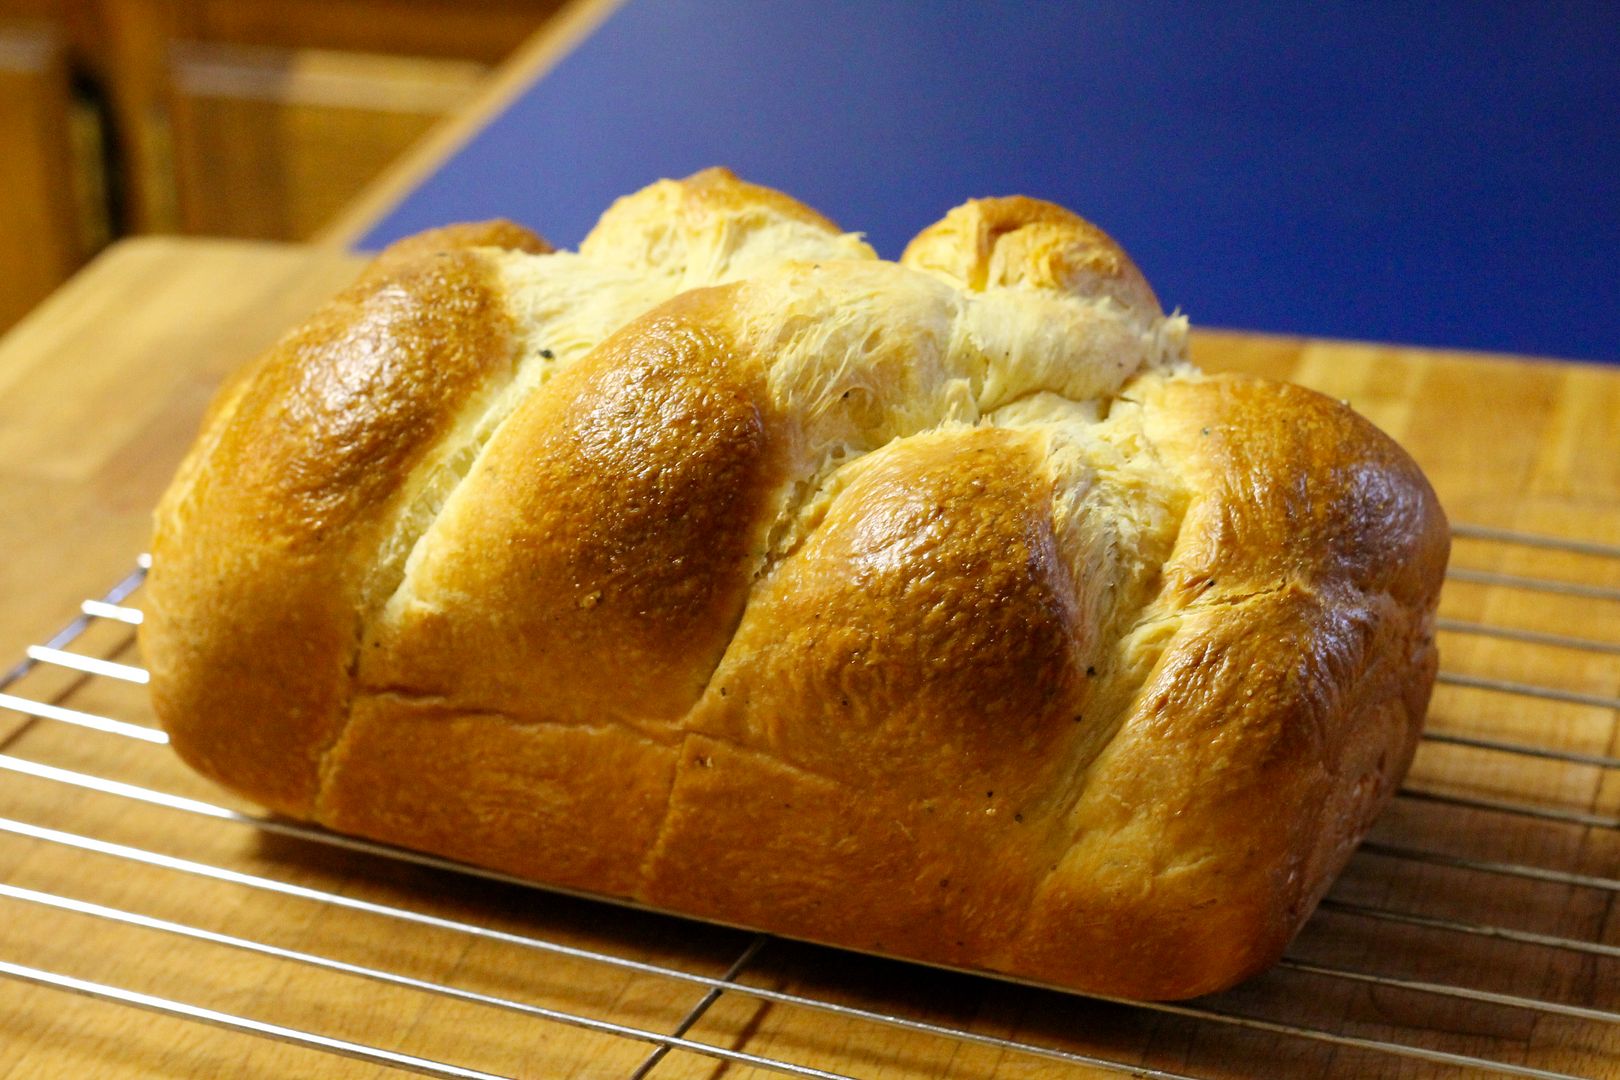
Every Easter for the past six years, I’ve posted a recipe for hot cross buns, so rather than post version number seven this year, I decided to branch out and explore another kind of Easter bread: the Italian Crescia al Formaggio, an egg-rich bread loaded with parmigiano reggiano and spiced with cracked black pepper.

I’ve been on a bit of a bread baking kick lately (by which I mean I’ve made bread twice this month, but that’s twice more than I have any other month in the past year) and I’m reminded of why I love it so much. Homemade bread rocks. Taking flour, yeast, and water (and in the case of Crescia al Formaggio, some butter, eggs, and about $10-worth of imported Italian parmesan cheese – it’s a special occasion bread for sure) and turning it from raw ingredients into a gorgeous loaf of delicious bread is like having a super power. And no, I’m not hyperbolizing (much).

Crescia al Formaggio | Korena in the Kitchen

Crescia al Formaggio in particular is pretty spectacular: instead of kneading the high hydration dough with a dough hook, you beat it with the paddle attachment of an electric mixer until it is shiny and stretchy, giving it an amazing light and fluffy yet chewy and shreddable texture. Combined with the savoury, umami-rich parmesan, the end result is a loaf of bread that slices like a dream and makes the best toast imaginable. And though I’m still going to make a batch of hot cross buns this year (I have my eye on Aimee’s maple version), if you were to present this bread at your Easter breakfast table instead, I am quite sure that no one would be complaining.

Crescia al Formaggio | Korena in the Kitchen

Crescia al Formaggio

Adapted very slightly from King Arthur Flour. Makes one 9″ x 5″ loaf.

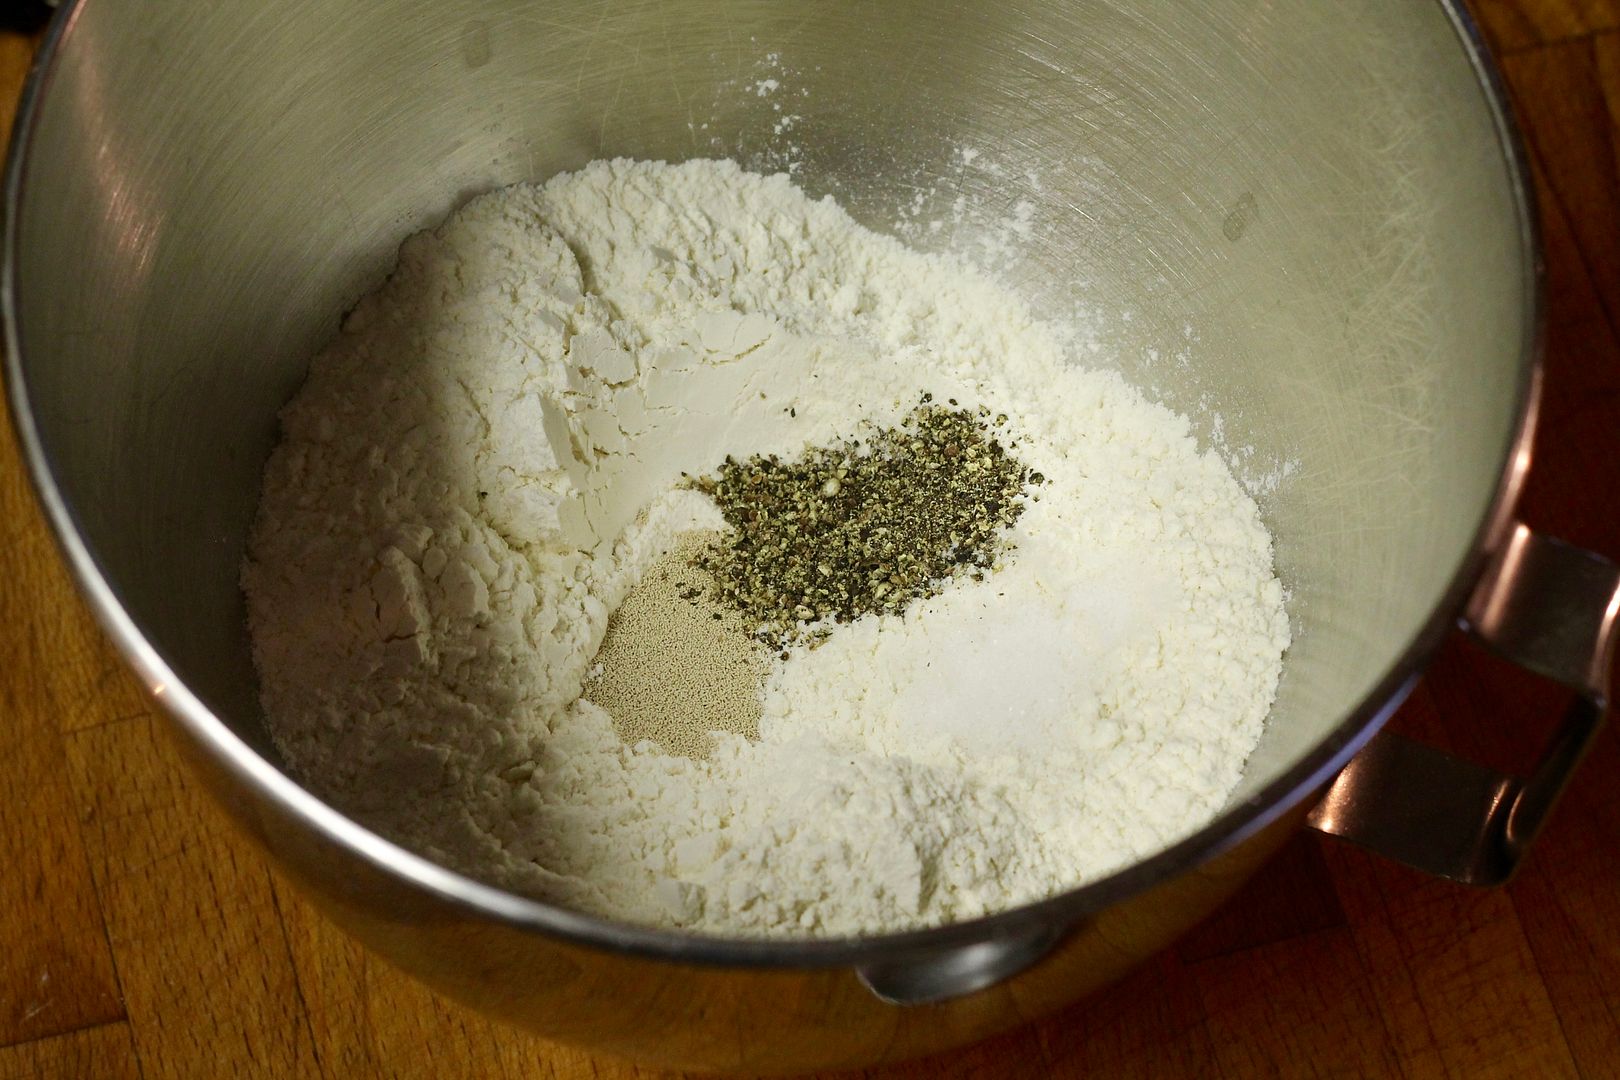
In the bowl of an electric mixer, stir together:

298 g (2 1/2 cups) unbleached all purpose flour

1 1/4 tsp instant yeast

1 tsp salt

1 tsp freshly cracked black pepper

dryingreds

Make a well in the middle and add:

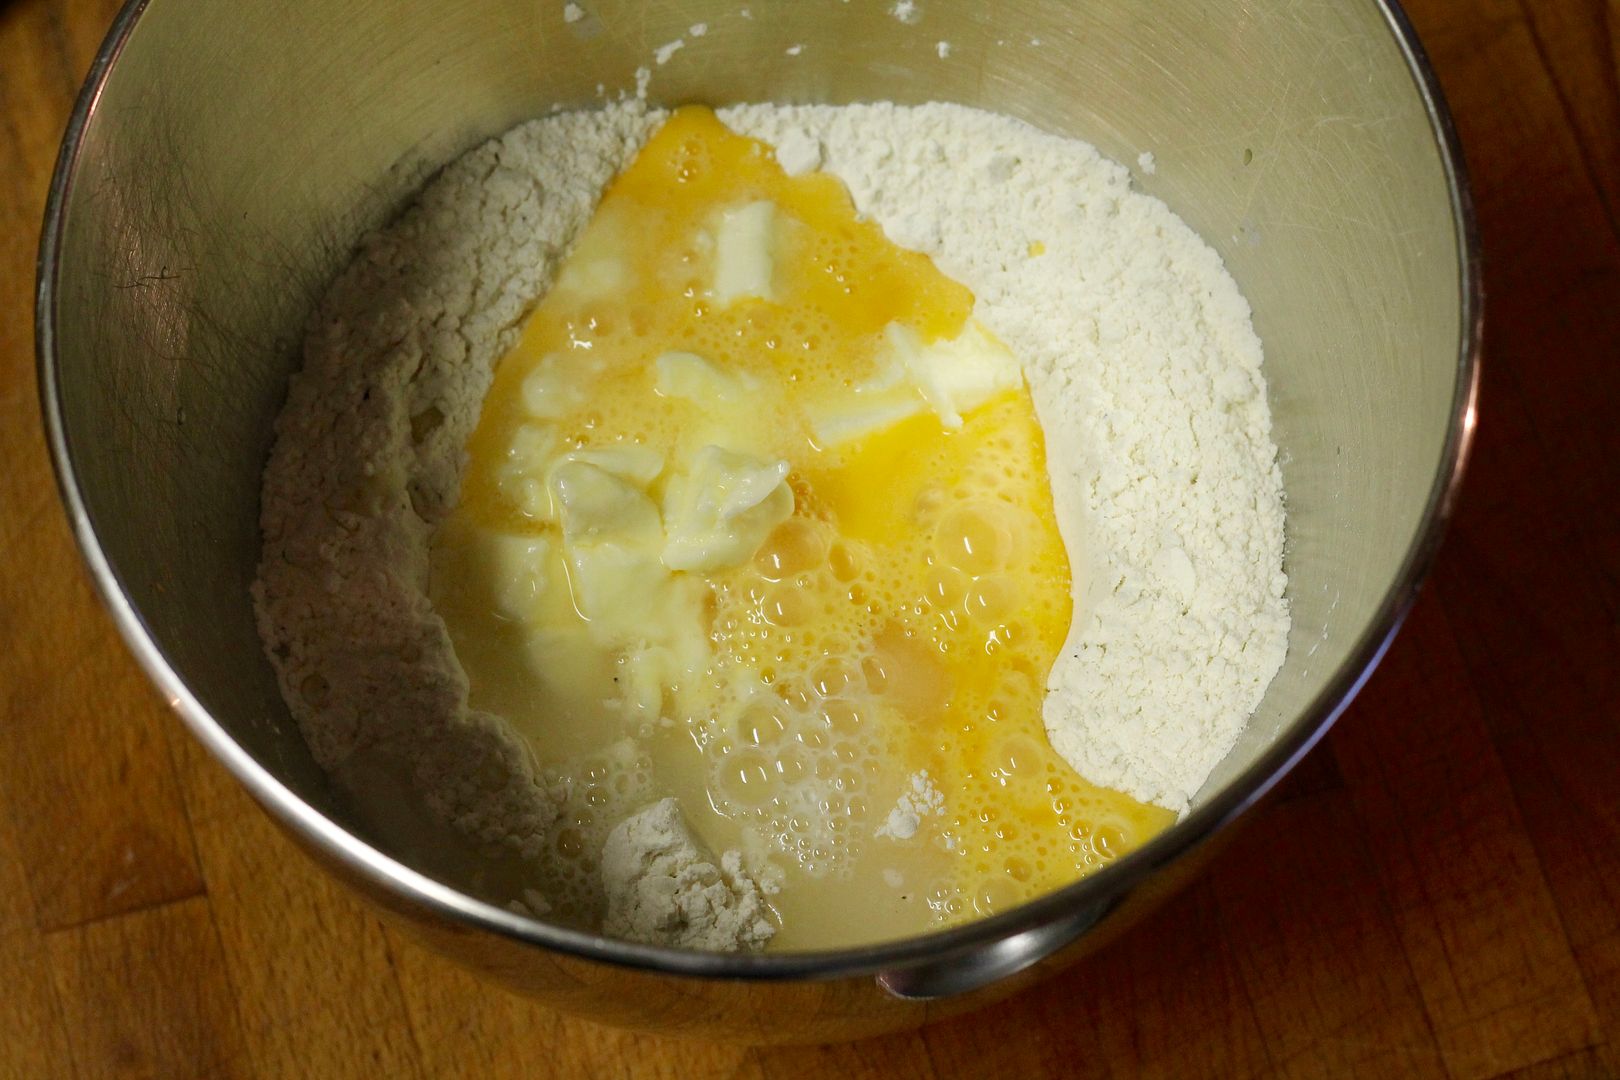
3 large eggs + 1 egg yolk, at room temperature and lightly beaten together (reserve the extra egg white for later)

57 g (1/4 cup) softened unsalted butter

57 ml (1/4 cup) lukewarm water

wetingreds

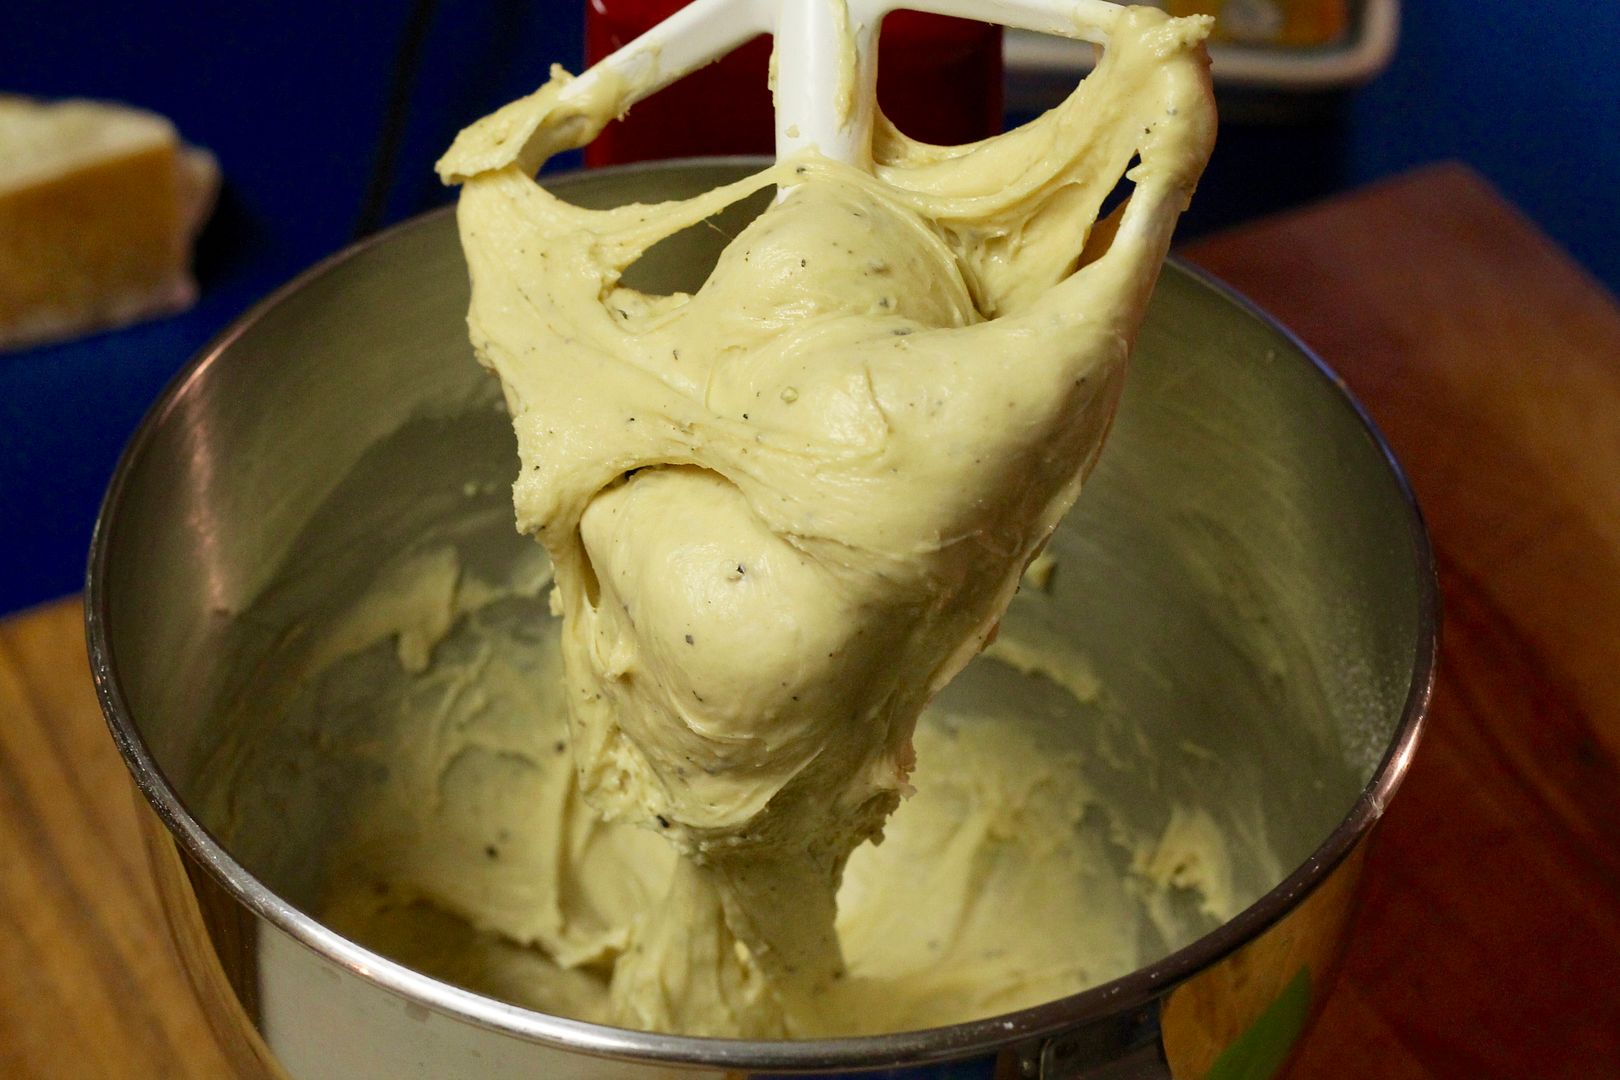
Mix on medium speed with the paddle attachment for 10 minutes – the dough will be quite loose and sticky at first, and then will become very elastic and shiny by the end. Scrape it off the paddle and down the sides of the bowl several times during mixing.

shiny

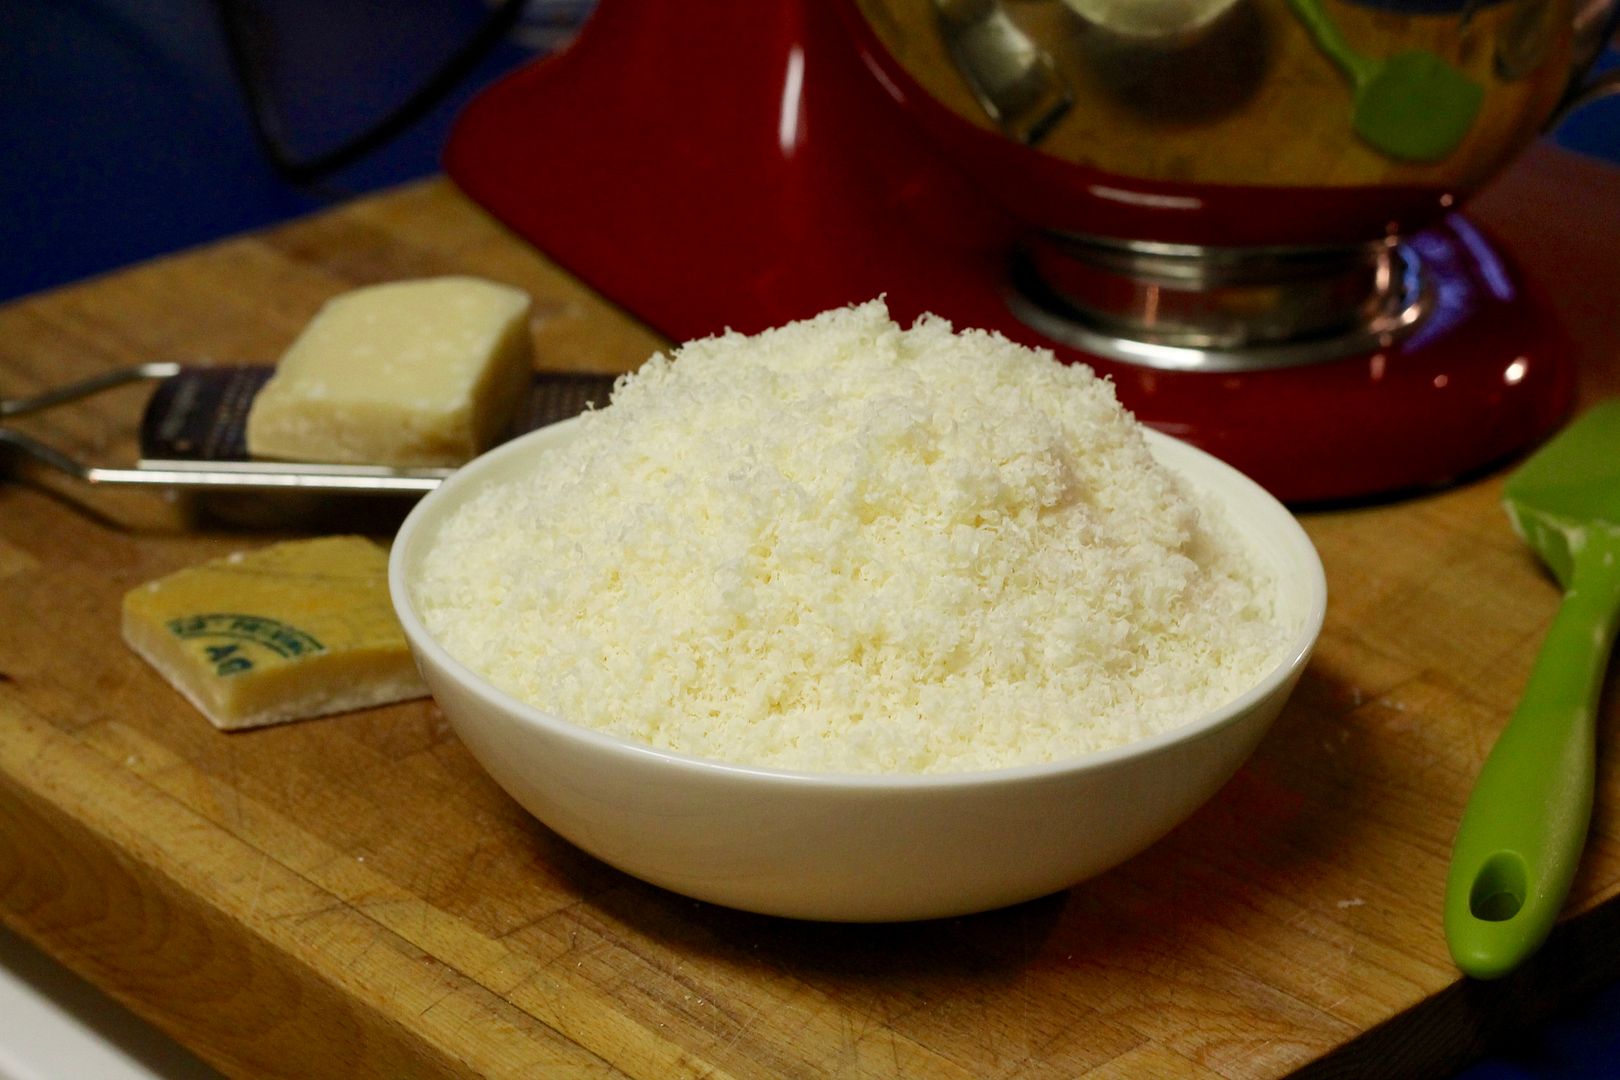
Add in 170 g (1 1/4 cup) grated parmigiano reggiano (or asiago or pecorino romano or a mix – but make sure you use good quality cheese as you will really taste it and that’s the point of this bread!).

bowloparm

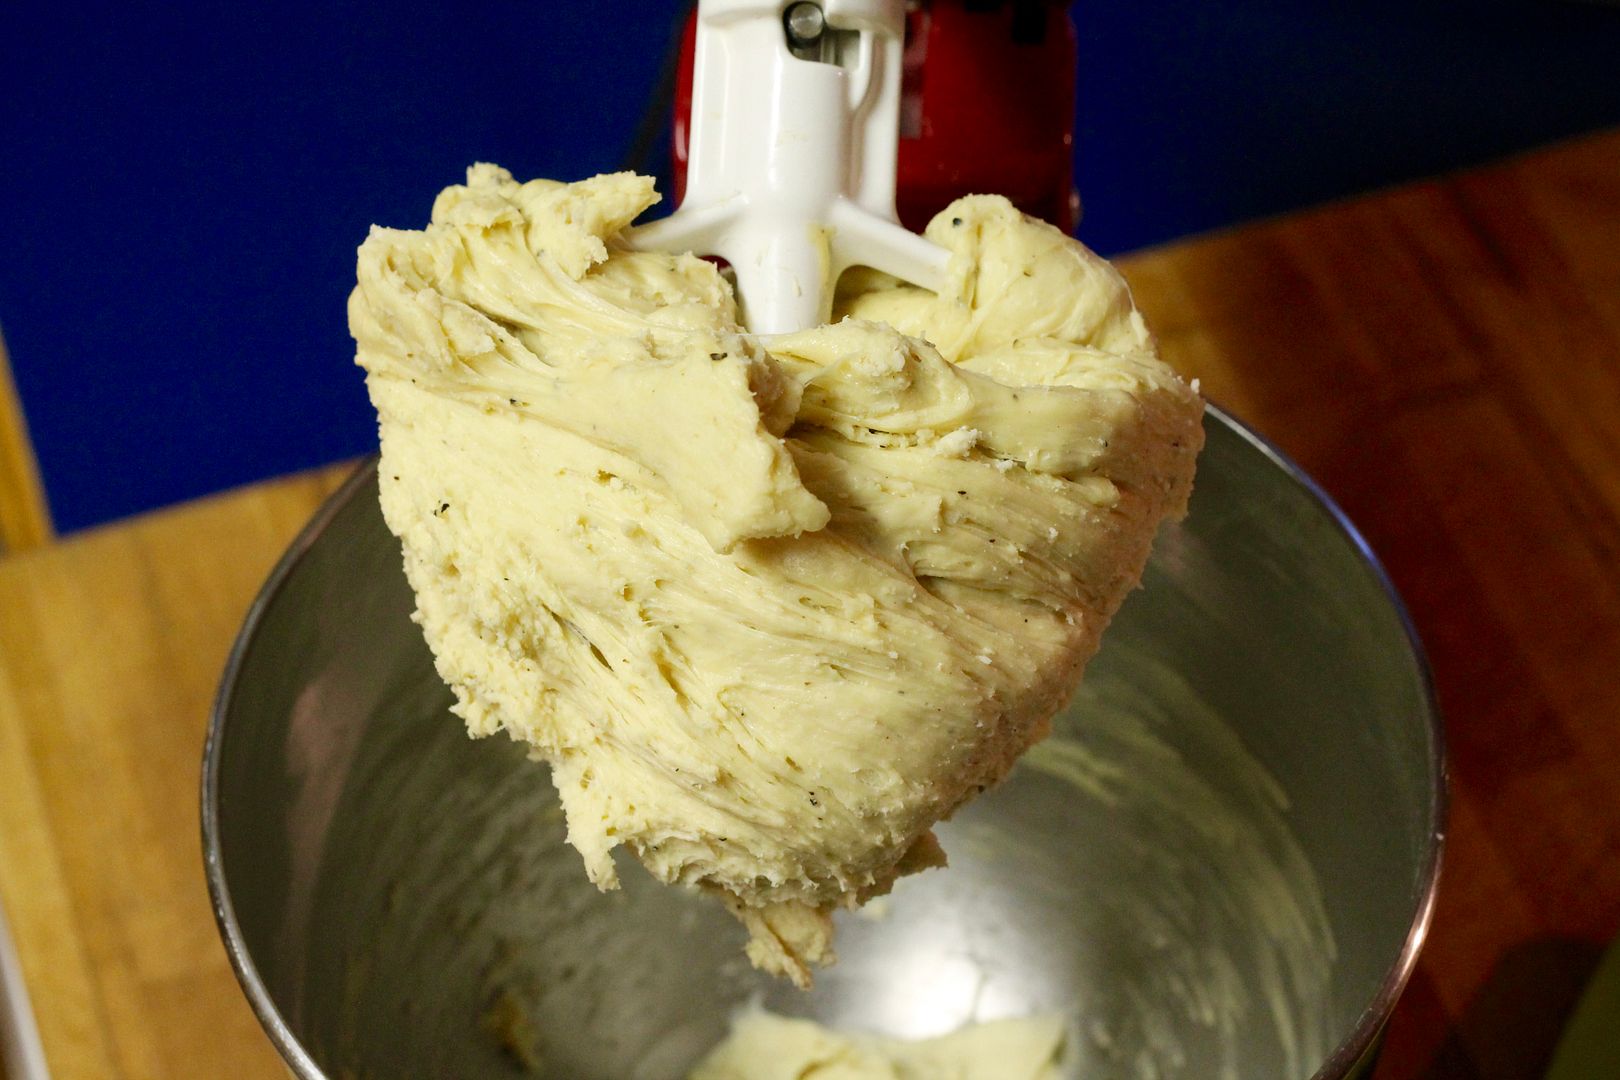
Mix again until well combined – this will be a bit of a challenge, but keep scraping the dough off the paddle every so often and you’ll get there.

cheesemixed

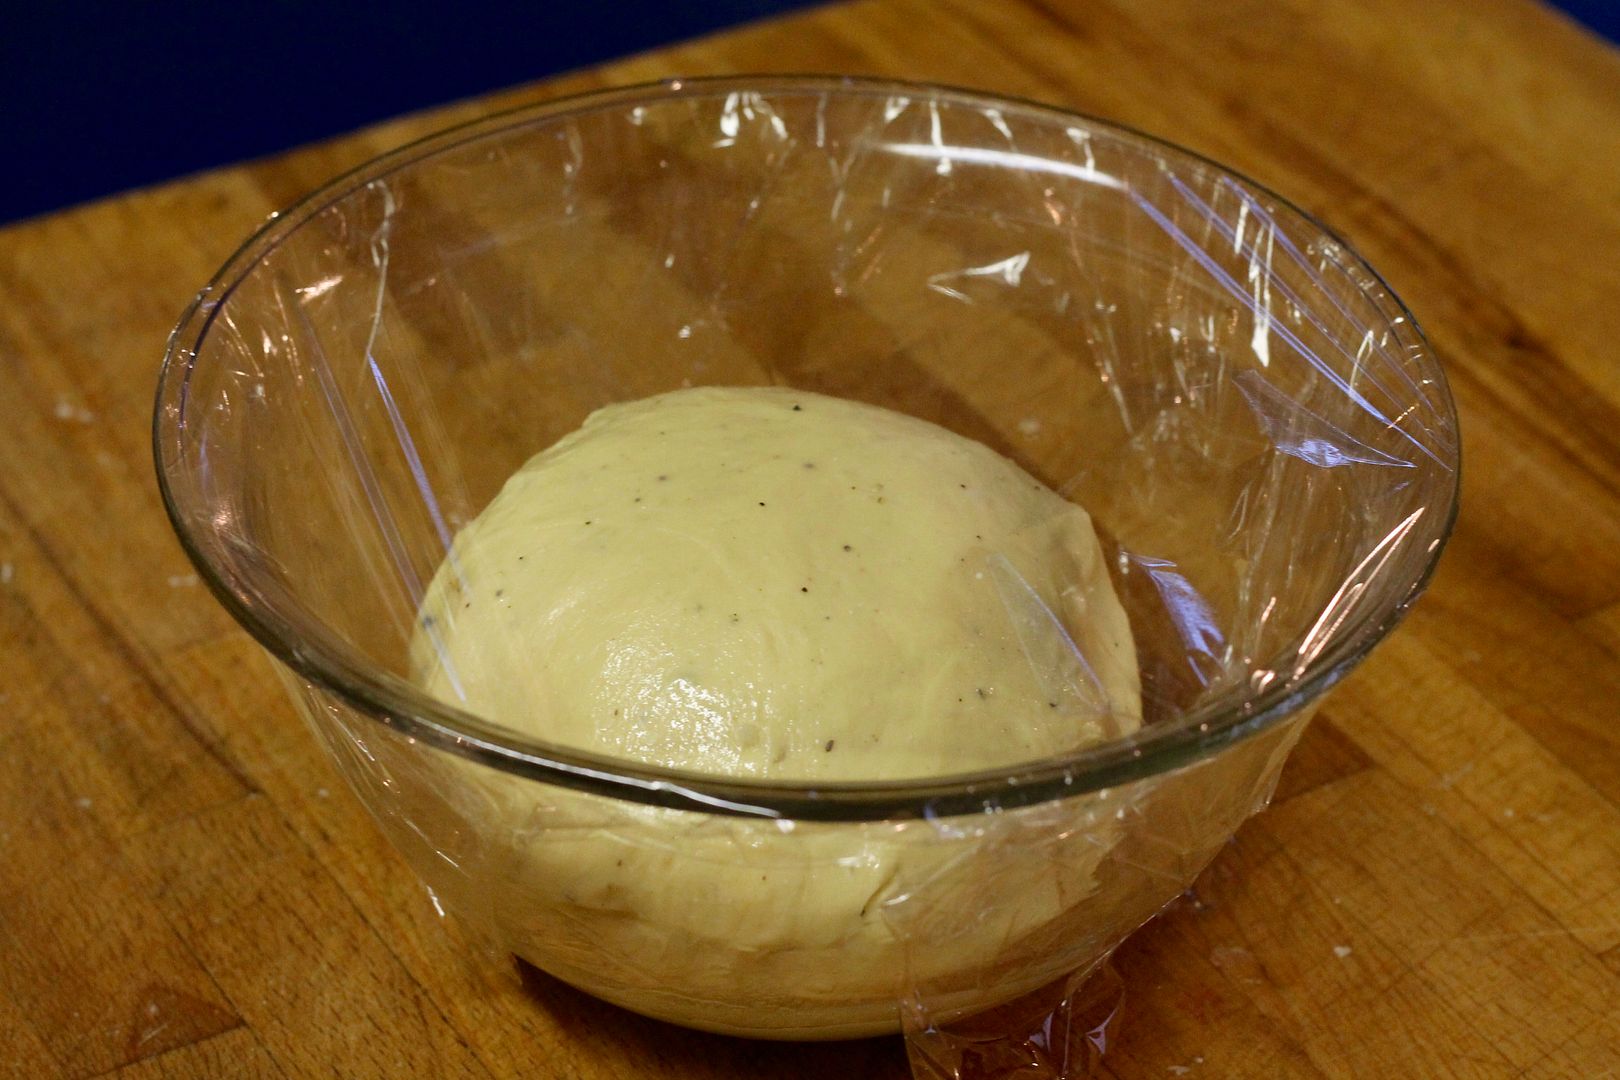
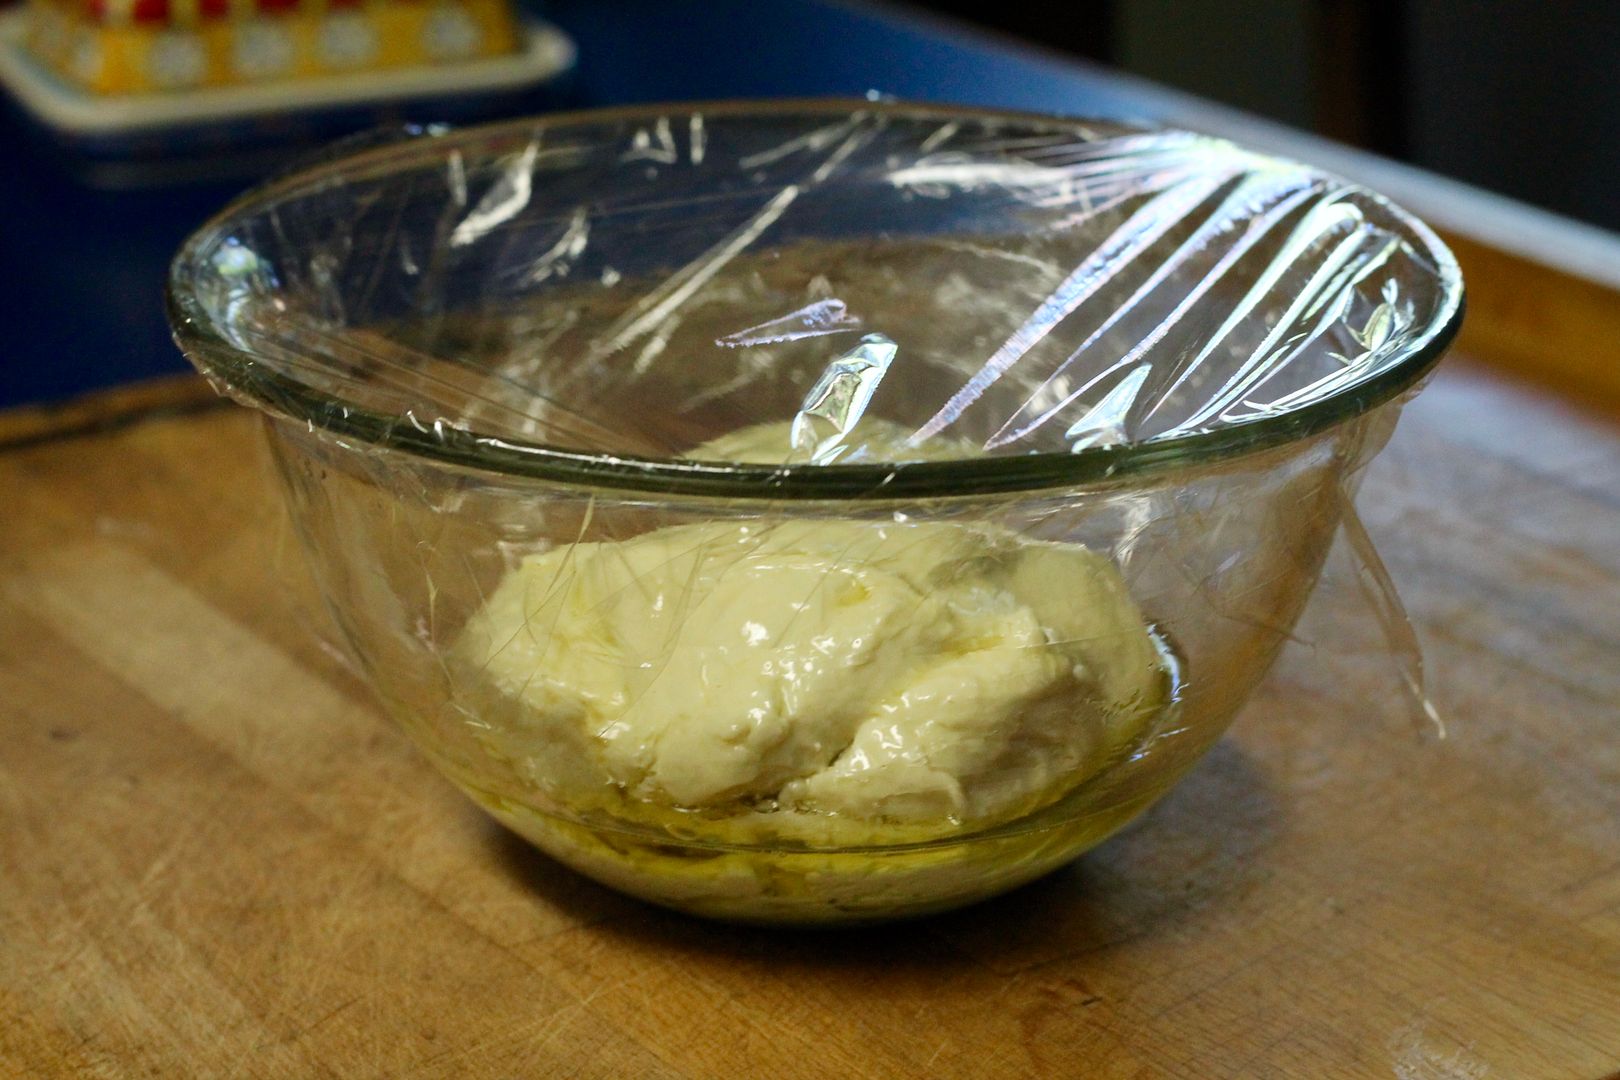
Shape the dough into a ball (it will still be quite soft and tacky but not overly sticky) and place it in a lightly oiled bowl. Cover with plastic and let rest/rise at room temperature for an hour.

rest

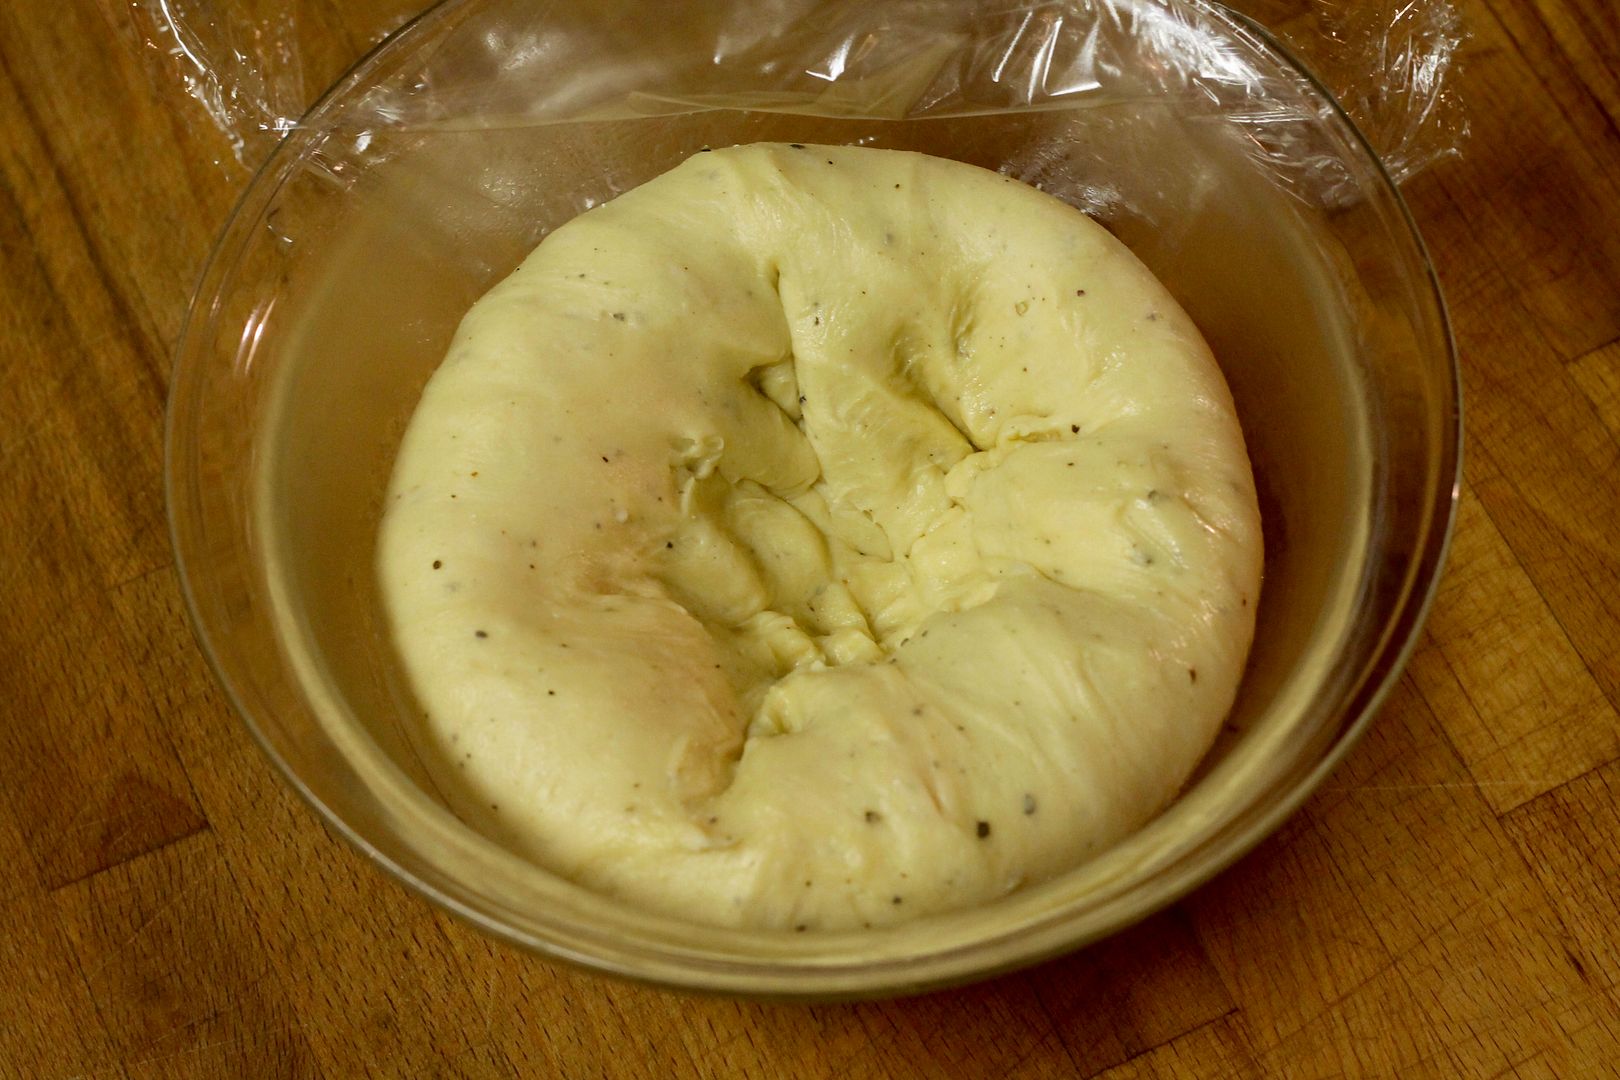
It likely won’t do much or change shape but that’s OK. Punch it down gently, turn it over, cover again, and let rest/rise for another hour.

punch

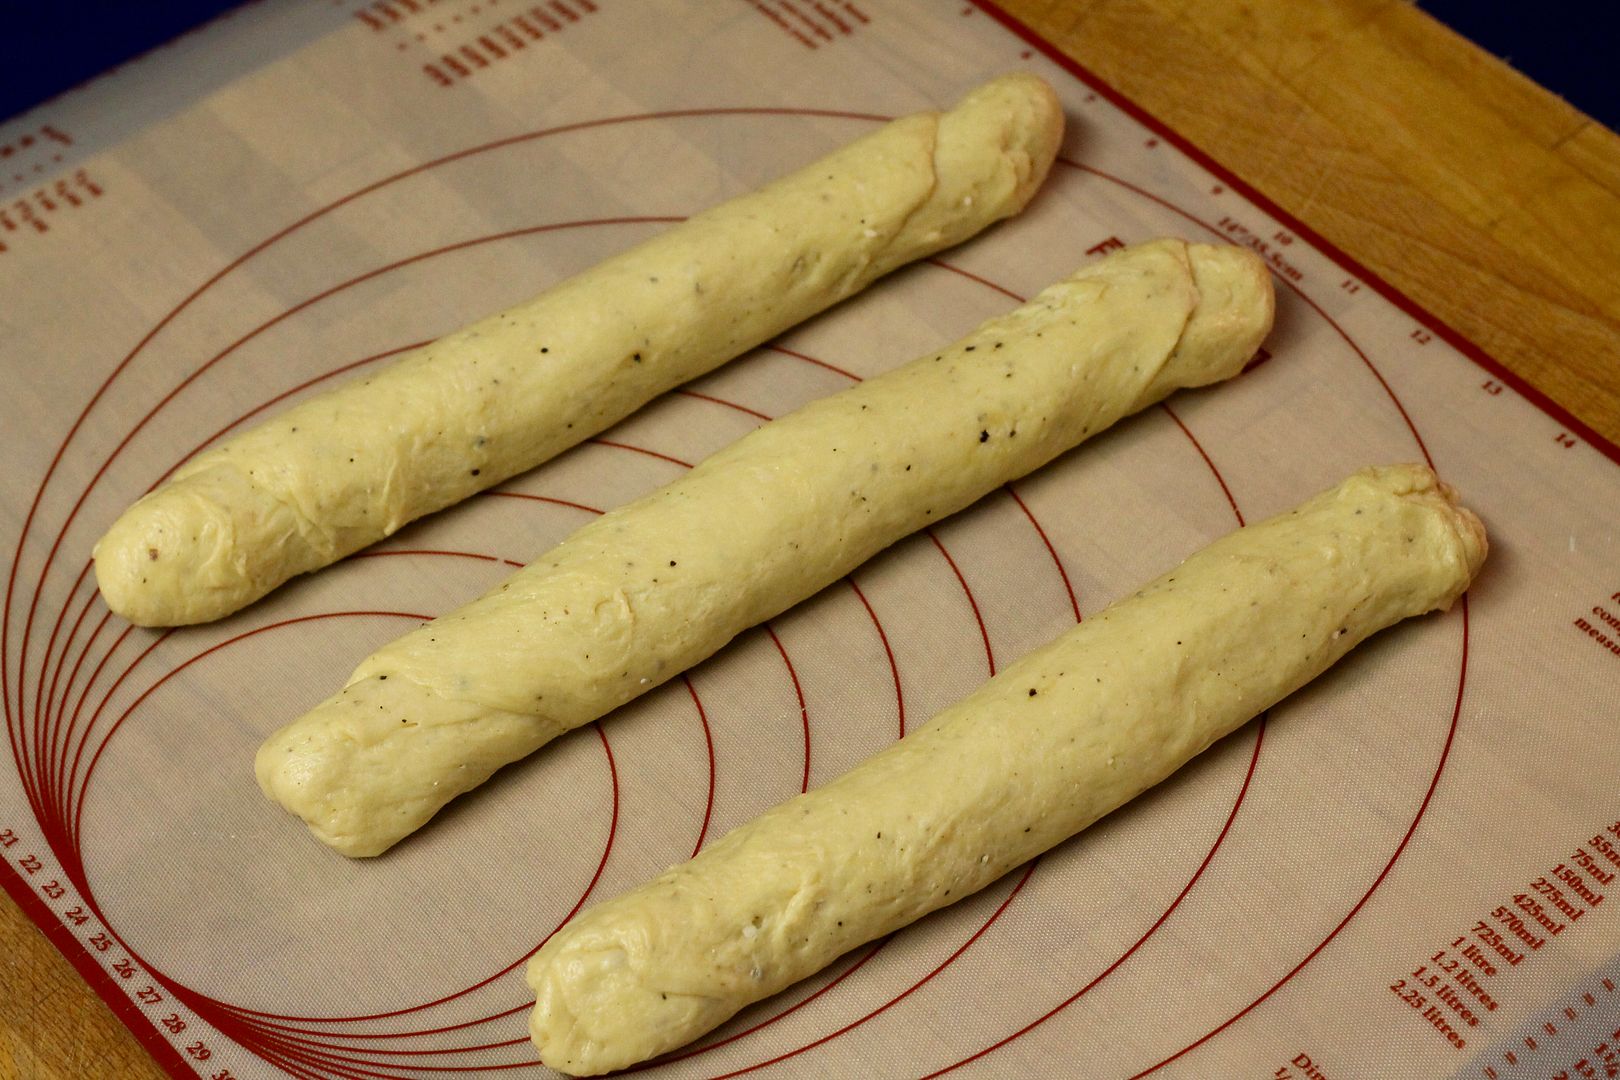
This bread is traditionally baked in a round shape, but a braided loaf is so pretty. To do this, turn out the dough onto a lightly floured surface (or use a silicon rolling mat like I did), divide into 3 equal pieces, and shape each into a 12″ log.

3logs

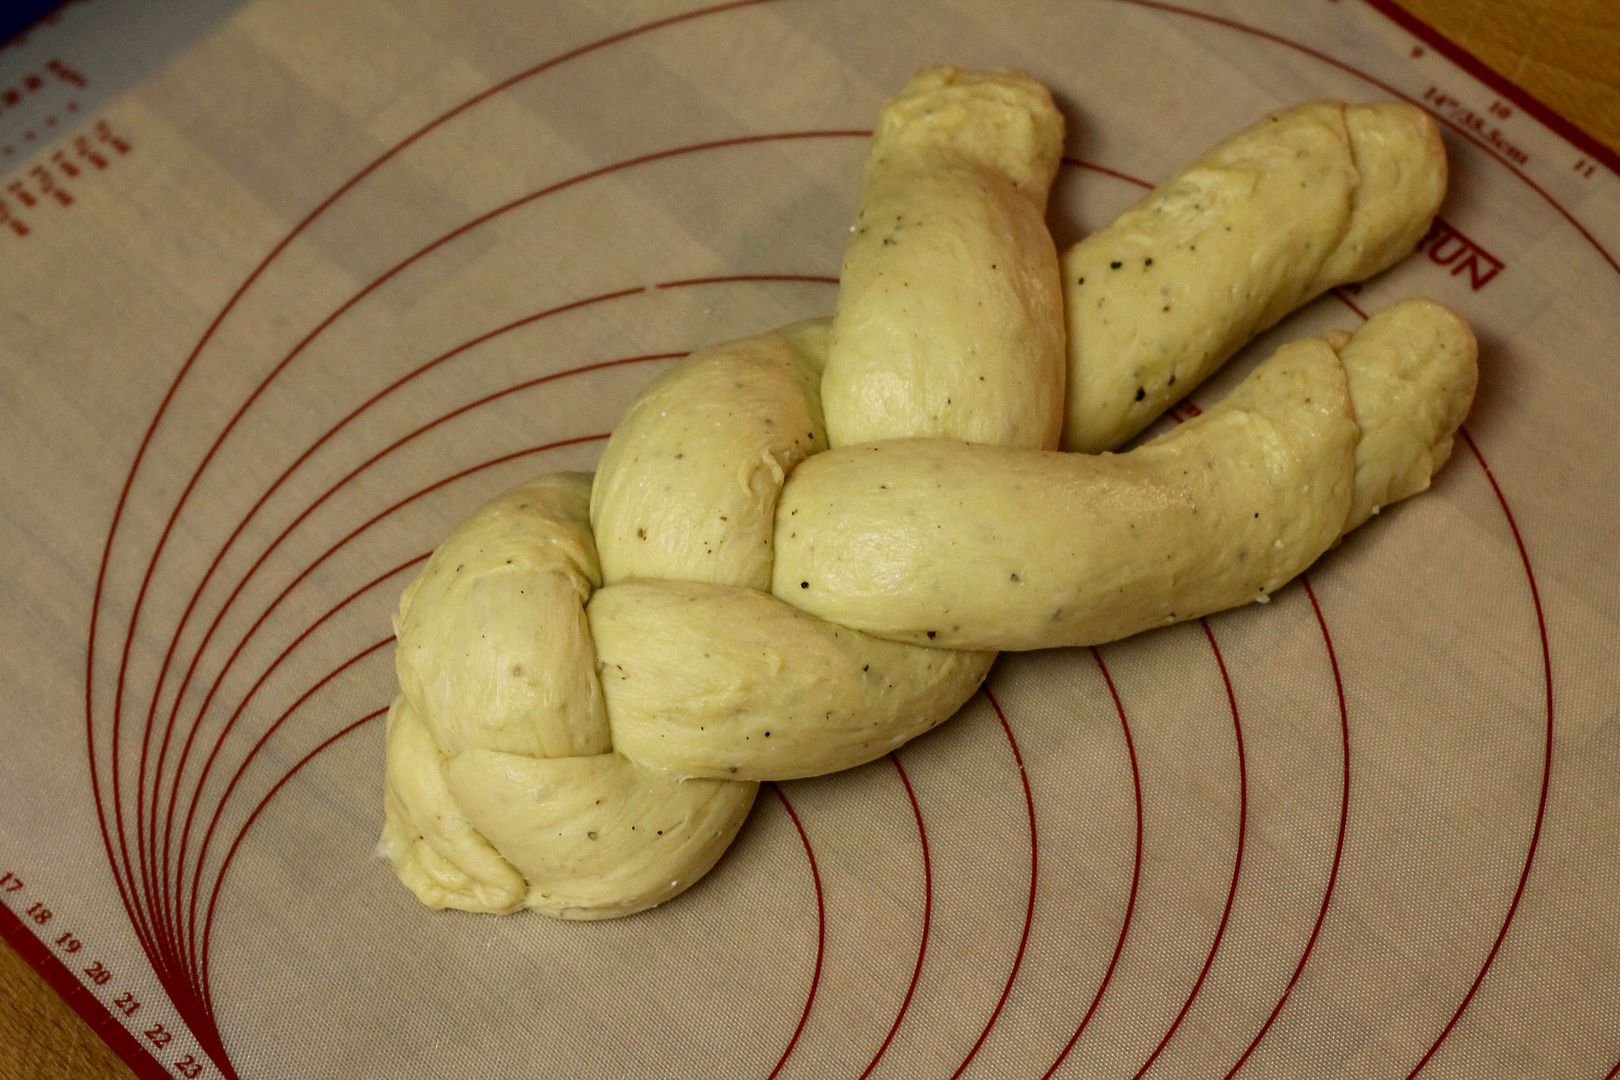
The easiest way to end up with an even braid is to start the braid from the middle and work out to one end, then flip the whole thing over and start braiding again from the middle to the other end (here’s a handy video showing how it’s done. Squish the ends together and tuck them securely under the braid.

braid1

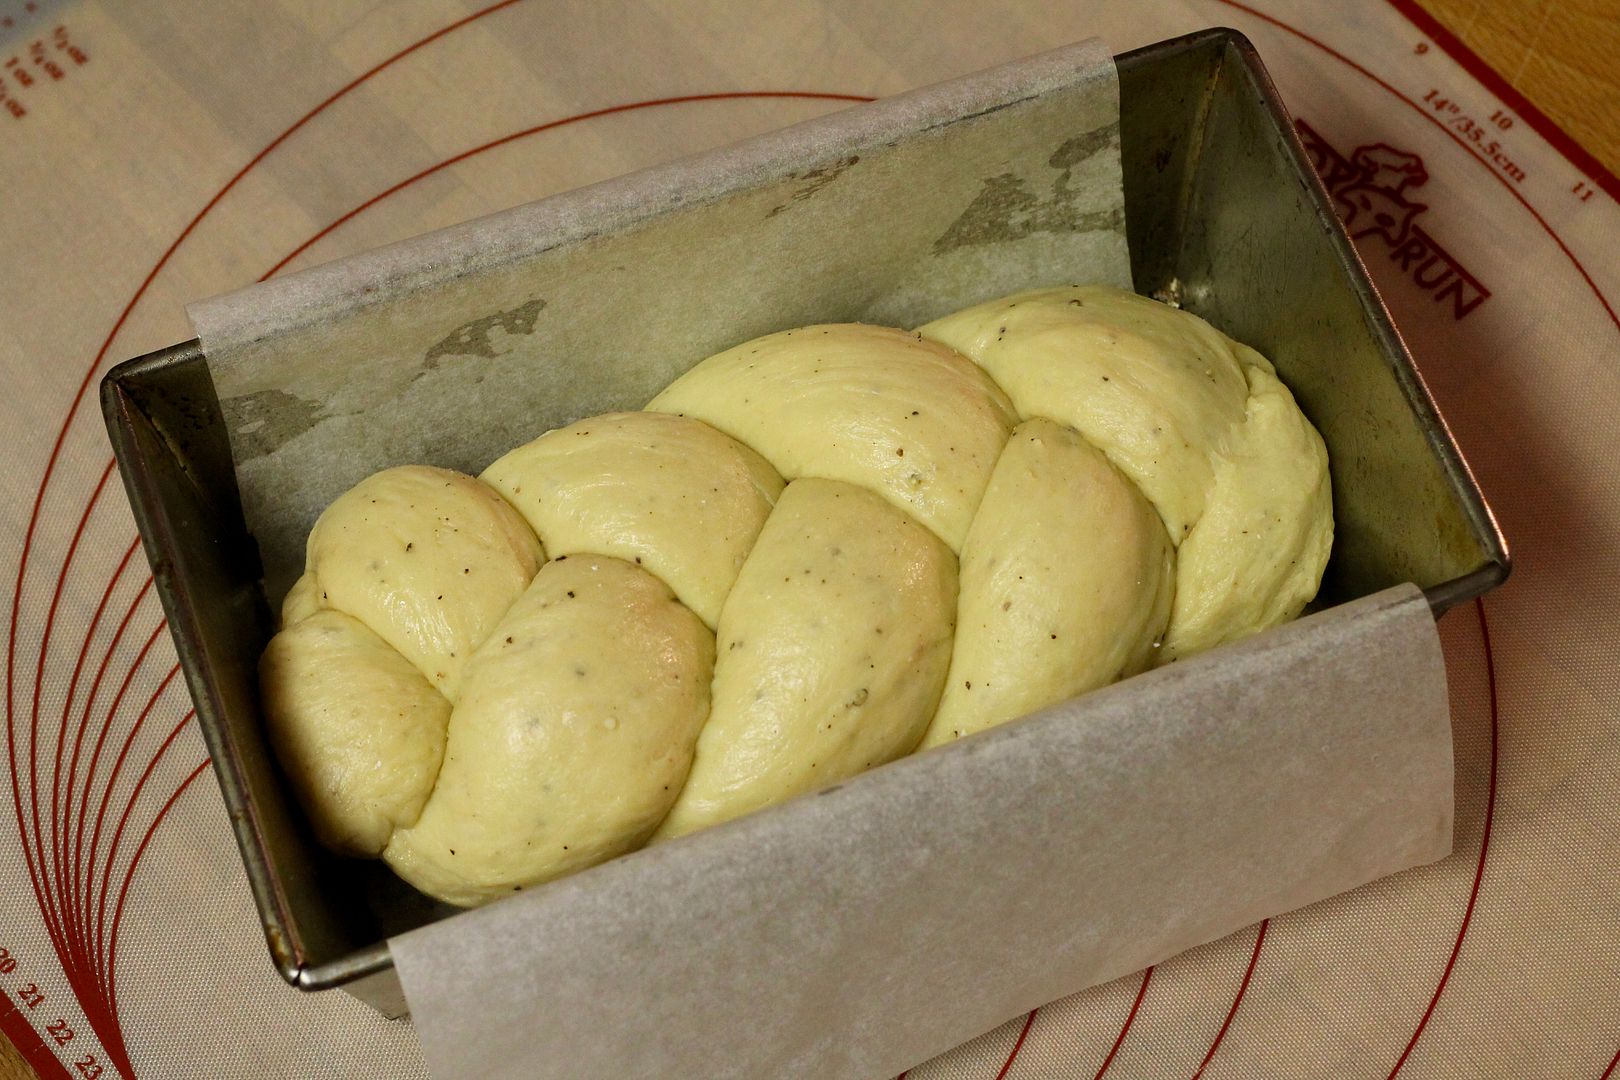
Lightly oil a 9″ x 5″ loaf tin and line it with parchment paper for extra insurance (I’ve learned the hard way not to trust an un-lined loaf pan…). Nestle the braided loaf in the pan and cover with plastic wrap.

inpan

Let rest/rise for another 2 hours or so at room temperature, OR you can refrigerate it overnight and give it a long, slow, cold rise. Either way, the loaf won’t double in size but it should look noticeably puffy.

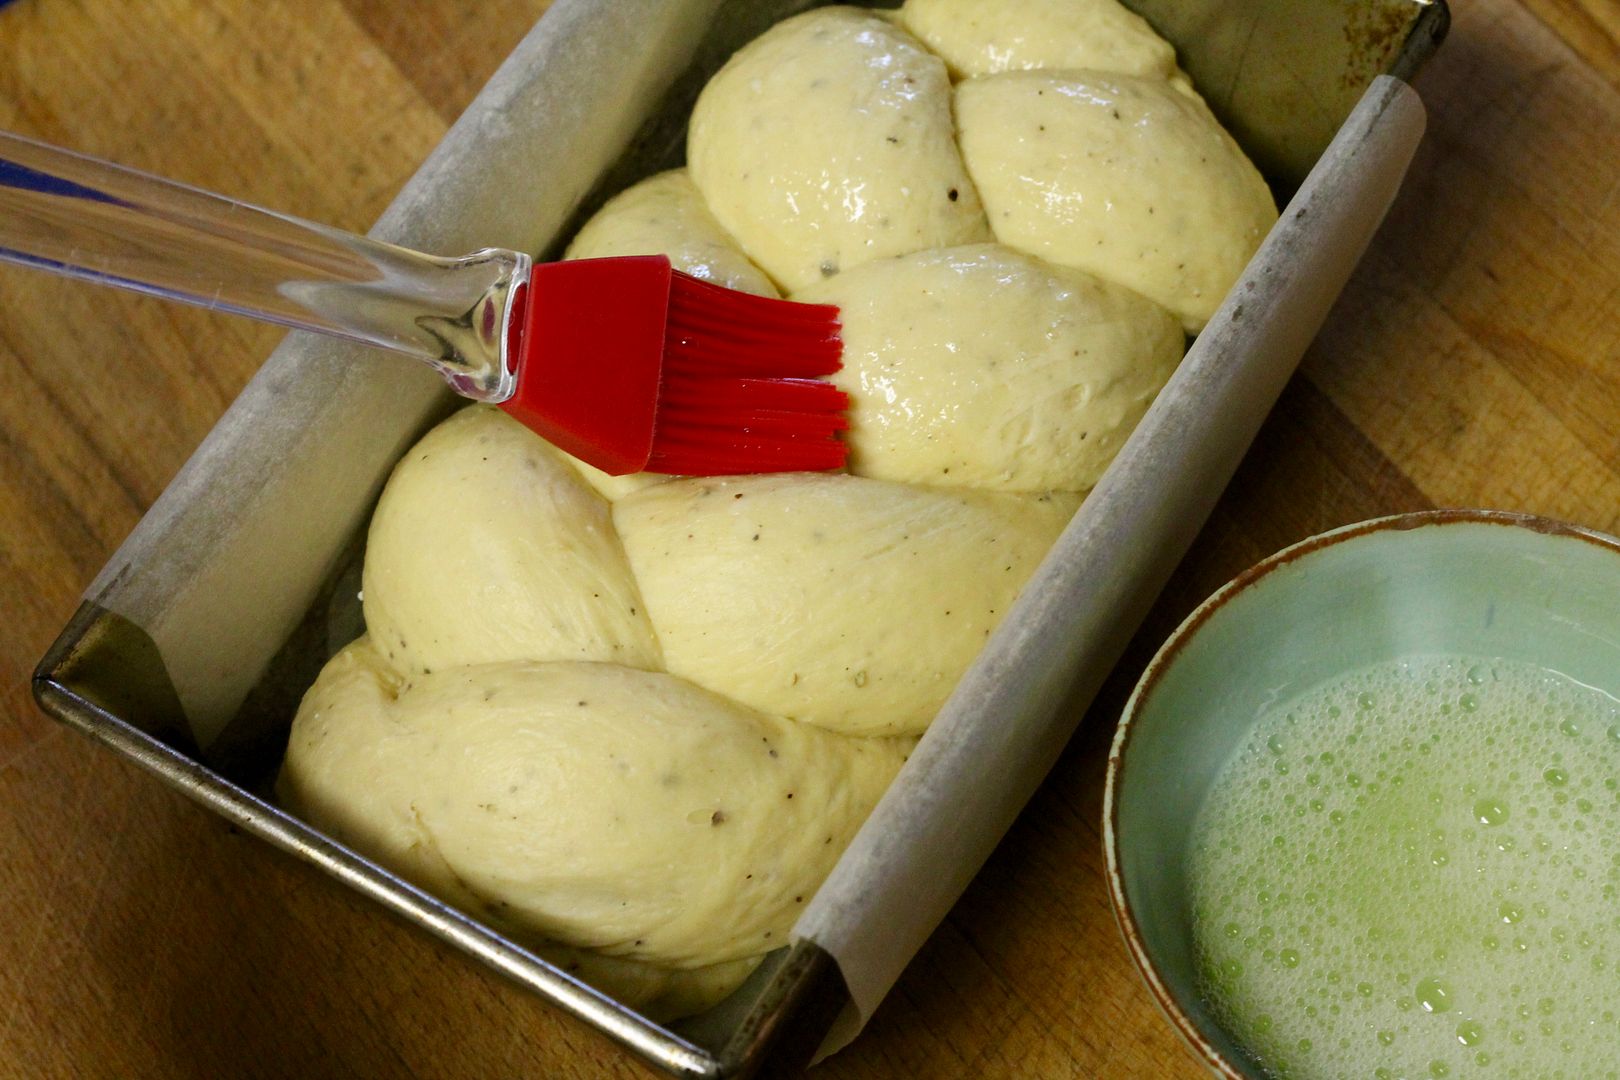
Preheat the oven to 425˚F (400˚F convection). Beat the reserved egg white with a splash of water and a pinch of salt and brush it over the risen loaf.

eggwash

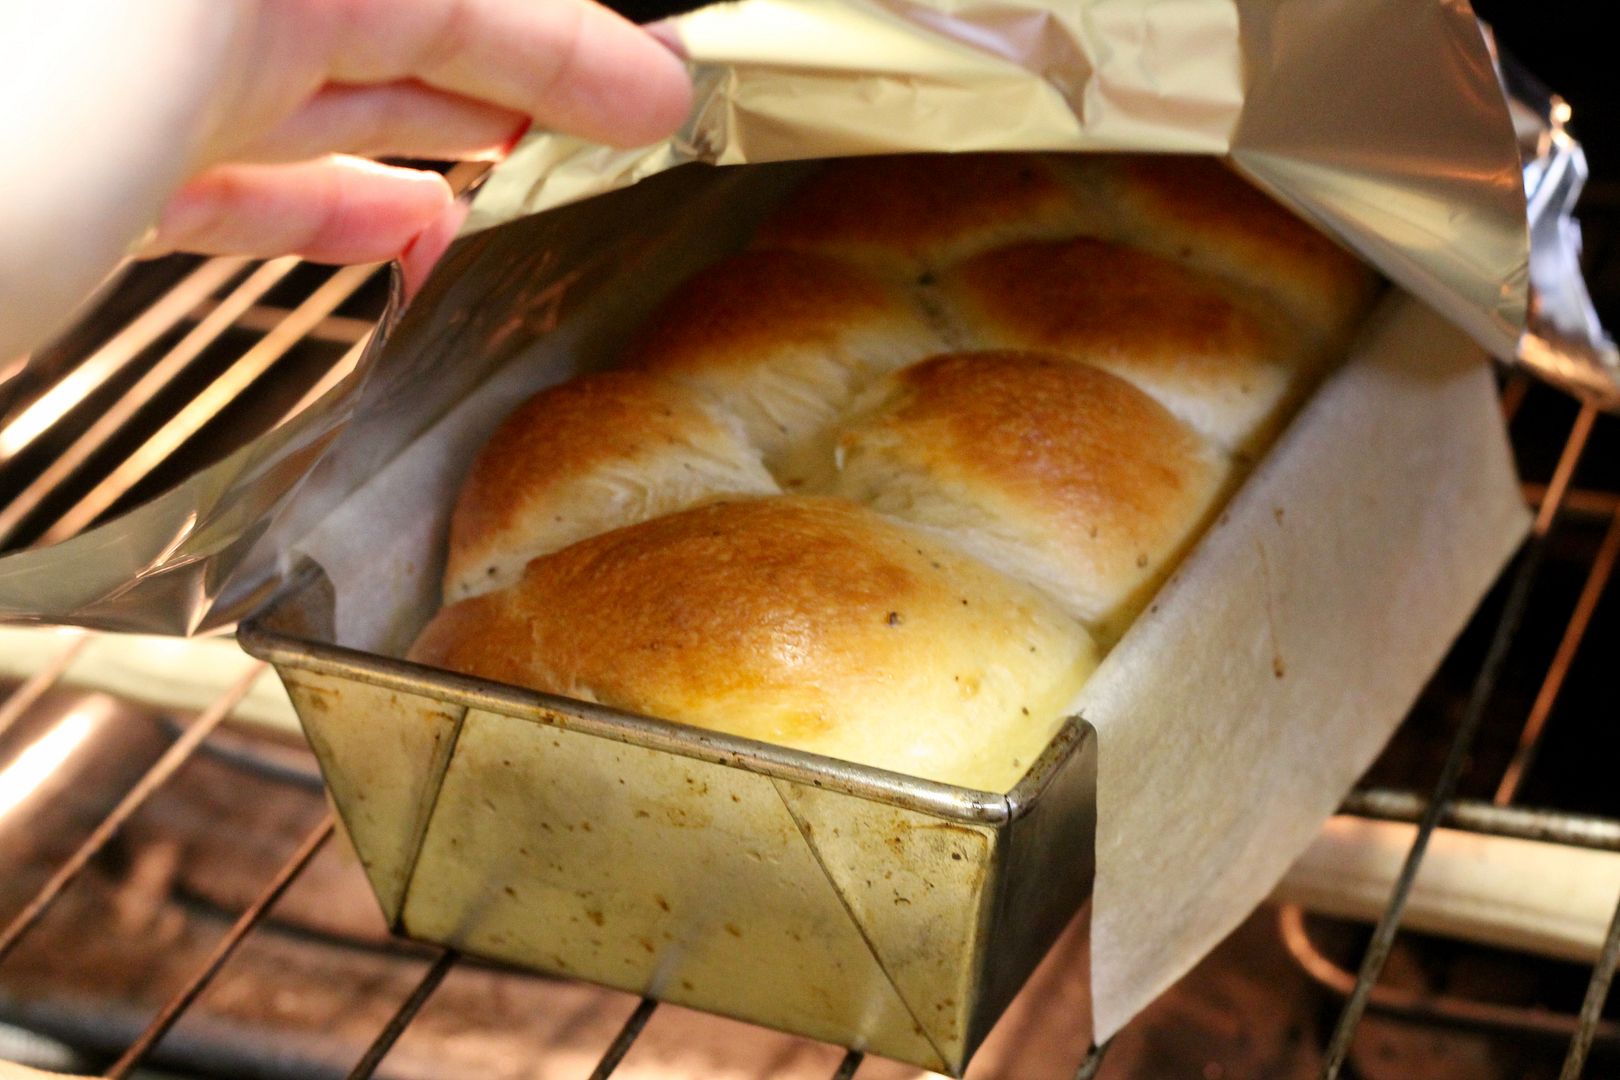
Bake for 15 minutes at 425˚F (400˚F convection), then reduce the oven temperature to 350˚F (325˚F convection) and tent the loaf loosely with foil.

tent

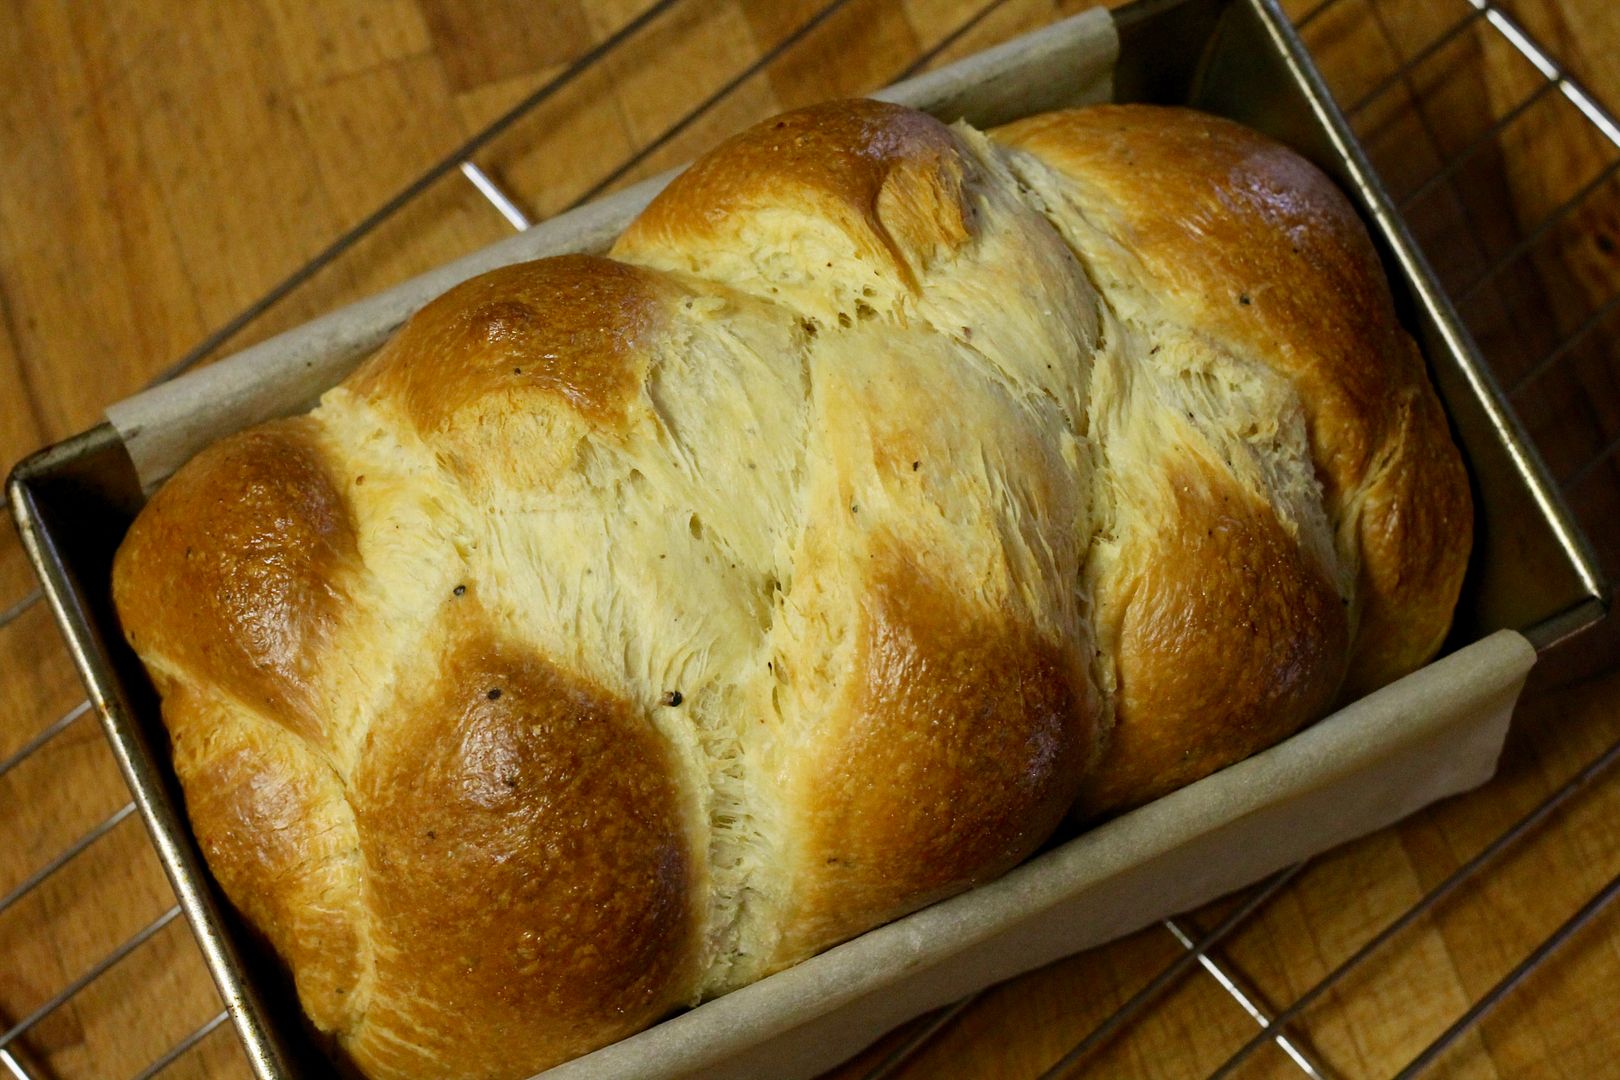
Bake another 30-35 minutes, until deeply golden brown (feel free to remove the foil in the last 5 minutes to achieve this if necessary) and the internal temperature of the loaf reaches 195˚F.

baked

Remove from the oven and let cool in the pan for 5 minutes, then run a knife around the sides and lift the loaf out of the pan. Cool completely on a rack before slicing. The loaf can be stored for several days in an airtight container at room temperature.

cooling

Save

Save

Uri Scheft’s Challah

$
0
0

I’m a sucker for beautiful bread, and Israeli-Danish baker Uri Scheft makes some of the most beautiful bread I have ever seen. I found a Google Books preview of his recent book, Breaking Breads, and his challah – OH THE CHALLAH – is so lovely I could weep. It reminds me of some rare and mysterious sea creature. Seriously, go look at it right now. Page 41. I’ll wait.


[…whistles, twiddles thumbs…]


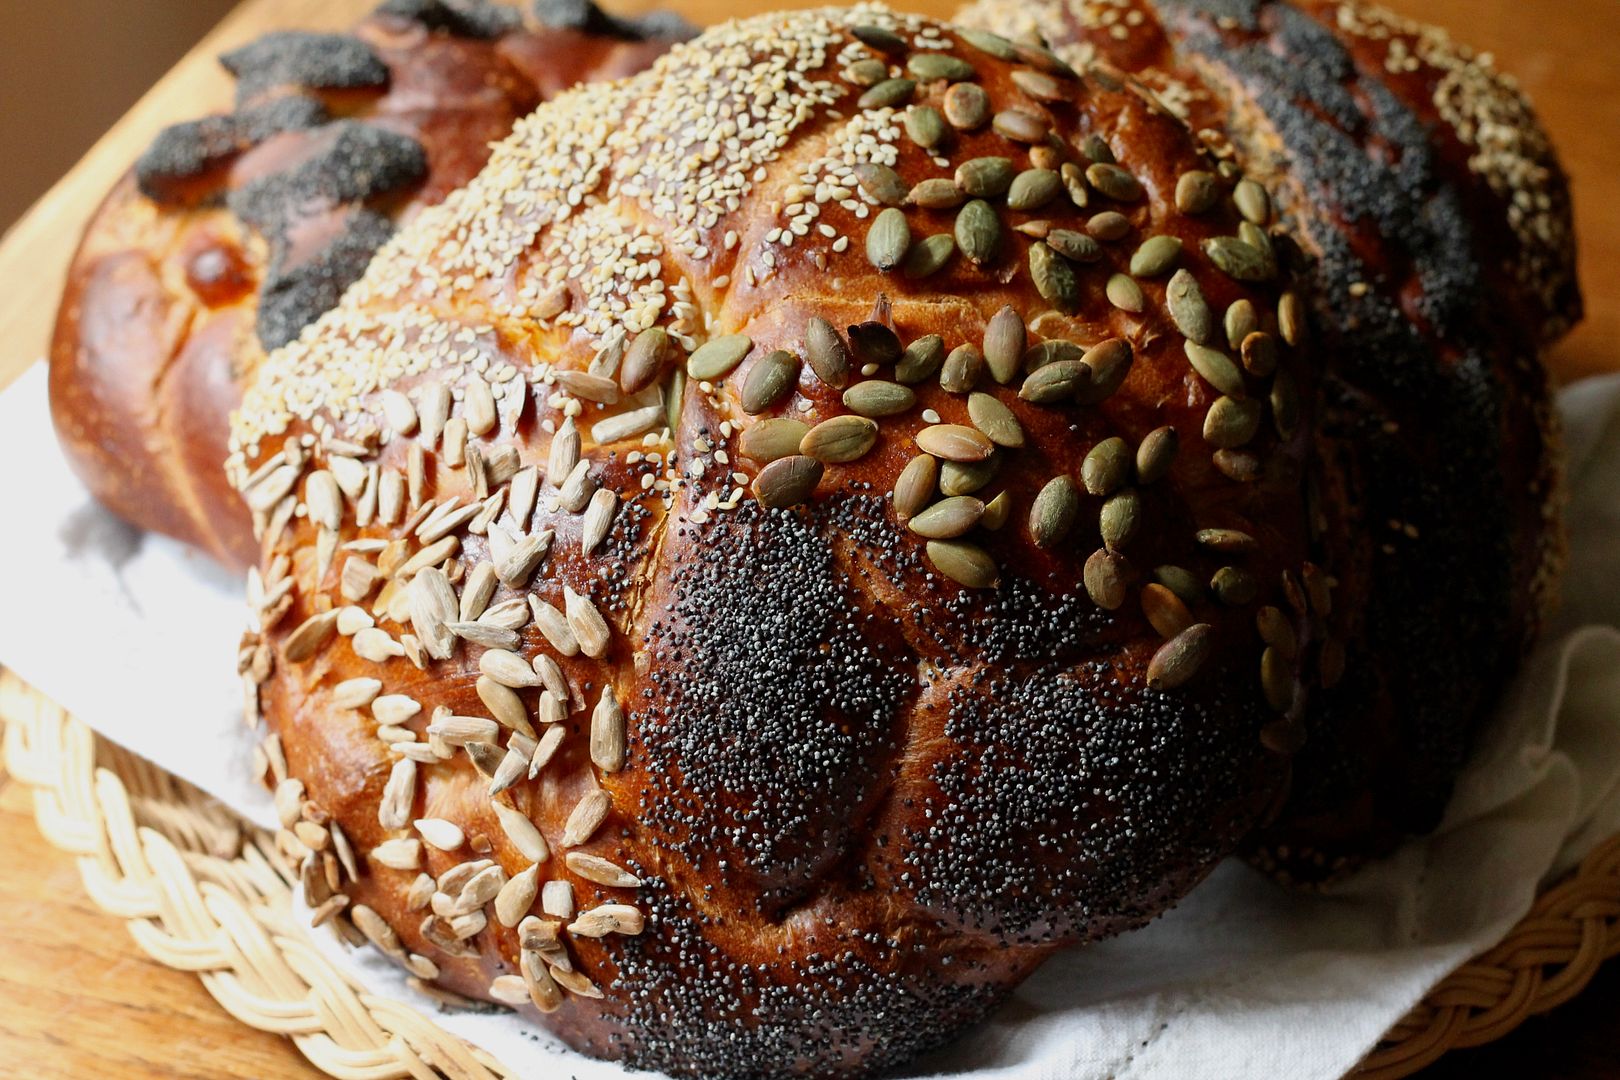
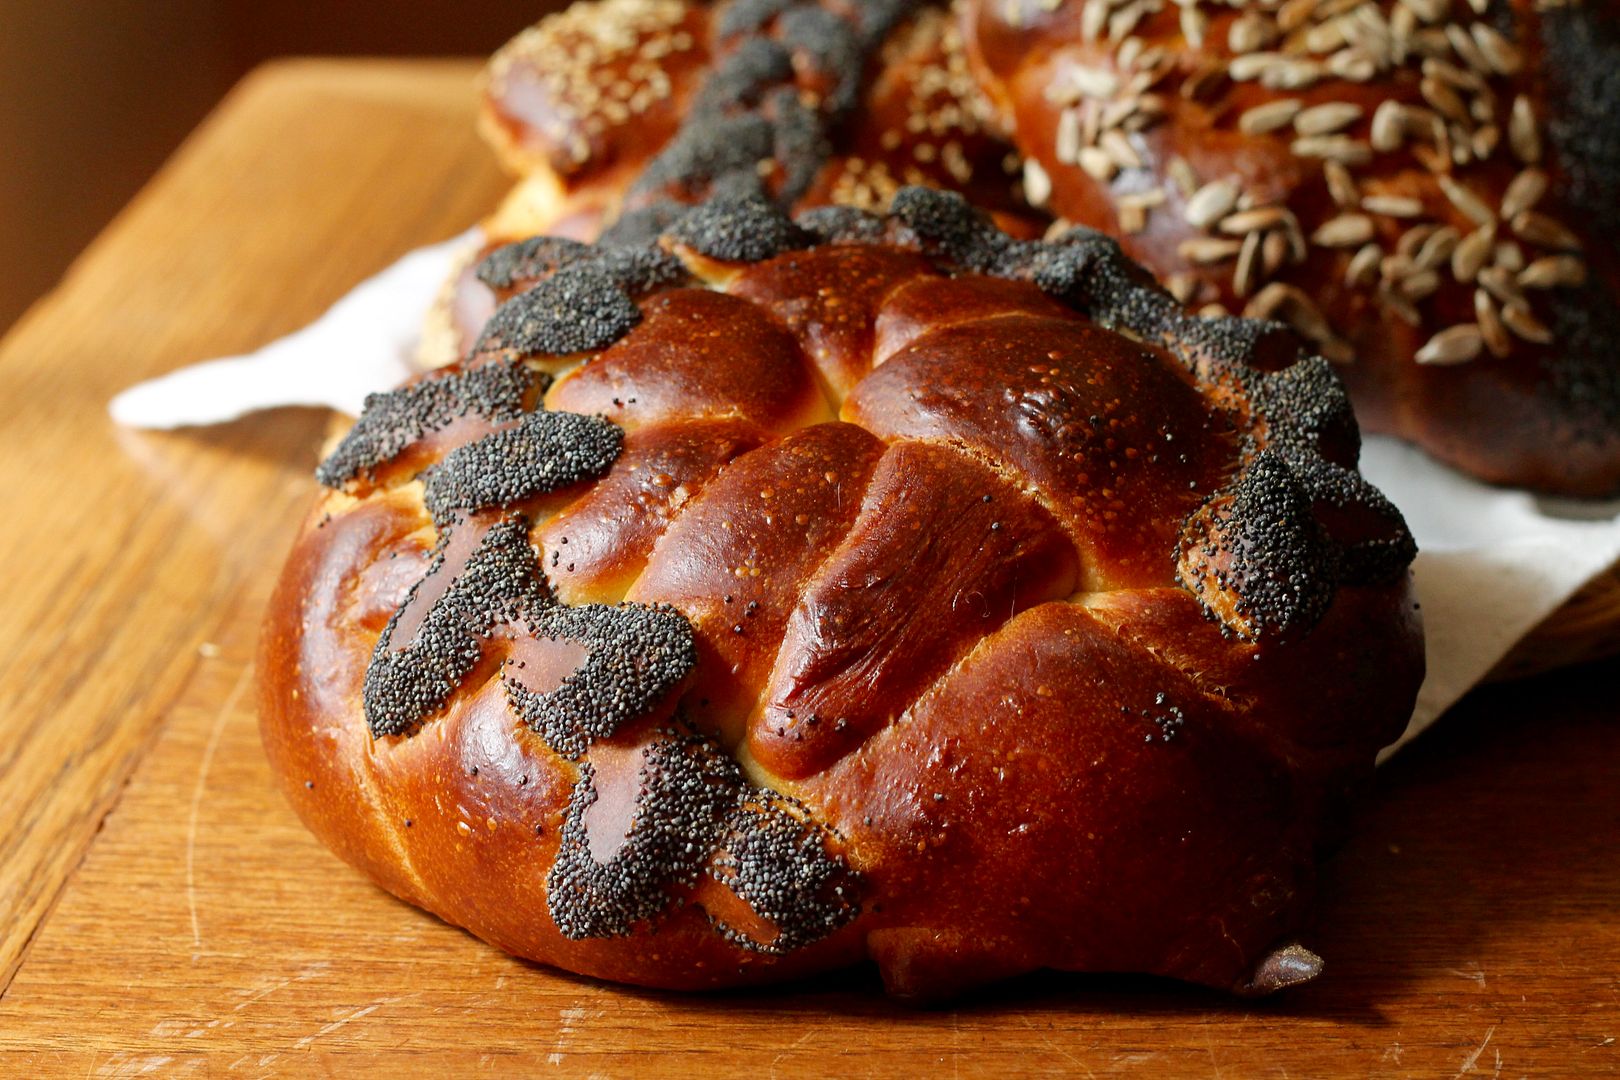
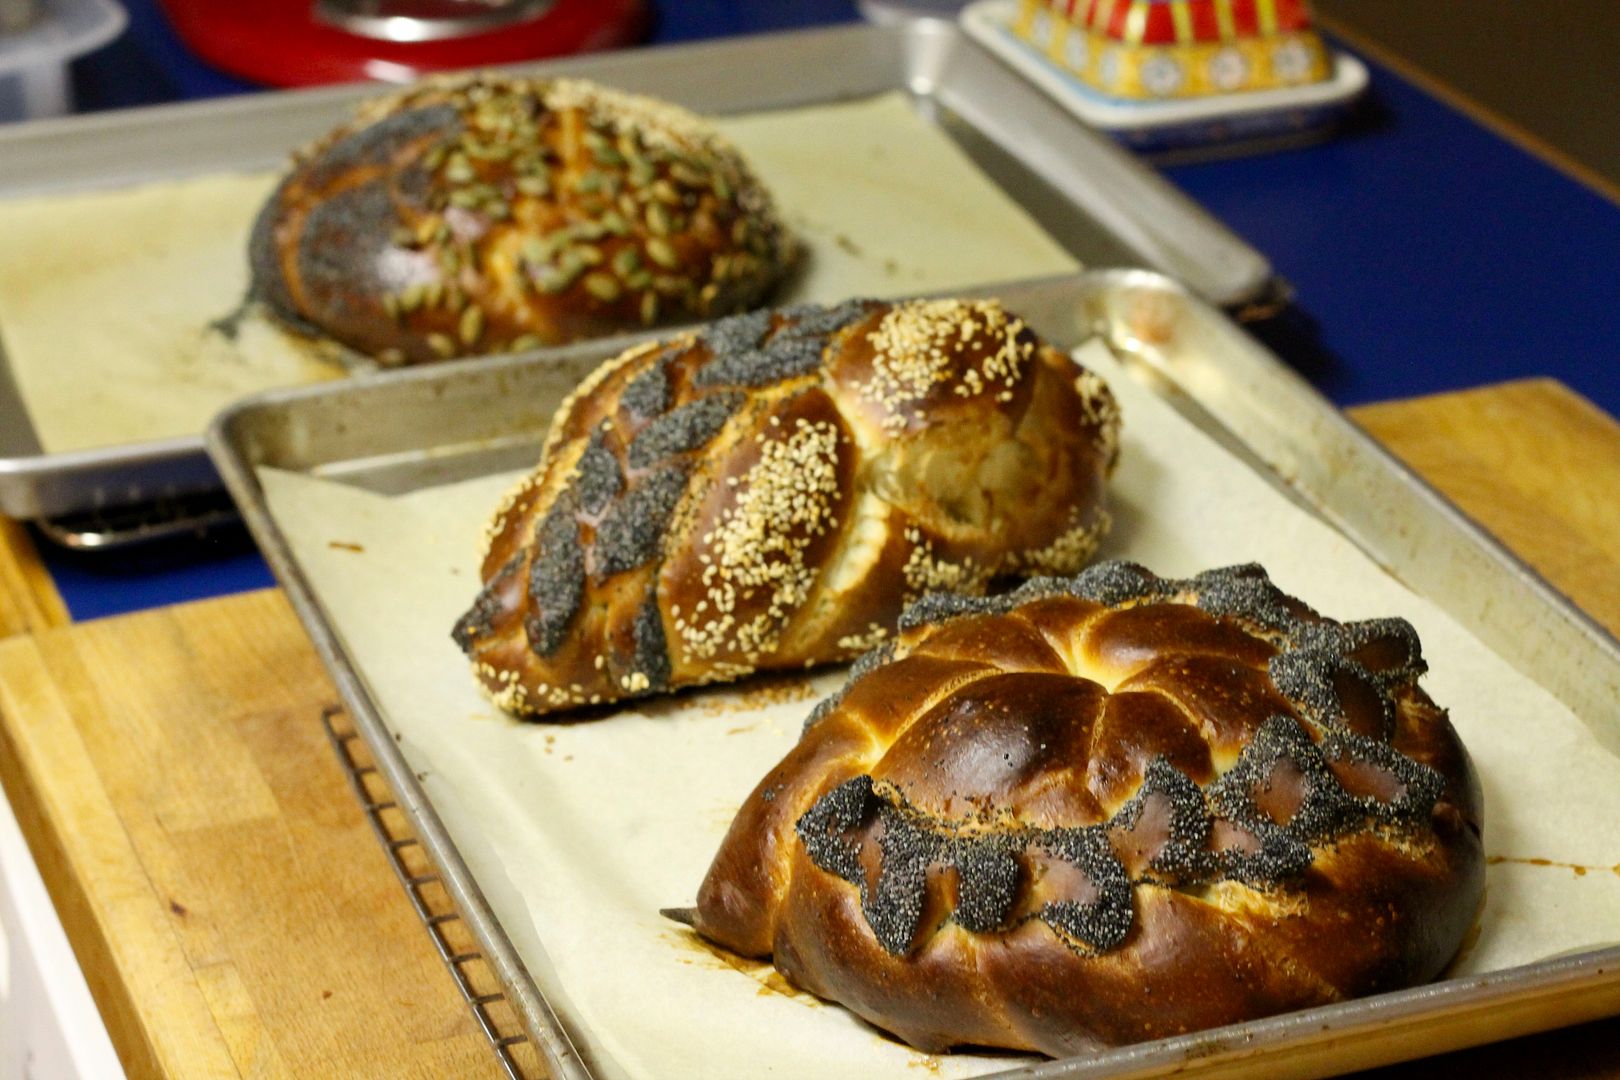
Anyway, when Israel was announced as the Around the World in 12 Plates destination for May, I knew immediately that I would be making Uri’s challah. So I did! I’ve made challah before and gotten fancy with the braiding, but this time I got extra fancy with both the braiding AND the garnishing, because challah is a special occasion bread, after all.

Uri Scheft's Challah | Korena in the Kitchen

This recipe is pretty standard as far as challah recipes go – flour, water, yeast, salt, egg, oil, and a little sugar – but it ends up being very delicious and wonderful to play with and shape. The only thing I’d do differently is to proof the yeast first – I used active dry yeast and just added it straight to the flour, and it took forever to activate once it was mixed into the dough, which made for a very long rise time. Lots of flavour as a result, but I also think it didn’t rise as much as it could have. But I’m still pretty pleased with how these loaves turned out – not quite the underwater-looking beauties that Uri makes, but close enough!

Uri Scheft's Challah | Korena in the Kitchen

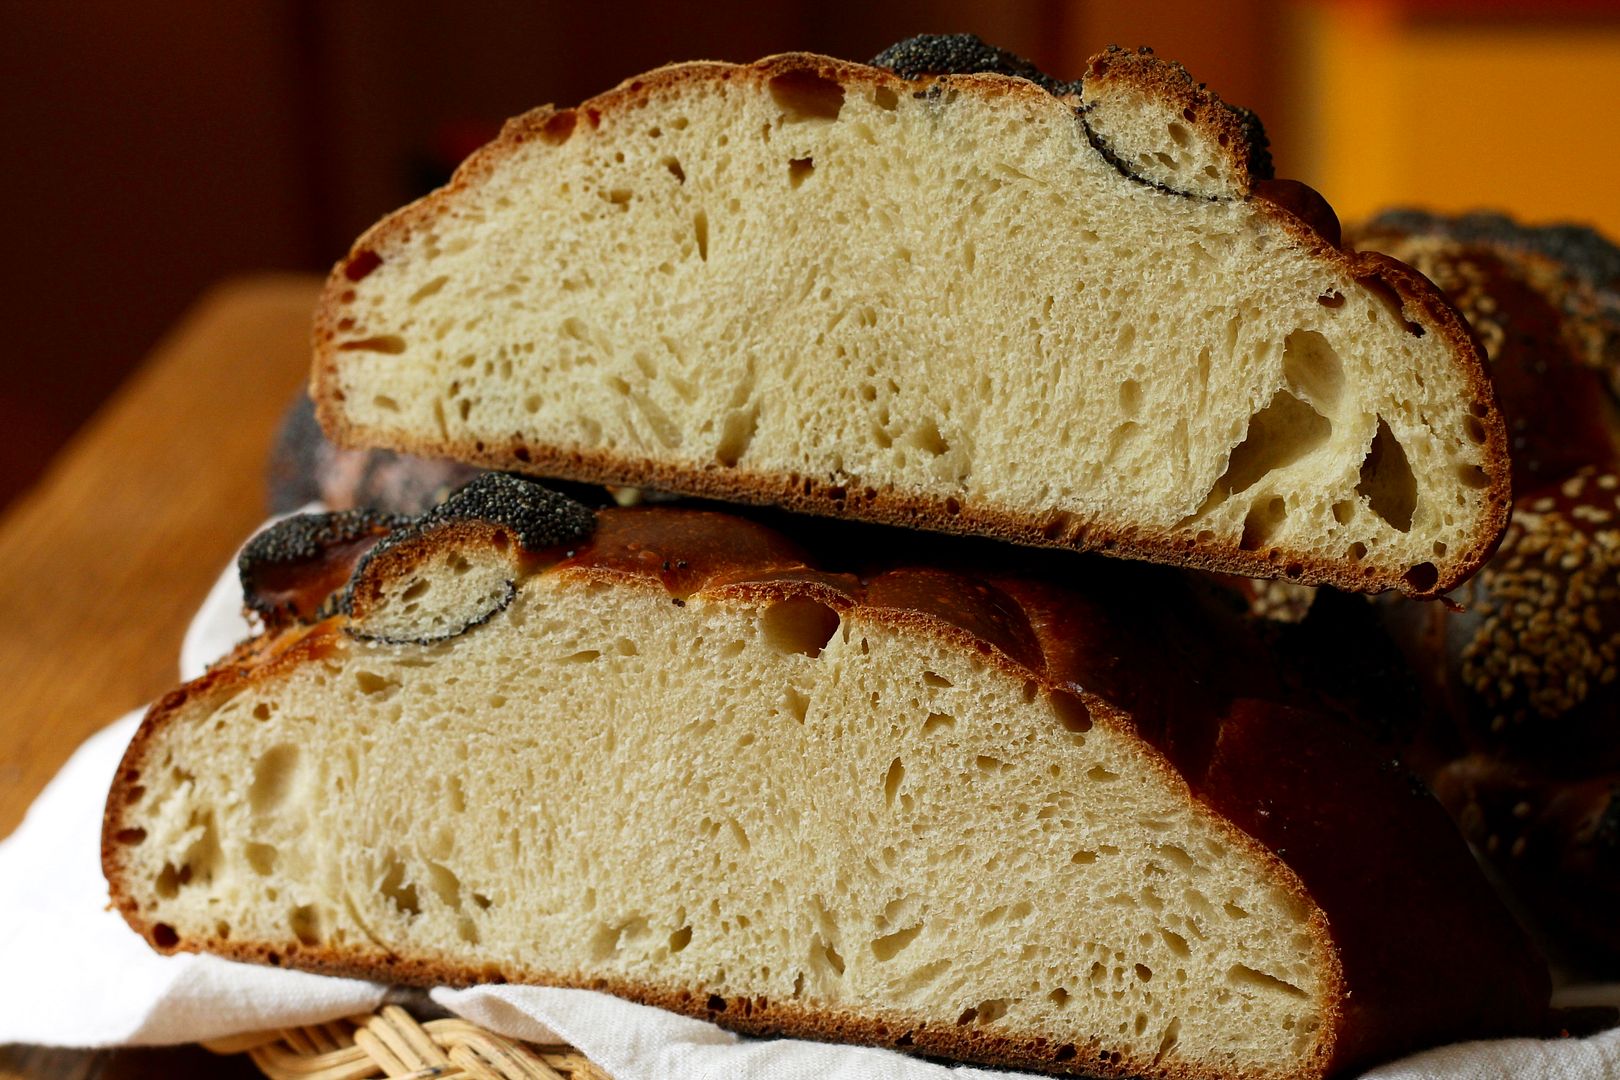
Some other things I learned about challah: the intertwined arms of the braid symbolize love, unity, justice, and peace; a round challah symbolizes the circle of life and wholeness of the universe; the seeds on top symbolize plenty and fertility; and you’re not supposed to cut challah with a knife – instead you’re supposed to tear with your hands (but it’s harder to show the crumb that way, so, uh, oops…).

Uri Scheft's Challah | Korena in the Kitchen

Check out the other ATW12P bloggers for more delicious Israeli cuisine!

Uri Scheft’s Challah

Recipe from Breaking Breads, via Epicurious and Google Books. Makes 3 small loaves.

In the bowl of an electric mixer, combine:

400 g (1 2/3 c) room temperature water

15 g (1 tbsp + 1 3/4 tsp) active dry yeast

5 g (1 tsp) granulated sugar

Stir and let proof until the yeast starts to bubble, then add:

1 kilo (7 cups) all purpose flour

2 large eggs, lightly beaten

95 g (1/2 c less 1 tsp) granulated white sugar

15 g (1 tbsp) fine salt

75 g (5 tbsp) sunflower or canola oil

yeastflour

Mix on low speed with the dough hook until combined, about 2 minutes, scraping the bottom and sides of the bowl to incorporate all the flour. Add a few drops of water if there is still lots of flour in the bottom of the bowl, or a little extra flour if the dough is very sticky.

Increase the mixer to medium speed and knead for about 4 minutes, until smooth. The dough should be a bit firm.

dough1

Turn the dough out onto a lightly floured surface and use your hands to stretch and tear the top half of the dough away from you, then fold it over on itself, give it a quarter turn, and repeat. Continue for about 1 minute, then shape the dough into a smooth ball.

stretchfoldball

Lightly dust a bowl with flour and place the dough inside. Sprinkle a little flour on top and cover the bowl with plastic wrap. Let the dough rise at room temperature for about 40 minutes, until it has risen by about 70% (which might take longer, depending on how cool your house is).

beforeafterrise

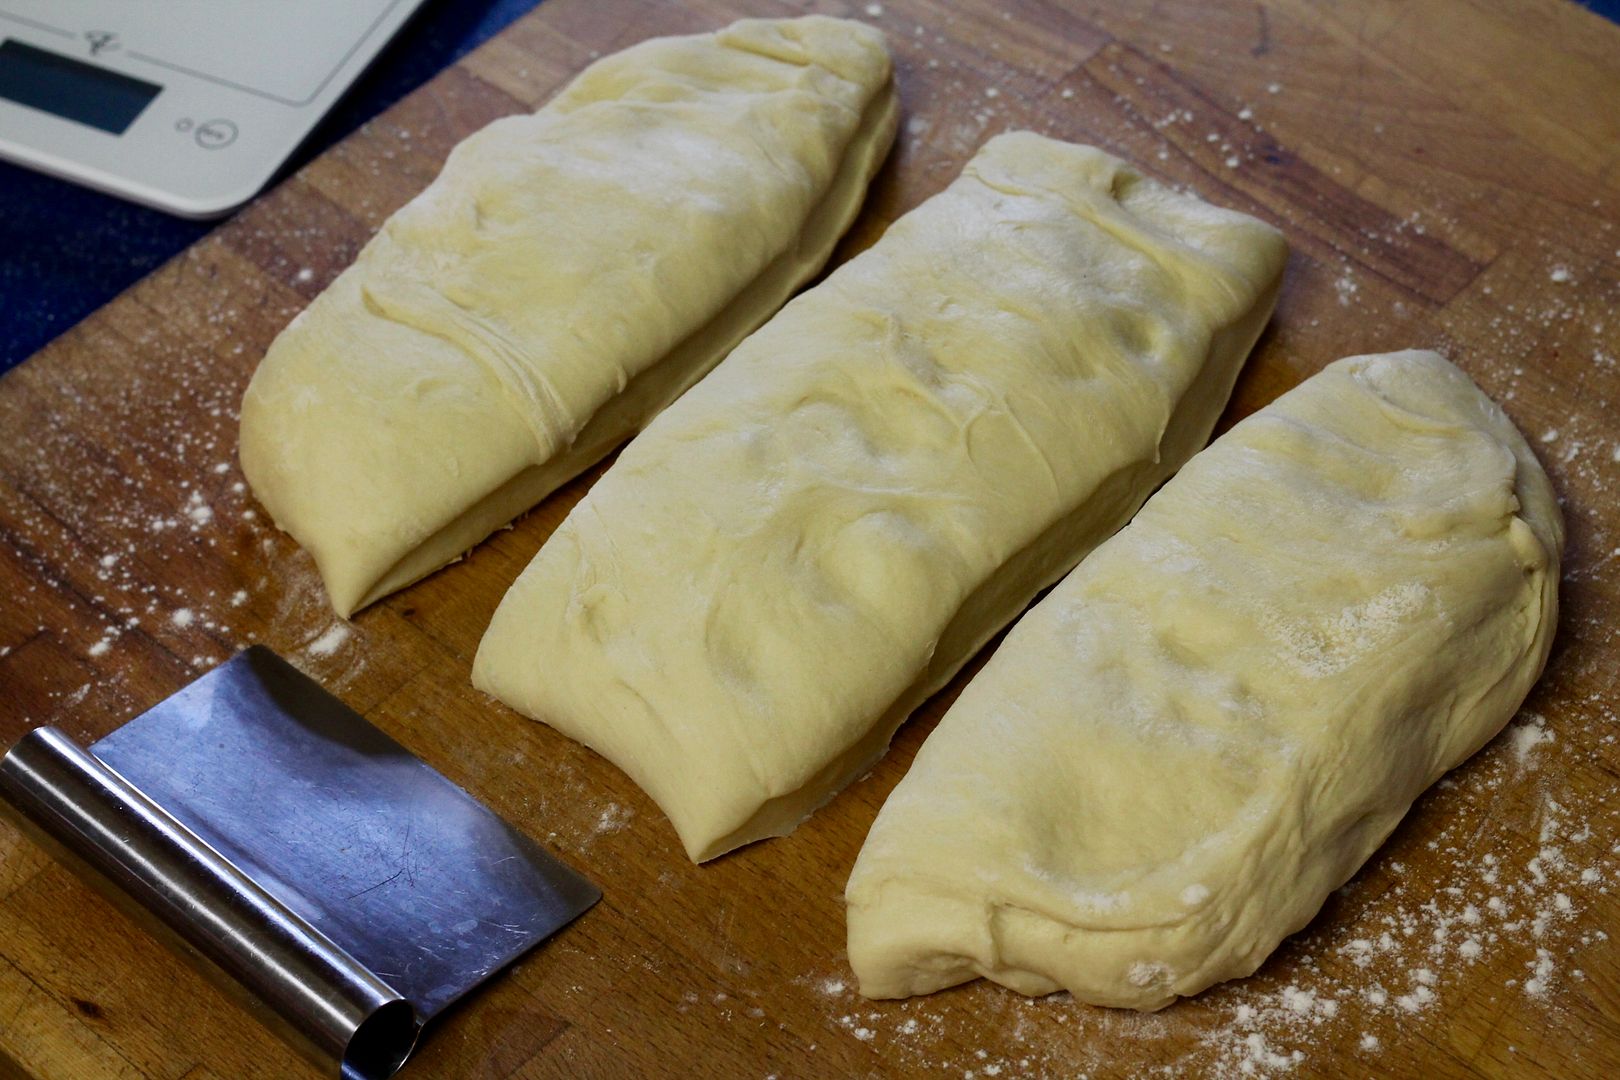
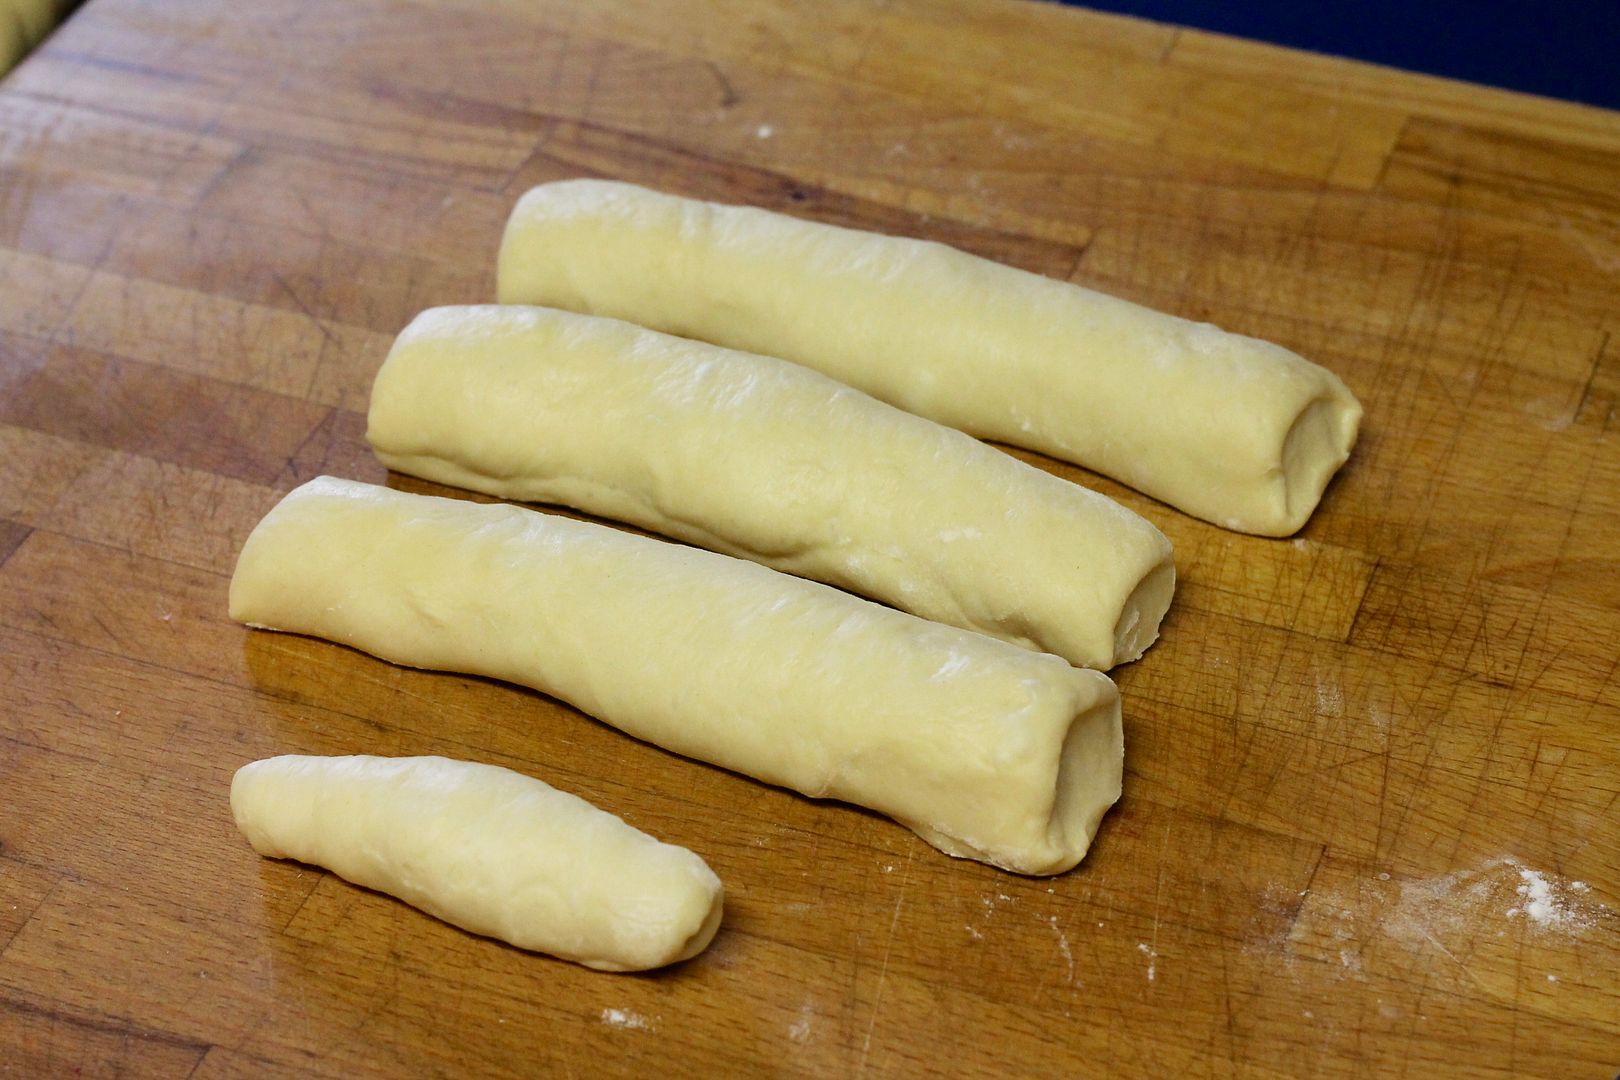
Gently scrape the risen dough out of the bowl and shape it into a rectangle. With a dough scraper or large knife, divide into three equal pieces. Divide each of the three pieces into however many strands you want each loaf to have.

3pieces

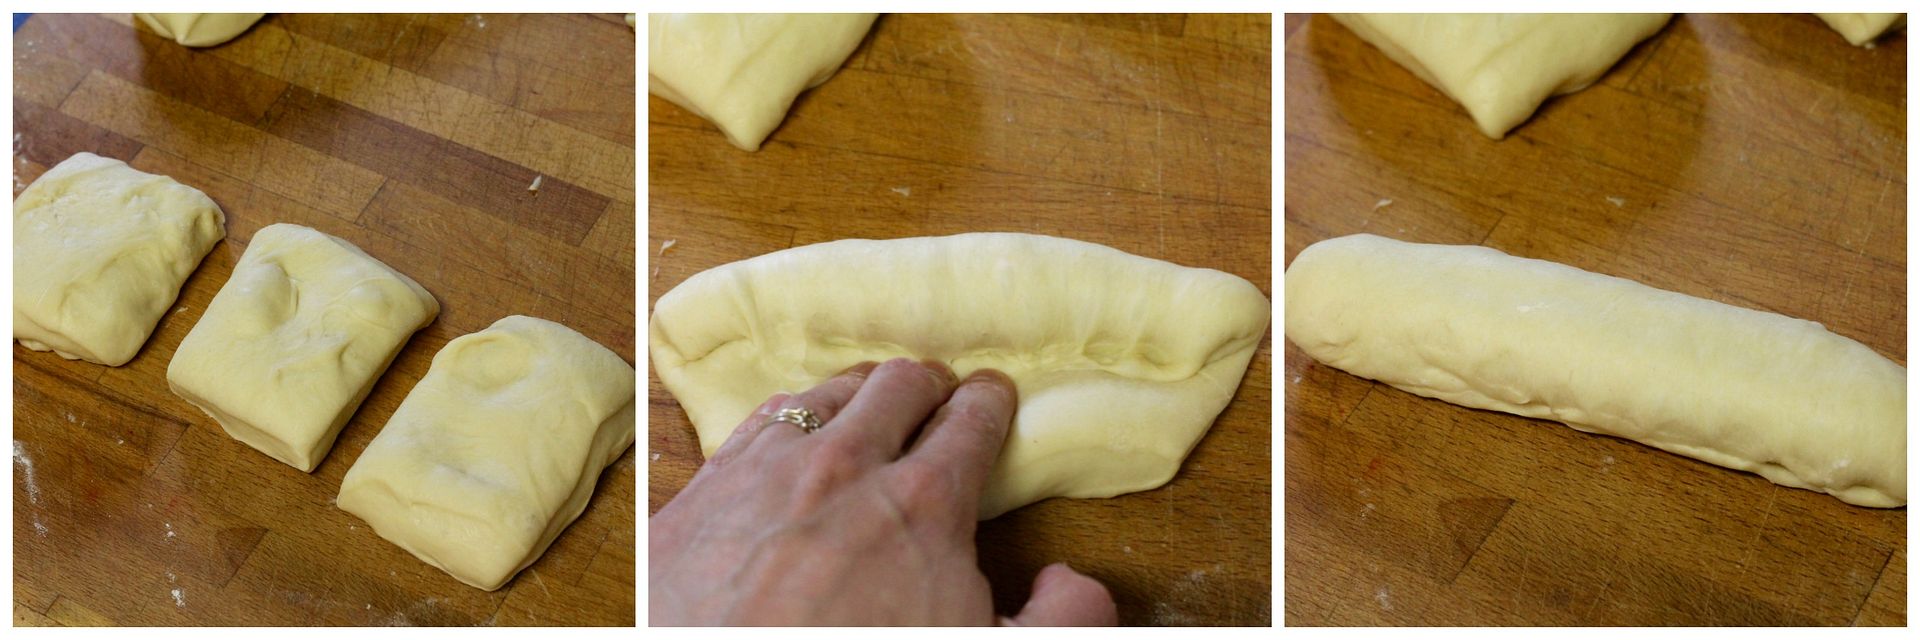
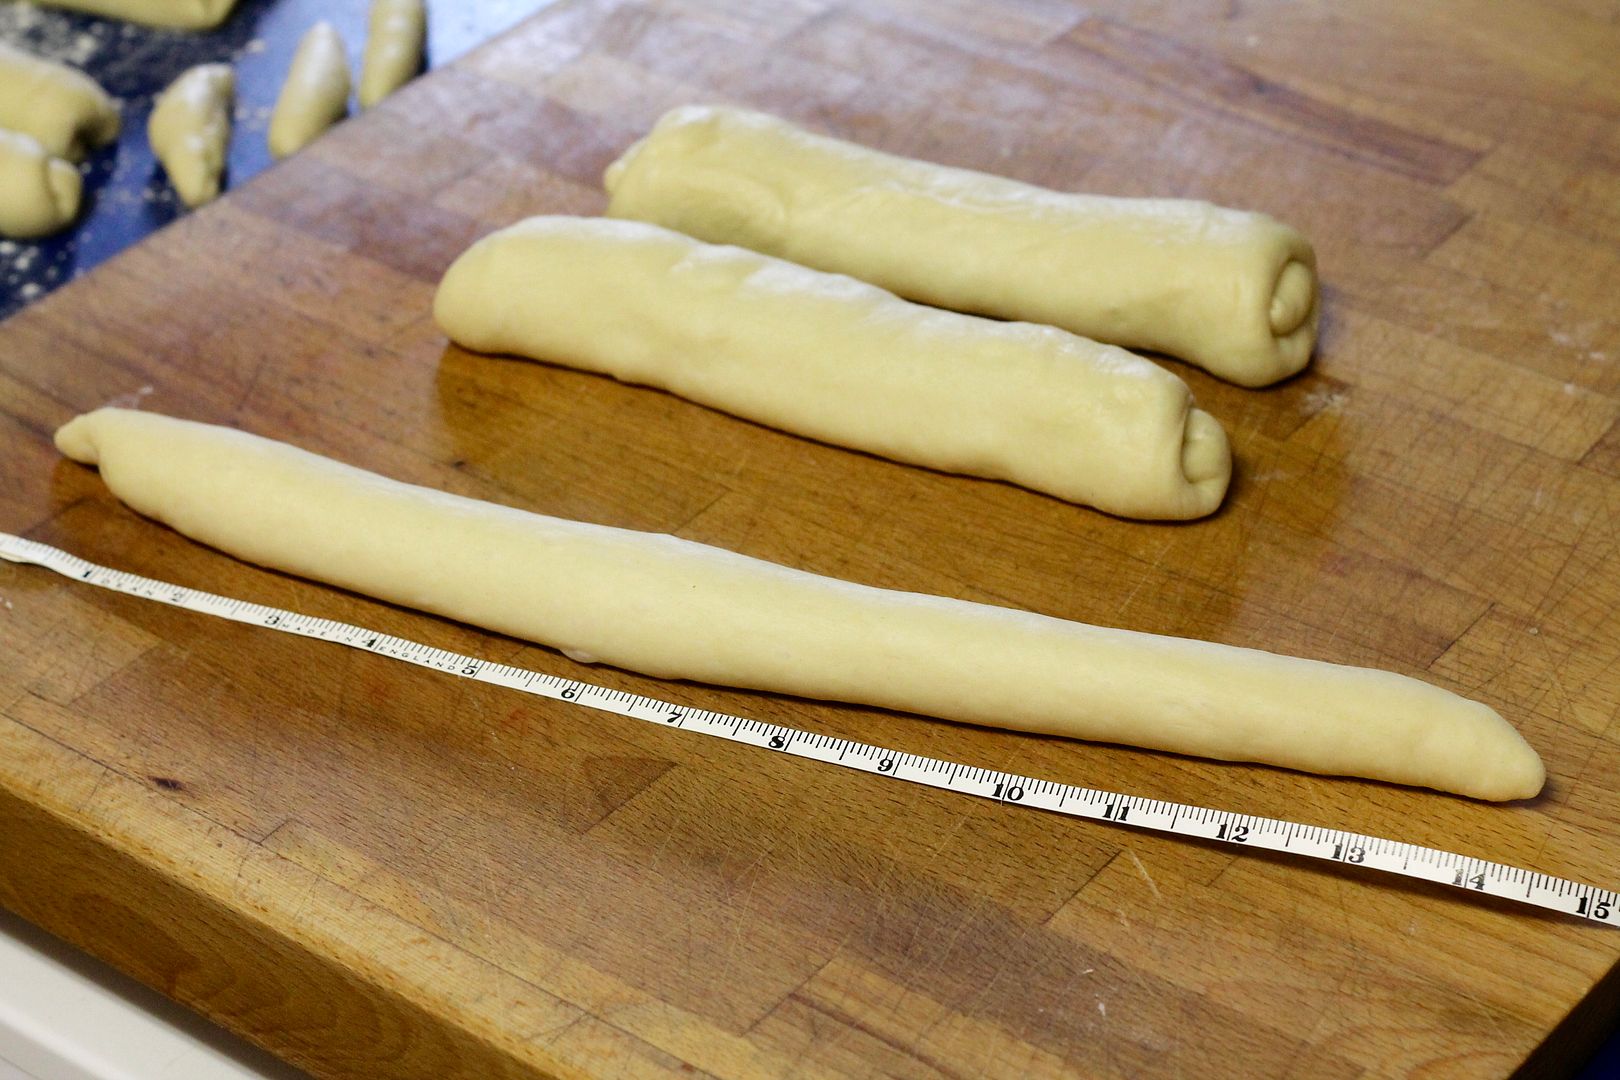
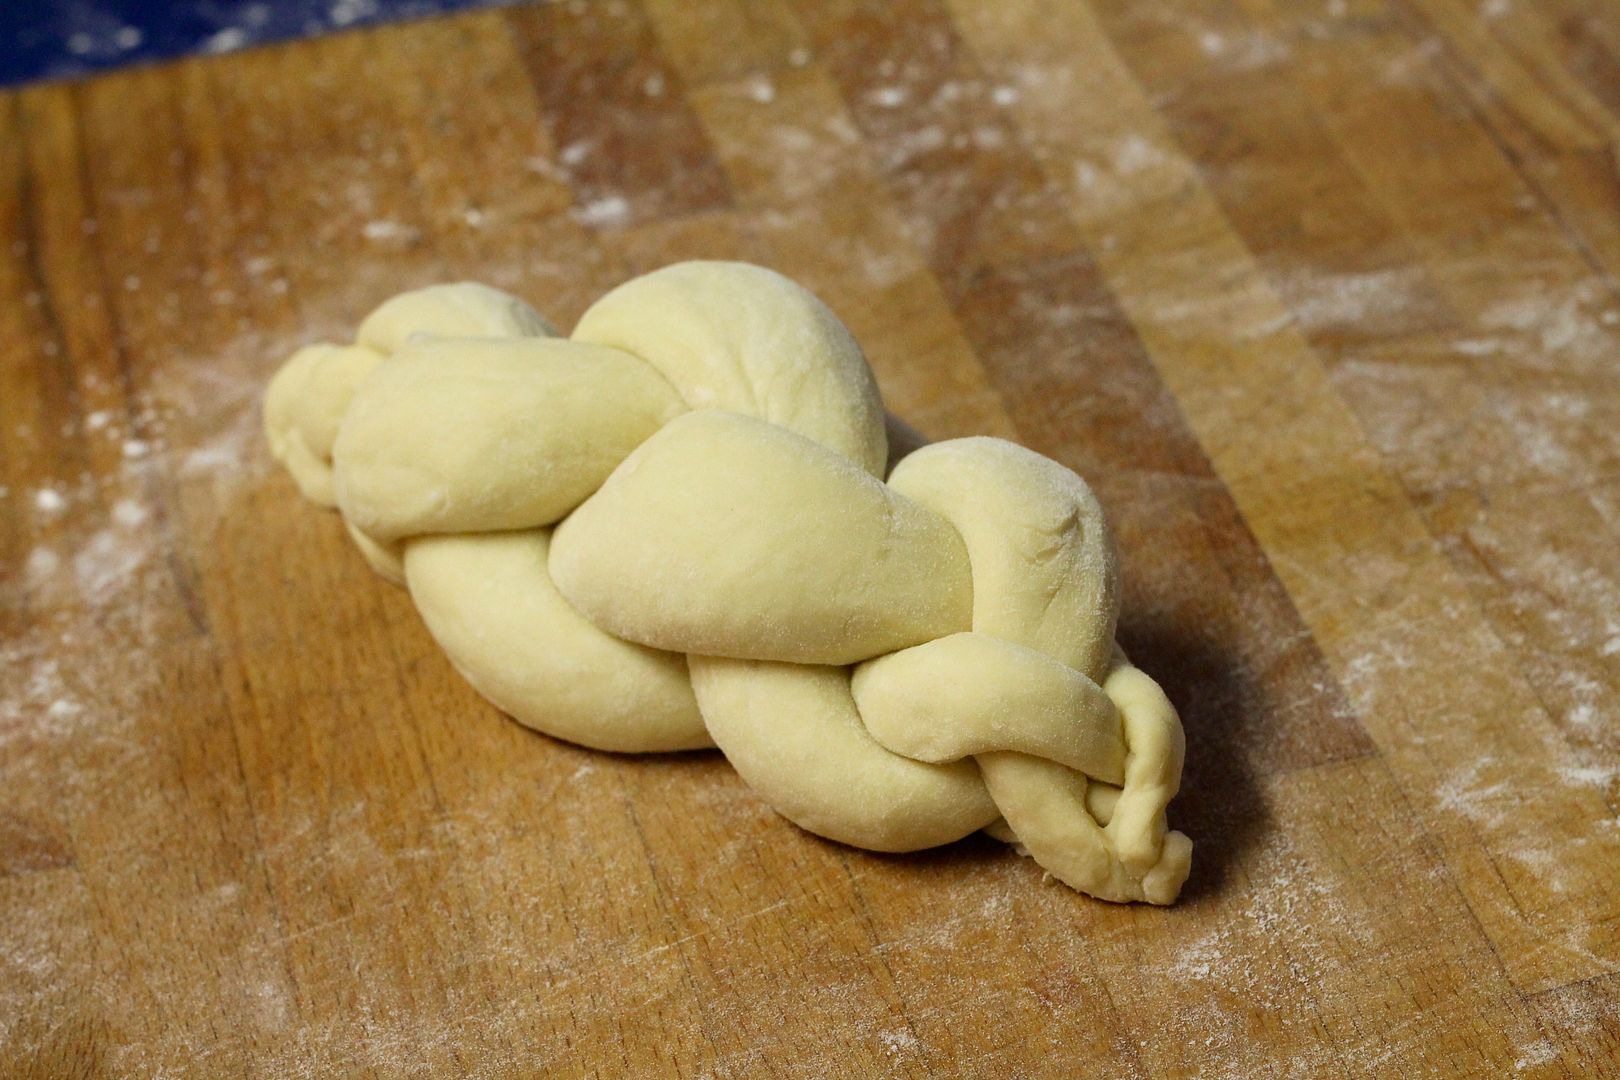
Place each small piece of dough lengthwise on your work surface, then flatten it with your palm into a rectangle. Fold the top third into the middle and press it firmly, then repeat the fold and pres three more times, essentially making a very compact cylinder of dough about 7 inches long. Repeat with all the remaining small pieces of dough.

shaping

Braid and decorate the dough as directed below, then place each shaped loaf on a parchment paper-lined baking sheet, cover with a kitchen towel, and let rise until doubled in volume, about 40 minutes depending on room temperature.

proofing

Preheat the oven to 425˚F (400˚F convection) with the oven racks in the top and bottom thirds of the oven.

Test that the loaves are ready to bake by pressing on the loaf gently with your finger – if the depression fills in half way, they are ready to bake.

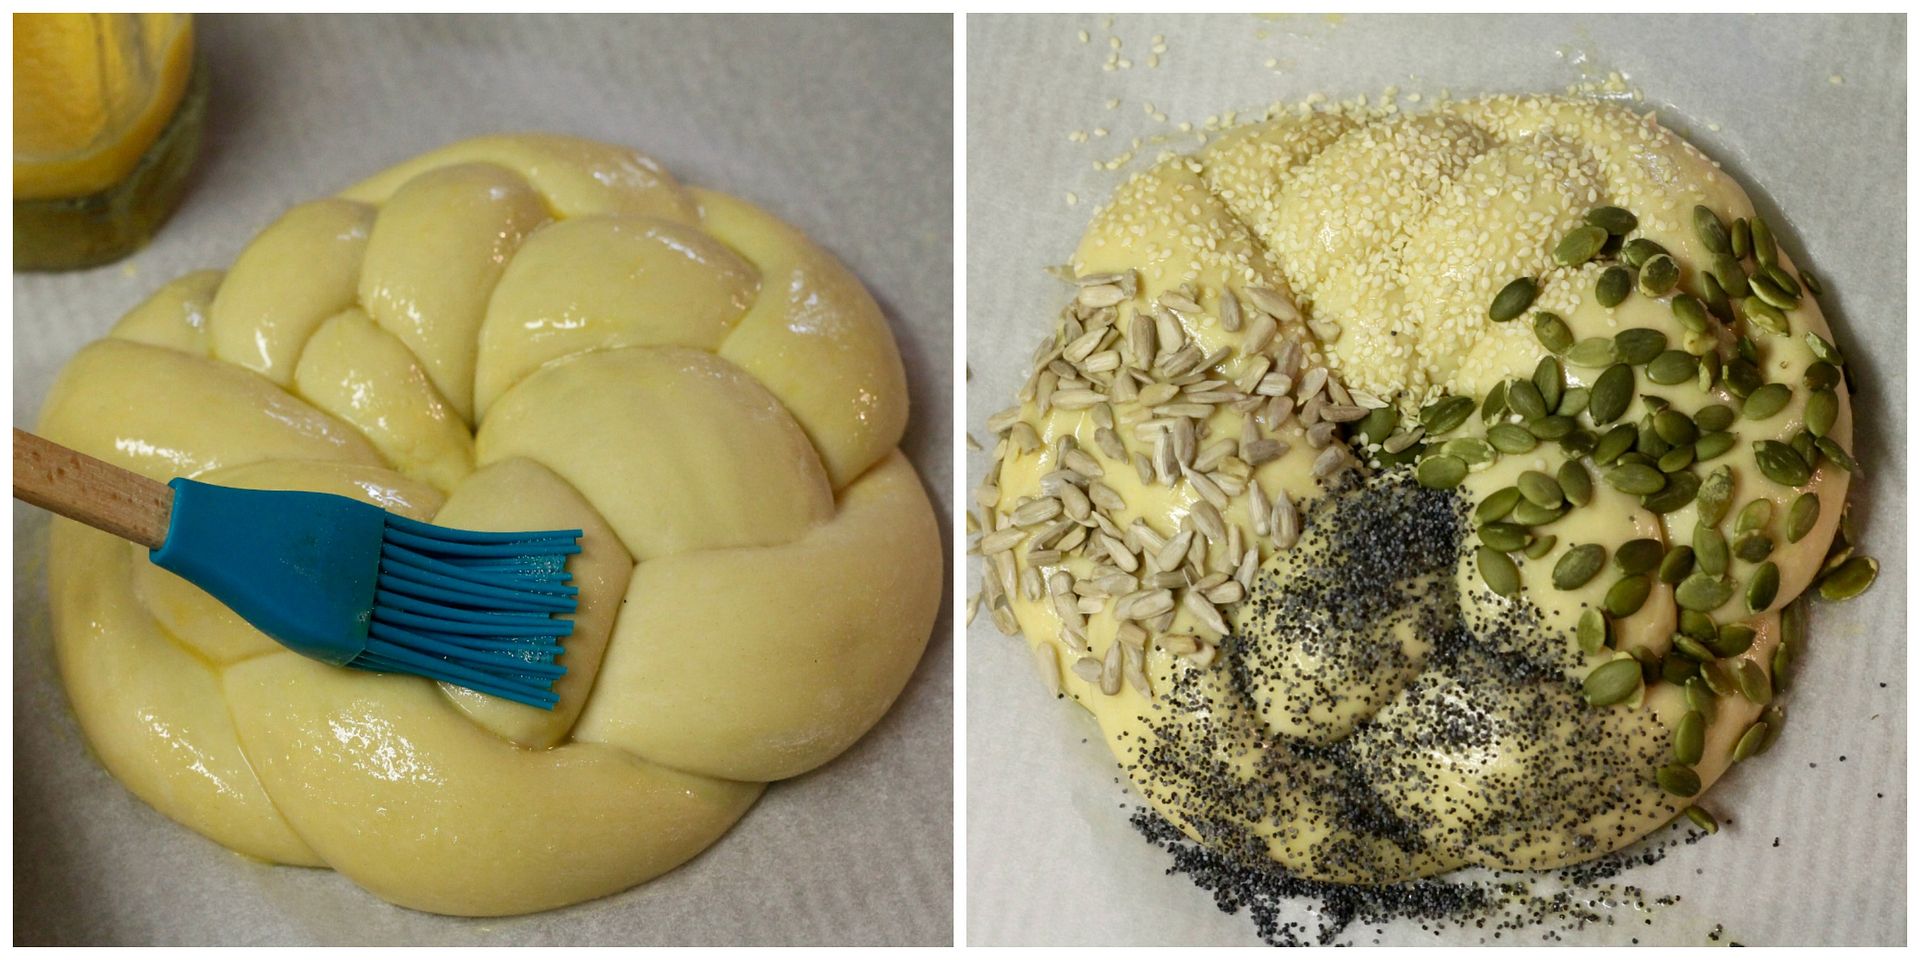
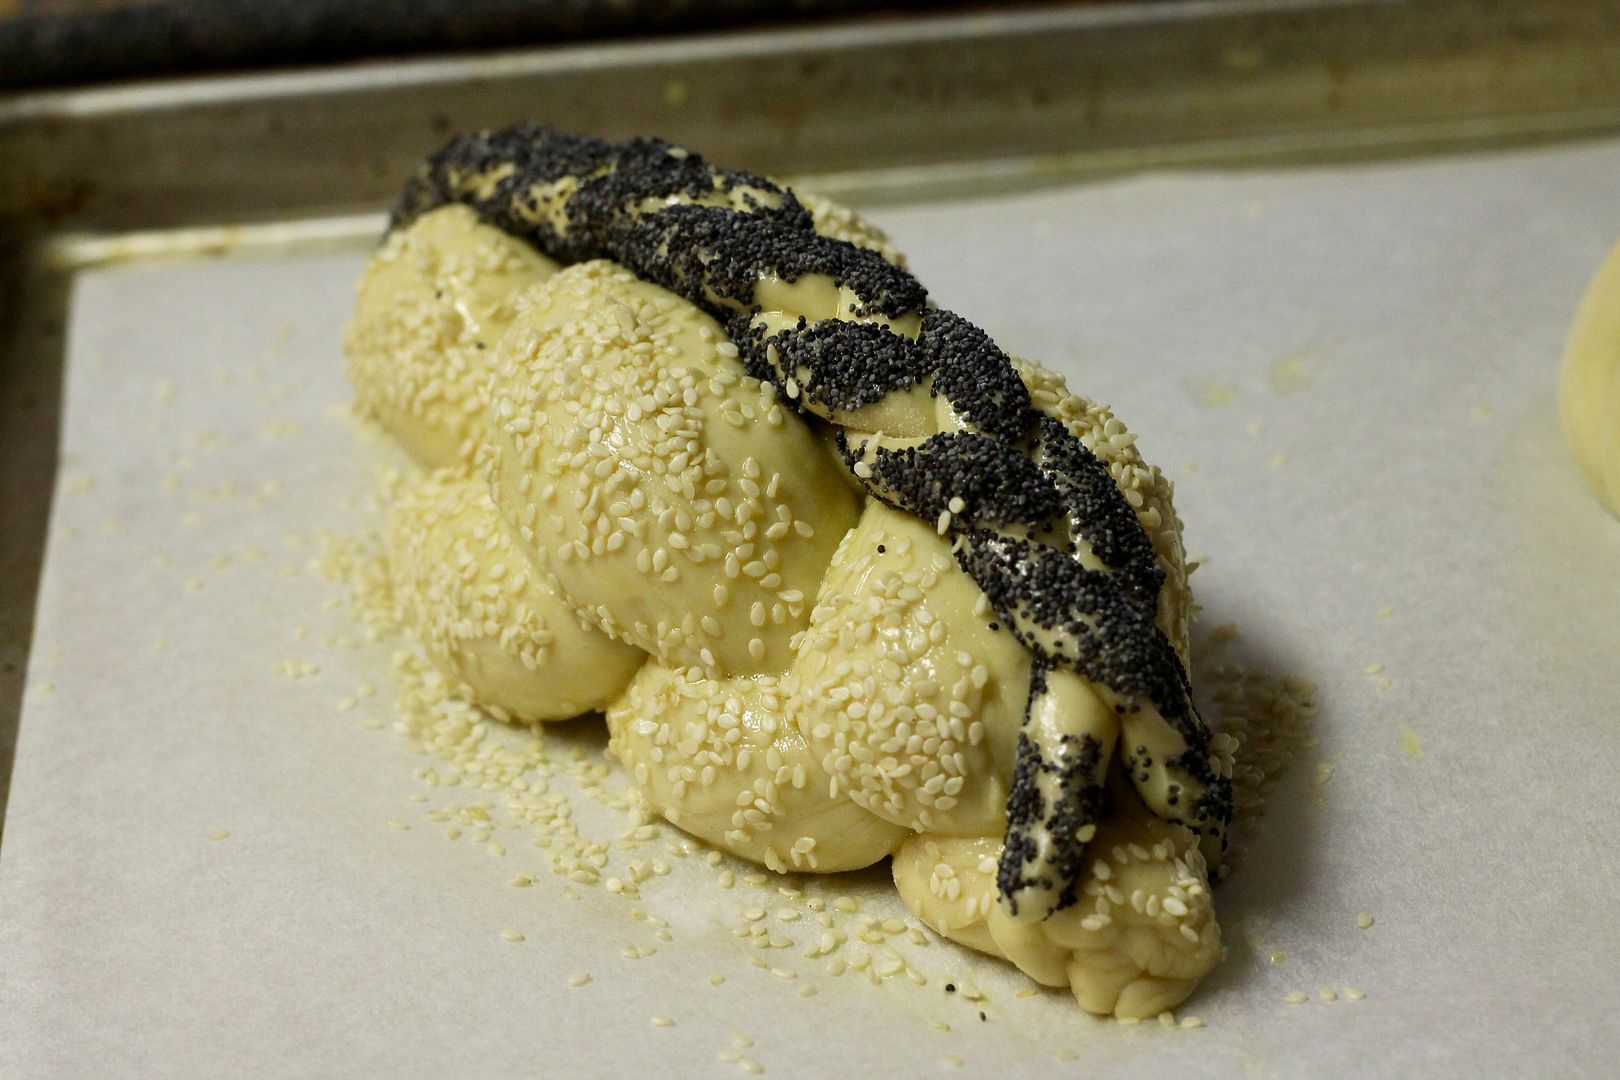
Whisk together an egg wash of 1 large egg, 1 tbsp water, and a pinch of salt. Brush it evenly over the proofed loaves in a thin coating and sprinkle them generously with the seeds of your choice. For a multi-seed challah, try 4-5 different kinds – I used sesame, poppy, pumpkin, and sunflower.

eggwashseeds

Bake in the top and bottom of the preheated oven for 15 minutes, then rotate the pans top and bottom and bake for another 10 minutes, until golden brown and the internal temperature reaches 195˚F. Remove from the oven and cool completely before serving.

baked

Braided Round Loaf

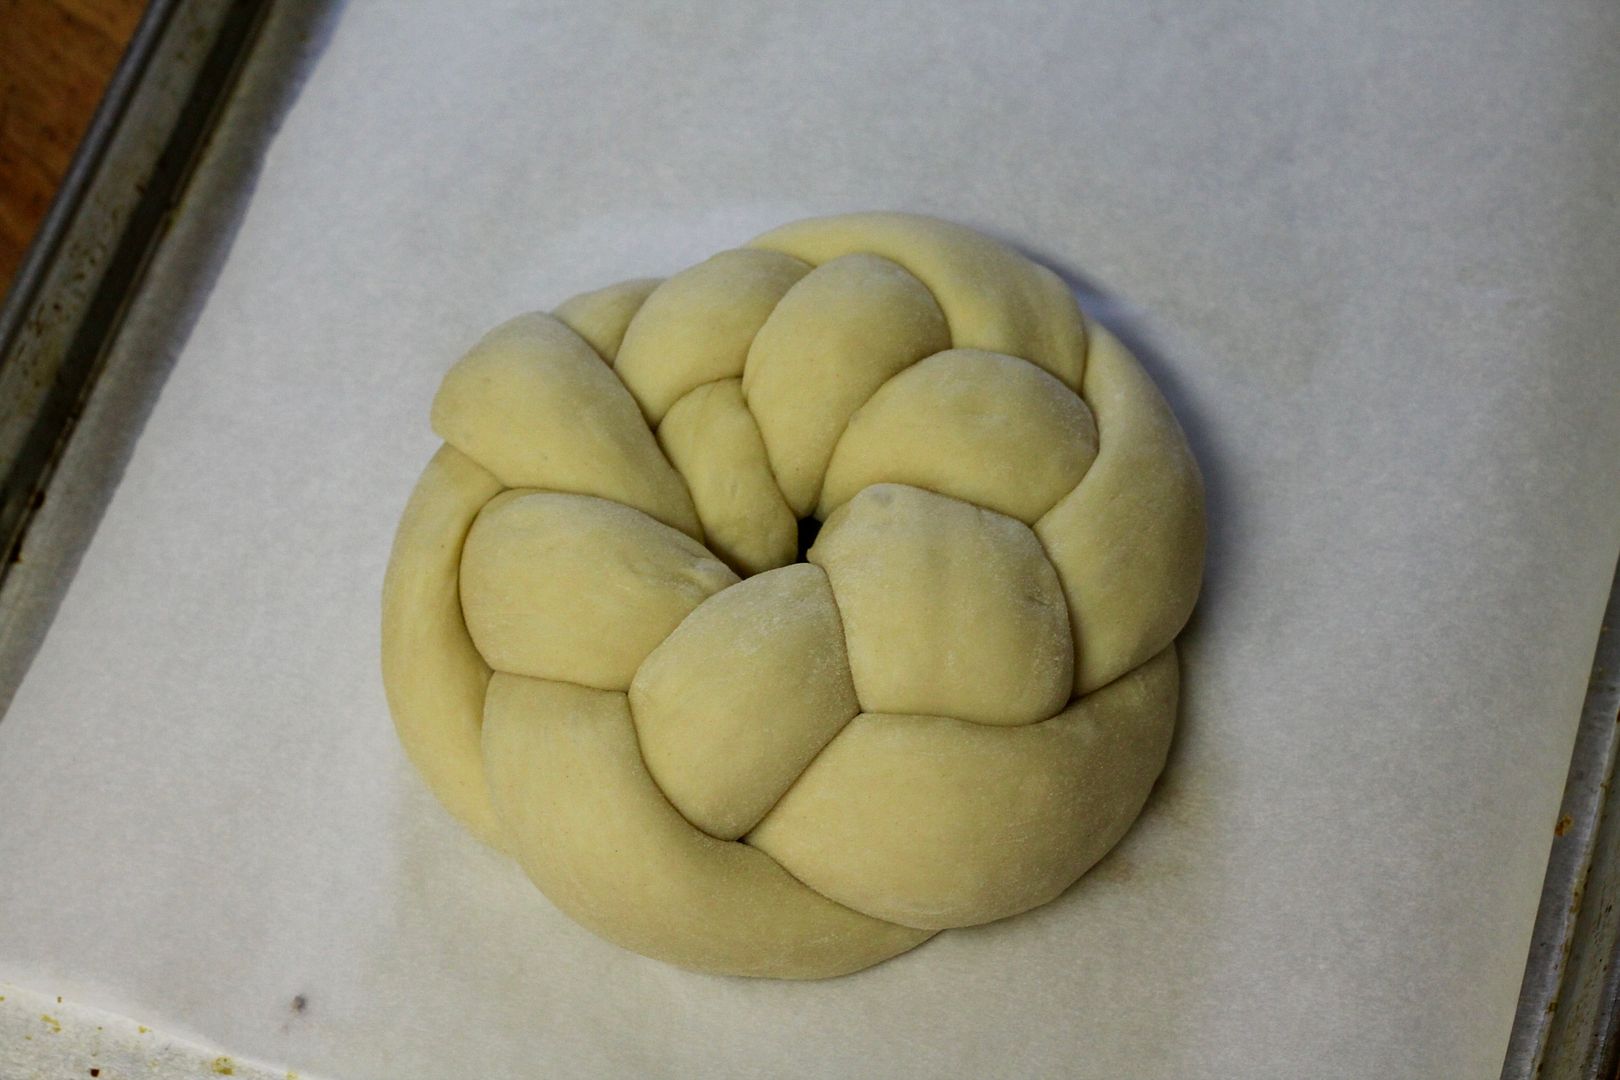
Take 3 shaped cylinders of dough and roll them out with your palms on an unfloured work surface into 14 inch ropes, pressing lightly on the ends of the ropes so they are tapered.

14inches

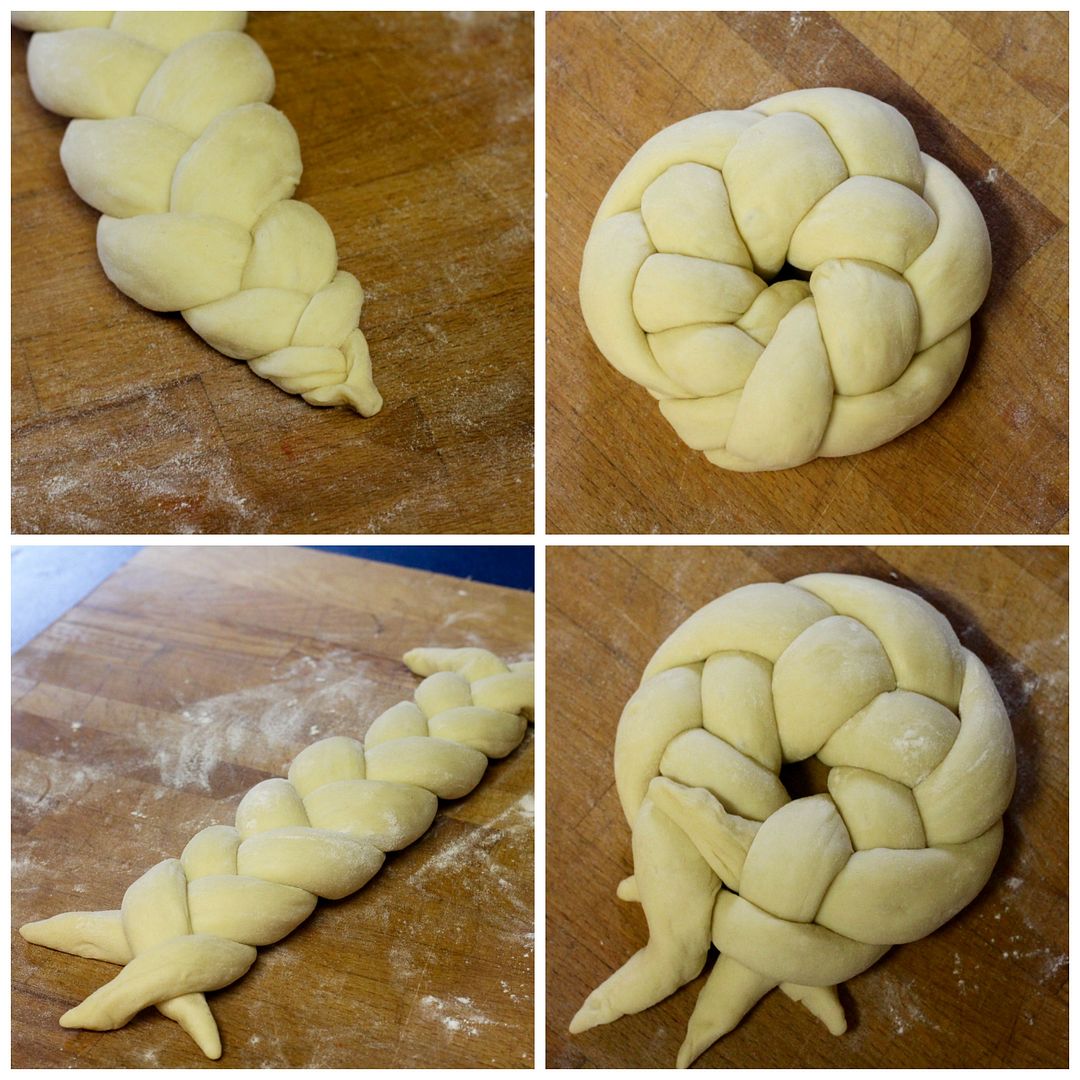
Lightly dust the ropes with flour (this will keep them distinct once braided together) then braid them together, either pressing the ends together or leaving them loose.

Form the braid into a circle, either tucking the ends of the braid underneath or sort of weaving them together loosely.

braidcollage

Four Strand Braid

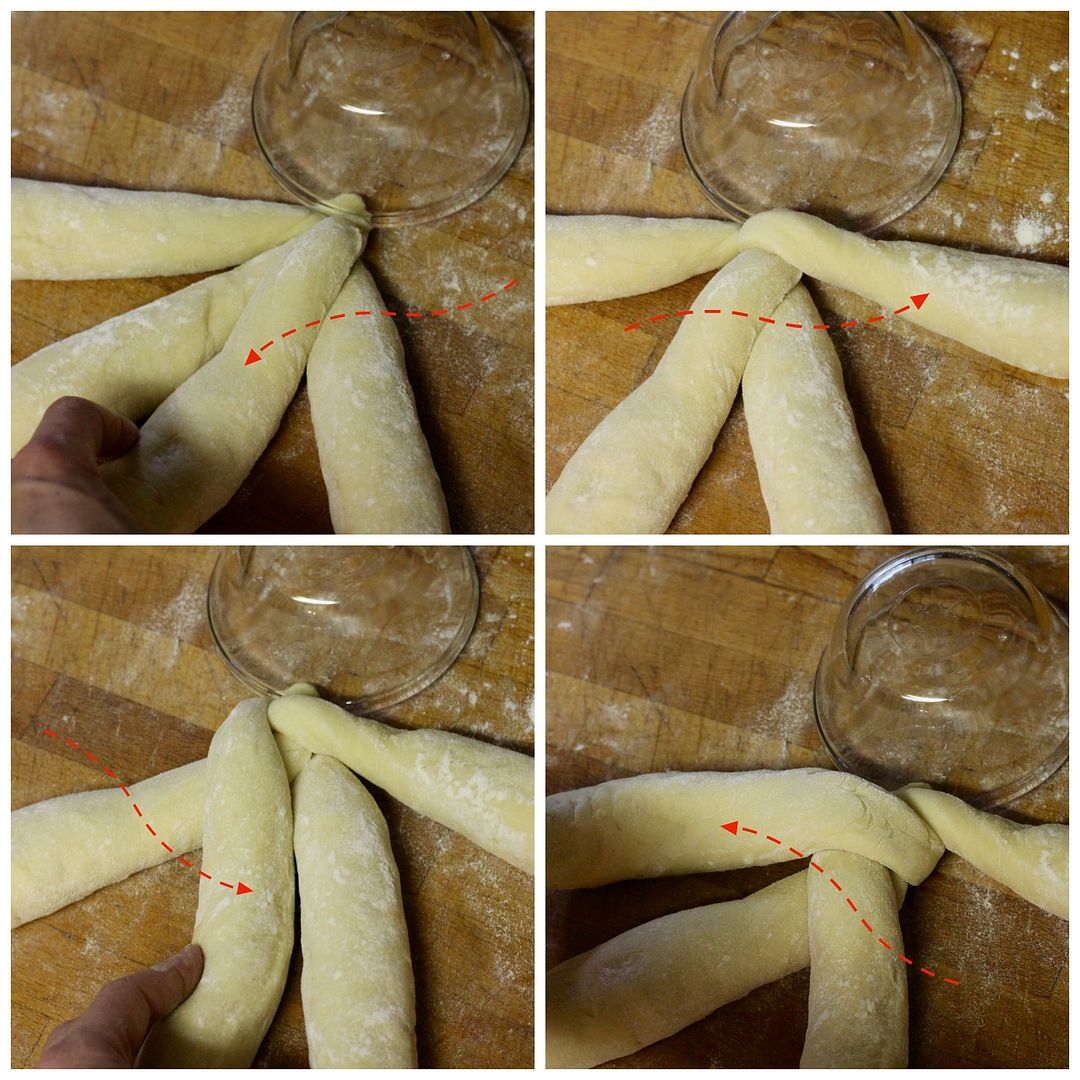
Take 4 shaped cylinders of dough and roll them out as above to about 9 inches long and tapered. Flour each strand, place them side by side, and use something to weigh down the ends together.

Take the right-most strand and move it over one strand to the left. Take the second-to-the-left strand, and move it all the way over to the right.

Now repeat those two moves in the other direction. Take the left-most strand and move it over one strand to the right. Take the second-to-the-right strand, and move it all the way over to the left.

4strandbraid

Repeat until you get to the end of the dough, then press the ends together firmly.

4strandbraid

Final Decorations

Before dividing the three large portions of dough into smaller strands, cut off about 50 g of dough and shape it into a cylinder as directed above.

portioneddough

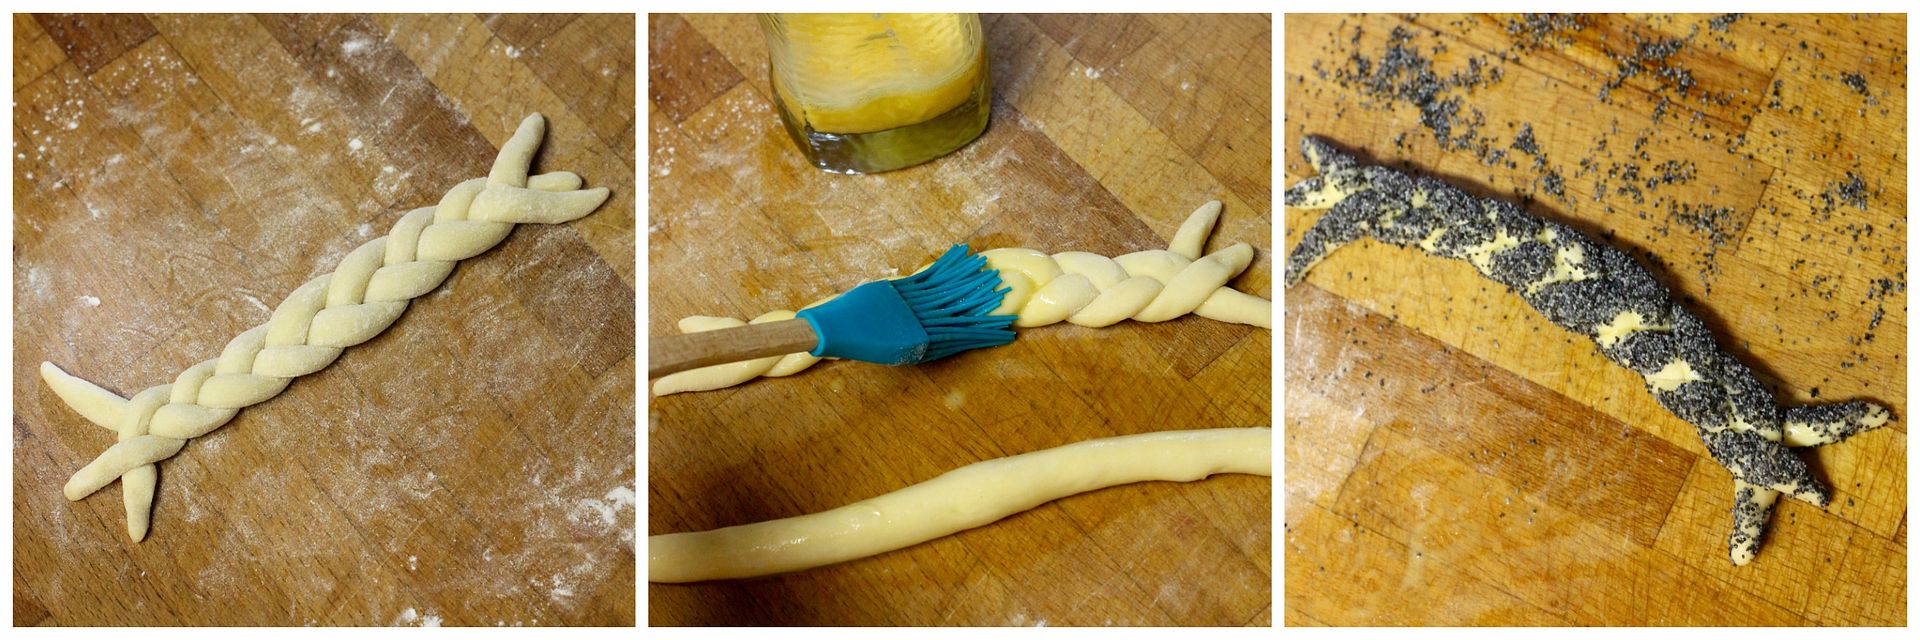
To make a braid decoration, divide the cylinder into three pieces and roll each out into a thin rope about 12 inches long. Flour the strands, then braid, leaving the ends loose. Brush the braid with egg wash on both sides and roll it in poppy seeds.

decobraid

Use some egg wash to stick the braid to the shaped loaf, then proof, egg wash, sprinkle, and bake the loaf as directed.

braidonbraid

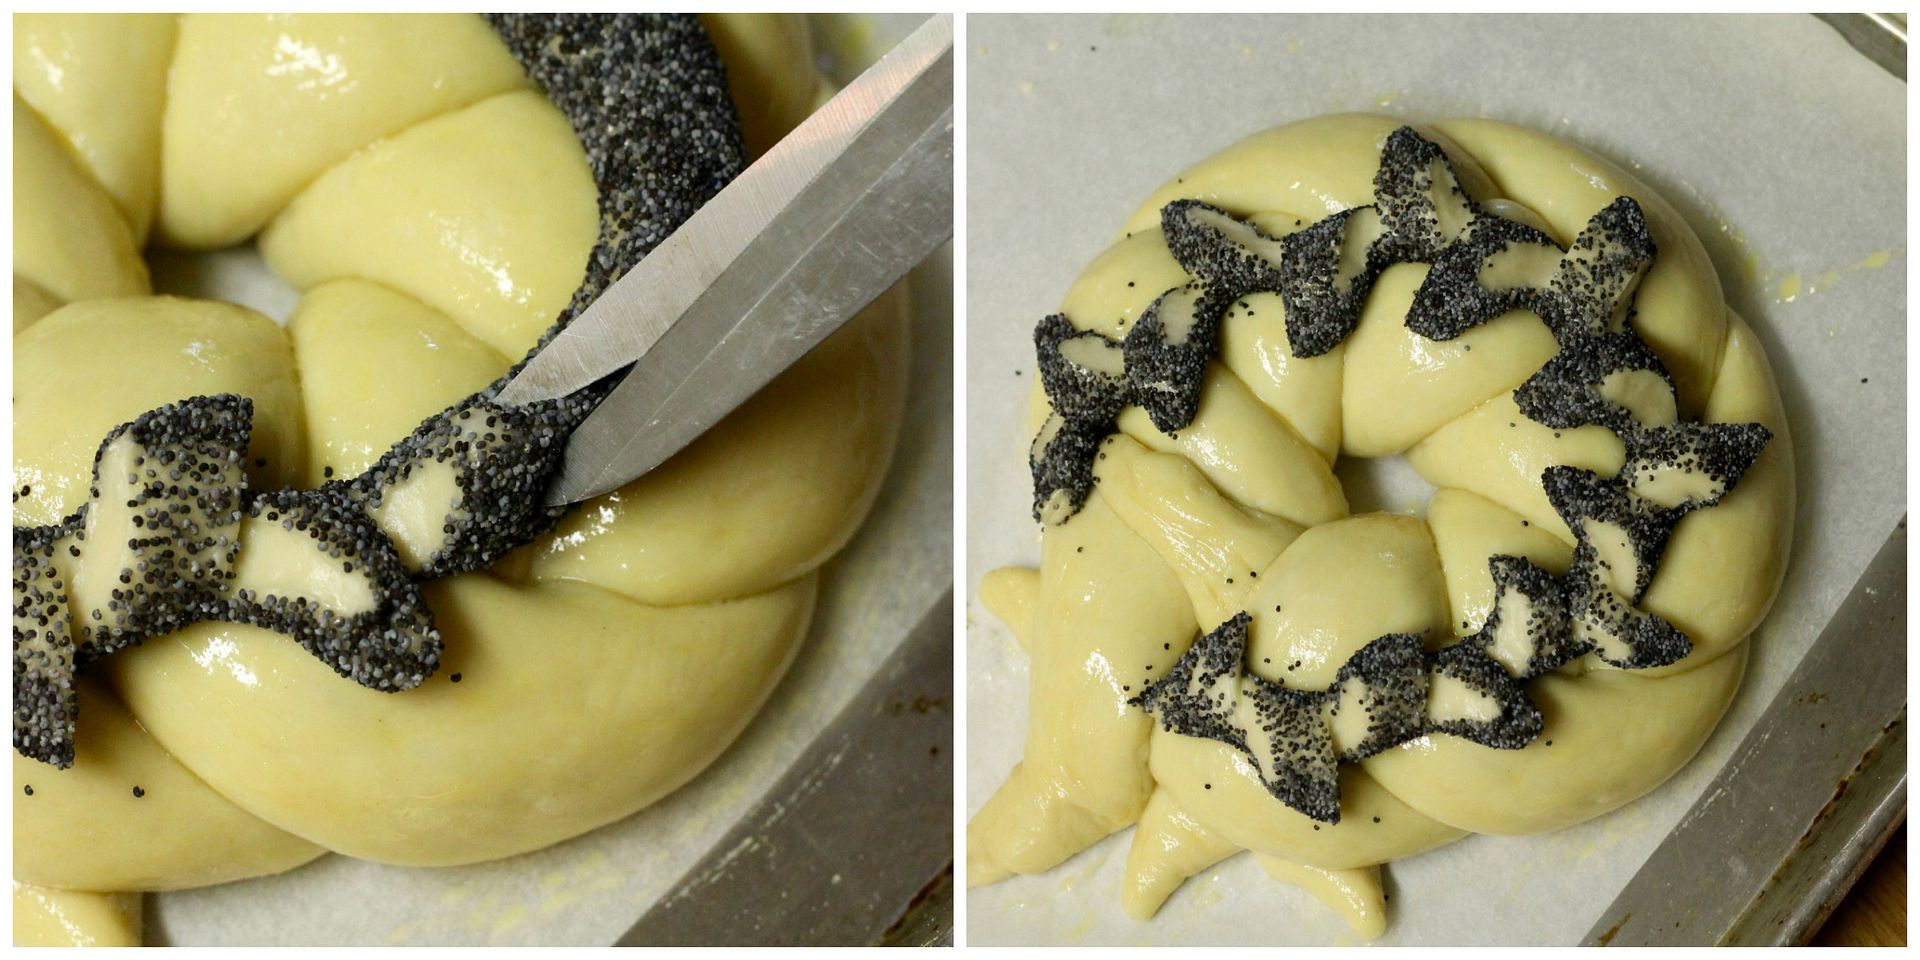
To make an epi decoration, roll out a single strand of dough into a rope about 12 inches long, brush it with egg wash, and roll it in poppy seeds. Stick it to a shaped loaf with egg wash, then use scissors held at a steep angle to cut little ears in the dough rope and turn each ear to one side, alternating left and right. Proof, egg wash, sprinkle, and bake the loaf as directed.

epideco

Save

Save

Save

Turkish Simit Bread

$
0
0

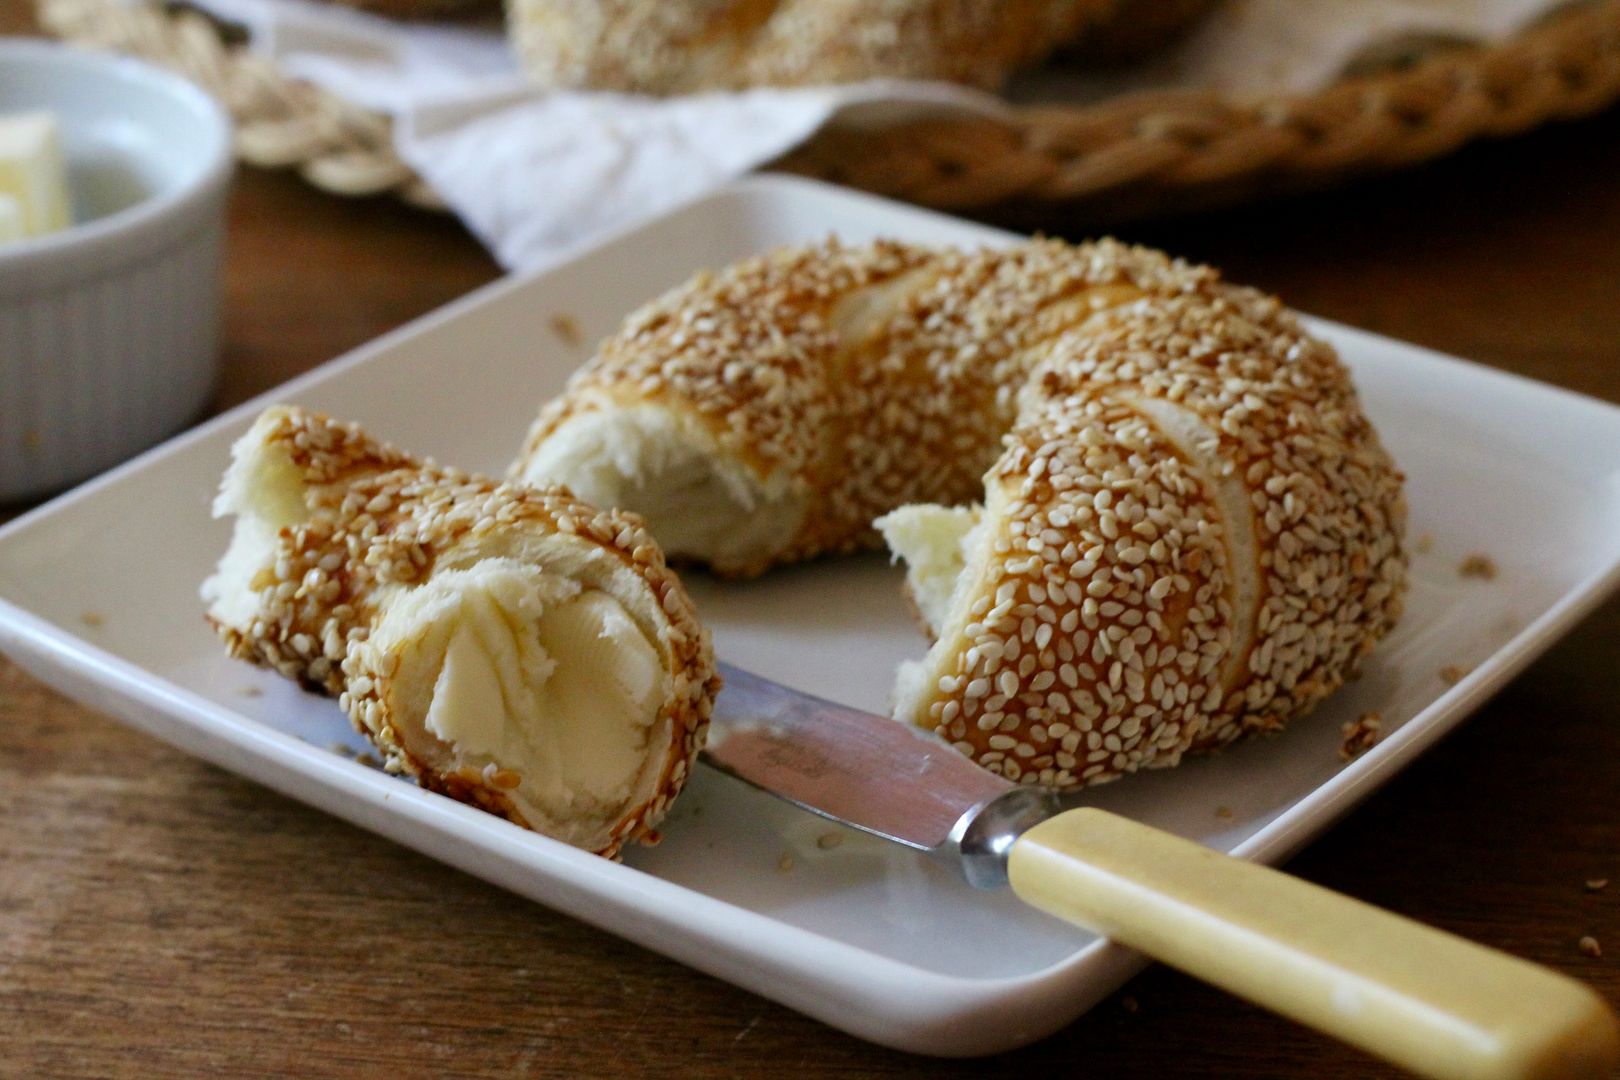
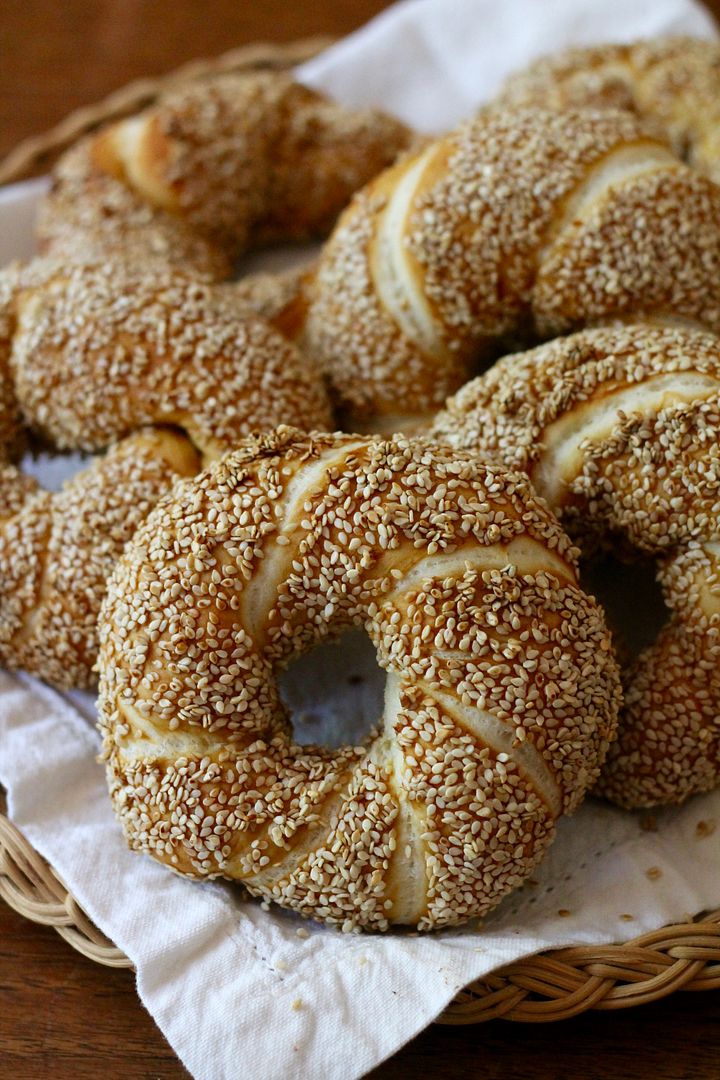
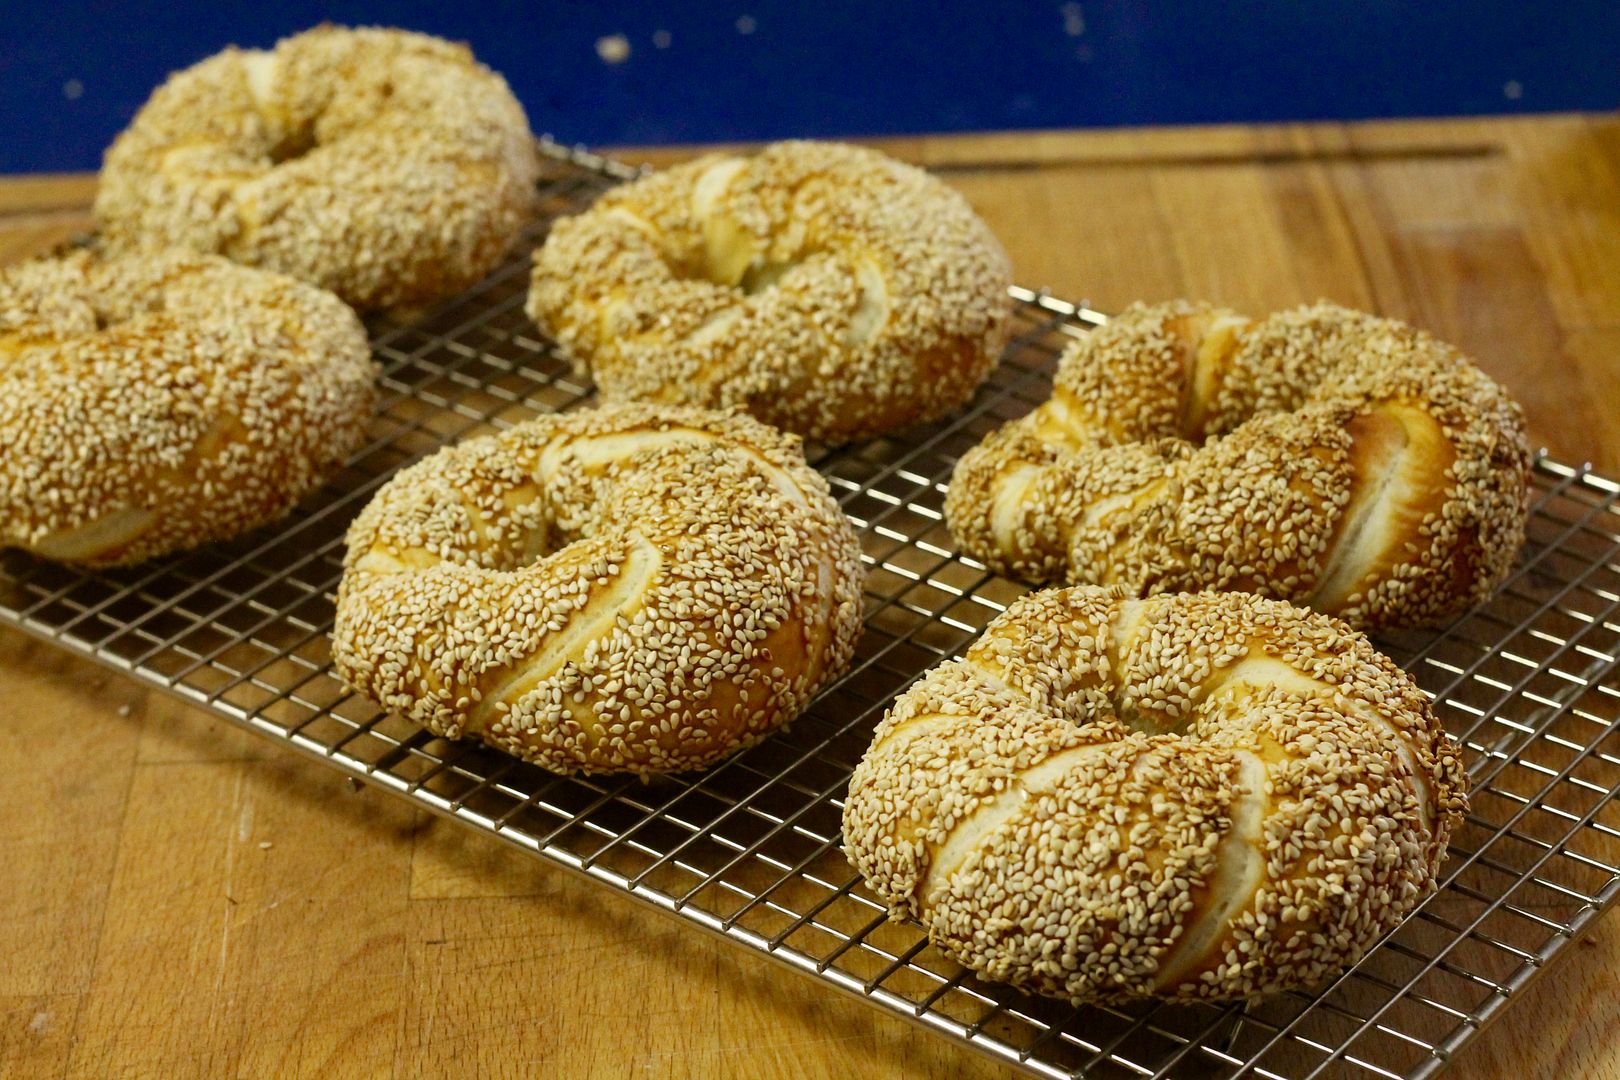
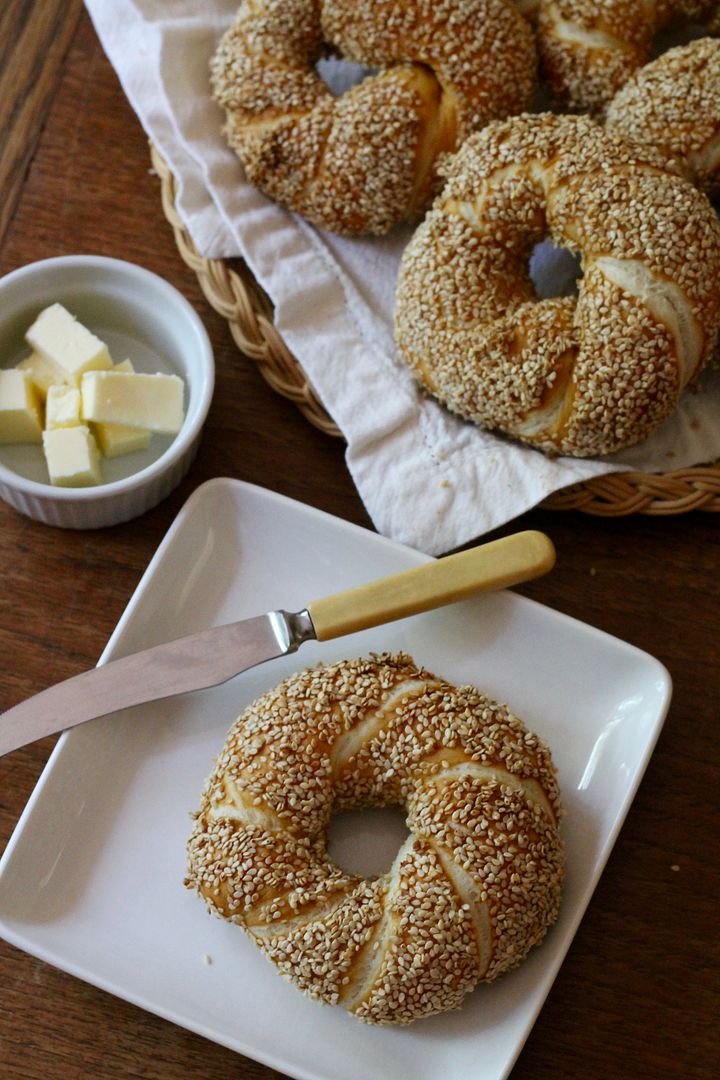
With our Around the World in 12 Plates leader, Gabby, spending the month of July in Turkey on an archaeological dig (#lifegoals), it only made sense that this month’s destination was Turkey! Seeing her post delicious-looking photos of her meals on Facebook, I was intrigued by her mention of a bread called “simit” that is commonly eaten at breakfast (although it is also popular as a snack any time of day). Simit is sometimes called a “Turkish bagel” because of its round shape, hole in the middle, and sesame seed-covered exterior. Made with a very simple lean dough (just flour, water, yeast, and salt), the dough is rolled out into long ropes and twisted together before being shaped into rings, giving simit its characteristic coiled look. Before baking, each ring is dipped in a mixture of pekmez (a fruit-based, molasses-like syrup – I improvised with half regular molasses, half pomegranate molasses) and water, then coated in sesame seeds and baked until crisp. Once cooled, the crust softens slightly and yields to a deliciously stretchy, soft yet chewy inside.

Turkish Simit Bread | Korena in the Kitchen

Turkish Simit Bread | Korena in the Kitchen

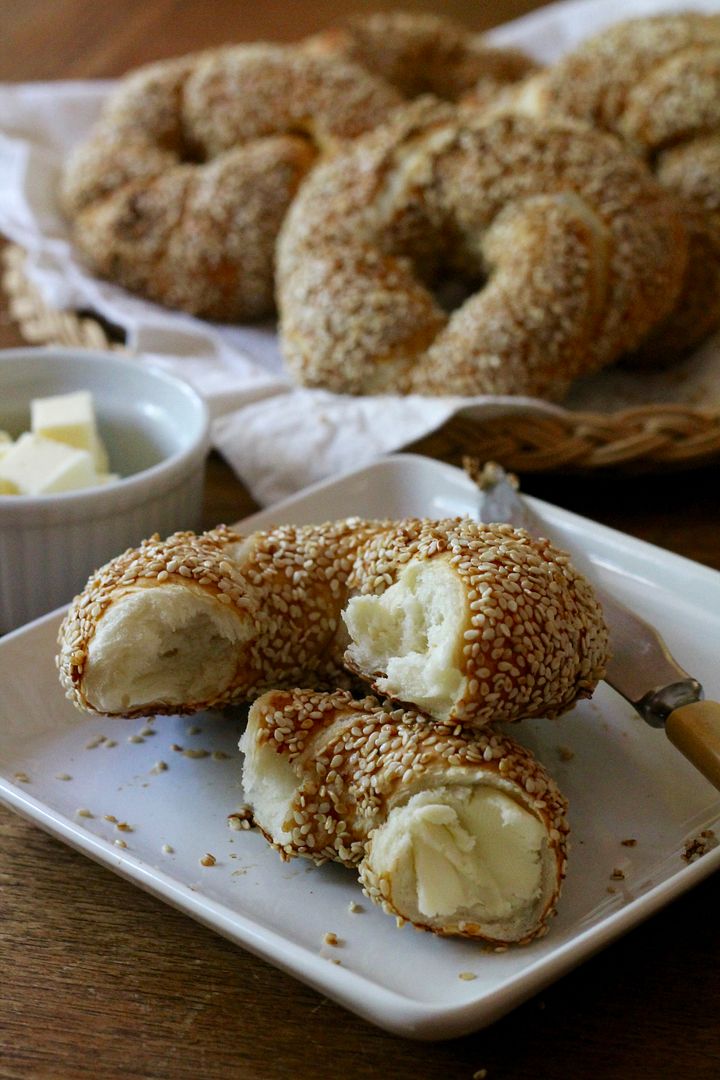
A Turkish breakfast might consist of simit served with a feta-like cheese, sliced cucumbers, fresh tomatoes, and hard boiled eggs… however I enjoyed it immensely with a pat of butter, and leftovers are incredibly delicious sliced and lightly toasted like a bagel and spread with jam. They are pretty easy to make, and the effort is well worth it. My only warning is that the sesame seeds are messy, so make sure you have a napkin 😉

Want more Turkish cuisine? Check out the offerings from the other ATW12P bloggers this month (and check out #ATW12P on Instagram, too!):

Sugar Loves Spice

Dish ‘n’ the Kitchen

The Food Girl in Town

Turkish Simit Bread | Korena in the Kitchen

Turkish Simit Bread

Adapted from Ozlem’s Turkish Table. Makes 6 rings.

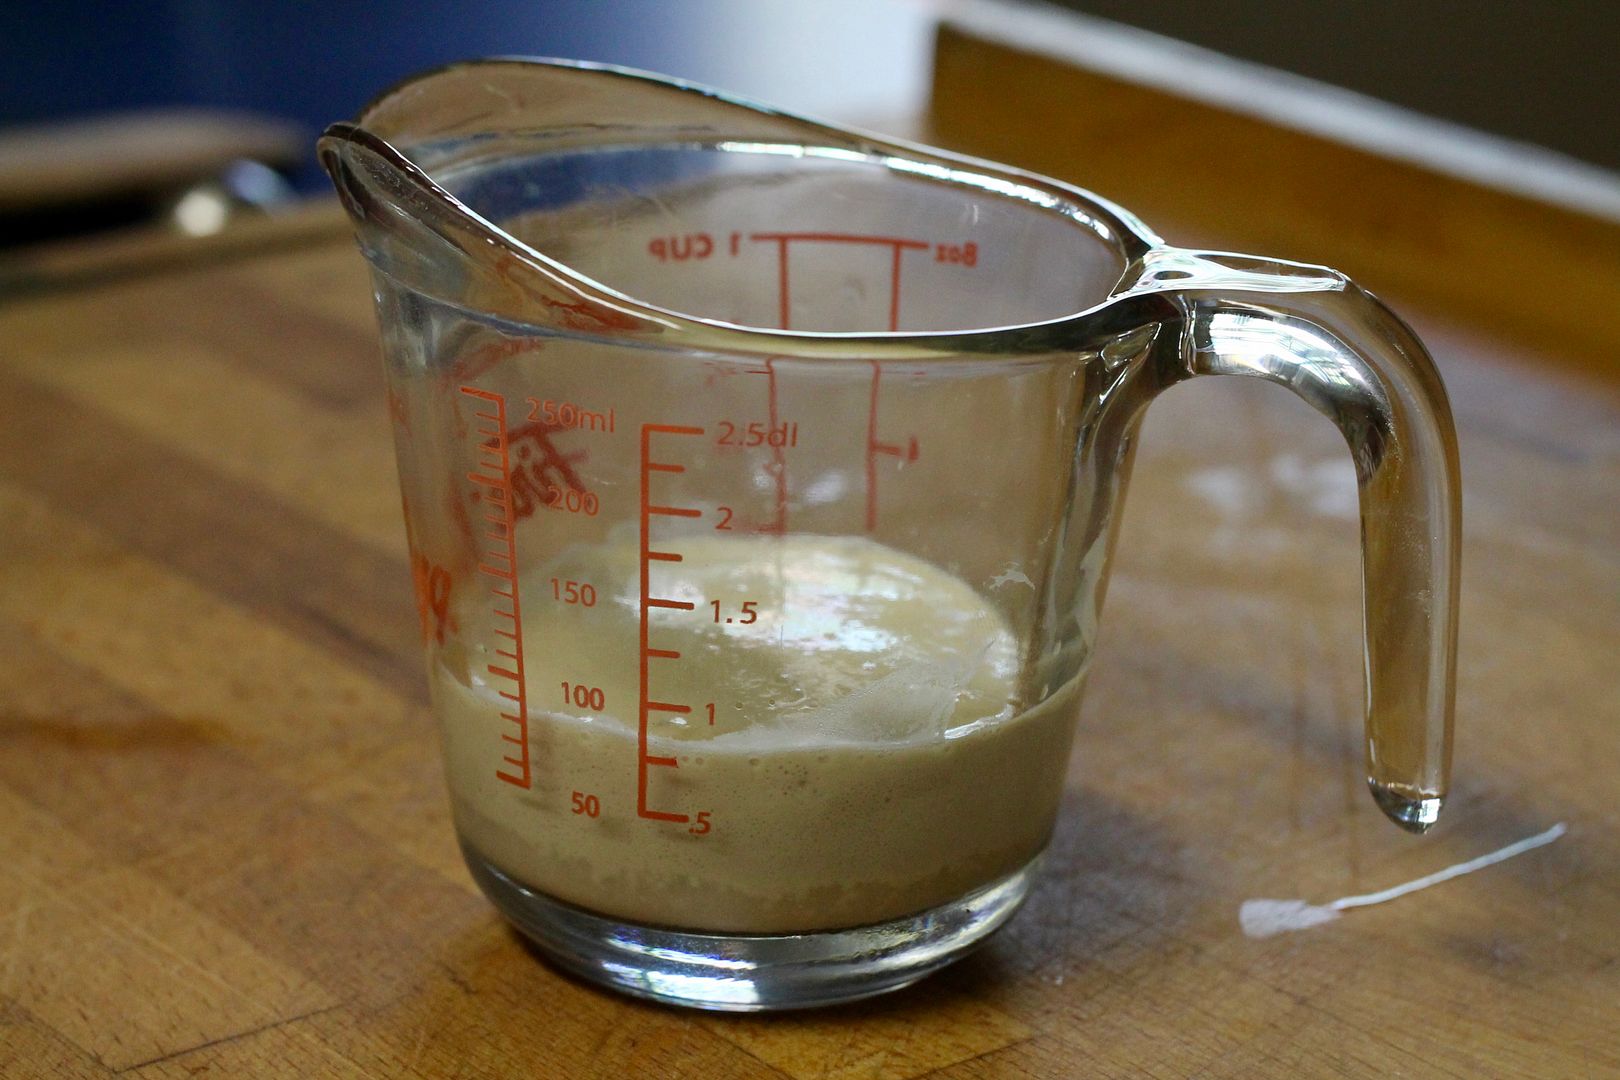
In a small bowl of liquid measuring cup, dissolve a pinch granulated sugar in 50 ml warm water. Sprinkle 1 3/4 tsp active dry yeast over the water and let it sit for several minutes, until the yeast is foamy.

yeast

Meanwhile, in a medium bowl, mix together:

300 g all purpose flour

scant 1 tsp sea salt

Add the foamy yeast to the flour mixture, along with 170 ml warm water.

dough1

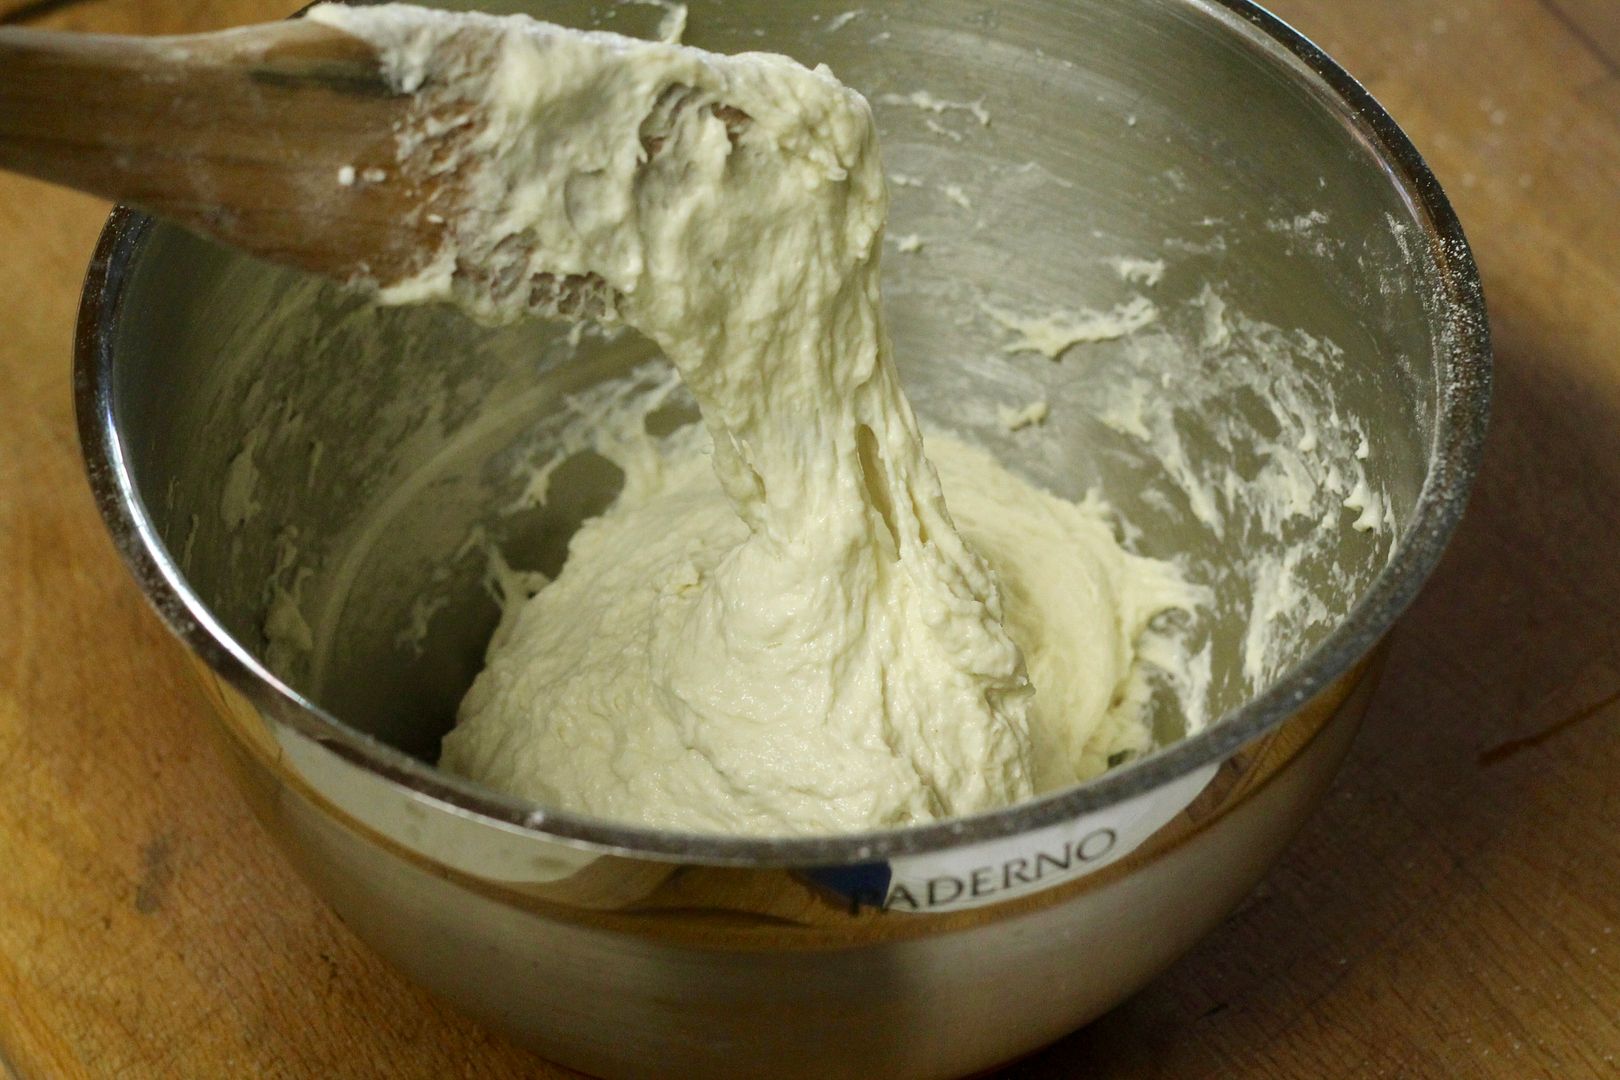
Stir to combine, and add more flour or water as necessary to get a shaggy dough (the dough in the picture below was too sticky – I added more flour.)

dough2

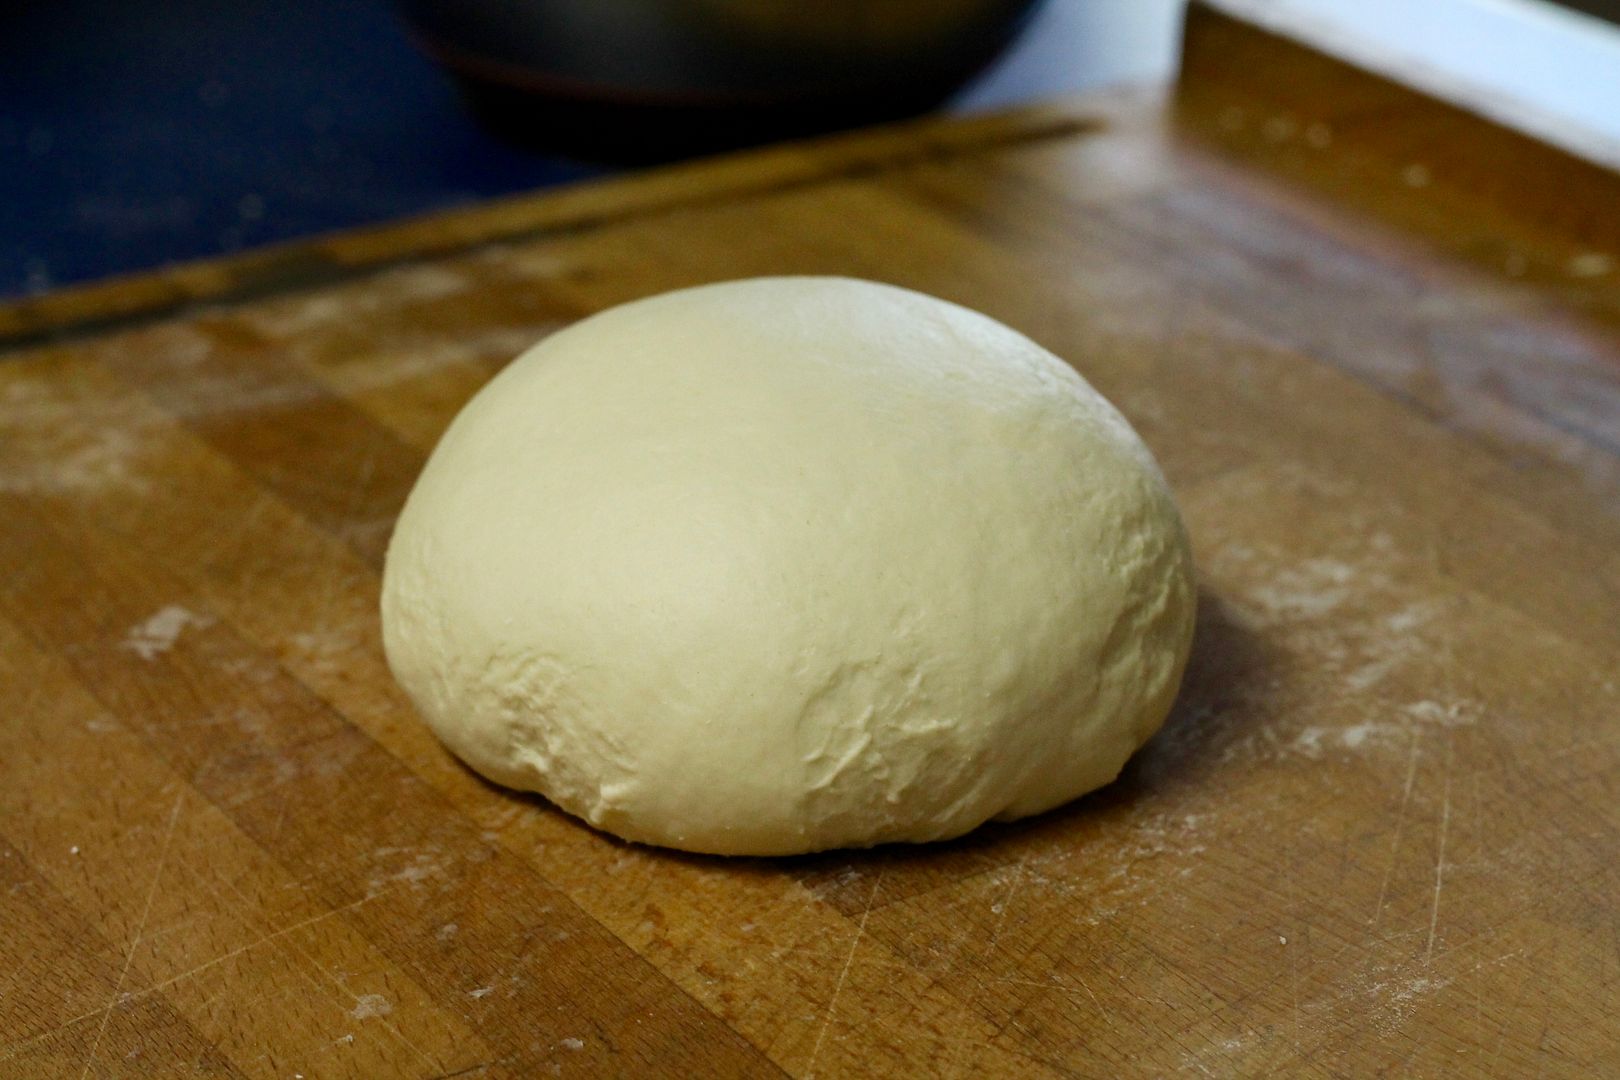
Turn the dough out onto a floured surface and knead for several minutes, until soft and elastic but no longer super sticky.

dough3

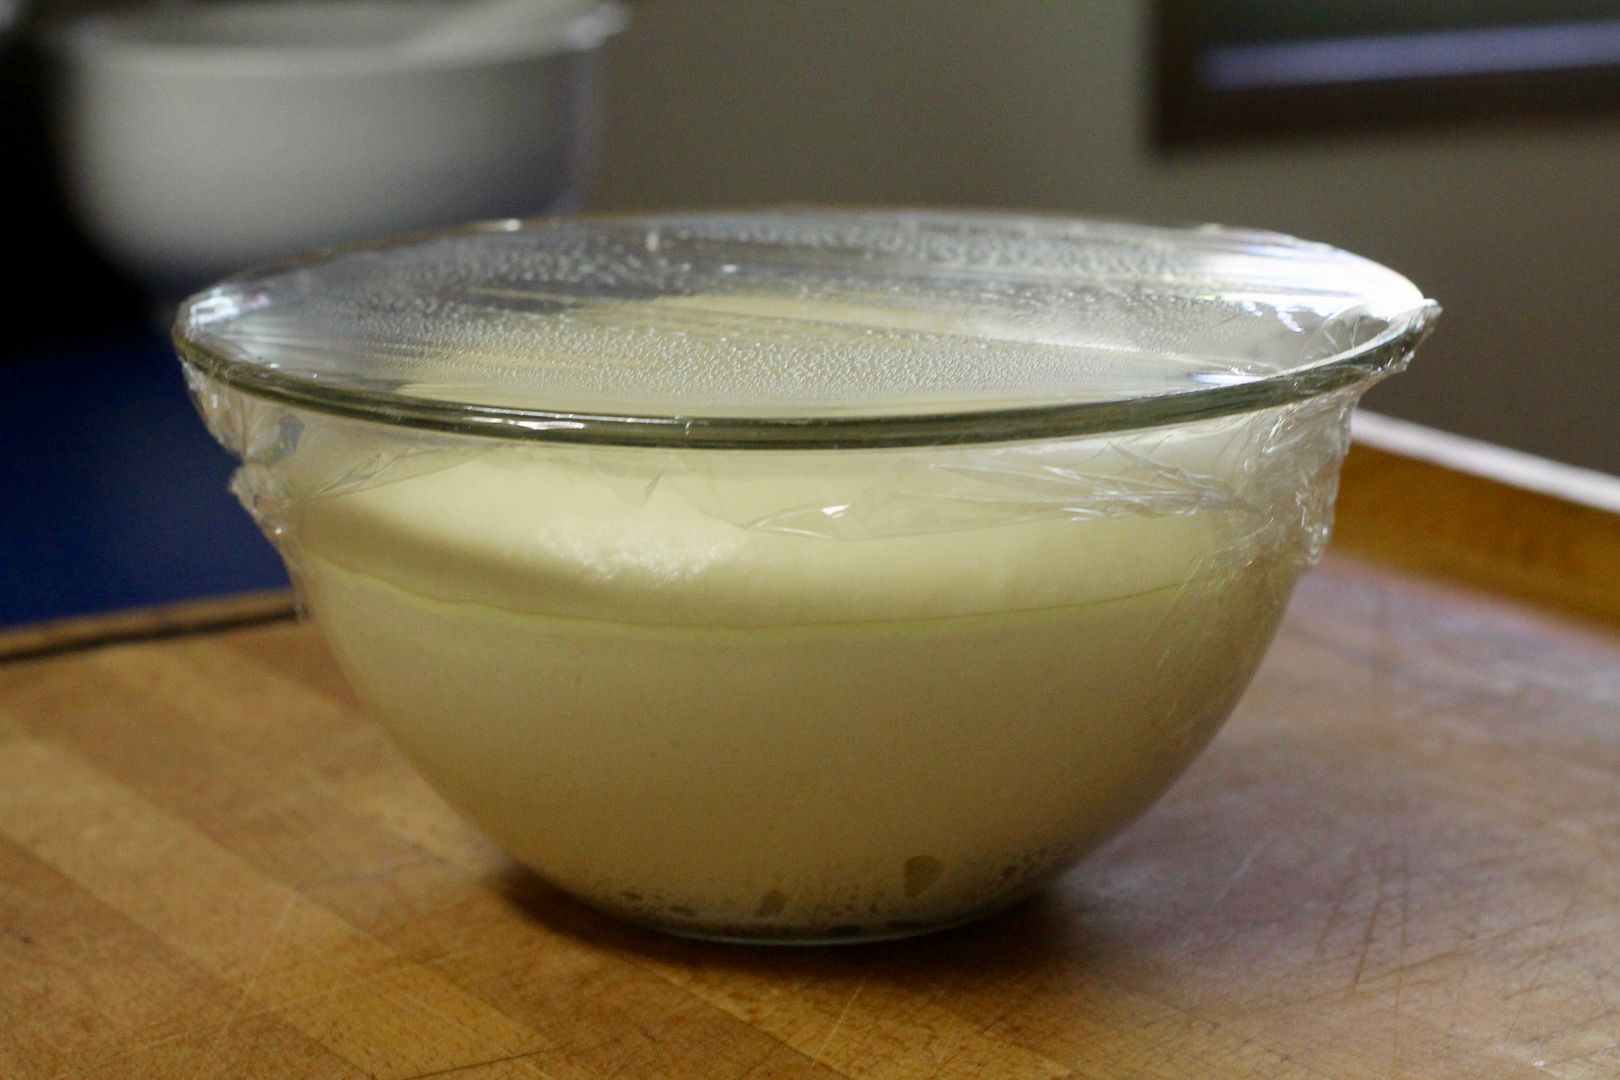
Oil a medium bowl and place the dough inside, turning to coat in the oil. Cover with plastic wrap and let rise for about 1 hour at room temperature, until doubled in size.

risen

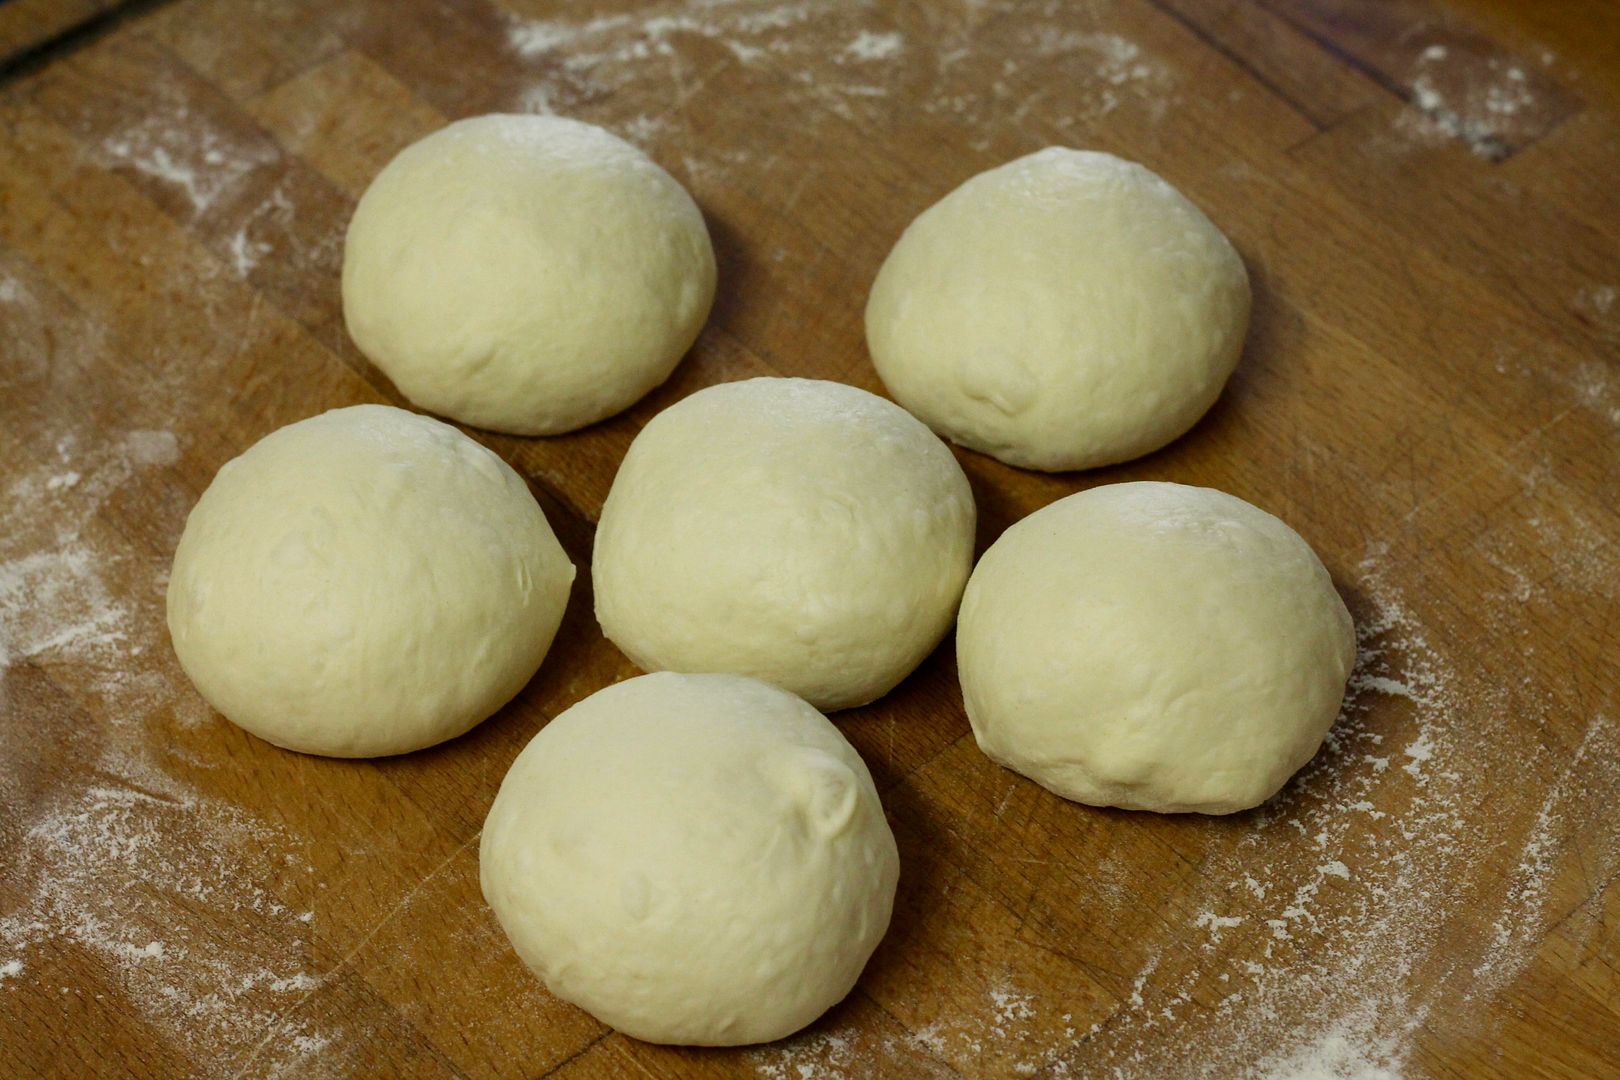
Gently punch down the risen dough and turn it out onto a floured surface. Divide into 6 equal pieces (each weighing around 110 g) and shape them into balls.

dough4

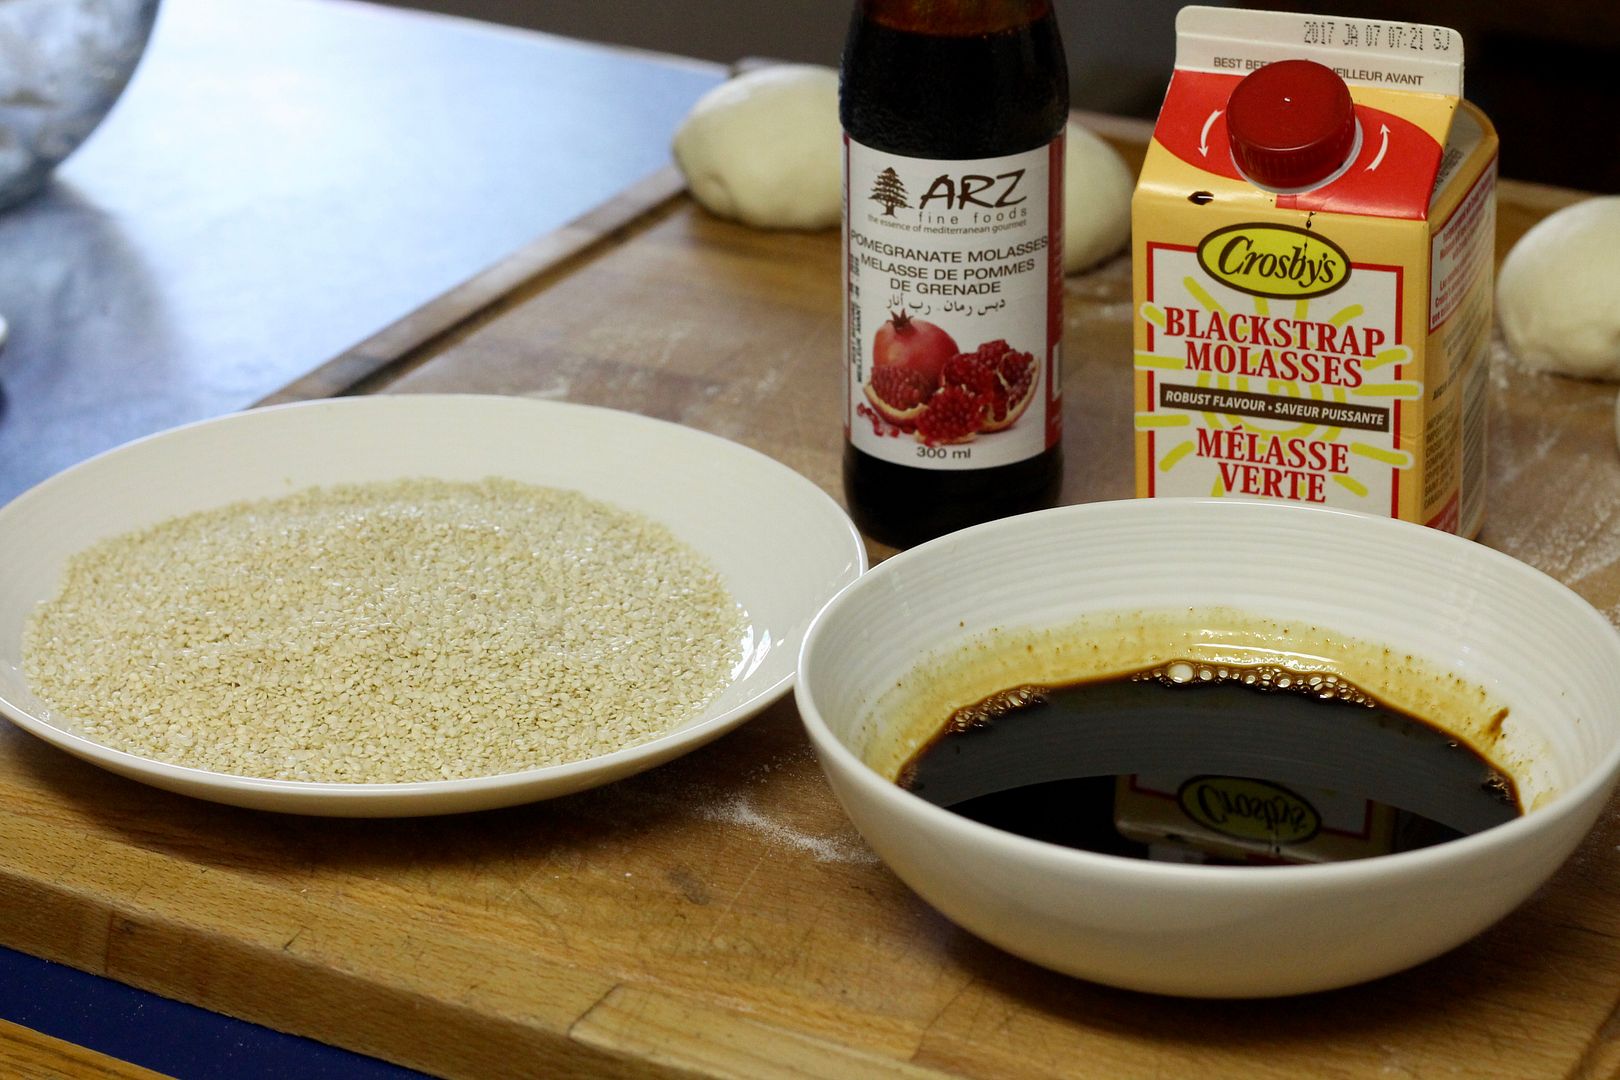
In shallow bowl, combine:

75 ml pekmez or a combination of half molasses / half pomegranate molasses

50 ml water

Spread 140 g sesame seeds on a plate.

coatings

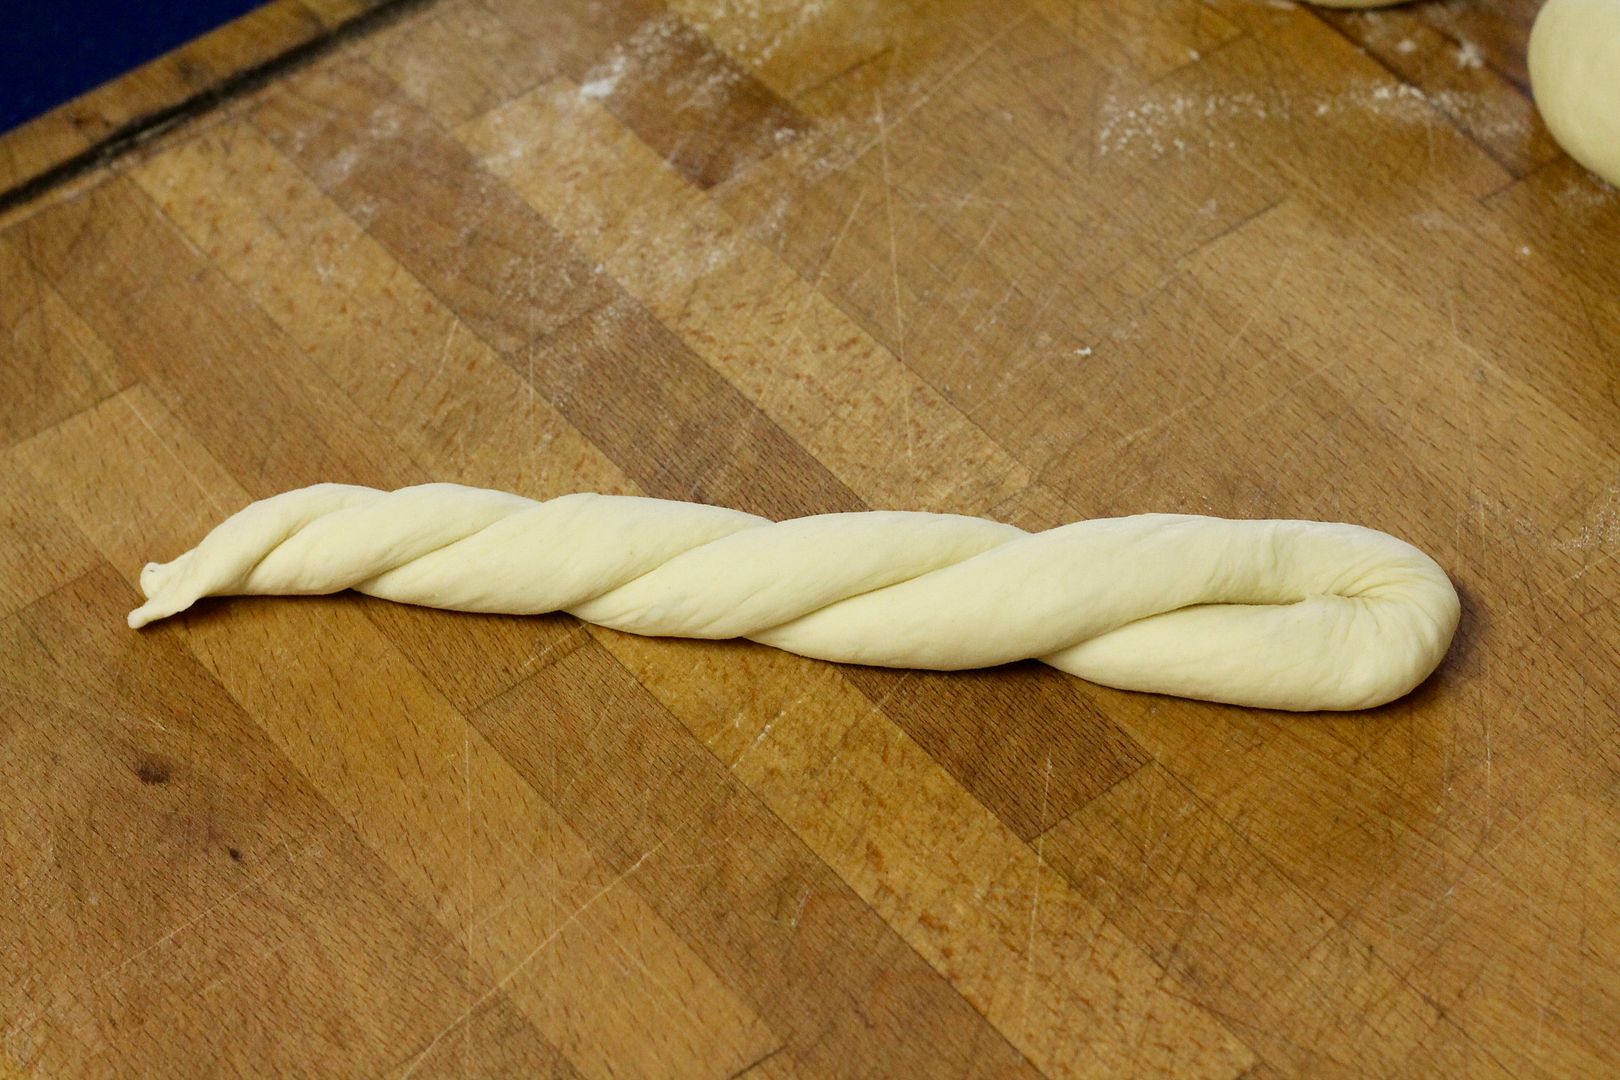
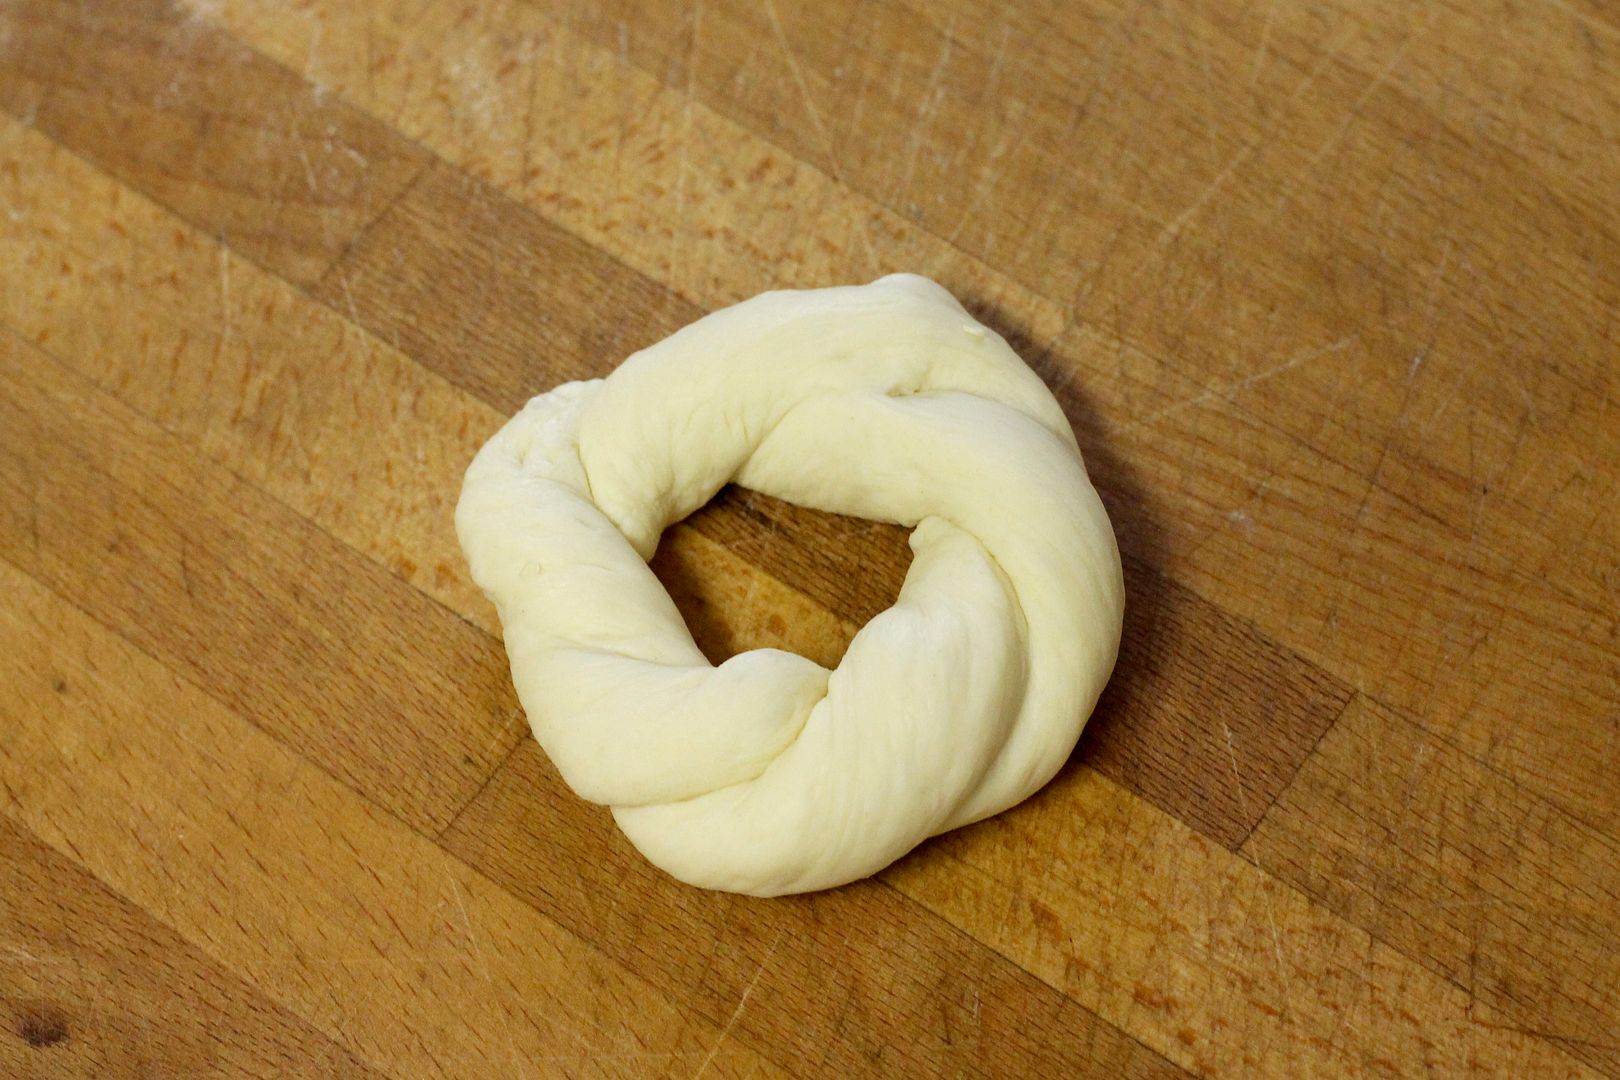
One at a time, roll each ball of dough into a rope about 22 inches long. Fold it in half and give it a several twists.

twist

Form the twist into a ring, pressing and rolling the ends together firmly.

ring

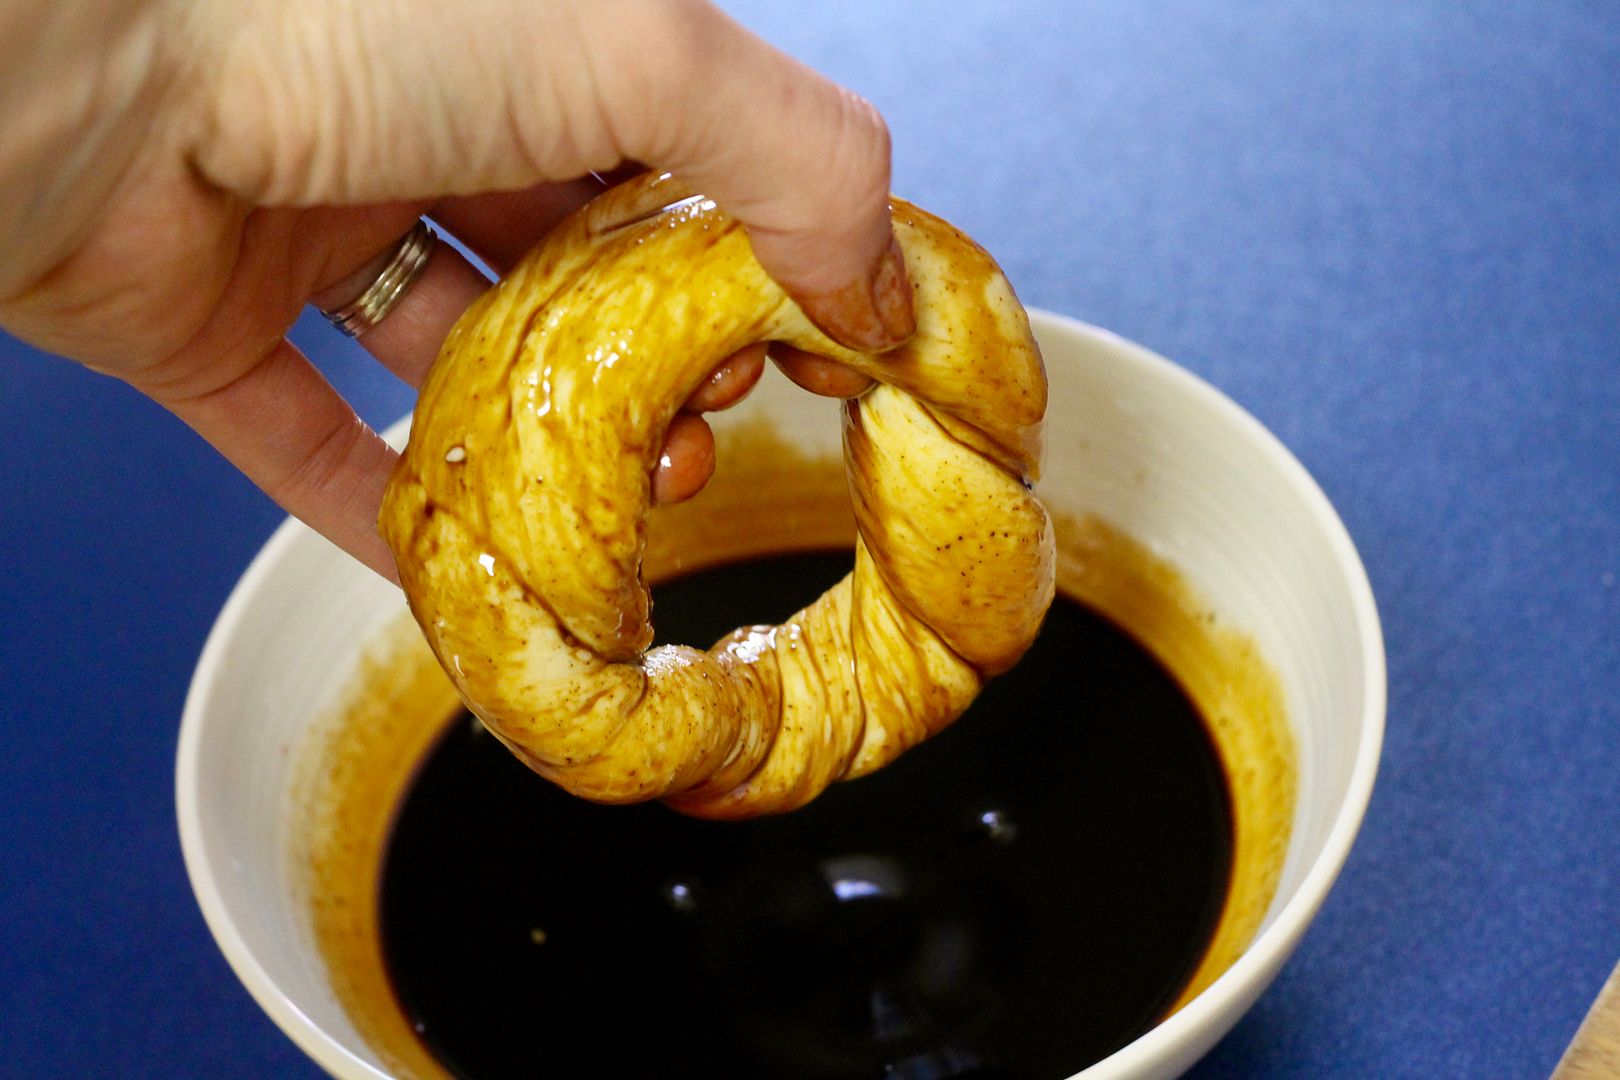
Dip the ring into the pekmez/molasses mixture on both sides and allow an excess to drain off…

pekmez

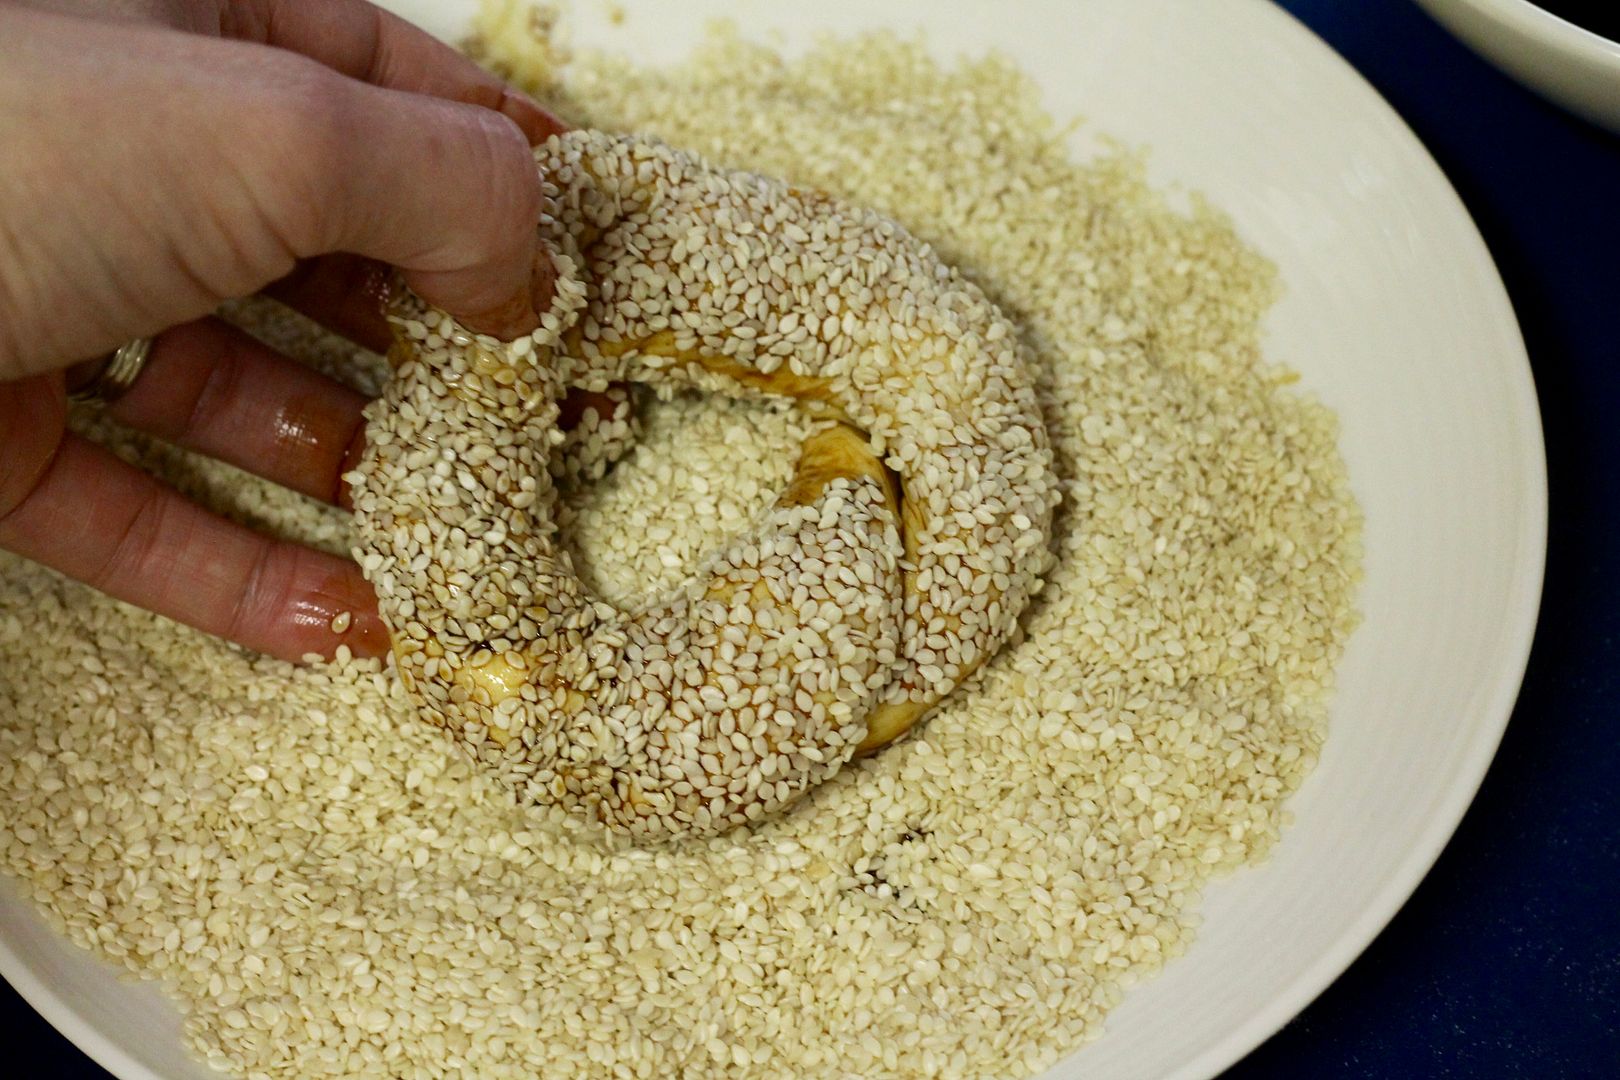
…then dip both sides in the sesame seeds.

sesame

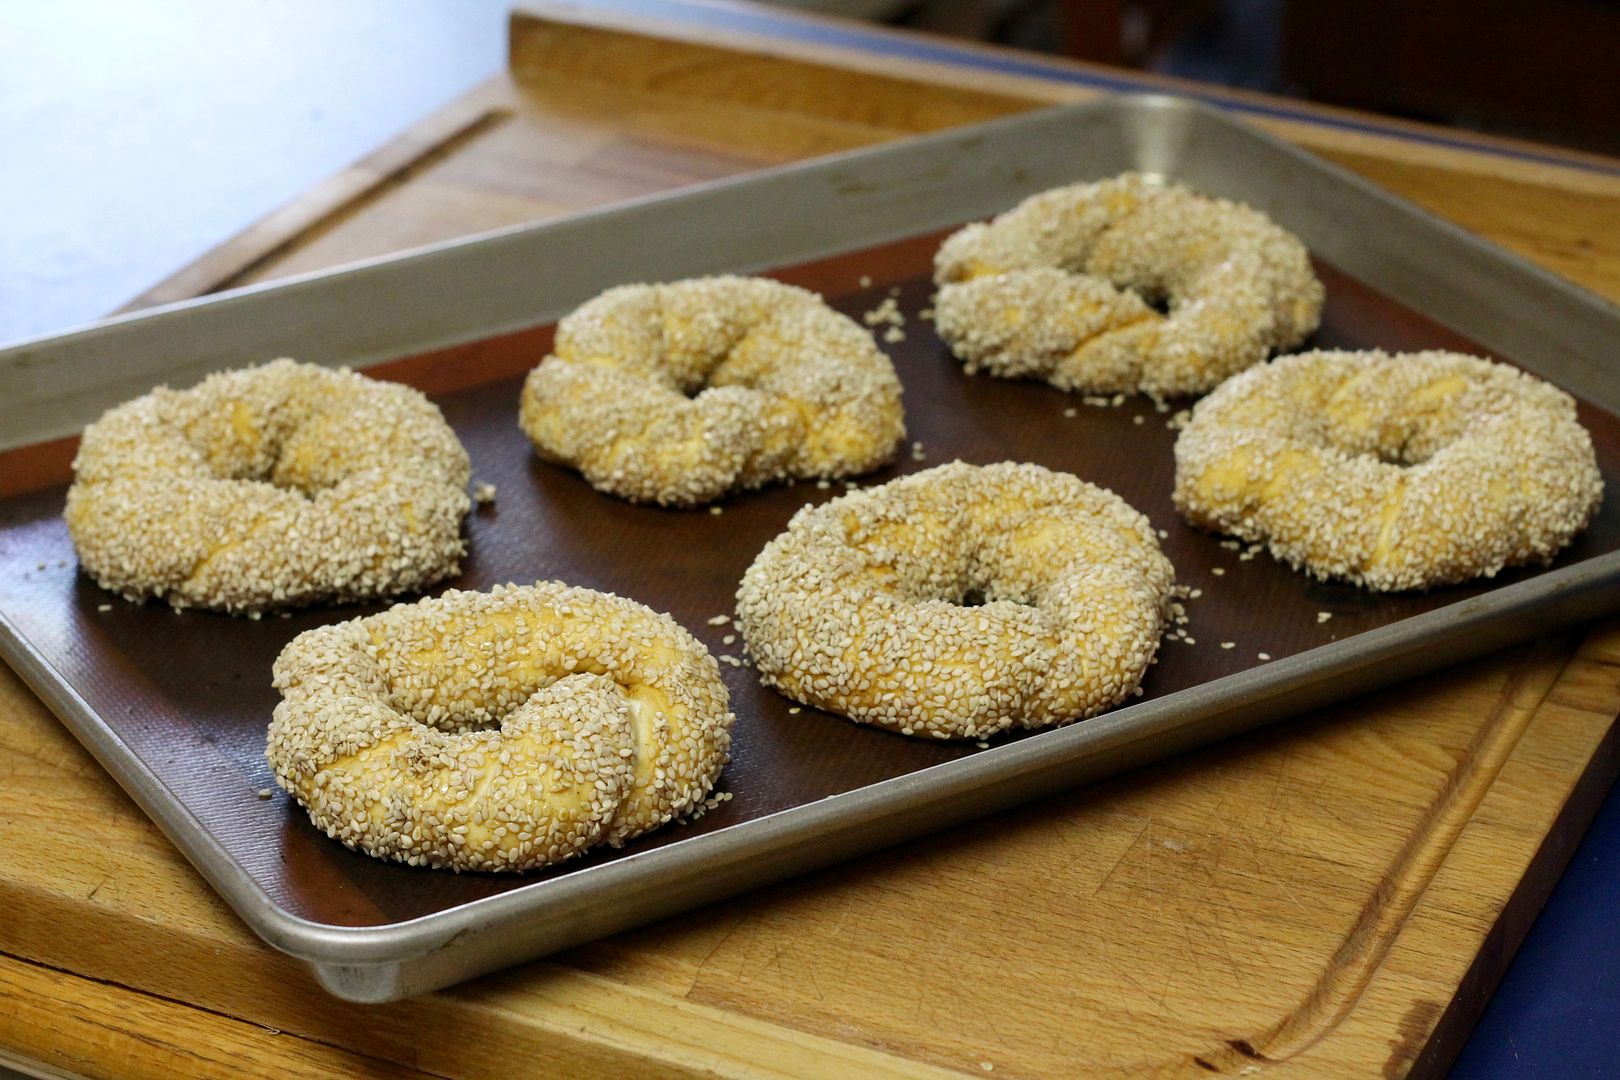
Place the simit on a baking sheet lined with a silicon mat or parchment paper. Repeat with the remaining dough, then let the rings rest for about 20 minutes, until slightly puffed.

shaped

While the simit rest, preheat the oven to 425˚F (400˚F convection). Bake the simit for 15-18 minutes in the preheated oven, until golden brown and hollow-sounding when tapped on the bottom. Cool on a rack before serving.

baked

Simit are best eaten the day they are baked, but they can be revived very successfully in the toaster and can apparently be frozen in an airtight container for up to a month. But I doubt you’ll have to take that step!

Turkish Simit Bread | Korena in the Kitchen

Save

Save

Save

Save

Save

Save

Save

Save

Save

Save

Focaccia with Grapes & Rosemary {Schiacciata con L’uva}

$
0
0

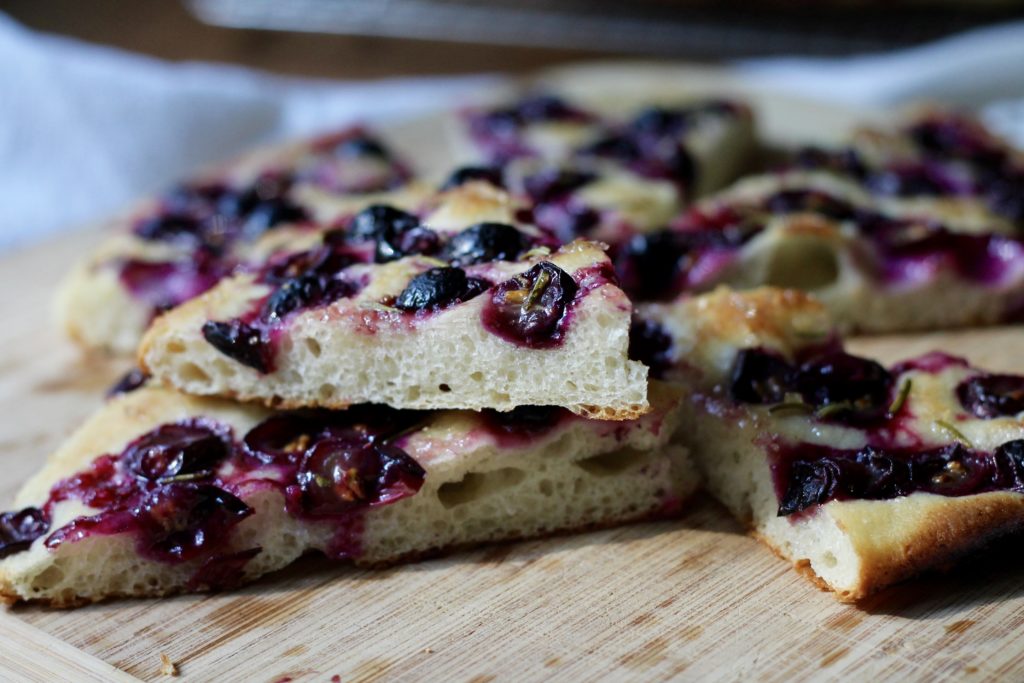
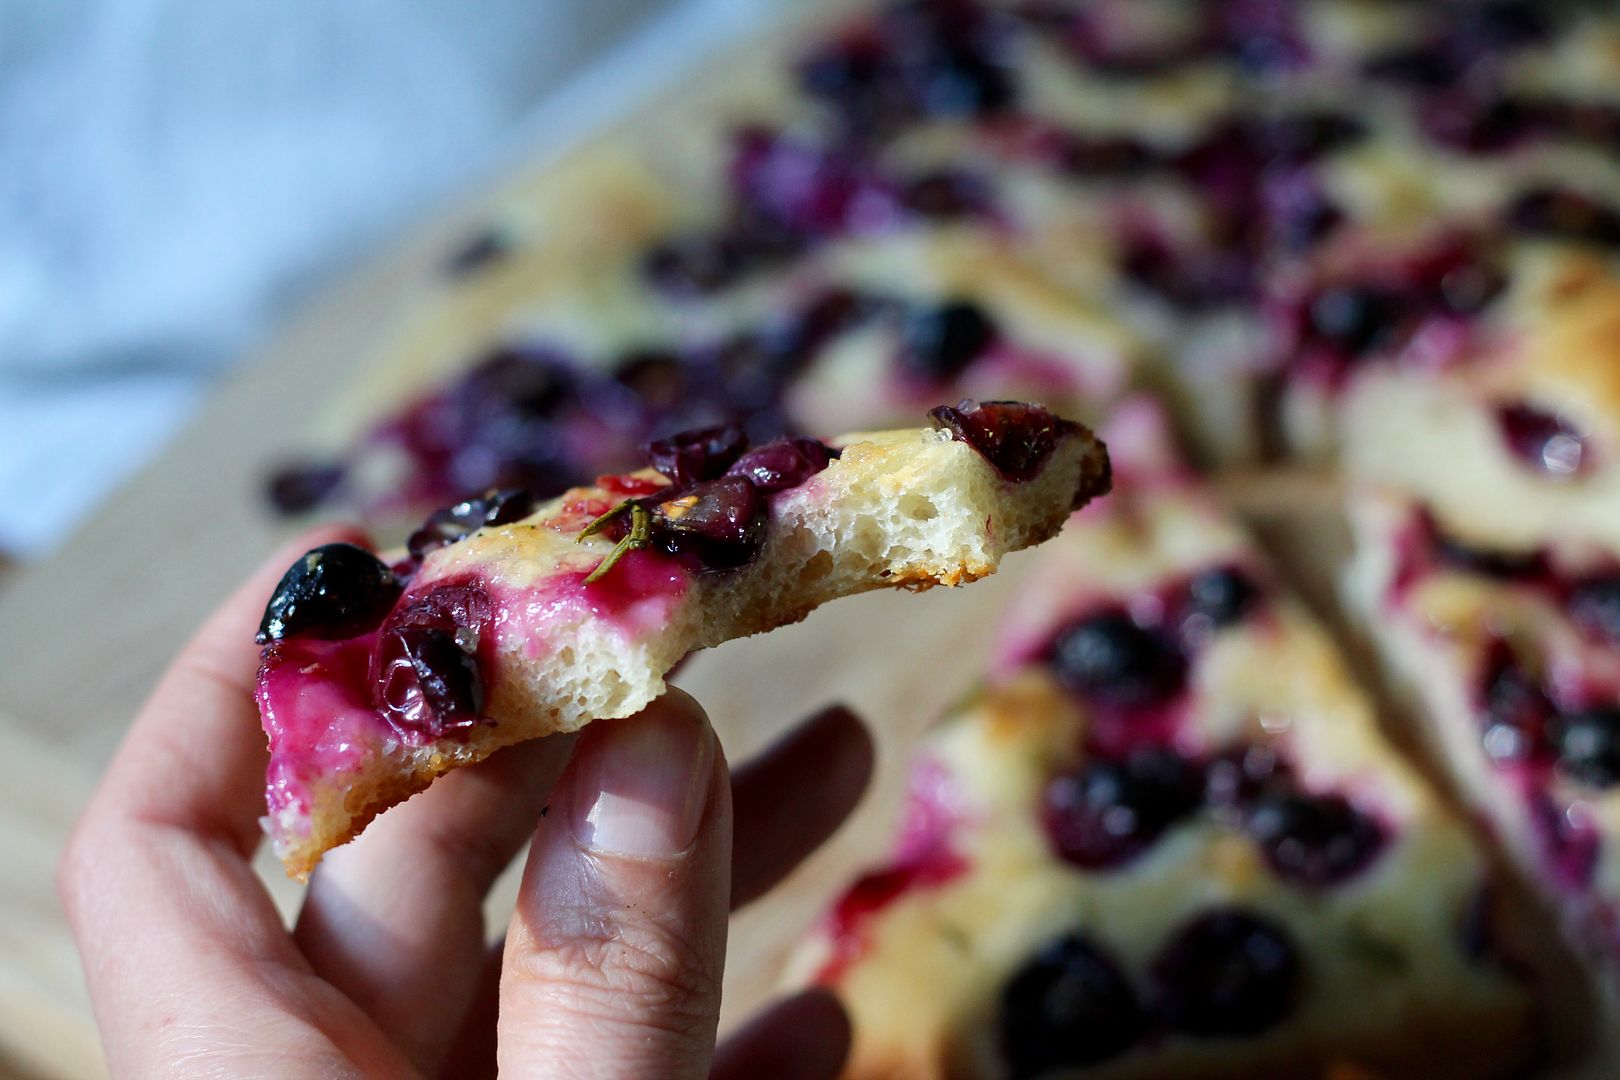
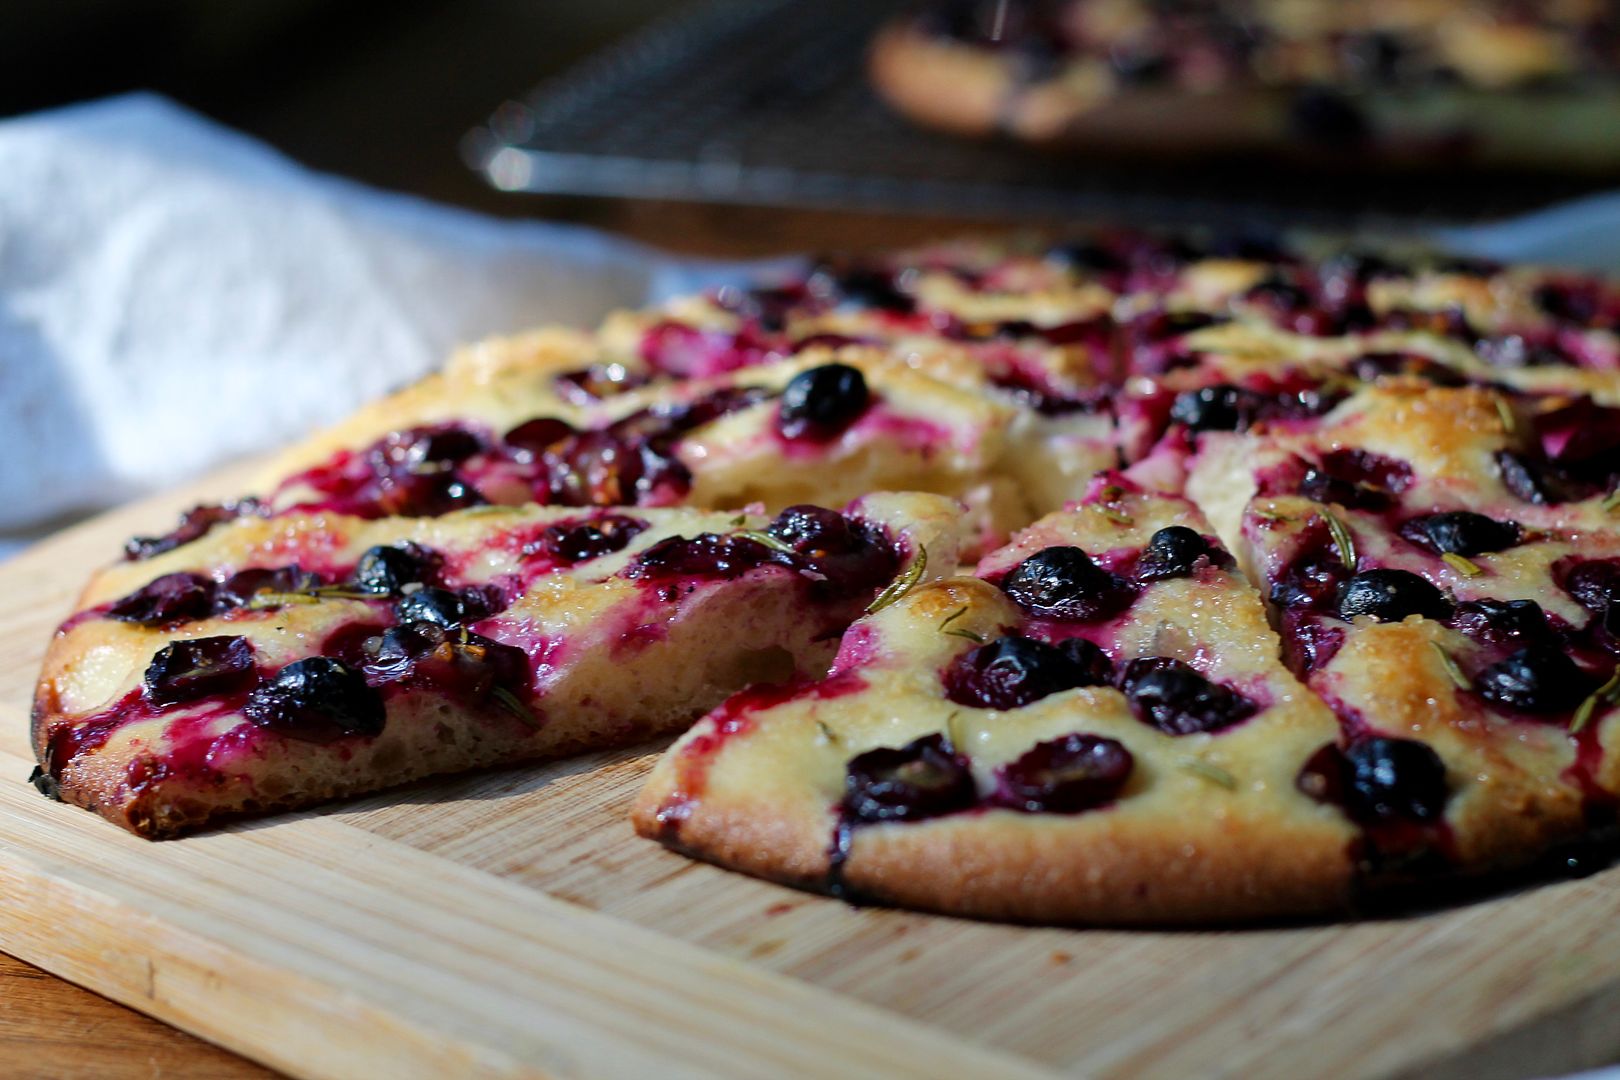
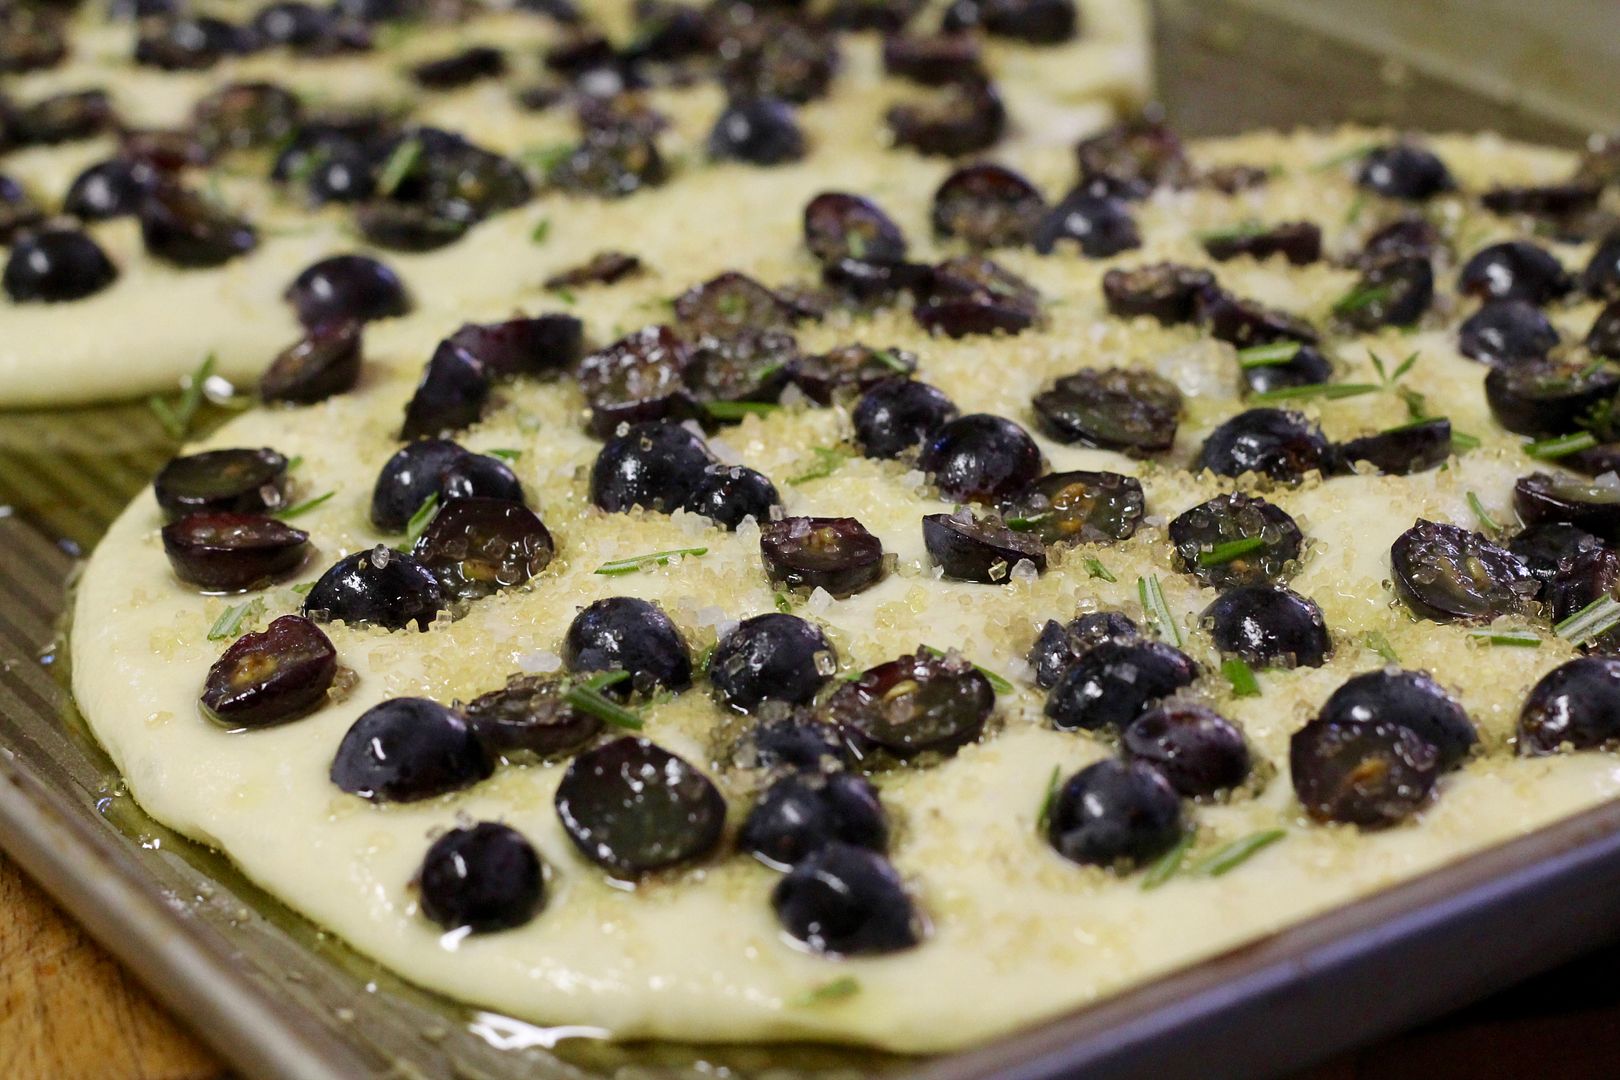
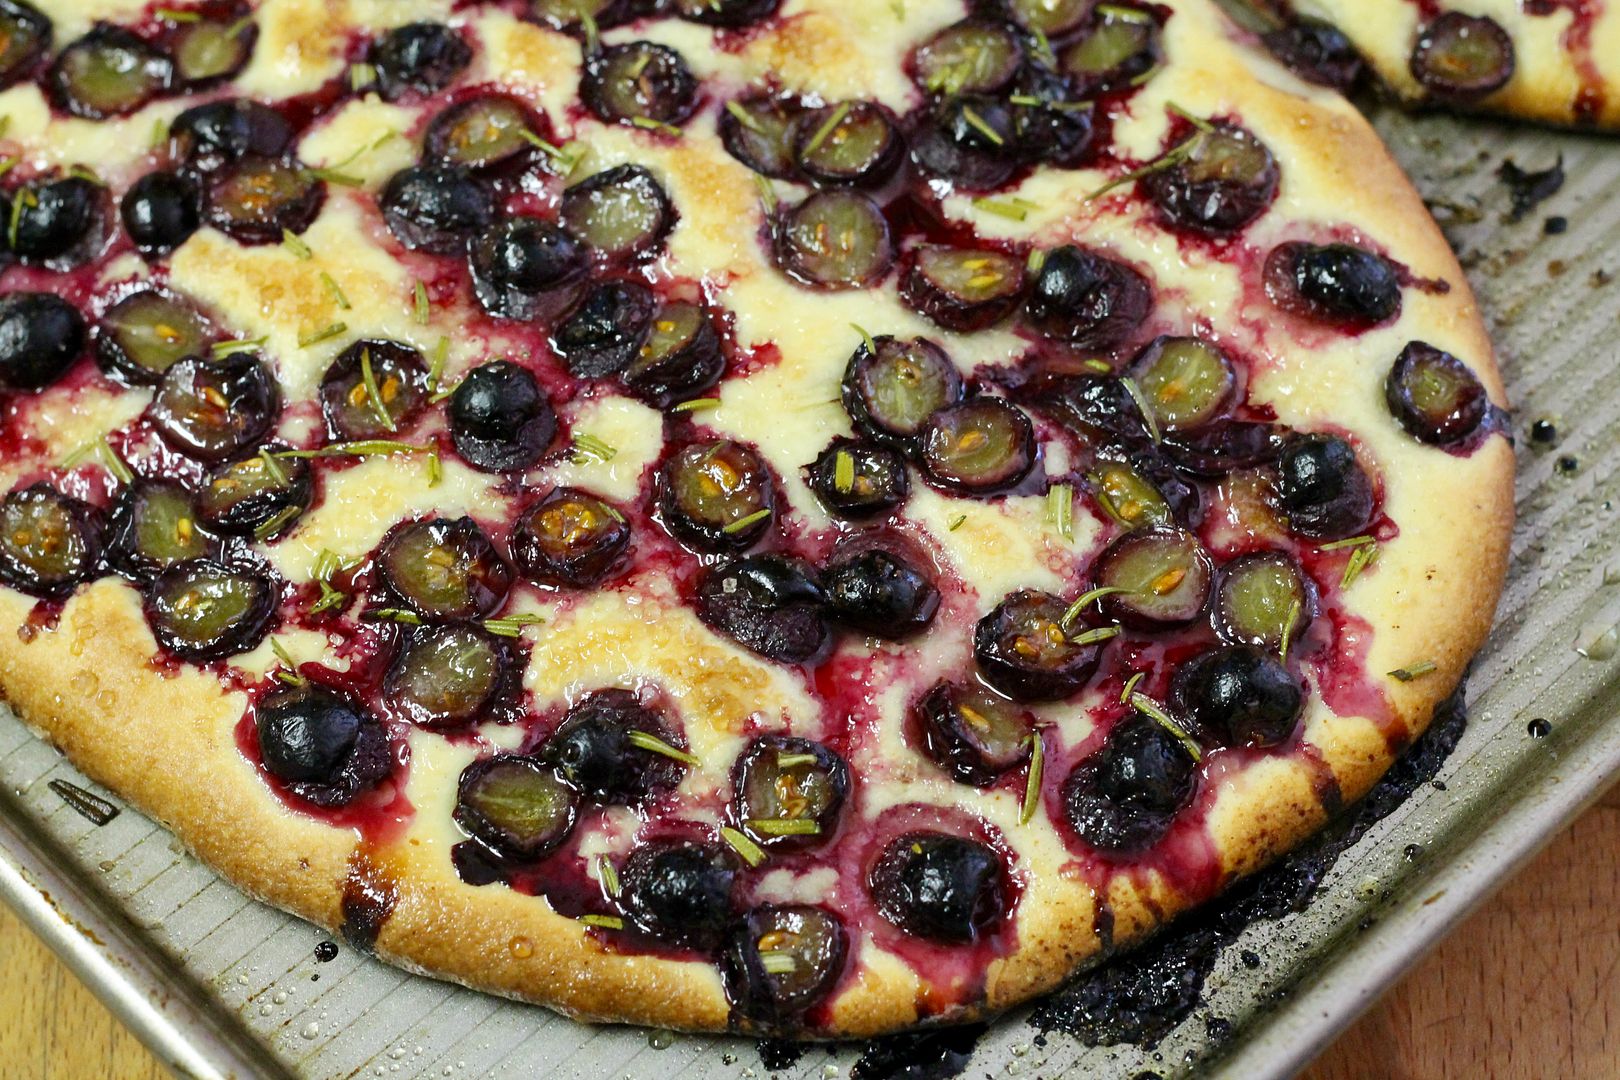
Before we get caught up in the pumpkin spice madness that seems to take hold in the fall, let’s take a moment to appreciate the humble grape. Grapes are one of those fruits that I could usually take or leave, except for during the small window from the end of September to early October when Concord grapes are in season. So ten days ago when I saw some Coronation grapes – similar to Concords with with their dark blue-ish purple skin and tangy juice – at the grocery store, I snapped them up because 1) YUM and 2) I’ve been wanting to make schiacciata con l’uva, a Tuscan grape focaccia only made in September to coincide with the wine grape harvest, commonly made with Concord or similar grapes elsewhere in the world. And WOW – this stuff is amazing, the purple grape-iness mingled with rosemary, all sprinkled with coarse sugar and a little salt, not to mention the olive-oil infused focaccia bread base.

Focaccia with Grapes & Rosemary | Korena in the Kitchen

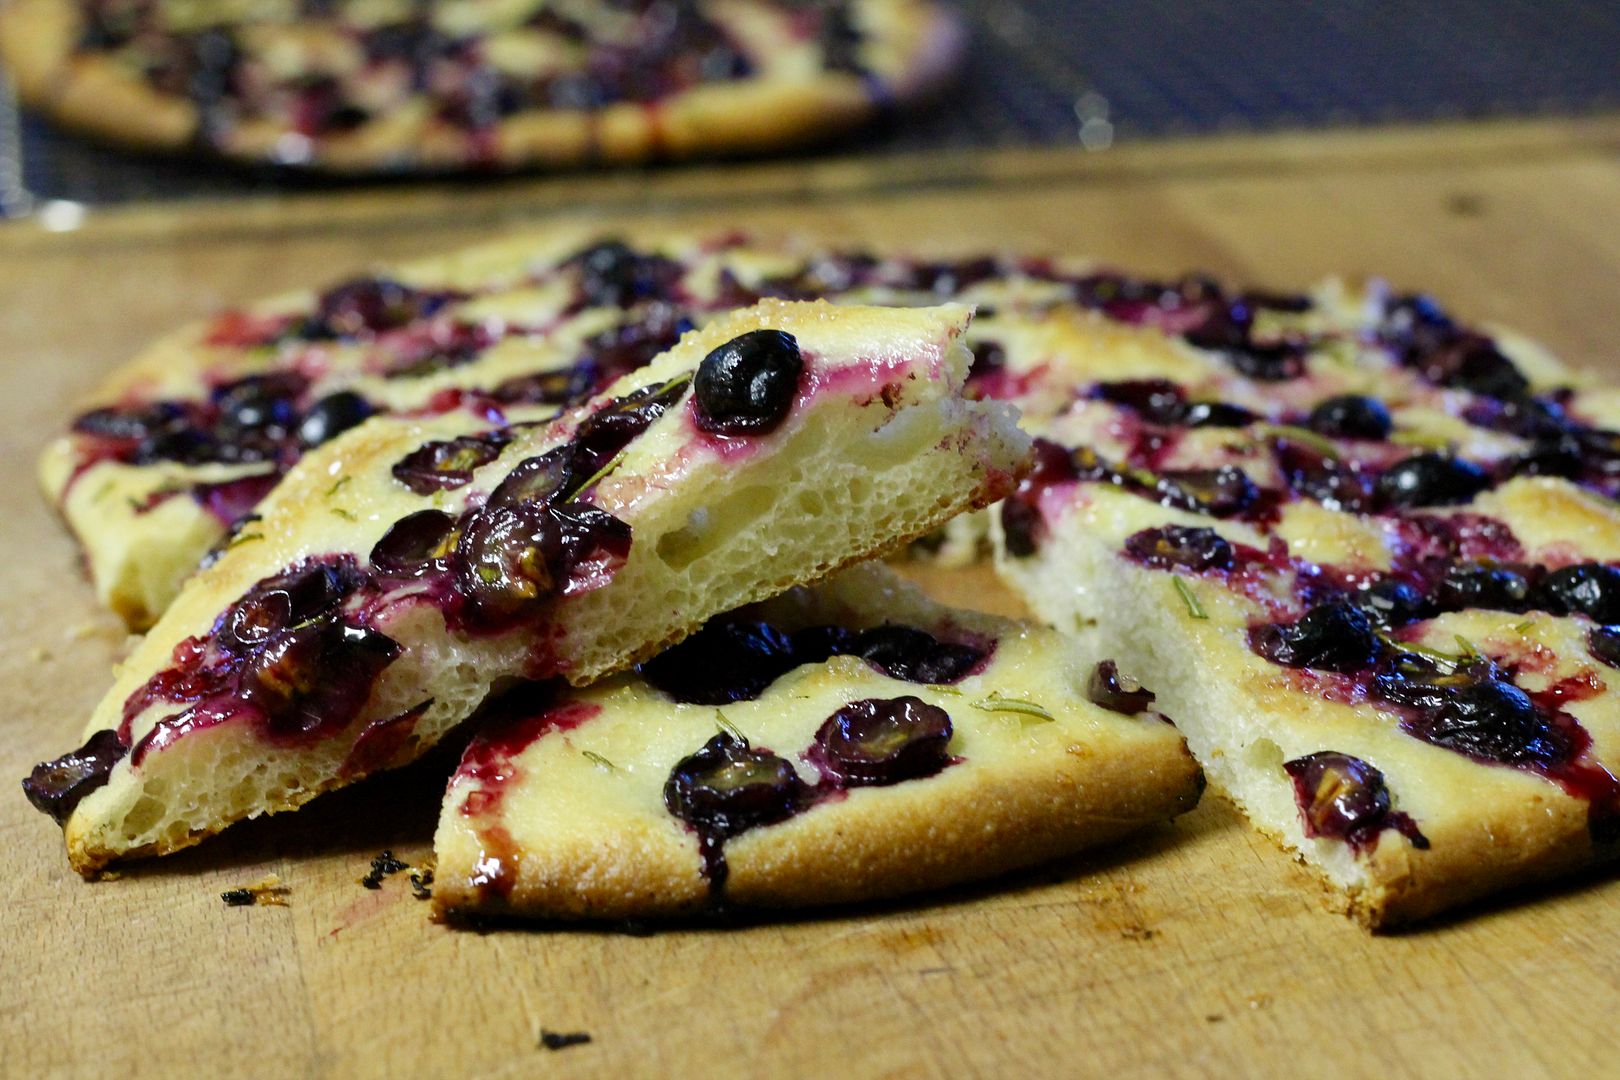
Yes, grapes on flatbread might seem a little weird. Nate thought so, but he also had no problem polishing off several pieces in one sitting. I, on the other hand, LOVED it, and if you like salty-sweet, crispy-soft, juicy-tangy-savoury things, then you probably will too. It would be particularly wonderful served with a cheese plate and some wine. And, as I currently have a fractured-and-useless left elbow, I can attest that it’s simple enough to make with only one hand, thanks to my trusty KitchenAid mixer who took care of the kneading and the fact that the recipe requires mostly resting and rising time and not much else.

Focaccia with Grapes & Rosemary | Korena in the Kitchen

A word about grapes: you want to use Concord or a similar grape here, not red or green table grapes. Look for something small and dusty purple that tastes like Welch’s purple grape juice or the grape jelly you get in little packets at breakfast joints. Big watery green or red grapes won’t cut it. Also, Concord grapes have seeds and many people suggest seeding them before using them in schiacciata con l’uva. The Coronation grapes I used are supposed to be seedless, but mine did have little seeds – however they were fairly innocuous and I kind of liked the textural crunch they added, so I left the seeds in. You can seed or not as you wish!

Coronation grapes | Korena in the Kitchen

Focaccia with Grapes & Rosemary {Schiacciata con L’uva}

Adapted from Smitten Kitchen. Makes 2 flatbreads.

In the bowl of an electric mixer fitted with the paddle attachment, combine:

3/4 cup warm water (~105˚F to 110˚F)

2 tbsp warm milk

1 1/2 tsp granulated sugar

1 1/4 tsp active dry yeast

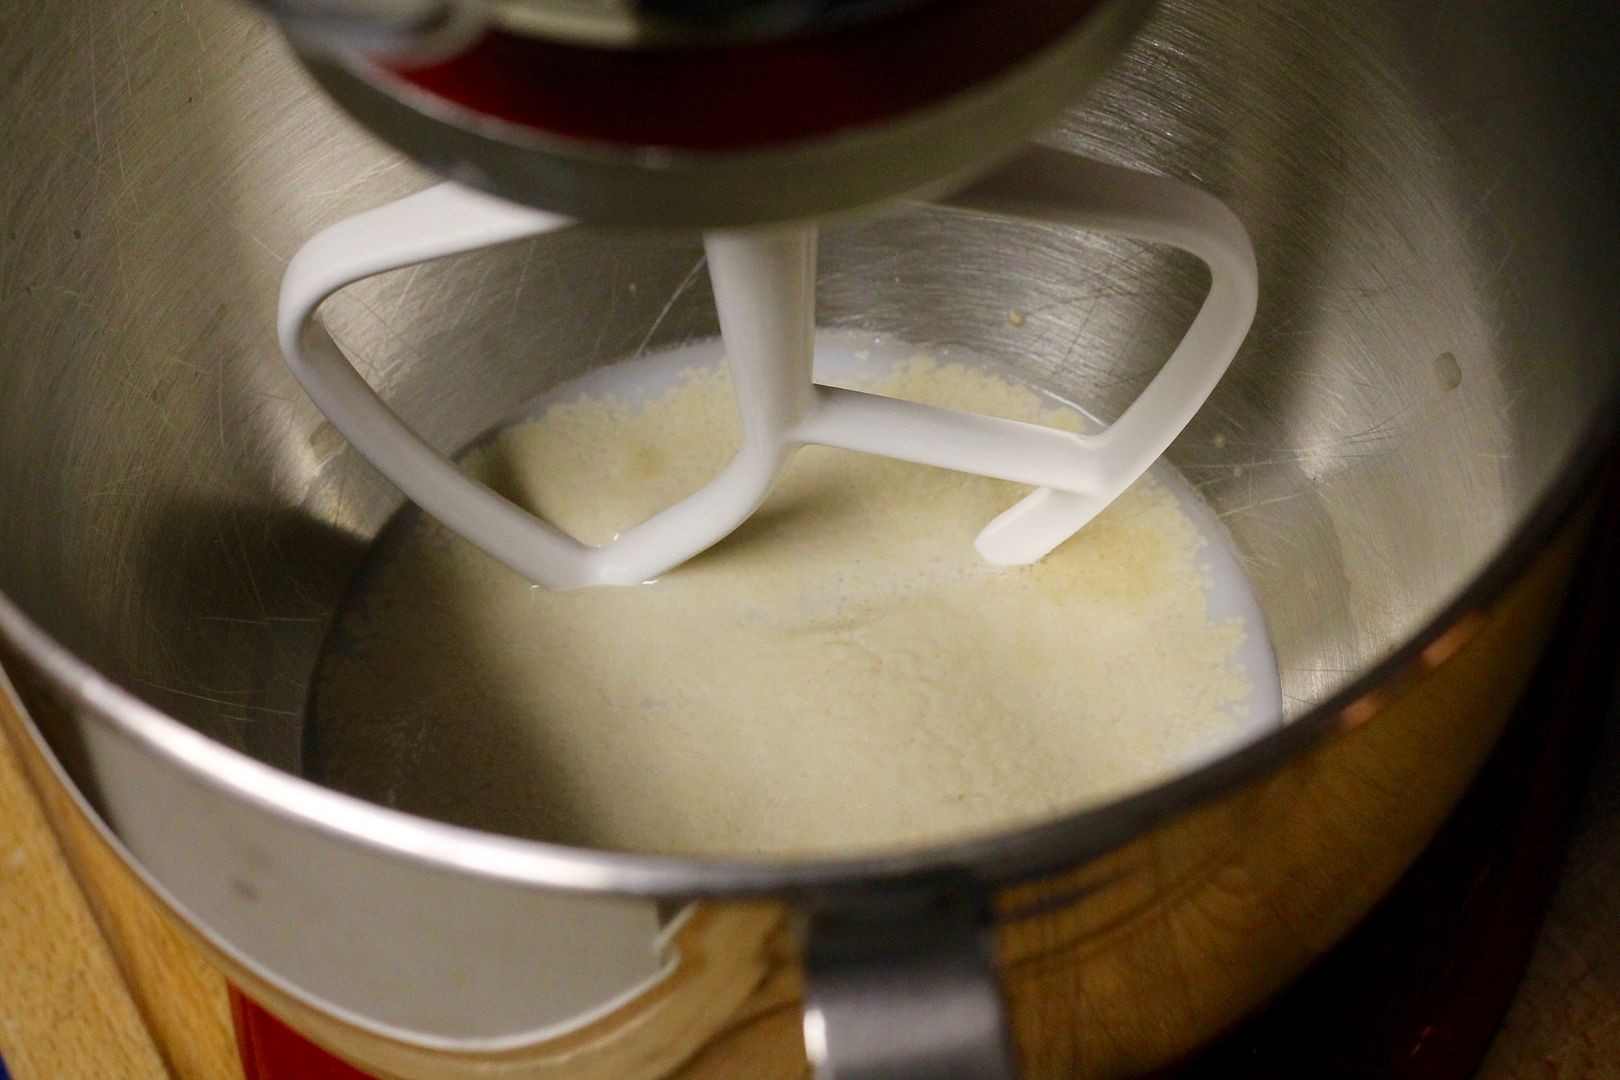
Leave for about 10 minutes for the yeast to proof (aka wake up and start bubbling). When the mixture is foamy, you can continue.

yeastproofing

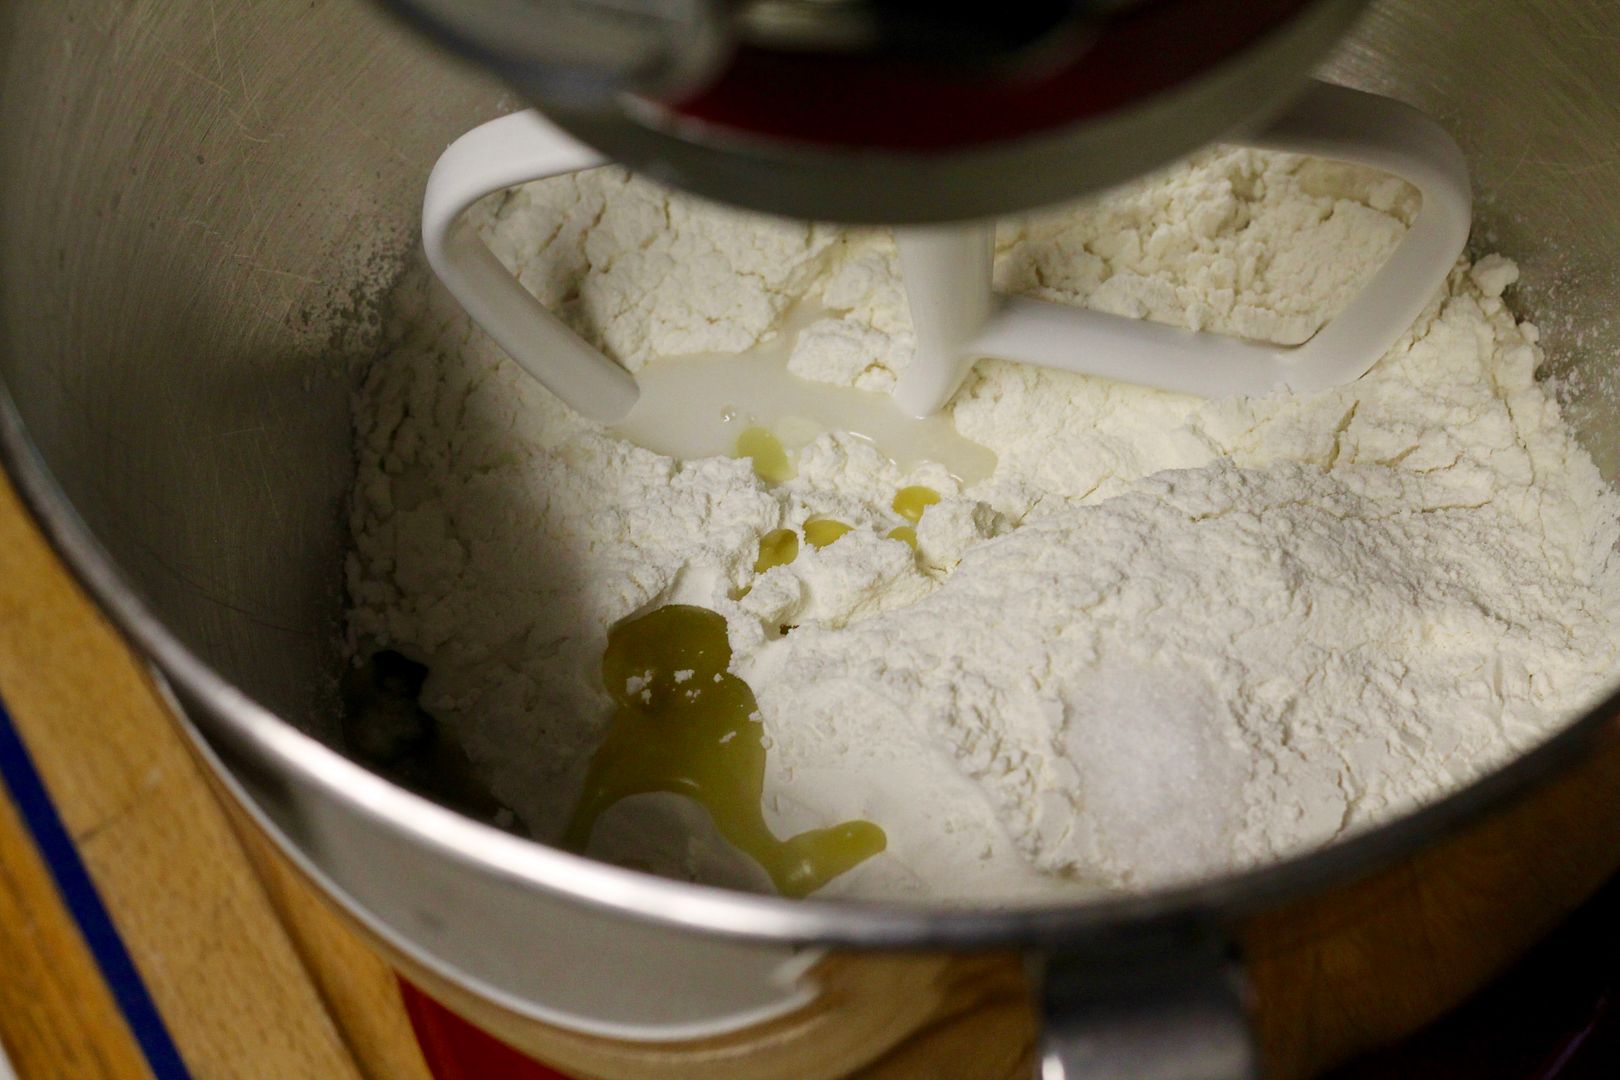
Add:

2 cups all purpose flour

1/2 tsp fine salt

2 tbsp olive oil

flouretc

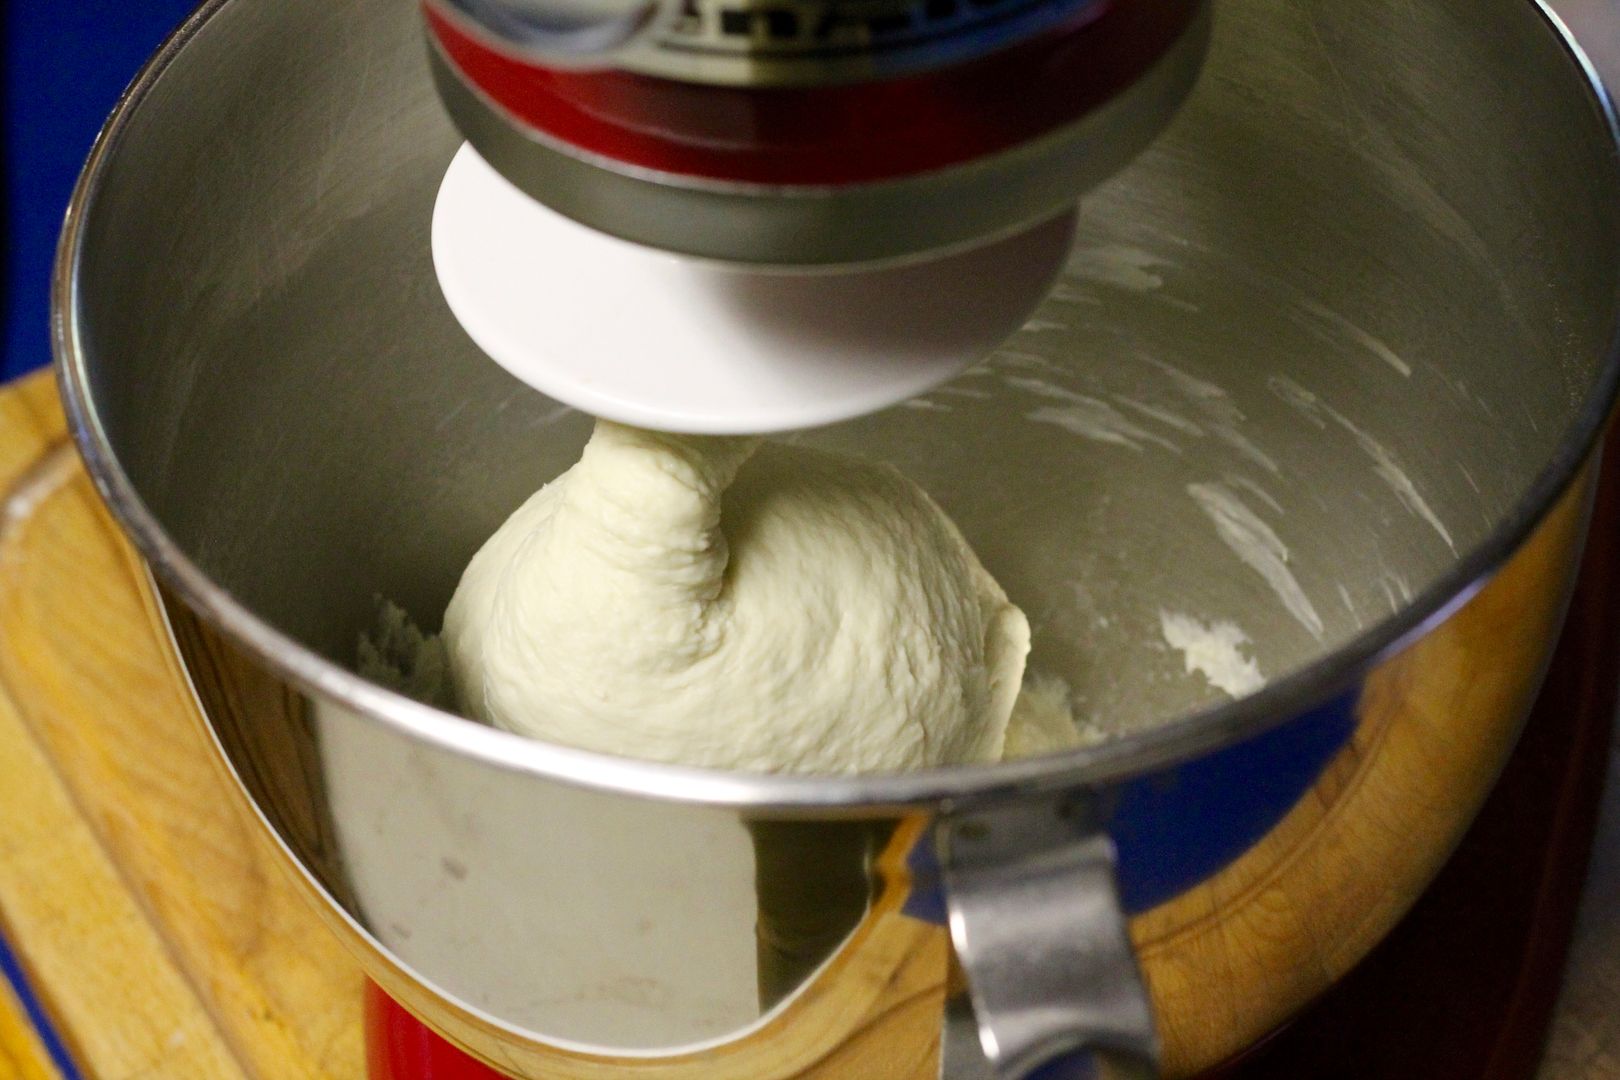
Mix with the paddle attachment on low speed until it comes together in a sticky dough. Switch to the dough hook and knead on medium-low speed for about 8 minutes, until the dough is smooth and elastic and cleans the sides of the bowl. It will still be a bit sticky to the touch.

doughhook

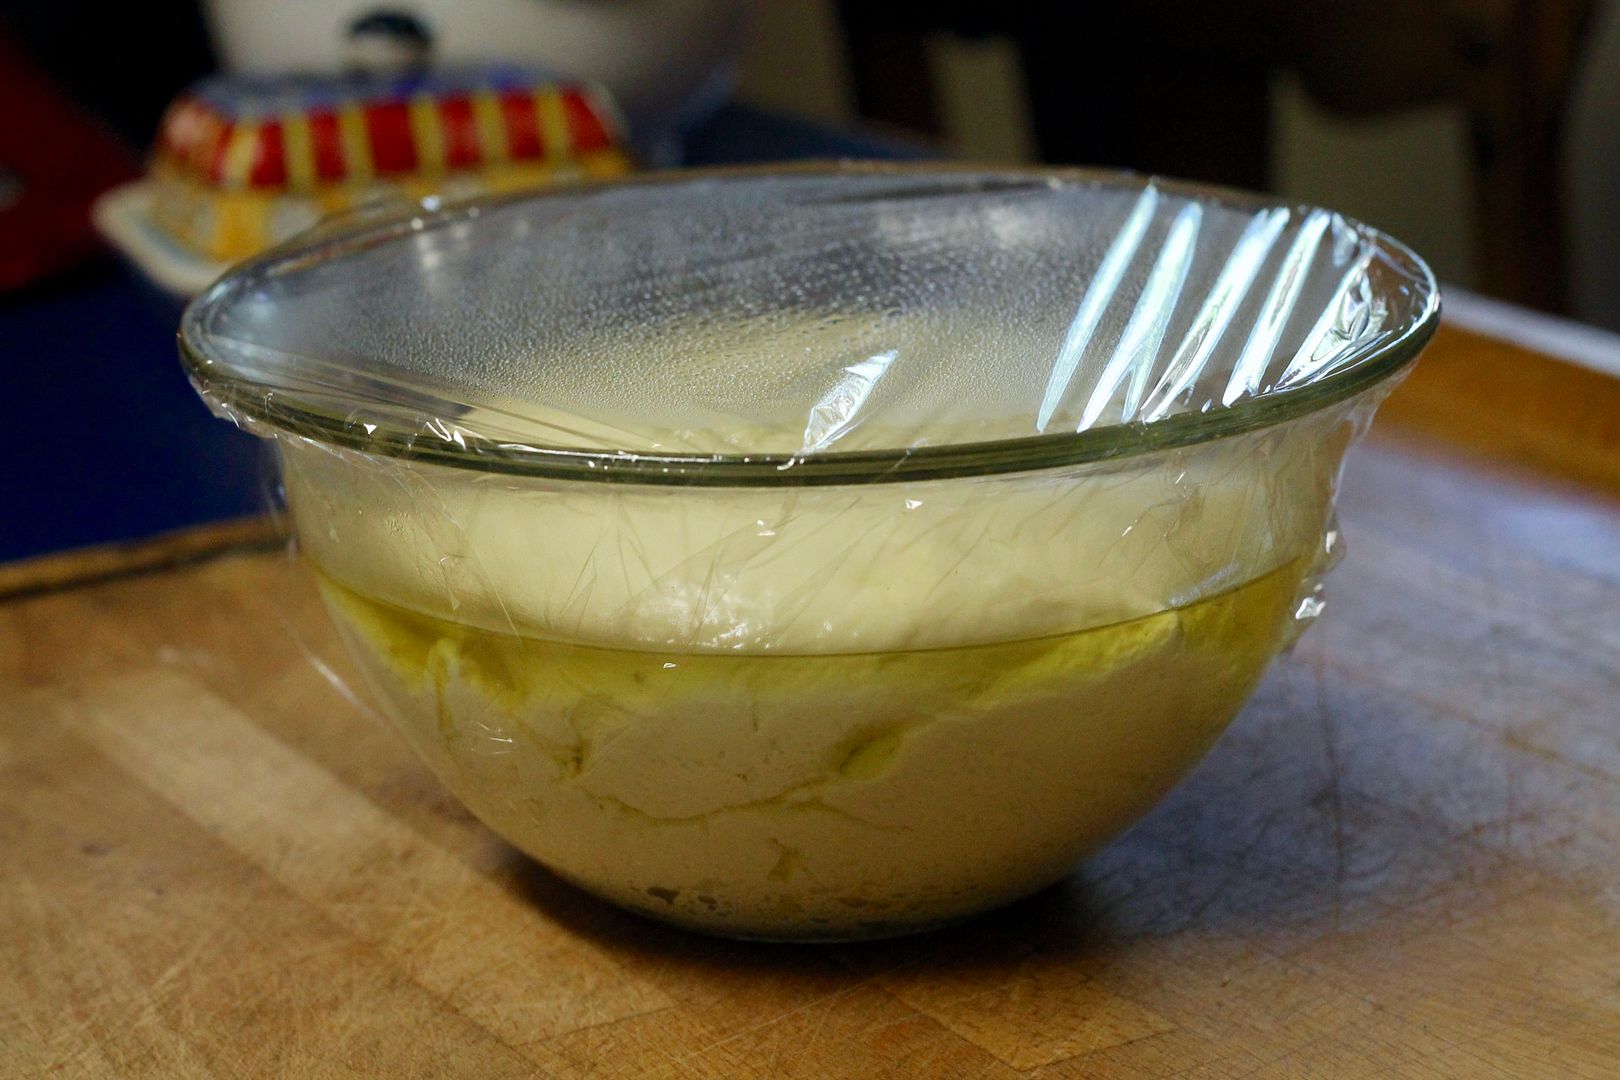
Smear the inside of a large bowl with olive oil and put the dough inside. Smear the top of the dough with more olive oil, then cover with plastic wrap and leave somewhere cool to rise until doubled in size, about 1 1/2 to 2 hours.

prerise

postrise

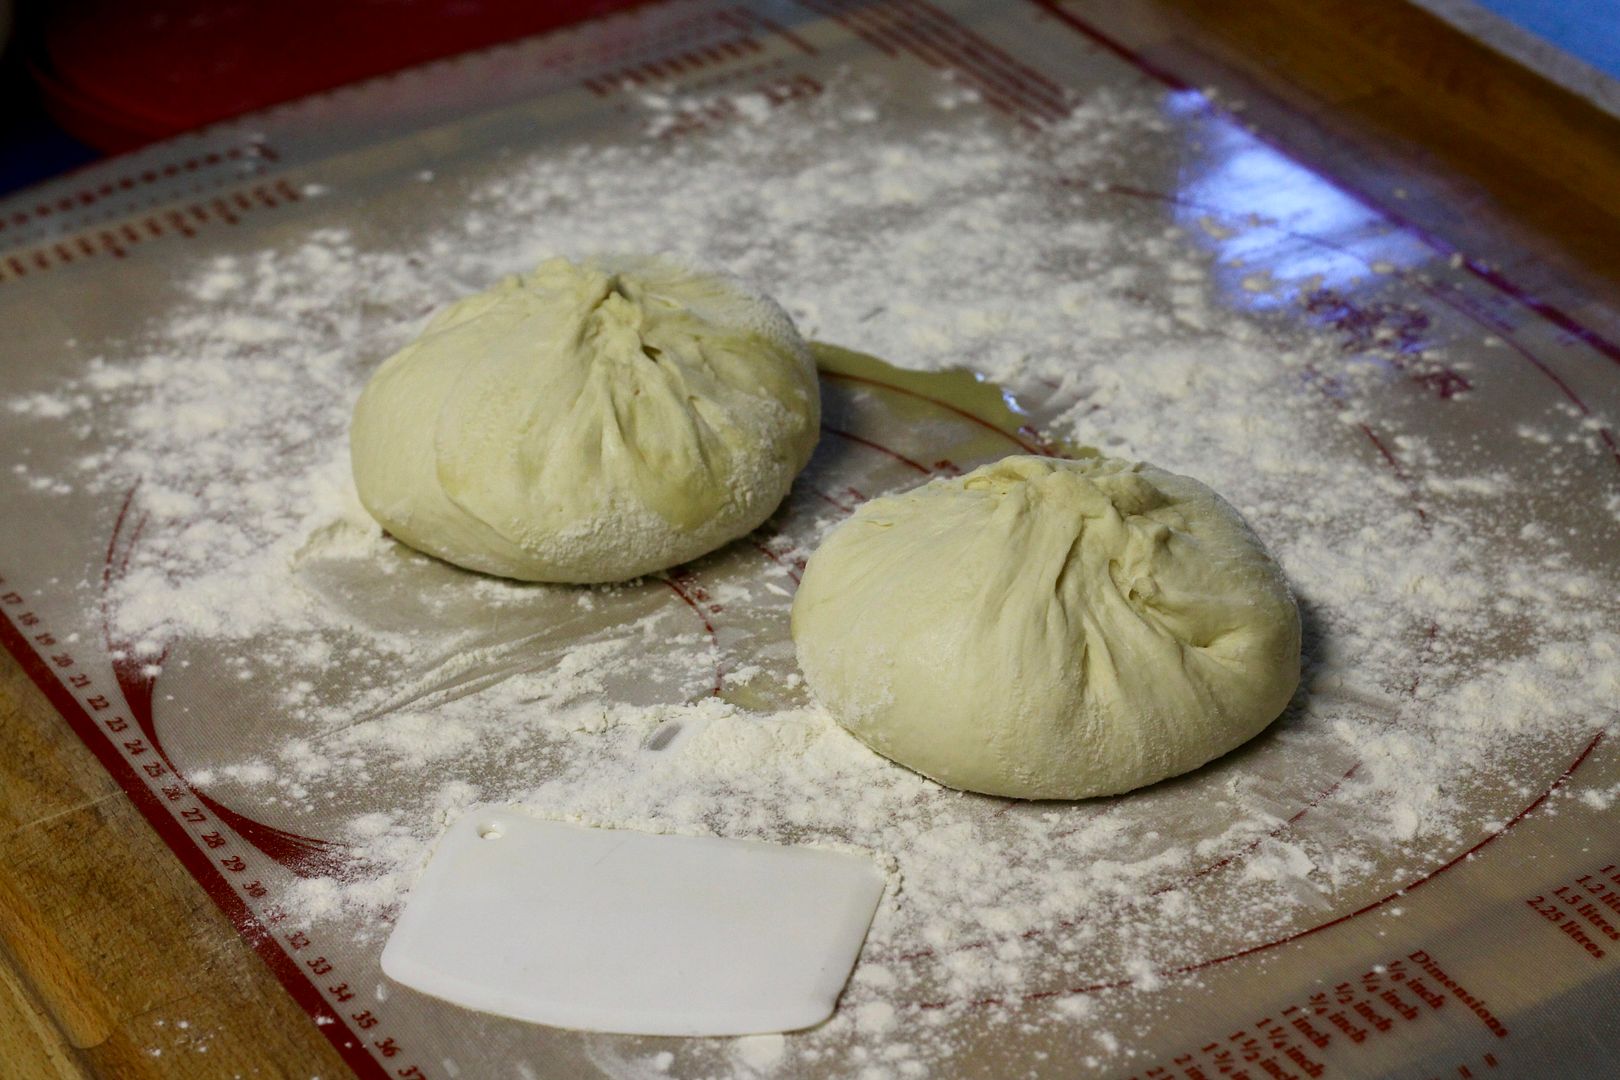
Dust the top of the risen dough lightly with four, then gently press down with your hand to deflate it. Turn the dough out onto a well-floured surface and divide it into 2 pieces. Gather each piece into a ball.

2balls

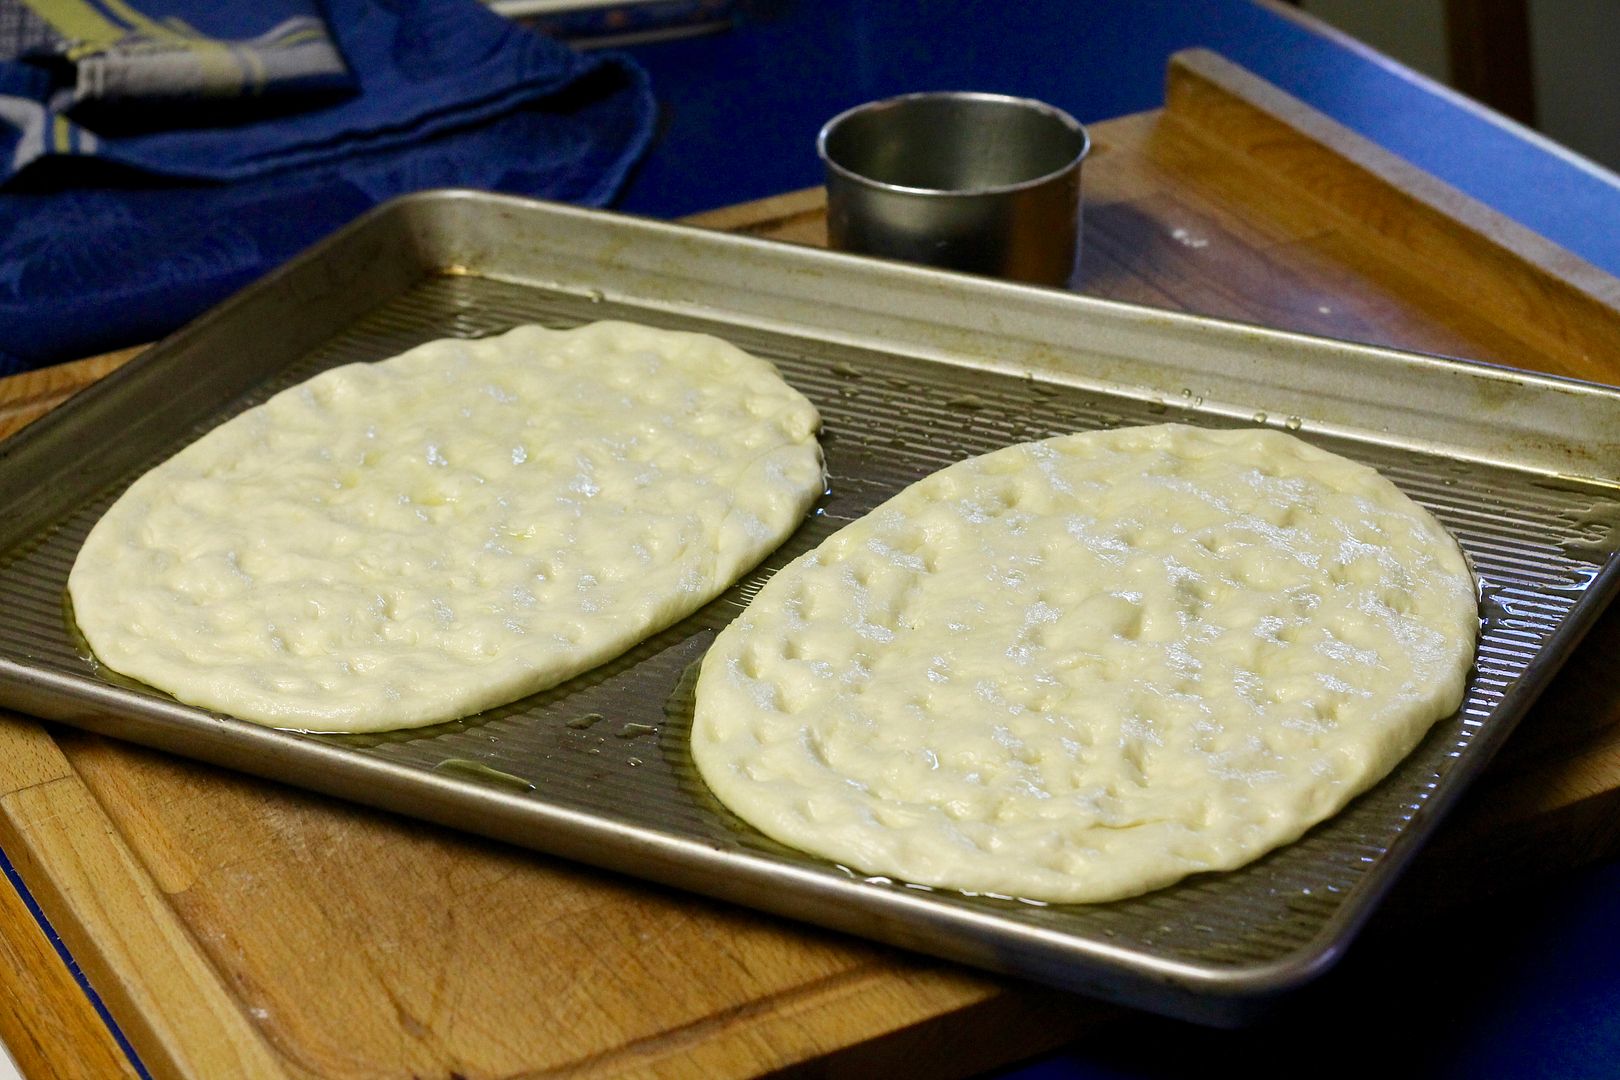
Brush a 13″x18″ sheet pan generously with olive oil and place the 2 dough balls on it, seams down. Brush the dough with more olive oil, then cover with a tea towel and rest for 20 minutes. After 20 minutes, use your fingertips to press each dough ball into an oval, leaving about an inch between the two flatbreads and the edges of the baking sheet. Cover again with the tea towel and rest/rise in a cool place for another 1 1/4 hours.

ovals

When the dough has rested, preheat the oven to 450˚F (425˚F convection bake). Brush the dough with an additional 2 tbsp olive oil, then sprinkle with:

1 1/4 cups halved (and seeded, if that’s your thing) Concord or similar grapes

1 tsp fresh minced rosemary

2 tbsp coarse raw sugar

1 tsp coarse salt

toppings

Bake in the preheated 450˚F (425˚F convection bake) oven for 13-15 minutes, until puffed and golden brown around the edges.

baked

Cool, then cut into wedges and serve slightly warm or at room temperature. This doesn’t keep well, but you should have no problem finishing it off at once.

wedges

Save

Swedish Kanelbullar and Chokladbiskvier

$
0
0

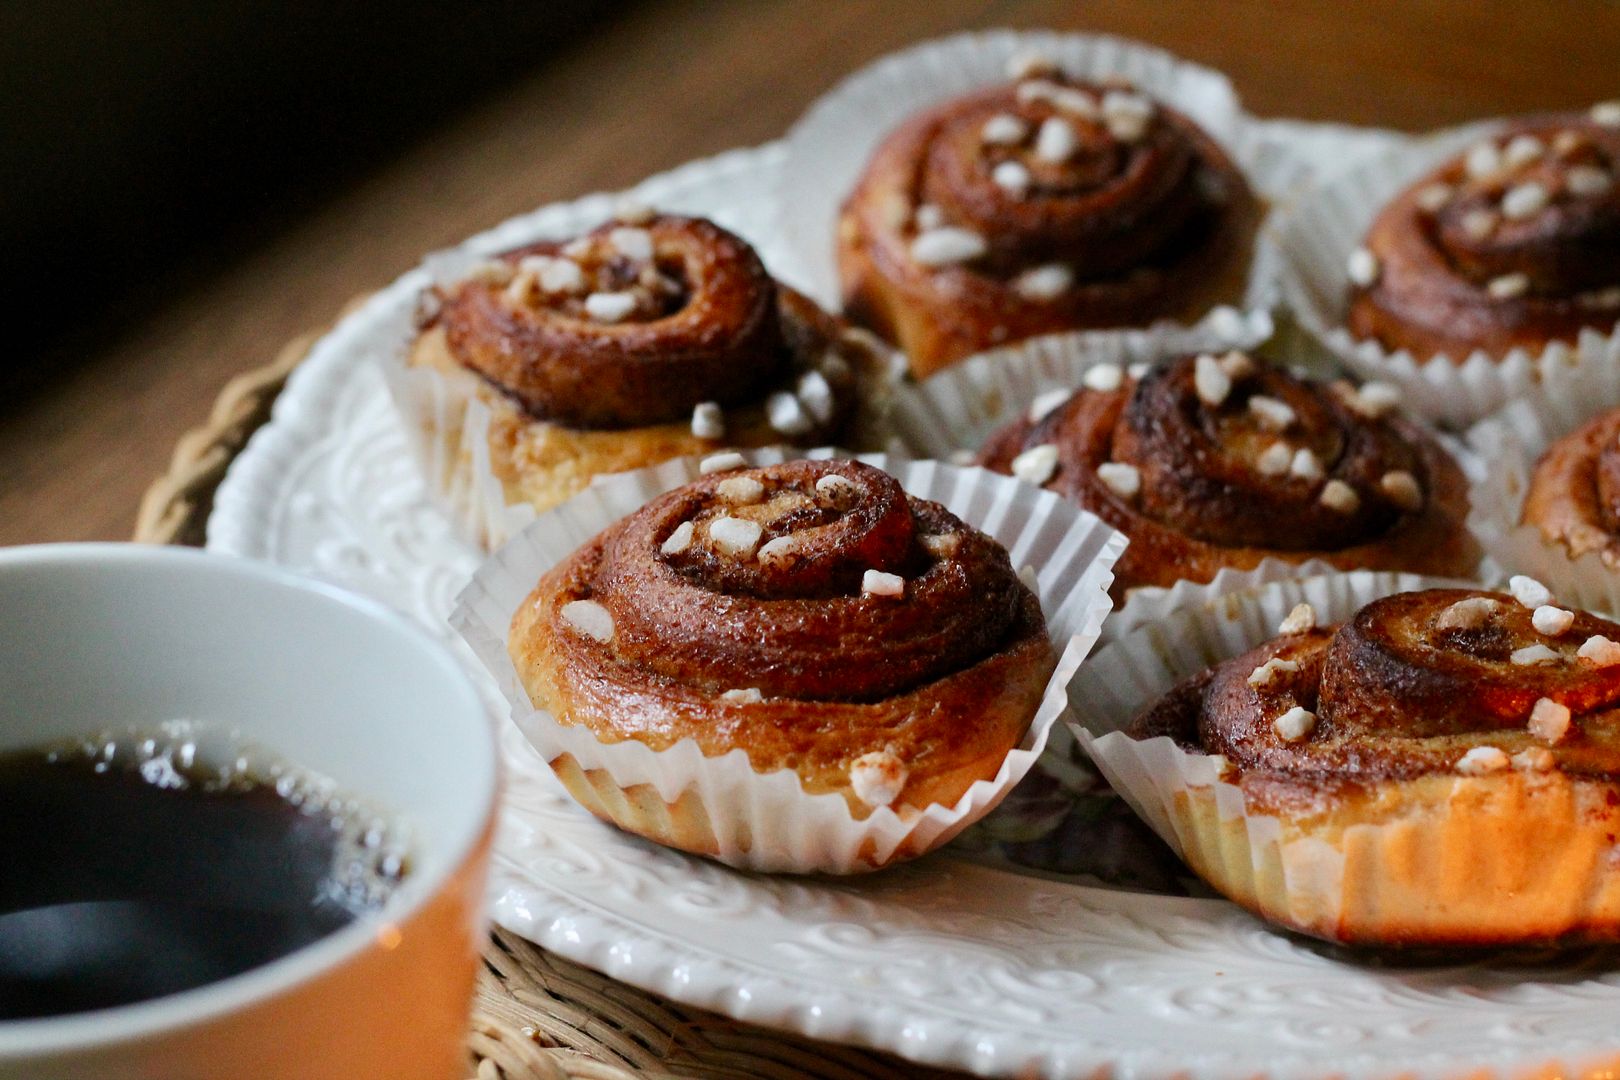
To make up for the fact that I’ve been a slacker these last few months with Around the World in 12 Plates, I’m bringing not one but TWO recipes to this month’s party. Sweden was November’s destination, and similar to their Danish neighbours’ appreciation for hygge – enjoying simple pleasures and general coziness – the Swedes have a serious appreciation for fika, which you could sort of think of as coffee break hygge. But fika is not buying a to-go coffee and inhaling it in your car on the way to somewhere else – it is intentionally slowing down to drink a cup of coffee (or tea), eat some kind of delicious baked good, and enjoy yourself – either alone or with friends. It is so much a part of Swedish culture that workers have fika breaks built into their work days.

Korena in the Kitchen | Swedish Fika - Kanelbullar & Chokladbiskvier

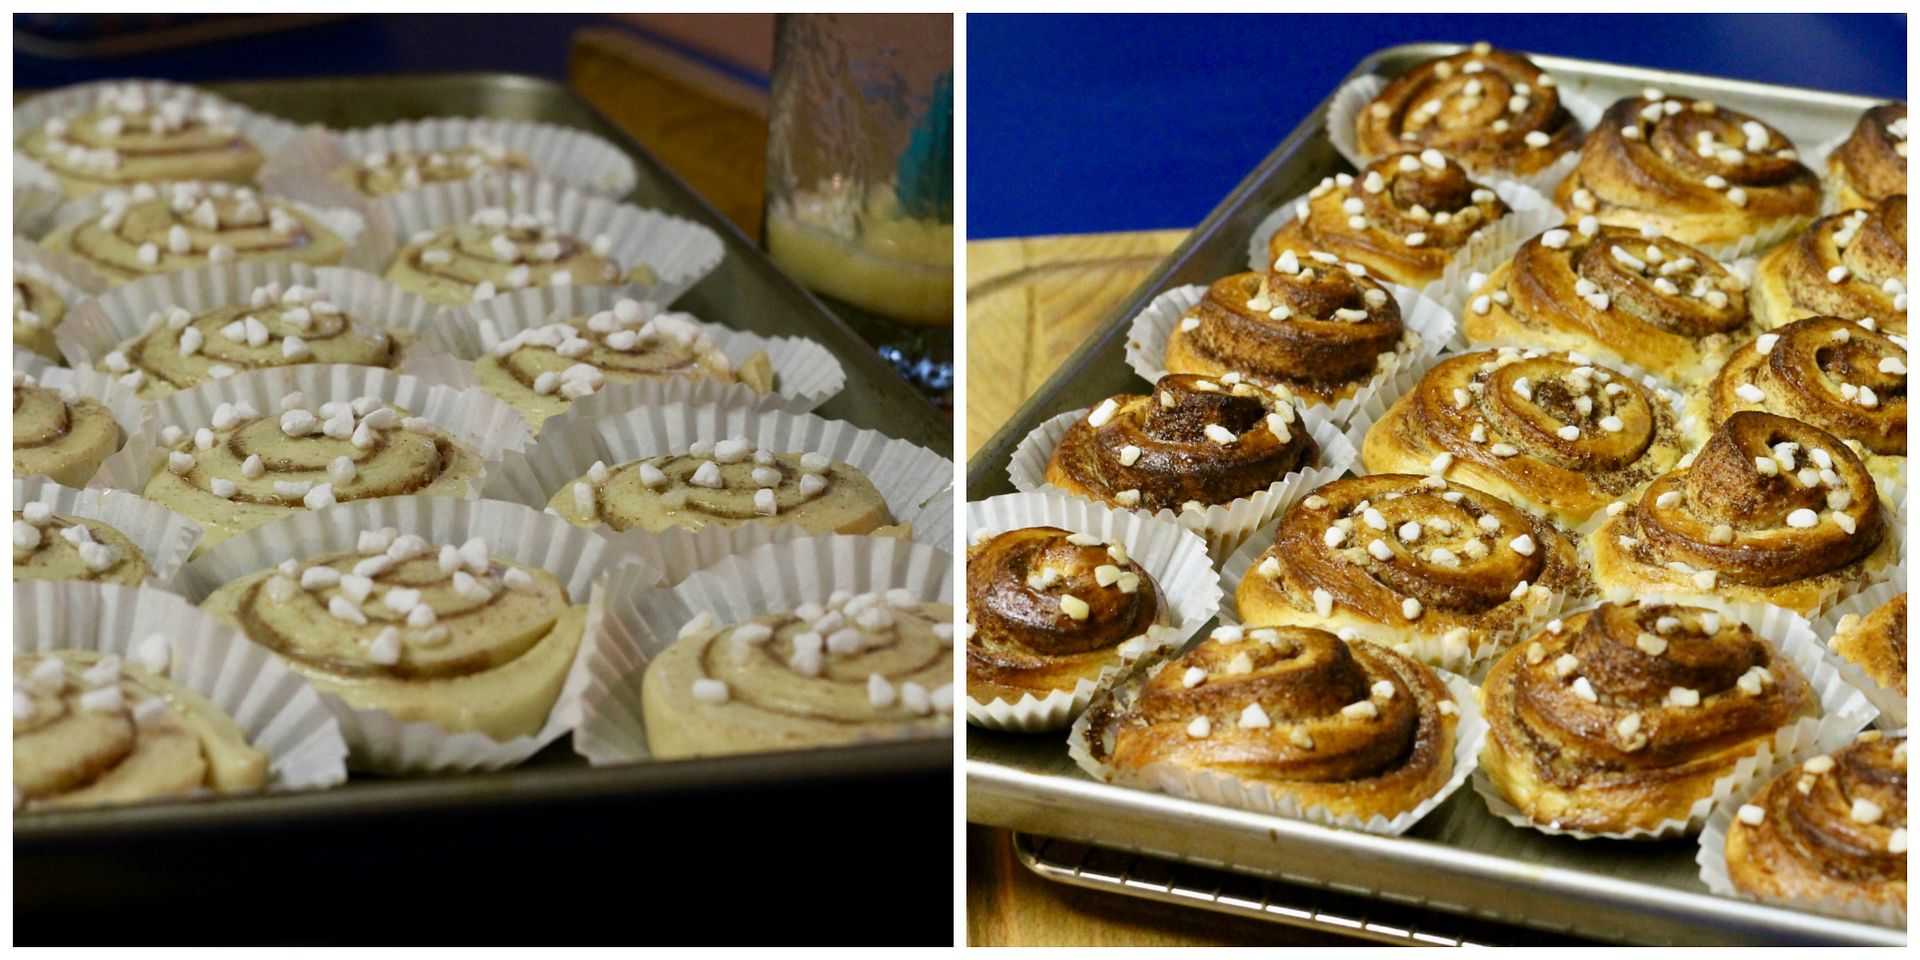
So with a culture of fika comes a culture of delicious things to eat during fika – something I can totally get behind. One well-known Swedish fika treat is the kanelbullar, a cinnamon bun made with cardamom-scented dough, cinnamon-sugar filling, and topped with pearl sugar. Unlike humongous, frosting-covered Western cinnamon buns, kanelbullar are small and not too sweet – but no less delicious with their buttery dough and spices. The recipe I’m sharing makes about 20 small buns, meaning they are perfect for sharing with friends and co-workers to enjoy on your coffee break together.

Korena in the Kitchen | Kanelbullar

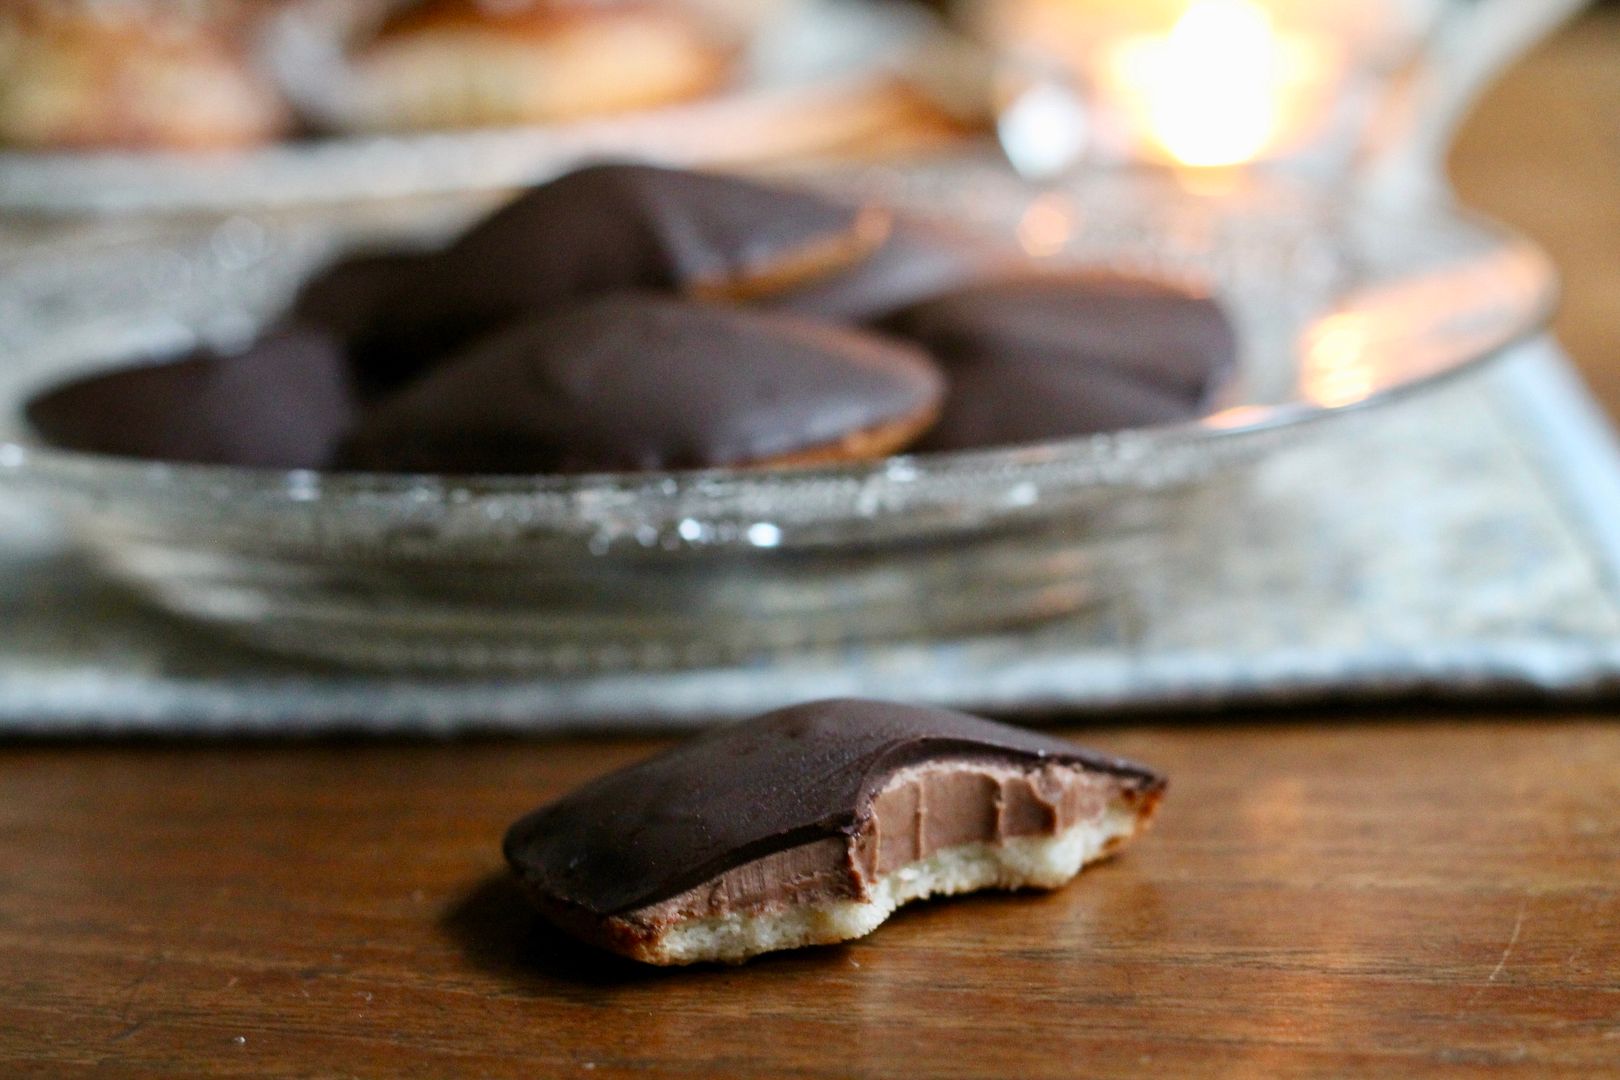
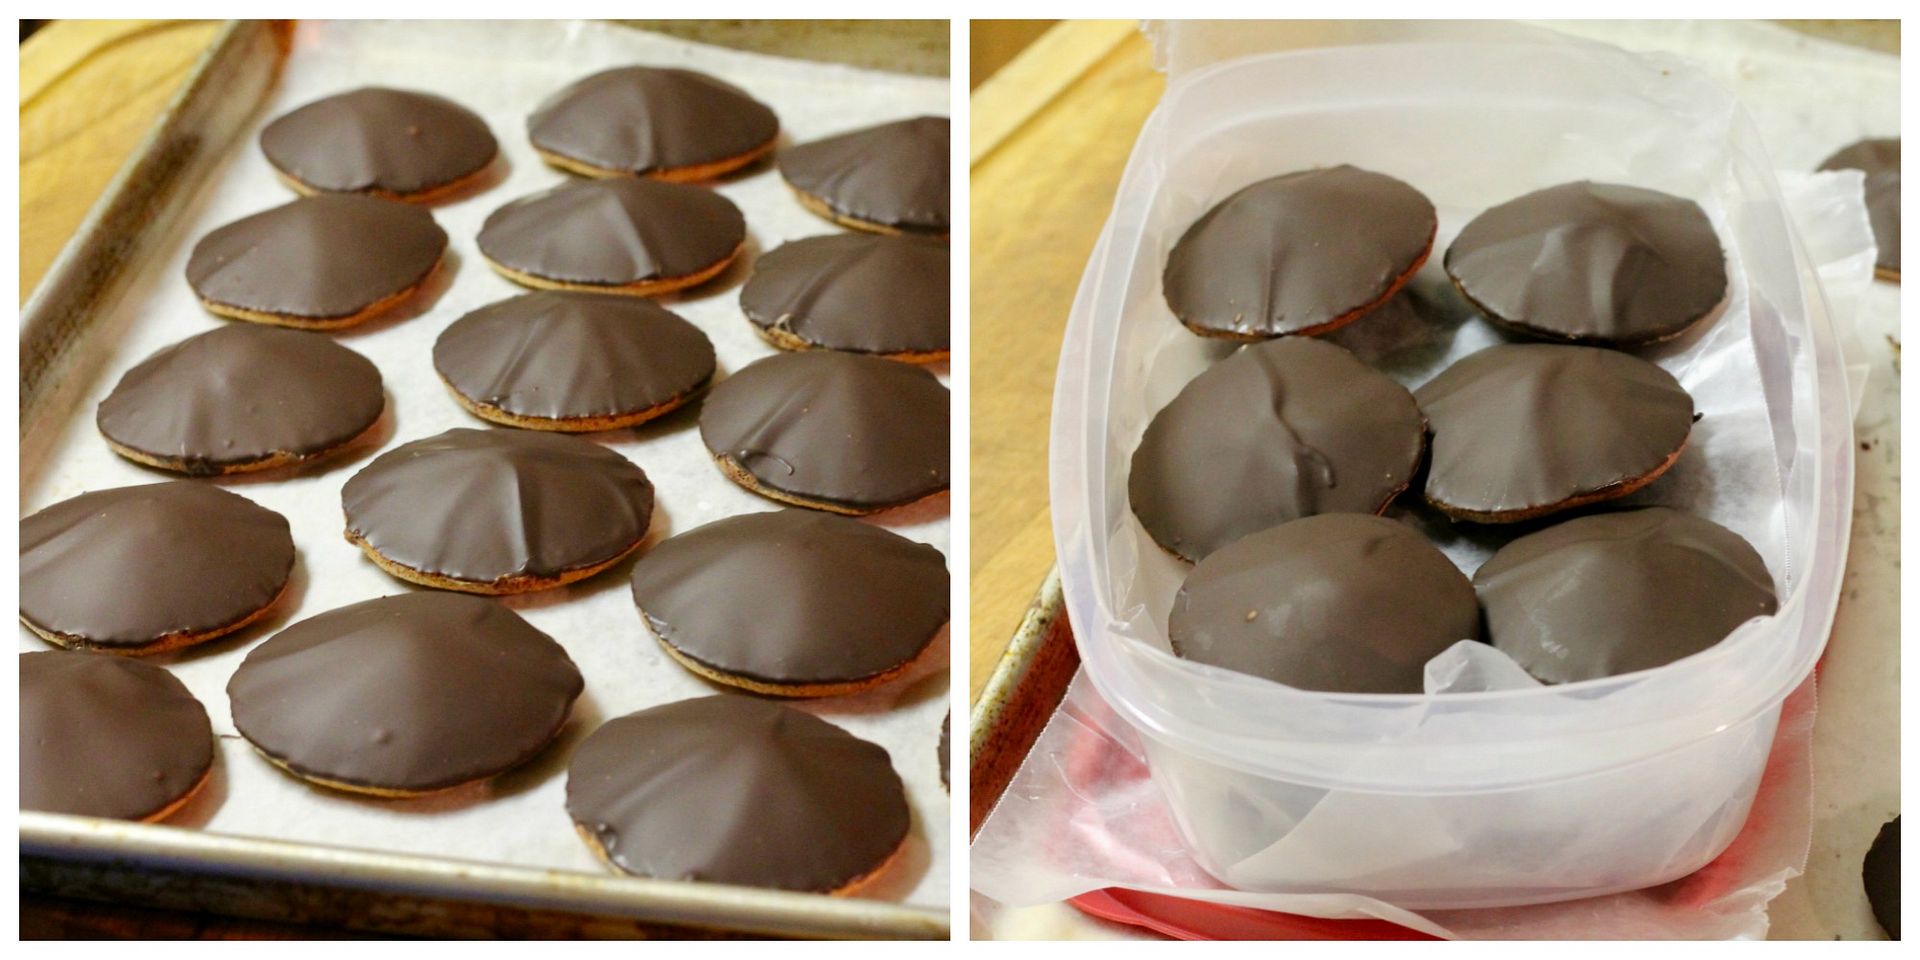
When researching Swedish fika treats, I also came across the chokladbiskvier, also known as the Sarah Bernhardt cookie in Denmark. I don’t know who had the recipe first – the Danes or the Swedes – but I do know that it is one delicious cookie: an almond macaroon bottom topped with a chocolate buttercream spread into a pointed cone and covered in a shell of dark chocolate. They are chewy, crispy, creamy, and crunchy all at once, and despite their slight finicky-ness (spreading the buttercream on each cookie and then dipping each one carefully in chocolate is a bit of an exercise in patience) they are totally worth it. The recipe below makes more chokladbiskvier than anyone really needs at once (they are pretty rich!) but extras can be kept in the freezer, and eating them frozen only makes them better.

Korena in the Kitchen | Chokladbiskvier

Swedes fika at all times of the year, but snuggling up with a cup of coffee and one (or both) of these goodies seems like an especially good idea on a rainy day at the end of November!

For more Swedish cuisine this month, check out the other ATW12P bloggers:

Dish ‘n’ The Kitchen – Swedish Räksmörgås (Bling Sandwich)

Sugar Love Spices – Swedish Raggmunk (Potato Pancakes)

The Food Girl in Town – Prinsesstårta (Princess Cake)

Kanelbullar

Adapted from kokblog. Makes 20 buns.

I took a leaf from Food52 and instead of only using the ground up black cardamom seeds in this recipe, I toasted whole cardamom pods, then ground them up, green pods and all. This produces the most wonderfully pungent, citrusy, almost resinous cardamom flavour – much brighter and bolder than just using the ground up seeds.

In the bowl of an electric mixer, combine:

250 ml warm milk (about 110˚F)

8 g active dry yeast

Let sit for 5-10 minutes, until the yeast begins to foam.

In a medium bowl, whisk together:

420 g all purpose flour

65 g brown sugar

1 1/4 tsp ground cardamon (toasted whole and ground fresh, pod and all, if possible)

1/4 tsp fine sea salt

buns1

Add the flour mixture to the proofed yeast, along with 150 g unsalted softened butter, cut in cubes. Mix on low speed with the dough hook to form a shaggy dough, then increase speed to medium and continue kneading 5-10 minutes, until the dough is soft, smooth, and elastic and cleans the sides of the bowl.

buns2

Place the dough in a clean bowl and cover with plastic wrap. Let rise in a warm place until about doubled in size, about 40 minutes.

buns3

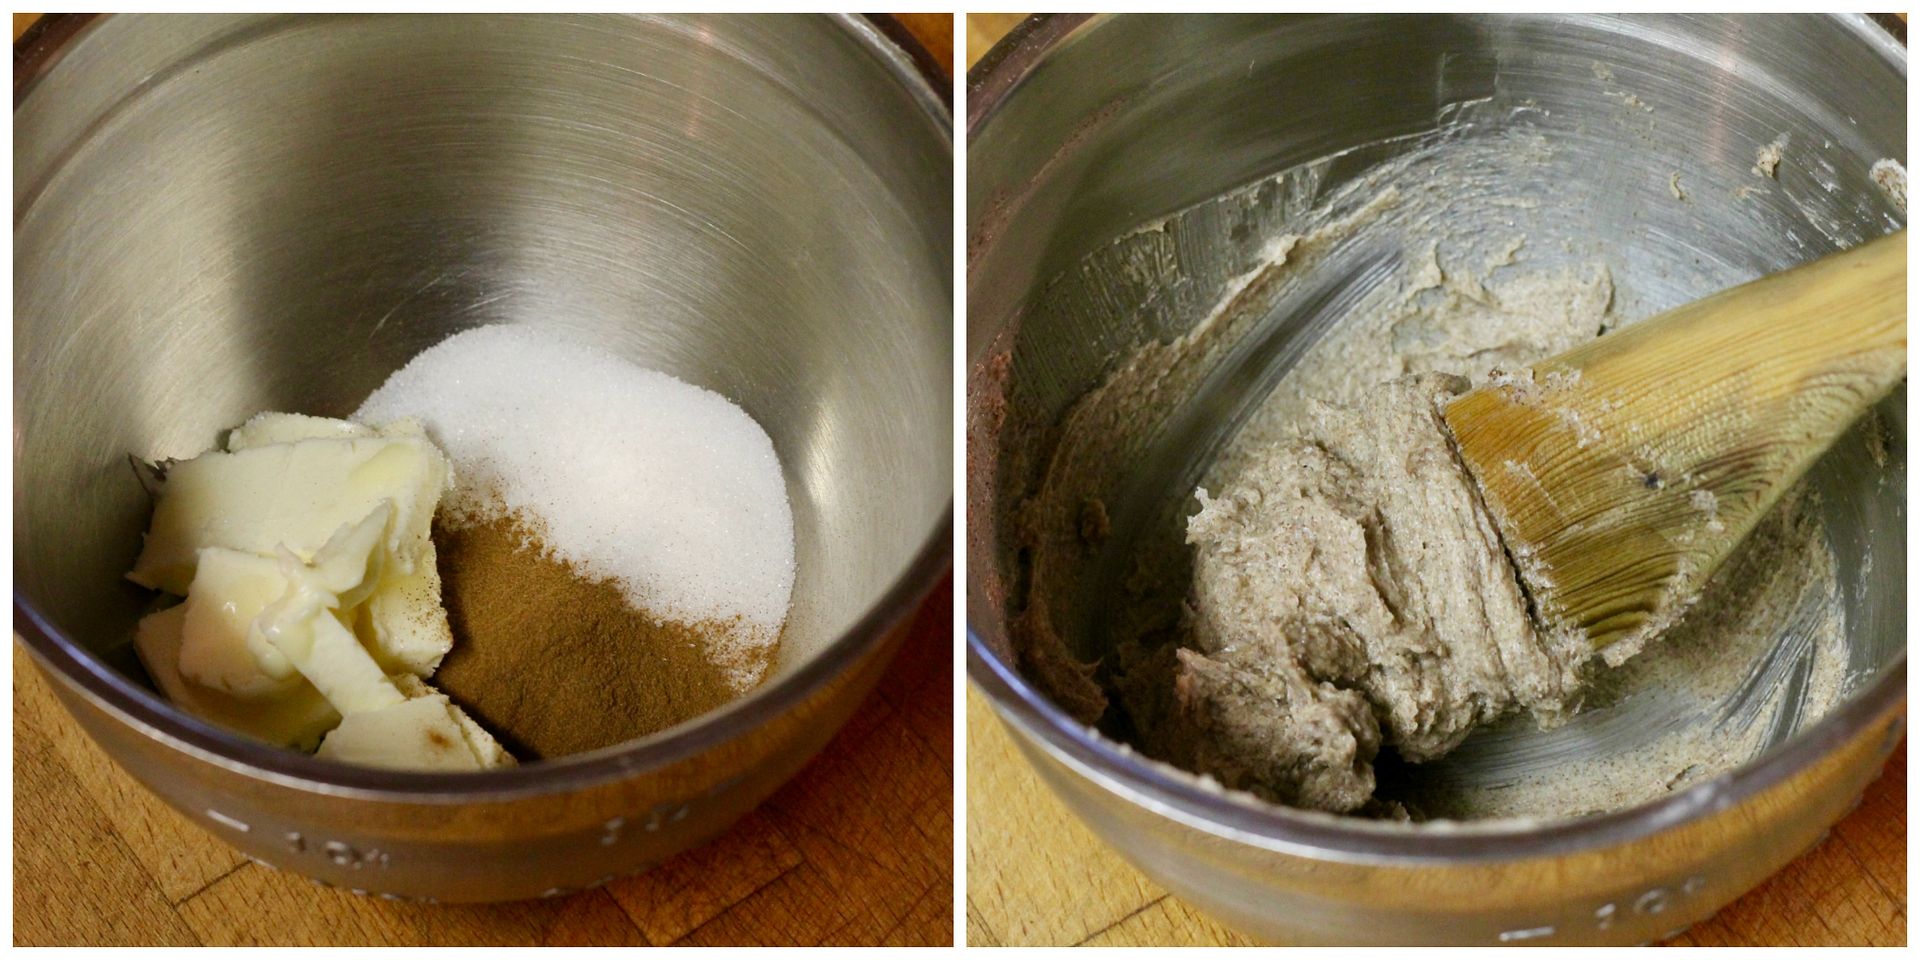
Meanwhile, cream together the filling:

65 g unsalted softened butter

35 g granulated sugar

1 1/4 tsp ground cinnamon

pinch fine sea salt

buns4

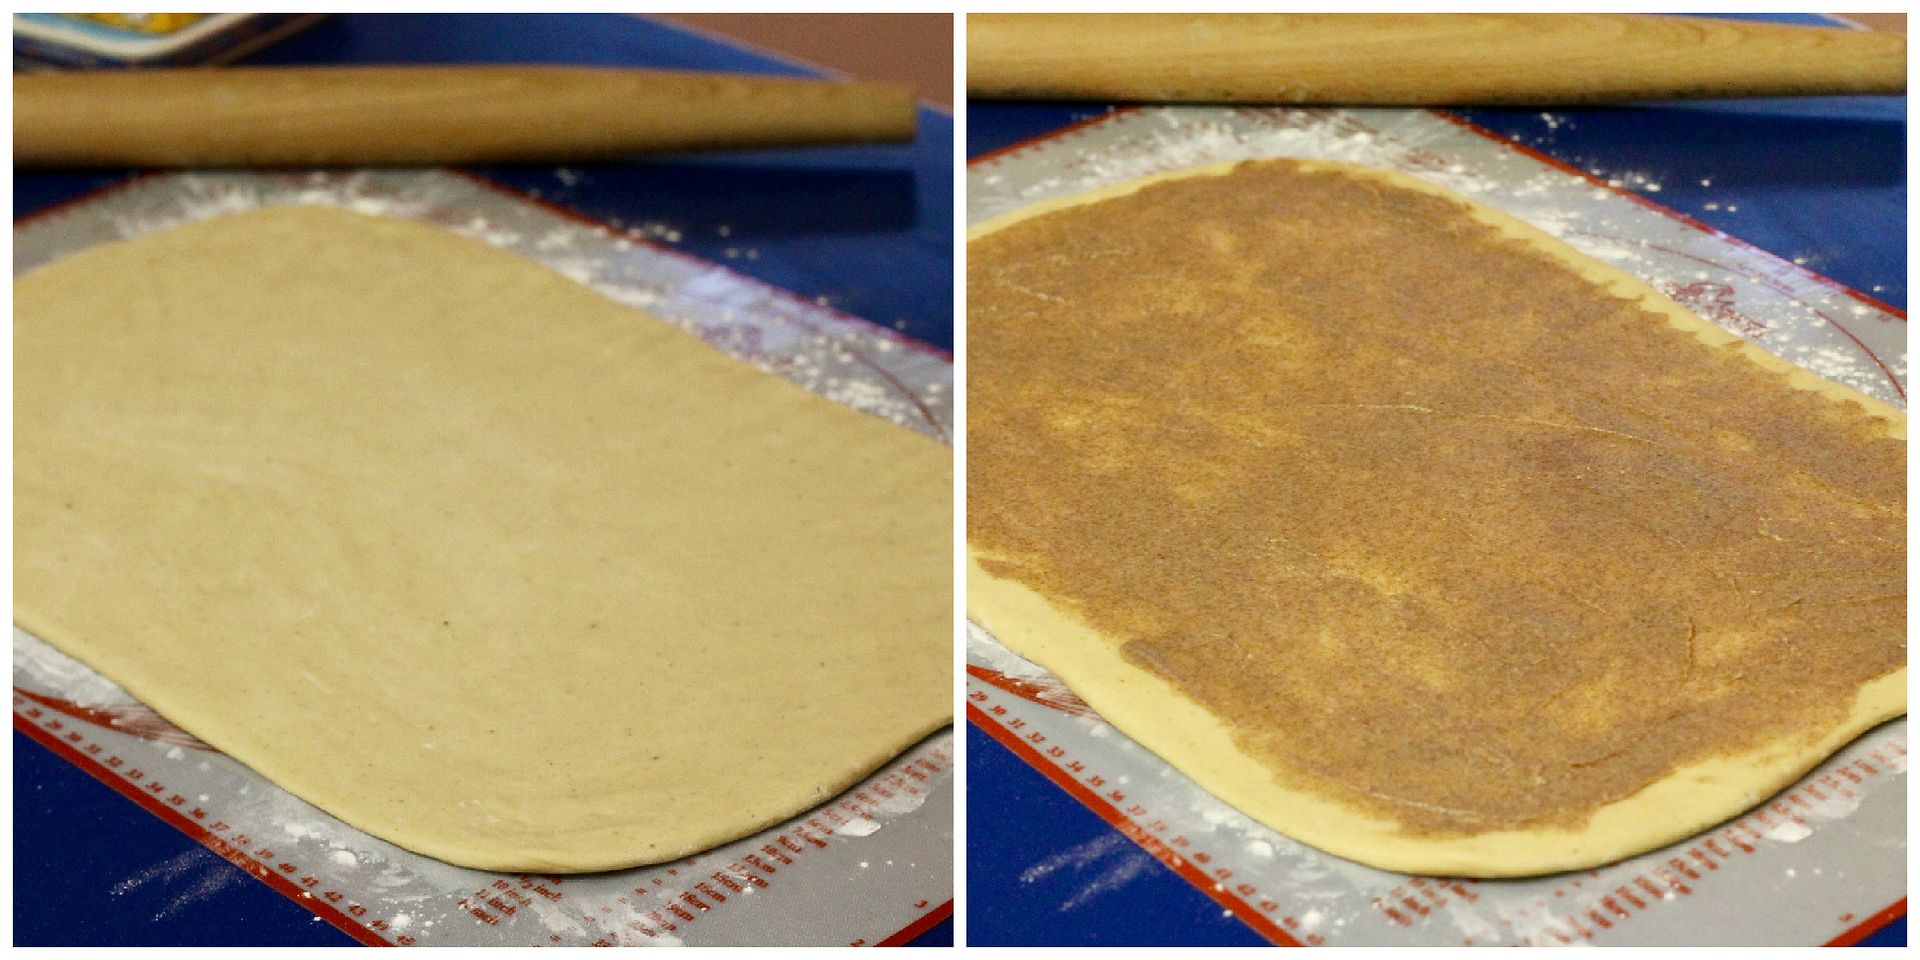
On a floured surface, roll the risen dough out into a 20″ x 10″ rectangle. Spread it with the filling, leaving a 1/2″ border around the edges.

buns5

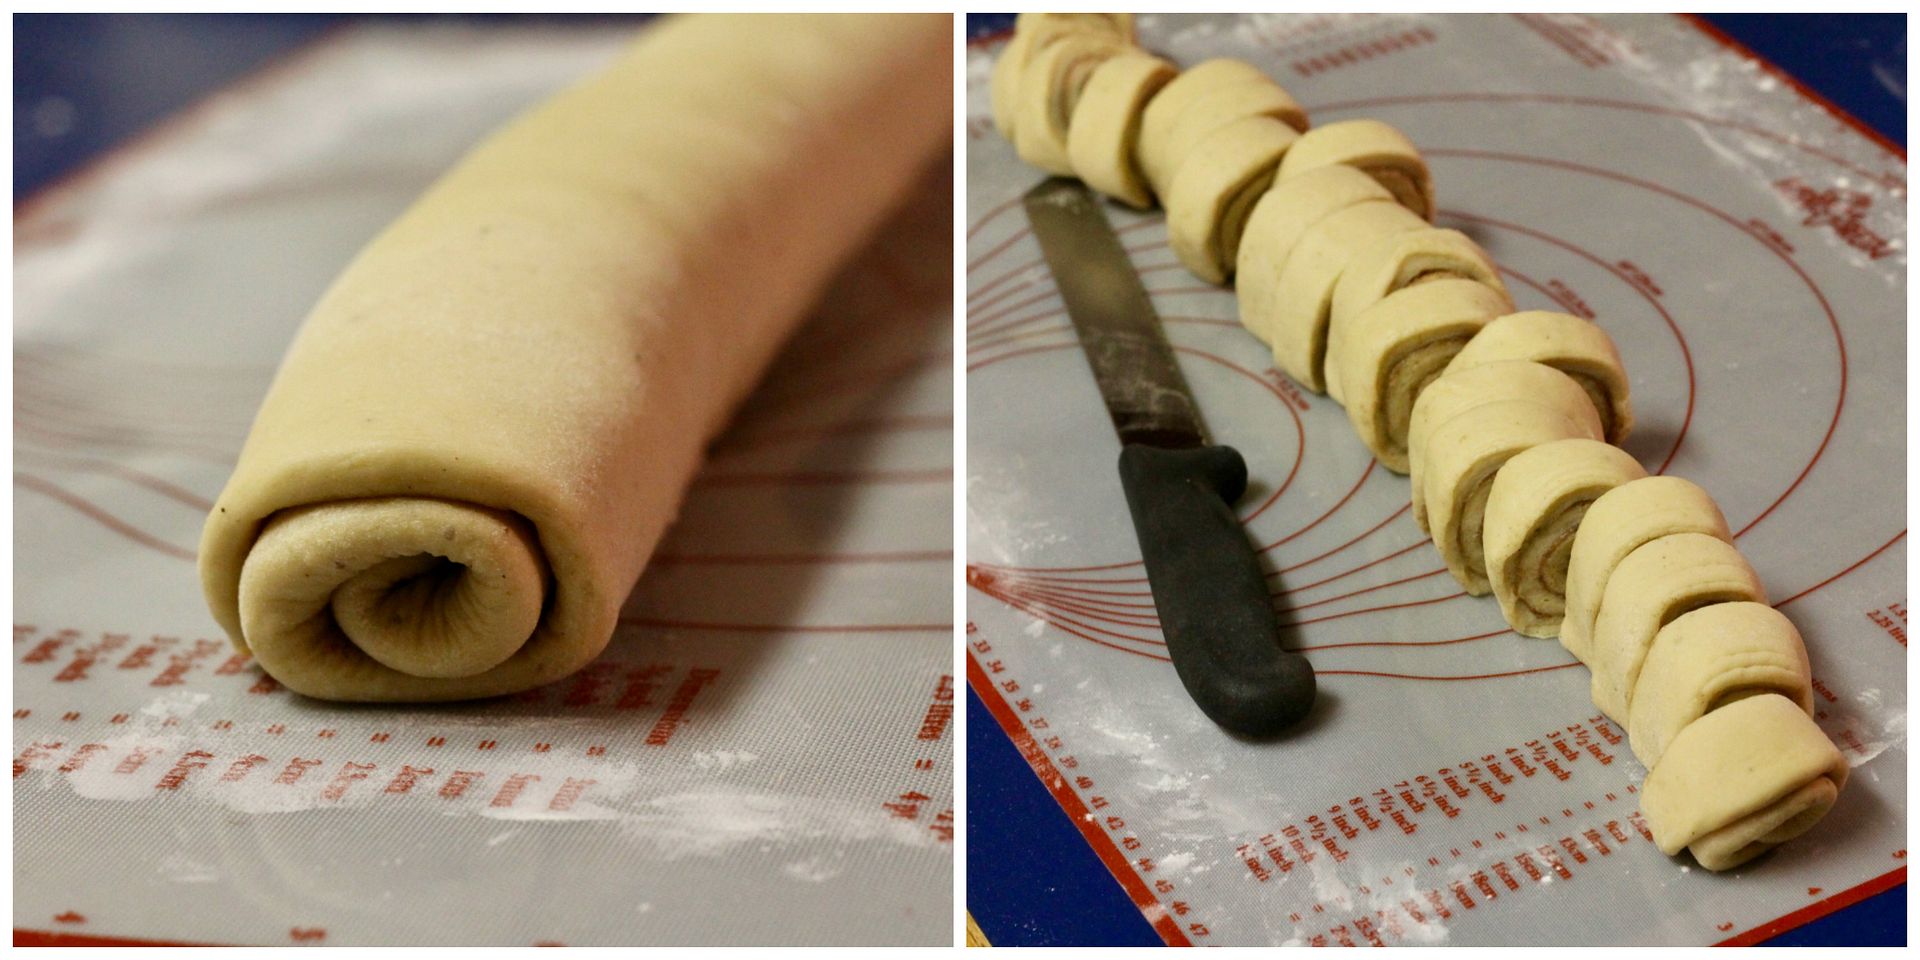
Starting at one long edge, roll up into a tight cylinder and pinch the seam closed. With a serrated knife, cut into 20 pieces, each about 1″ thick.

buns6

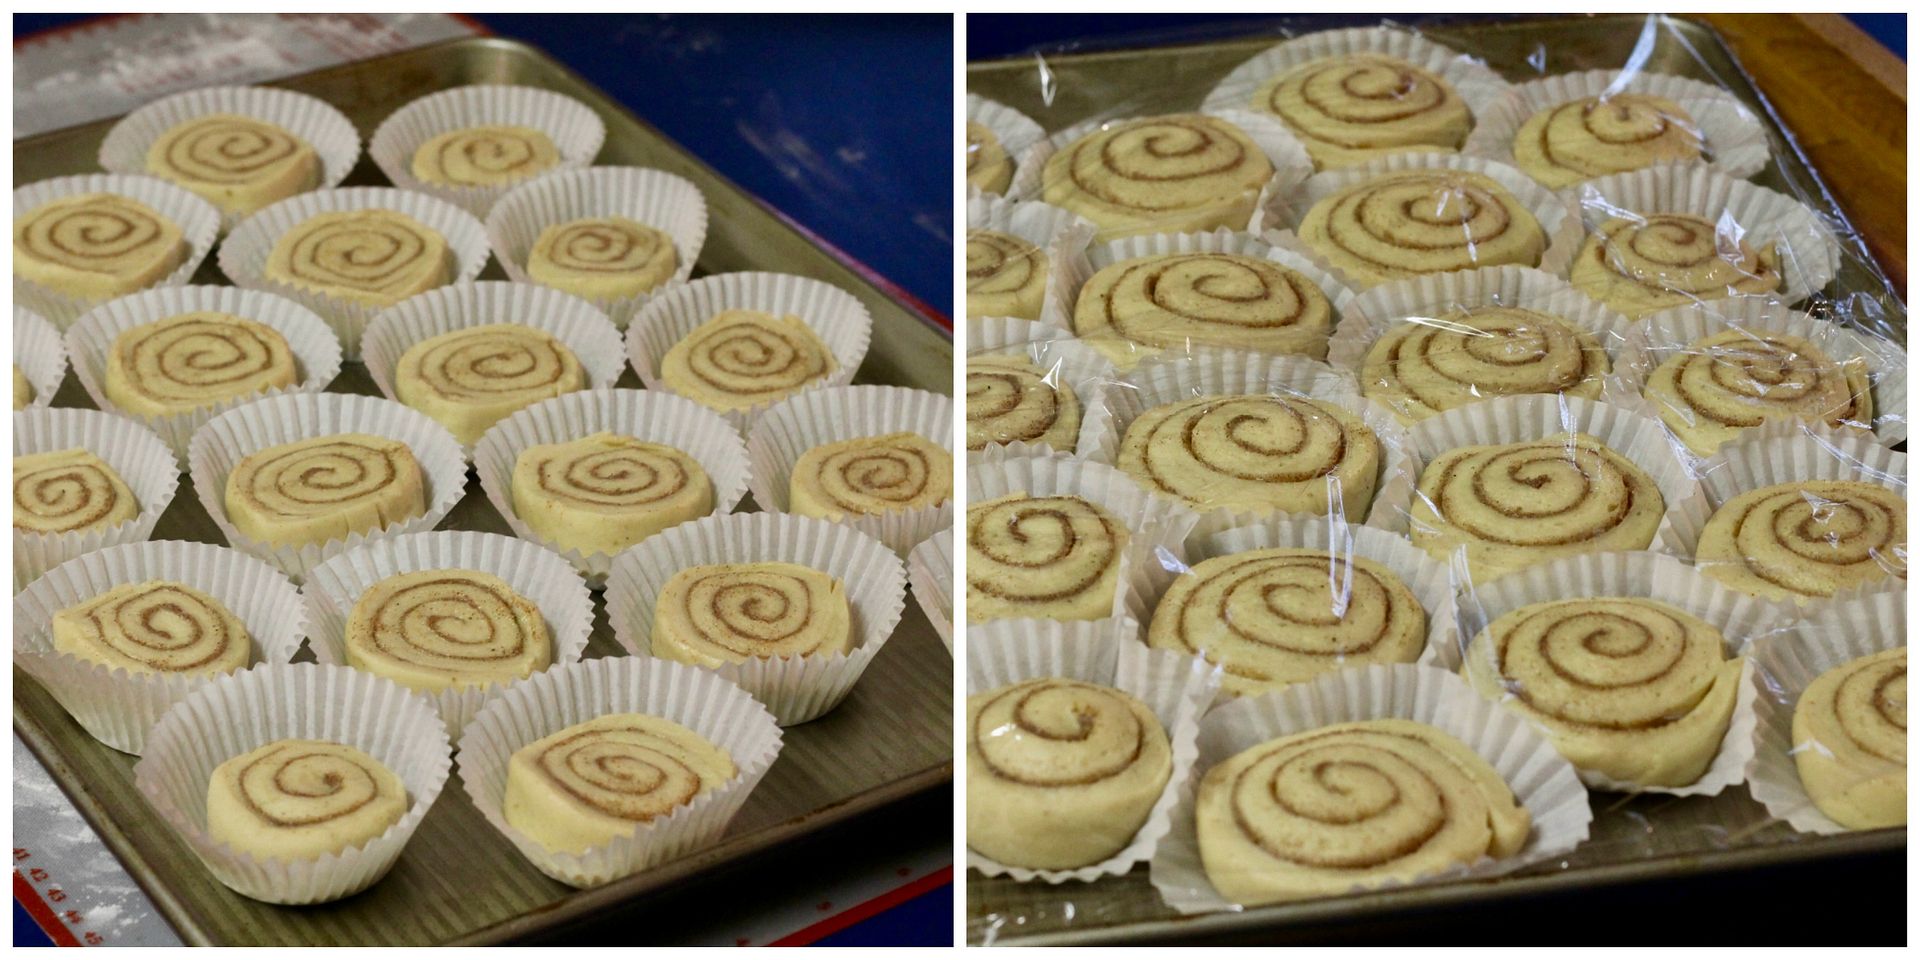
Place each piece in a paper muffin liner on a baking sheet (or you can just arrange them about 1″ apart on a parchment paper-lined baking sheet). Cover lightly with plastic and let rise in a warm place for about 30 minutes, until puffy.

buns7

While they rise, preheat the oven to 425˚F (400˚F convection). Whisk together an egg wash of 1 egg + 1 tbsp water and brush it over top of each risen bun, then sprinkle with pearl sugar. Bake in the preheated 425˚F (400˚F convection) oven for 10-12 minutes until deep golden brown and just firm in the middles (they will continue to cook as they cool). Cool on a rack, then serve warm or at room temperature.

buns8

Chokladbiskvier

Adapted from I’m Ida on YouTube. Makes about 30 cookies.

I used homemade almond paste that was quite soft, so my resulting batter was on the loose side and my almond macaroon cookie bases came out a bit flat (but still delicious). I found that I could have used more filling per cookie and I ran out of filling before I ran out of cookies, so I’ve increased the filling amount by 50%.

Almond Macaroon Cookies

Preheat the oven to 350˚F (325˚F convection). In the bowl of an electric mixer fitted with the paddle attachment, combine:

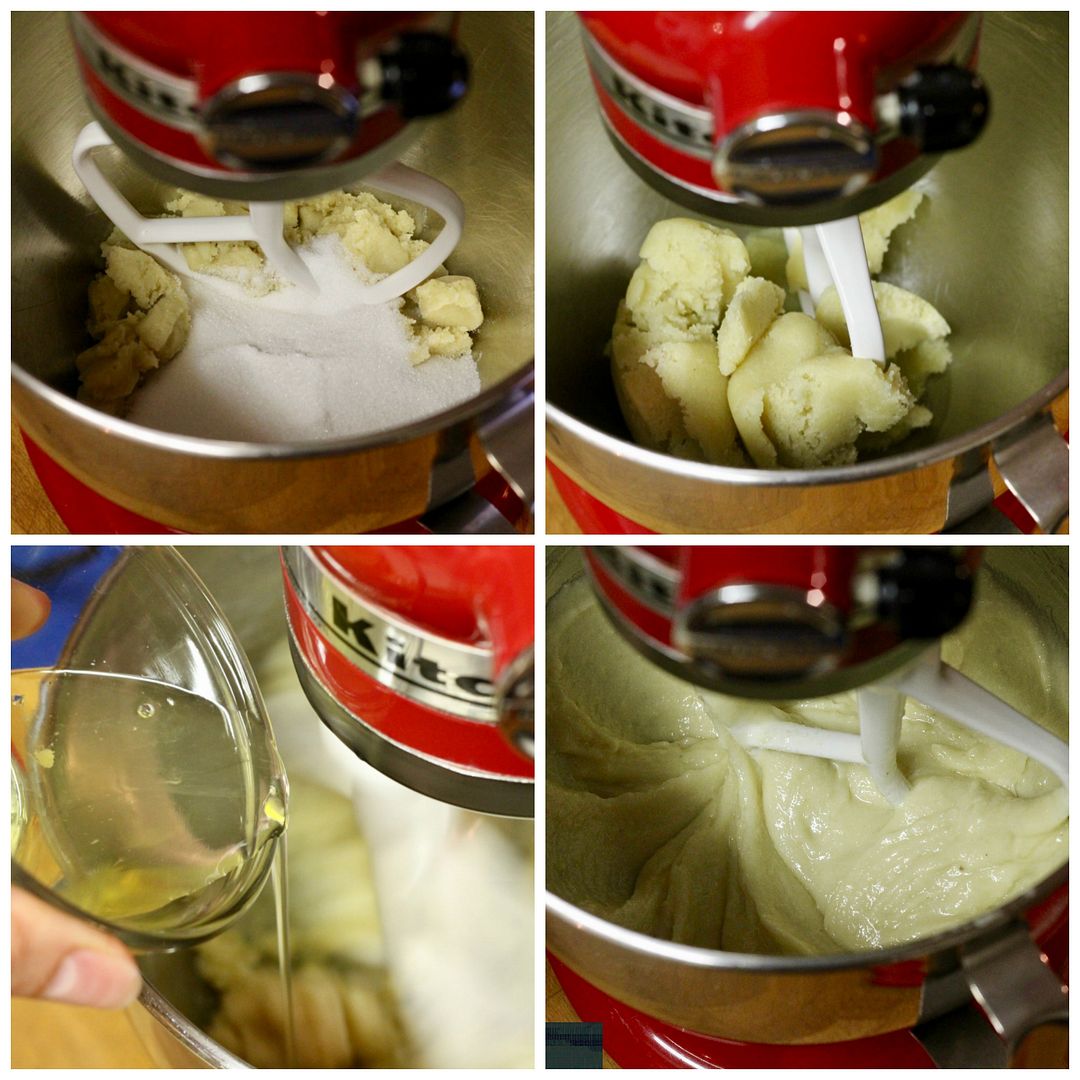
250 g almond paste

150 g granulated sugar

Mix together until cohesive, then slowly mix in 2 egg whites and beat on medium high speed until smooth.

macs1

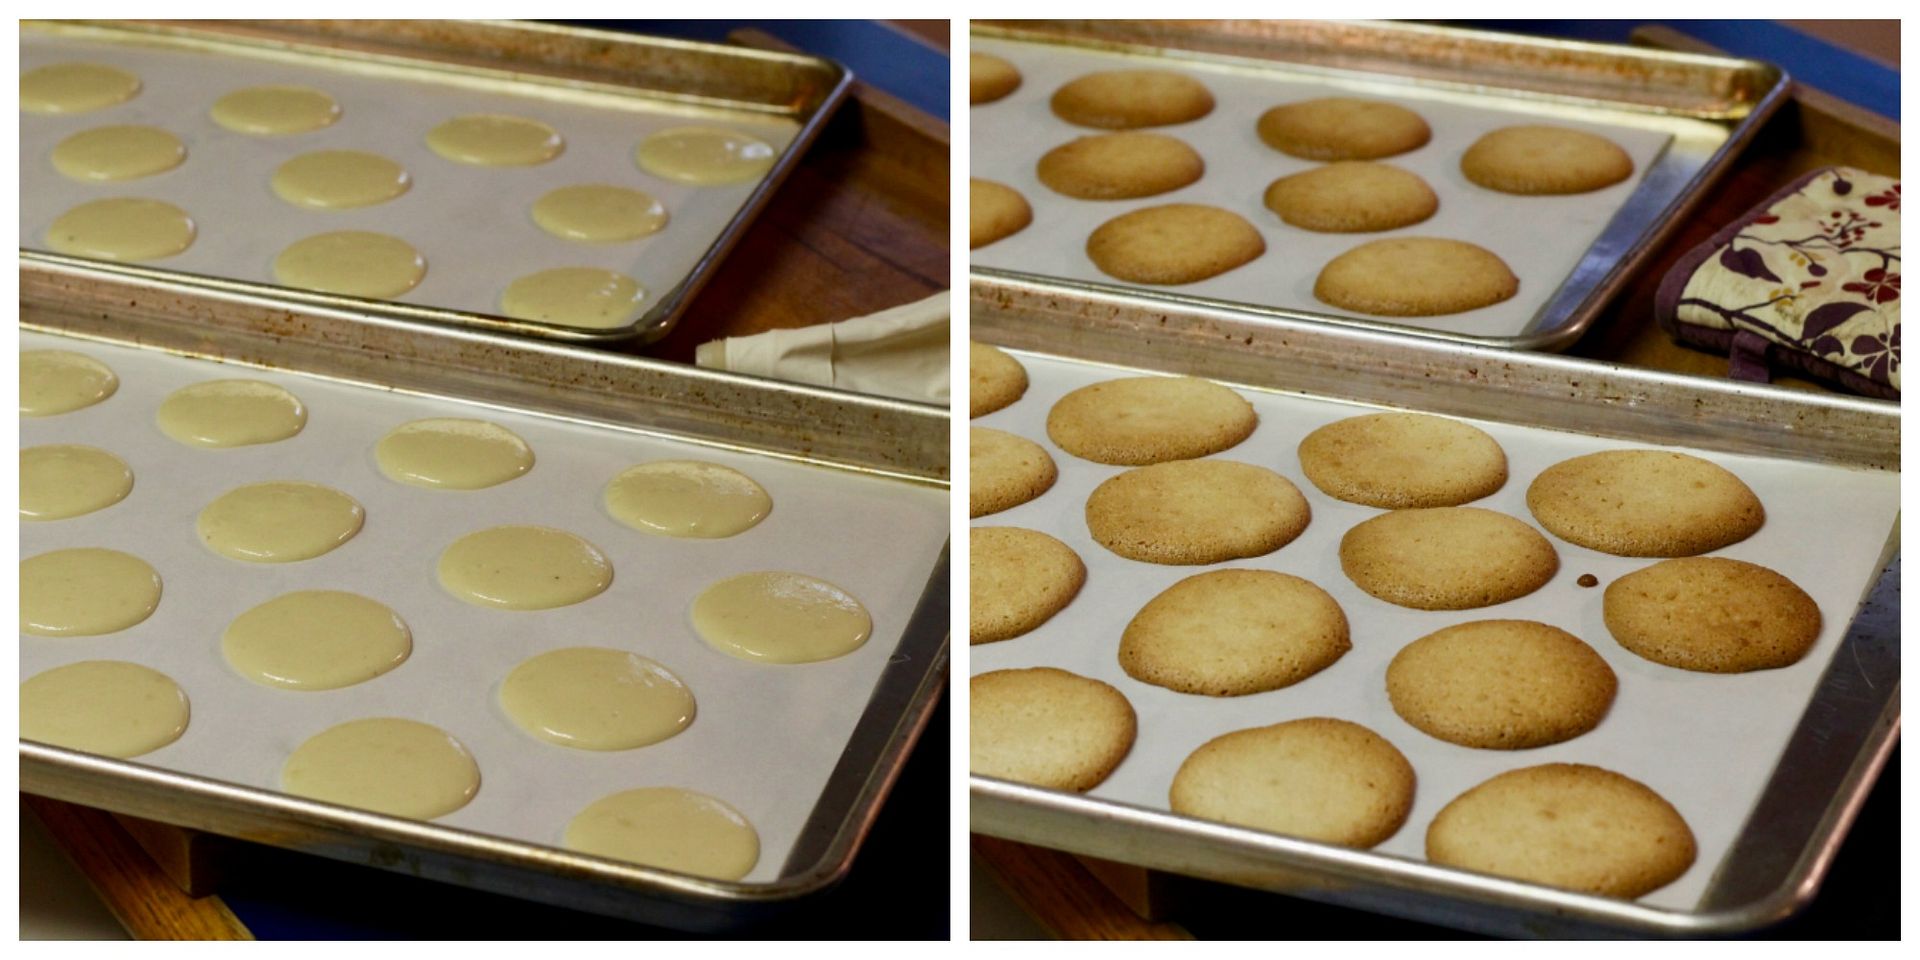
Scrape the batter into a piping bag fitted with a large round tip. Line 2 baking sheets with parchment paper and pipe the batter into 2″ rounds, leaving about 1″ between them. Bake in the preheated 350˚F (325˚F convection) oven for about 13 minutes, until golden brown. Allow to cool on the baking sheet, then peel the cookies off the parchment paper and turn them upside down.

macs2

Chocolate Buttercream Filling

In a medium saucepan, combine:

140 g granulated sugar

57 g water

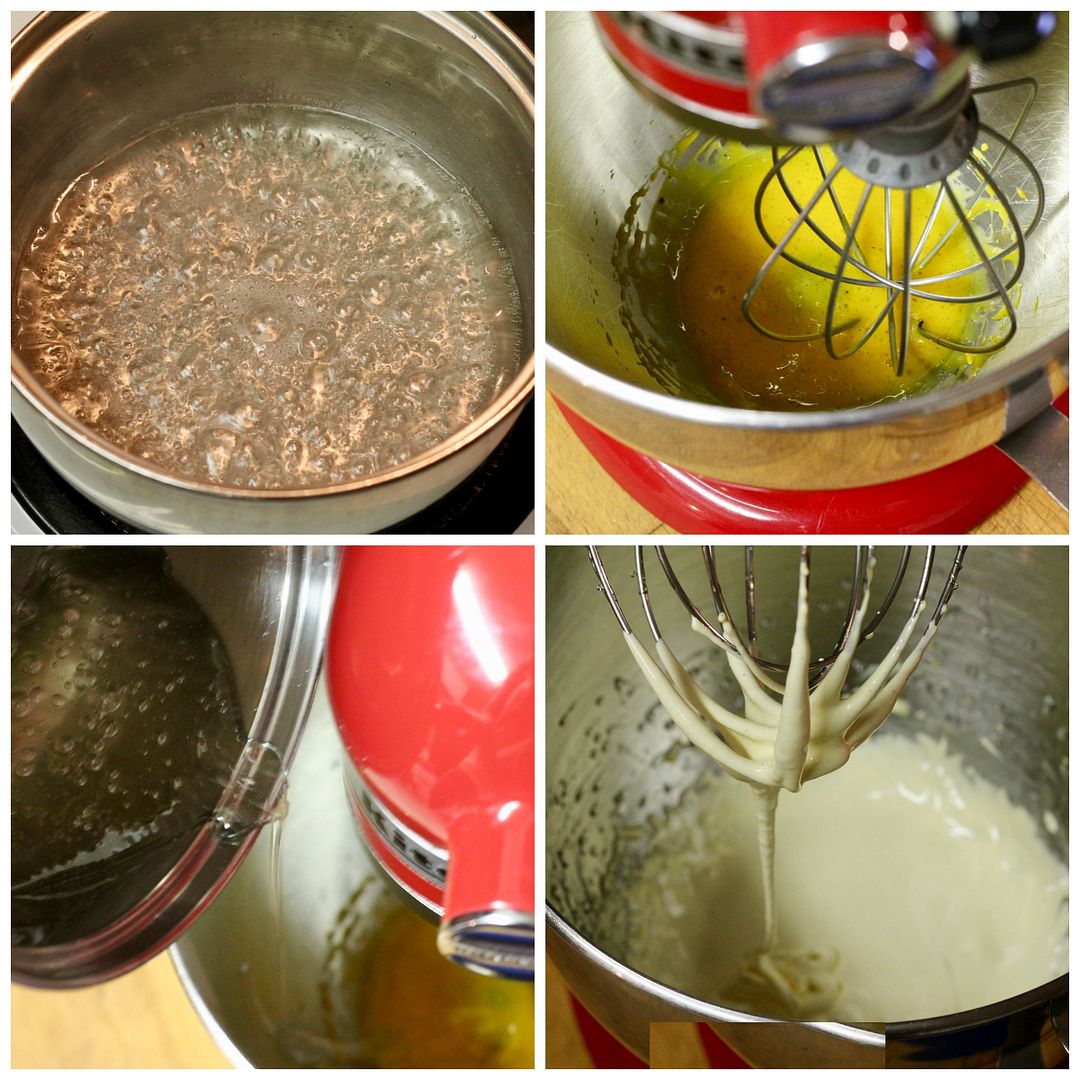
Bring to a boil over medium-high heat and cook until the sugar syrup reaches 242˚F on a candy thermometer.

Meanwhile, in the bowl of an electric mixer fitted with the whisk attachment, whisk together:

3 egg yolks

seeds from 1/3 vanilla bean

When the sugar syrup reaches 242˚F, pour it in a thin stream down the side of the mixer bowl into the egg yolks, whisking constantly on medium speed. You want to avoid pouring the syrup directly onto the whisk or it will spatter all over the sides of the bowl rather than mixing into the egg yolks. Once the syrup is all added, increase the speed to medium high and continue whisking the egg yolk mixture until it is very pale, fluffy, and completely cool to the touch, about 15-20 minutes.

bc1

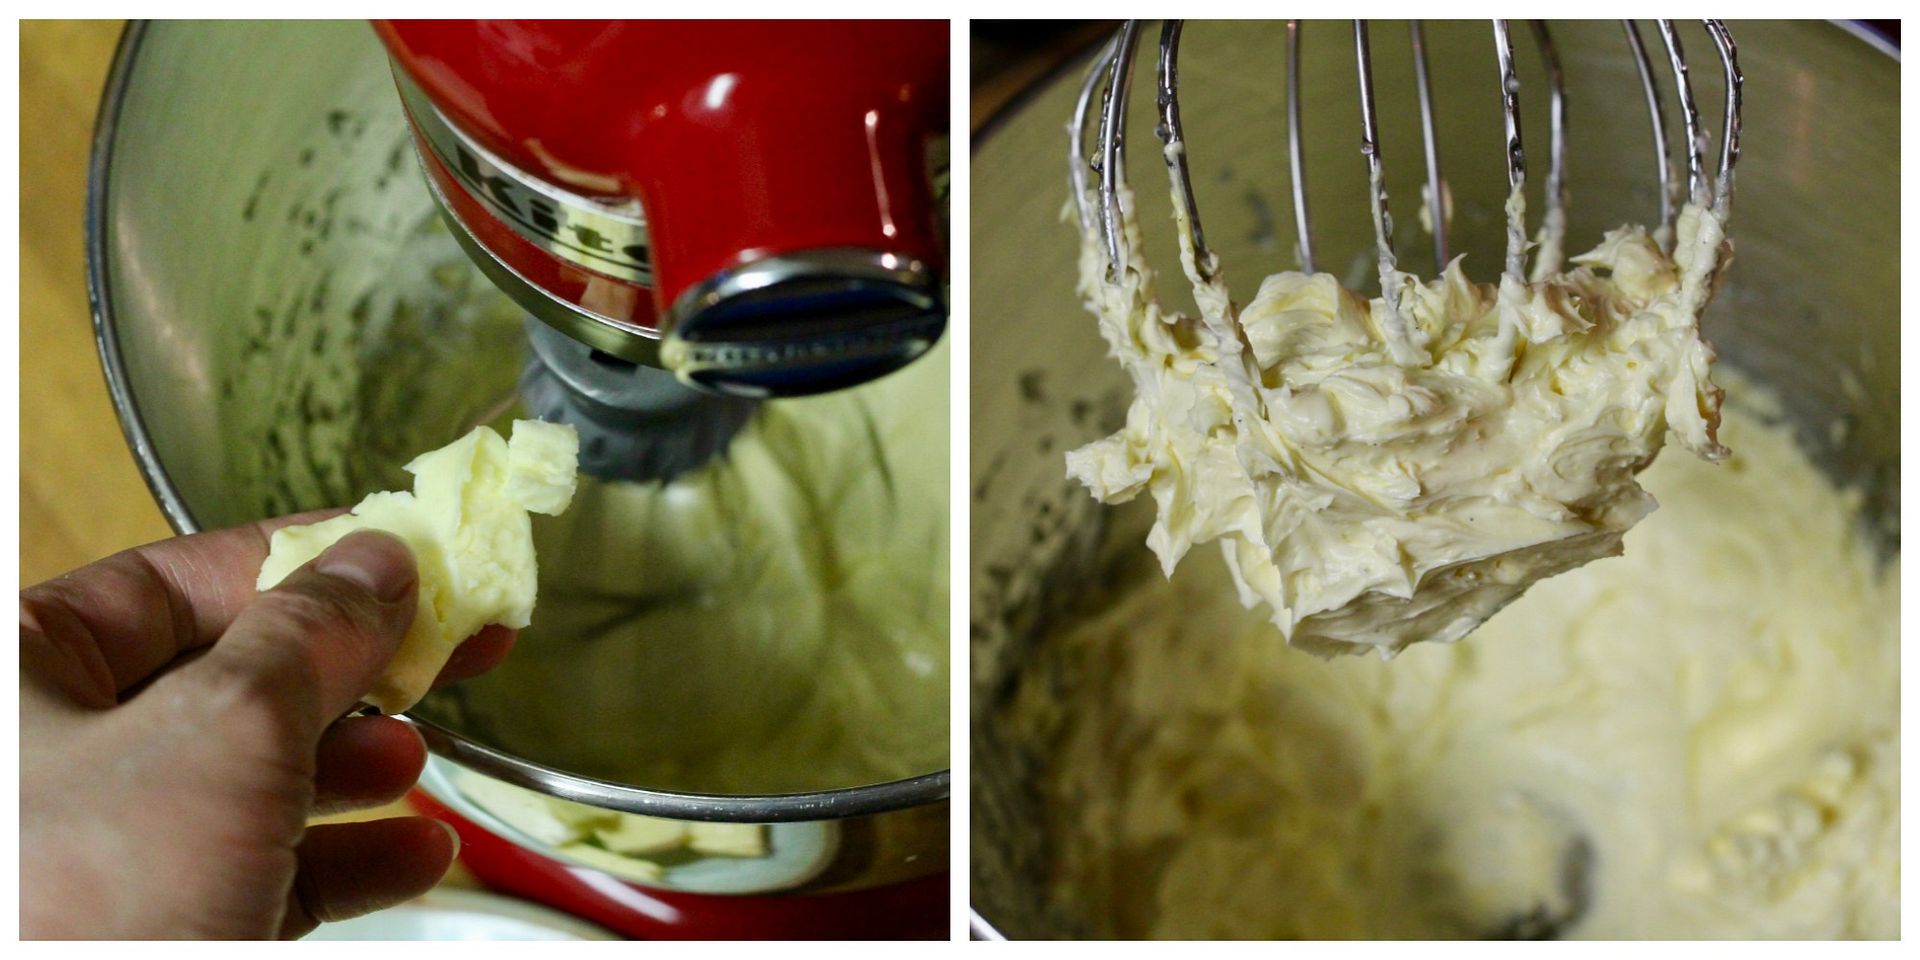
Once the egg yolk mixture is cool, reduce the speed to medium-low. Have ready 275 g unsalted softened butter cut into 1″ cubes, and add the butter to the egg yolks one cube at a time, allowing each to mix in before adding the next. Whisk on medium speed until the mixture emulsifies into a thick, creamy buttercream.

bc2

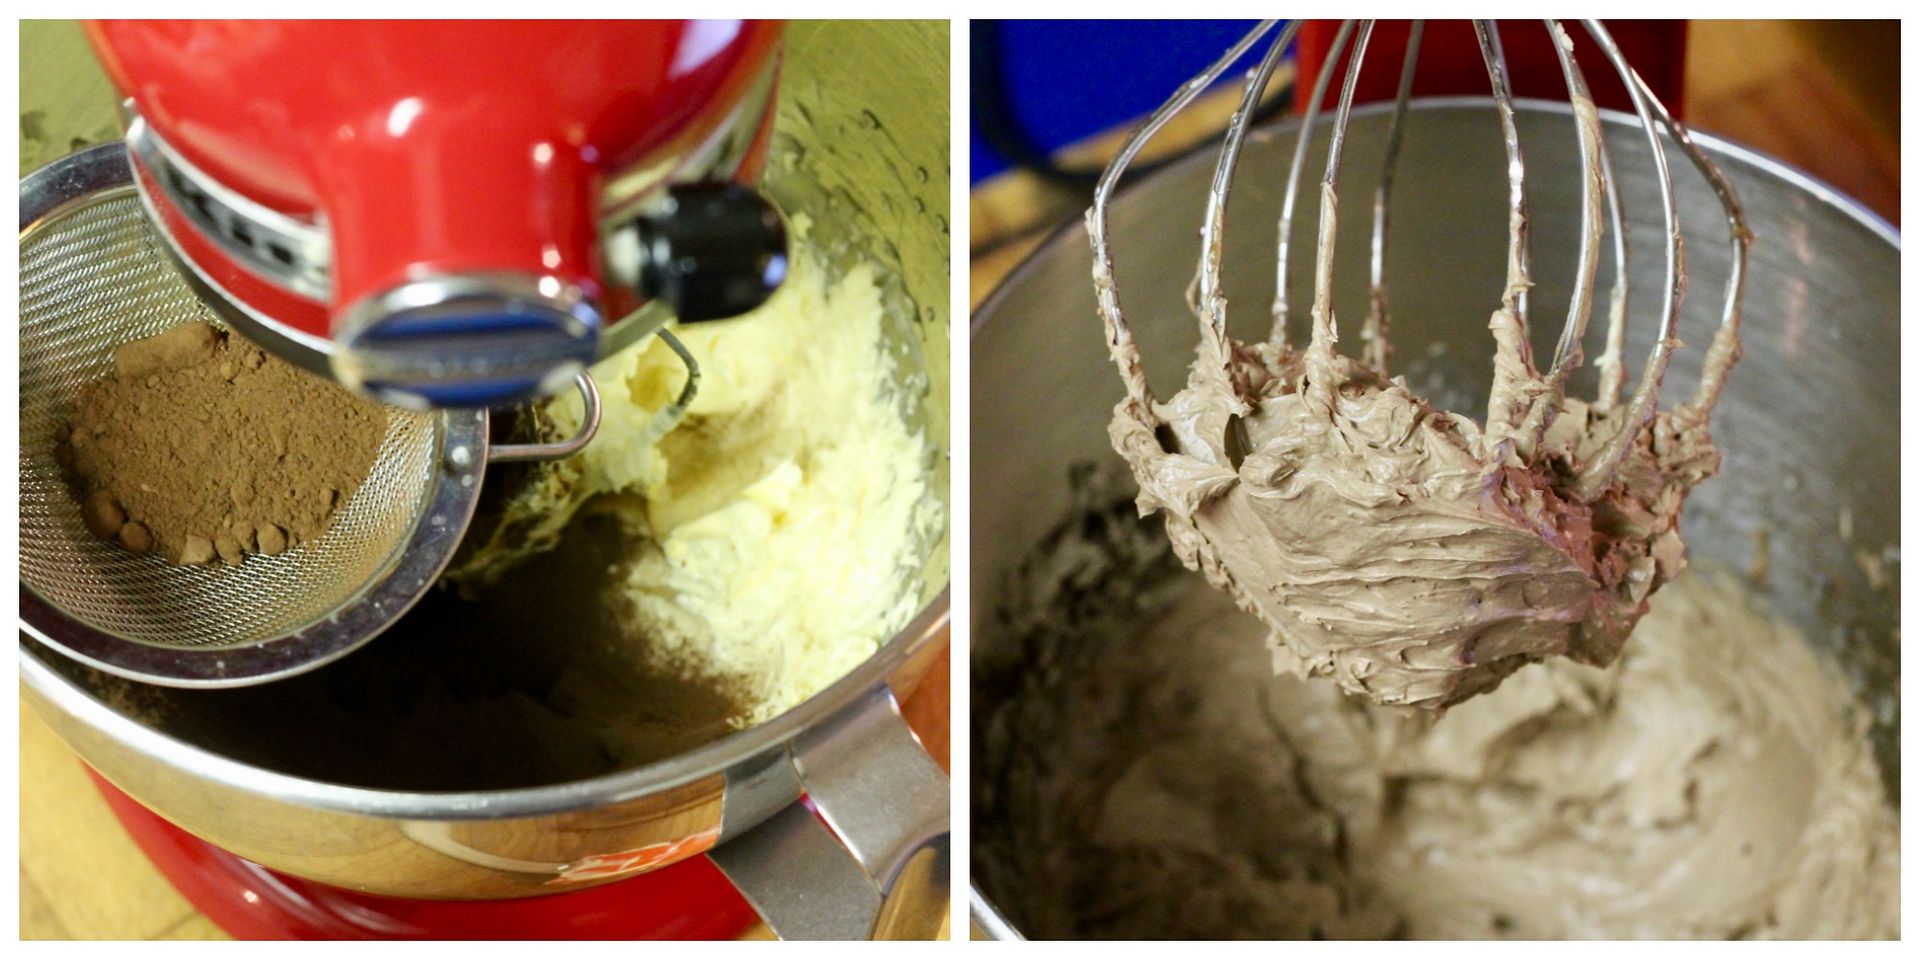
Sift in 23 g cocoa powder and 1 pinch fine sea salt and mix until completely combined.

chocbc

Assembly

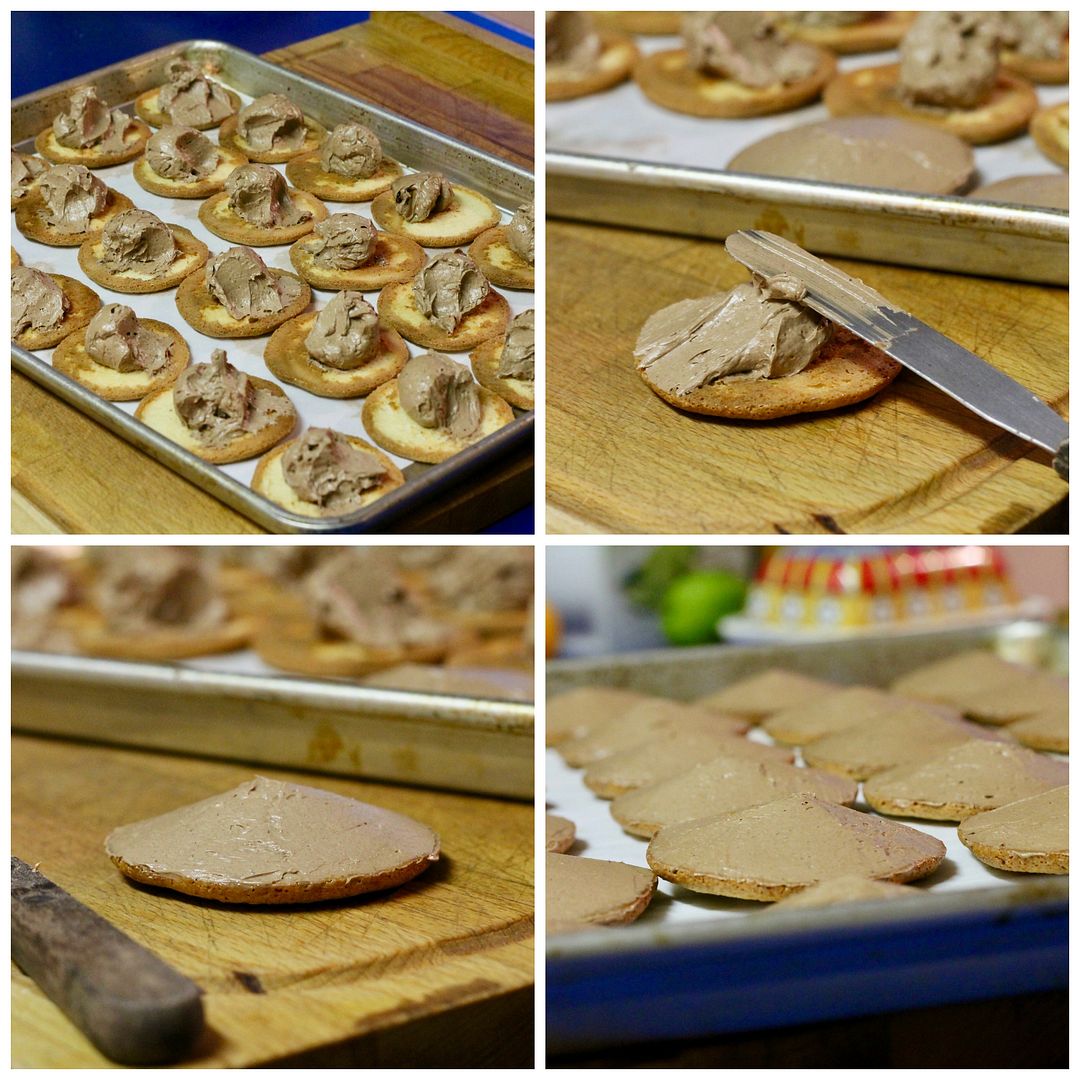
Divide the buttercream evenly over the flat bottom of each cooled almond macaroon cookie, and use a palette knife to spread it onto a smooth cone shape. Place the buttercream-topped cookies on a baking tray and refrigerate until hard, about 30 minutes.

frosted

Melt 250 g dark chocolate in the microwave (in 20 second bursts) or over a double boiler – you can temper it if you want to be fancy, but these cookies should be kept in the fridge or freezer so the tempering step doesn’t really matter.

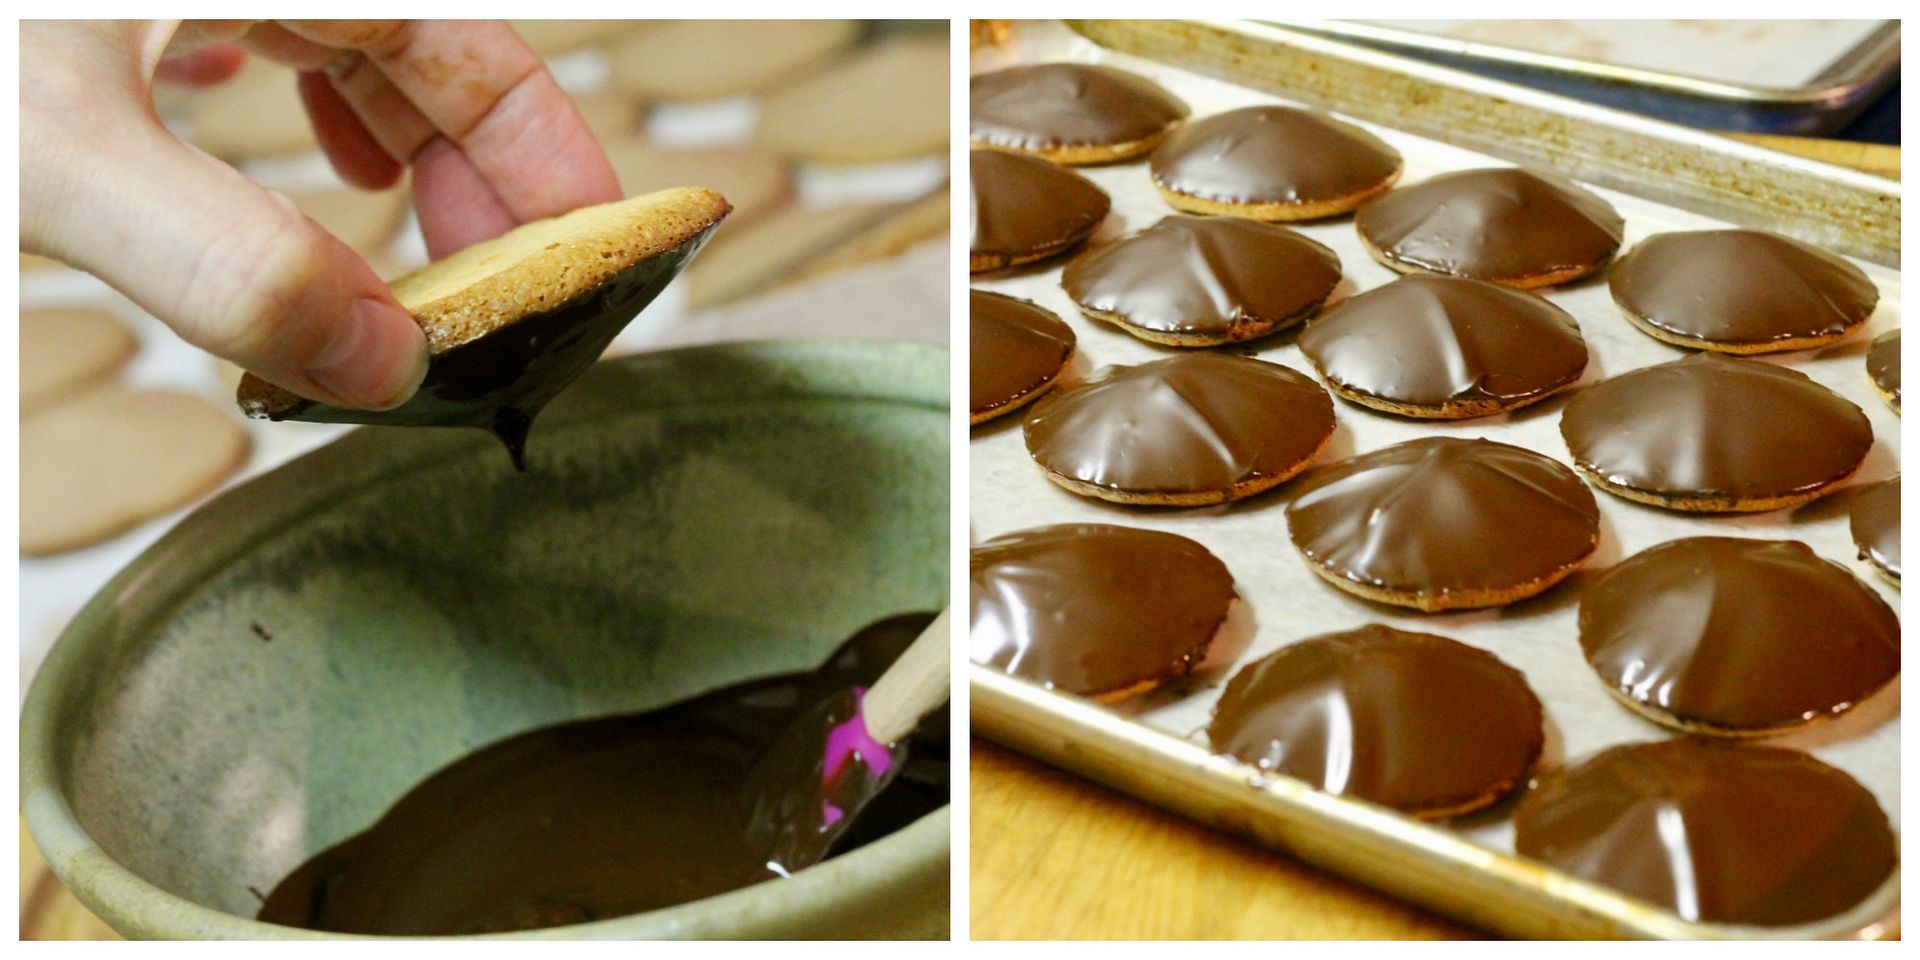
Once the cookies are chilled, dip each one in the chocolate to completely cover the buttercream, letting the excess drip off before setting the cookie on its bottom on a baking tray.

dipped

Allow the cookies to set in the fridge before serving. The cookies can be kept in an airtight container in the fridge for up to a week or longer in the freezer, and can be served at room temperature or chilled or frozen (my favourite!).

storing


Franzbrötchen {Cinnamon Sugar Buns}

$
0
0

Franzbrötchen {Cinnamon Sugar Buns} | Korena in the Kitchen

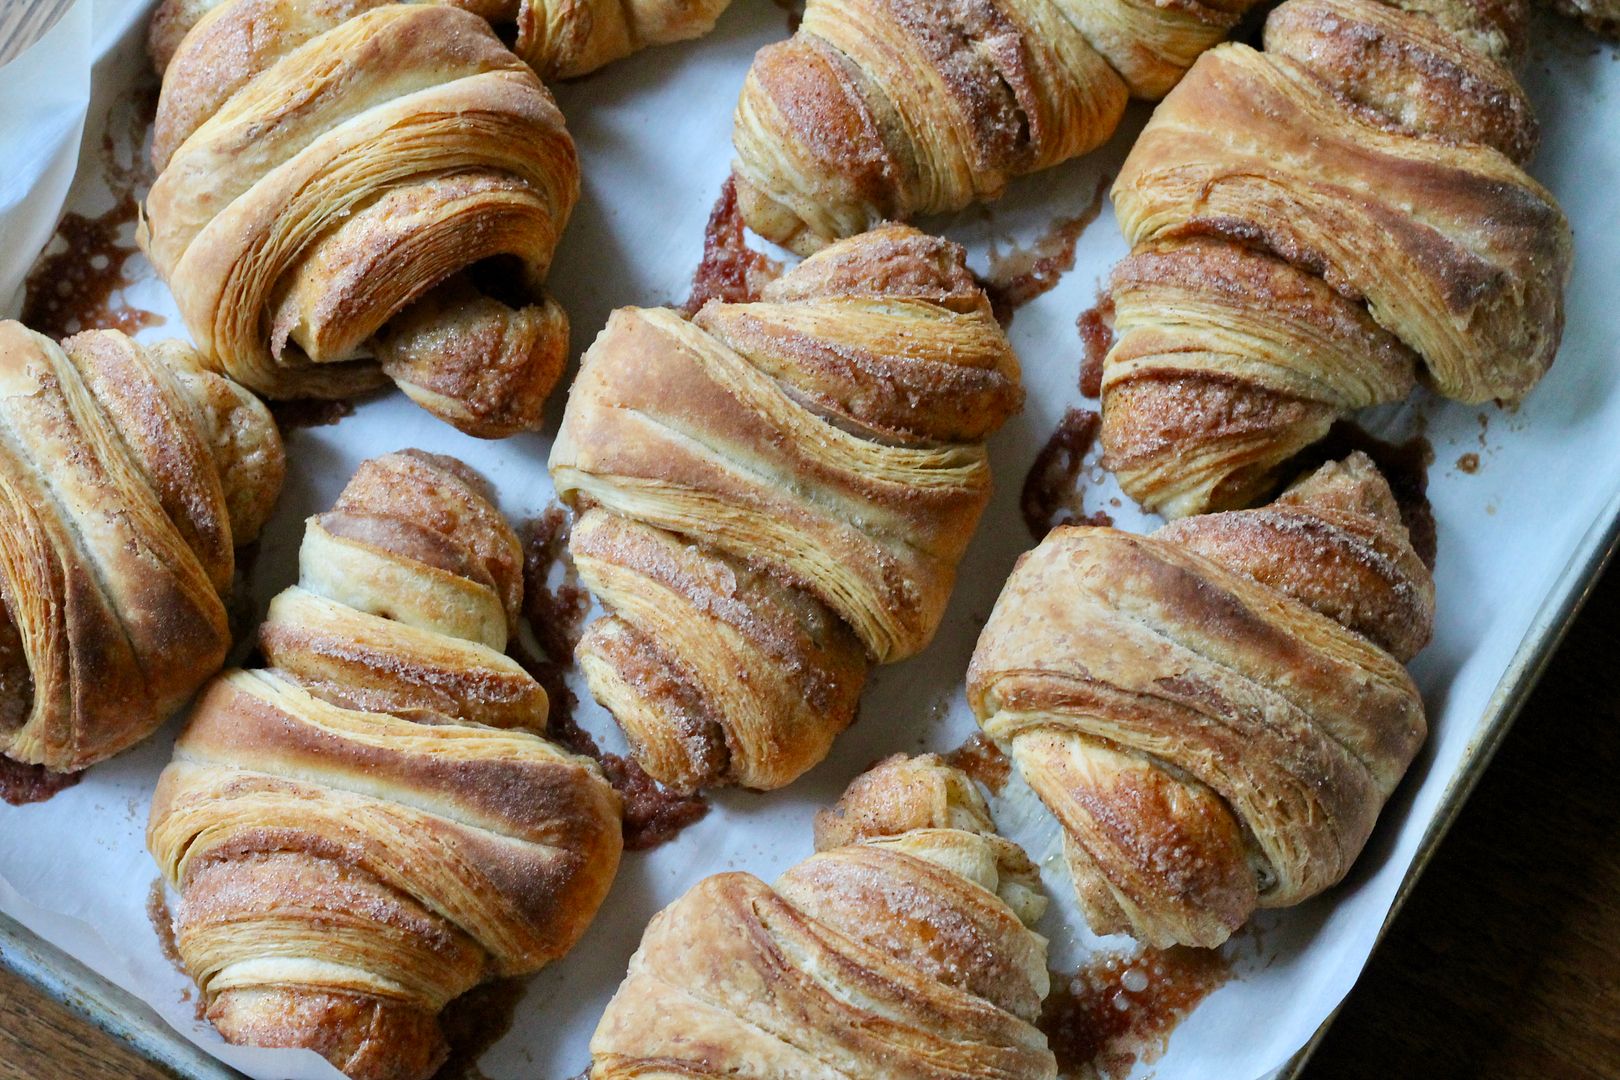
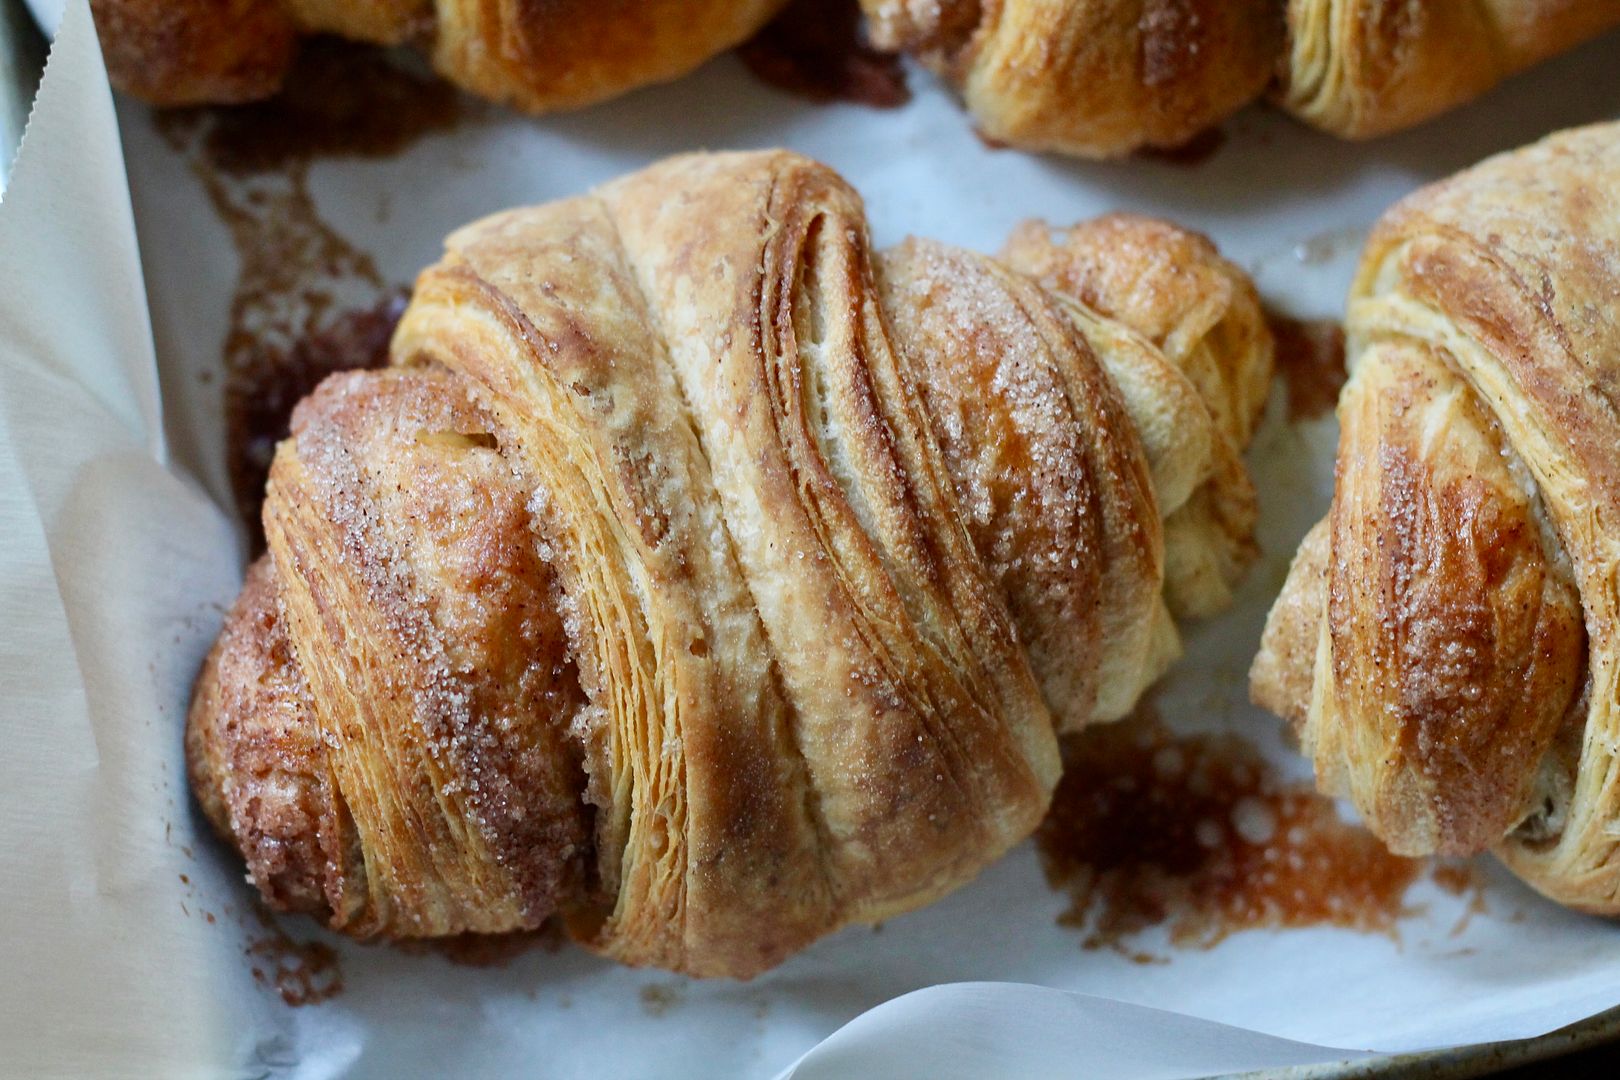
Imagine if a cinnamon bun and a croissant had a baby, only the baby was smarter, taller, better looking, and more popular than both its parents. This baby would be the Franzbrötchen, a cinnamon-sugar filled flaky pastry of German persuasion that is right up there among the best things I’ve ever baked.

Franzbrötchen {Cinnamon Sugar Buns} | Korena in the Kitchen

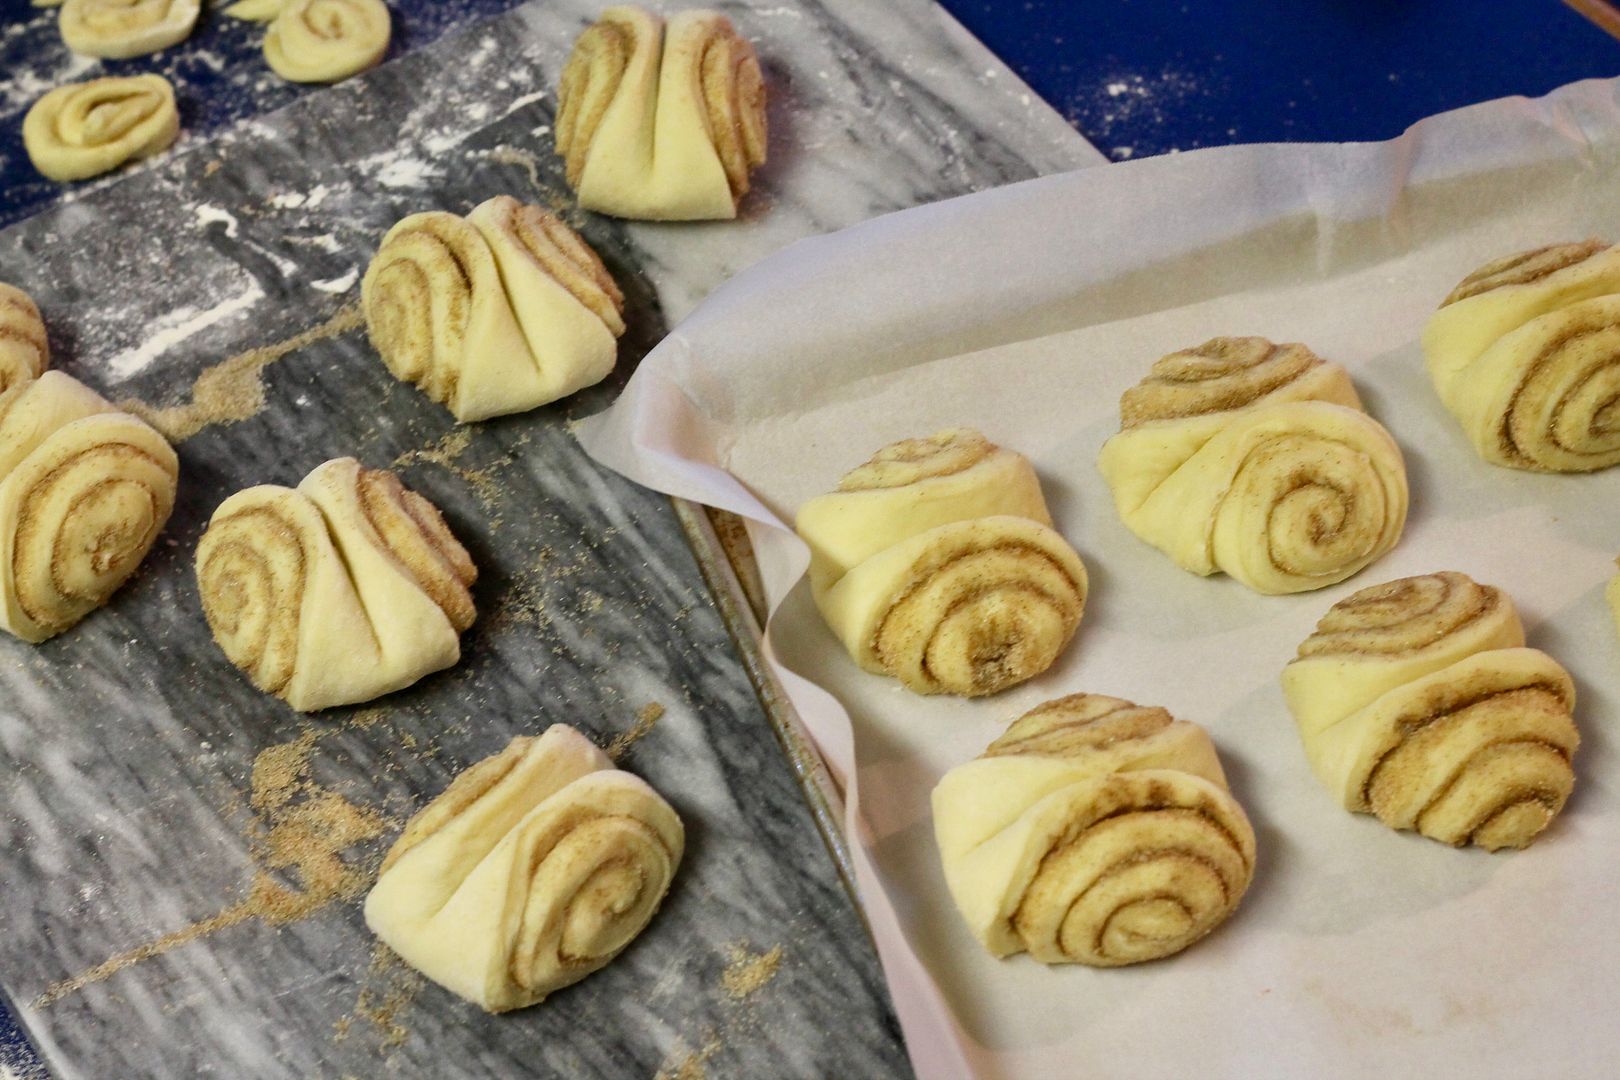
This recipe comes from Classic German Baking by Luisa Weiss (aka The Wednesday Chef) and like all the other recipes I’ve tried from this book so far, it is wonderful. It starts with a beautiful laminated Danish pastry dough – known as Plunderteig in German (isn’t German FUN?!) – and ends with a fun shaping technique that involves rolling the dough up with sugar and cinnamon, cutting it into little logs, and then using the handle of a wooden spoon to squish each log in the middle, making the spiral ends flare out.

squished Franzbrötchen | Korena in the Kitchen

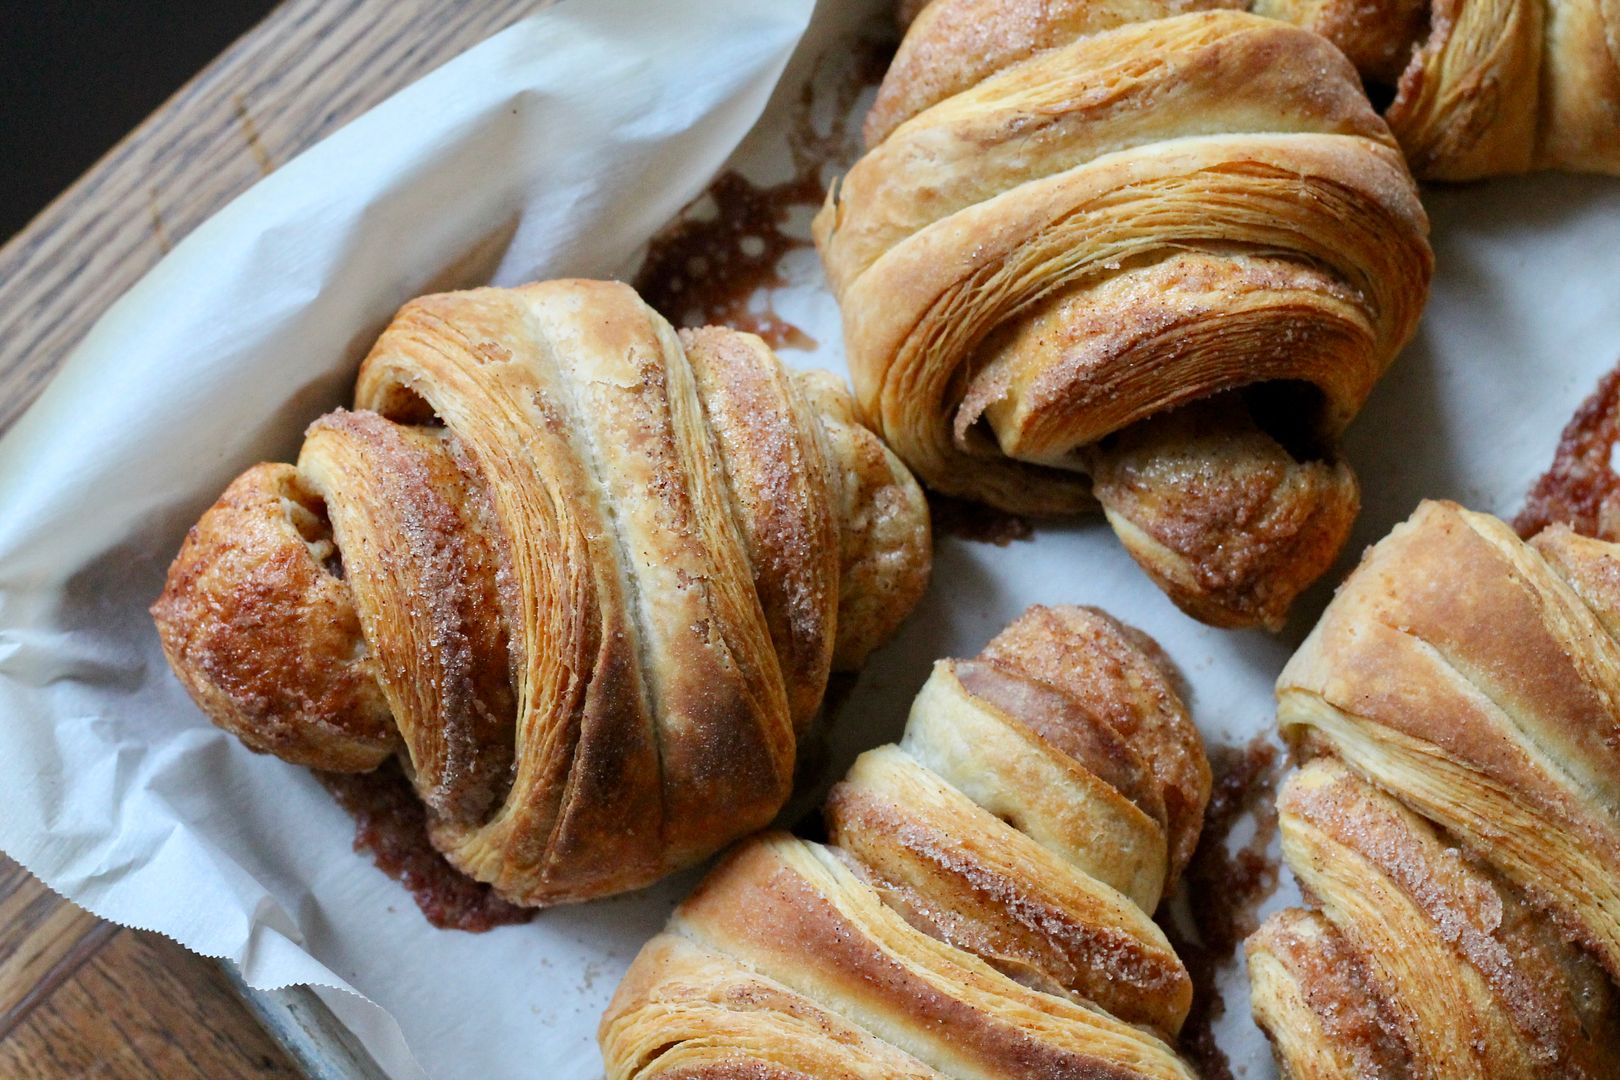
In the oven, the layers of dough puff up and out, turning the Franzbrötchen into crazy crescent shapes. The edges are flaky and crisp, the middle is chewy, and did I mention the little puddles of caramelized cinnamon-sugar? Add a cup of coffee and you’re basically in heaven.

Franzbrötchen {Cinnamon Sugar Buns} | Korena in the Kitchen

Make these. You will not be sorry, and anyone else lucky enough to try one will love you for it. Full disclosure, none of these made it out of my house – Nate and I ate them all over the course of a few days. We regret nothing. Not even a little.

Franzbrötchen {Cinnamon Sugar Buns} | Korena in the Kitchen

Franzbrötchen

Adapted just a smidge from Classic German Baking. Makes 12 buns. Click here for a printable PDF of the recipe.

In a large mixing bowl, combine:

4 2/3 cups (580 g) all purpose flour

1 tsp instant year

3 tbsp granulated sugar

3/4 tsp fine sea salt

Make a well in the middle.

In another bowl, whisk together:

3/4 c + 2 tbsp (200 ml) whole milk, lukewarm

2 eggs, room temperature

Pour the liquid ingredients into the dry ingredients, stirring as you pour.

dough1

Add 4 tbsp + 2 tsp (65 g) unsalted room temperature butter, cut into small chunks, and stir until it forms a shaggy dough. Knead in the bowl with your hands to bring it together, then turn out onto an unfloured work surface.

dough2

Knead until smooth, elastic, and no longer sticky (about 5 minutes). The dough will be slack and messy and very sticky at first, but resist adding any additional flour – kneading will do the trick.

Place the kneaded dough back into the bowl, cover with plastic, and let rise for 2 hours in a warm spot, until doubled in size (I put it in the oven with the oven light on and a bowl of hot water).

dough3

When the dough has risen, prepare the butter block. Place 1 cup + 2 tbsp (250 g) cold unsalted butter between two pieces of parchment paper, then bash it several times with a rolling pin. This will mechanically soften the butter and make it pliable without warming it up or melting it. Once the butter has flattened out and softened a bit, fold the parchment paper around it into an 8″ square packet. Turn the packet over so that the folded edges are underneath, then with the rolling pin, roll the butter out to the edges of the packet to make an 8″ butter square. Set it aside at room temperature, to keep it pliable.

buttersquare

Gently punch down the risen dough and scrape it out of the bowl onto a lightly floured surface. Knead a few times, then roll it out into a 13″ square. Unwrap the butter square and place it diagonally on top of the dough. Fold the corners of the dough over the butter to completely encase it, and pinch the seams to secure.

enclosingbutter

Dust the dough with flour and roll out into an 8″x12″ rectangle. Brush off any excess flour, then execute a letter fold: mentally divide the dough into thirds, then fold the top third down and the bottom third up. Wrap lightly in plastic wrap and place in the fridge to chill for 20 minutes.

first fold

Repeat this rolling out to 8″x12″ / folding in thirds / chilling for 20 minutes twice more, for a total of three times.

morefolds

Preheat the oven to 400˚F (375˚F convection). Line 2 baking sheets with parchment paper.

After the dough has chilled for the third time, cut it in half and return half to the fridge. On a lightly floured surface, roll the other half into a 13″ square.

In a small bowl, combine the filling:

3/4 cup (150 g) granulated white sugar

2 tsp ground cinnamon

pinch fine sea salt

Sprinkle the dough evenly with half the cinnamon-sugar filling, right to the edges.

filling

Roll up the dough into a tight cylinder and trim the ends to expose the butter layers and filling. Cut the roll crosswise into 6 pieces using a large sharp knife.

cutting

Take one of the cut pieces and press down in the middle of it with the handle of a wooden spoon, keeping the handle parallel to your work surface. This will make the spiral ends of the dough curl out and up. Stop pressing before the spoon goes all the way through the dough – you don’t want to cut the dough in half. Press down with your hands on the fanned-out sides of the roll to secure the shape. Transfer the shaped roll to the prepared baking sheet, and repeat with the remaining 5 pieces. Cover the shaped rolls with a dishcloth and let proof for 20 minutes.

shaping

Repeat with the remaining dough, filling, and second baking sheet. (NB, I baked all 12 rolls on the same baking sheet and they expanded like crazy in the oven, so 2 separate baking sheets is the way to go.)

Bake the first pan of proofed rolls in the preheated 400˚F (375˚F convection) oven for 20-25 minutes, until golden, puffed, and flaky, with caramelized bottoms. Transfer to a rack to cool, and repeat the baking process with the second pan of proofed rolls.

baked

Franzbrötchen are best enjoyed the day they are baked, but we certainly weren’t complaining about eating them over the next several days. If you want to re-fresh day(s)-old Franzbrötchen, reheat in a 350˚F (325˚F convection) oven for 5 minutes. They can also be frozen in an airtight container for up to 2 months.

Stella Parks’ Spiced Vanilla Hot Cross Buns

$
0
0

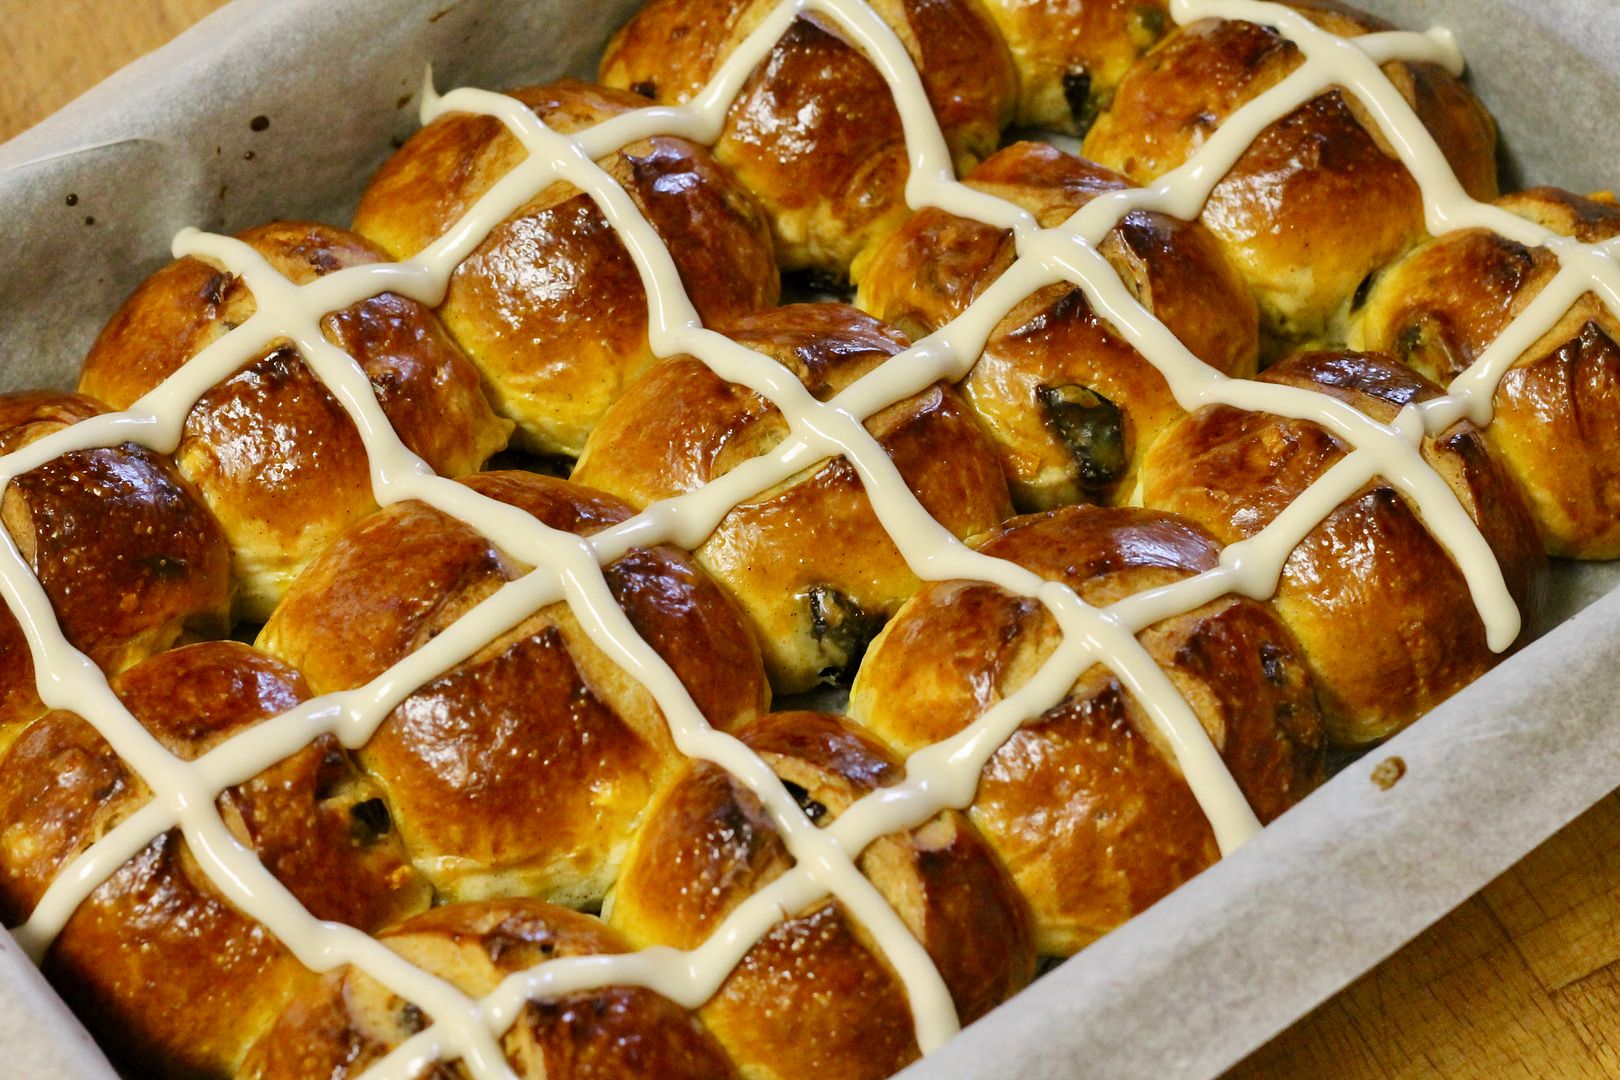
Guys, I’m having a serious moment with Stella Parks, aka BraveTart. By which I mean, I want to bake all her stuff. Luckily, “her stuff” includes a killer recipe for hot cross buns, so I’m back this year (after a brief hiatus last year) with HCB take seven on the blog. In the past I’ve dabbled in various combinations of chocolate, sourdough, cider, porter, honey, and tea infused HCBs, and this year’s version comes with a hit of vanilla and the unexpected addition of Greek yogurt. One of the things I love best about Parks’ recipes is the way she explains the science behind certain ingredients. In this case, the Greek yogurt adds softness and moisture to the dough, and its acidity also helps with gluten development (and now I understand what “The Lemon Juice Secret” is from the back of the Rogers Flour bag!).

Spiced Vanilla Hot Cross Buns | Korena in the Kitchen

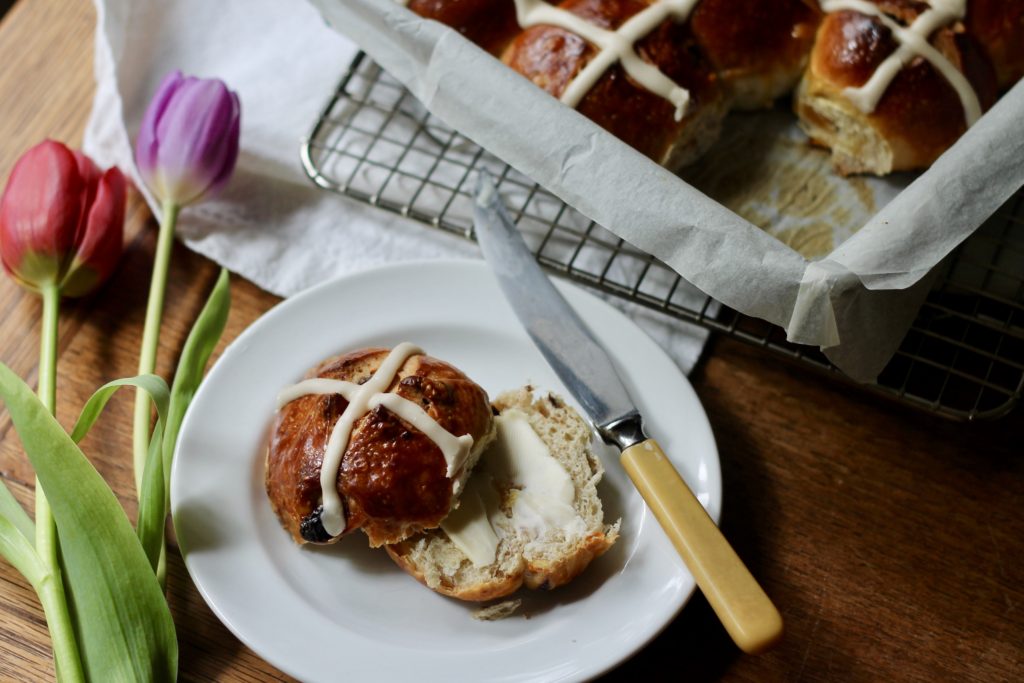
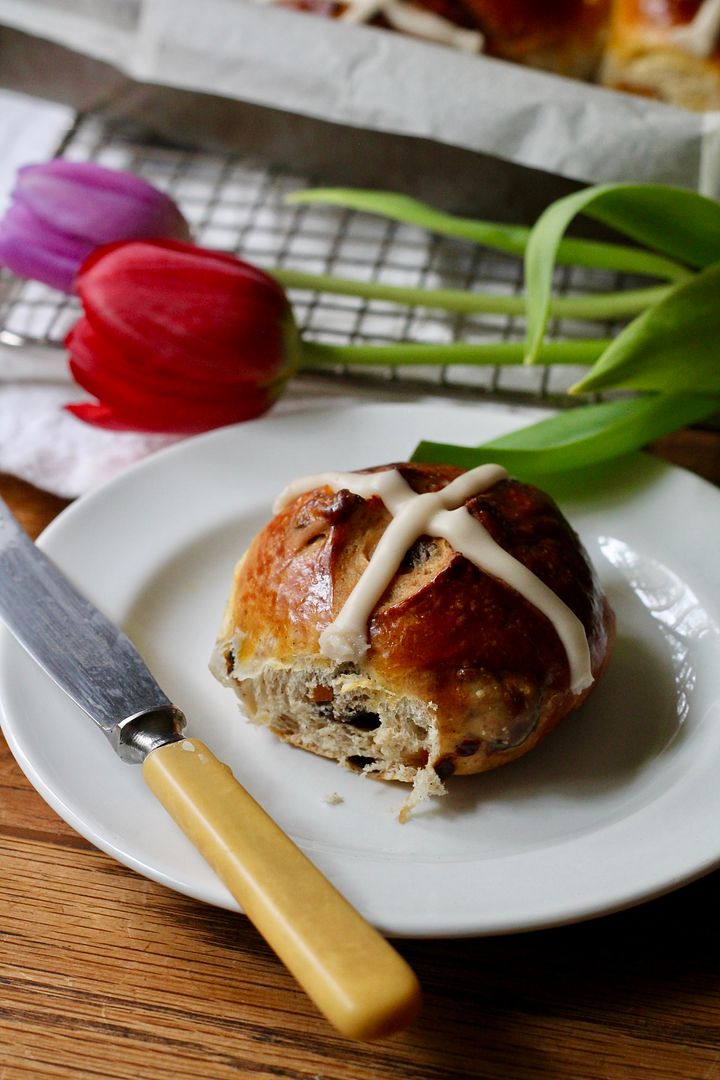
My favourite parts of these buns – besides their spicy, dried fruit and candied orange-laden interior – are their pillowy soft and shreddable yet substantial texture, their beautifully bronzed and glossy tops, and their sweet vanilla crosses. In fact, these particular buns are double crossed, with a cross slashed into their tops with a sharp knife before baking plus a vanilla frosting cross piped on after baking. Normally I favour applying a cross made from a paste of flour and water before baking, but the little bit of sweetness from the frosting just makes these buns more special, and the hint of vanilla plays up the vanilla-scented bun itself. Hot cross buns are always best the day they are baked, but I baked these the day before Good Friday and we’ll still be happily enjoying them tomorrow on Easter Sunday – that is, if they last that long!

Spiced Vanilla Hot Cross Buns | Korena in the Kitchen

Spiced Vanilla Hot Cross Buns

Adapted a tiny bit from Stella Parks on Serious Eats. Makes 15 buns. Click here for a printable PDF of the recipe.

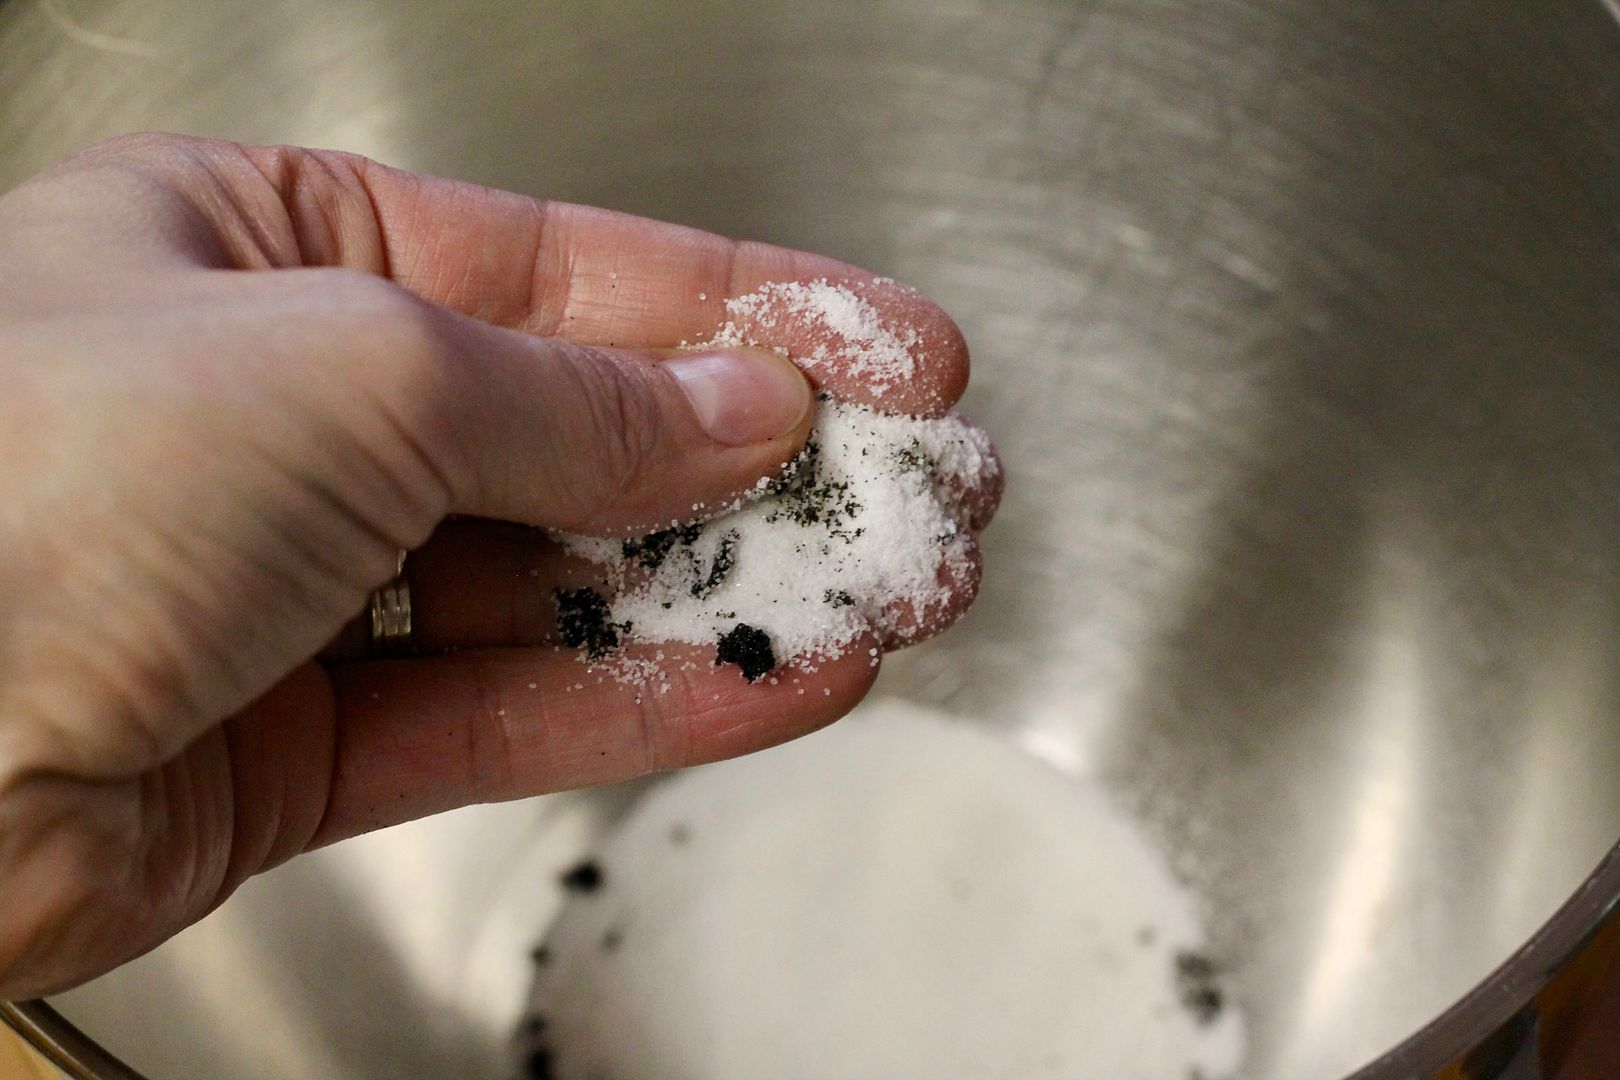
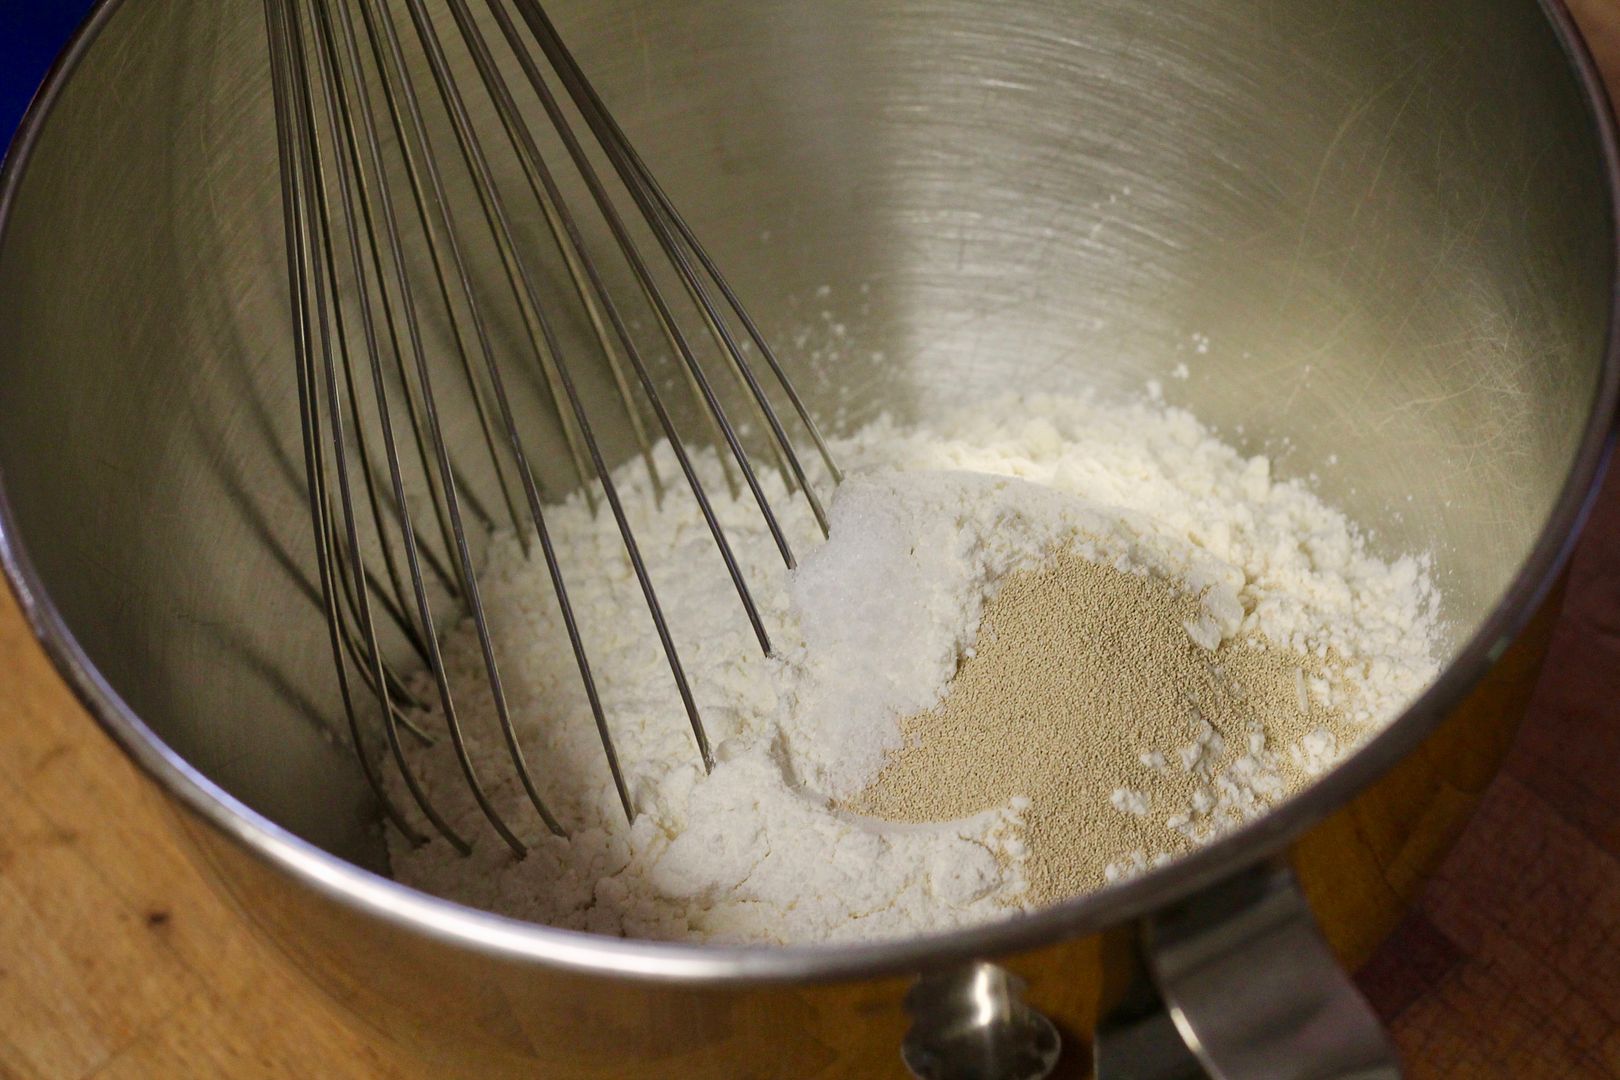
In the bowl of a stand mixer, rub together with your fingers until fragrant:

70 g granulated sugar

seeds scraped from 1 vanilla bean

vanillasugar

Whisk in:

1 1/2 tsp instant yeast

1/2 tsp kosher salt

340 g all purpose flour

dry ingredients

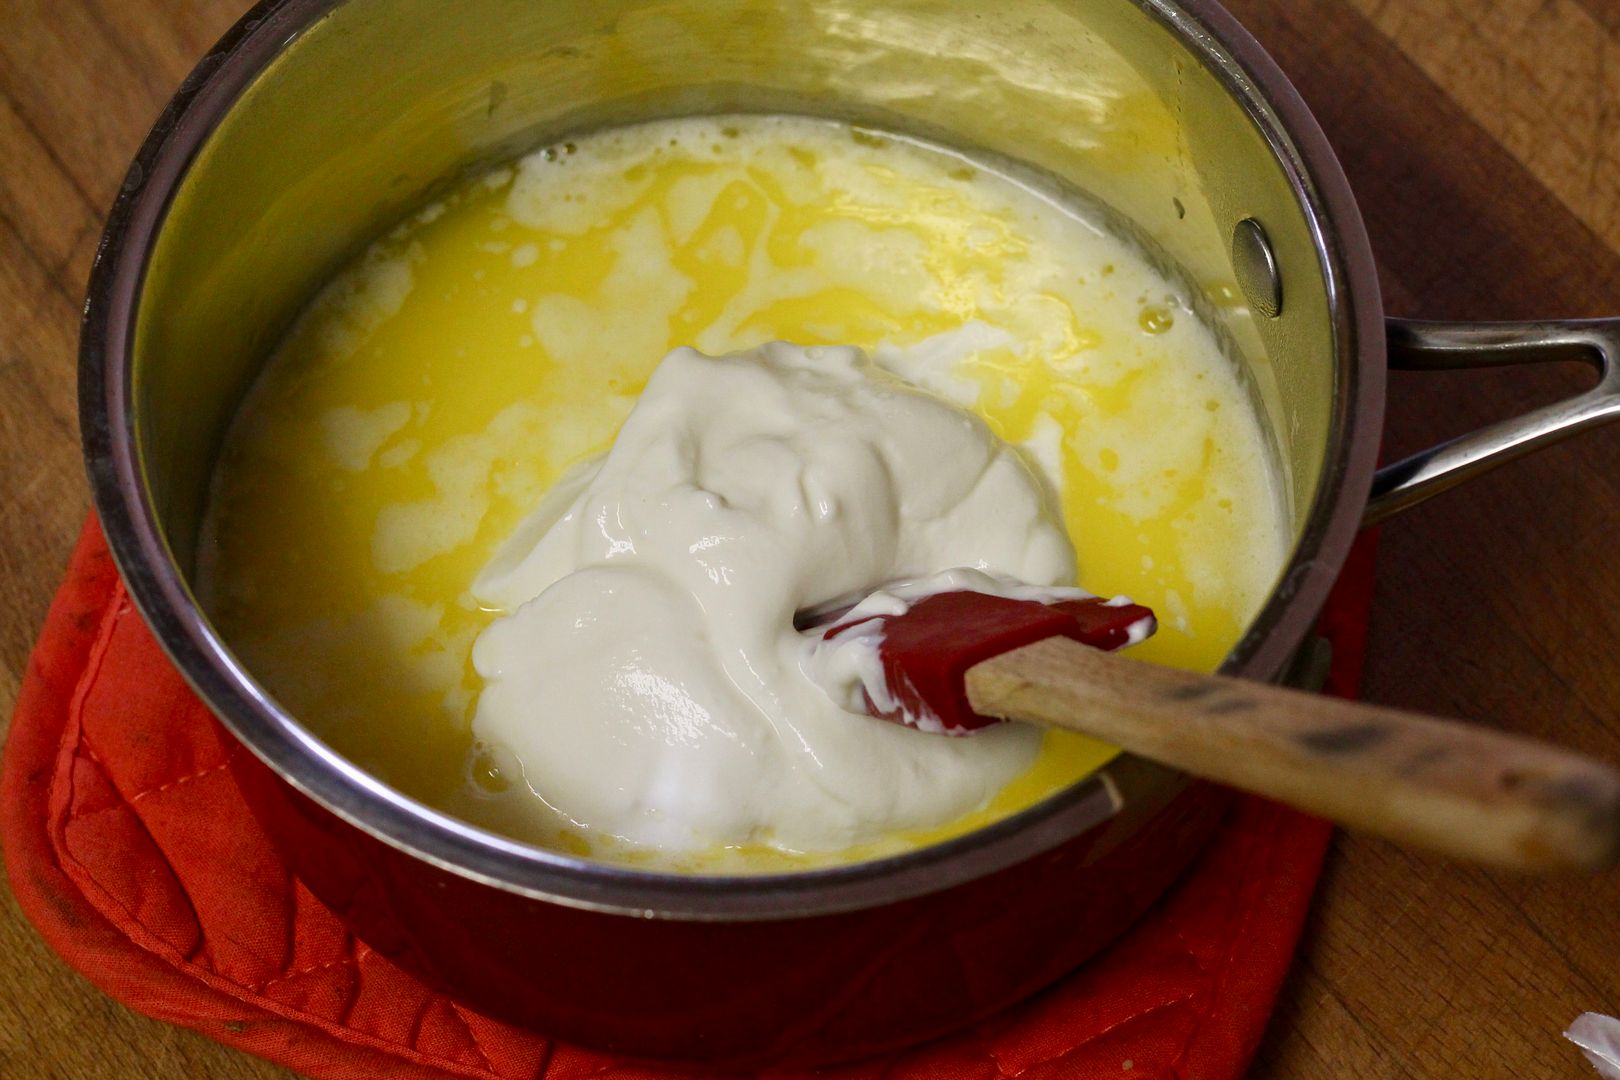
In a saucepan over medium-low heat, melt 85 g unsalted butter and heat until it starts to bubble. remove from the heat and stir in:

85 g milk

170 g plain Greek yogurt

wet ingredients

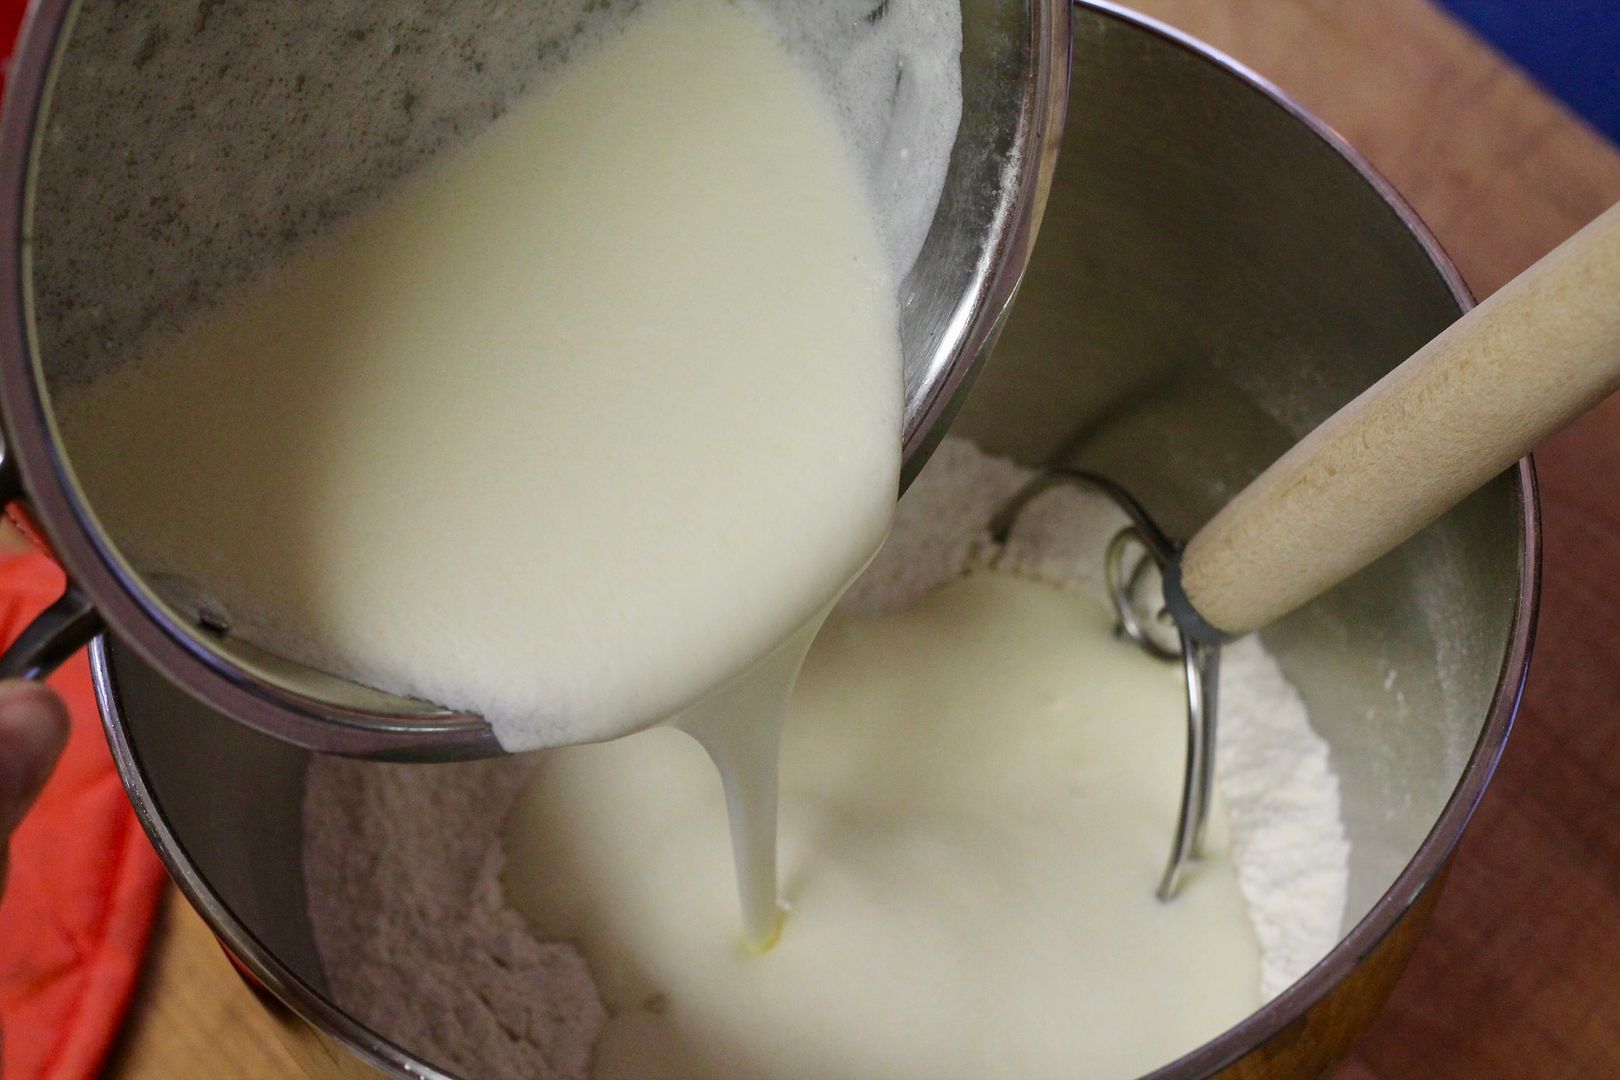
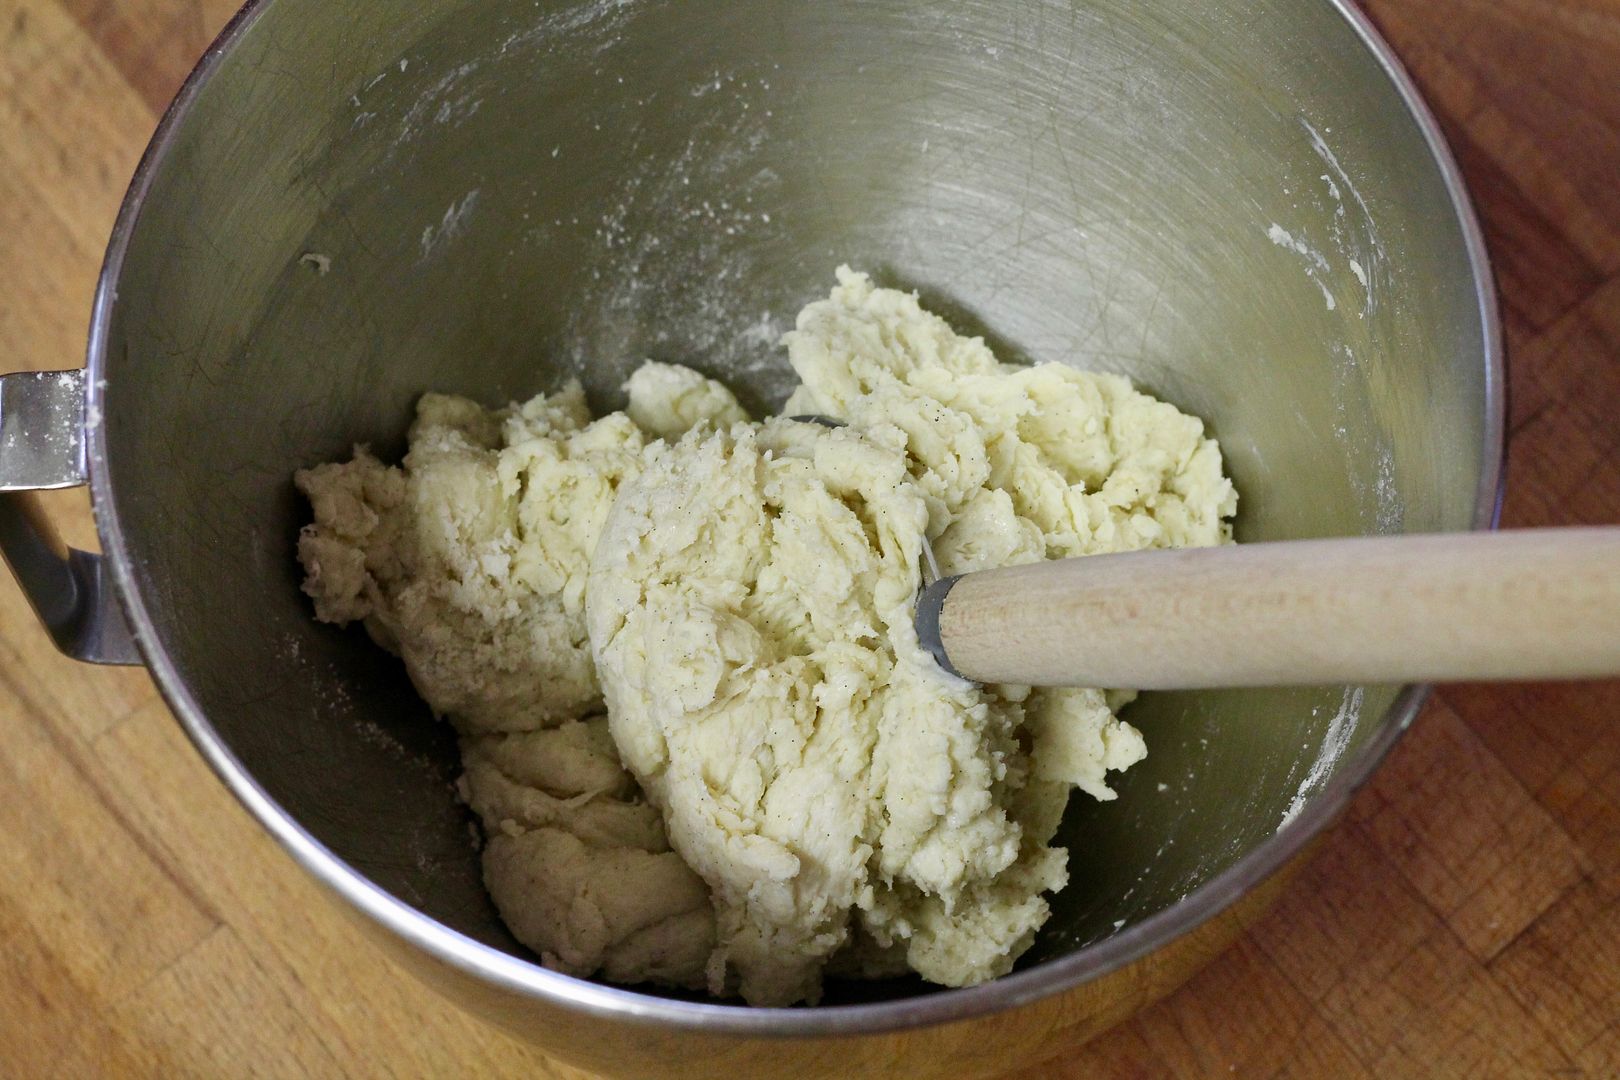
Add the yogurt mixture to the dry ingredients in the stand mixer bowl and stir with a wooden spoon (or a nifty dough whisk) until a ragged dough forms.

wet to dry

ragged dough

With the dough hook, knead on low speed for about 7 minutes, then increase the speed to medium-low and continue kneading until the dough cleans the sides of the bowl and is very soft and elastic (about 10 more minutes) – you should be able to stretch the dough thin enough to see light through without tearing.

window pane test

Add:

30 g finely chopped candied orange peel

55 g chopped dried apricots

55 g chopped dried cherries

1/2 tsp ground cinnamon

1/4 tsp ground coriander

1/8 tsp grated nutmeg

1/8 tsp ground allspice

mix ins

Mix in on low speed until combined (or use your hands to knead it in, which I found much more effective). Remove the dough hook and gather the dough into a ball in the bottom of the bowl. Cover with plastic and let rise at room temperature until about doubled in size or until your fingerprint remains in the dough when pressed, about 1 1/2 hours.

pre-rise

post-rise

Turn the risen dough out onto an unfloured surface and gently pat it into a circle. With a dough scraper or large knife, divide the circle into thirds, then cut each third into 5 roughly equal pieces, to make 15 portions total. It’s OK if they’re not exactly the same size – try not to cut and recut, as this will deflate the dough and cause the finished buns to be dense.

thirds

fifteen

Gently pinch each portion into a ball in the palm of your hand, then roll it on the unfloured surface to tighten it into a ball. Place the shaped dough in a 9″x13″ pan lined with parchment paper.

shaped

Cover loosely with plastic and let rise at room temperature for about 1 1/2 hours, until the buns are puffy and light and just touching each other. Your fingerprint should remain in the dough when pressed.

(Alternatively, if you want to let the buns do a slow rise overnight to bake in the morning, let them proof for 1 hour at room temperature, refrigerate overnight or up to 48 hours, then continue with the recipe.)

proofed

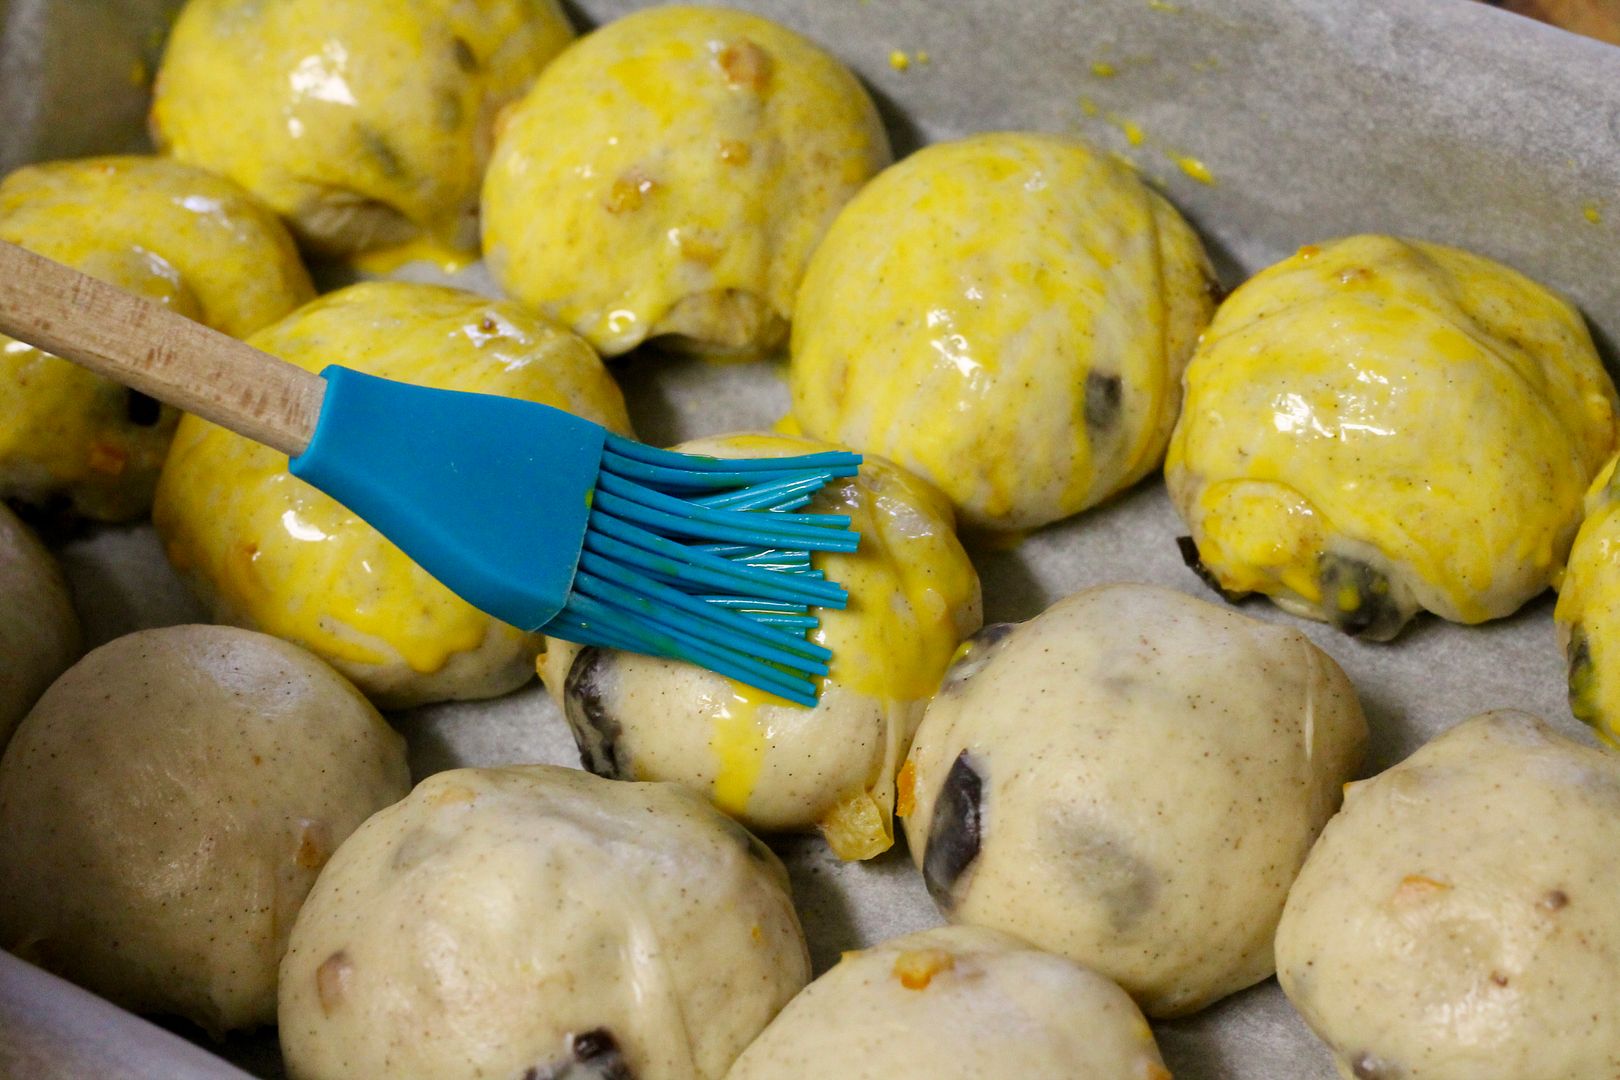
Preheat the oven to 350˚F (325˚F convection). Whisk together an egg wash of 1 egg yolk + 1 1/2 tsp milk and brush it gently over the risen buns.

egg wash

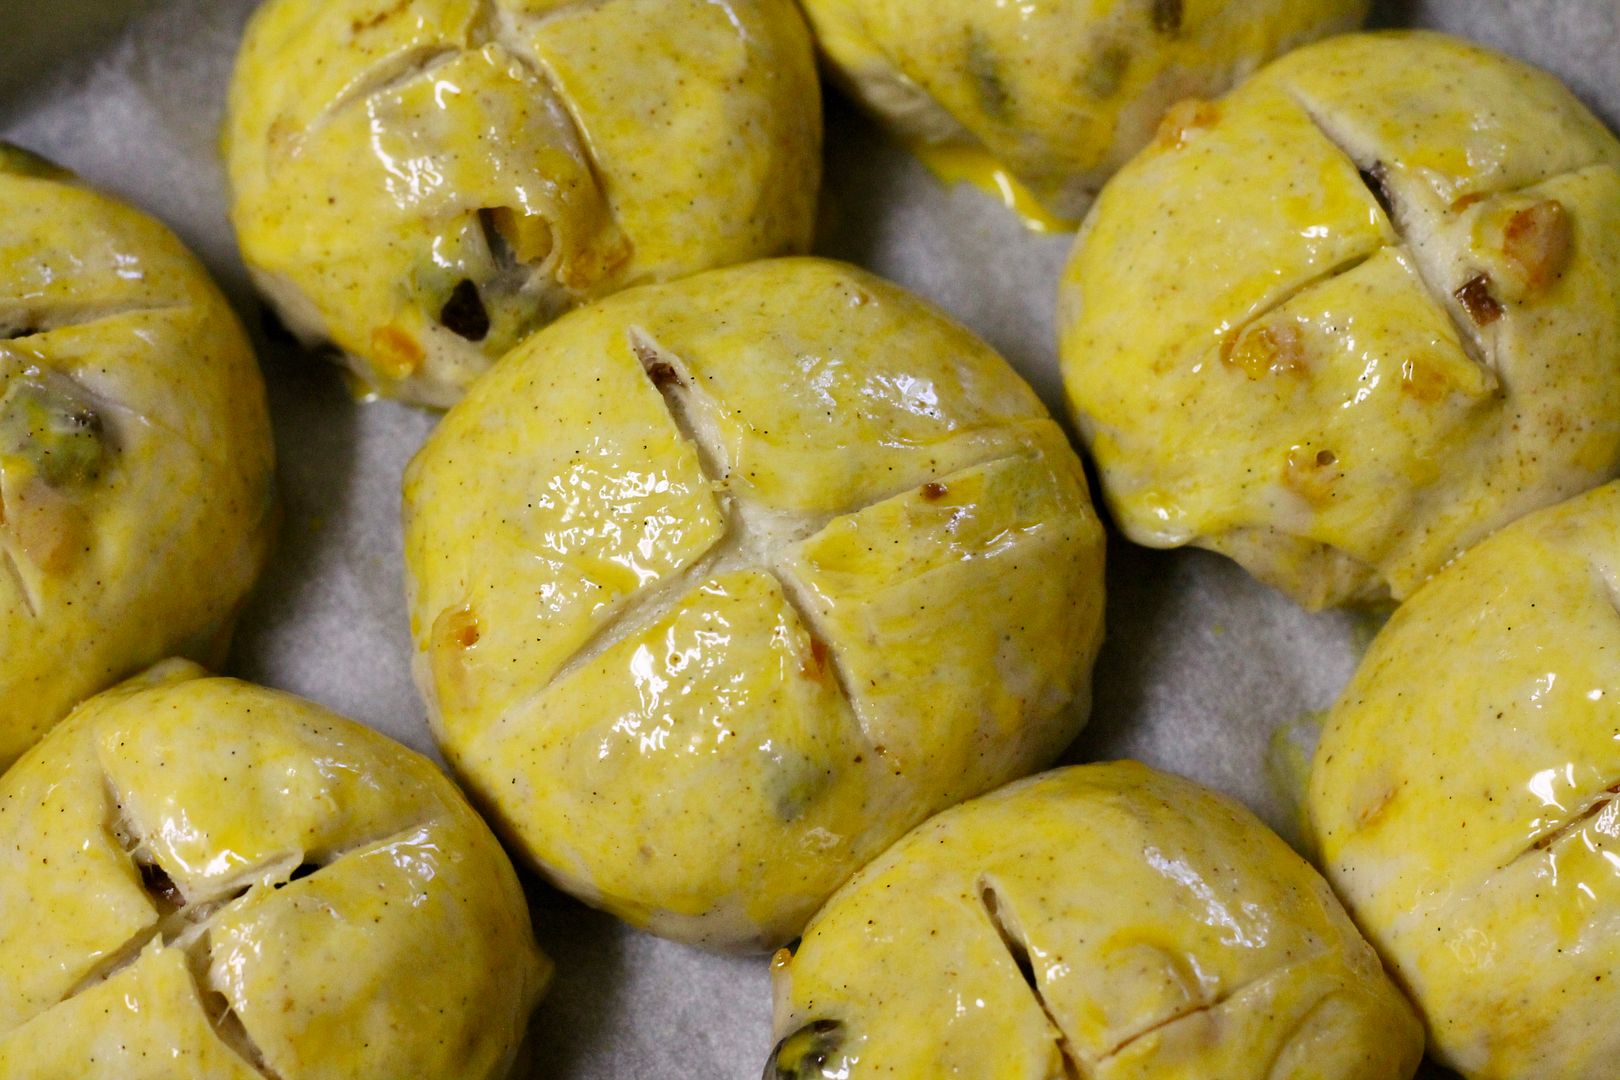
With a very sharp knife, slash a shallow cross in the top of each bun.

slashed

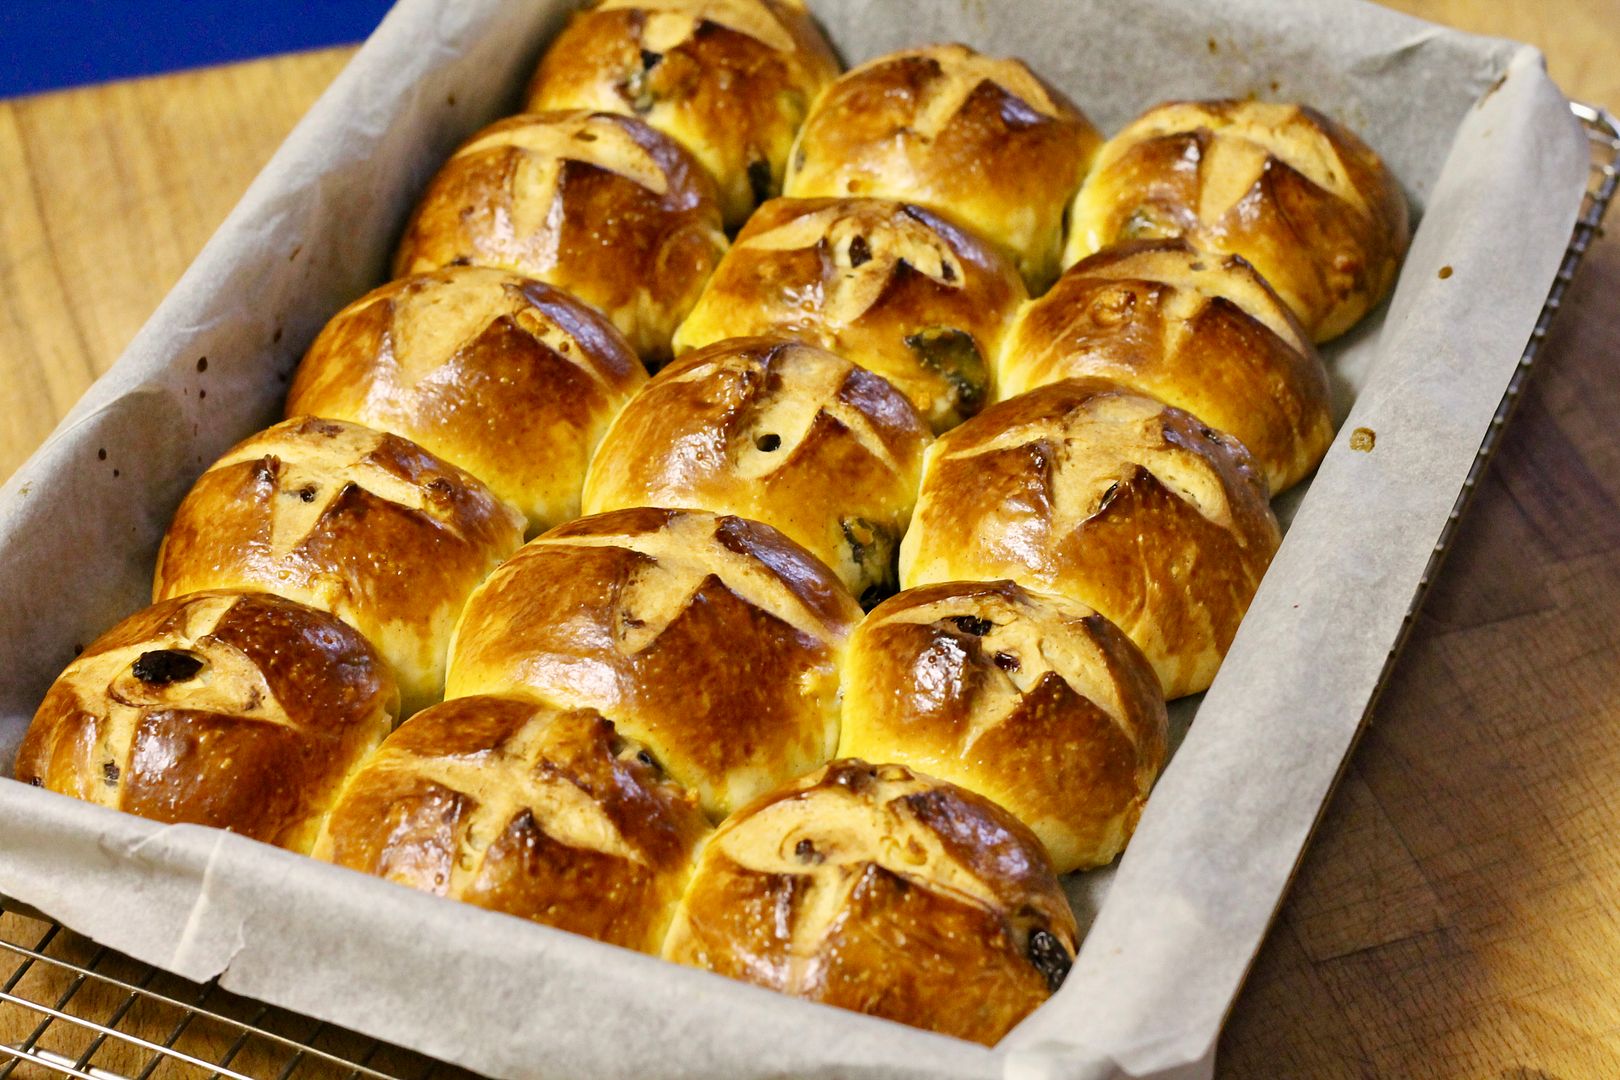
Bake the buns for 30-35 minutes in the preheated 350˚F (325˚F convection) oven, until deeply golden brown on top and about 210˚F in the centre. Cool in the pan on a rack for about 20 minutes.

baked

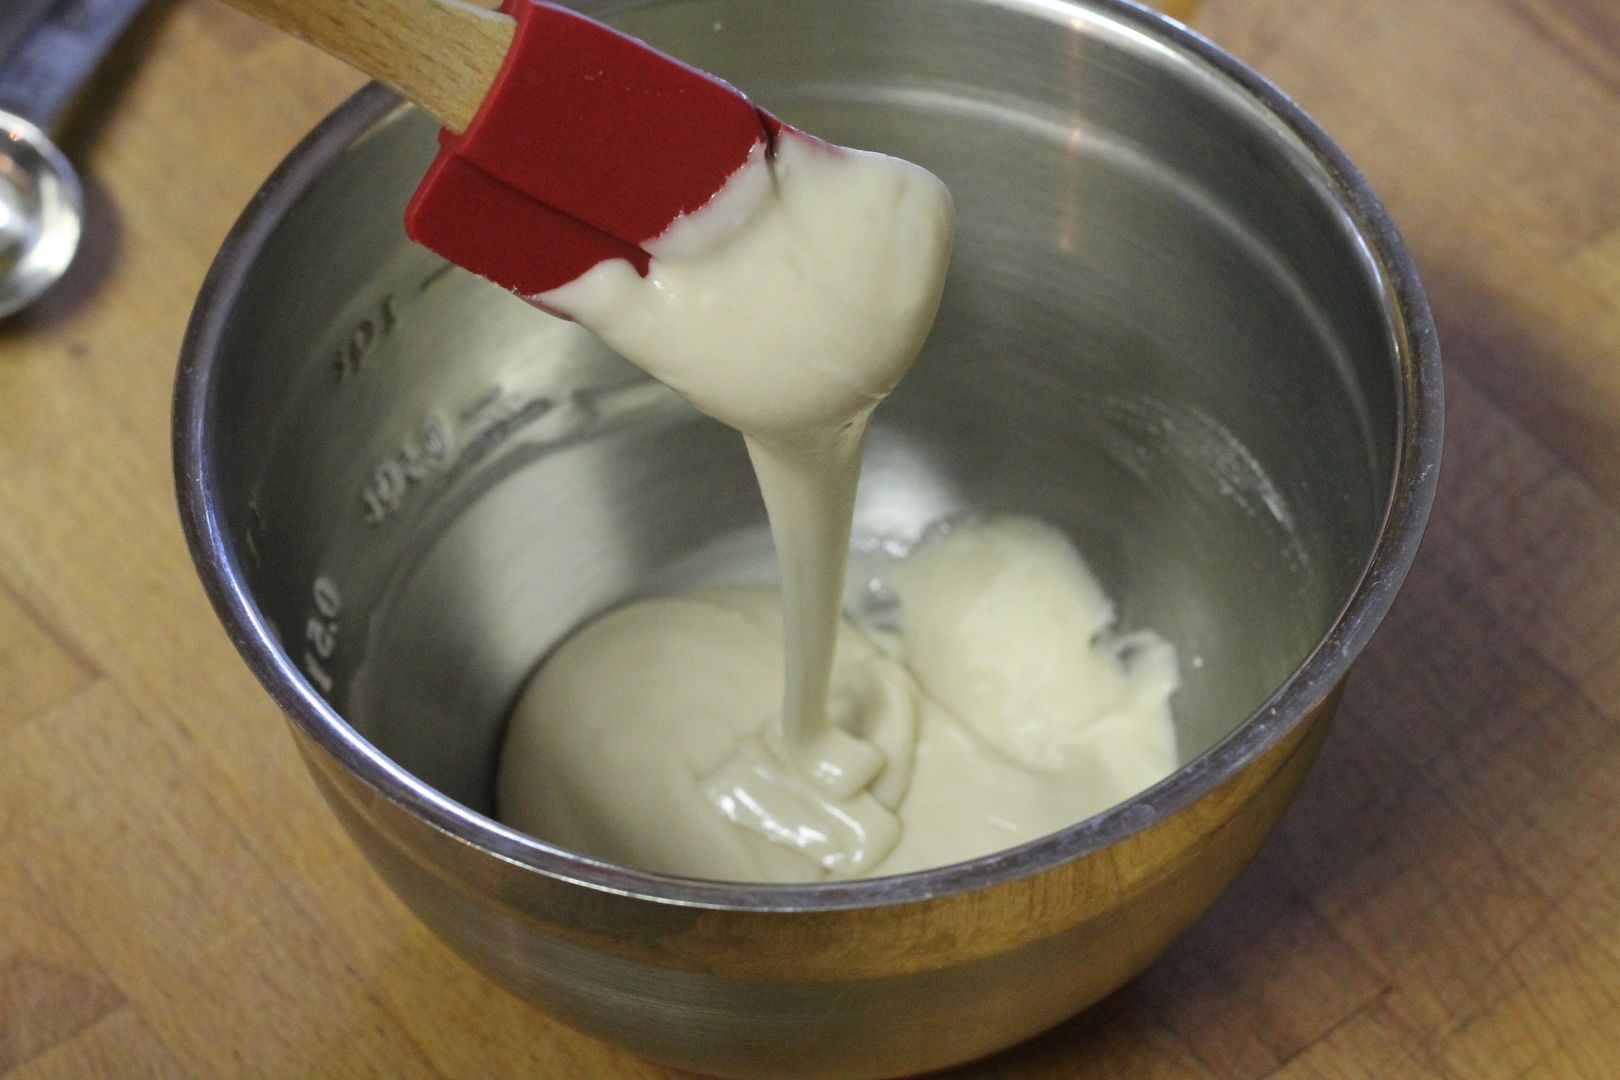
With a rubber spatula, mix together the vanilla frosting:

57 g powdered sugar

pinch salt

1 tsp milk

1/4 tsp vanilla

Add a little more milk or sugar as needed to make a thick piping consistency.

frosting

Scrape the frosting into a piping bag, snip off the tip, and pipe it on the buns to make a cross on each one.

frosted

The buns can be served slightly warm or at room temperature, and are best the day they are baked but will keep a few days at room temperature in an airtight container.

Current Events + Sourdough Bread

$
0
0

I’ve had this sourdough bread post drafted for months now, but there’s a lot going on in the world and it has felt kind of futile to post baking recipes in the midst of it all. The cookies I made or the cake I baked seem to pale in importance against the current major civil unrest due to systemic racism and police brutality. As a Canadian, it’s tempting to sit back and smugly think that the rampant anti-Black racism we see in the US is not a problem here, but as a WHITE Canadian, I have to seriously check that impulse because we have our own terrible history and ongoing legacy of institutional racism and police violence against Indigenous, Black, and people of colour in this country.

Add all this to the fact that I am a little bit distracted at the moment because – SURPRISE! – I’m currently very pregnant and expecting a baby fairly imminently, and you might understand why I haven’t posted anything in a while 😉

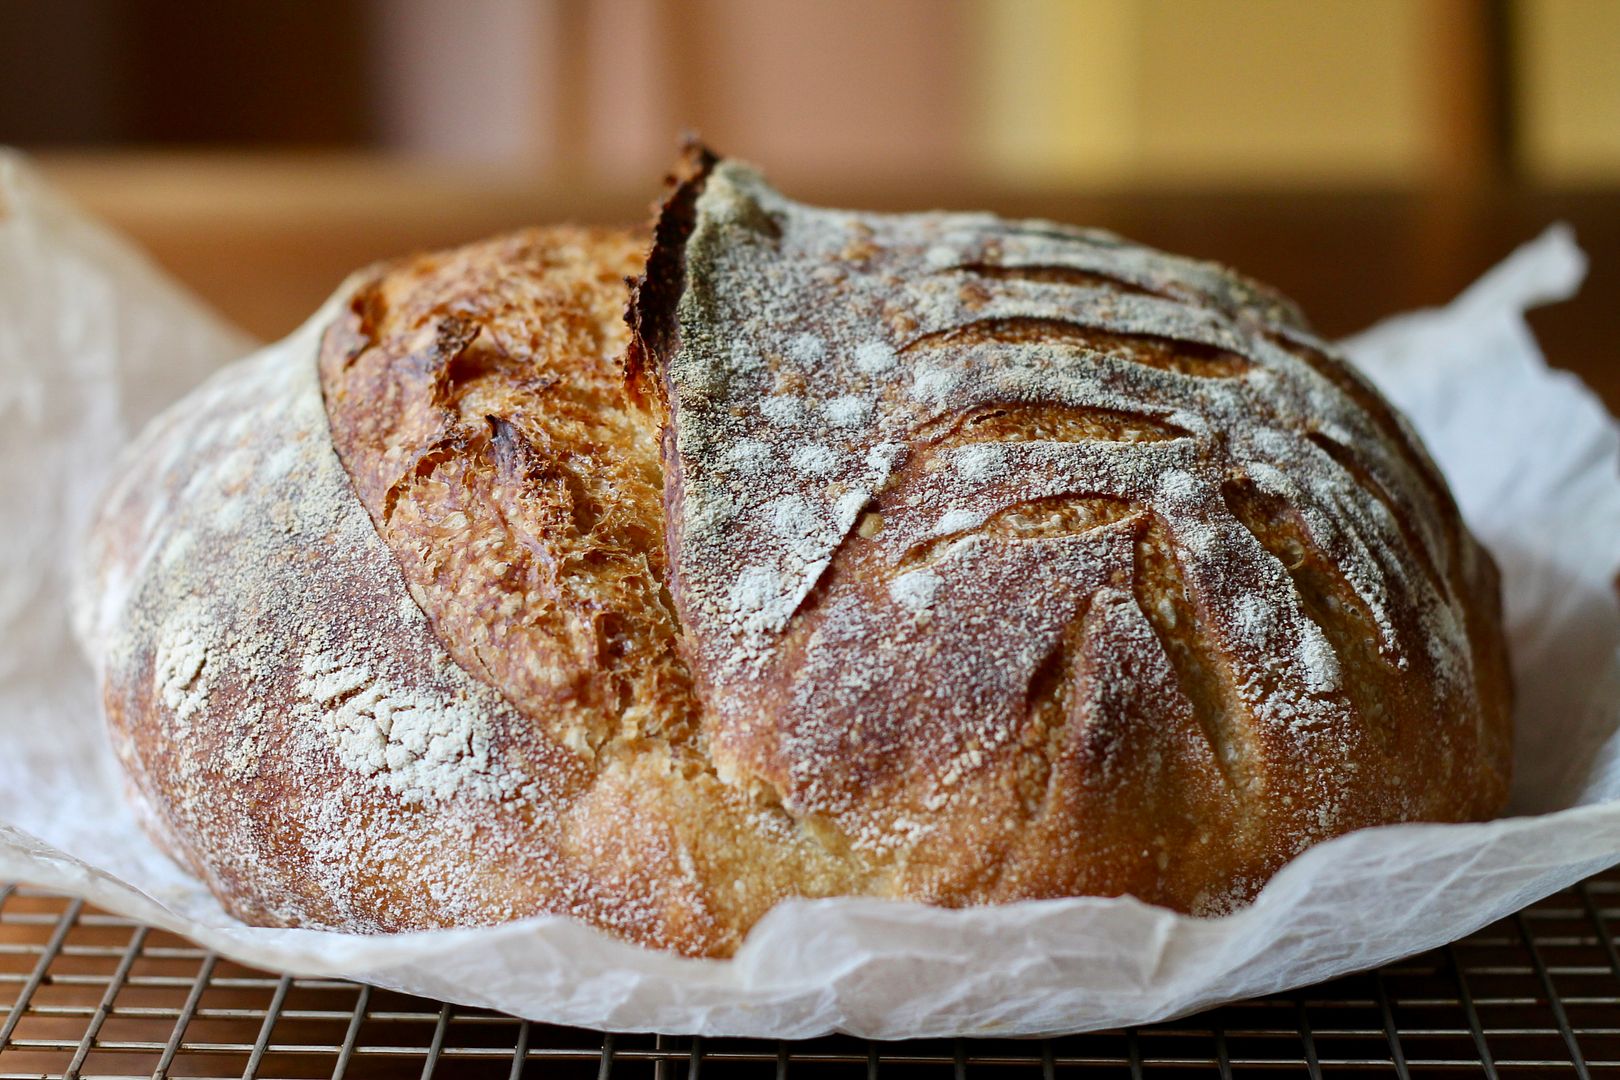
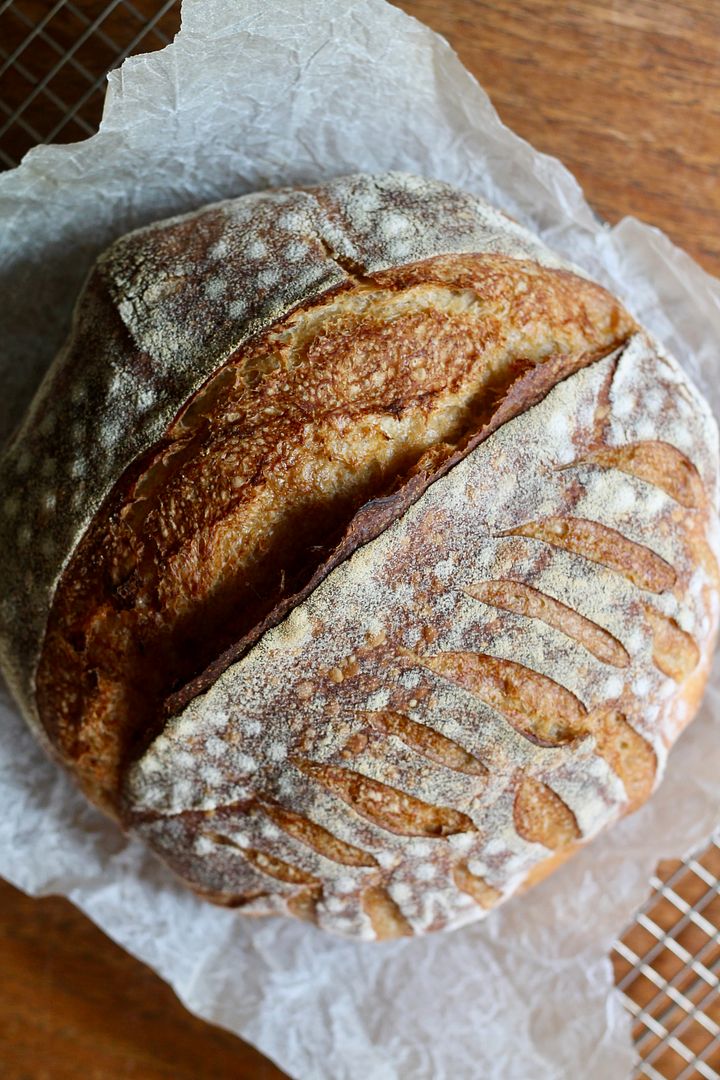
Simple Sourdough Boule | Korena in the Kitchen

As I contemplate what it means to bring a baby into the current world and what it will be like to parent a human born in 2020 – a year that is only half over but that has already forced us to reconsider our “normal” in so many, many ways – I realize that I have a huge opportunity and responsibility to make a positive impact on the future in the way I raise my kid. I’ve always intended for any child of mine to be decent, respectful, and caring – but current events have really made me think harder about what this means, exactly. In seeing the despicable reactions of so many adult white people to the Black Lives Matter movement, I want to make sure I teach my kid to understand systemic racism and to be anti-racist (recognizing that I have a lot of learning / unlearning to do here myself); to value equality and care more about people than things; to understand social responsibility and his role in the collective good and welfare of others; to think critically, seek out subject-matter experts, and not be afraid to change his opinion when he learns new information; and to recognize his privilege and use it to lift up other people and make their voices heard.

And while not as vitally important to the world as the things I listed above, I also want to teach him how to bake bread.

Simple Sourdough Boule | Korena in the Kitchen

I’ve been the caretaker of my little sourdough starter for over a year now, and in that time I’ve stuck to making one single recipe as our “daily bread” (actually more like bi-weekly bread, or sometimes only monthly!). It’s just a simple rustic white loaf, but making it repeatedly over a long period of time has really helped me get the process dialled and understand how my starter likes to behave. It also helps that during my sourdough hiatus, sourdough artisan bread making has really taken off, and the internet and social media (particularly Instagram) are rife with both professional and amateur bakers sharing so much information about bread dough, hydration levels, structure, fermentation, shaping, scoring, and baking.

Simple Sourdough Boule | Korena in the Kitchen

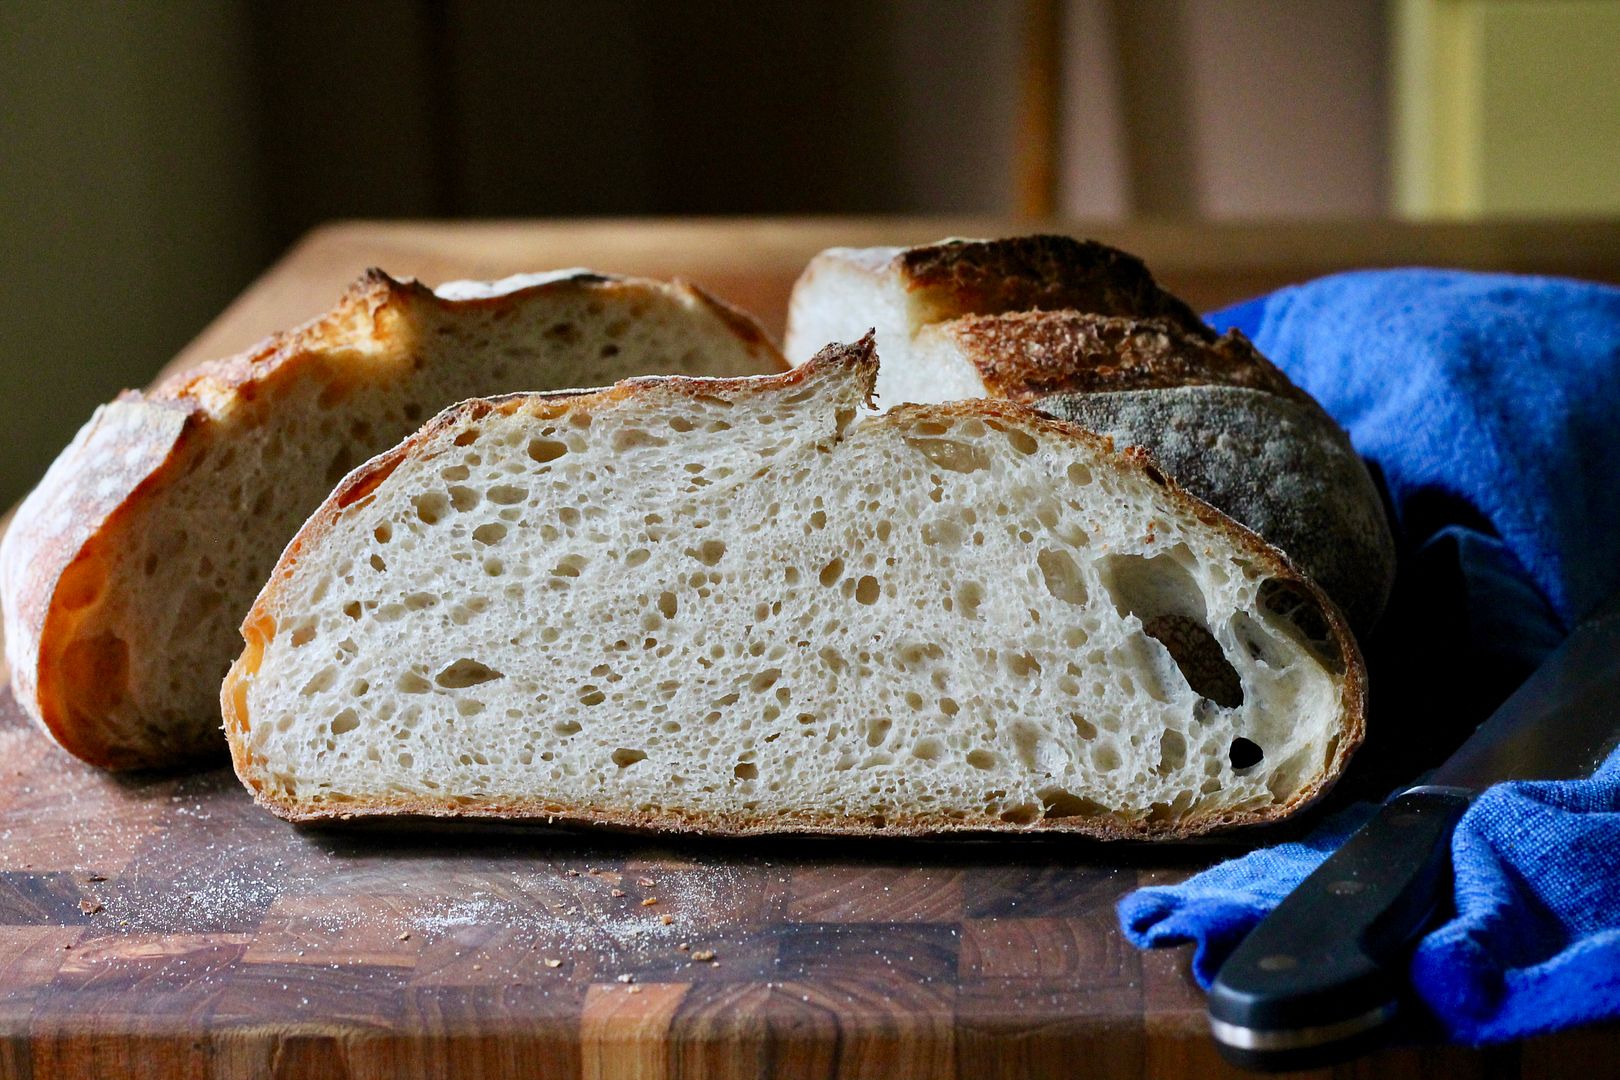
The biggest thing I’ve learned so far is that sourdough prefers warmer temperatures. With my previous sourdough baking, I tended to go for loooooong, slooooooow, and cooooooool, and as a result my sourdough breads tended to take forever and didn’t always achieve their best in terms of fermentation and rise. In fact, they were often overly sour and a bit dense, whereas I much prefer a subtle sourdough tang and fluffy crumb. In the winter months when my kitchen is quite cold, it can be a challenge to keep bread dough warm enough to rise properly, so since getting a new oven a few months ago, I’ve been taking full advantage of the “proofing bread” feature, which turns the oven into a lovely warm spot that is perfect for bringing sourdough-leavened bread to its full potential (I’m sure there are some sourdough purists out there who would shake their heads at this, but whatever – do what makes you and your bread happy!). If you don’t have this particular feature on your oven, a trick is to put the dough in a cold oven with the oven light on – this keeps things just warm enough and makes for happier bread.

As with most sourdough recipes, this one takes a bit of forethought – you need to mix the starter together the night before, but the actual building of the dough, fermentation, shaping, and baking can all be done in one day, and the schedule can be pretty flexible. I hope you give it a try 🙂

Simple Sourdough Boule | Korena in the Kitchen

Simple Sourdough Boule

Recipe adapted slightly from My Daily Sourdough Bread. Makes 1 round boule. Click here for a printable PDF of the recipe.

The night before:

In a medium lidded container (I use a pint jar), mix together:

75 g unbleached AP flour
75 g water
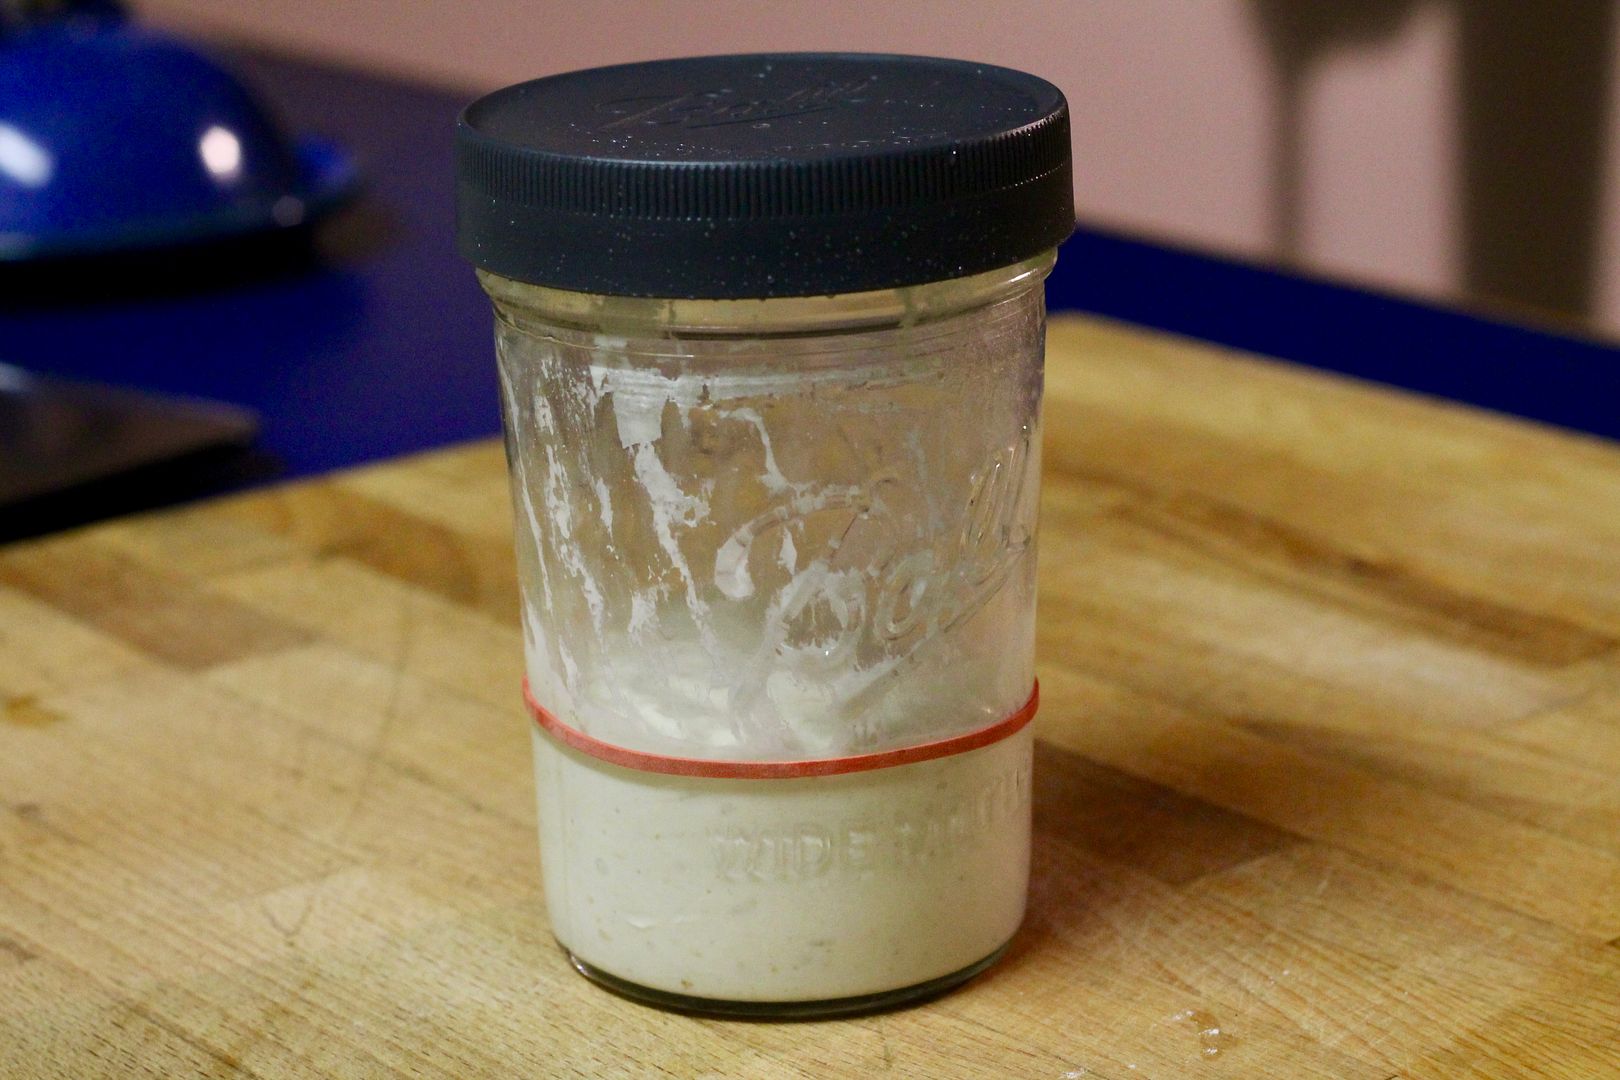
1 tablespoon of ripe mother sourdough starter

Put the lid loosely on the jar and let it ferment overnight (about 8 hours) at room temperature.

starter after mixing

At the same time, combine together in a large bowl:

400 g unbleached organic all purpose flour (I sometimes replace up to 100 g with whole grain flour such as whole wheat or rye)
280 g water

Mix together until evenly moistened, then cover the bowl with a lid or plastic wrap and let autolyse overnight.

flour and water after mixing

The next morning:

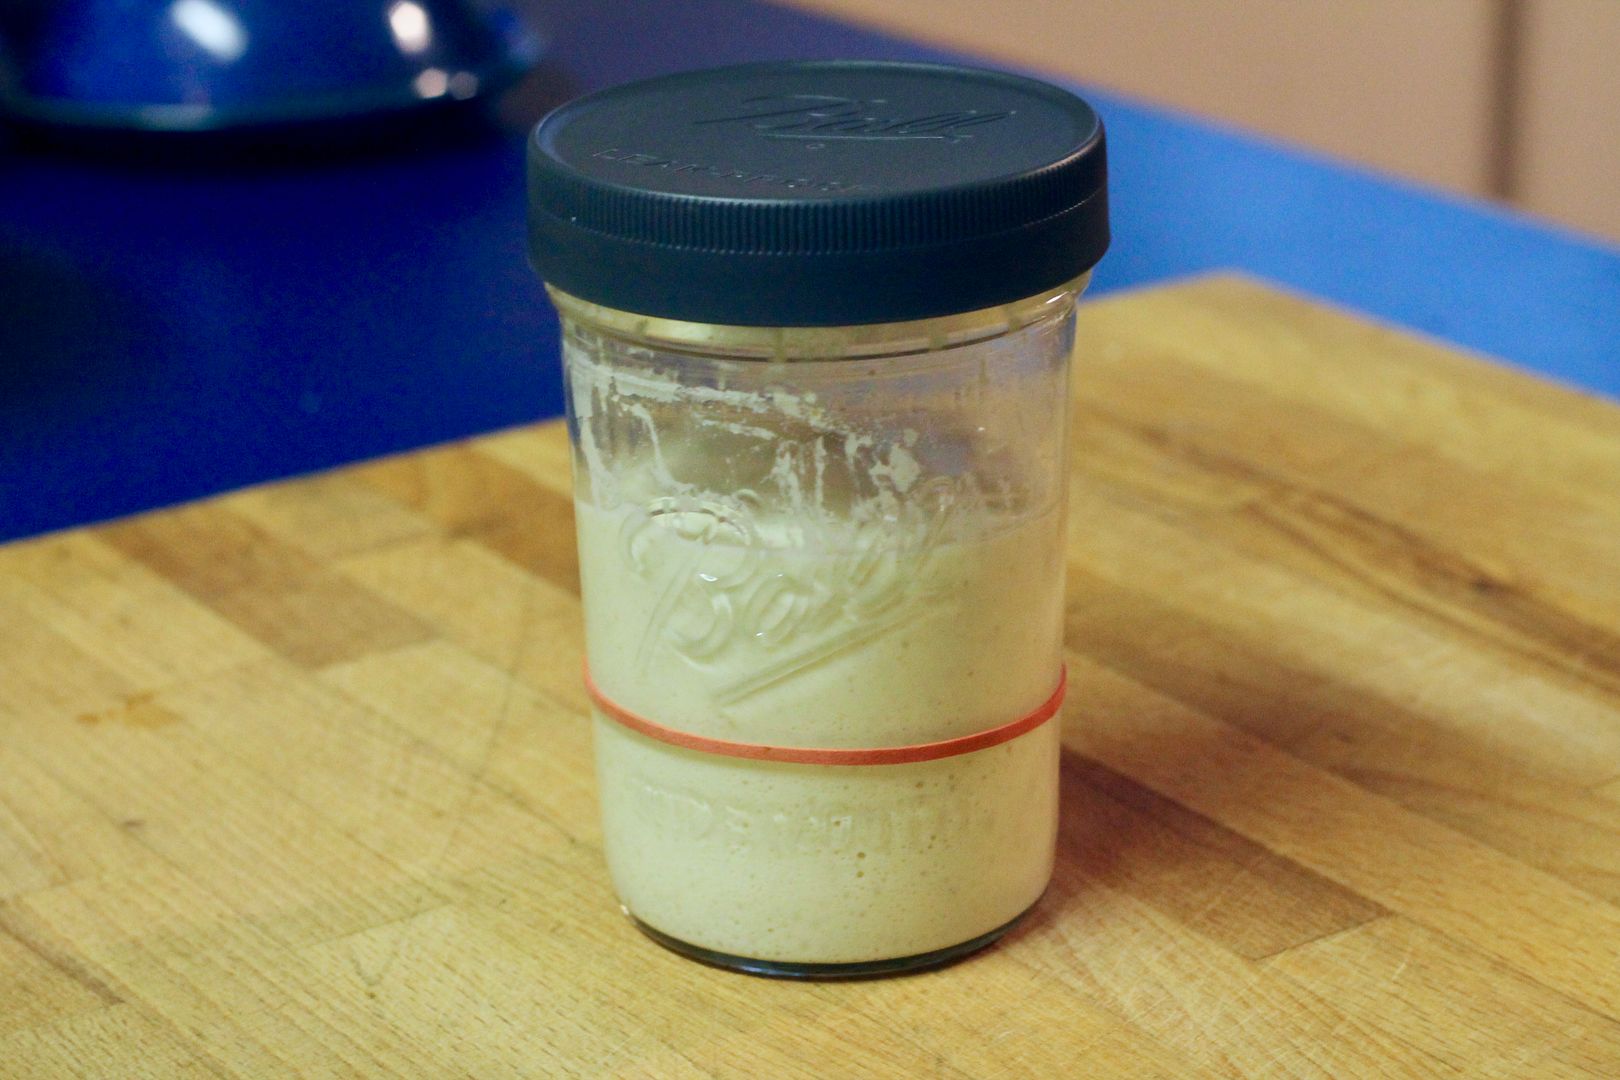
Your starter should have doubled (at least) in volume.

starter has doubled

The mixture of flour and water should have relaxed overnight and become a very stretchy dough.

stretchy dough

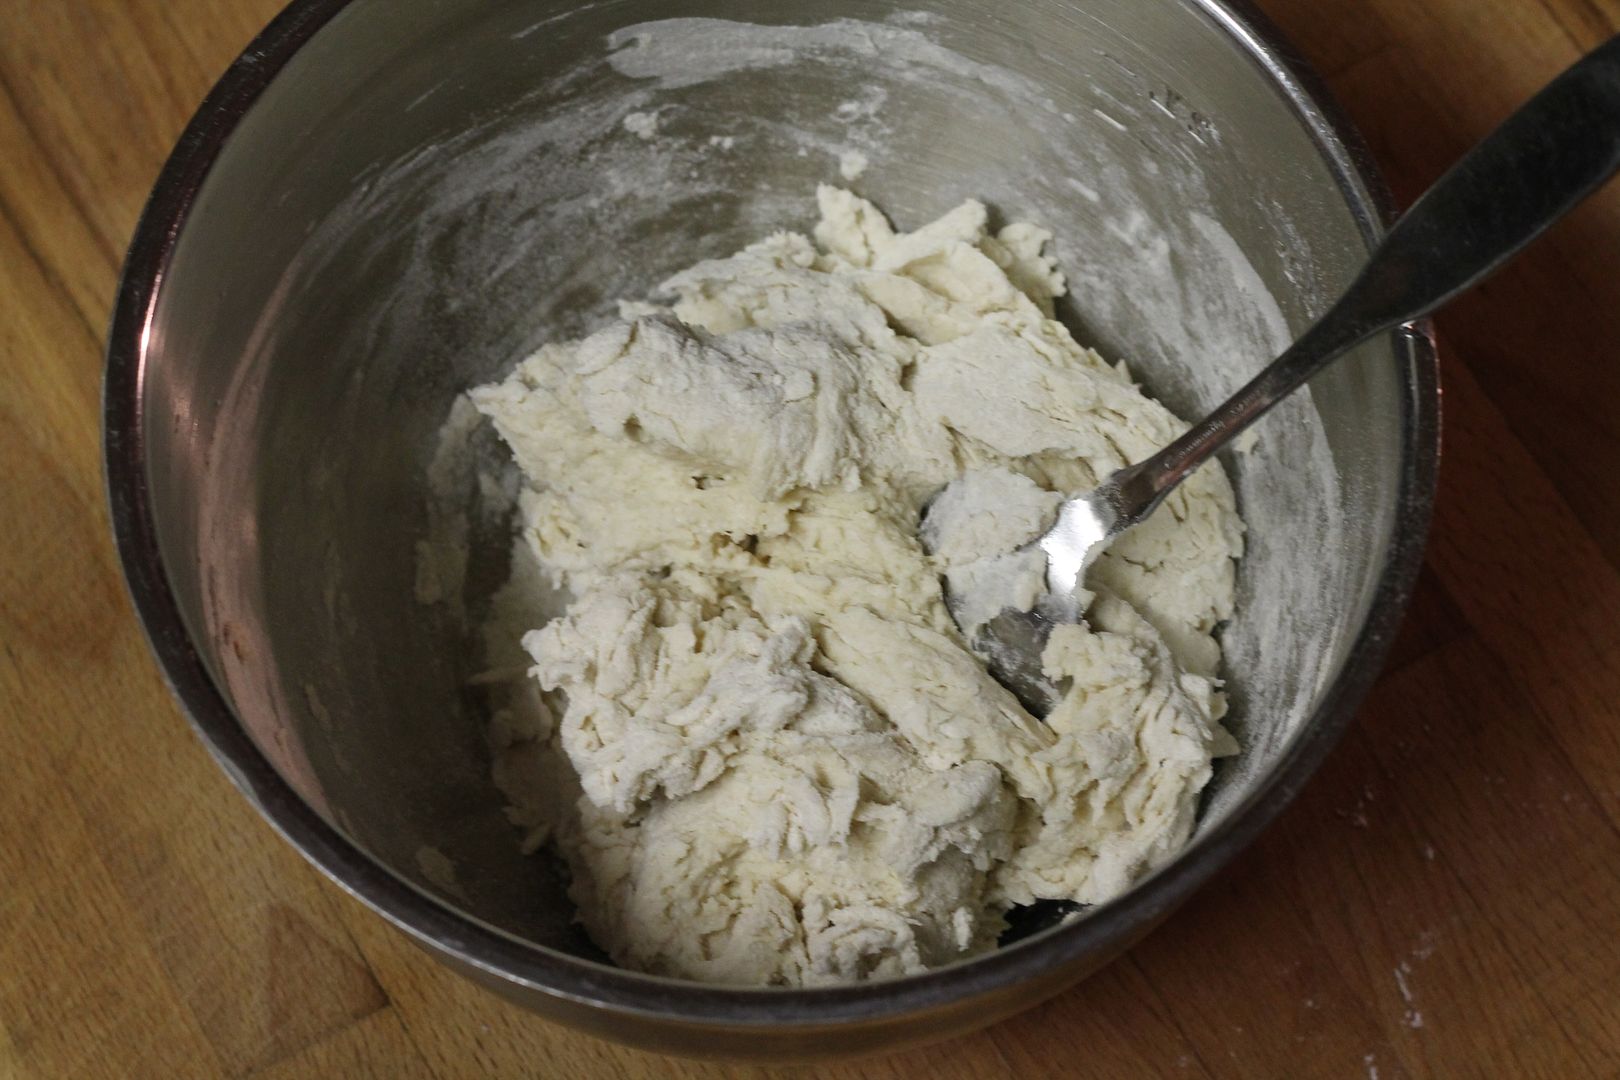
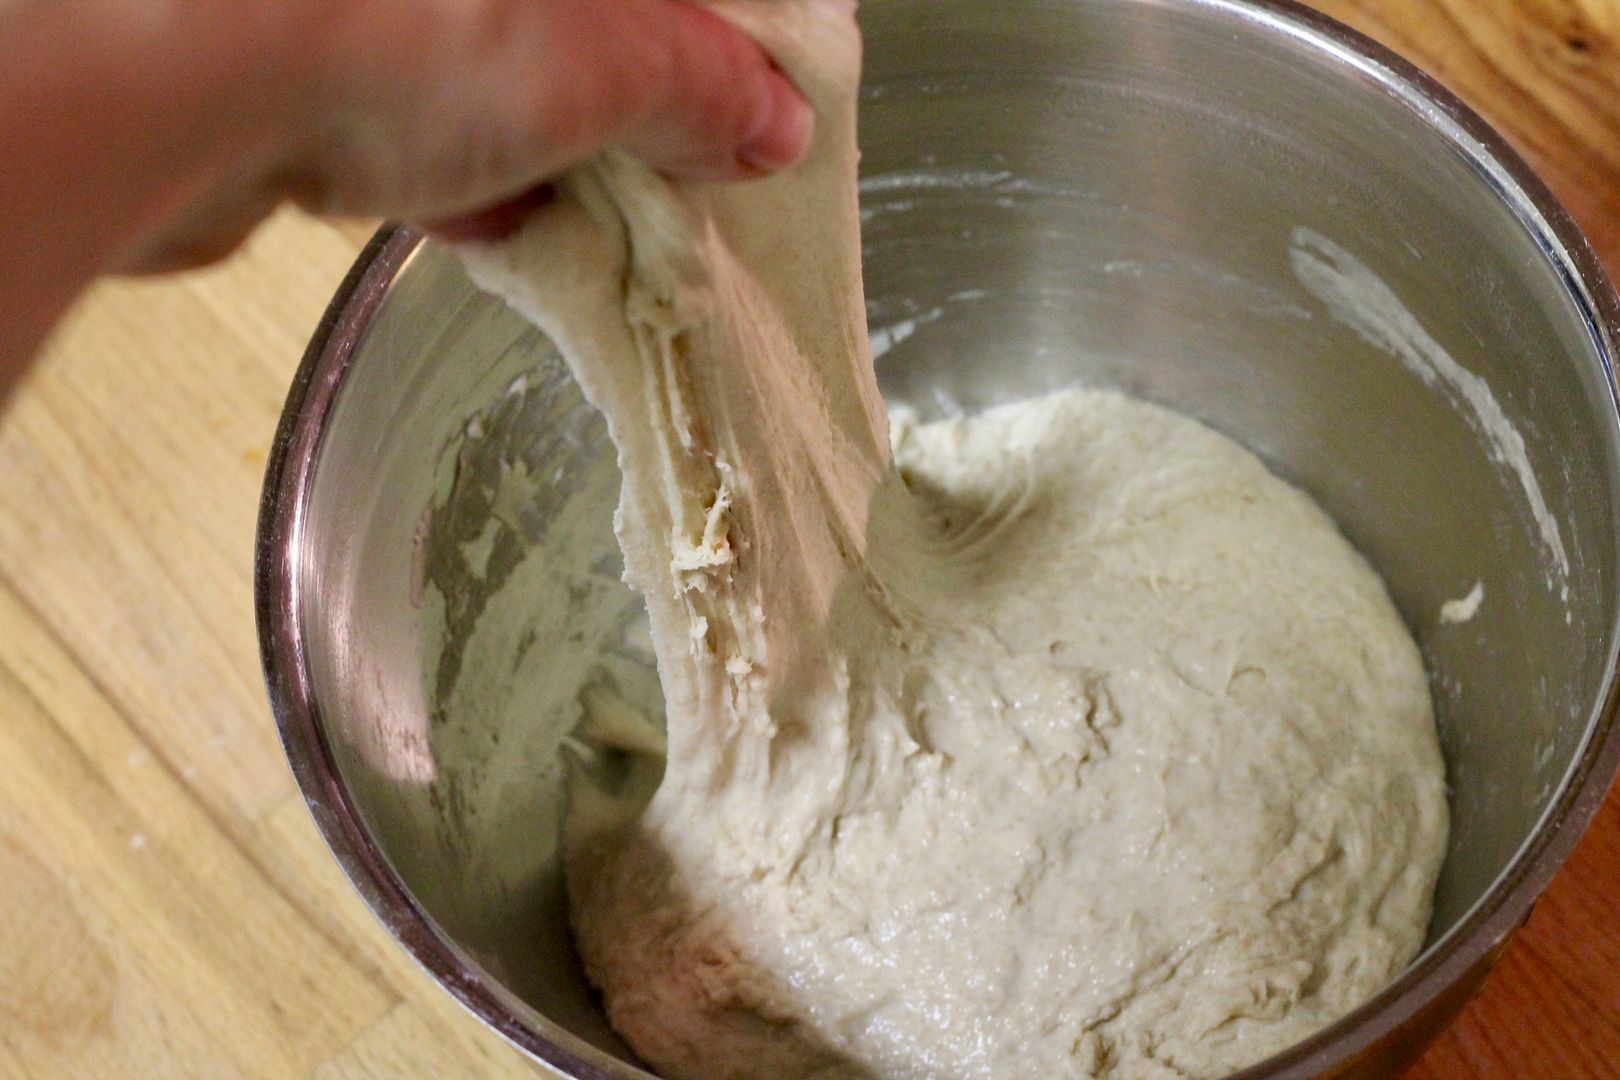
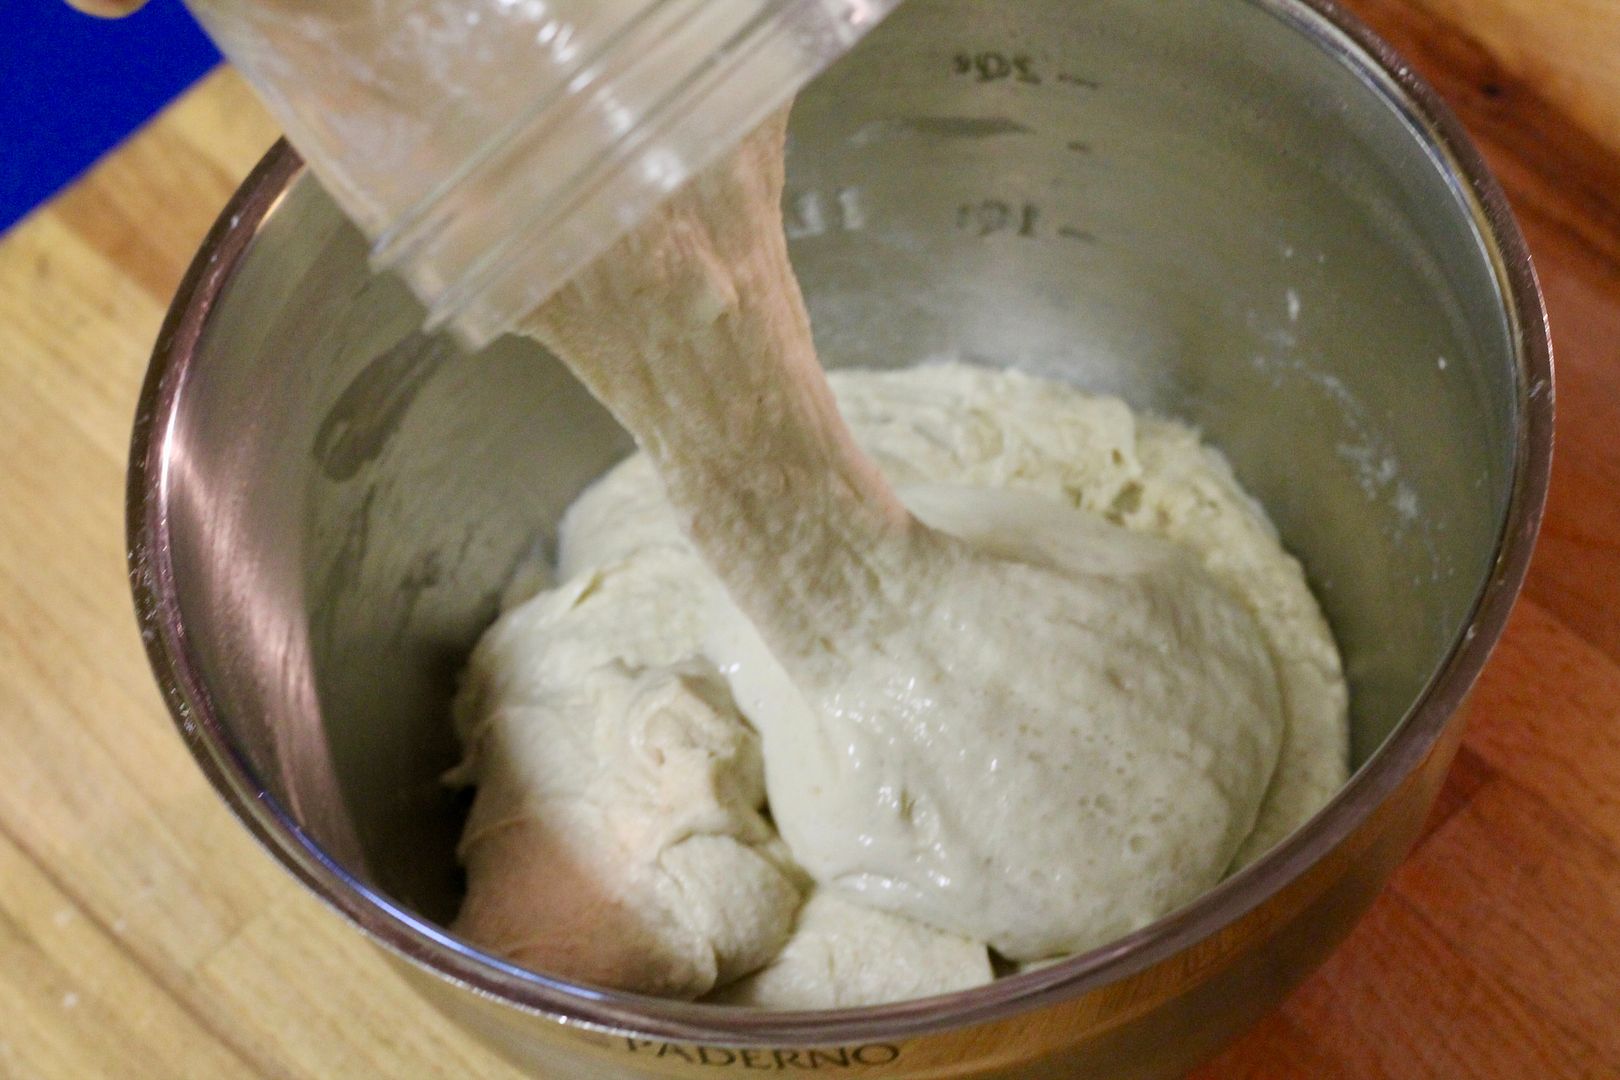
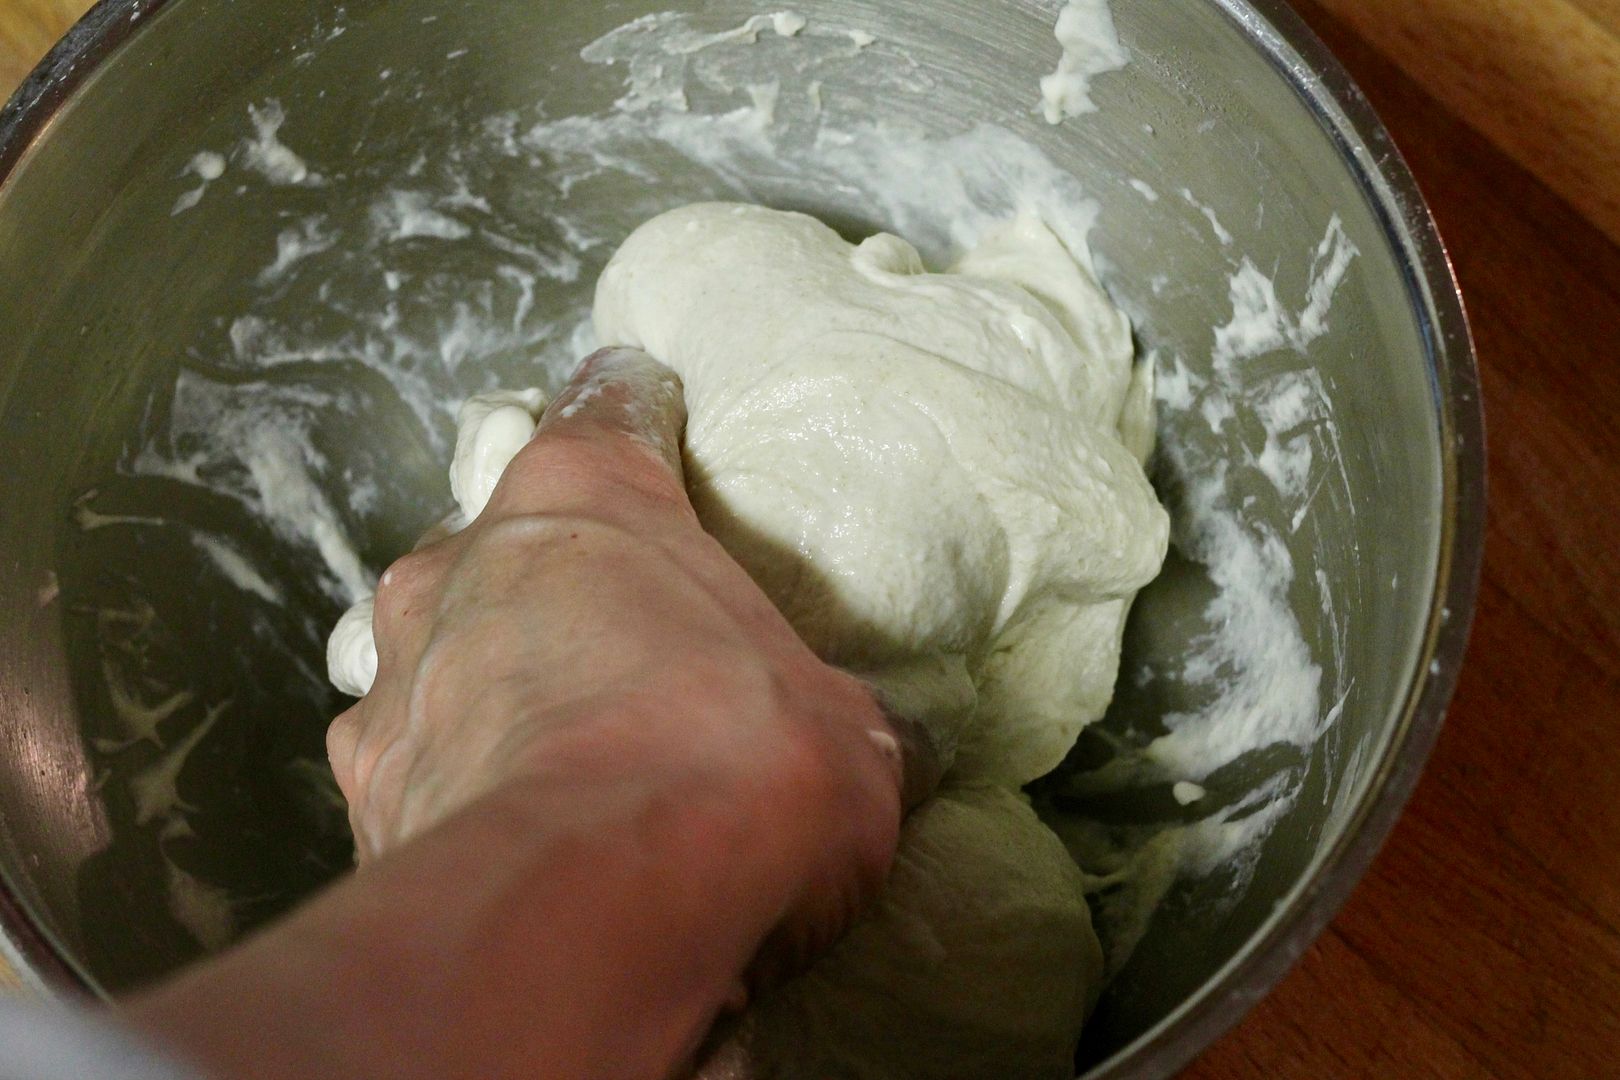
Mix the fermented starter into the autolysed flour and water mixture. I do this by squishing and squeezing the dough with my hands until it is evenly mixed and cohesive.

add the starter

hand mixing

Let the dough rest 1 hour at room temperature to begin fermentation.

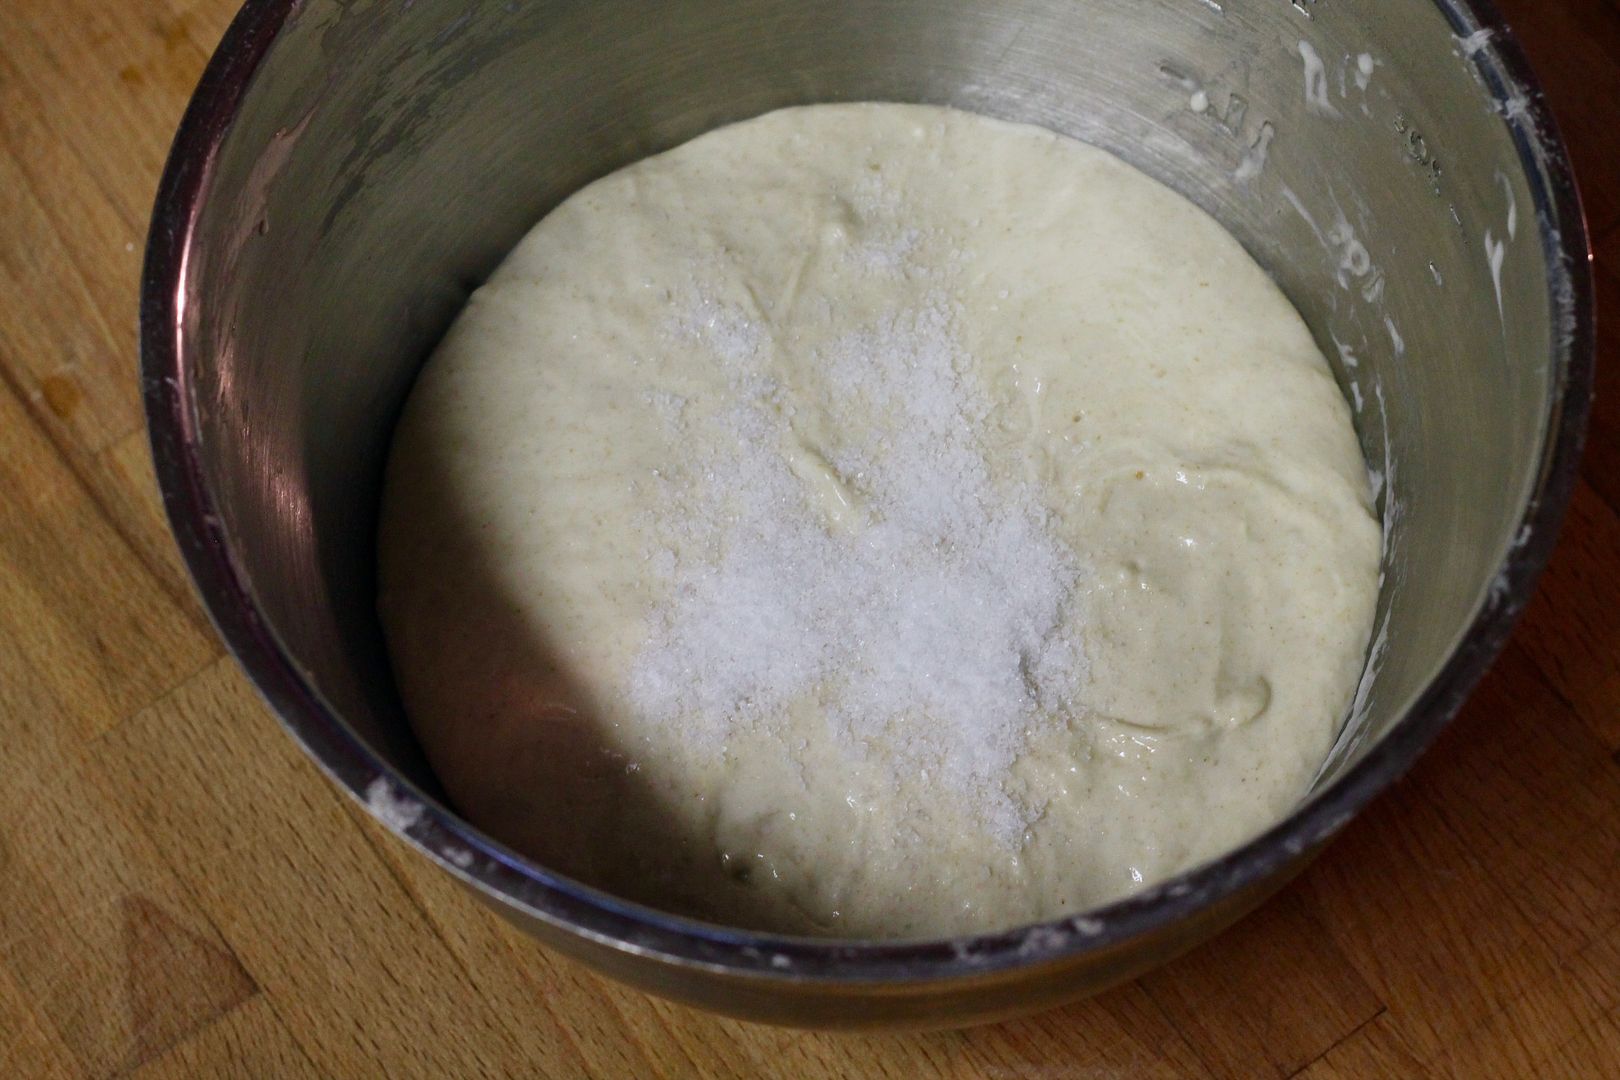
After 1 hour, mix in 8 g fine sea salt and if needed, an additional 10 g water with the same squishing and squeezing technique. I usually don’t need to add the extra water, but this is something you’ll learn to get a feel for depending on the flour you use, humidity, etc.

add salt

Bulk ferment:

Let the dough sit at (warm) room temperature for 3-5 hours for the bulk ferment. The exact length of the bulk ferment will depend on the ambient temperature. In the summer, my kitchen is the perfect temperature for this, but in the cooler months, I will use the “proofing bread” feature on my oven, or put the dough in a turned-off oven with just the light on to give it just a touch of warmth to keep fermentation moving.

During the bulk fermentation, stretch and fold the dough every 45-60 minutes (3-5 times total) to help build dough structure. To do this, slide your hand under the edge of the dough and pull up, then fold over on itself. Repeat 5-6 more times until all the edges of the dough have been stretched and folded in.

folding 1

folding 2

folding 3

At the end of the bulk fermentation the dough should feel puffed and airy (increased in volume by about 30-40%), strong and greasy to the touch, and should have nice pleasant sweet smell. You should see some fermentation bubbles on the surface of the dough. (Undeveloped dough in the bulk fermentation could be one of the reasons for underproofed bread.)

before fermentation

after fermentation

Pre-shape/shape/final rise:

Turn the fermented dough out onto floured surface, using a flexible plastic dough scraper to help get the dough gently out of the bowl without deflating it. Lightly dust the dough with flour and with the help of your dough scraper, turn it over, flour-side down. To pre-shape for a boule, bring the edges into the centre and pinch them together to form a round.

preshaping 1

preshaping 2

Use your dough scraper to flip it over seam-side down. Cover the dough with the upside-down bowl and let rest for 10-15 minutes (aka, the “bench rest”). After the bench rest, properly fermented dough should have bubbles on the surface.

fermentation bubbles on surface

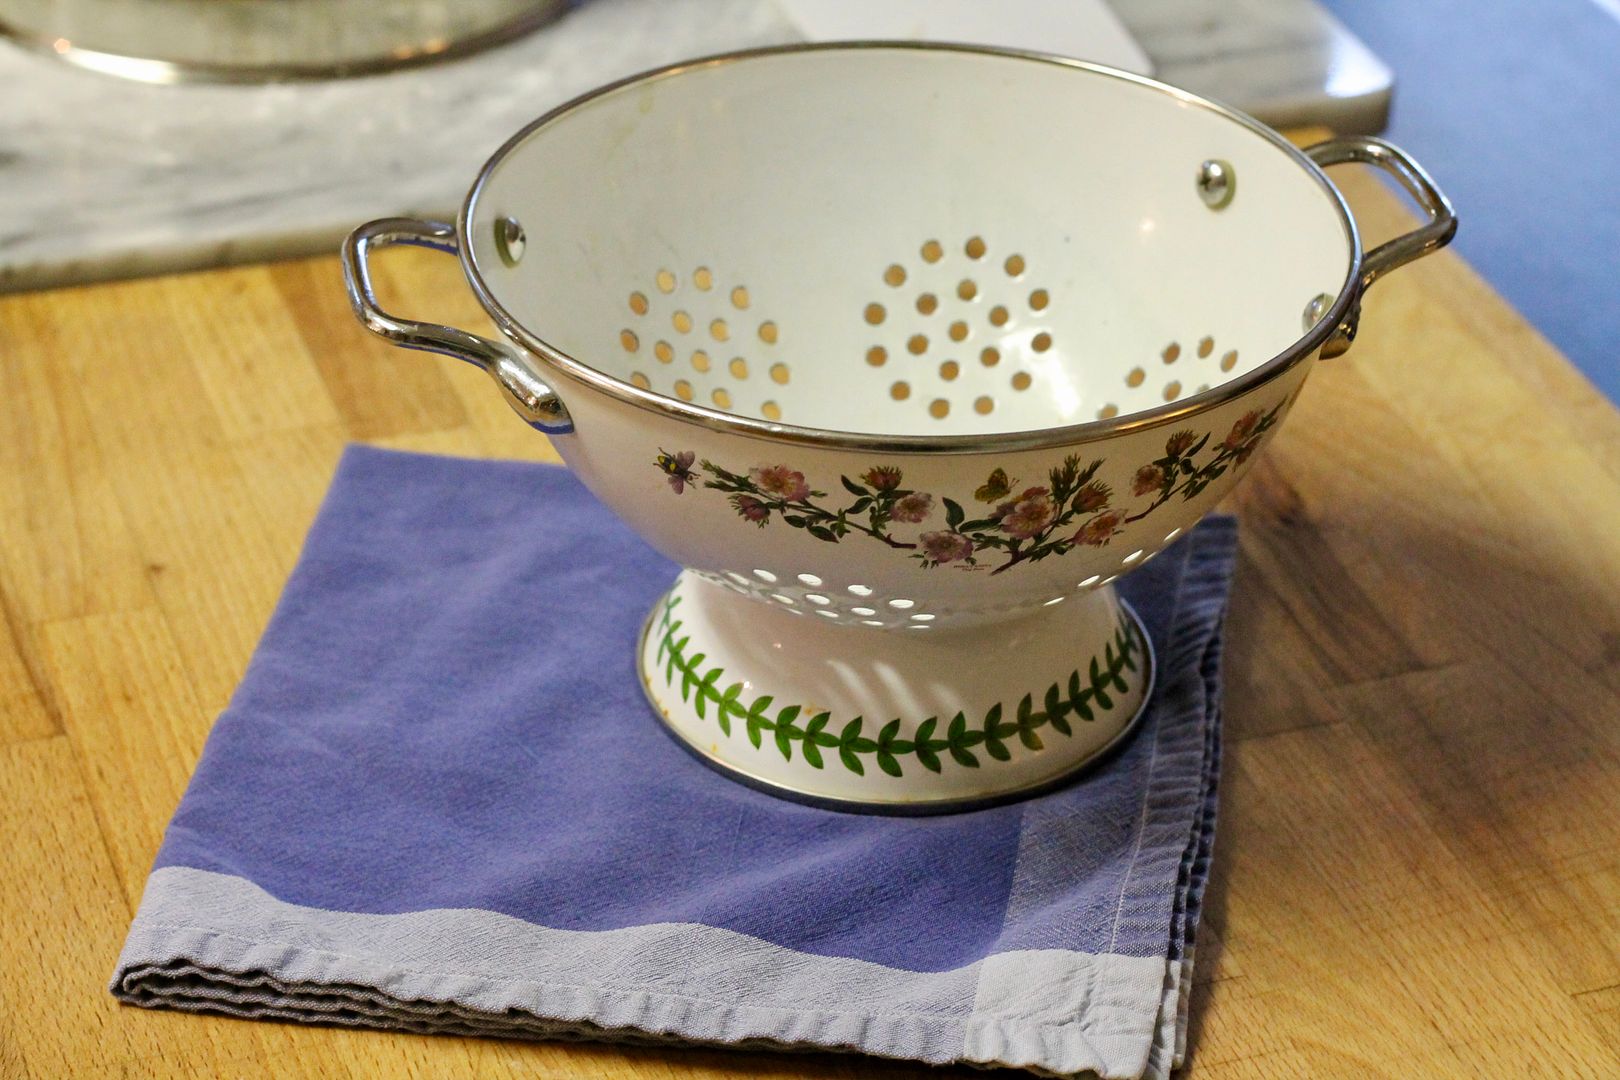
Prepare your proofing vessel. I use a small colander (about 8″ across and 4″ deep) for this, but you can use a real proofing basket if you have one 😉 Generously dust a linen/cotton cloth (something with a tight, smooth weave – NOT Terrycloth) with a mix of brown rice flour and all purpose flour and drape it over the colander/proofing vessel.

colander and napkin

prepared proofing vessel

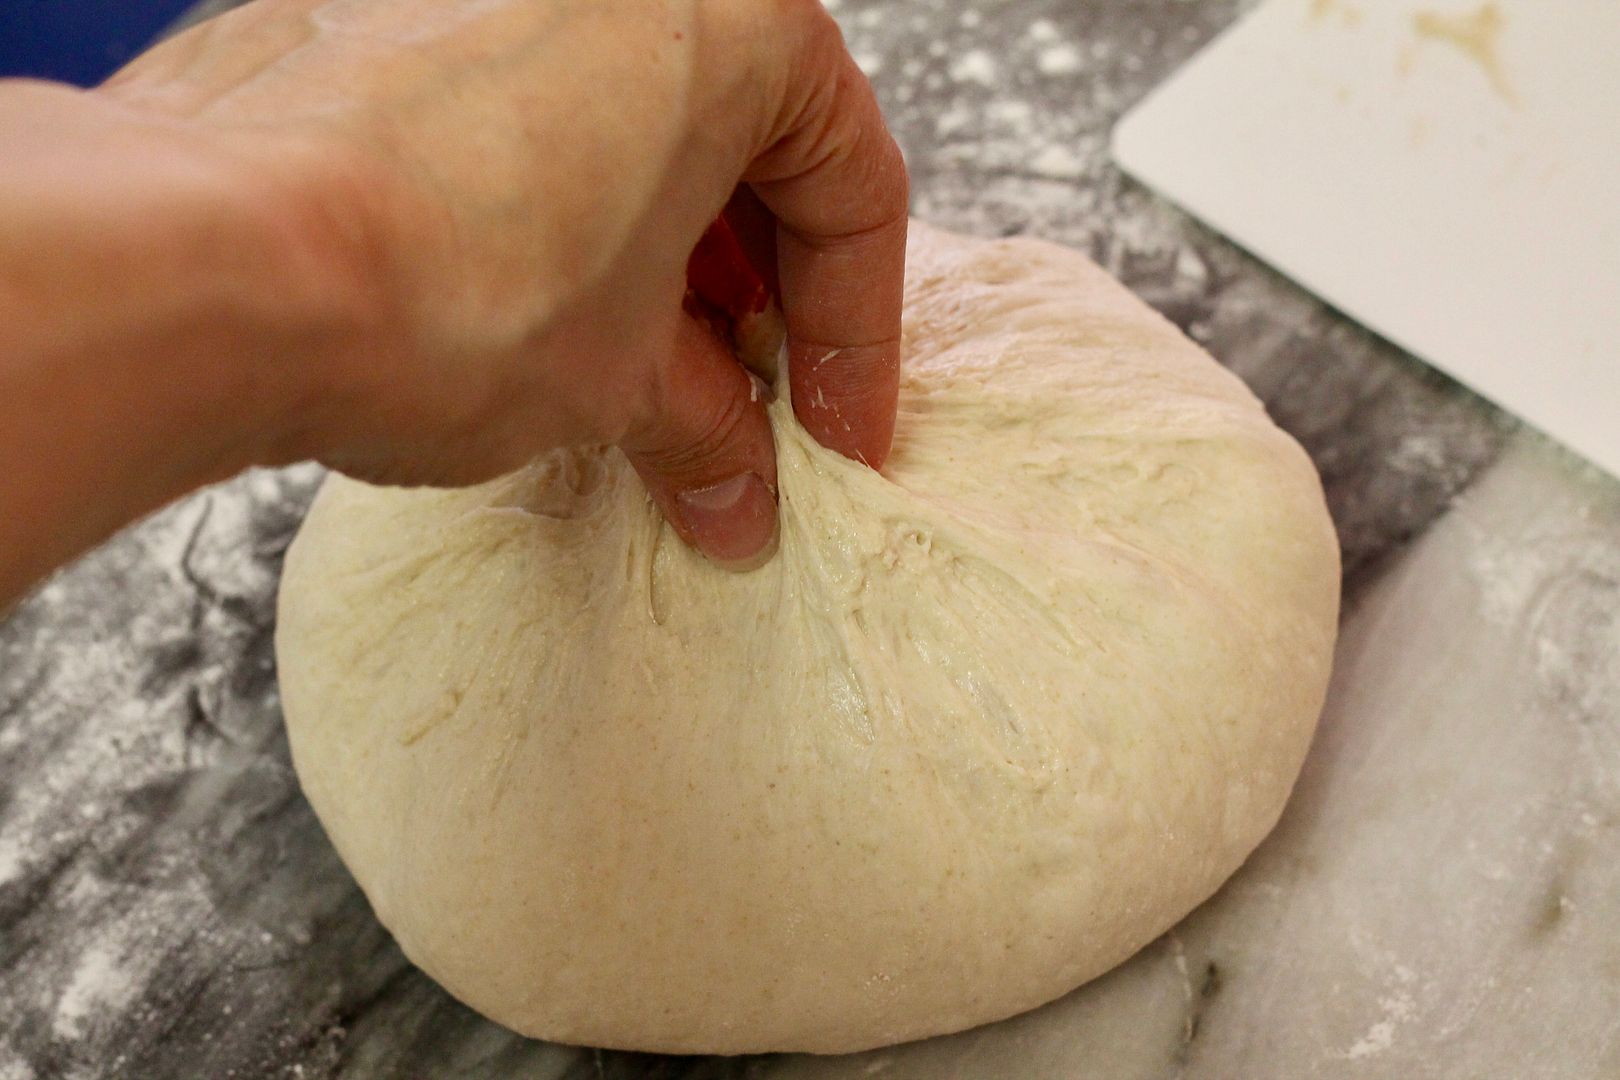
With your bench scraper, flip the rested dough over (seam-side up) and shape it gently but firmly into its final shape to create surface tension. For a boule, you again want to pull and pinch the edges of the dough in toward the centre. To tighten up the boule shape, place the pinched dough seam-side down on an unfloured surface and with your hands on either side of the dough, twist it several times to draw the dough together and create some surface tension on the outside of the dough.

boule shaping

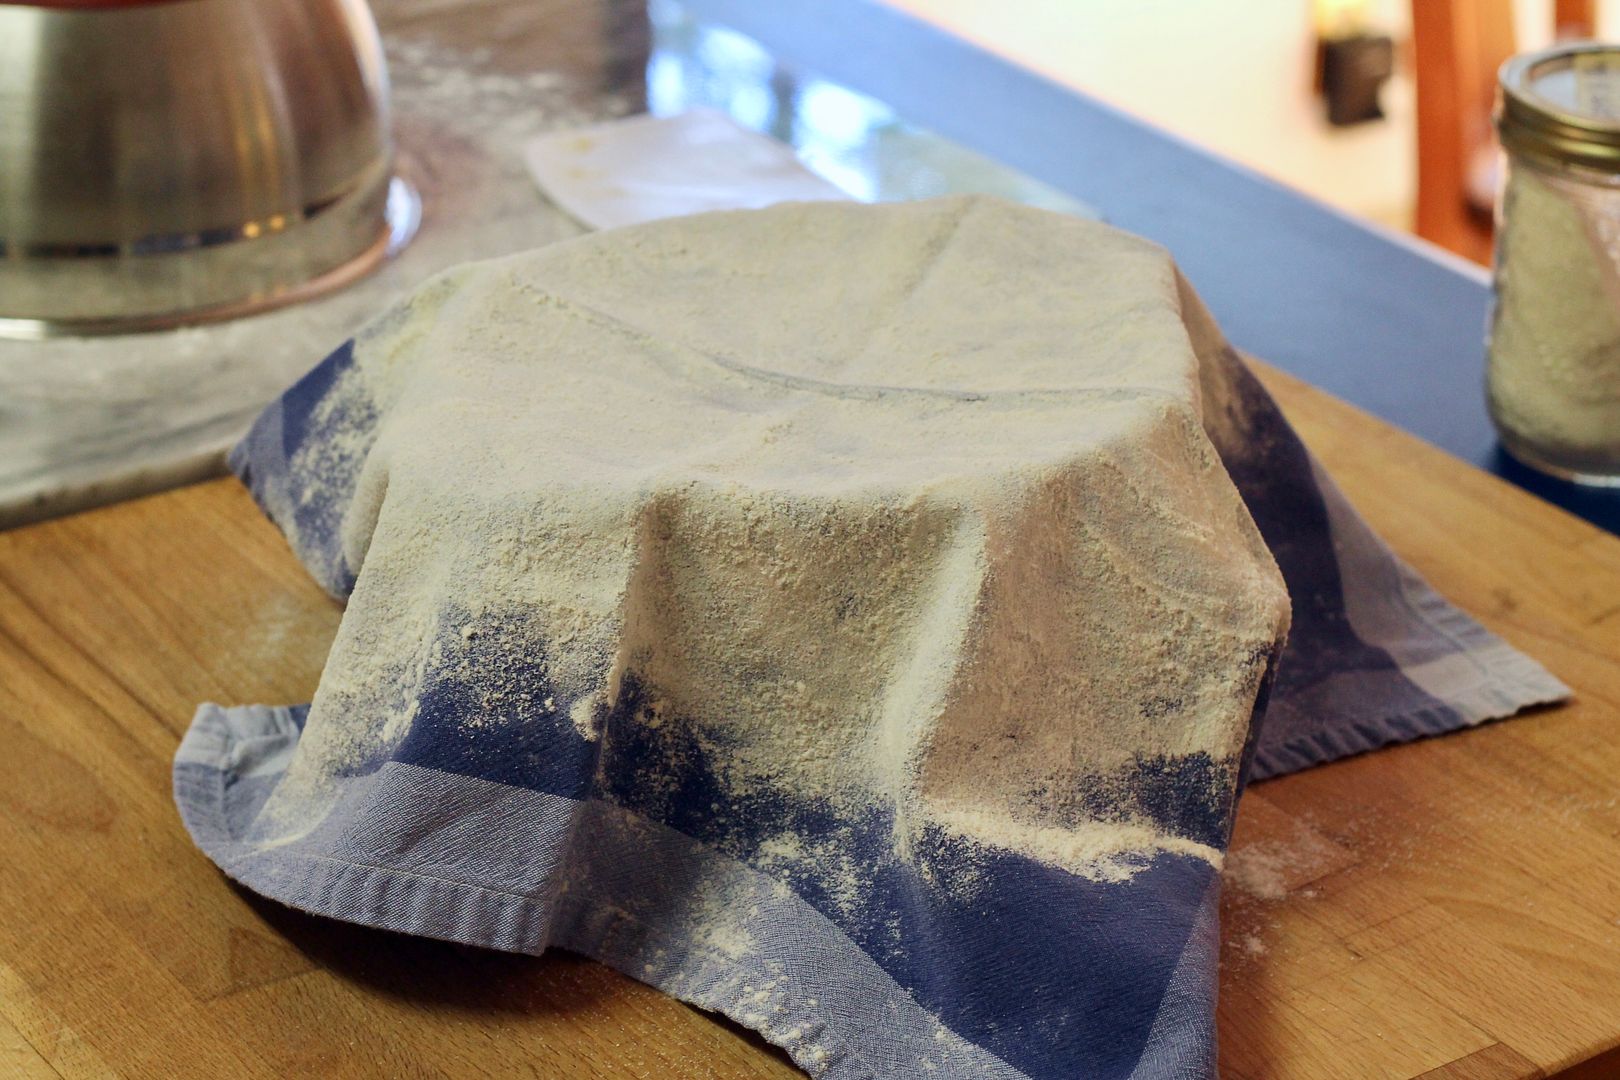
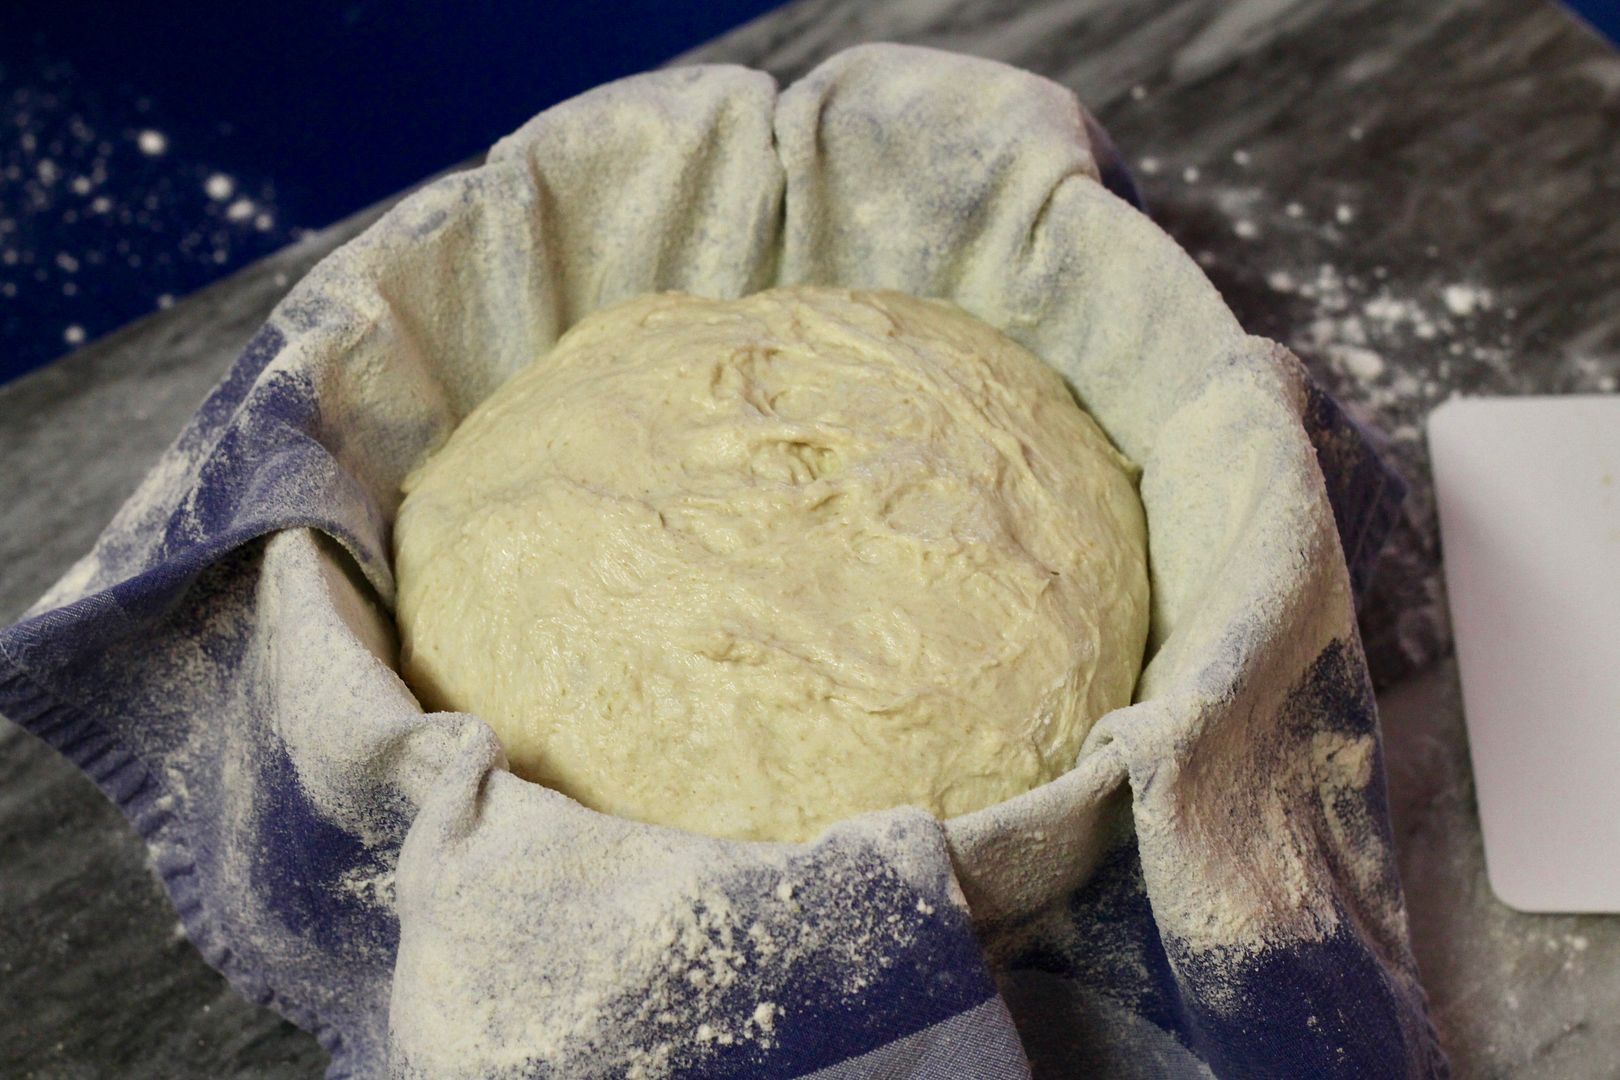
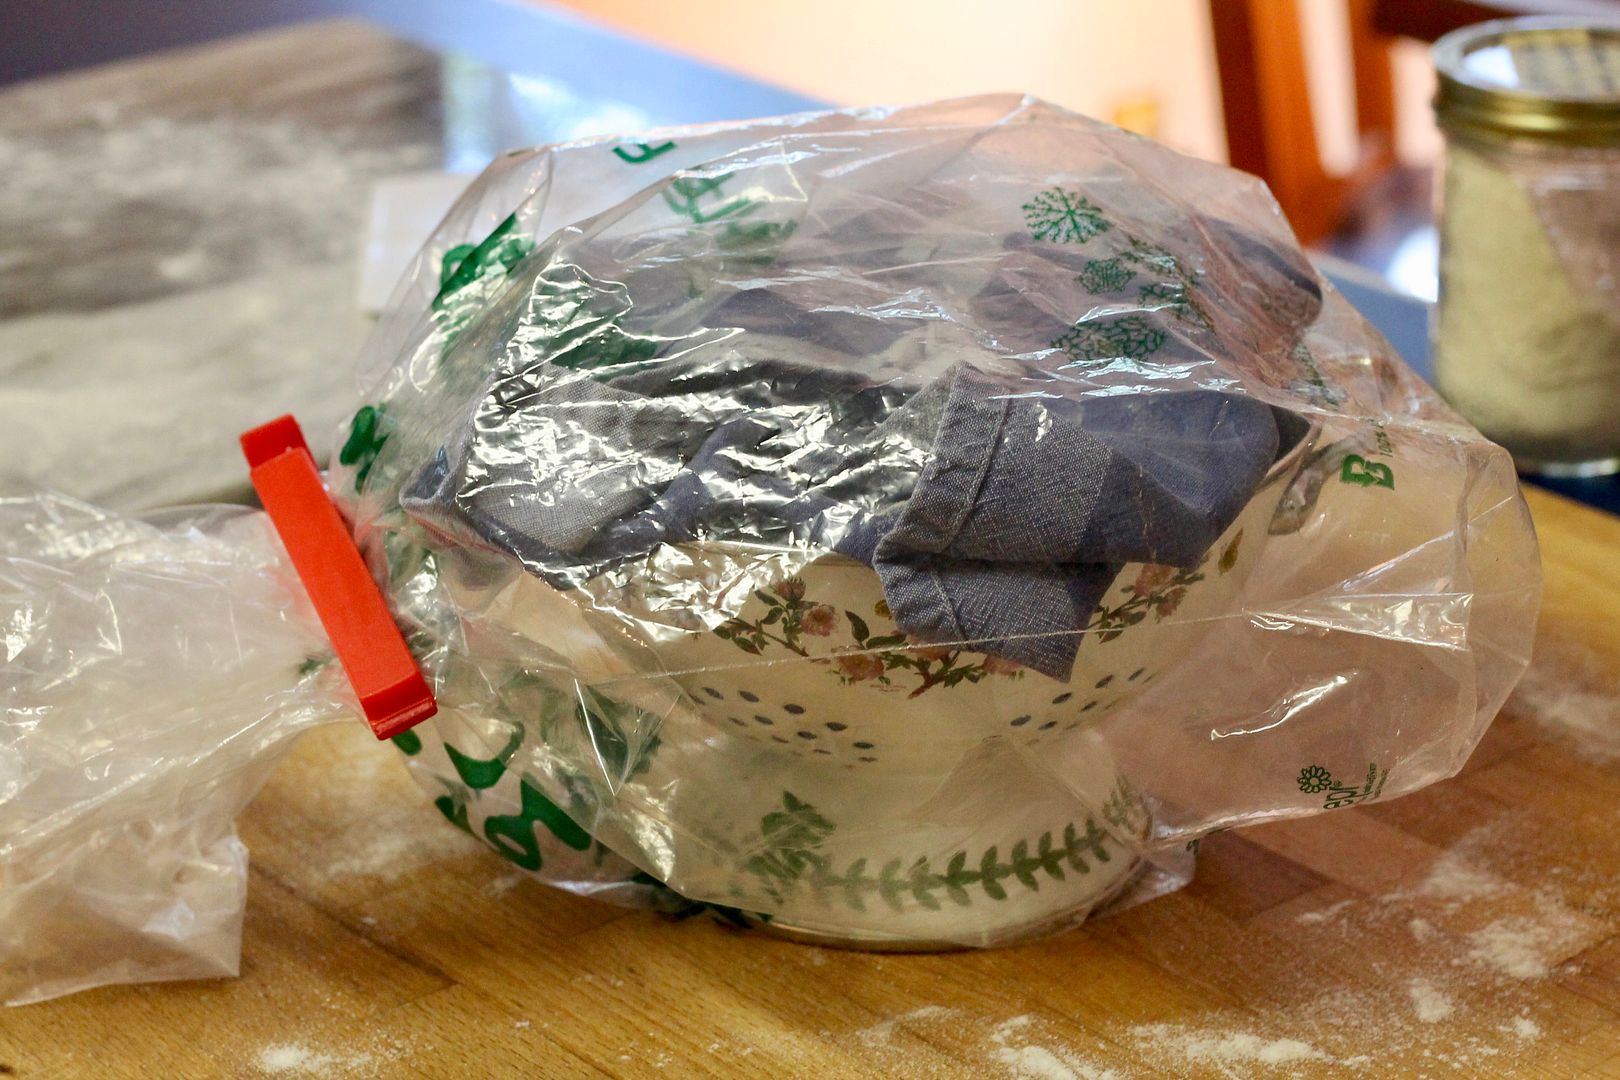
Place the shaped dough seam-side up on the floured cloth in the rising vessel. Dust with flour, fold over the ends of the cloth, and seal inside a large plastic bag.

in couche

in plastic bag

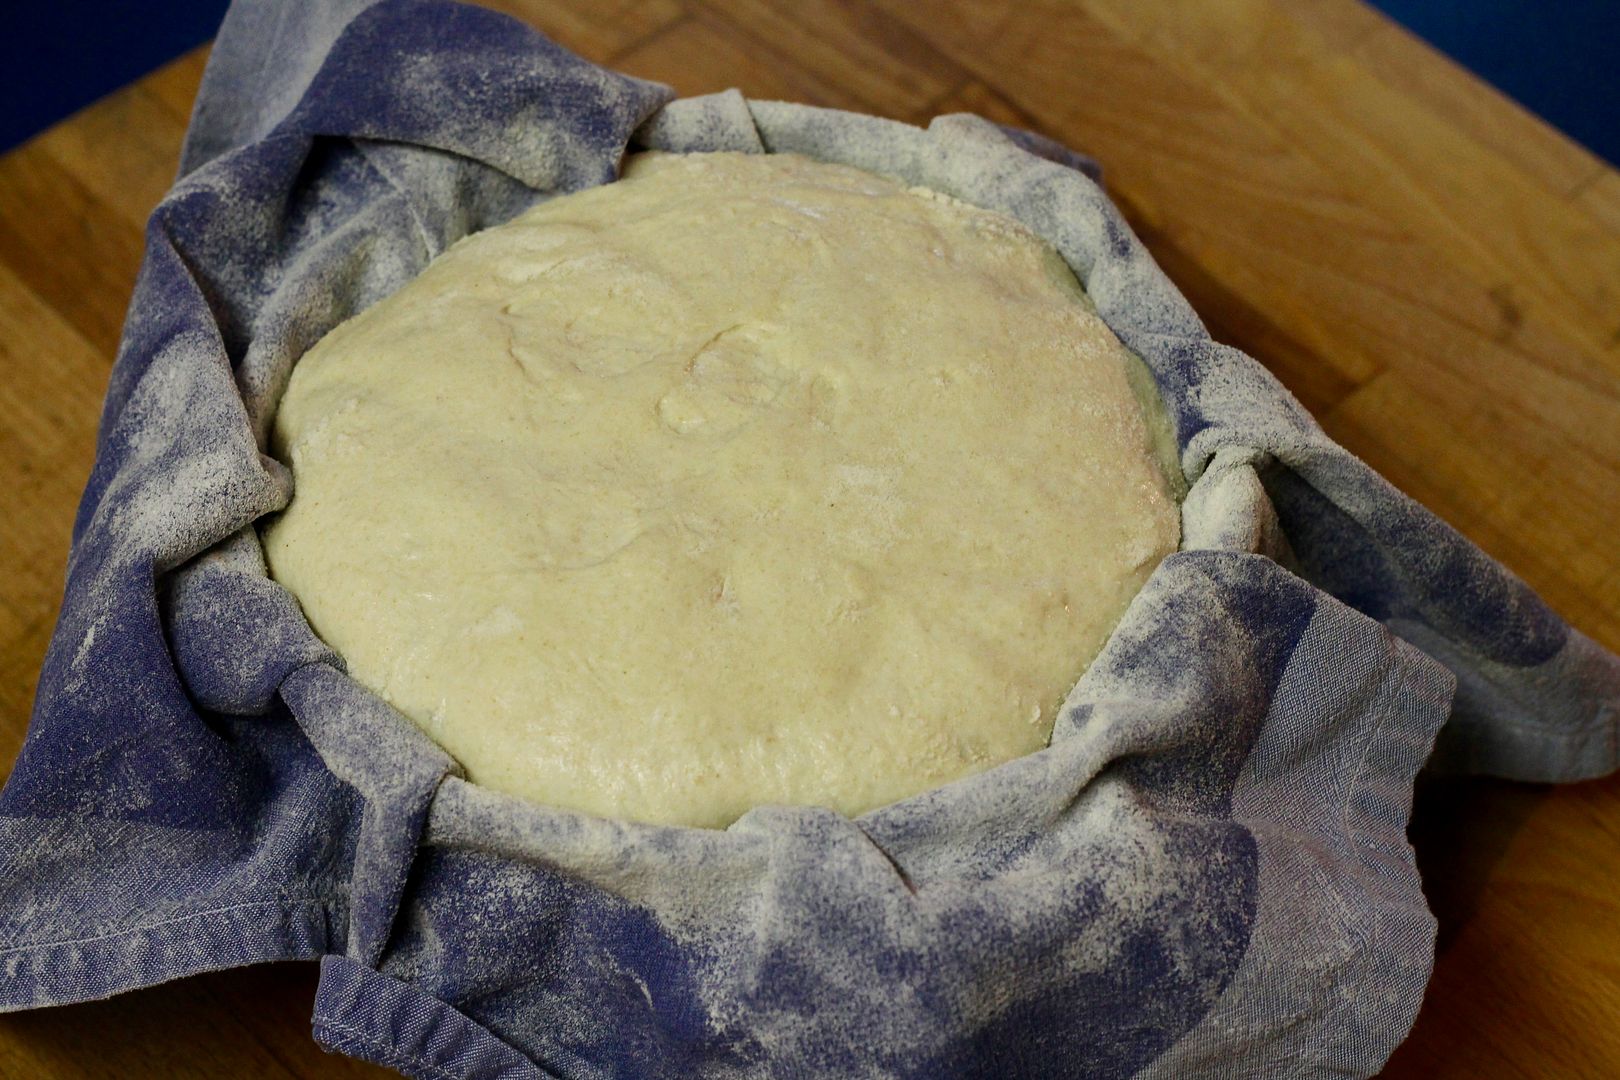
Rise at room temperature until increased in volume by ~30% and it pushes back slowly when poked with a finger (3-4 hours, temperature depending). Chill in the fridge for 1 hour at the end of the rise to make it easier to score.

risen dough

Baking:

At least 30 minutes before the dough is ready, put a lidded Dutch oven on the middle rack of the oven and preheat to 450˚F.

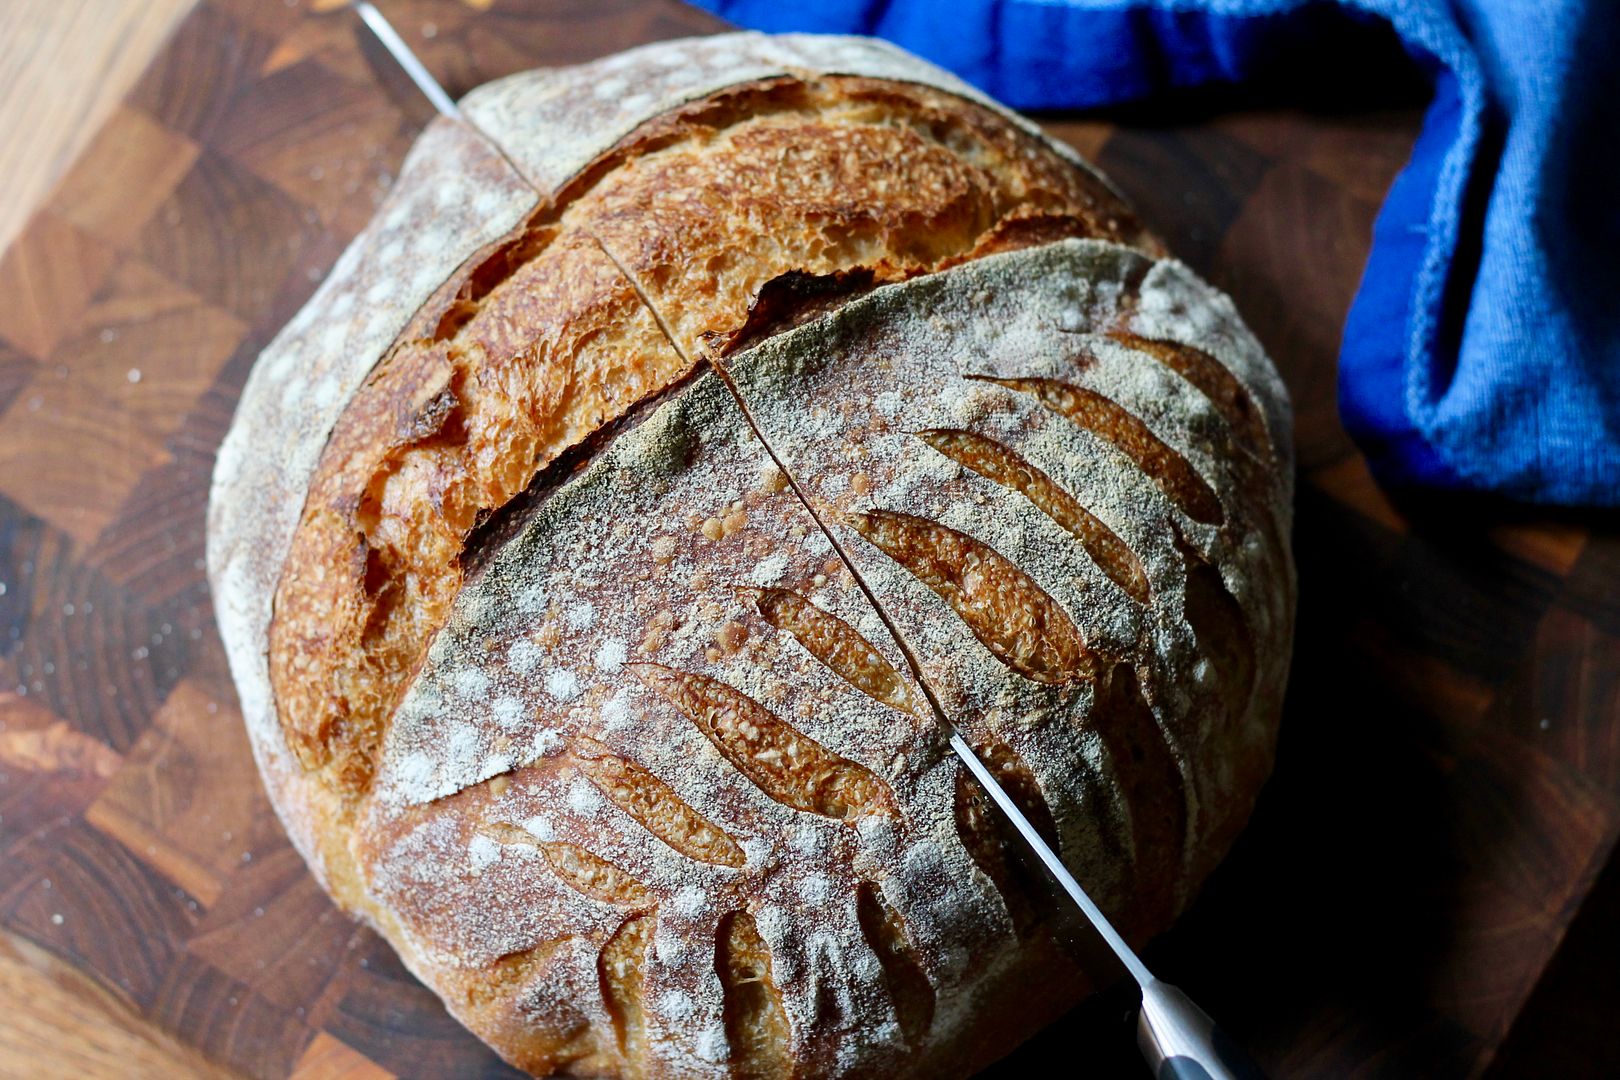
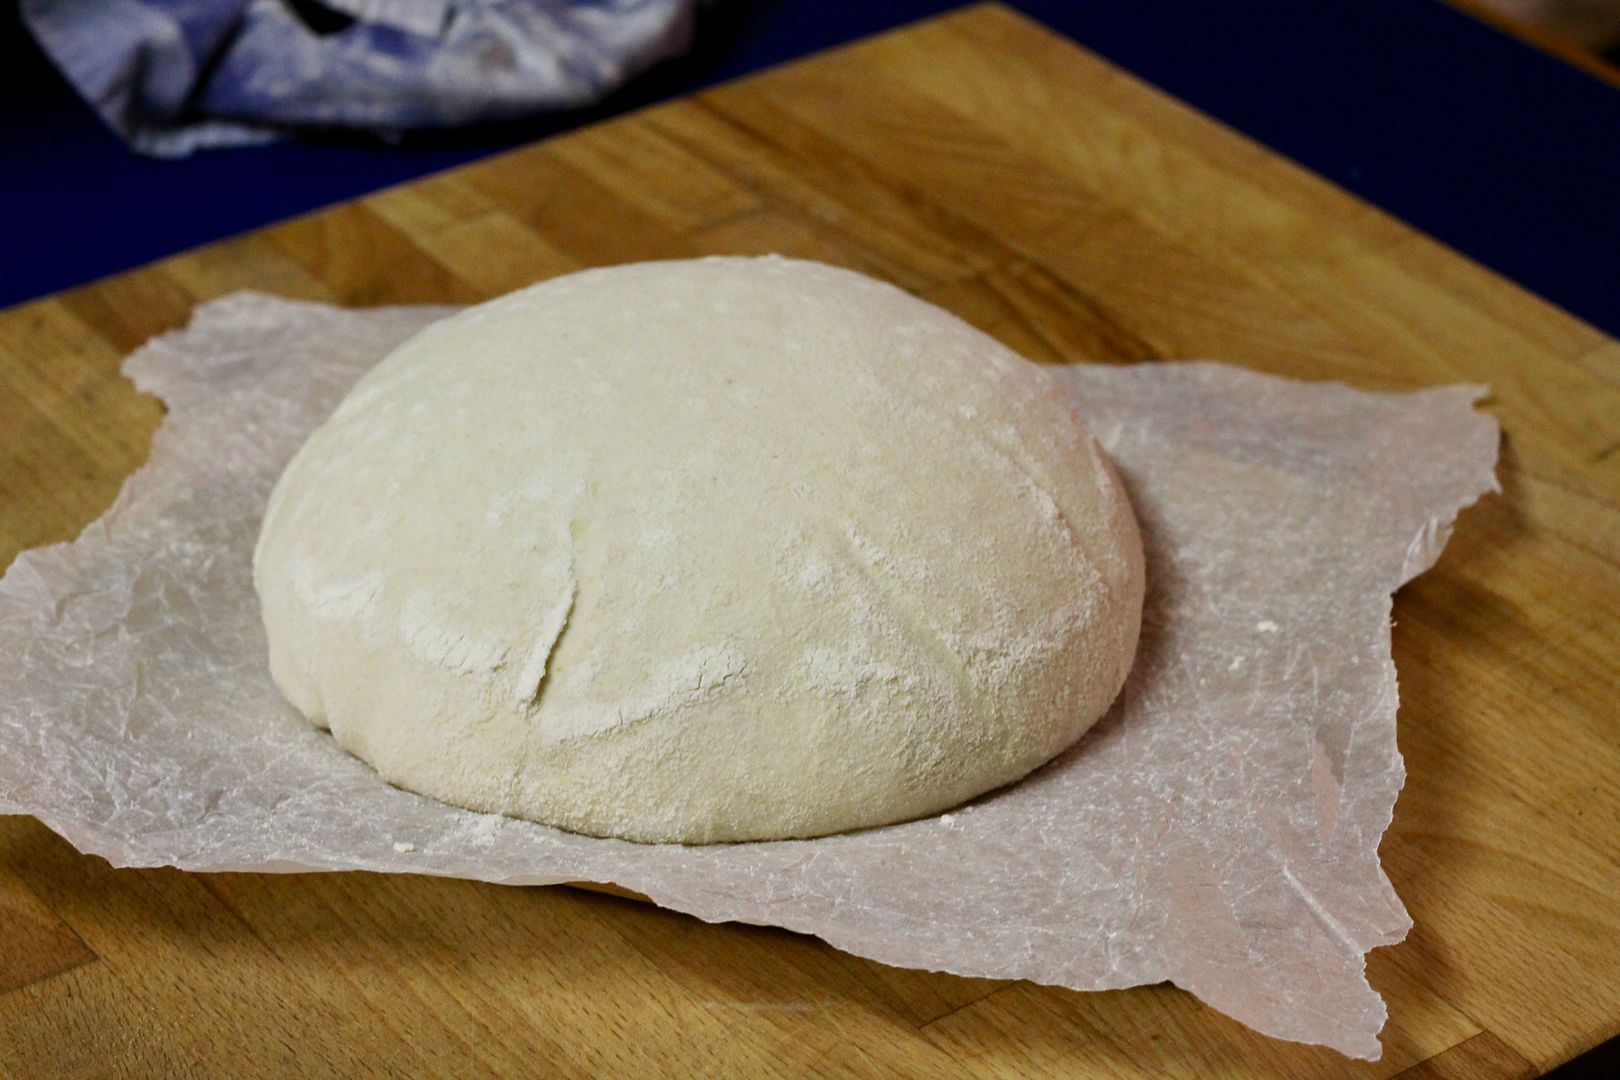
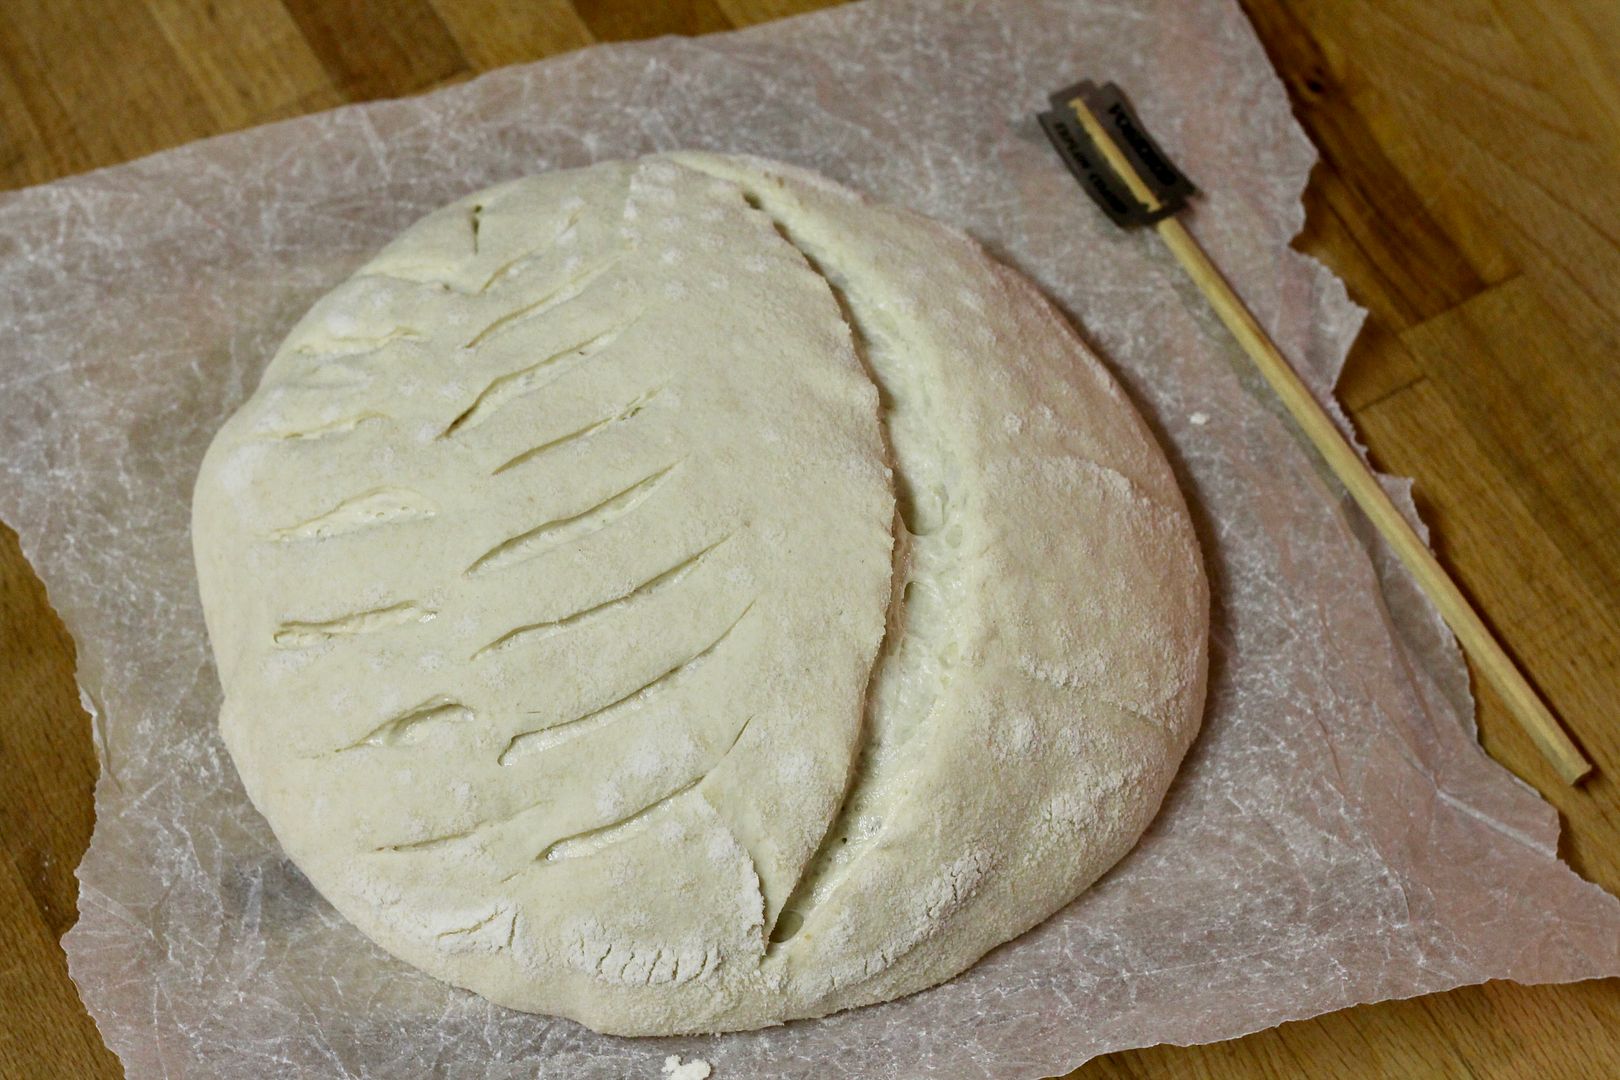
Turn the risen dough out onto a piece of parchment paper. Score the top with a lame (or a razor blade, or a sharp knife) – I prefer one deep score on one side of the boule to give the loaf room to expand, plus some shallower scoring as decoration.

turned out dough

scored dough

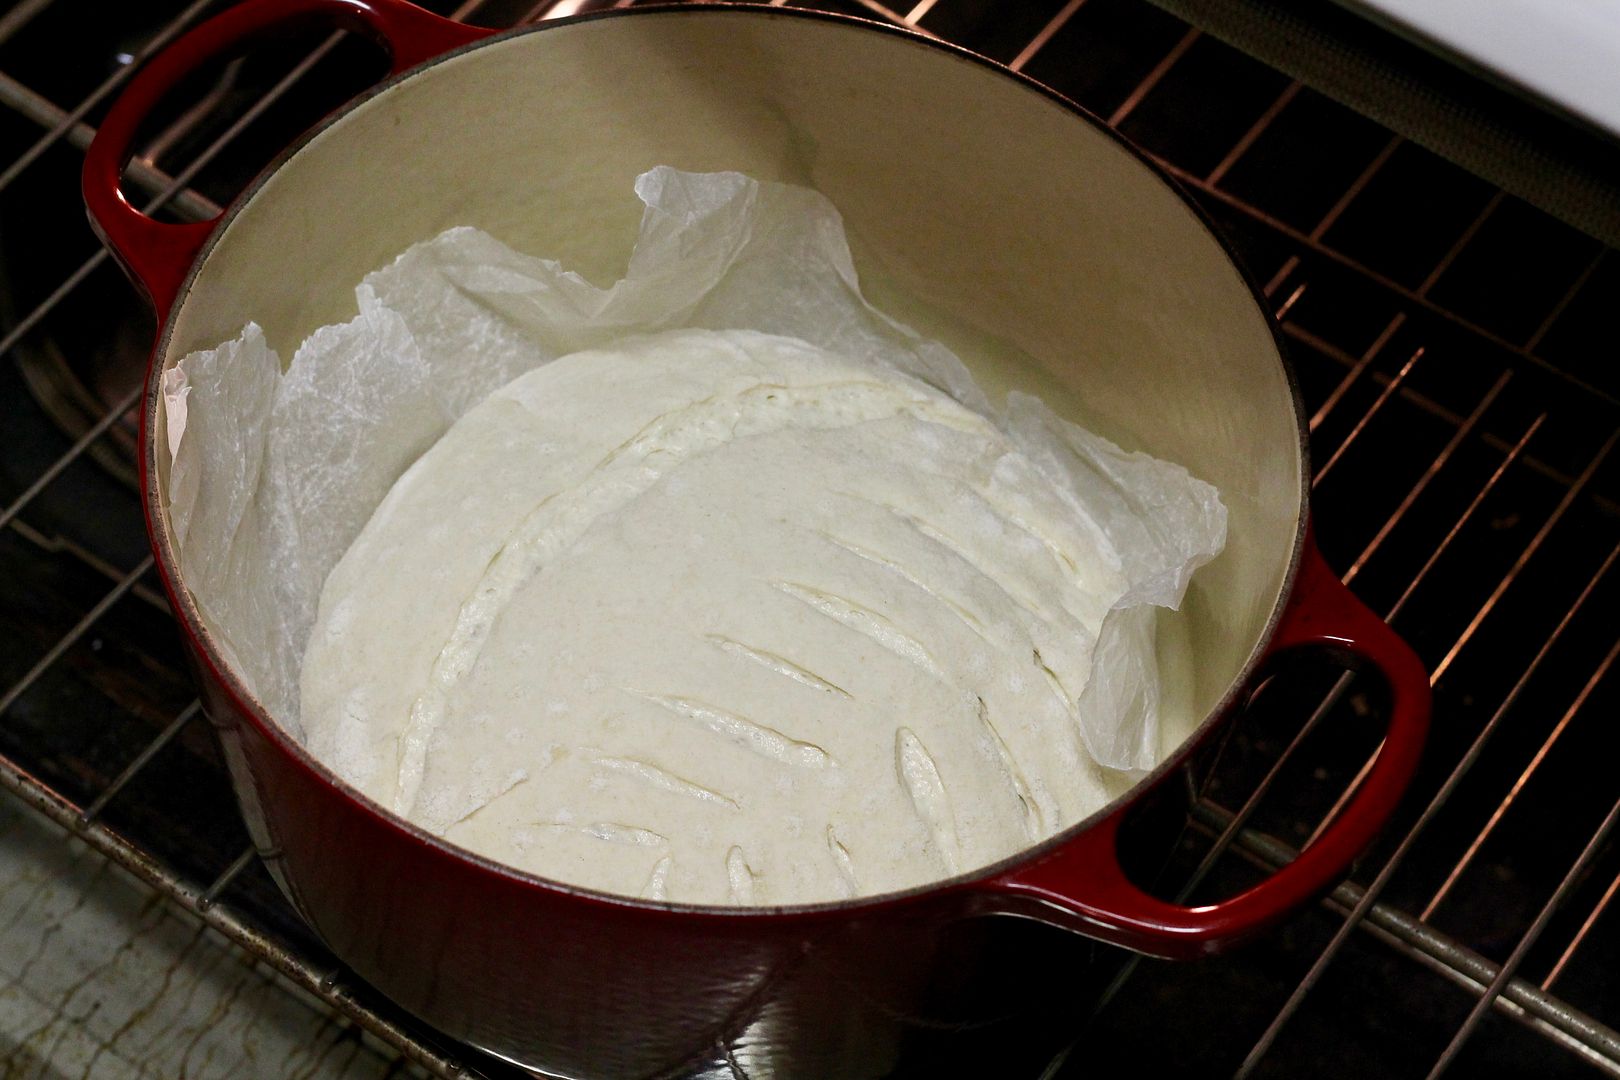
Transfer the dough and parchment paper to the preheated Dutch oven in the oven, put on the lid, and bake at 450˚F for 20 minutes.

dough in preheated Dutch oven

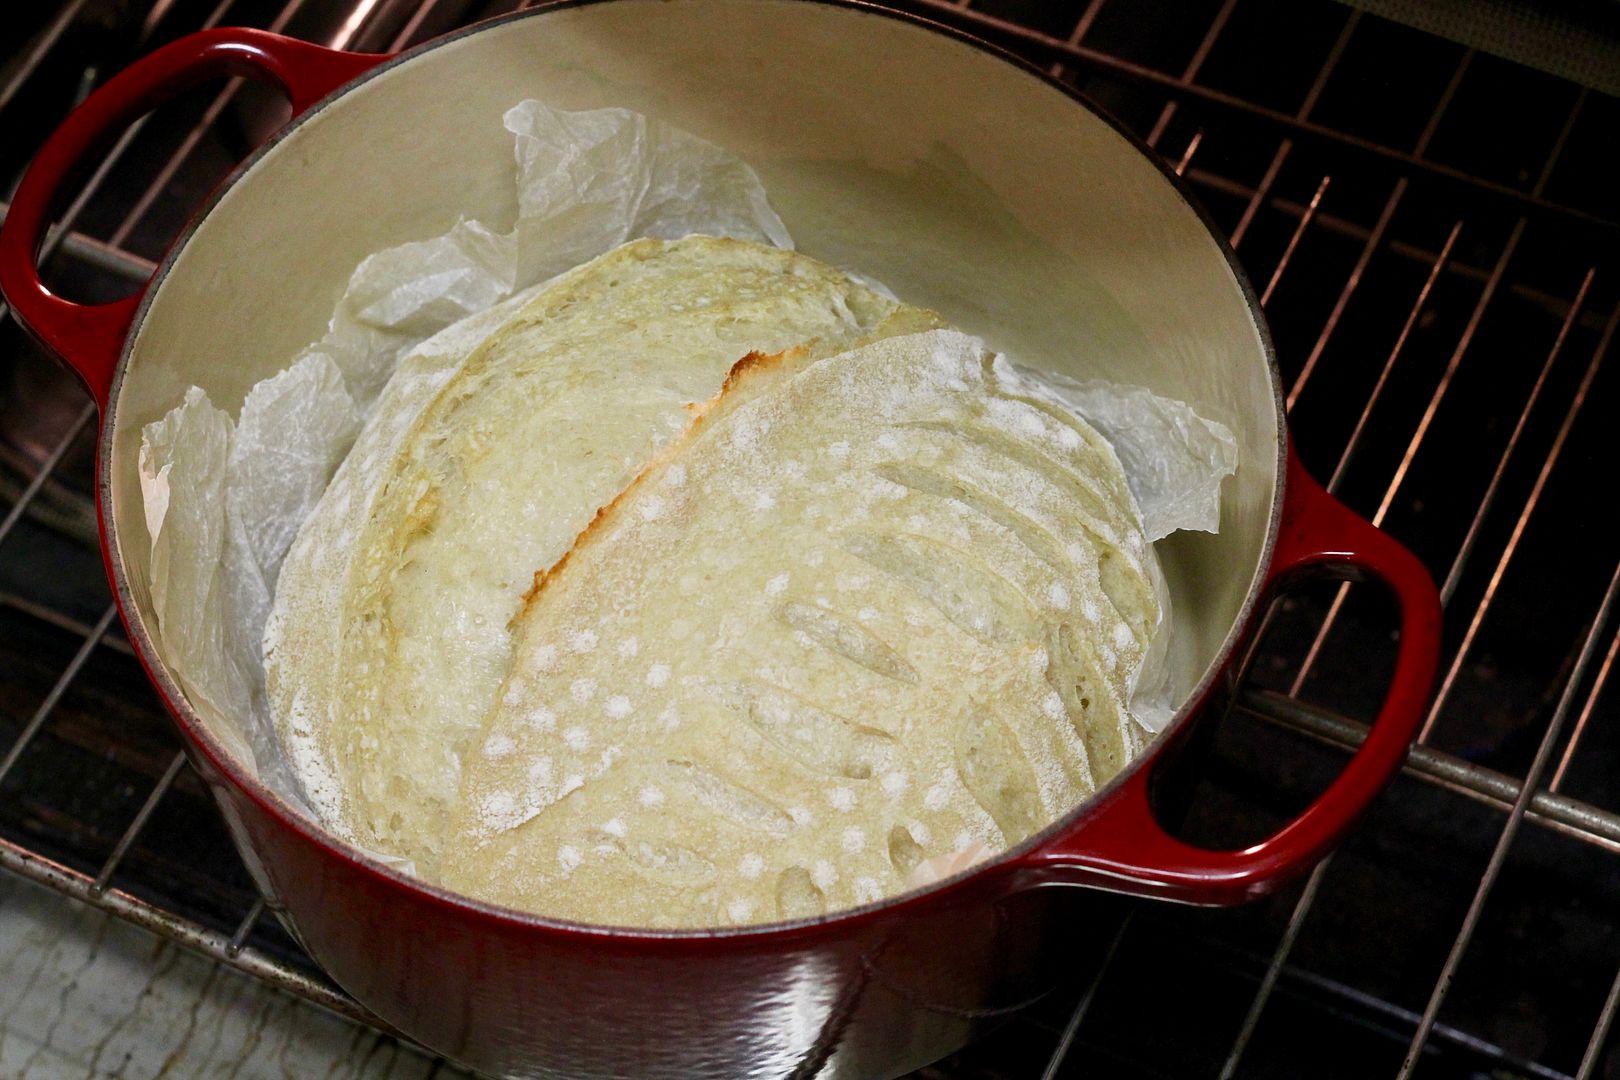
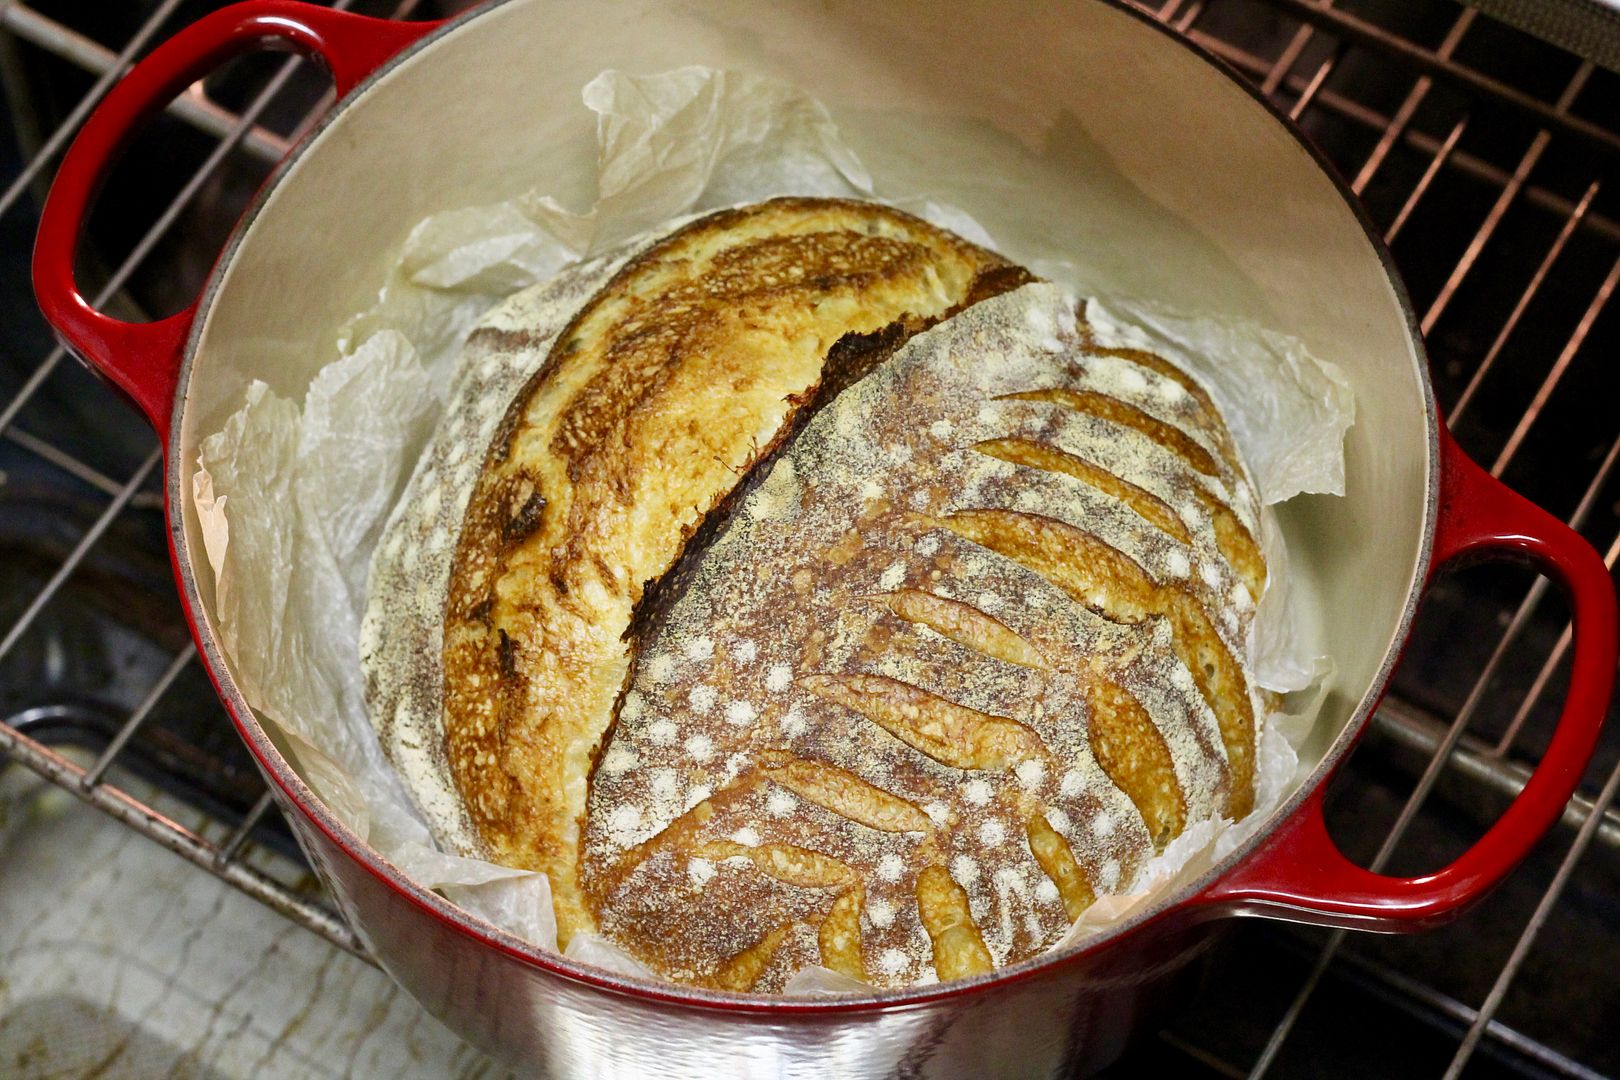
Remove the lid, reduce the heat to 425˚F and bake 20-25 minutes more, until deeply browned.

partially baked loaf

fully baked loaf

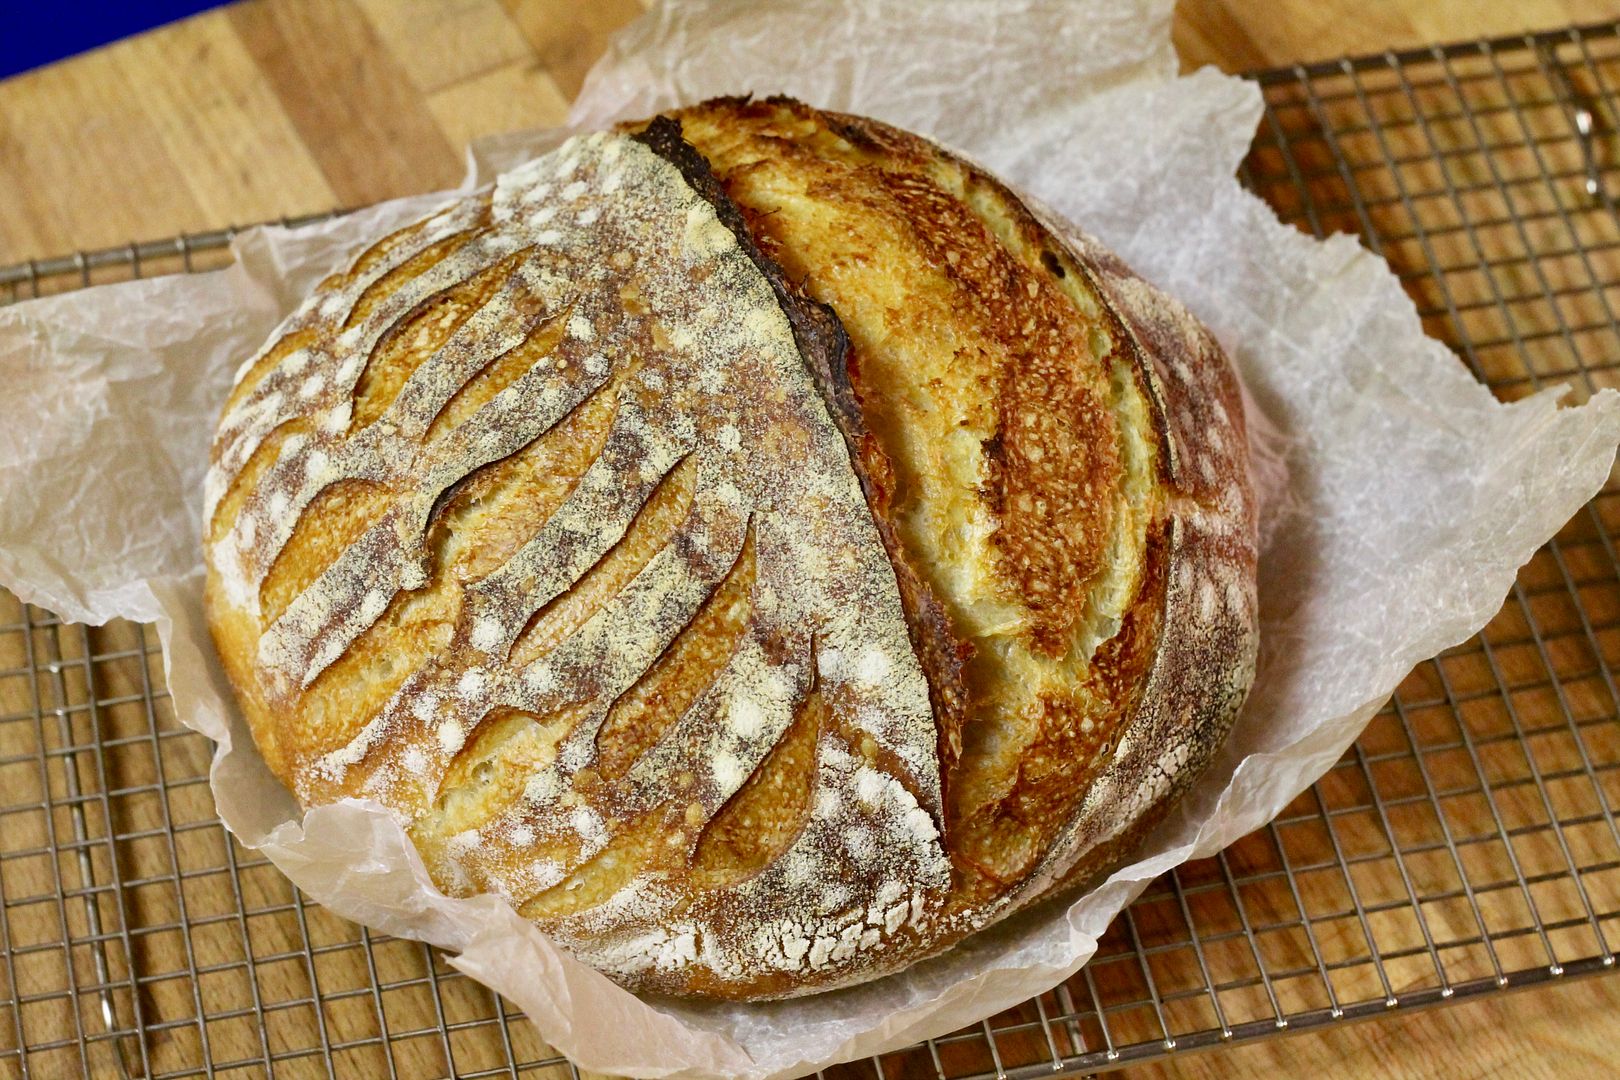
When baked, lift the bread out of the Dutch oven and cool completely on a rack before slicing.

baked loaf on cooling rack

I like to store the bread uncovered, cut side-down on a cutting board for the first day, then sealed in a large Ziplock bag from day 2 onward. Day old or older bread makes excellent toast, and really great croutons.

Viewing all 71 articles
Browse latest View live