
The Canadian Food Experience Project began June 7, 2013. As we share our collective stories through our regional food experiences, we hope to bring global clarity to our Canadian culinary identity. Visit Valerie’s blog, A Canadian Foodie, on the 15th for a round-up of this month’s posts.
This month on the Canadian Food Experience Project, Valerie has asked us to make a “Canadian Resolution”. I’m not a big resolution maker or goal setter (this article outlines my preferred method of forward momentum), but a little food-related one can’t hurt, right? So, my Canadian resolution for the year is to bake bread with Canadian grains, milled at home in my WonderMill grain mill when possible. This list of Canadian heritage wheat varieties is kind of astonishing – I had no idea there were that many varieties, and that’s only the wheat! I’m excited to see what’s out there, who’s growing what and where, and most of all, how it tastes. Bonus: one of the great local food discoveries I’ve made in the Cowichan Valley is True Grain Bread, a bakery that not only bakes gorgeous bread but also sells locally grown Vancouver Island wheat, both in grain form and as house-milled flour.
This goal is particularly timely being that Tartine‘s newest book has just come out, which focuses on whole grain bread. I don’t have the first Tartine bread book (which had a gigantic influence on home bakers and the artisan bread movement) but I am very excited anyway because Frances-Olive will be posting her journey through Tartine Book No. 3 on her gorgeous bread blog, Tartine Bread Experiment, and that means lots of bready inspiration.
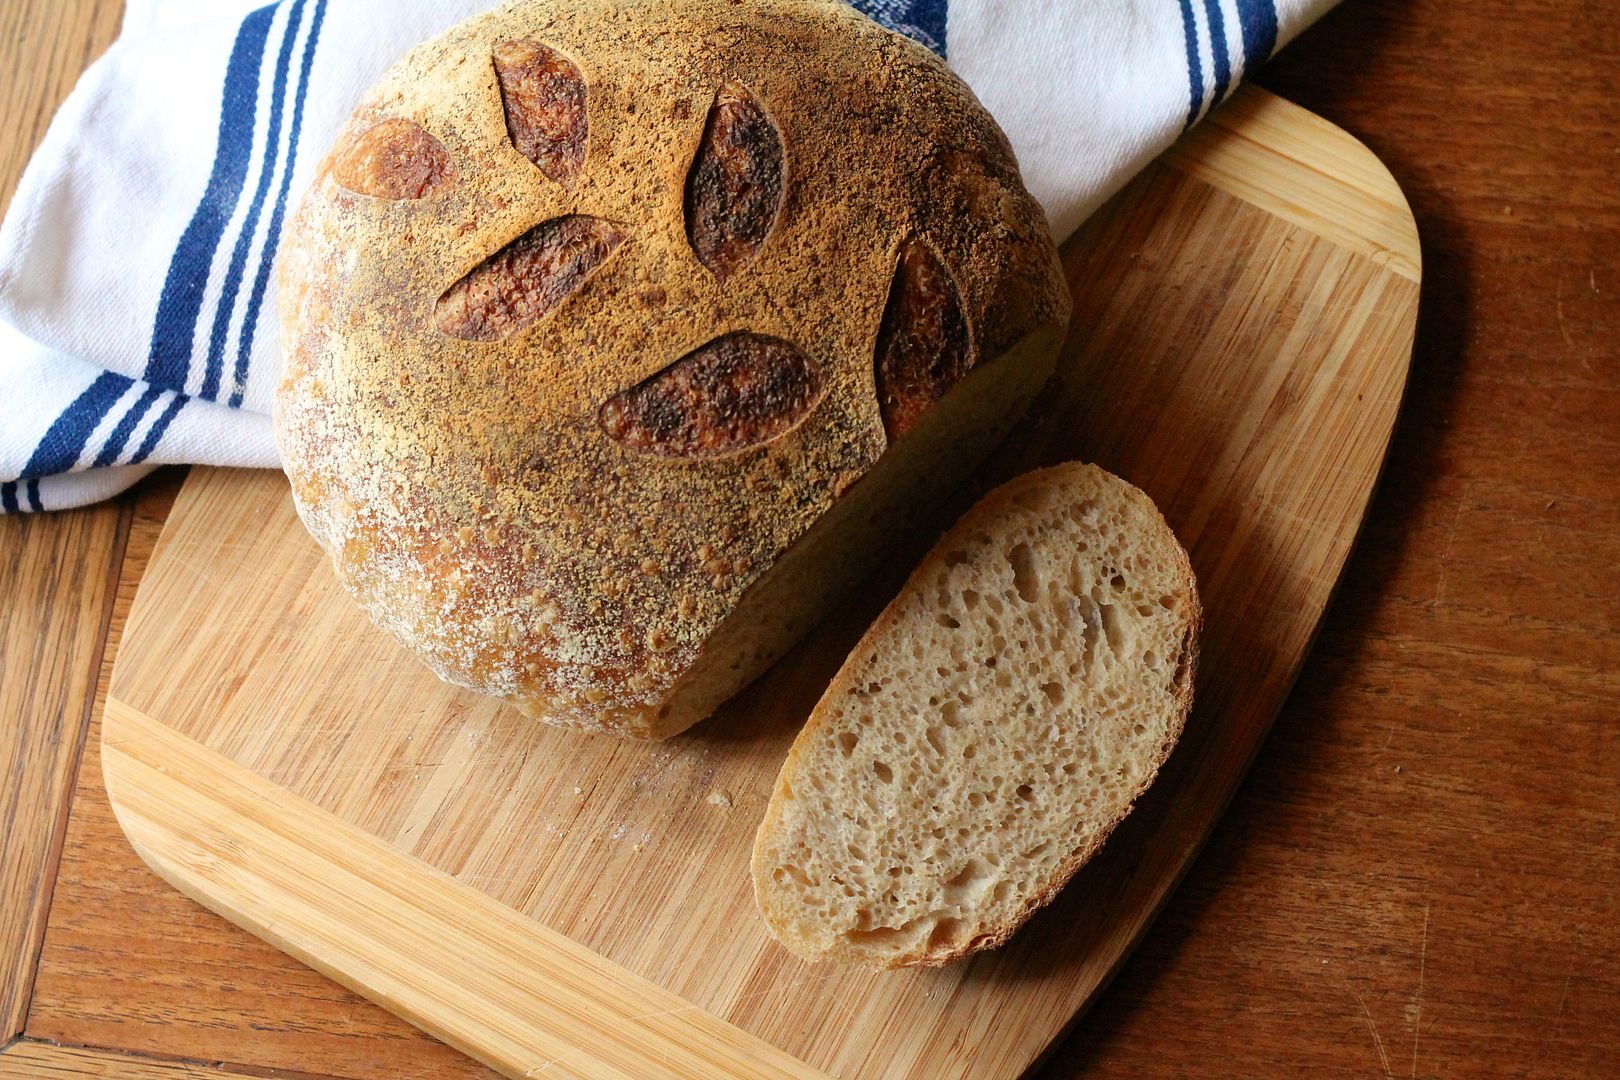
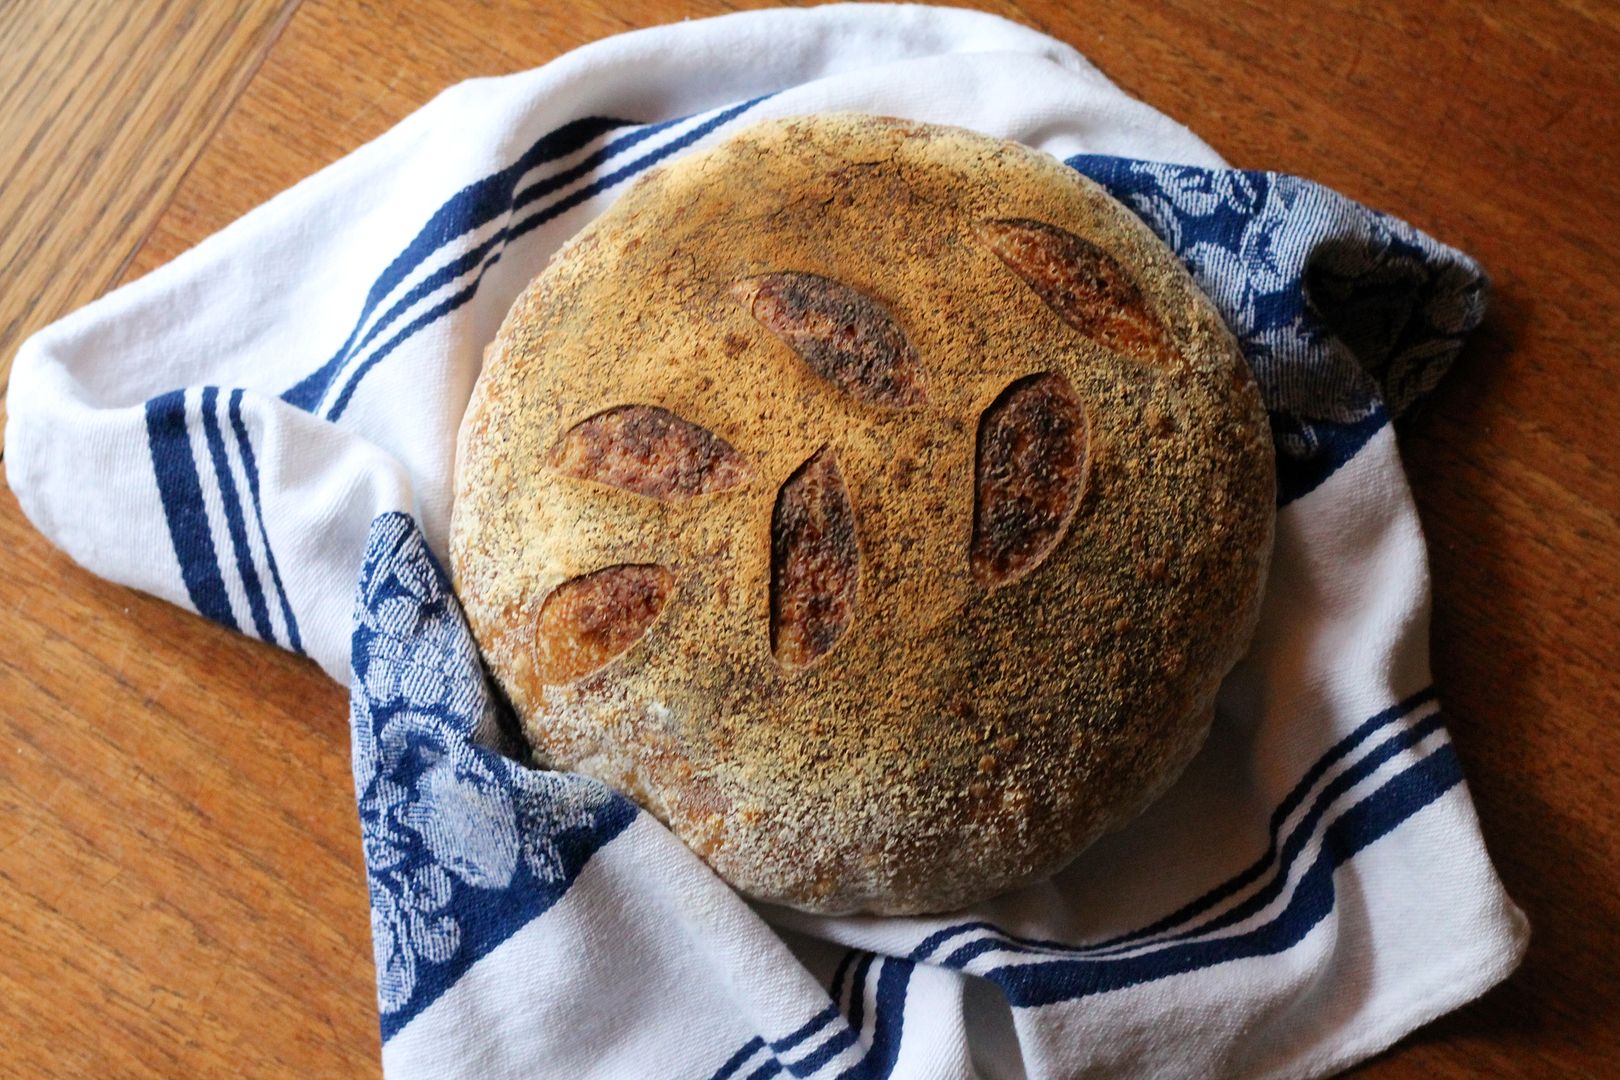
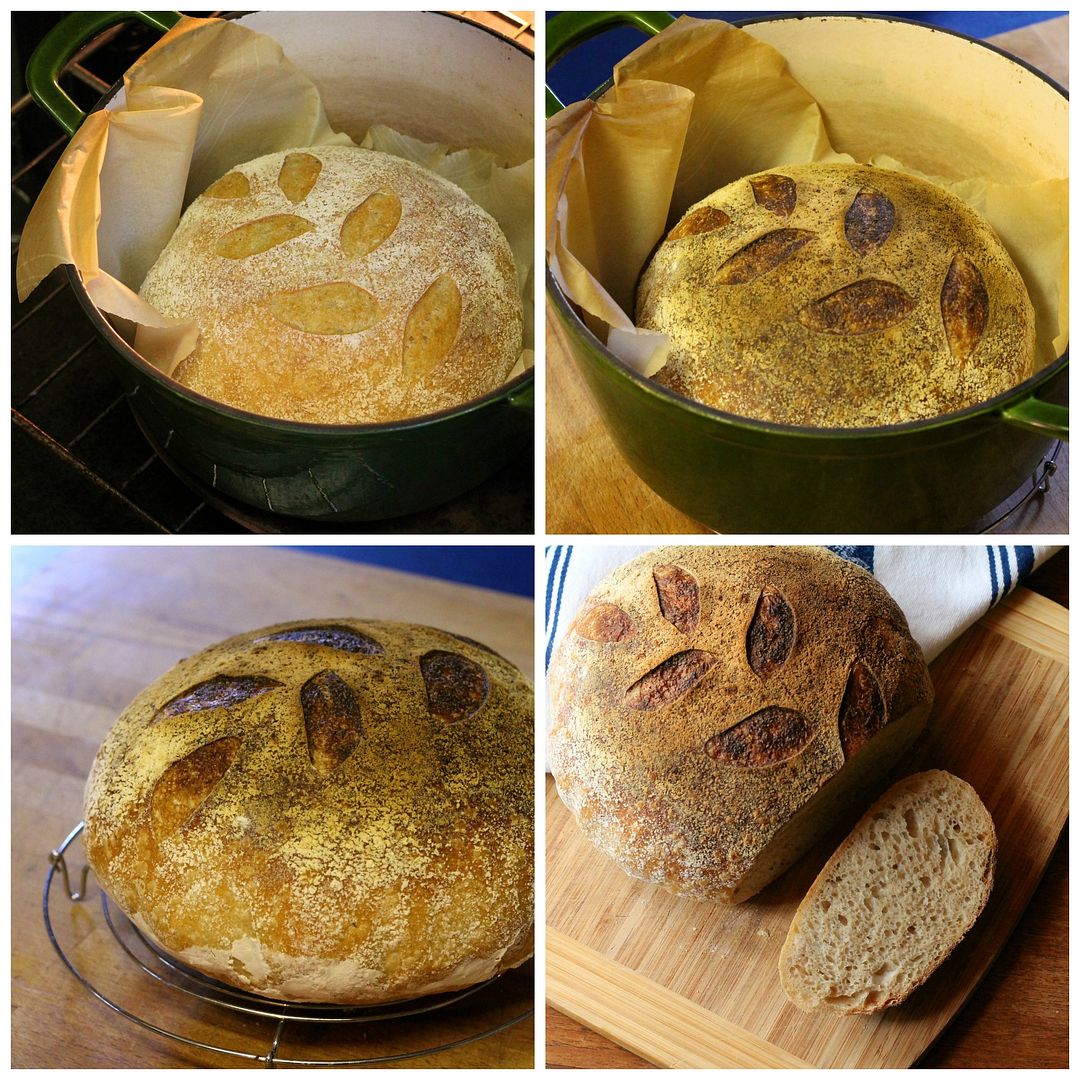
And speaking of inspiration: this loaf is inspired by CakeWalk’s beautiful Ken Forkish-method loaf. Her recipe notes were a little sparse (or maybe I’m just bad with details) so I adapted a bit (aka, made it up), but it came out quite nicely – solid enough to give it some decorative slashes on top, airy holes within, and a chewy crust. It’s a sourdough loaf boosted with a tiny amount of instant yeast that just seems to give it that extra “oomph”. It employs the no-knead, long fermentation method with a few folds, and I was amazed at how the dough transformed from a messy, sticky bowl of gloop to a beautifully elastic dough in just four folds and a few hours rest. And although I’m not sure of its provenance, I did mill the whole wheat flour myself (and I bought it at local organic bulk food store, so at least I know it’s organic).
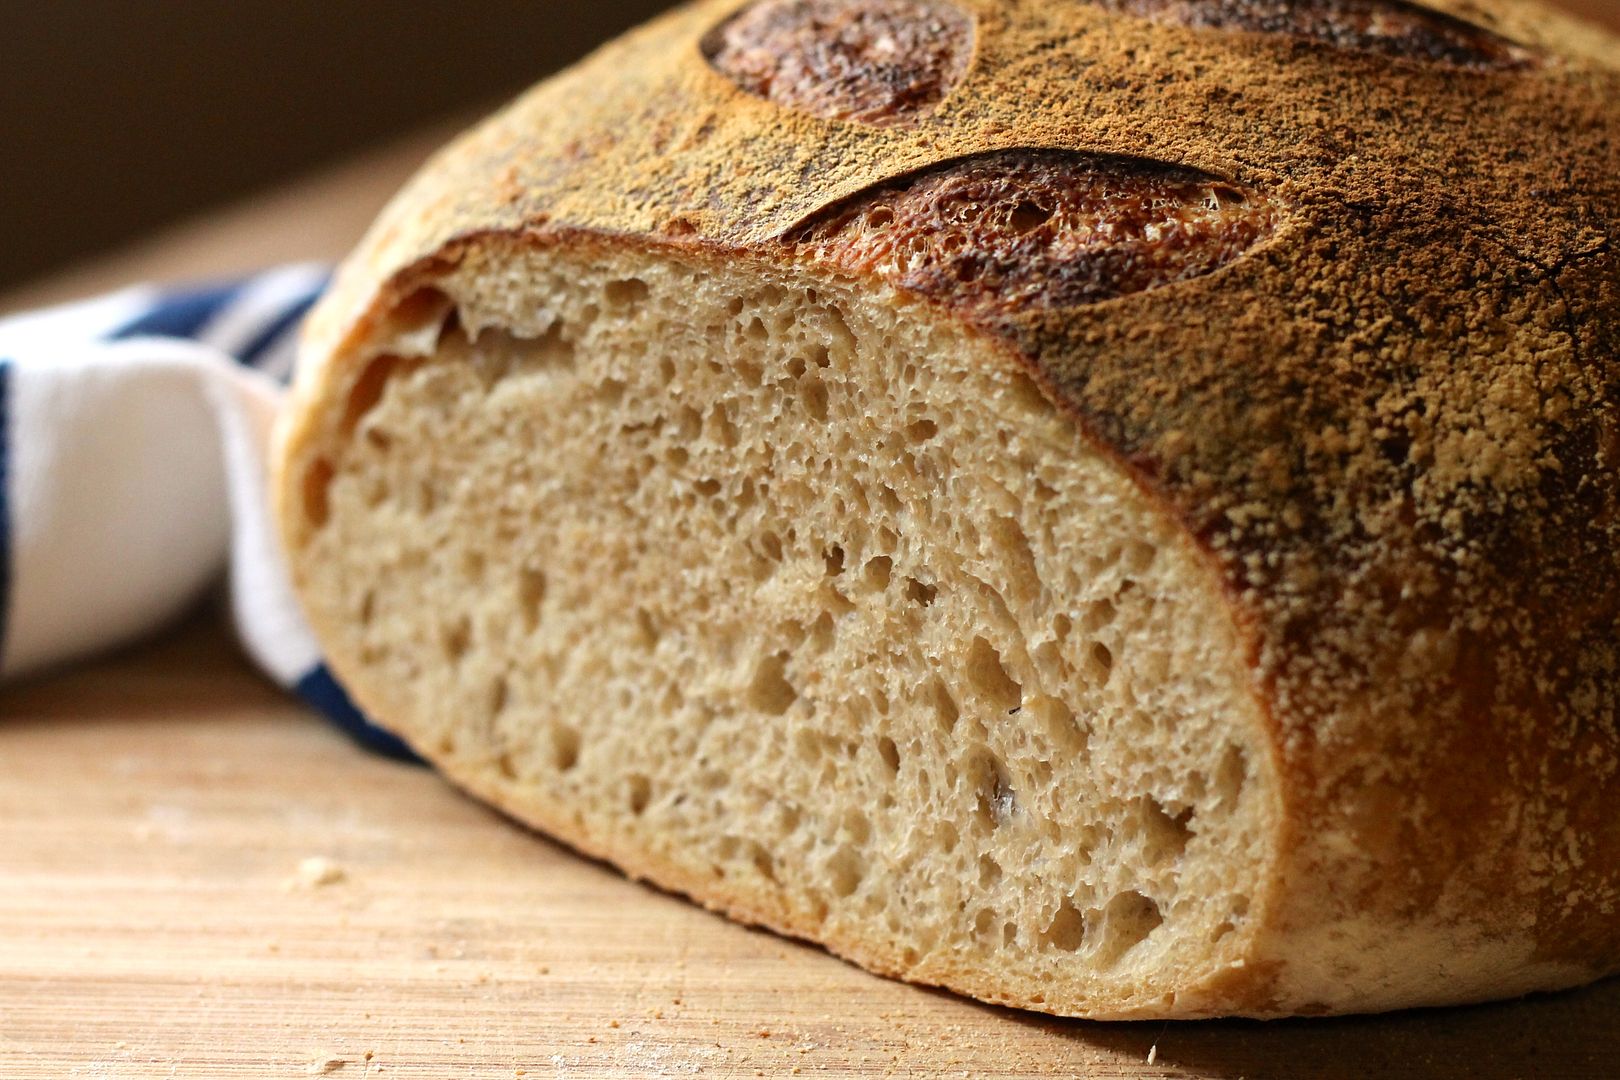
72% Hydration Whole Wheat Sourdough Boule
Ratios and basic method adapted from CakeWalk. Makes 1 loaf. This bread takes about 24 hours, start to finish, with most of that time being hands-off. The recipe is written according to the schedule I followed.
Day 1, morning: Mix Levain
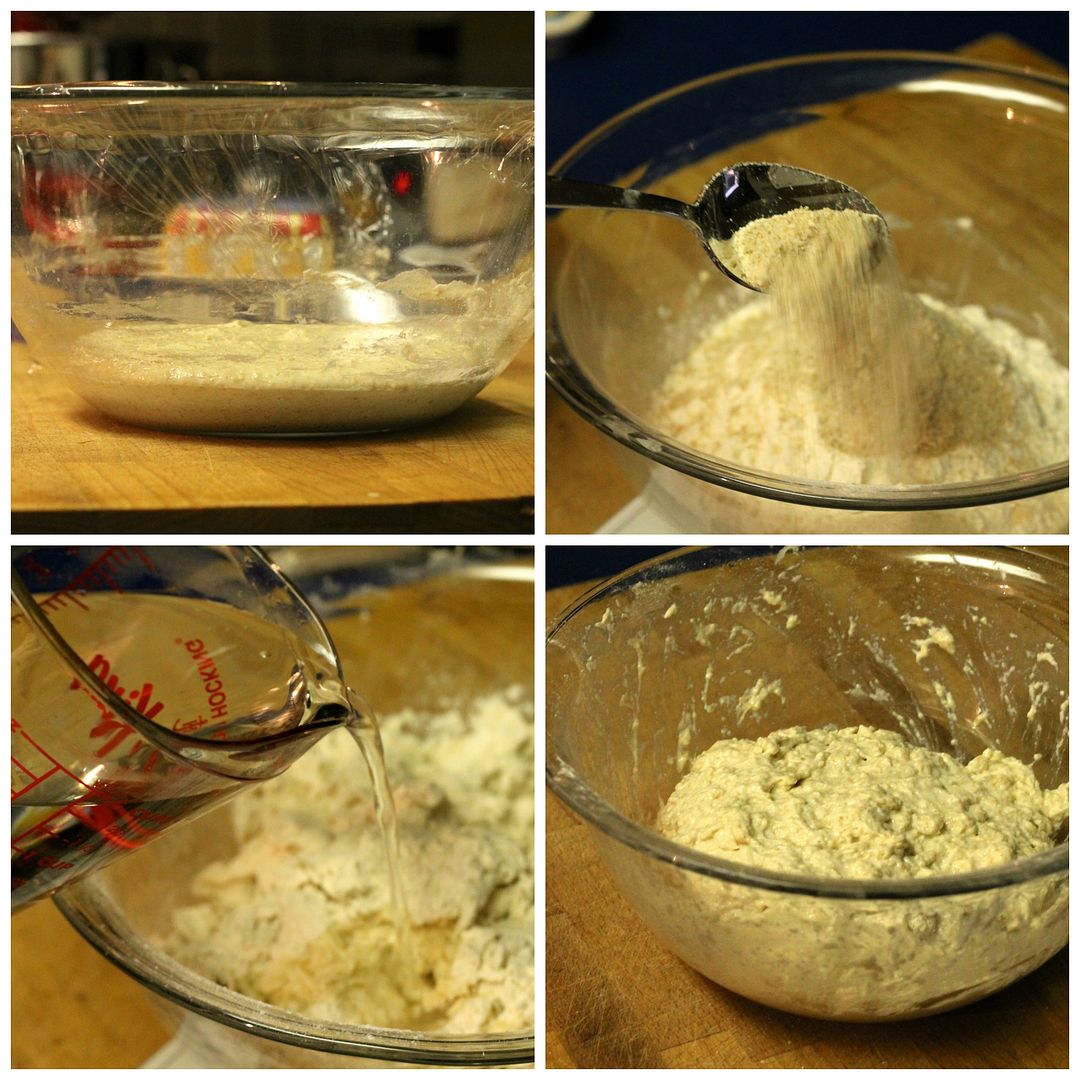
In a large bowl, combine:
25 grams active starter (100% hydration)
100 grams water at 90˚F
100 grams all purpose flour
25 grams whole wheat flour
Mix well, cover, and let ferment for 6 – 8 hours. It might not rise much, but there should be some bubbly action happening on the bottom.
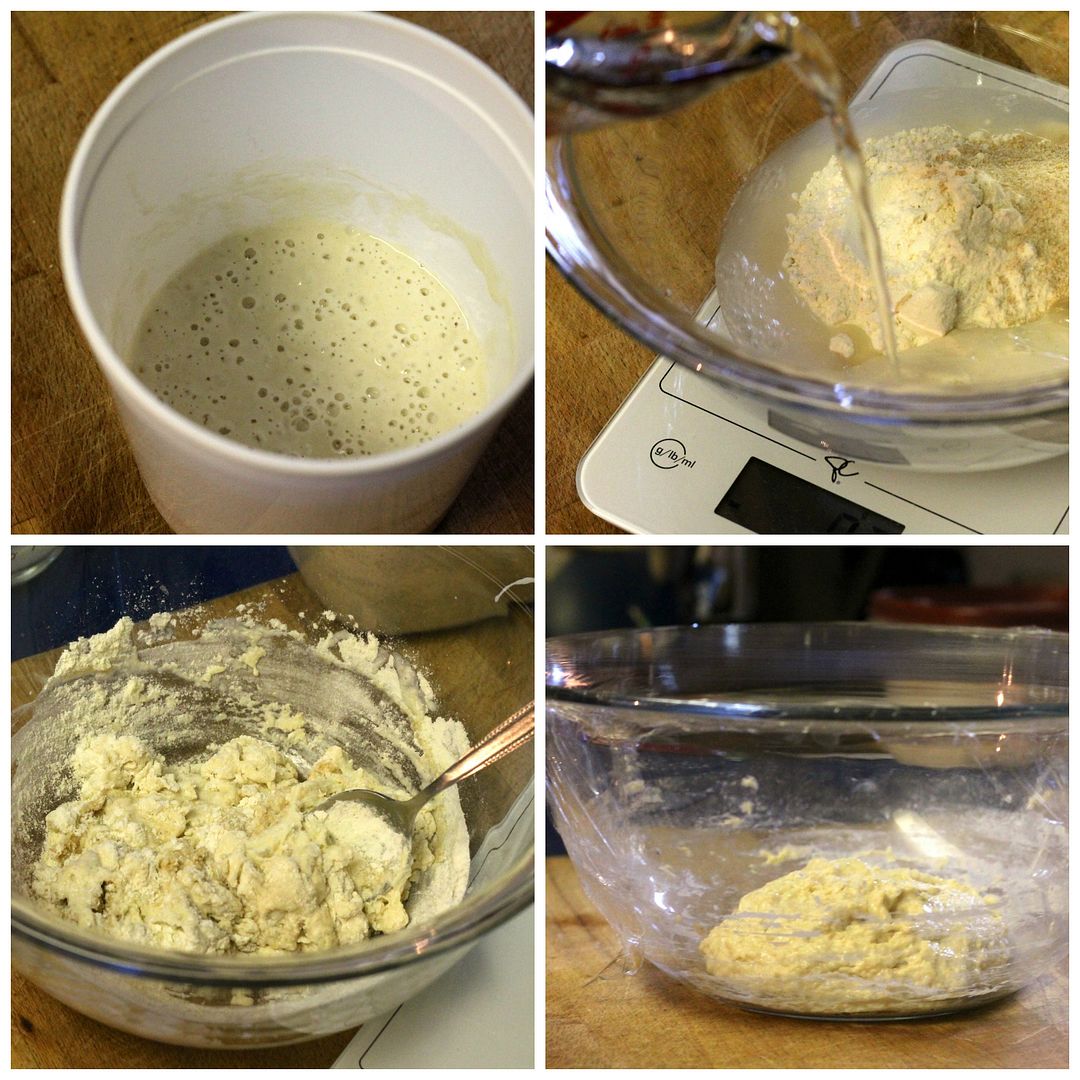
Day 1, early afternoon: Mix Dough
To the fermented levain, add:
100 grams whole wheat flour
300 grams all purpose flour
280 grams water at 90˚-95˚F
2 tsp kosher salt
1/4 tsp instant yeast
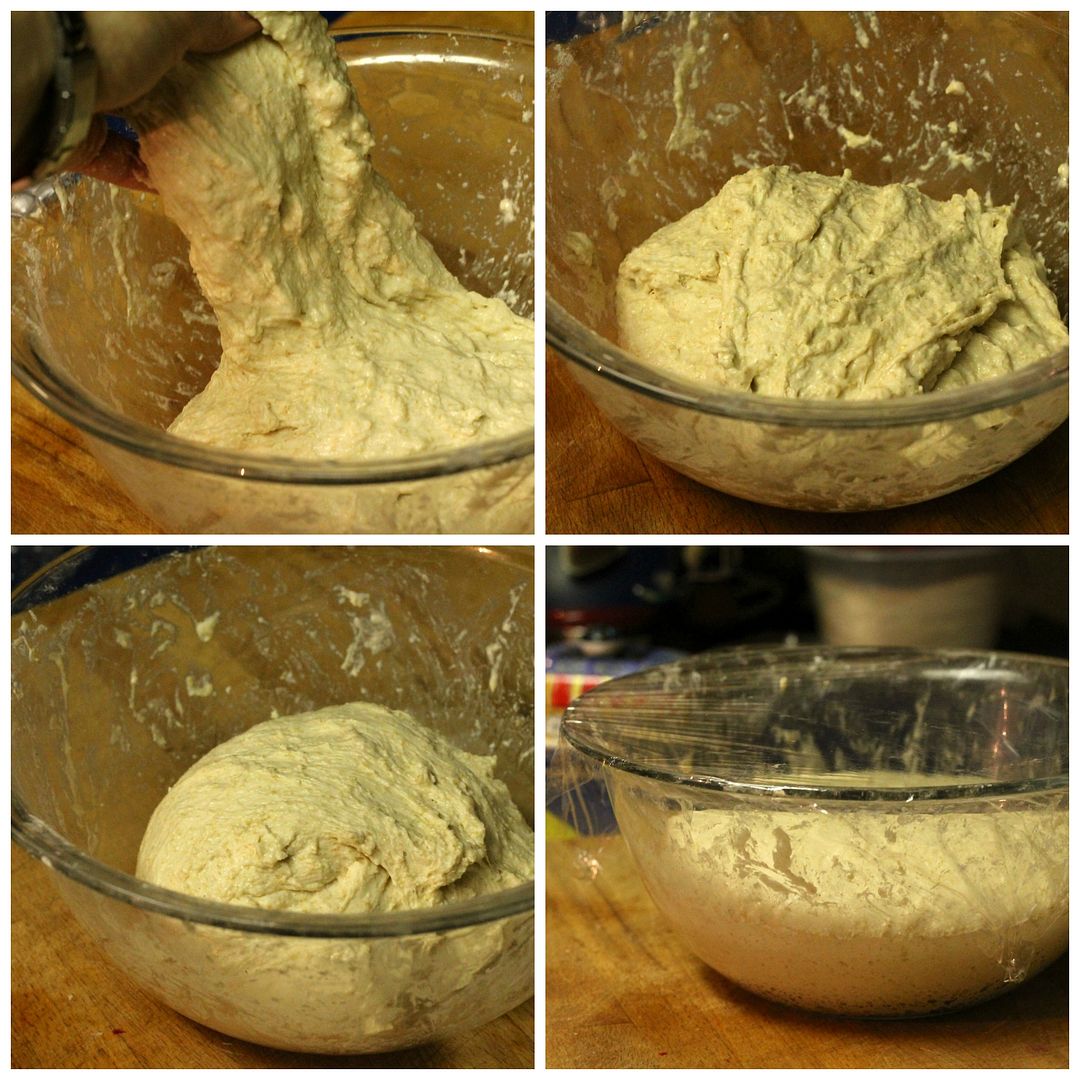
Mix together to thoroughly combine and form a rough dough. Scrape down the sides of the bowl and cover with plastic wrap.
Let the dough bulk ferment for 5 hours at room temperature, giving it a fold every 30 minutes for the first 2 hours (so 4 folds total).
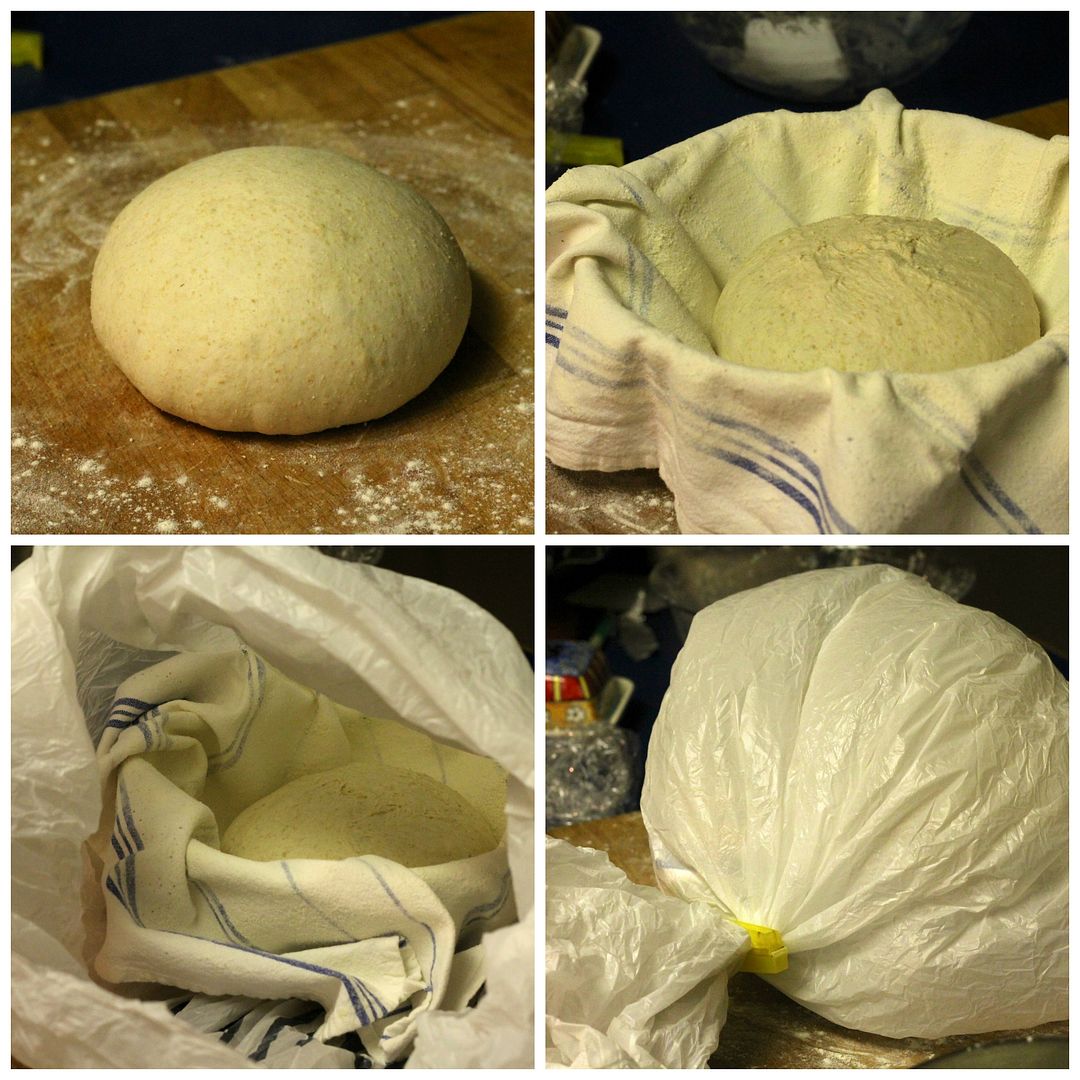
Day 1, evening: Form Boule
Once the dough has fermented for 5 hours, turn it out onto a lightly floured surface and form it into a boule by pinching the edges of the dough into the center, then flipping it over and rotating it to form a tight ball of dough. The sticky seam of dough on the bottom will provide friction against your work surface to achieve this. Place the boule, seam-side up, on a well-floured couche or cotton tea towel and place it in a brotform or bowl to keep its shape. Place in a large plastic bag, close it up, and refrigerate overnight.
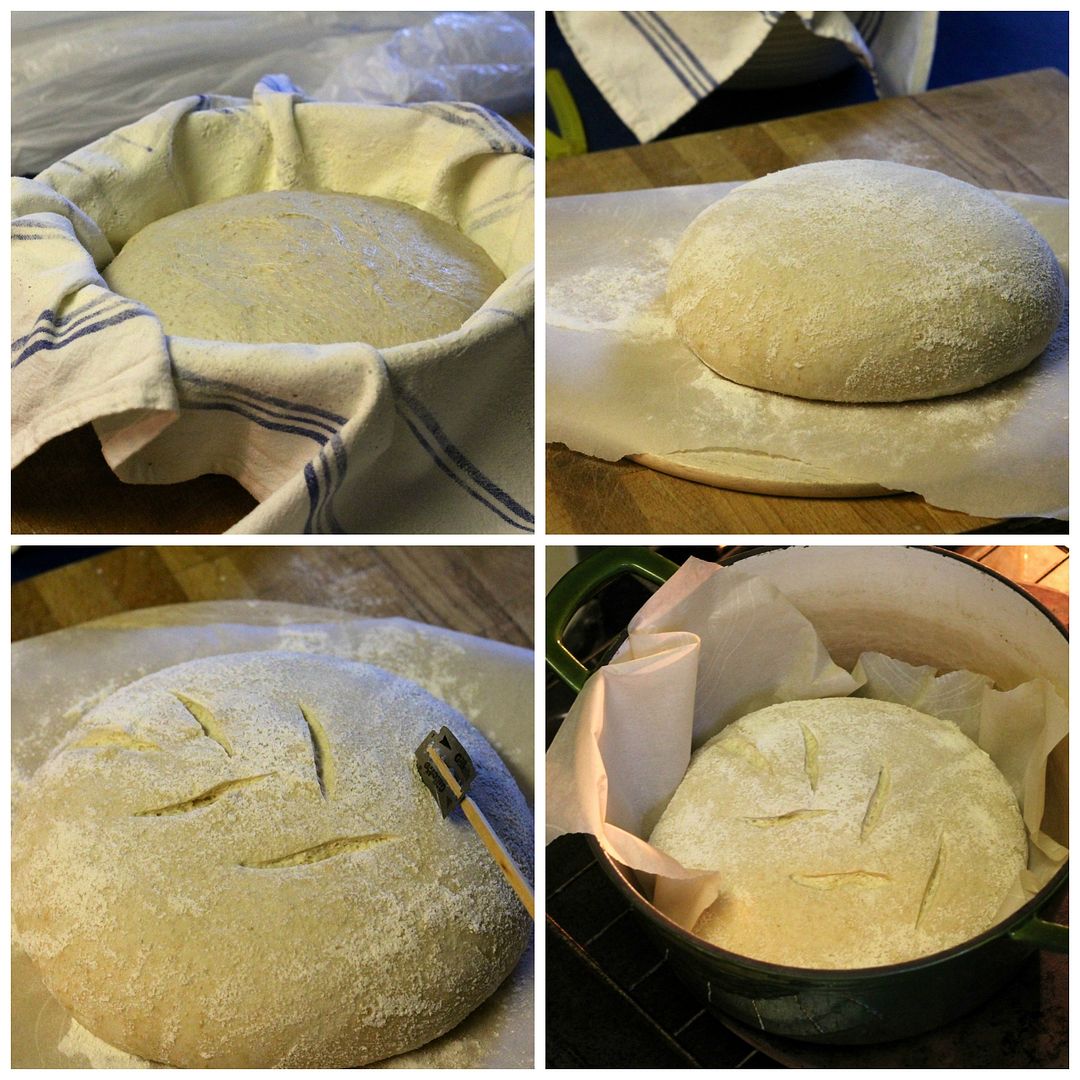
Day 2, morning: Bake Bread
Place a large, heavy Dutch oven in the oven, then turn it on to preheat to 475˚F. Once the oven reaches temperature, take the dough out of the fridge and turn it out onto a large piece of parchment paper so that it is seam-side down. Slash the top of the boule decoratively with a razor blade, then use the parchment paper to lower it into the preheated Dutch oven.
Bake with the lid on for 30 minutes, then remove the lid and bake for 10 – 25 minutes longer, until it is a nice deep brown. Remove from the oven and allow to cool completely before slicing (I know, it’s hard to wait!).
This post has been YeastSpotted and submitted to Barbara and Sandra‘s Panissimo, hosted on Sandra’s blog this month.
