Quantcast
Channel: Korena in the Kitchen
Viewing all 71 articles
Browse latest View live

Sourdough Sticky Lemon Pull-Apart Loaf

$
0
0

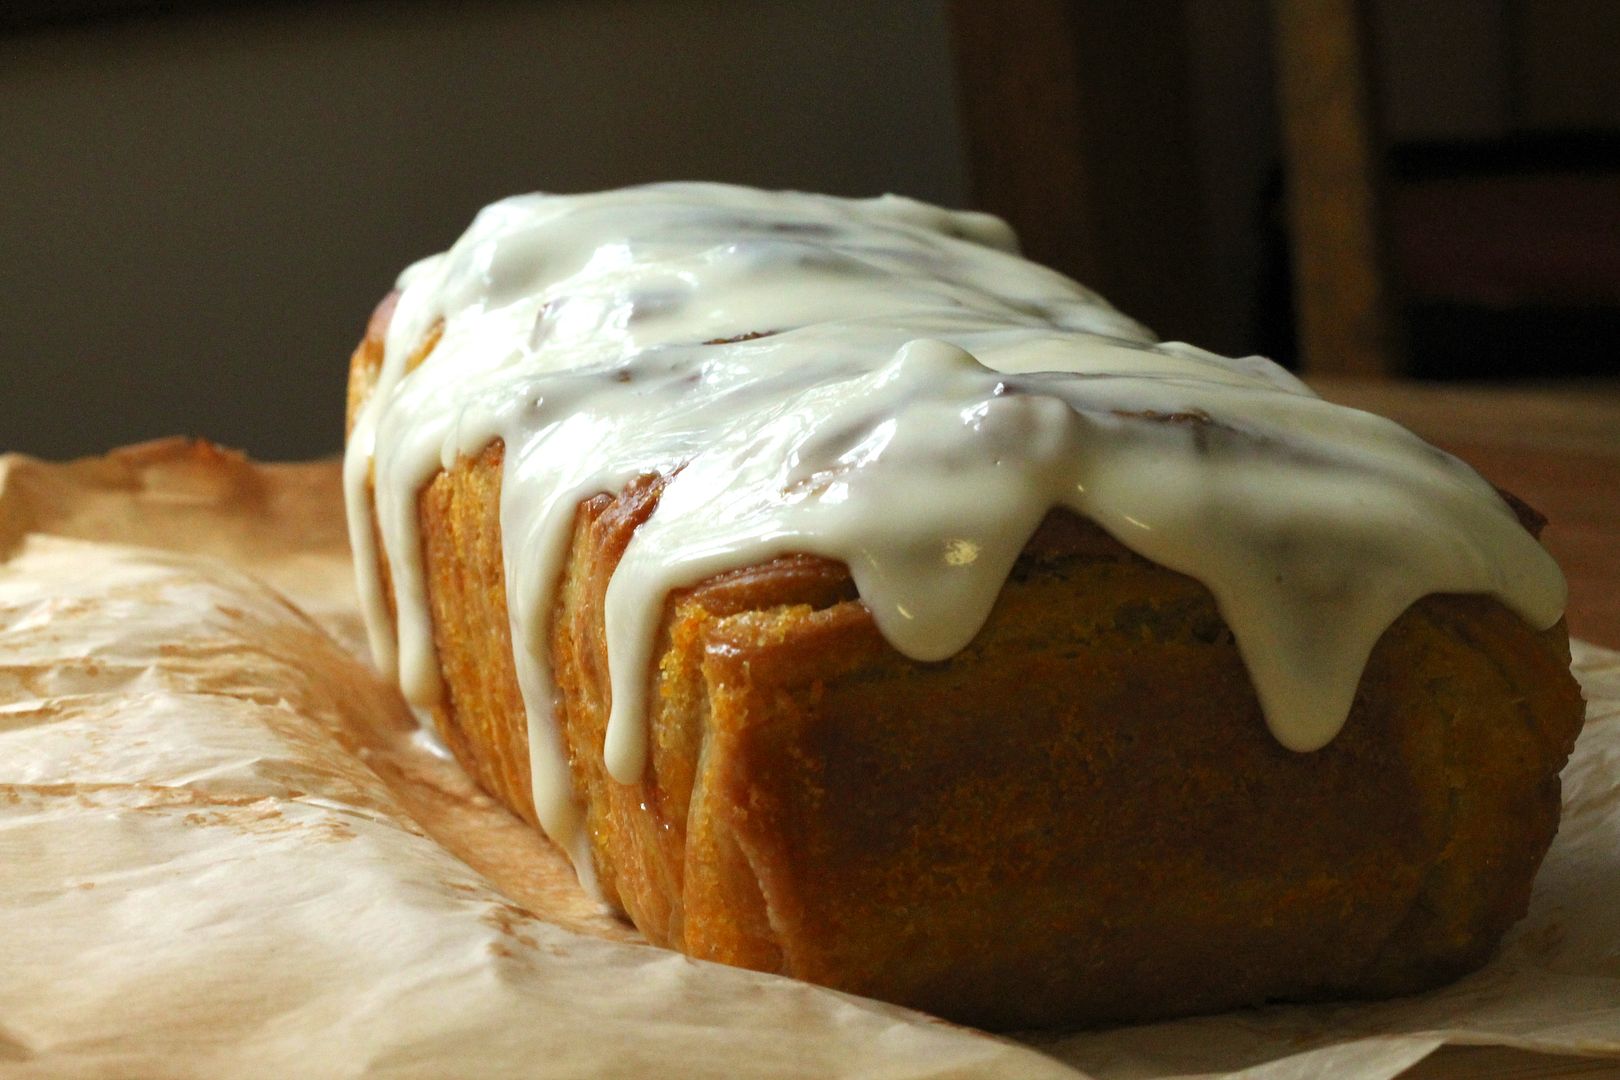
Fair warning: February is turning into a carb-heavy month around here. I personally have no problem with this – when it’s this cold and disgusting outside, I want all the comfort food I can get, and this winter I’m putting those calories to good use with some good ol’ strength training as per this idea. I guess you could say my personal fitness philosophy at the moment is eat the bread, lift the weights. For me, they balance each other out. Although when you’re baking a lemon-scented pull-apart loaf with cream cheese drizzle that’s made with sourdough to boot, the bread might have the upper-hand…

None of this is to say that all I eat is bread and carby baked goods. OK, I eat my fair share, as evidenced here, but the rest of my diet is mostly from scratch (just like the baking) and includes a good balance of leafy greens, fruit, veg, and protein – just so we’re clear about why I don’t weigh 300 pounds. ;)

But enough about vegetables. This bread. Oh my gosh, this bread. When Sourdough Surprises announced that February’s project was monkey bread or pull-apart bread, I zeroed-in on this recipe immediately. Originally published on Leite’s Culinaria as a yeast dough coffee cake by the esteemed Flo Braker, it boasts a whole comment section full of people exclaiming about how life-changingly amazing it is. So I had to make it. I converted it to sourdough, which resulted in a extremely exaggerated rising/fermentation time – whether it was because my house was too cold or because my starter wasn’t very lively, it took about eight hours for the first rise, then it fermented overnight in the fridge and took another several hours in a warm spot to wake up and proof before baking. All told, it was a twenty-four-hour-plus labour of love. But it was delicious!
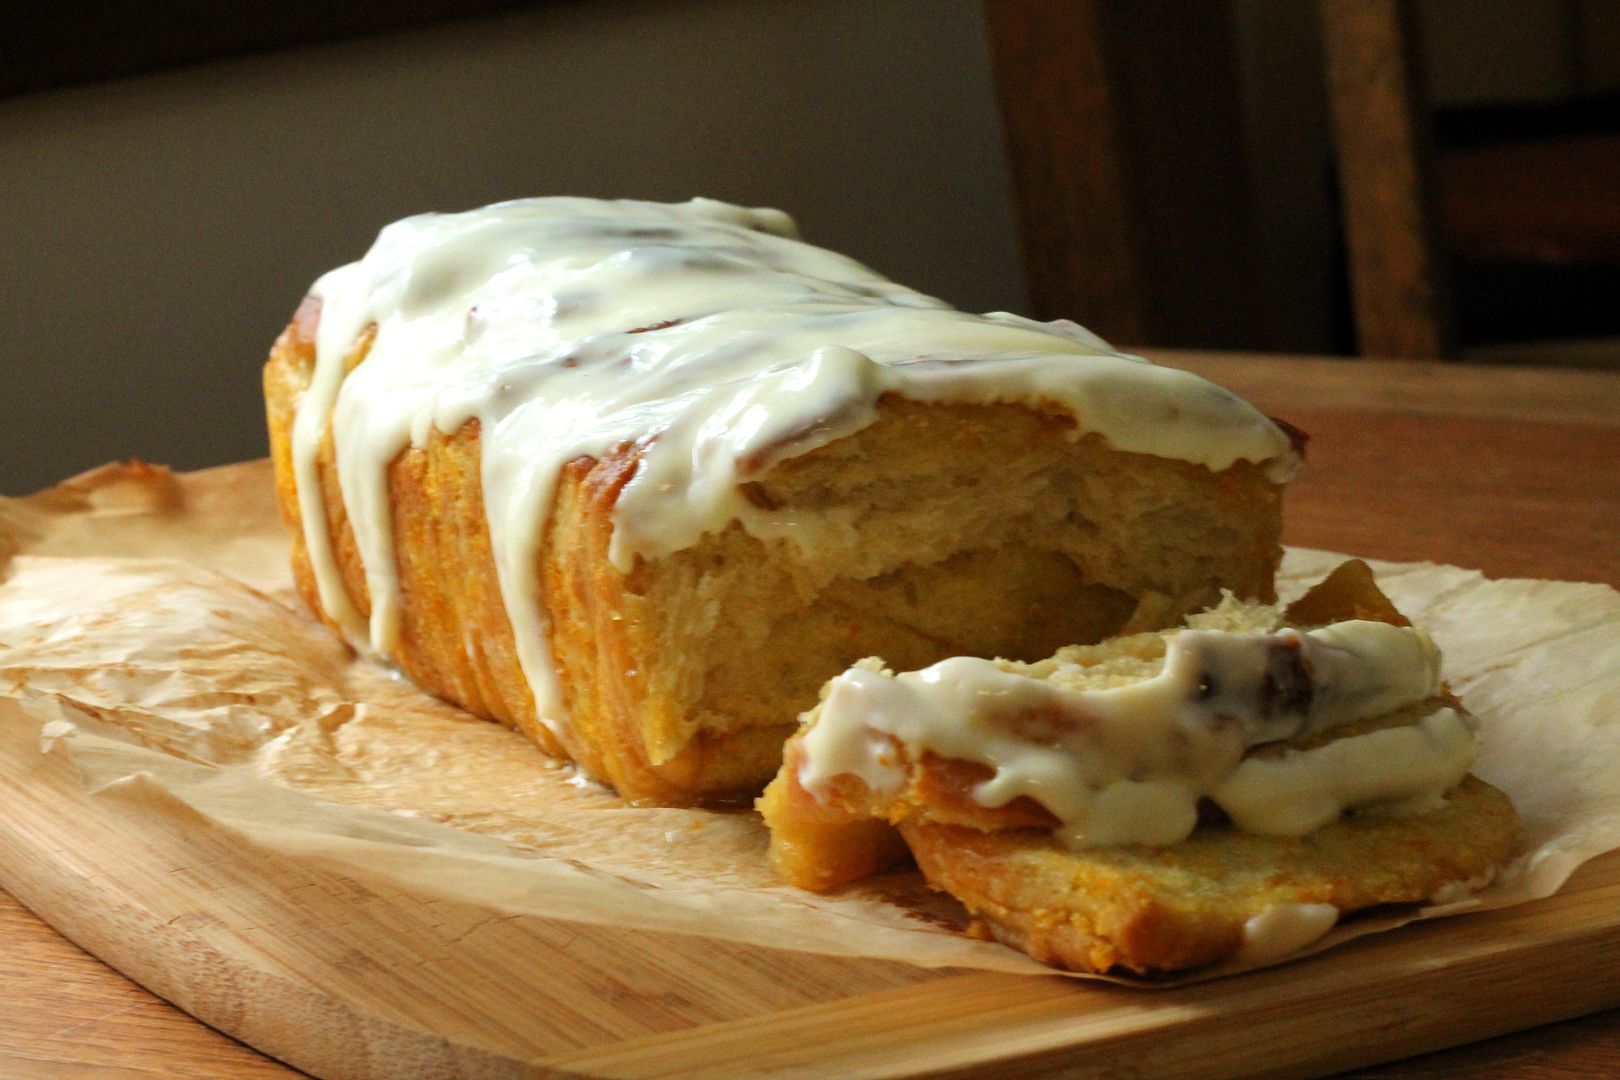
The dough was truly lovely to work with – soft and supple and scented with vanilla – and the combination of tons of lemon zest plus a little orange zest in the filling resulted in an almost marmalade-like glaze once baked. The ingenious method of forming the loaf by stacking squares of dough means you can pull off slices of the still-warm bread, which is extremely satisfying. Later, once the bread cools, it pulls apart less easily and instead I would recommend slicing it on a diagonal to get a lovely striped look. That is, if it lasts that long…
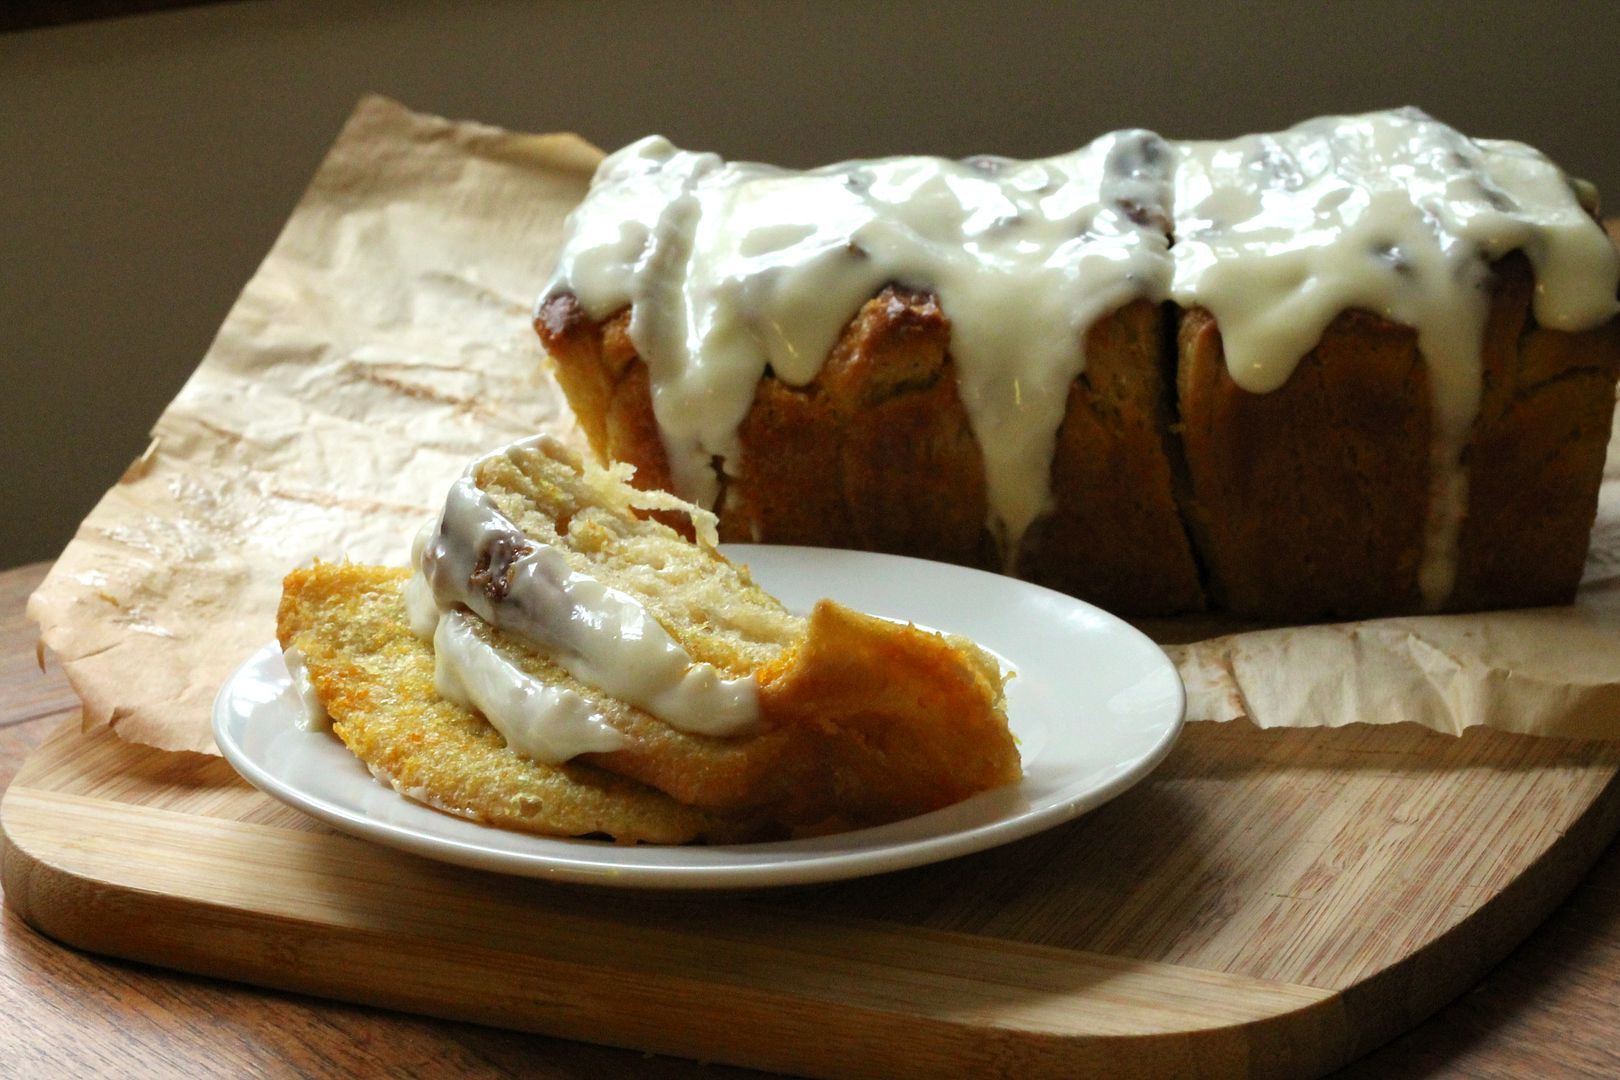
For more carb-heavy goodness, check out the other Sourdough Surpriser’s breads at the link below. ;)

Sourdough Sticky Lemon Pull-Apart Loaf

Adapted from Leite’s Culinaria. Makes 1 9″ x 5″ loaf.

Dough

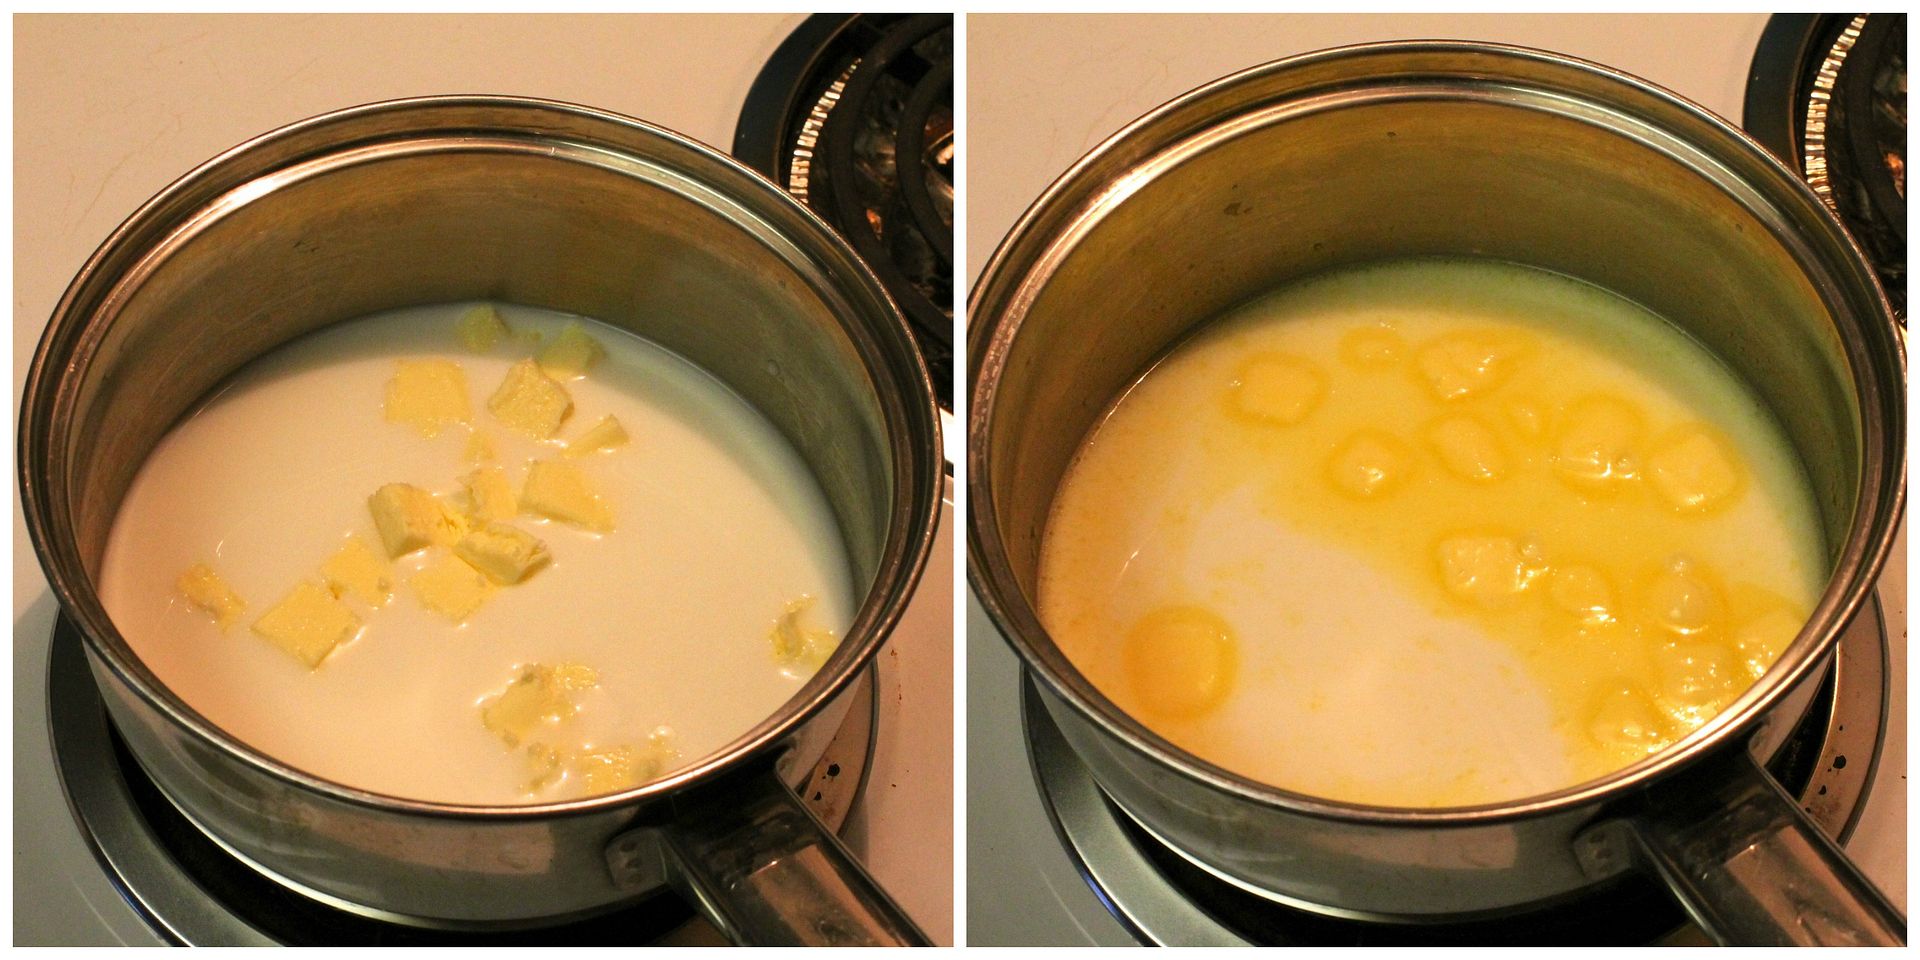
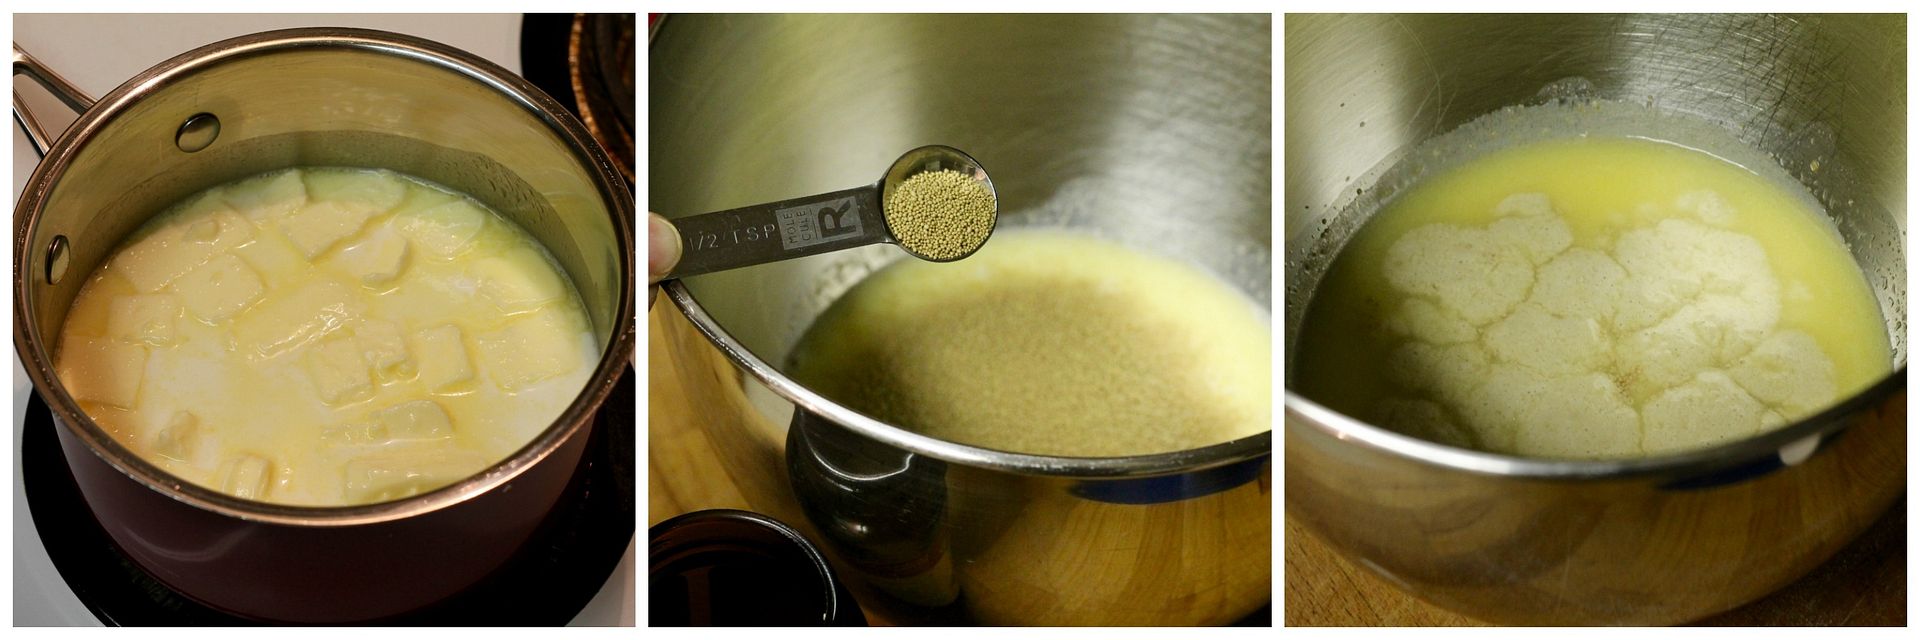
In a small saucepan over low heat or in a microwave-safe bowl, combine 81 g milk and 57 g unsalted butter until the butter melts, then remove from the heat and cool to about 120˚-130˚F.

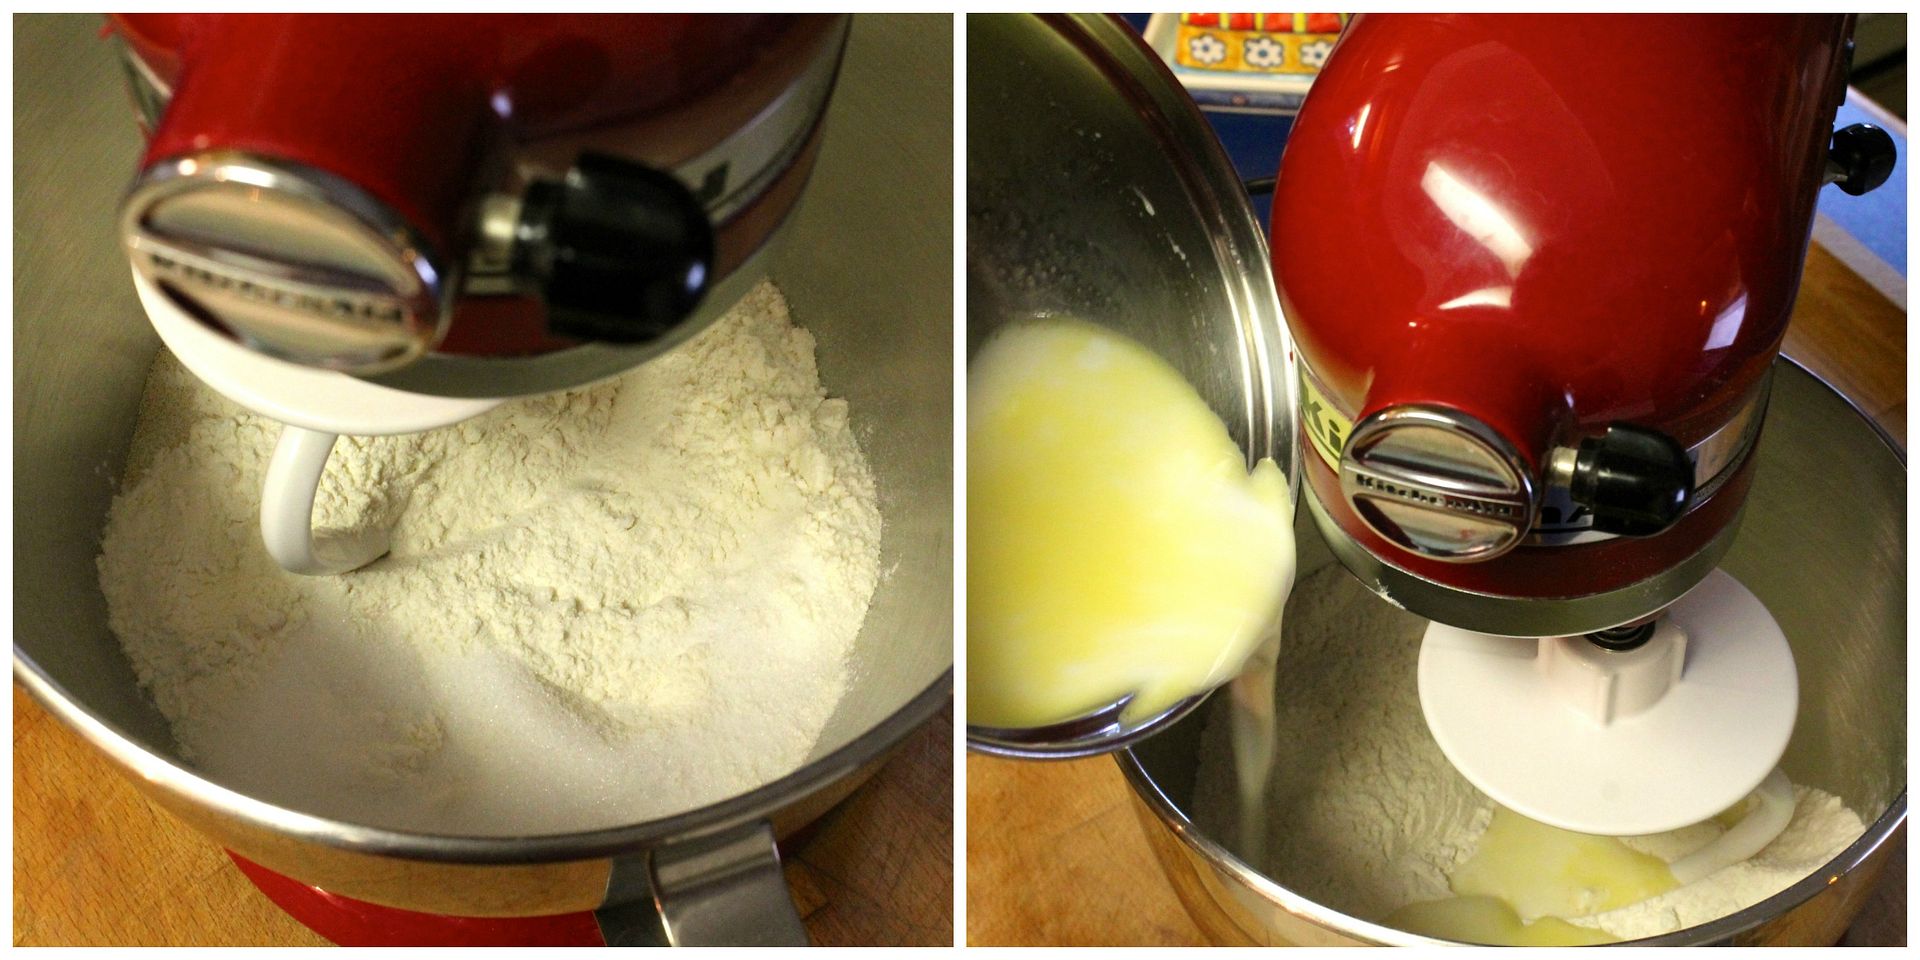
Meanwhile, stir together in the bowl of an electric mixer:

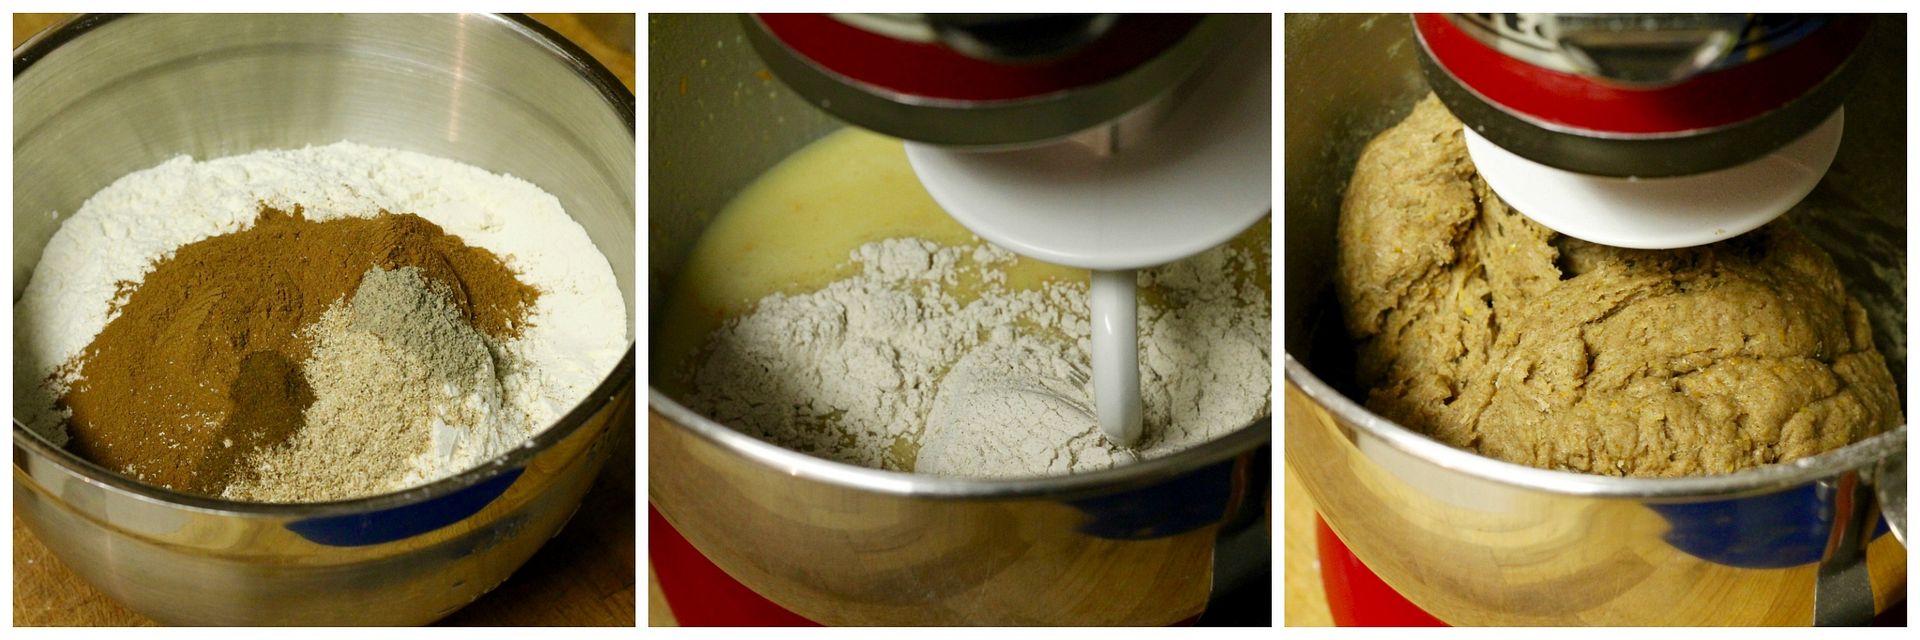
200 g all purpose flour

50 g granulated white sugar

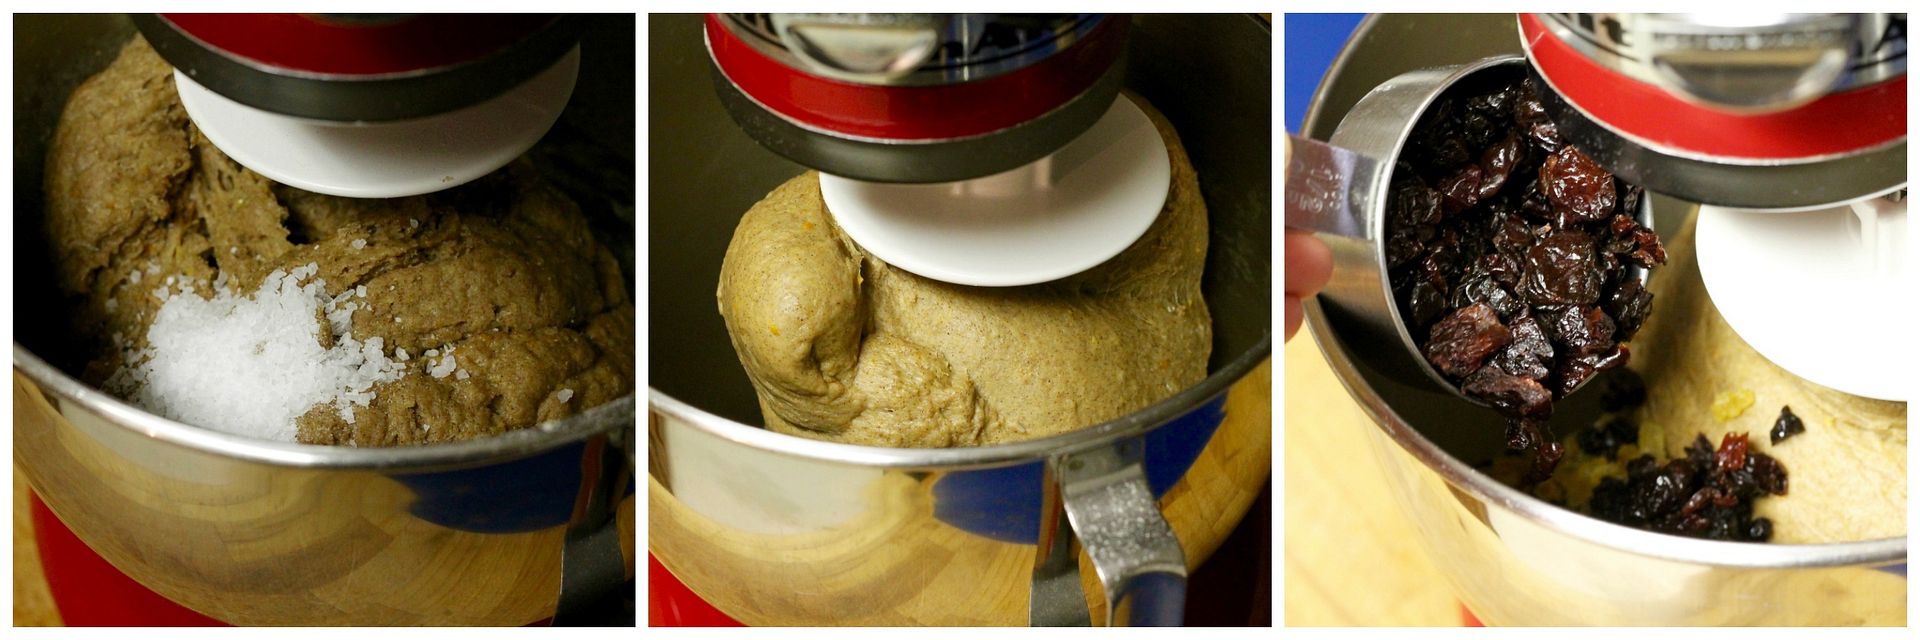
5 g salt

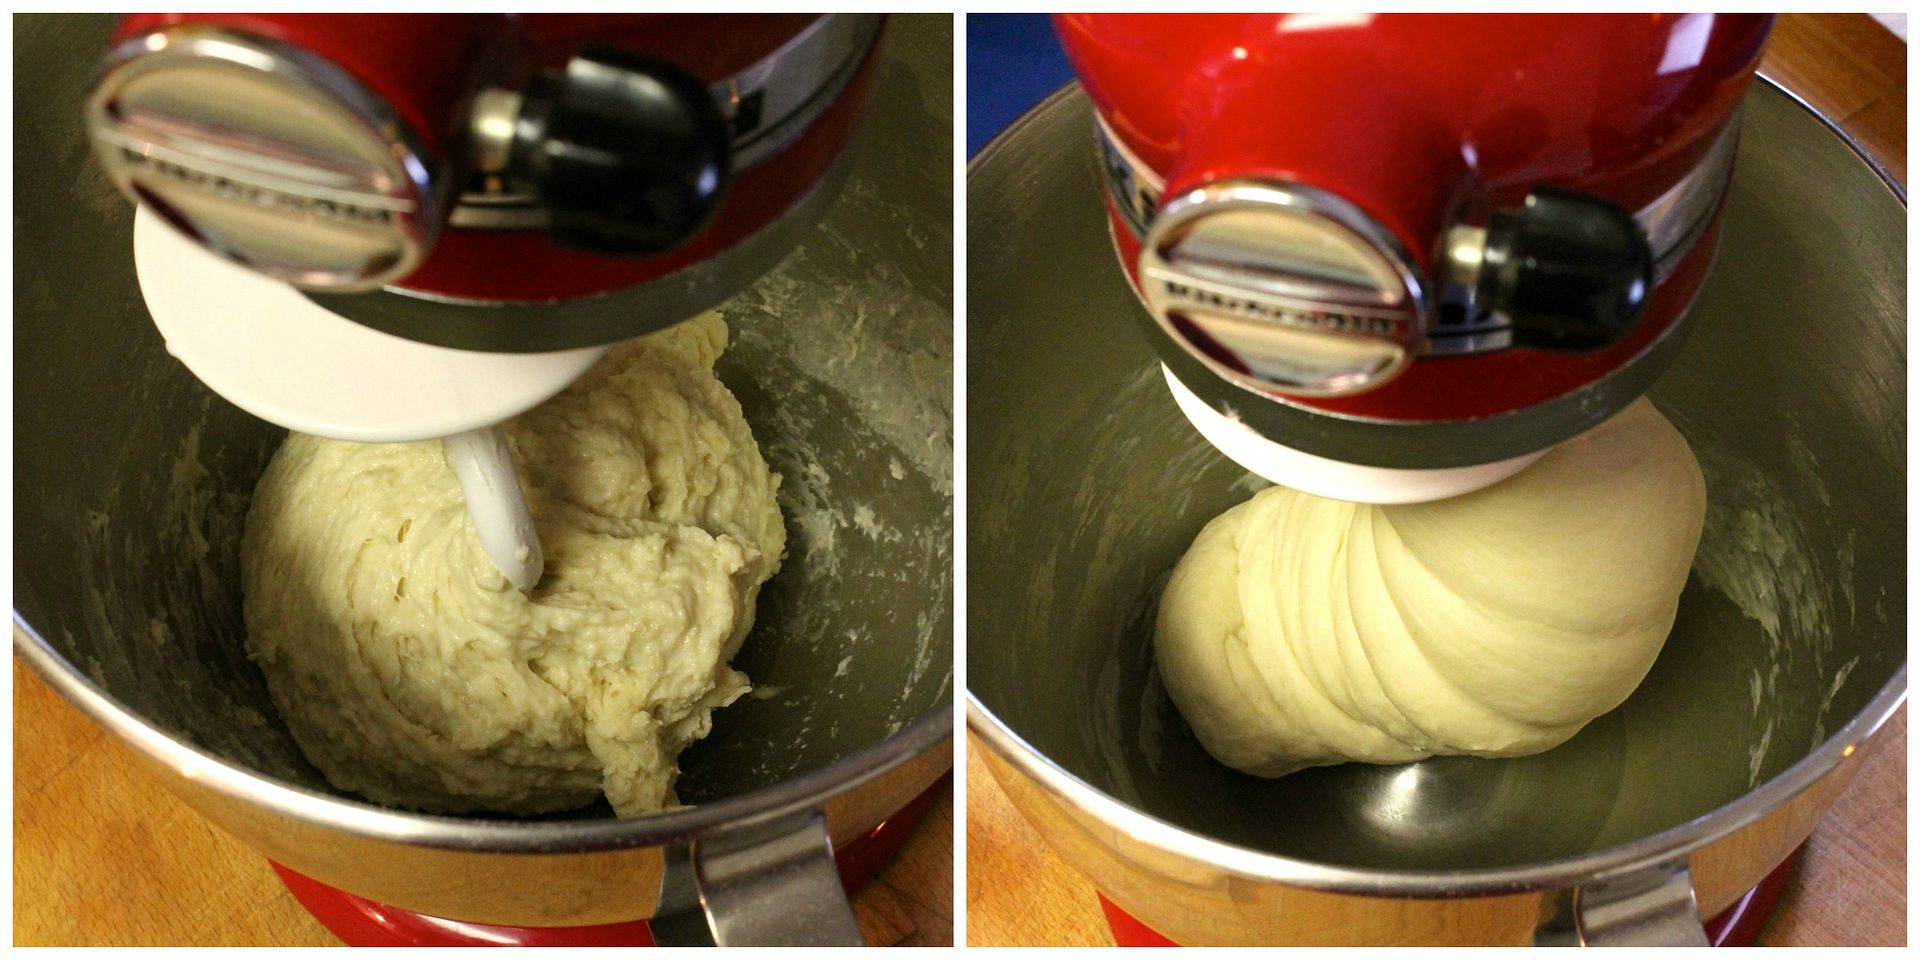
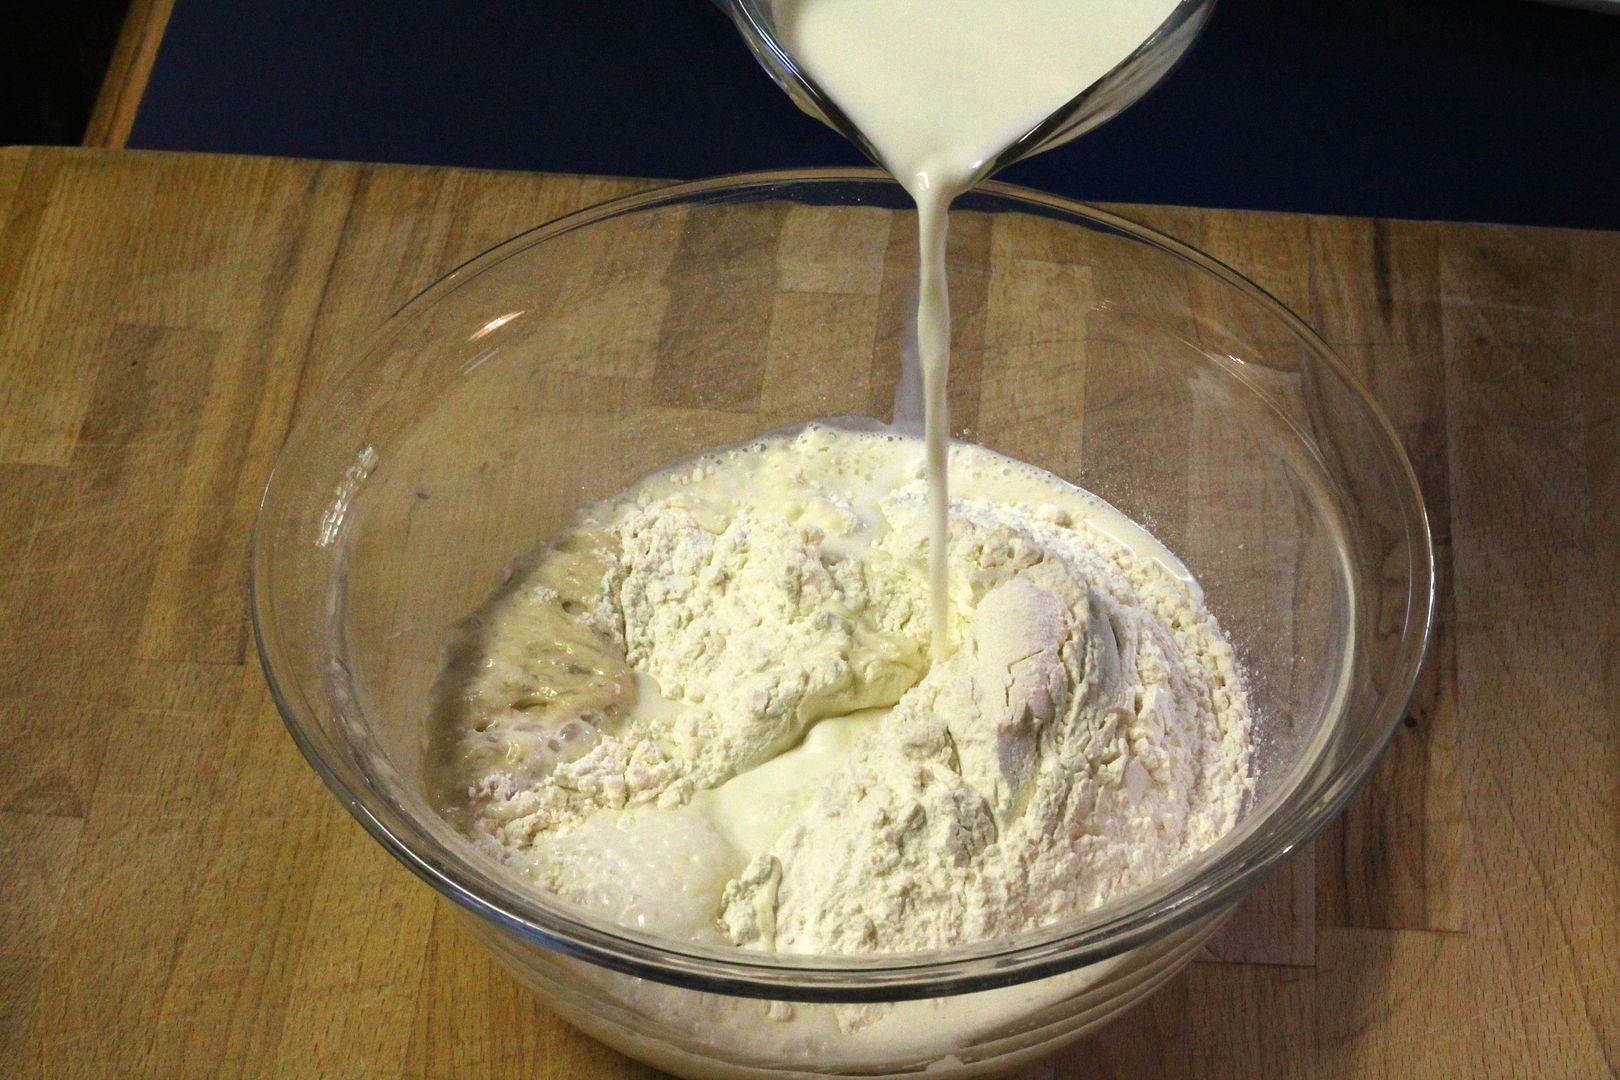
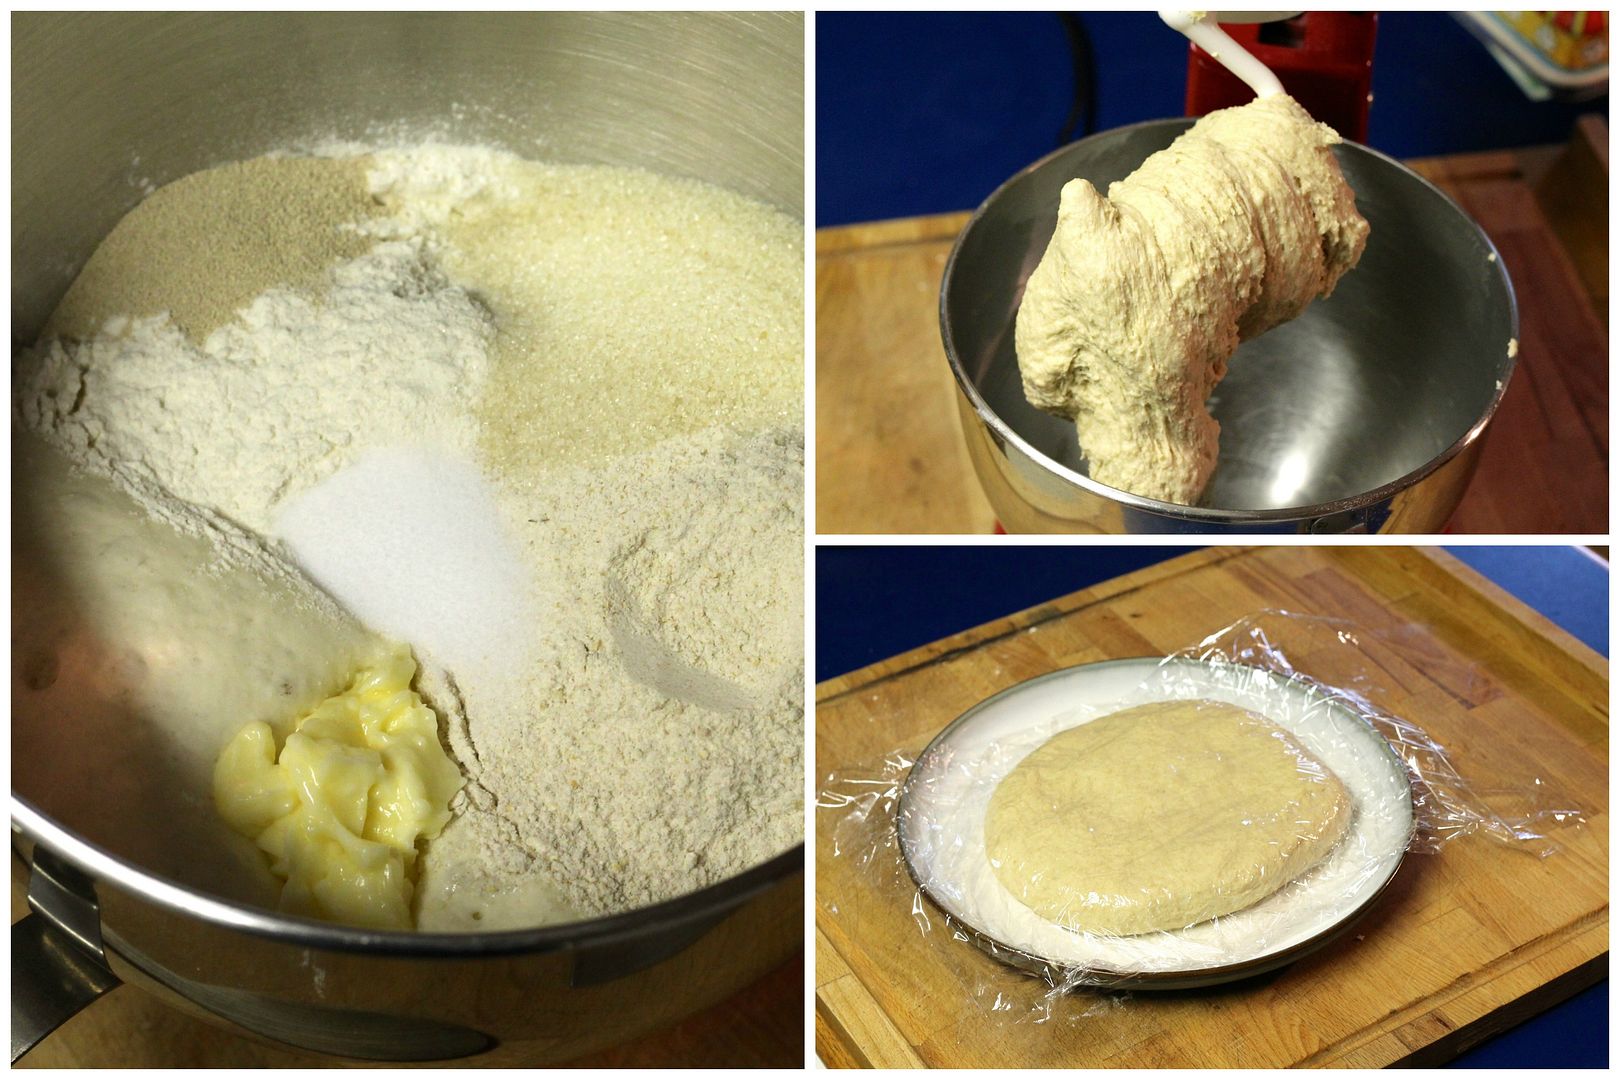
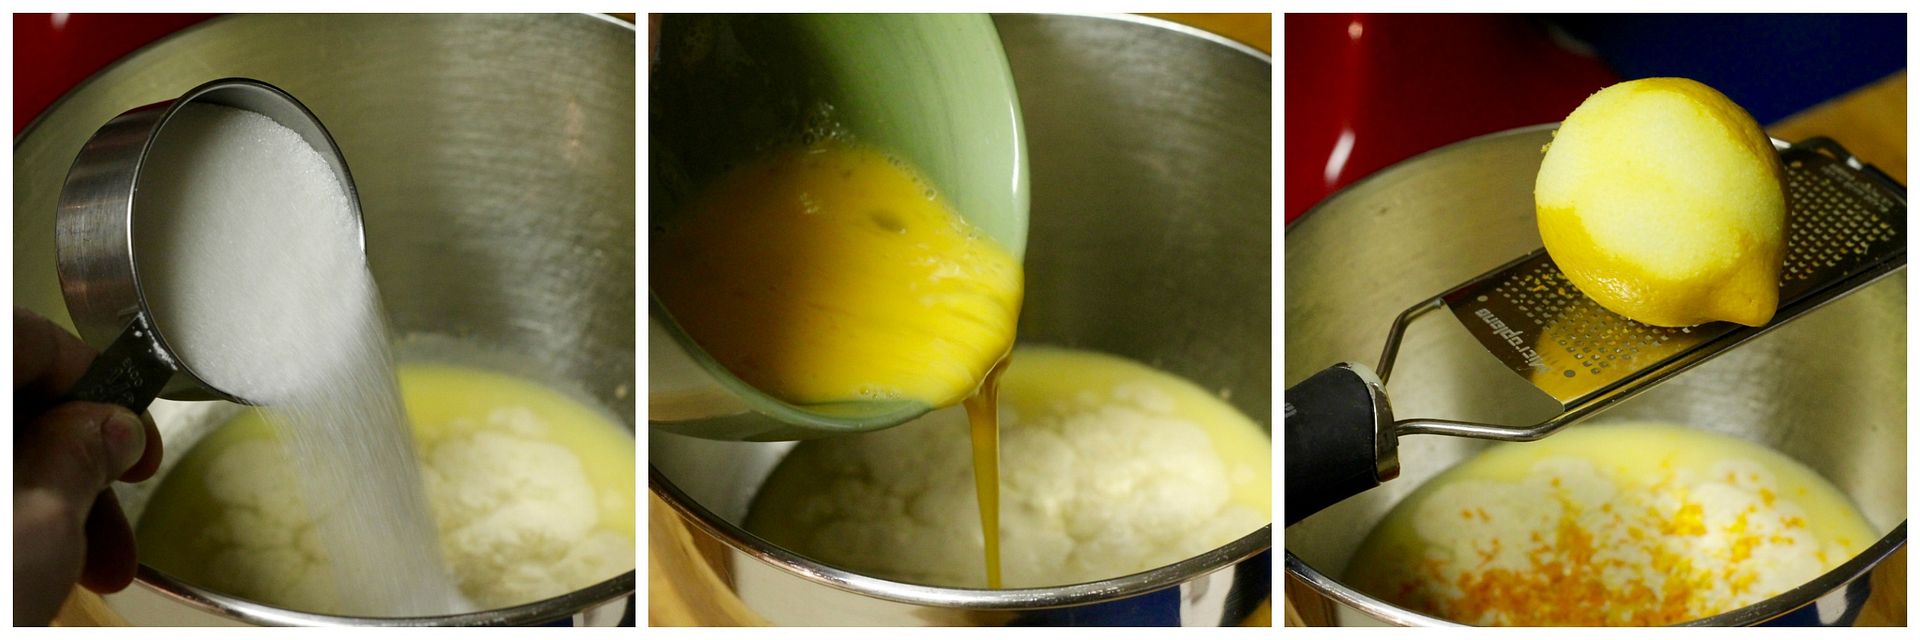
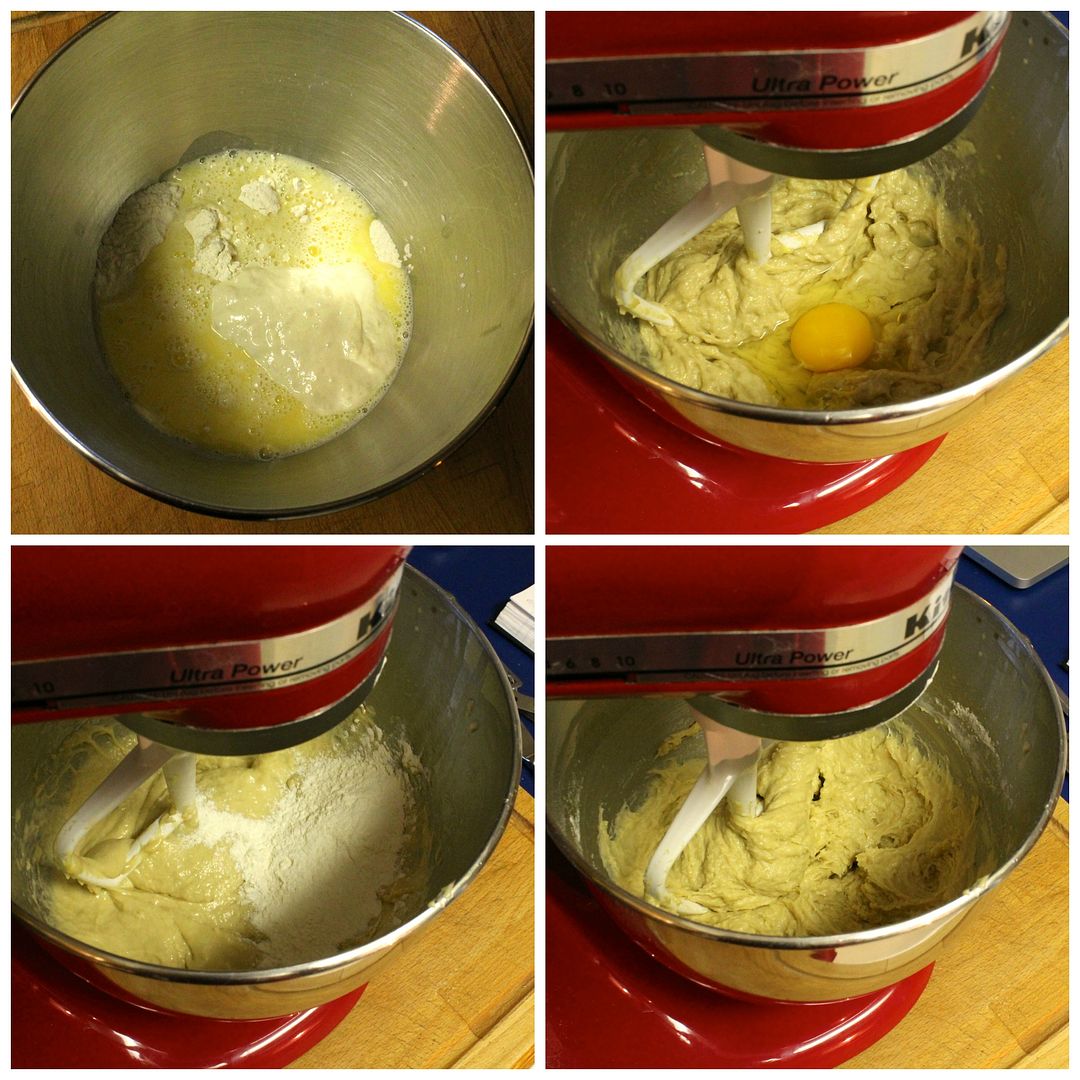
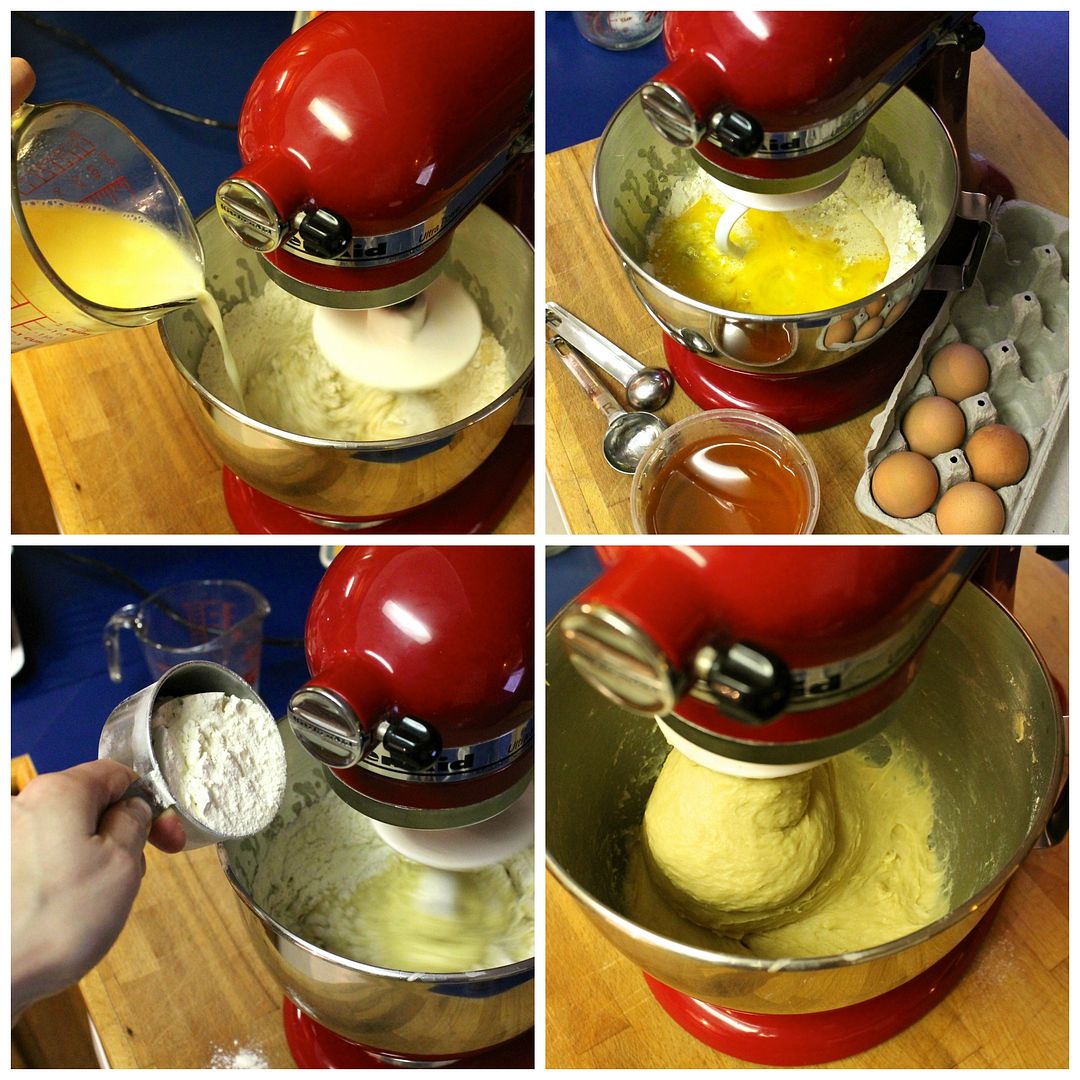
Add the warm milk mixture along with 60 g active sourdough starter and 1 1/2 tsp vanilla. Stir with the paddle attachment to combine. One at a time, stir in 2 eggs. Gradually stir in an additional 87 g all purpose flour, mixing on medium-low speed until the mixture comes together in a soft, sticky dough.
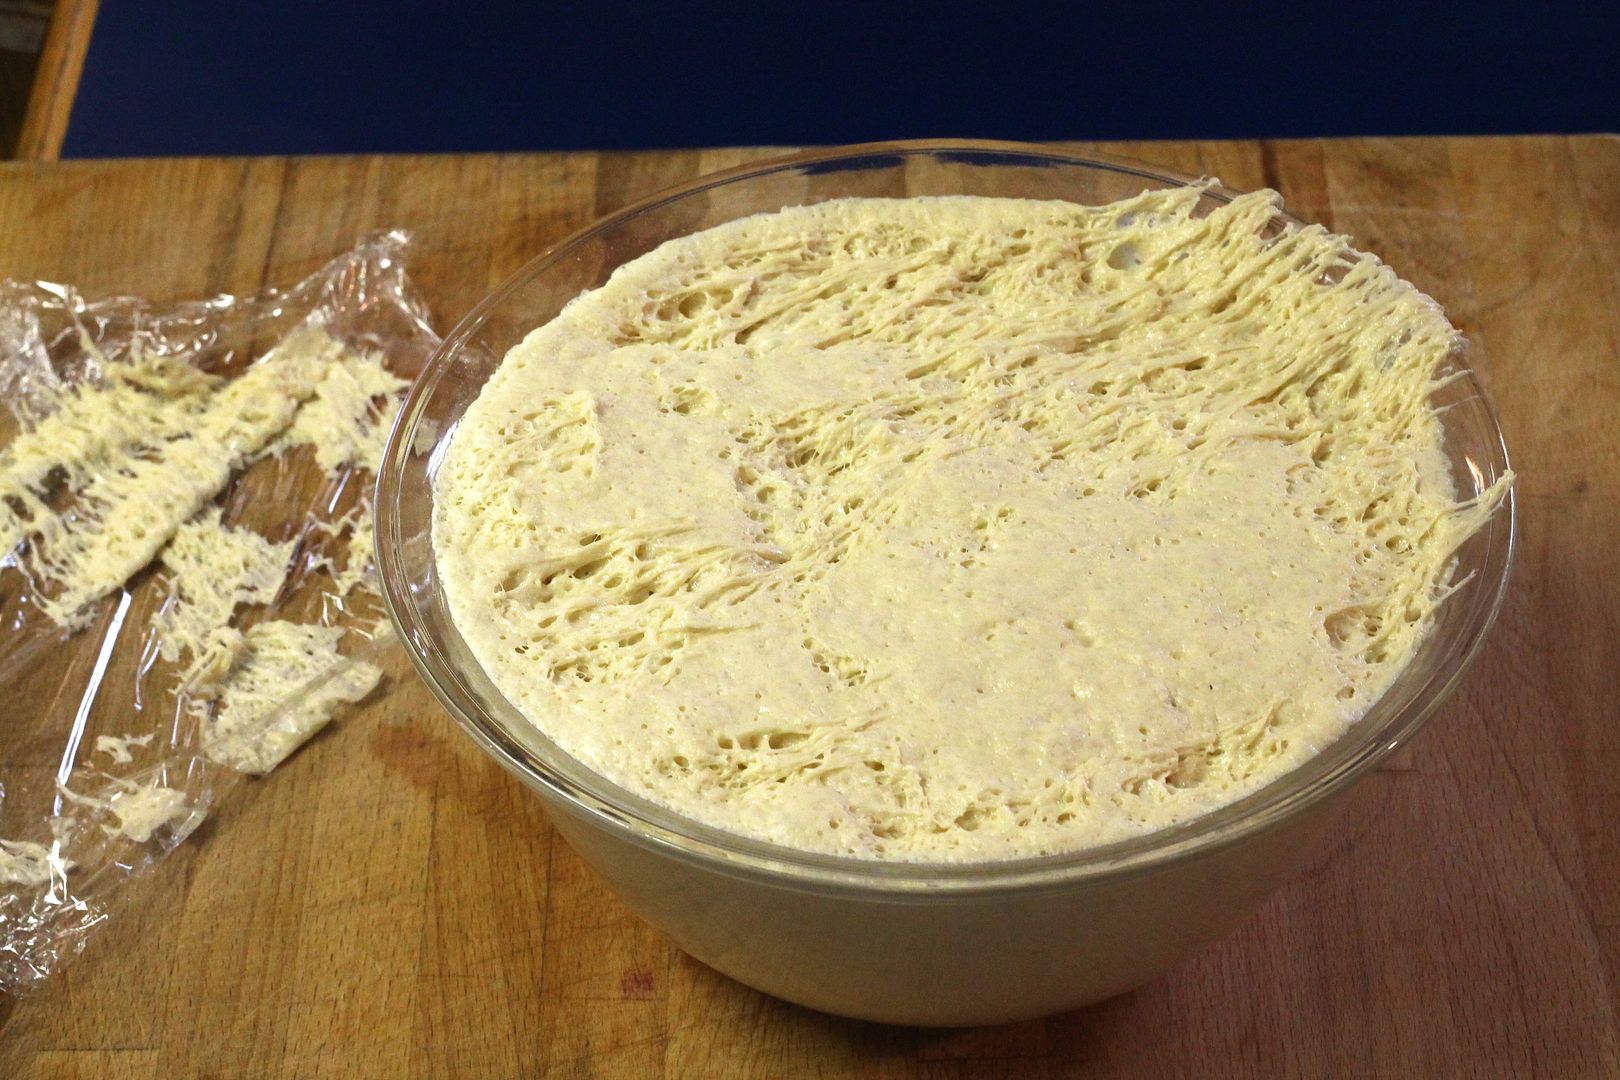
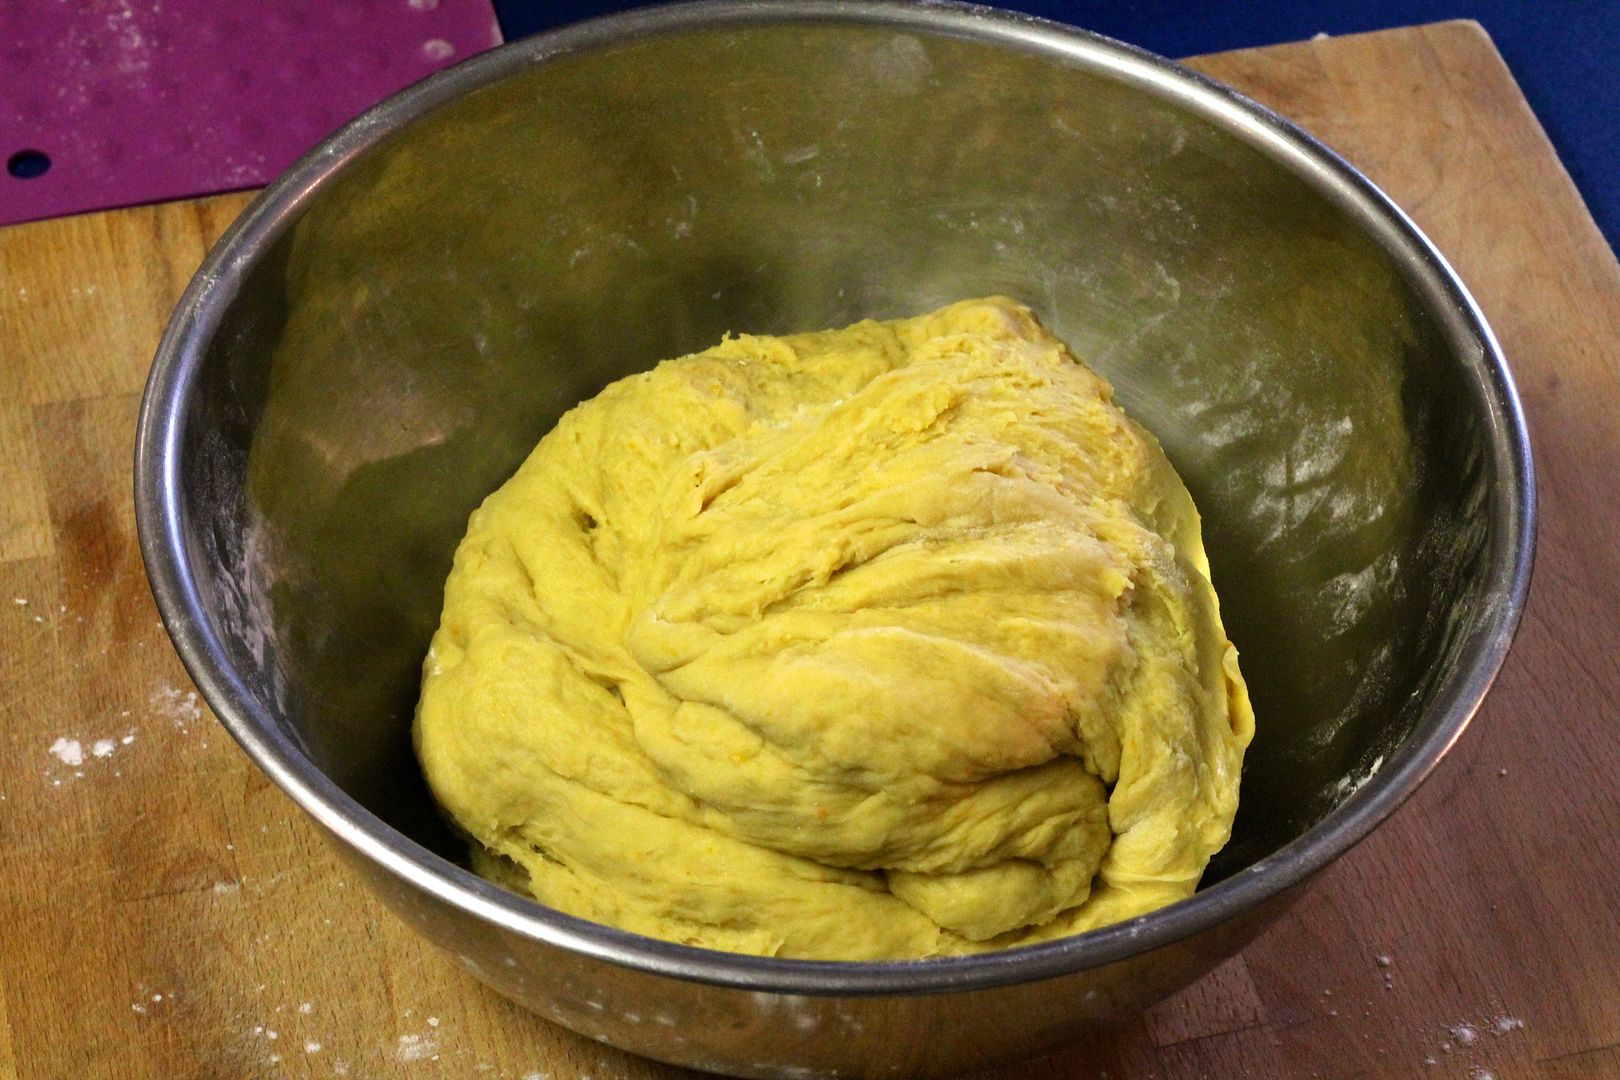
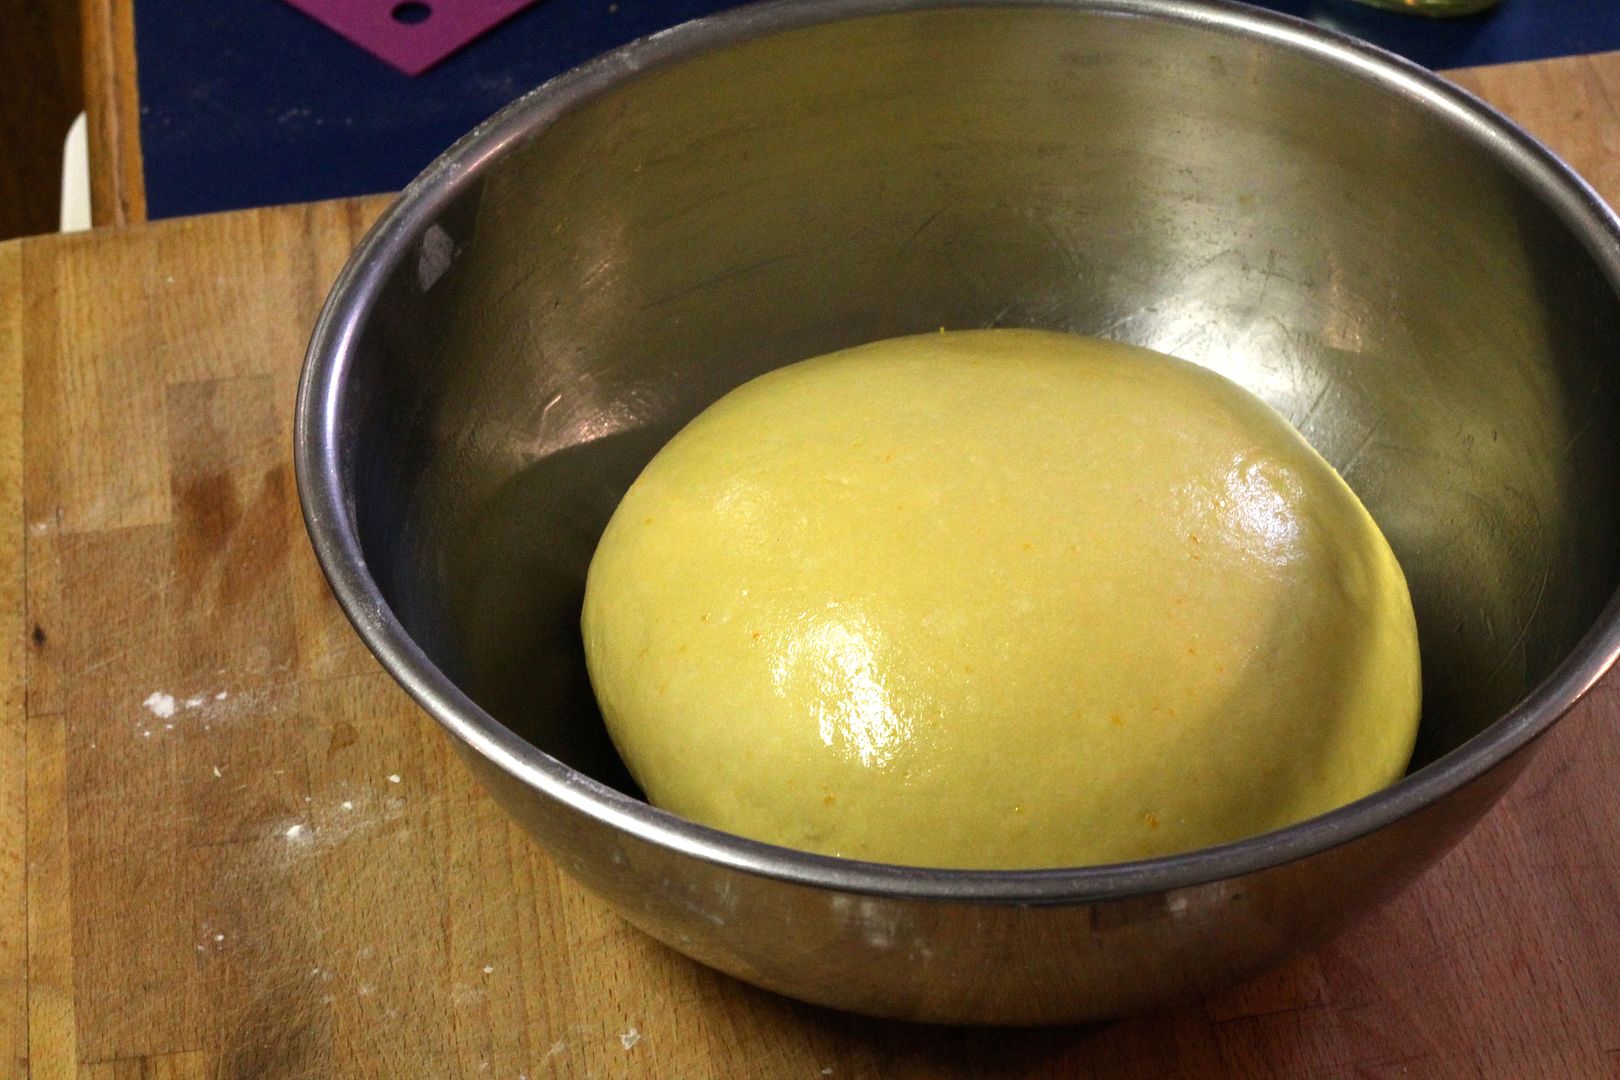
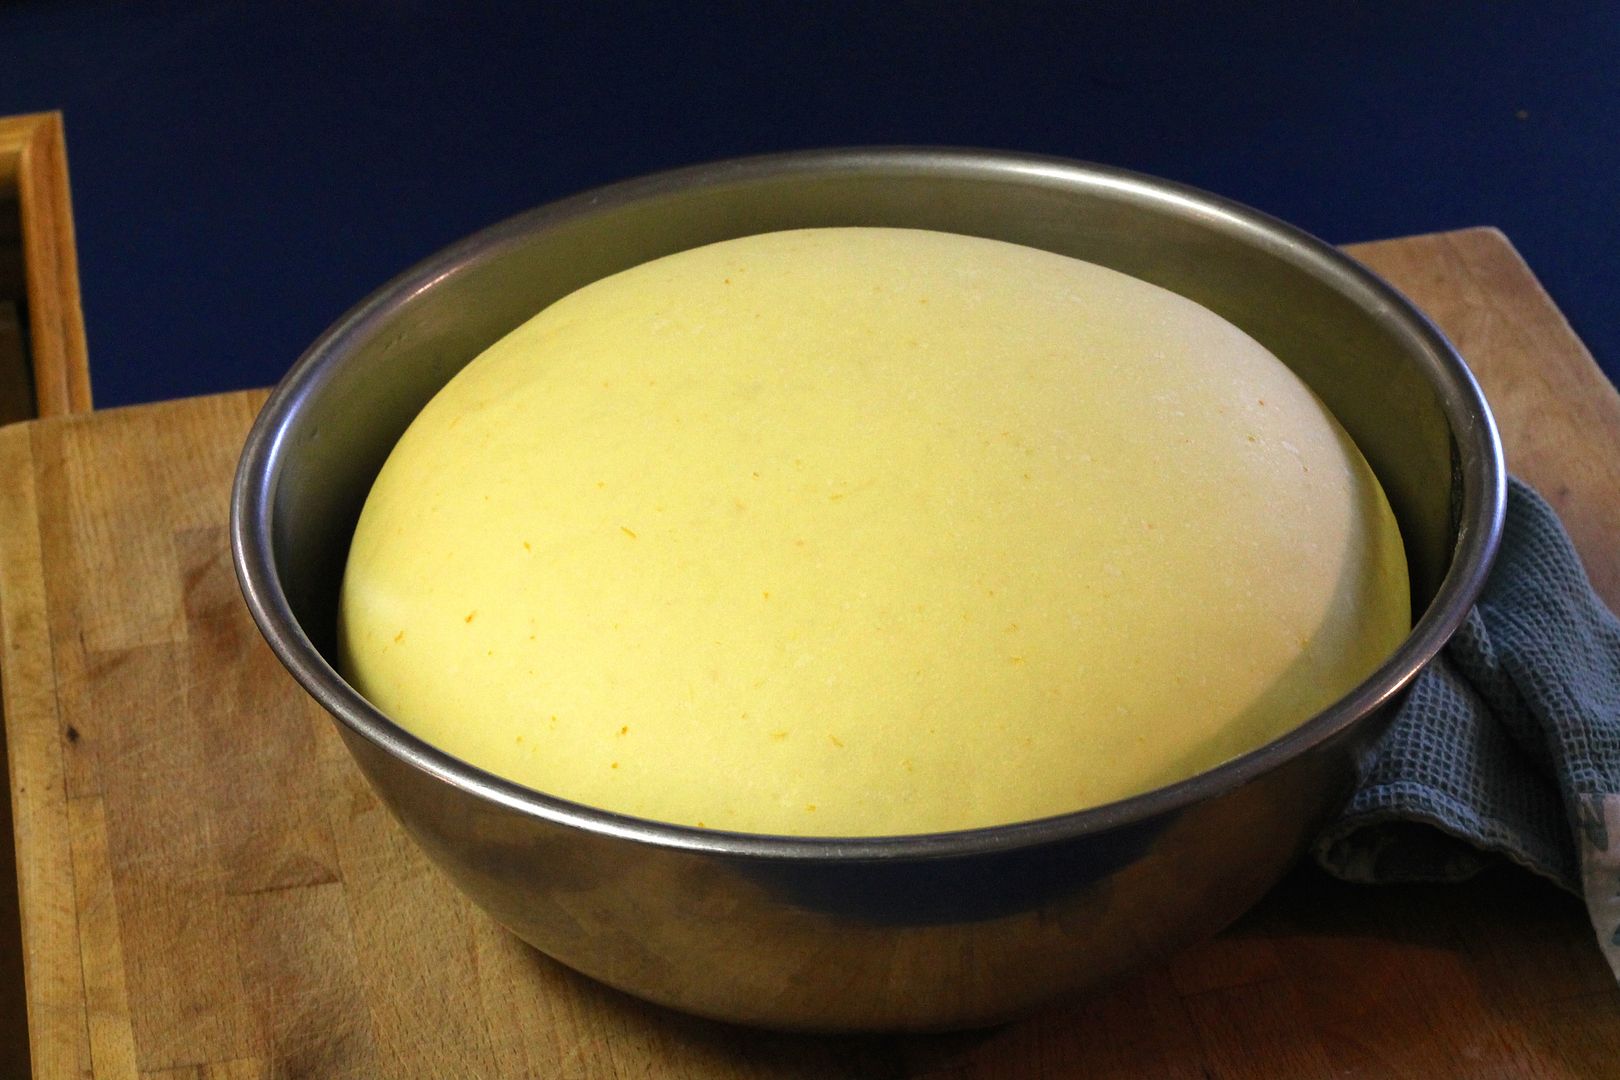
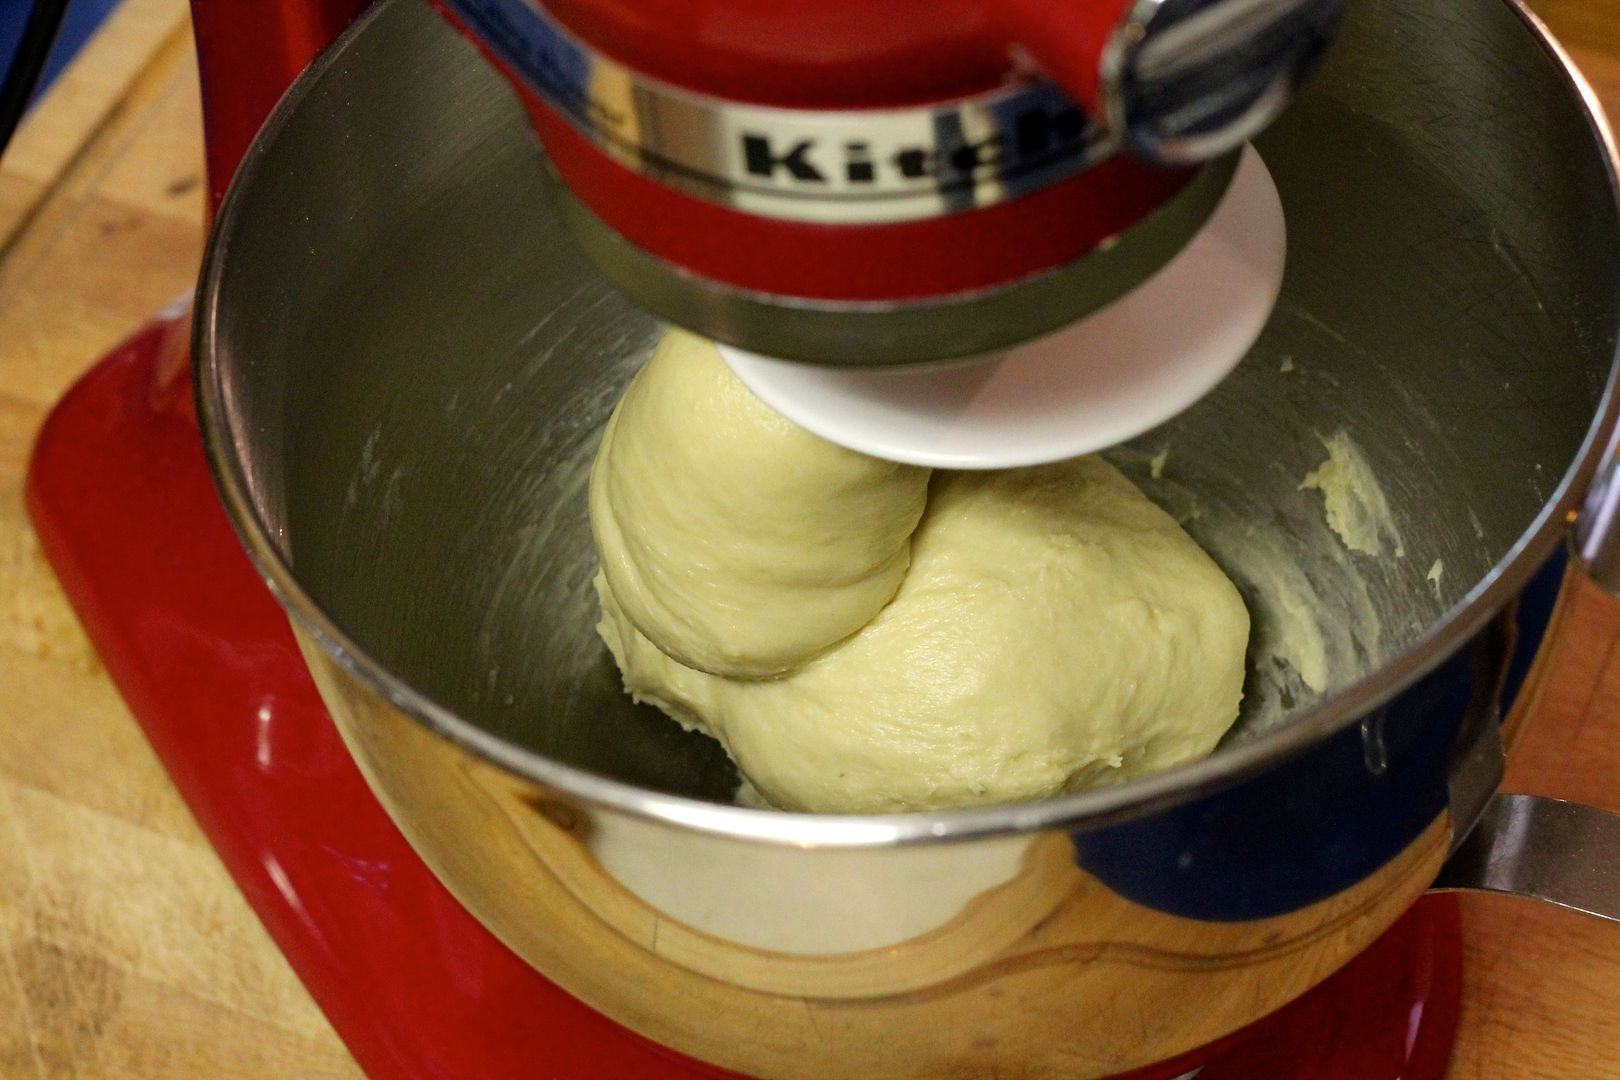
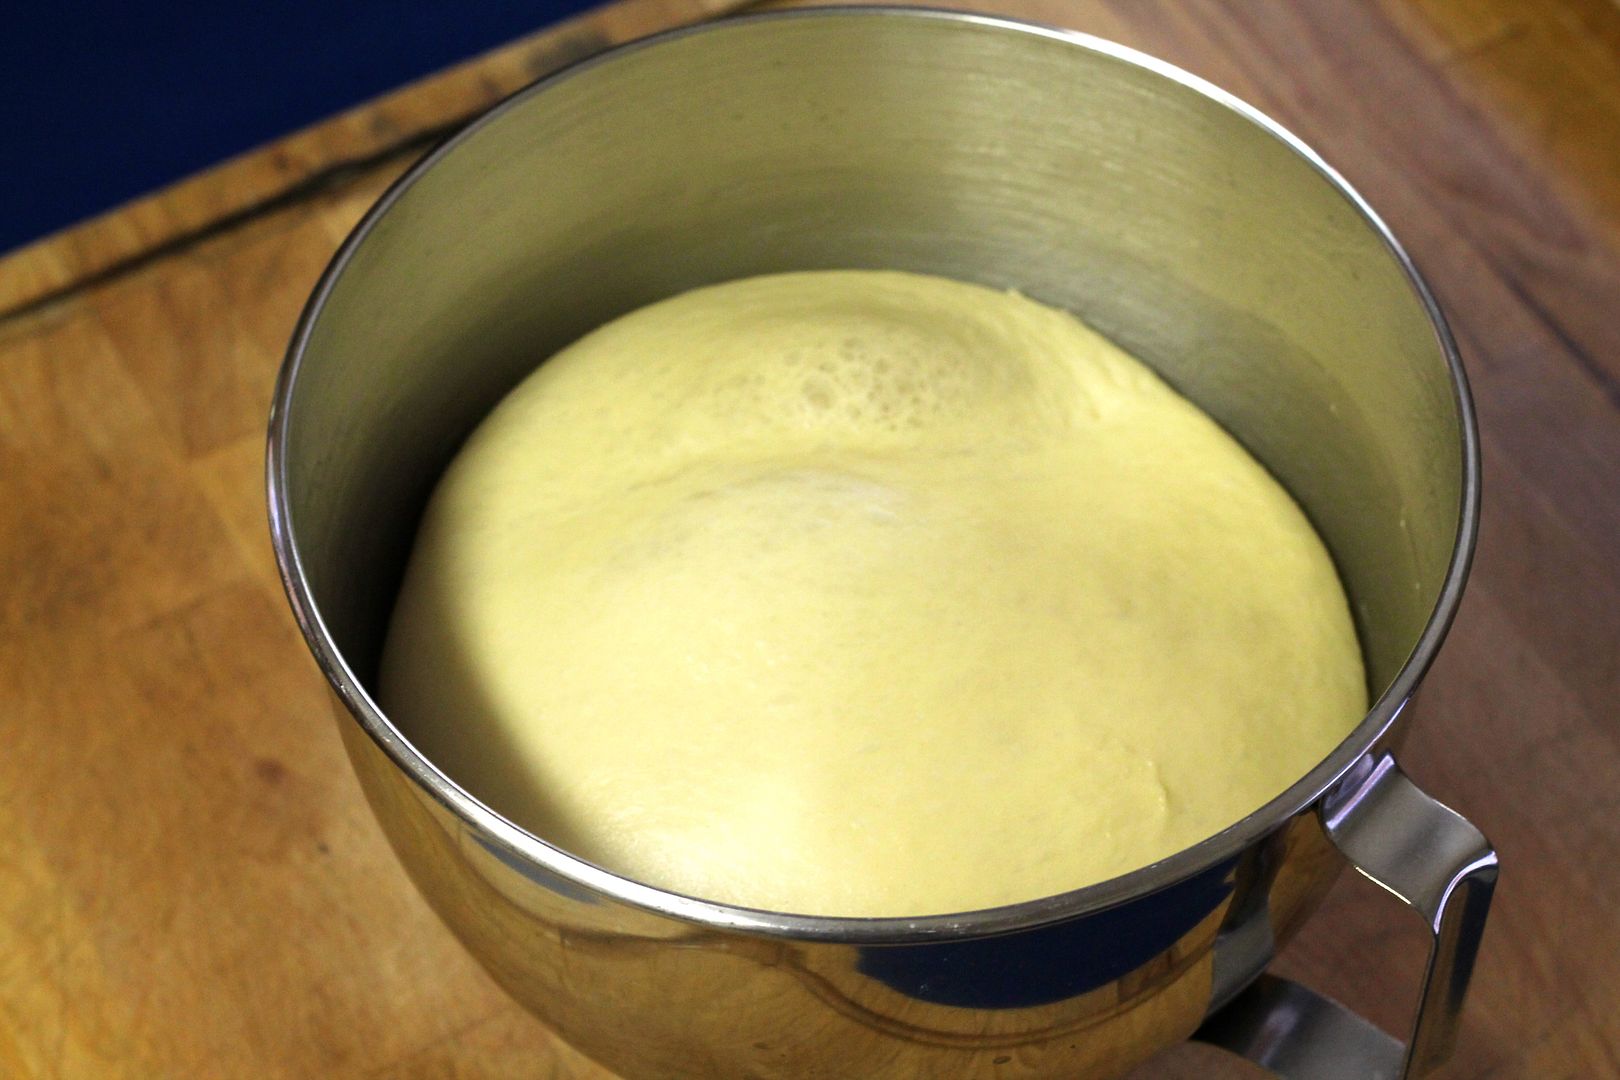
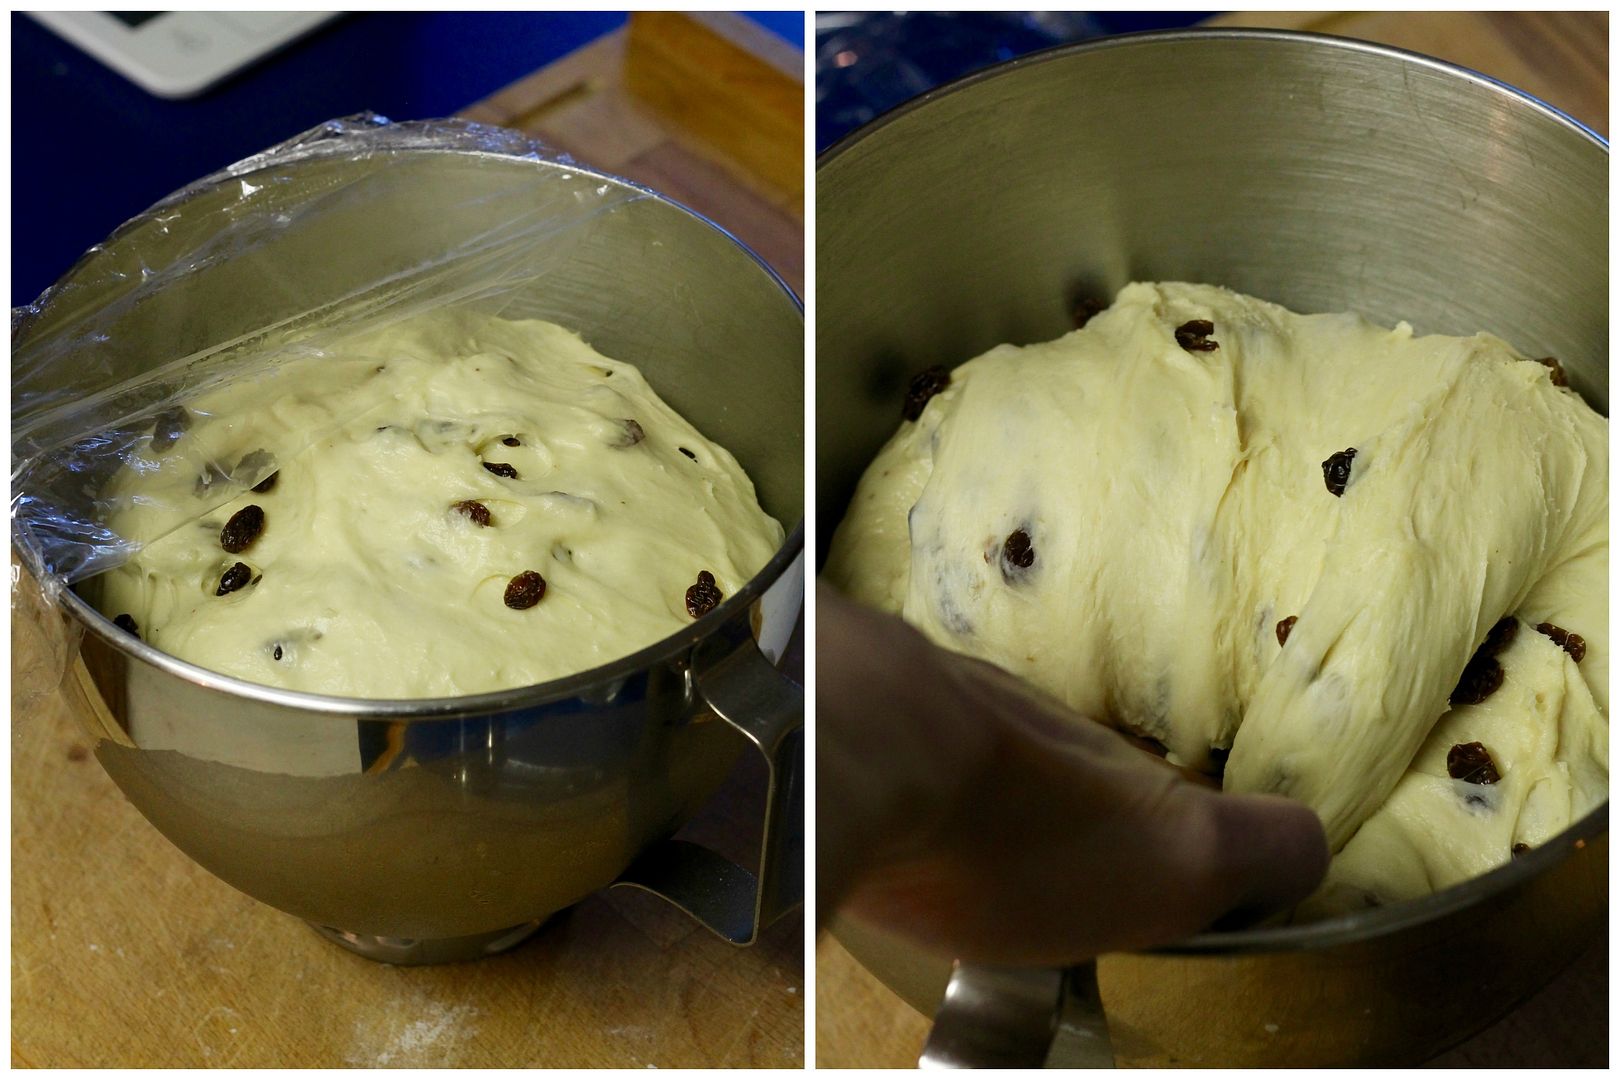
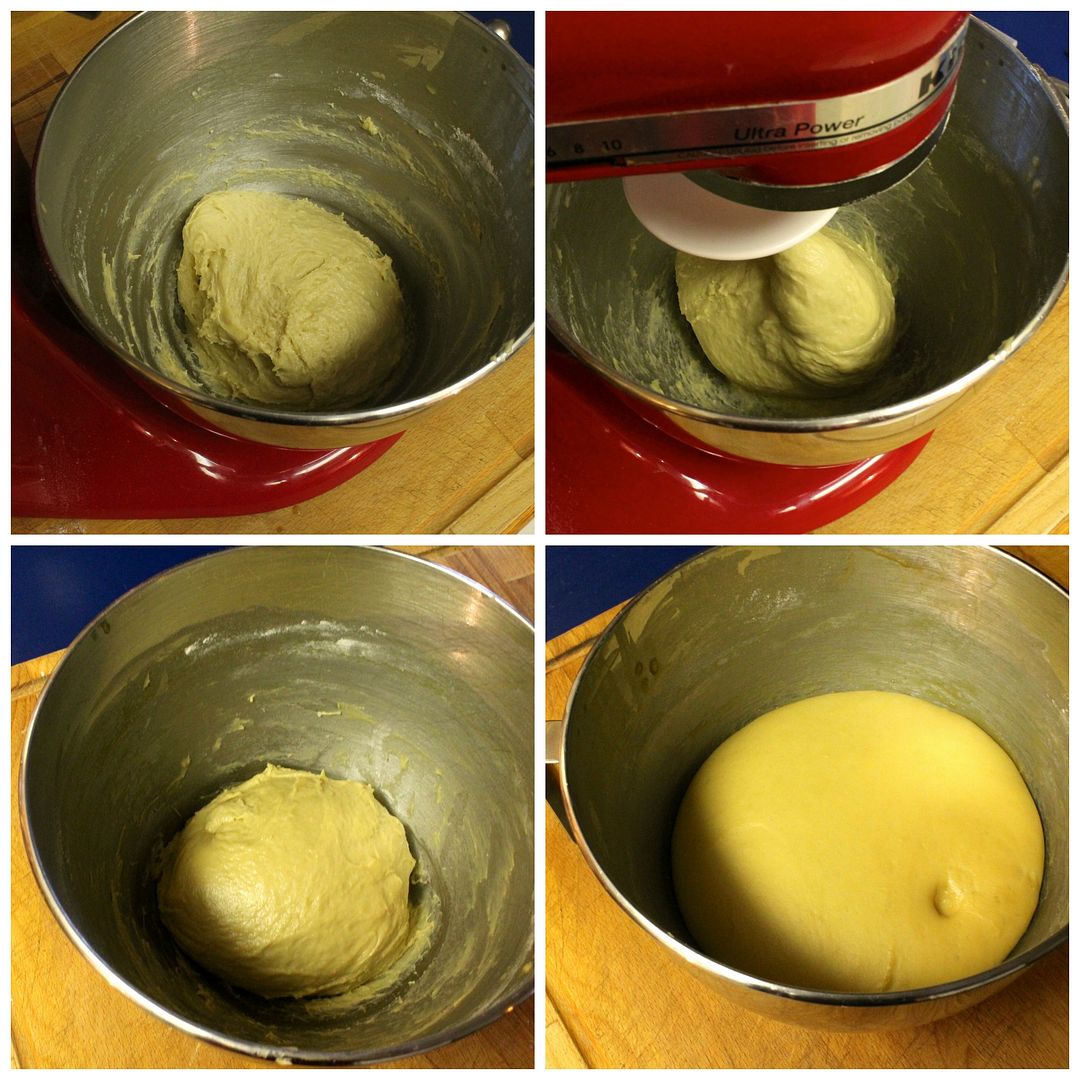
Change to the dough hook attachment, and knead on medium speed until smoother and no longer sticky (add a little more flour if necessary). Place the dough in a lightly buttered bowl, cover with plastic wrap, and let it rise in a warm place until doubled in size. The timing of this will depend on the room temperature and strength of your starter – mine took a good 7 – 8 hours to double in size.
Towards the end of the rise, mix together the lemon filling.

Lemon Filling

In a small bowl, combine:

100 g granulated white sugar

3 tbsp (about 28 g) grated lemon zest (from 2 – 3 lemons)

1 tbsp (about 9 g) grated orange zest (from 1 orange)

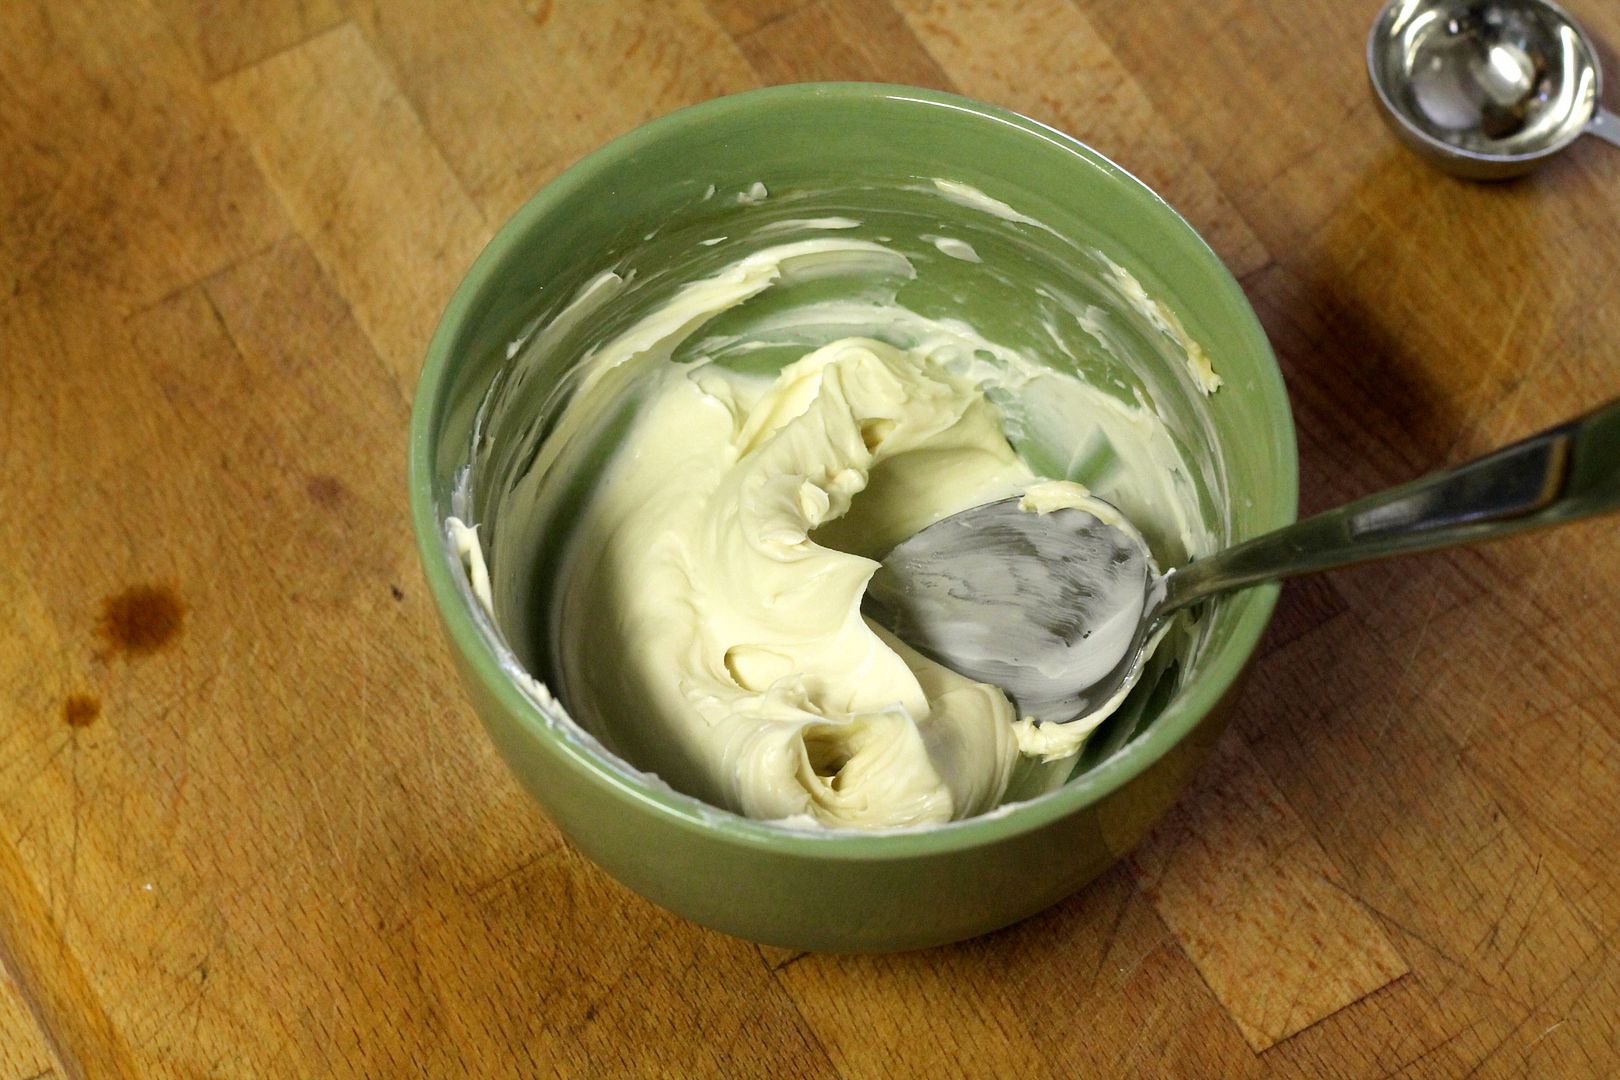
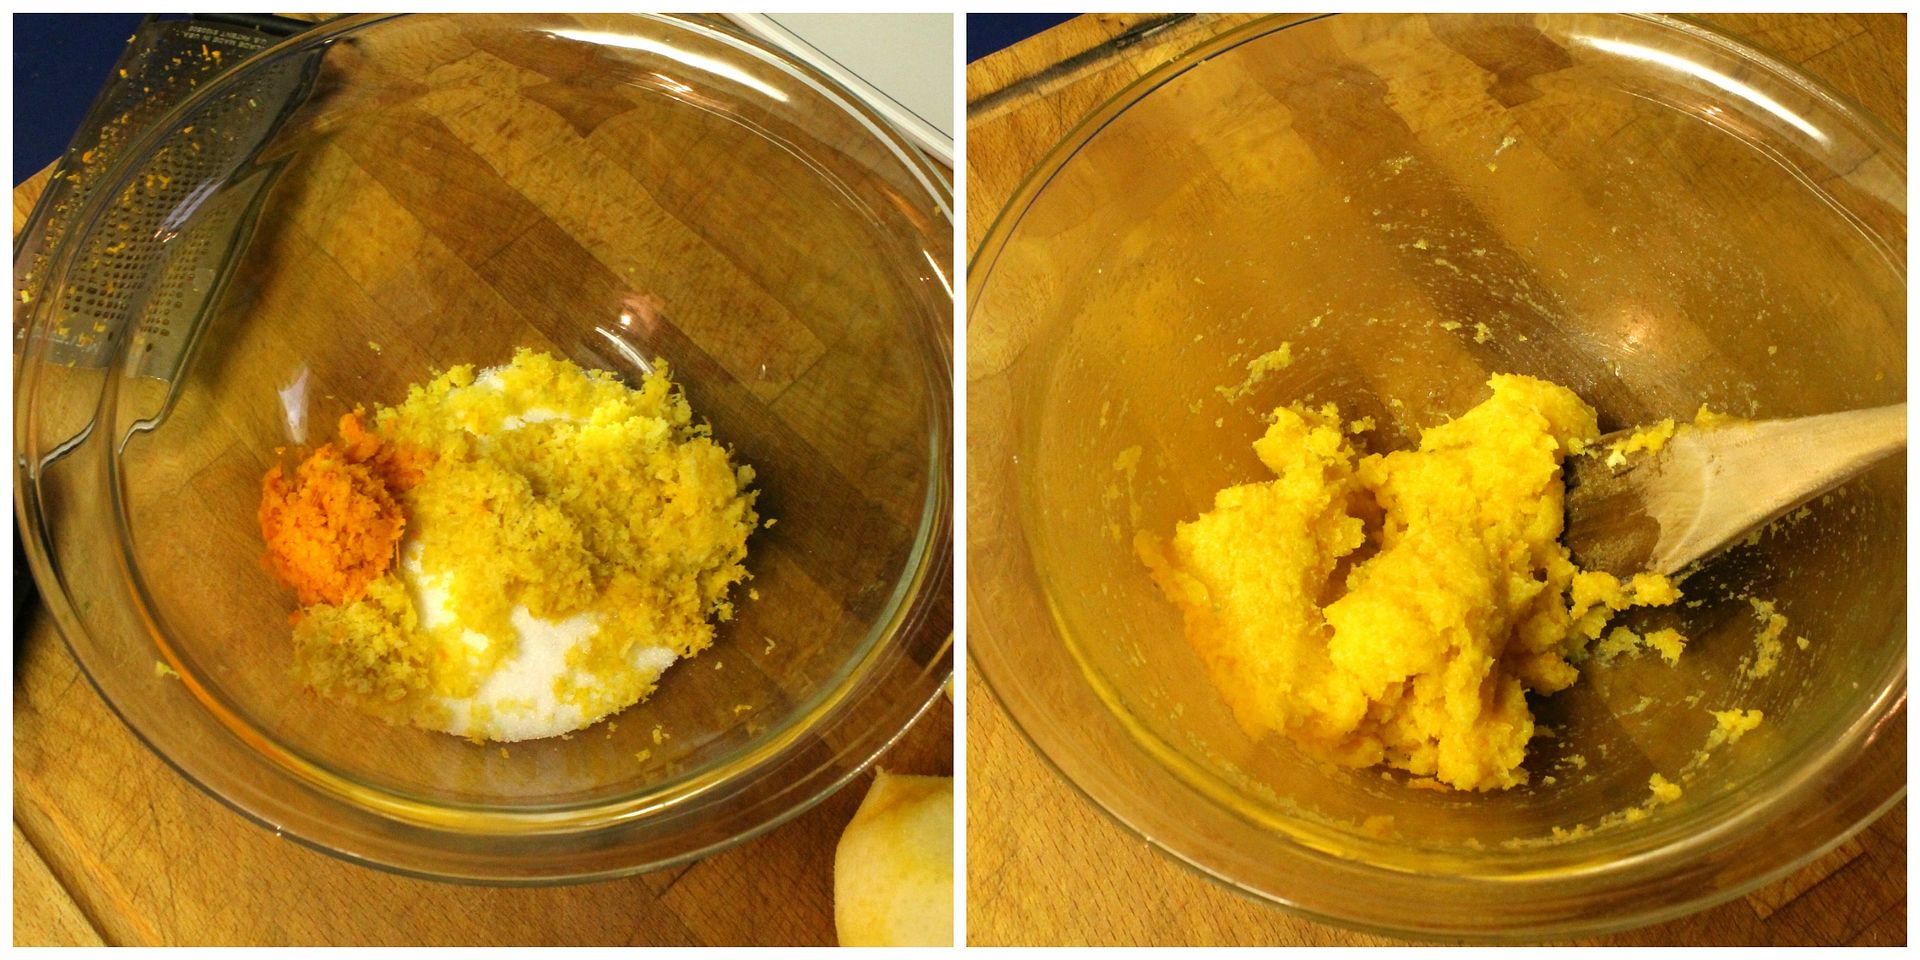
Stir the citrus zest into the sugar to release some of the flavourful oils, then add 57 g soft unsalted butter and cream the mixture until soft and spreadable. Set aside while you roll out the dough.
Assembly

Line a 9″ x 5″ loaf pan with parchment paper. Butter the paper and set aside.

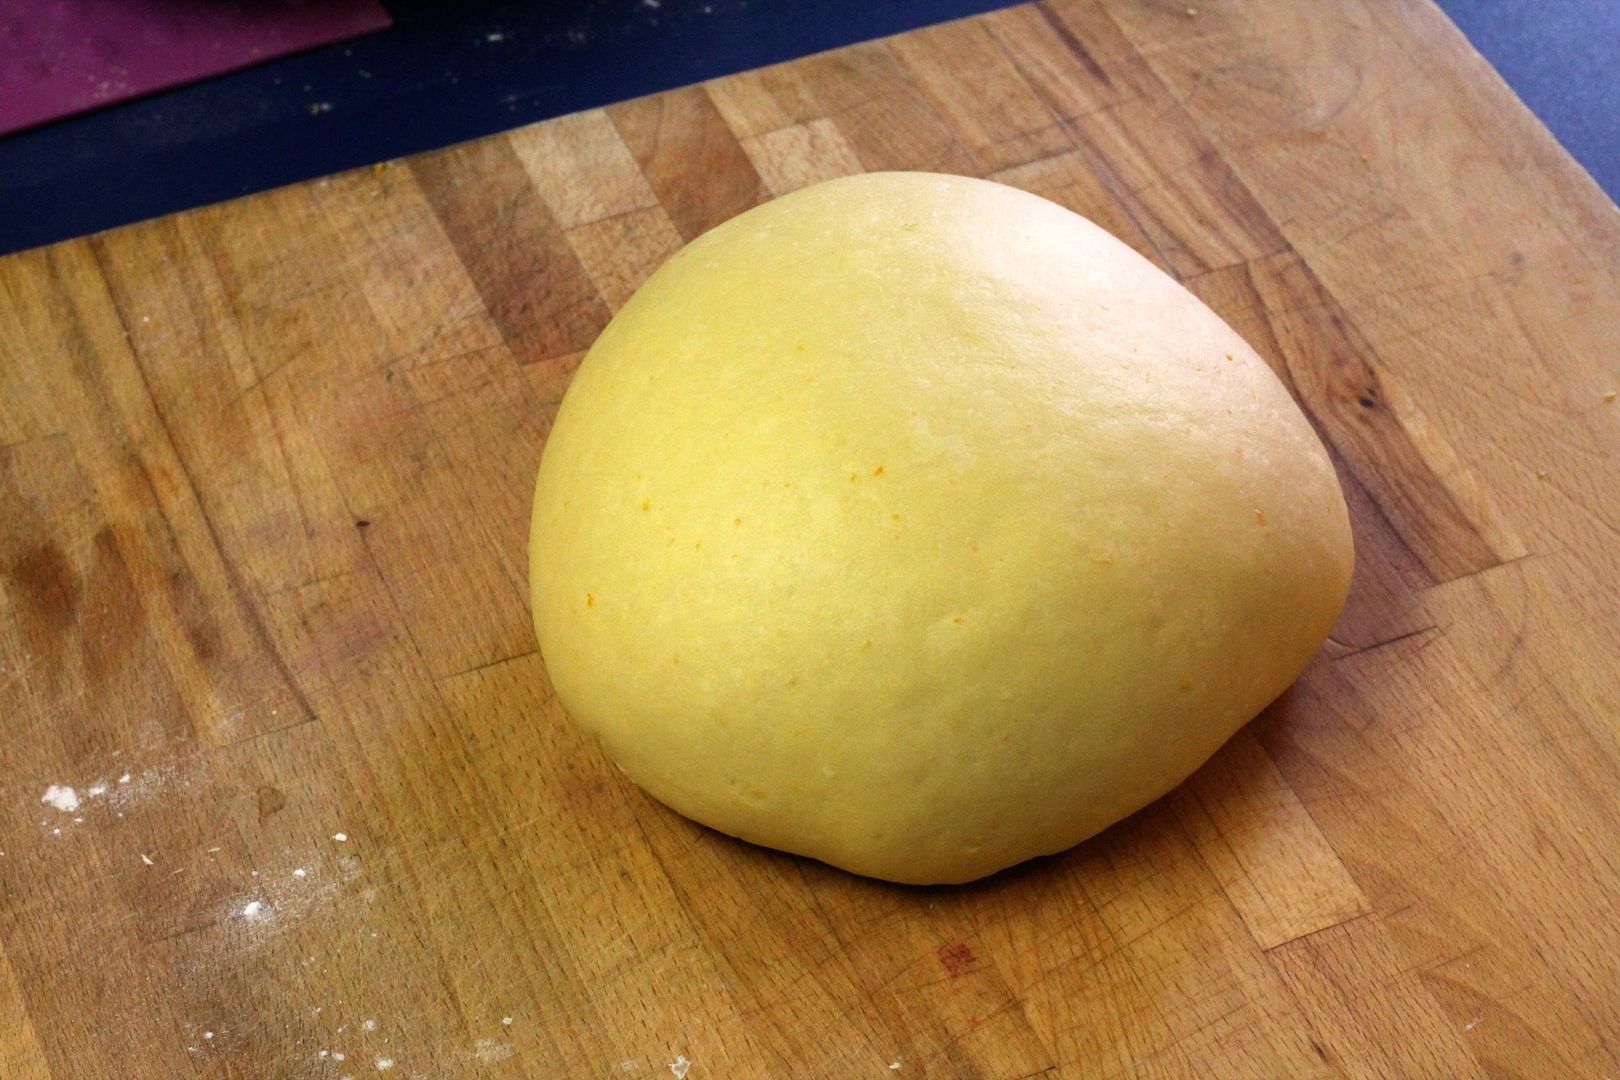
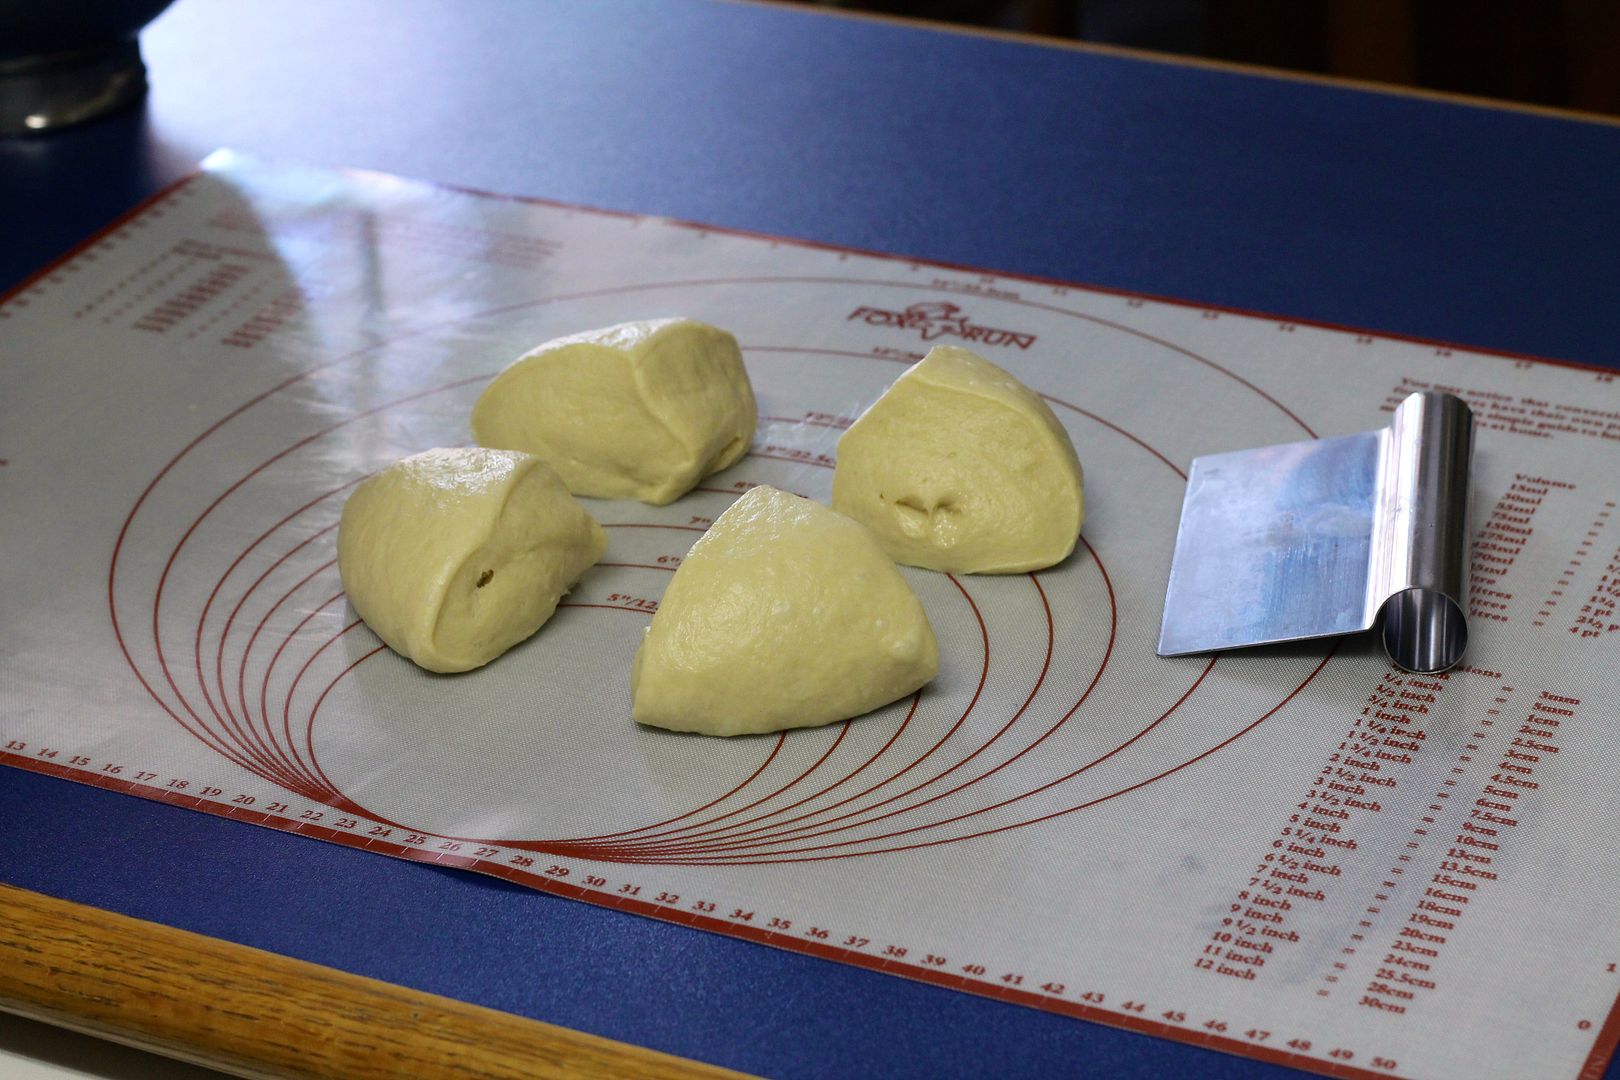
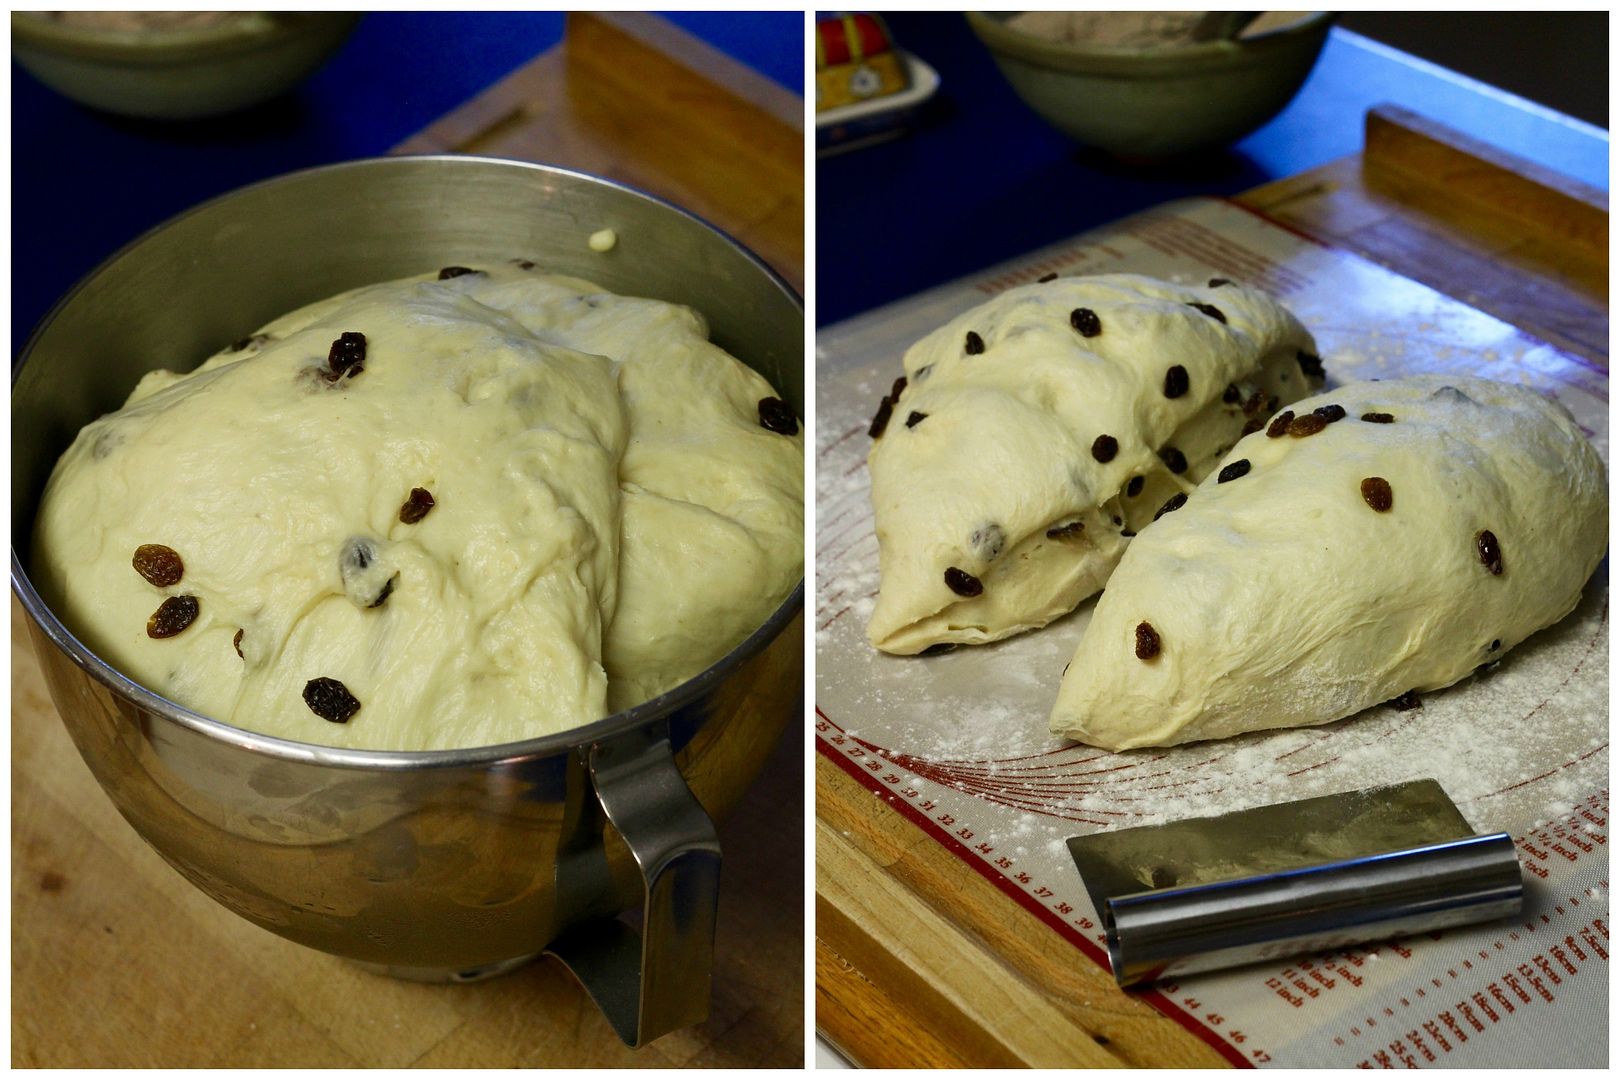
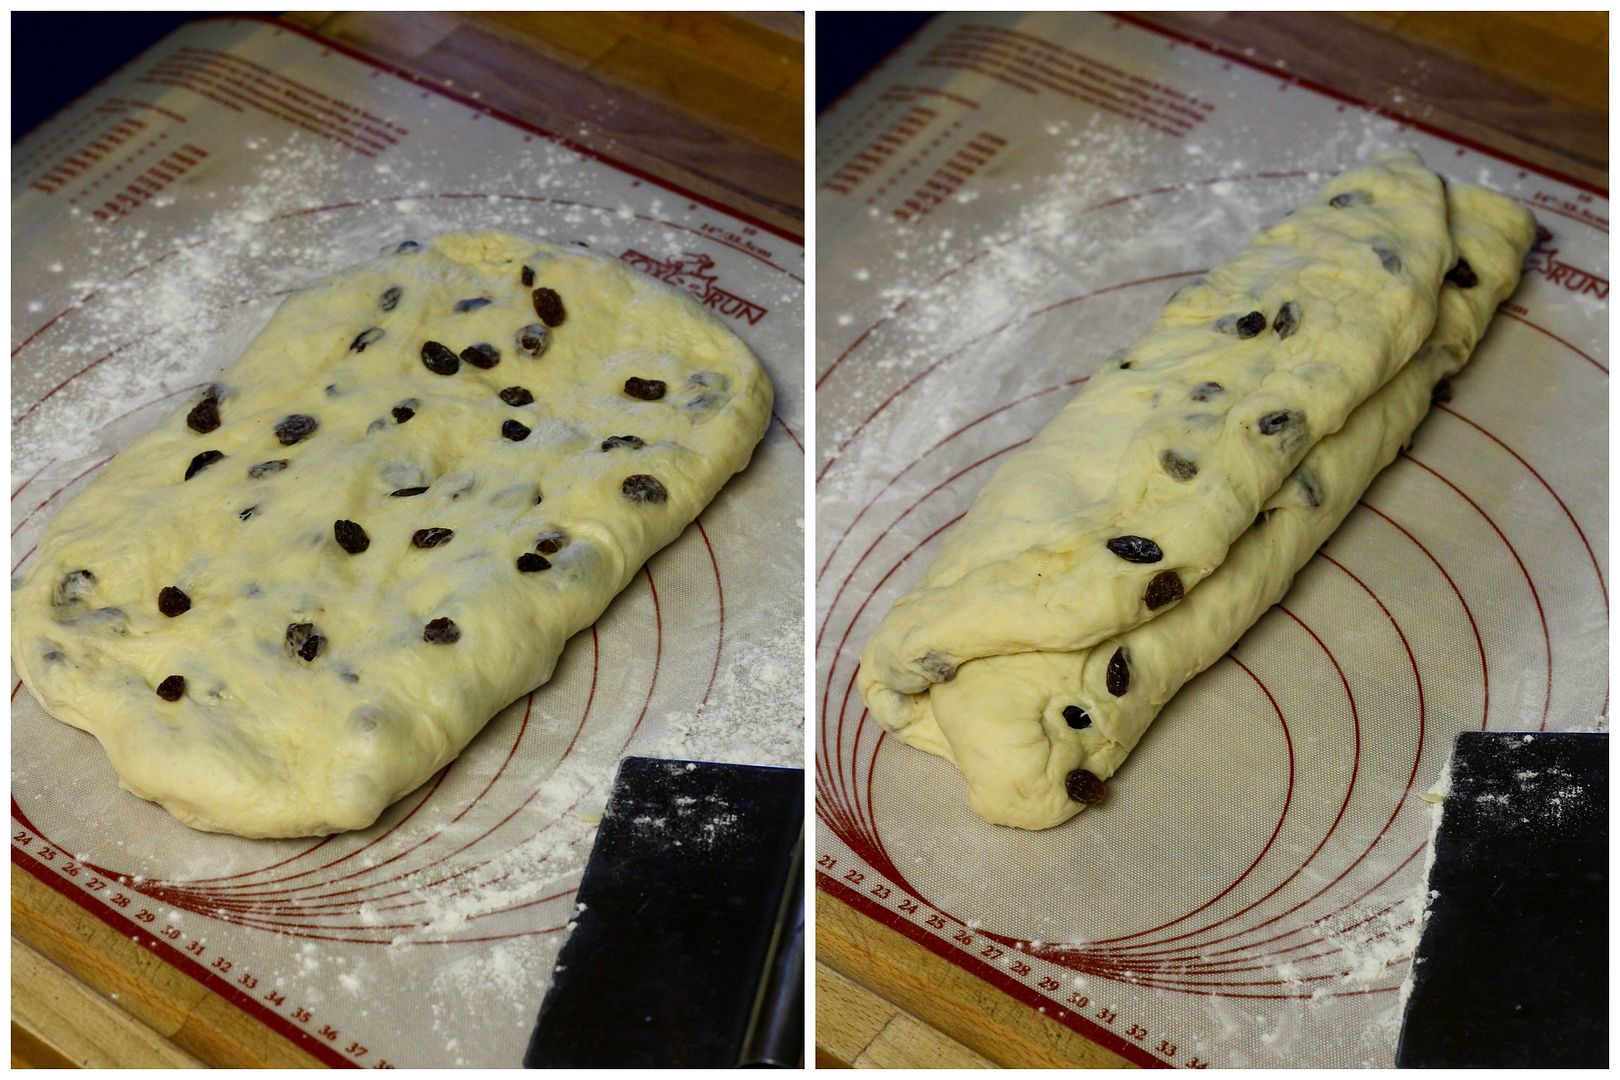
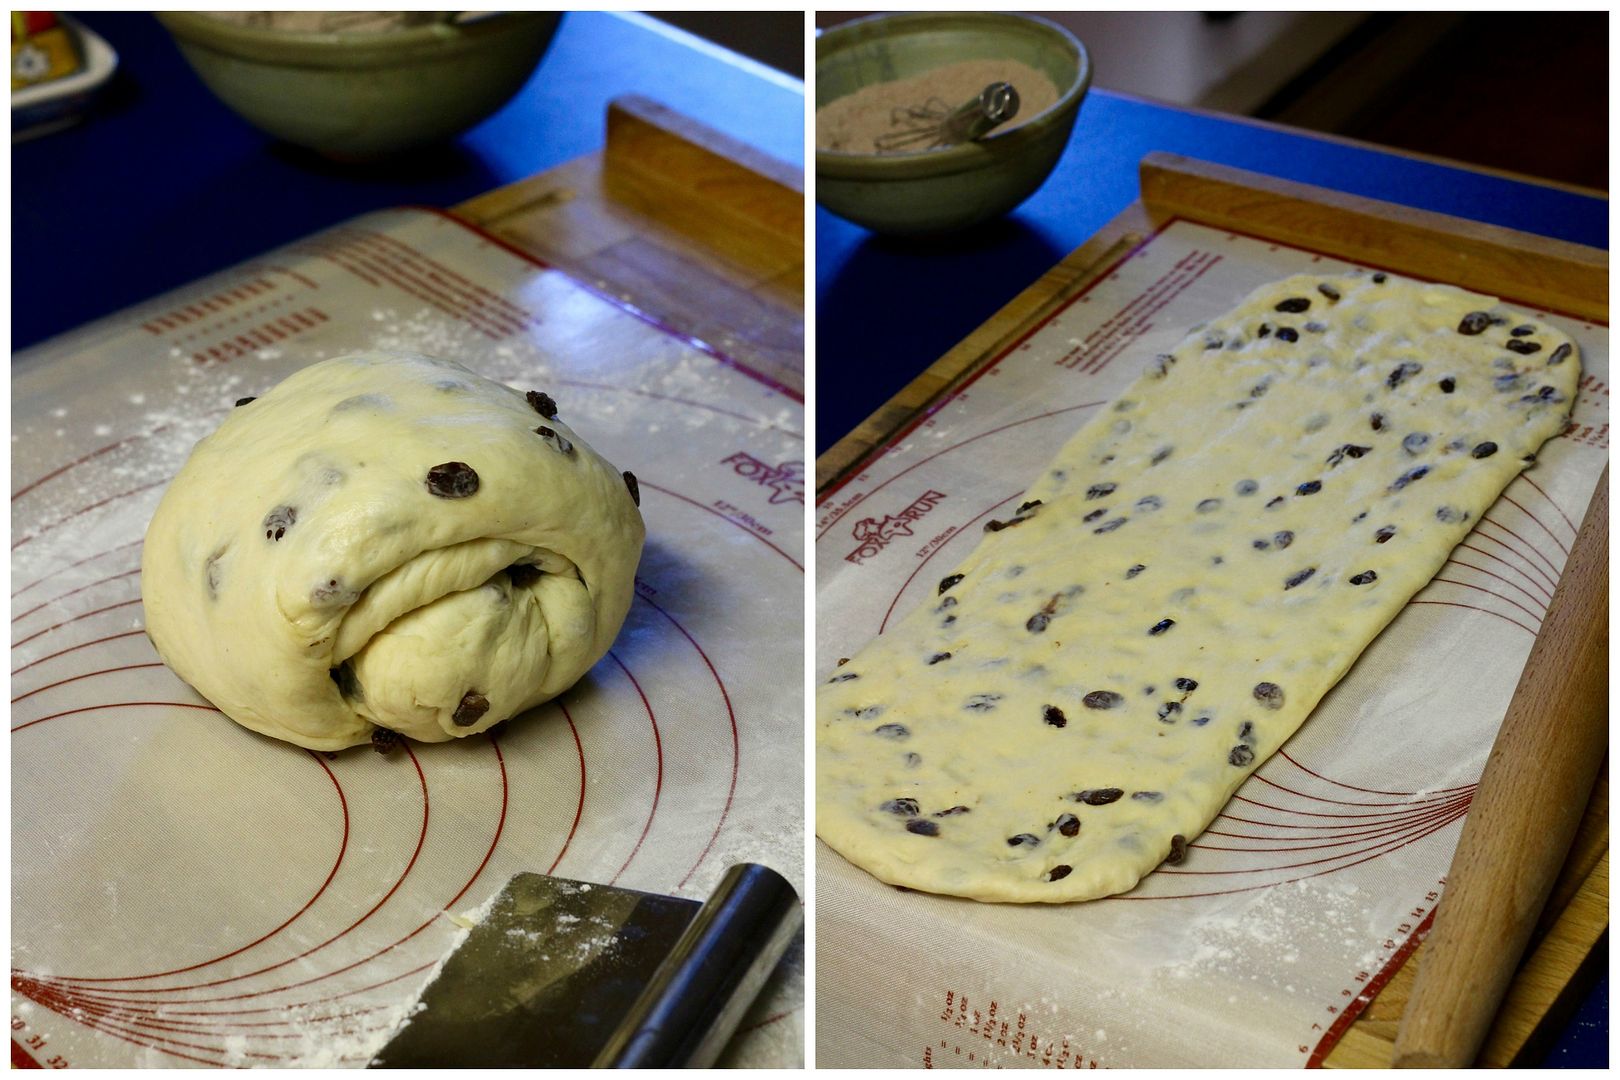
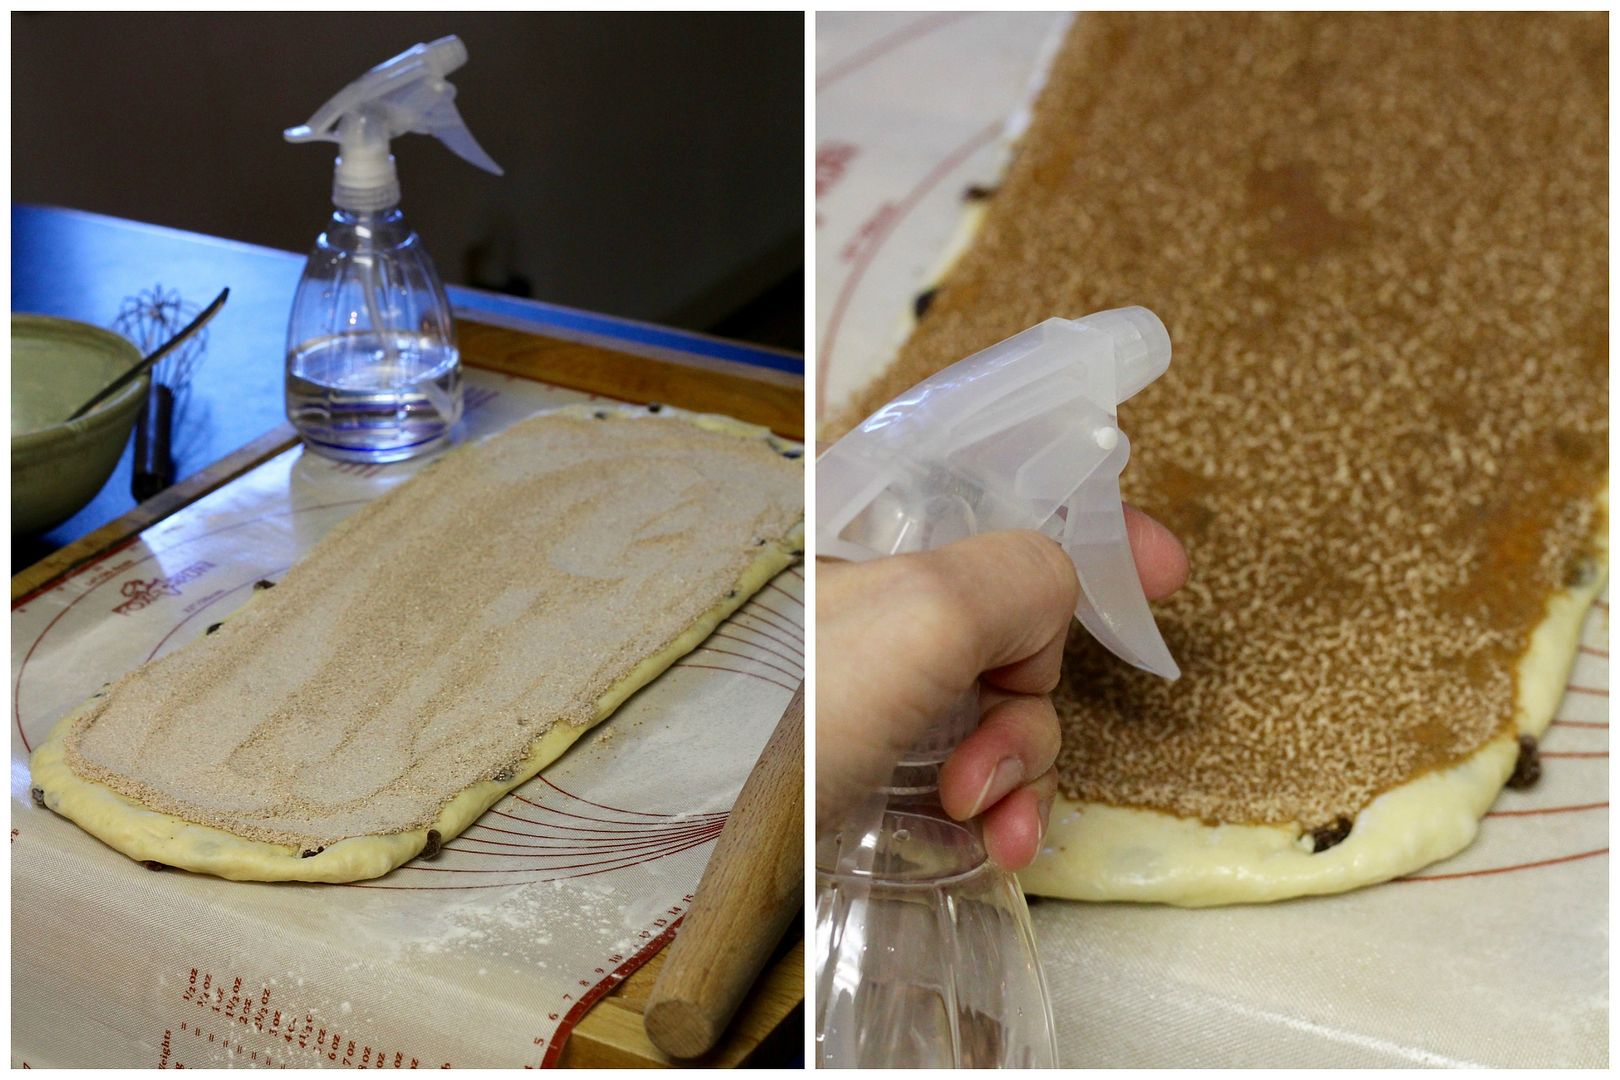
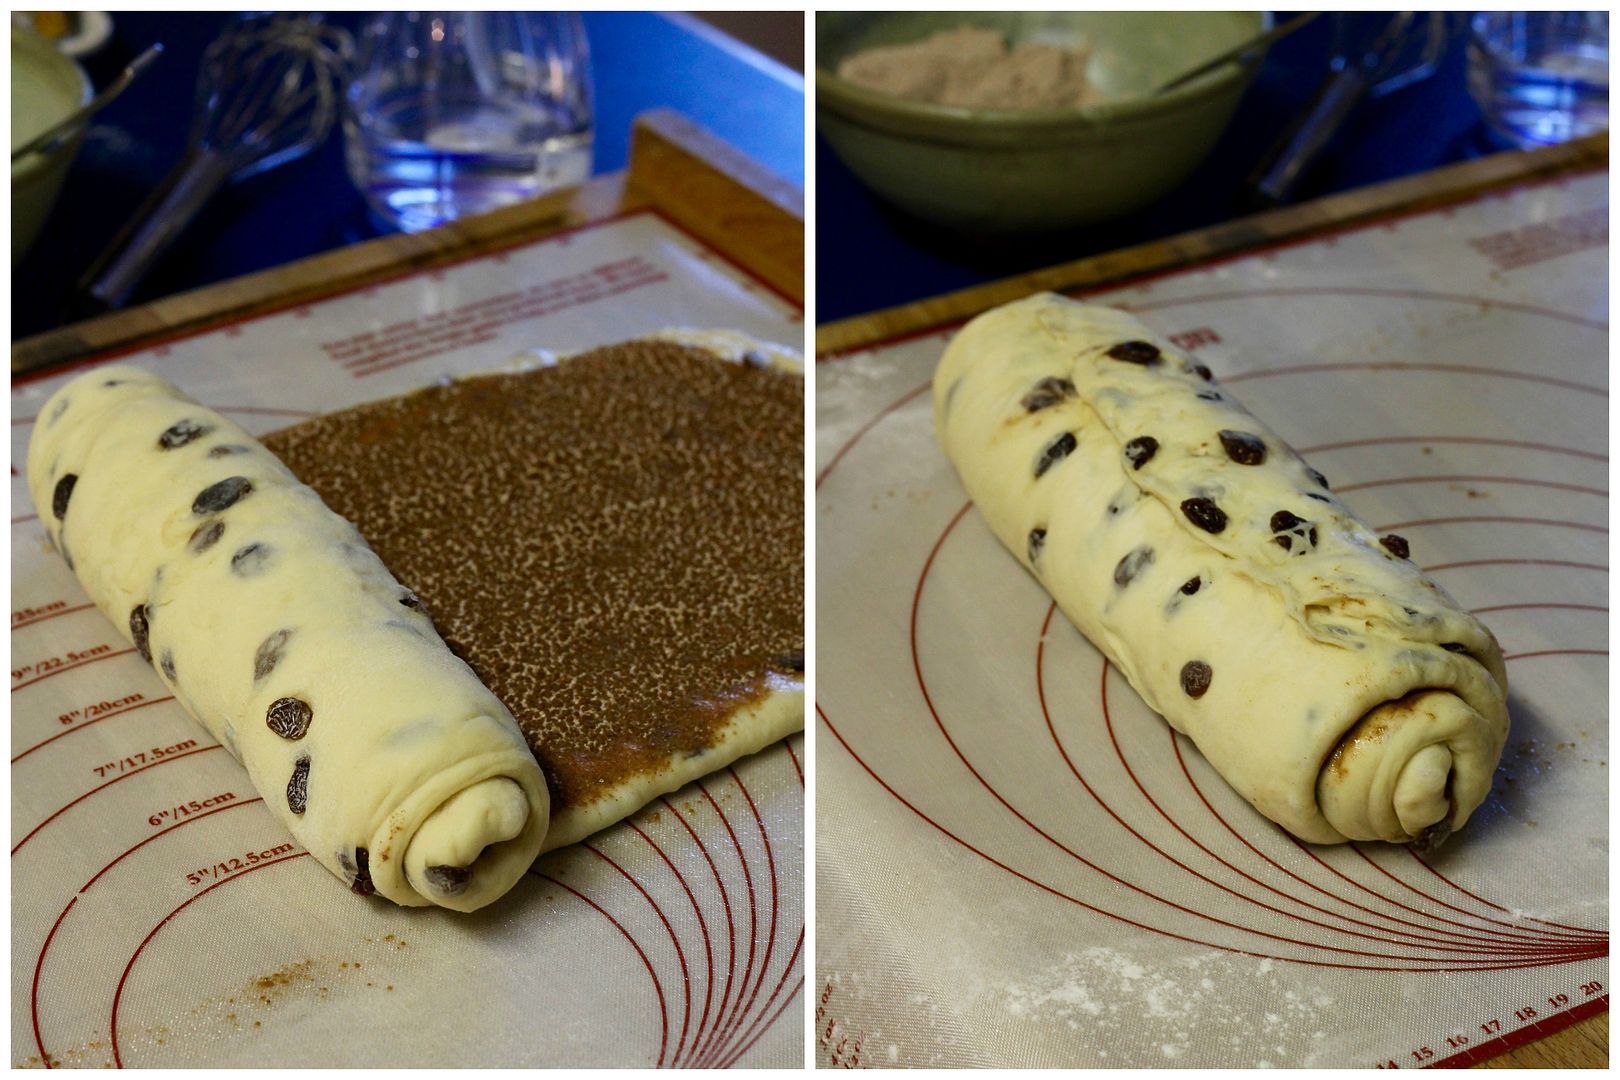
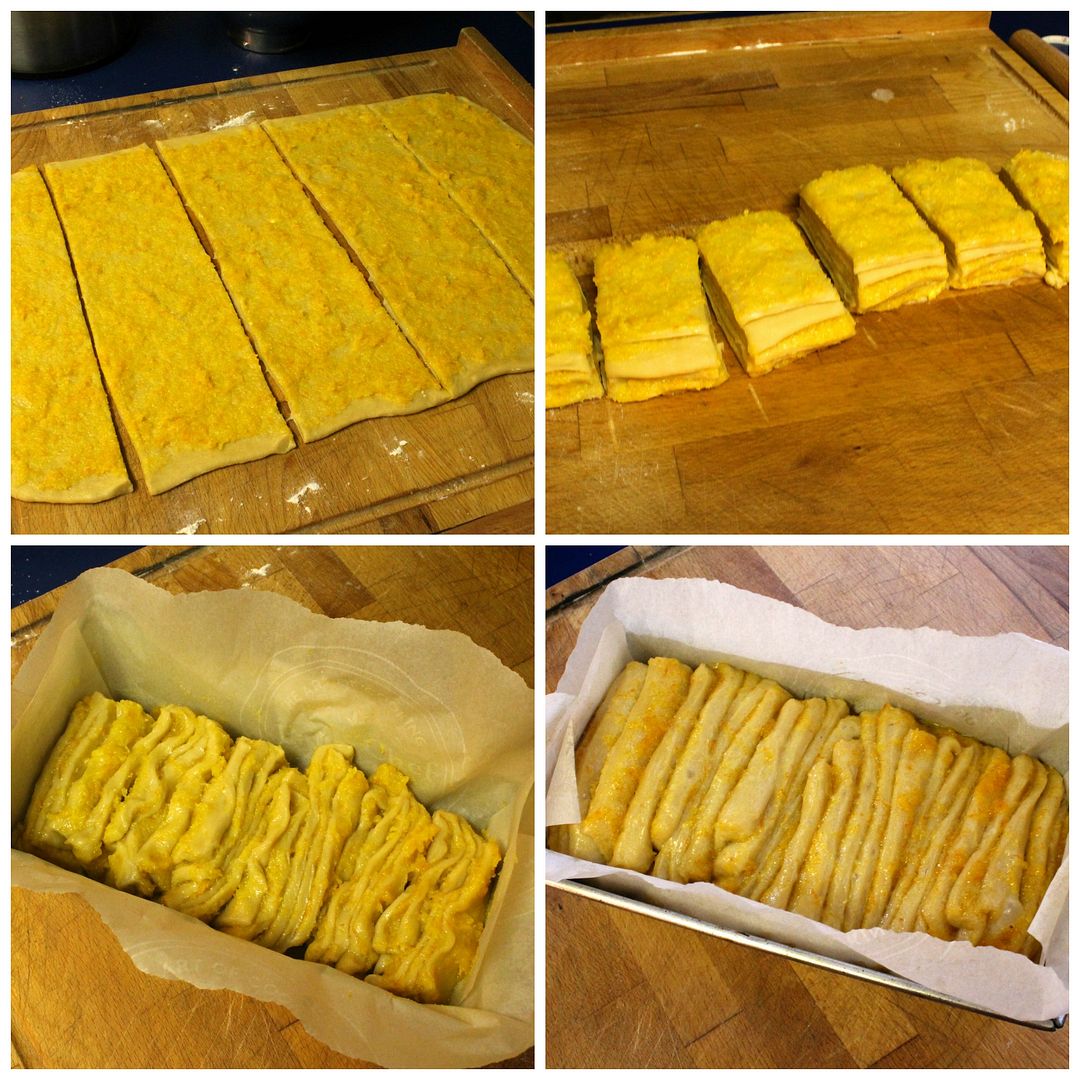
On a lightly floured surface, punch down the risen dough and roll it out into a 20″ x 12″ rectangle. Spread it evenly with the citrus-butter mixture. Cut the rectangle across its width into 5 even strips, then stack them on top of each other. Cut the stack into 6 even pieces, each about 4″ x 2″. Stack the layered dough in the prepared loaf pan like index cards, cut edged up – it might be a tight fit lengthwise, but the dough will have room to rise and grow width-wise. Cover with plastic wrap and place somewhere warm to proof. Again, this will take several hours but will depend on the temperature and your starter. At this point you can also refrigerate the loaf overnight and then let it proof at room temperature for several hours the next day before baking. When the dough is puffy and remains indented when poked with a finger, it is ready to bake.
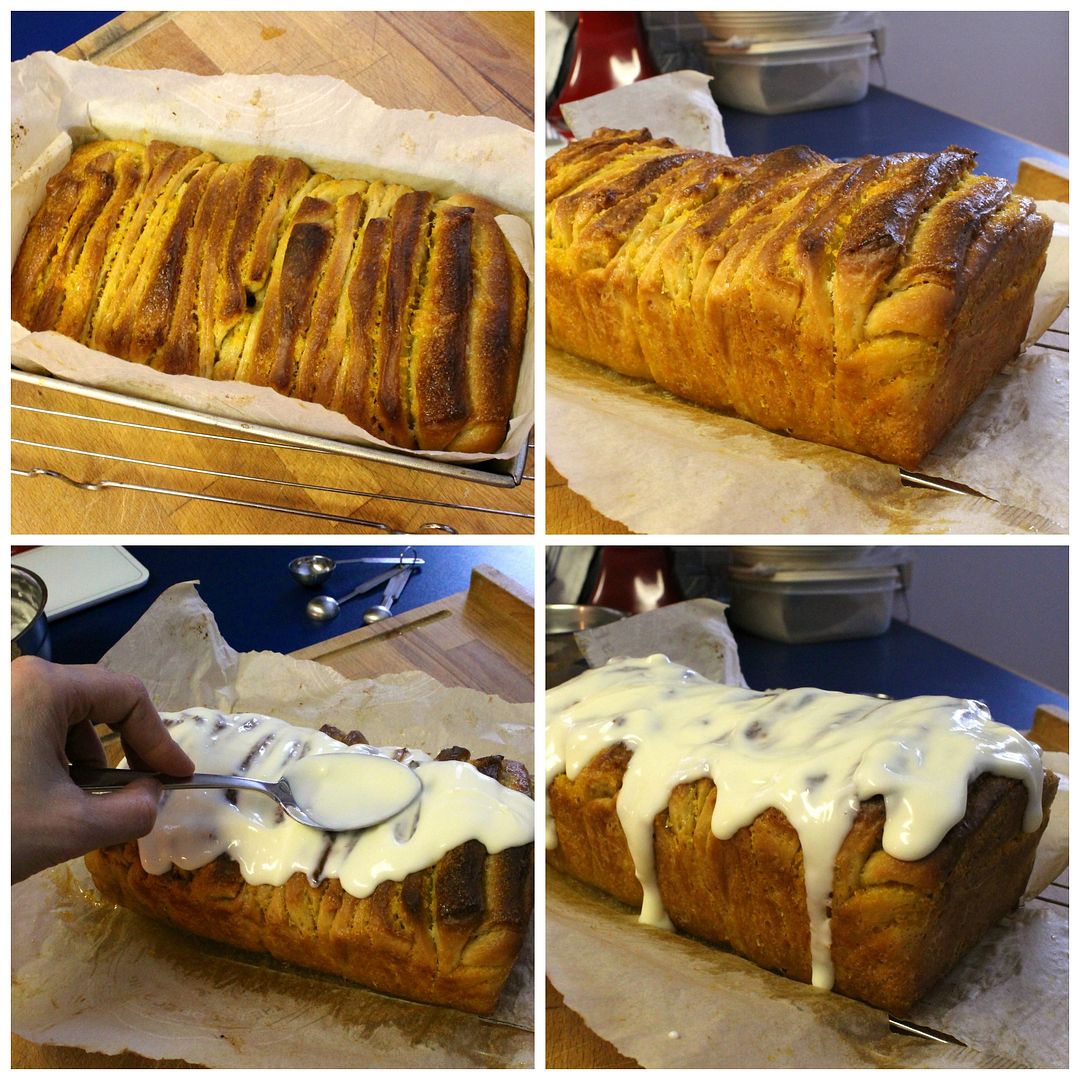
Preheat the oven to 350˚F. Bake the loaf in the middle of the preheated oven for 30-35 minutes, until golden brown and hollow-sounding when tapped (you can cover the loaf with foil if it is browning too much). Cool the loaf in the pan for 10 – 15 minutes while you make the cream cheese glaze.

Cream Cheese Glaze

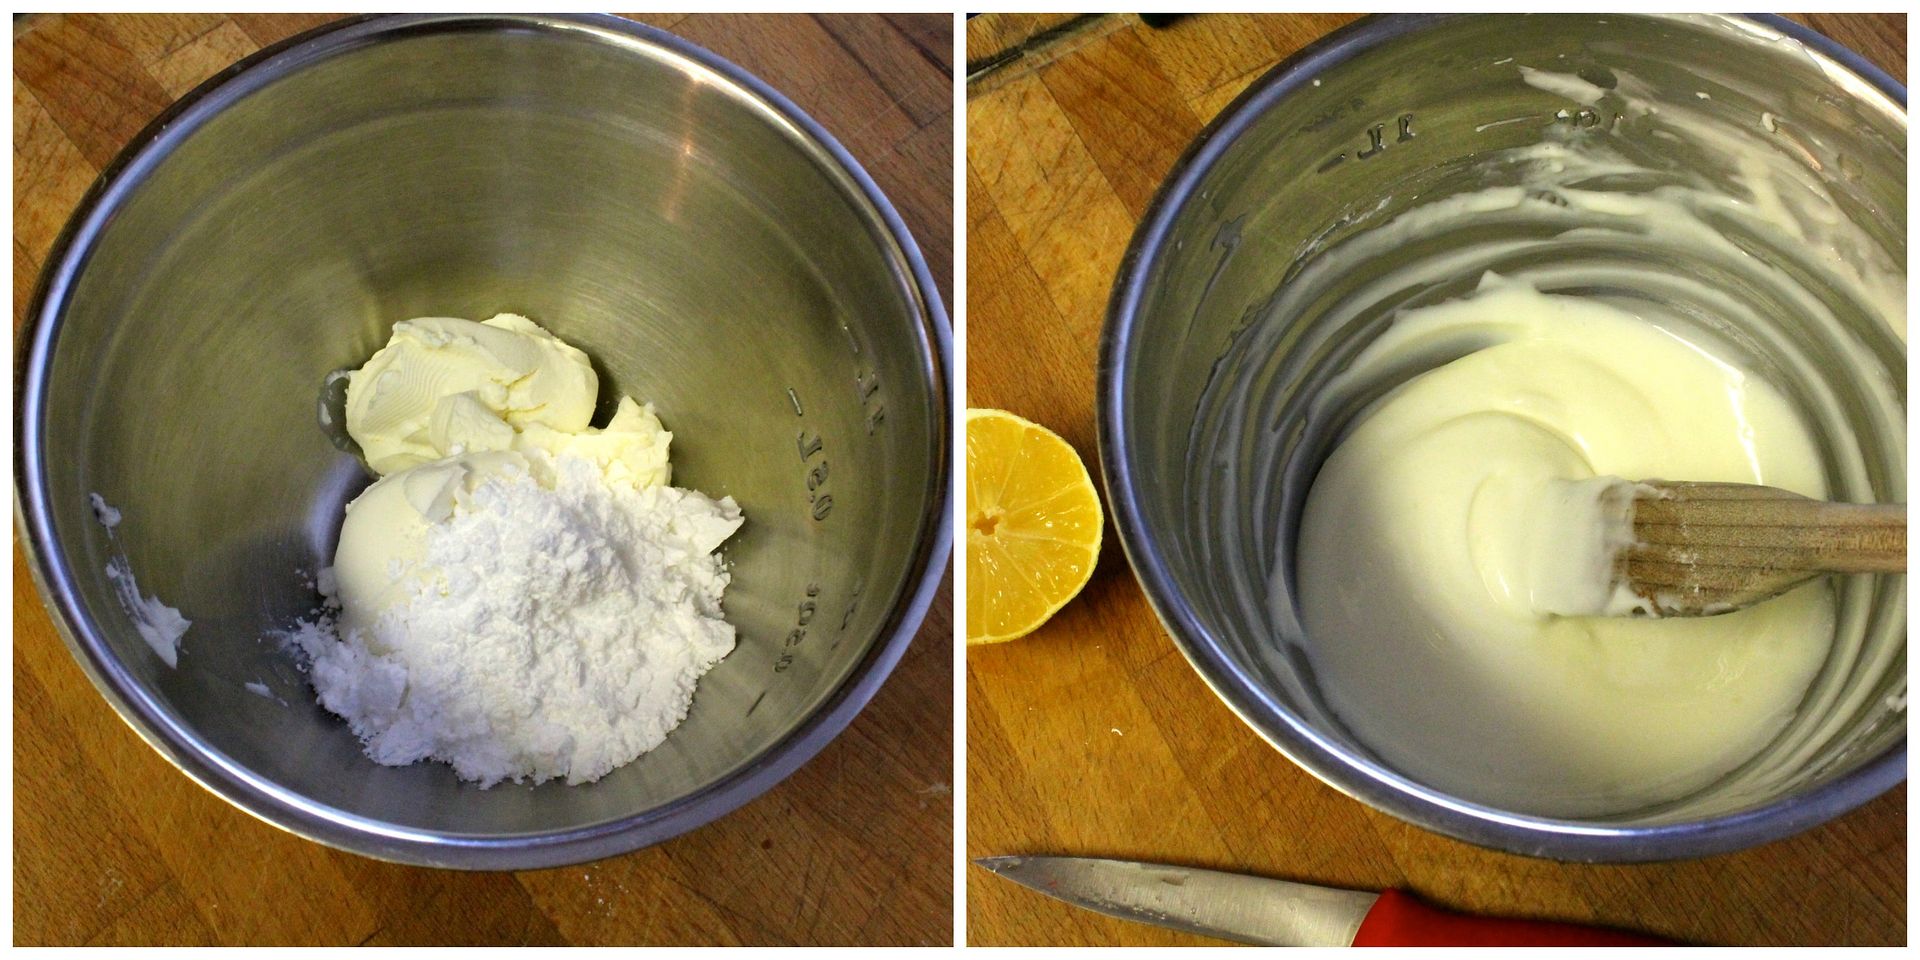
In a small bowl, cream together 85 g cream cheese and 35 g icing sugar until smooth. Add 18 g milk and 18 g lemon juice (1 tbsp each) and mix until smooth.
Remove the still-warm loaf from the pan, peel the parchment paper off the sides, and pour the glaze over the top. Spread it out, letting it drip down the sides. Serve warm by pulling off slices, or at room temperature by cutting into pieces on the diagonal with a bread knife.


Daring Bakers: Beautiful Bread

$
0
0

Beauty surrounded the Daring Bakers this month as our host, Sawsan, of chef in disguise, challenged us to make beautiful, filled breads. Who knew breads could look as great as they taste?

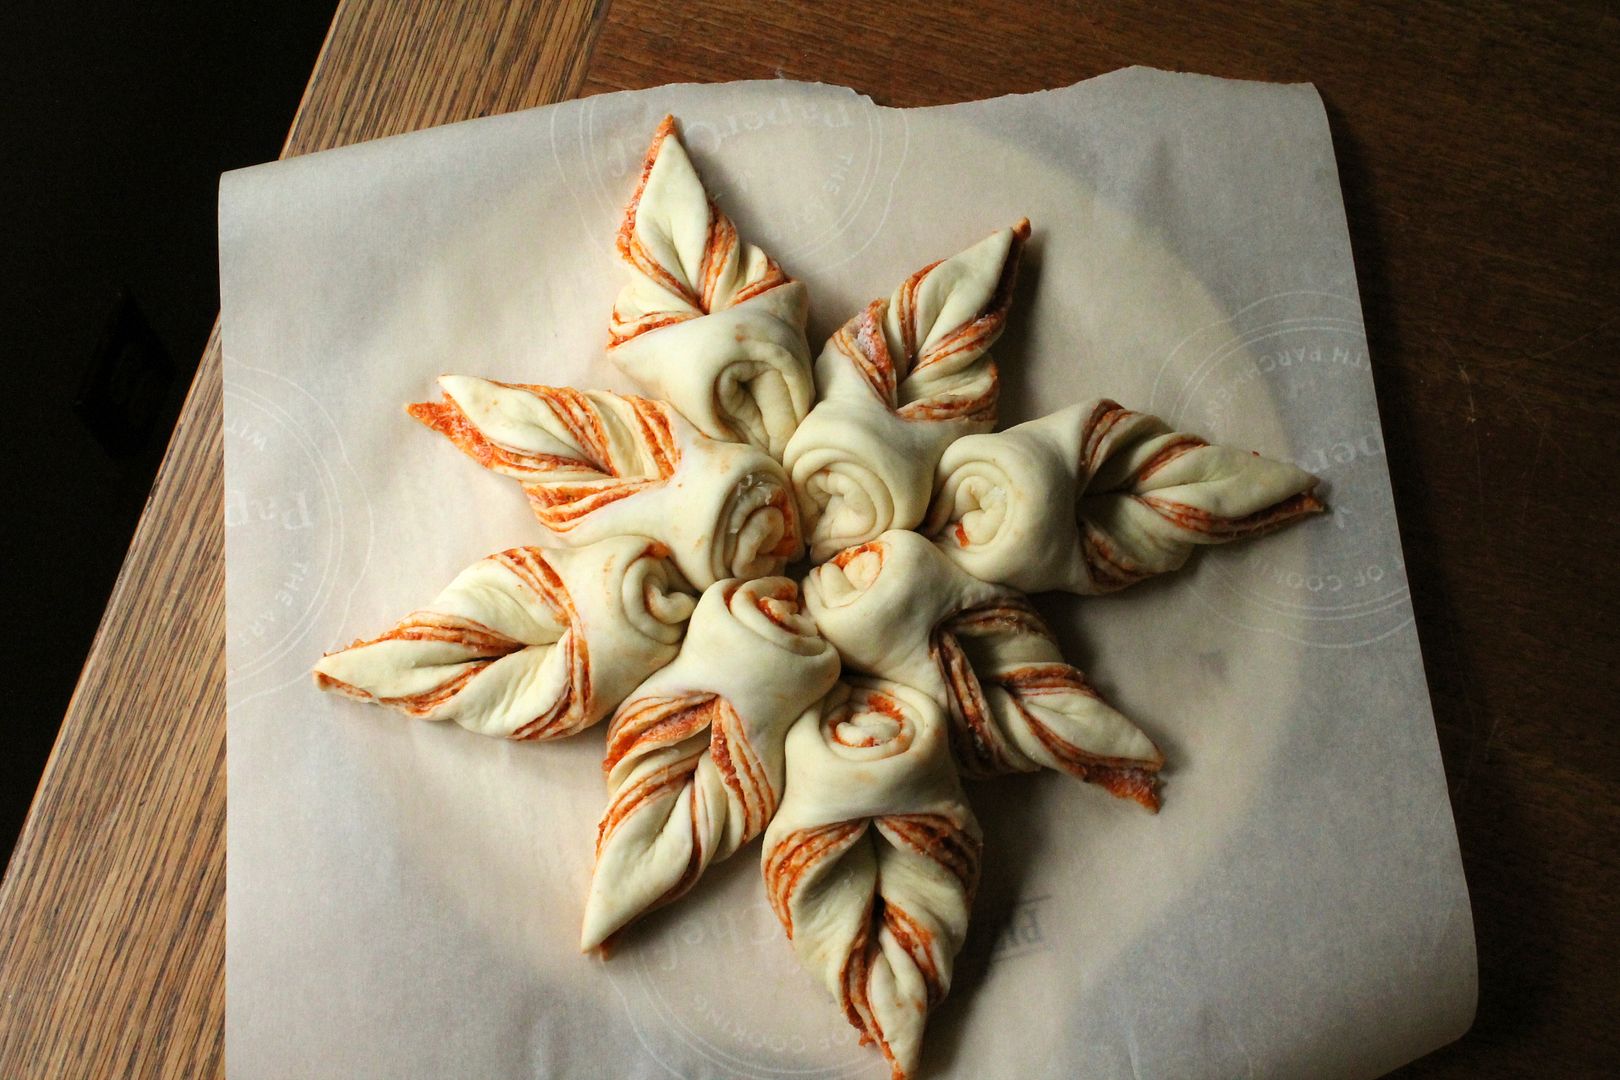
This month’s posting date snuck right up on me so I’ll keep this brief! I was delighted with my friend Sawsan’s challenge this month to make beautiful twisty bread in the style of the very talented bread artist Valentina Zurkan. I’ve made sticky buns similar to this before filled with lemon and rosemary, so I opted for a savoury pizza bread version and a slightly more complicated shape this time.

To be honest, this is not the most exciting tasting thing I’ve ever made (as Nate pointed out, pizza bread rarely lives up to expectations) but the bread dough recipe was wonderful and I’ll definitely make it again. I was super happy with how the bread design turned out too – the shape reminds me of a Celtic green man – but I’d recommend a much more interesting filling than plain old pizza sauce and cheese so that the flavour lives up to the beauty of the bread. So even though it wasn’t terribly good pizza bread, it was delicious as regular bread and made for some very beautiful bunwiches!
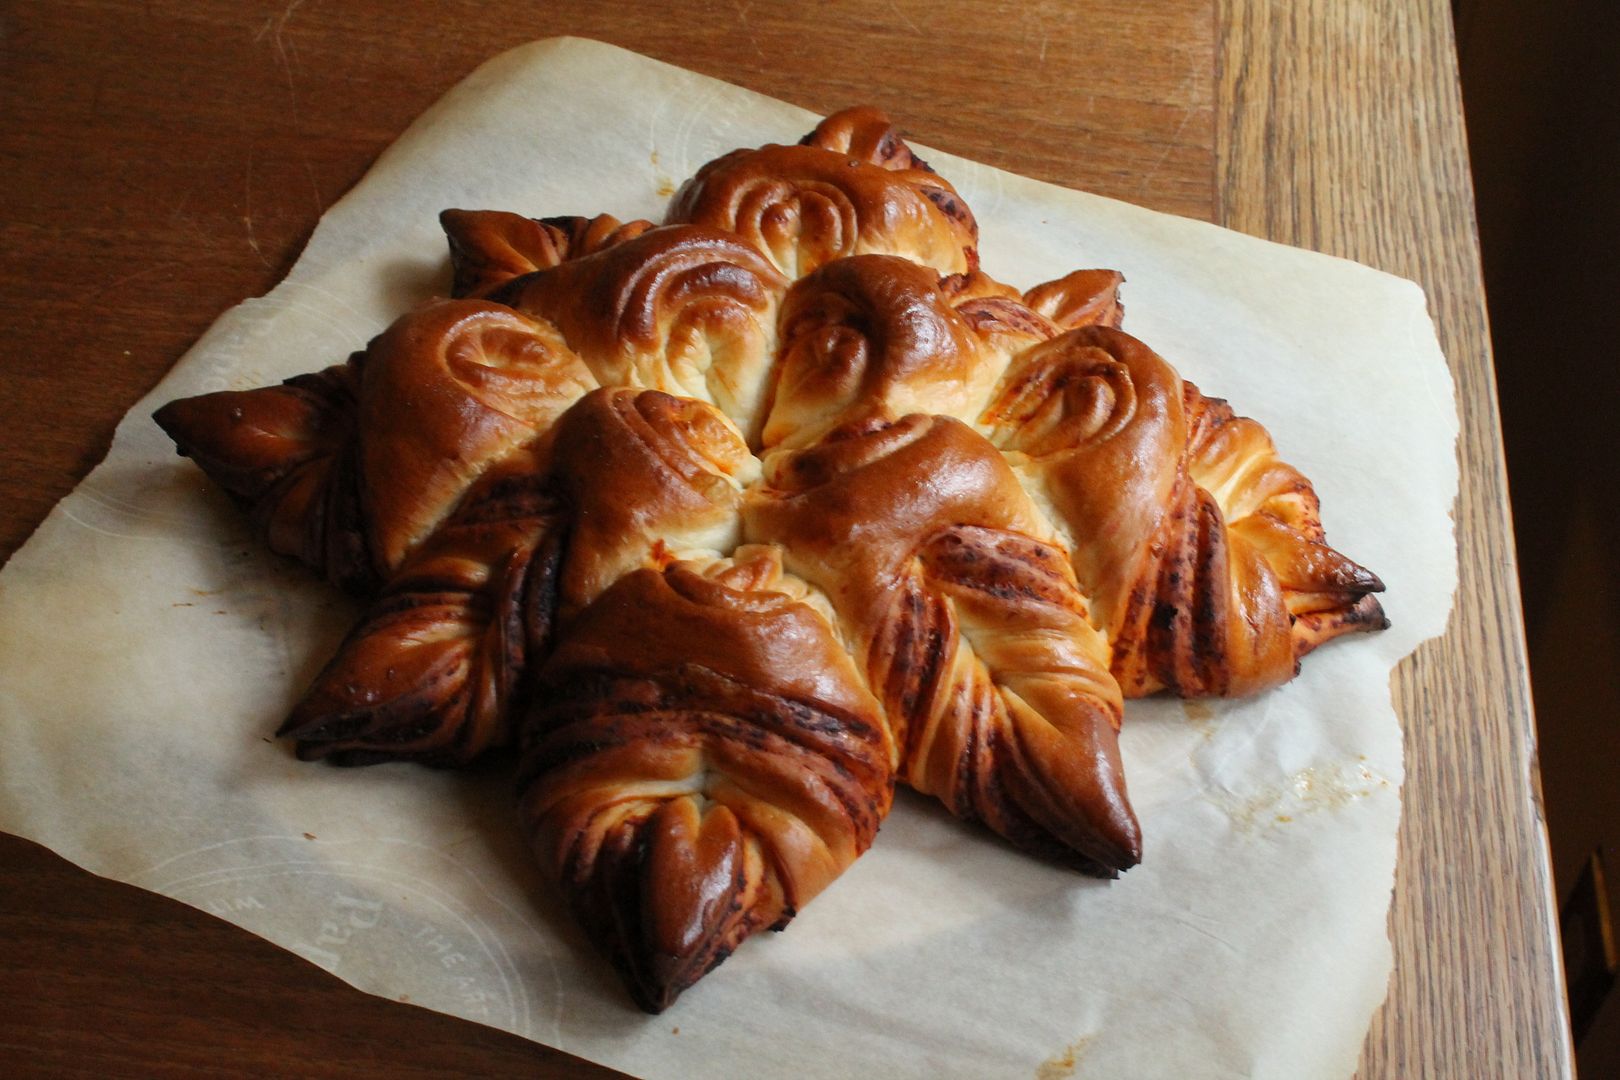
Sawsan, thanks for being such a lovely and supportive host. Check out the Daring Kitchen for the other bread masterpieces made this month.

Beautiful Bread

Dough adapted from Peter Reinhart’s Artisan Bread Every Day via Seasons and Suppers. Design inspired by Valentina Zurkan. Makes 1 large “loaf”.

Soft White Bread Dough

In a small saucepan, combine:

1/2 cup + 1 tbsp milk

1/2 cup water

2 tbsp unsalted butter, diced

Warm over low heat to melt the butter, then set aside until just slightly warm.

Meanwhile, stir together in the bowl of a mixer:

14 oz (3 1/4 cups) all purpose flour

2 1/2 tsp granulated white sugar

3/4 tbsp instant yeast

1 tsp fine salt

Add the warm milk mixture and stir on low speed with the dough hook until combined.

Let sit for 5 minutes, then knead on medium speed for several minutes until soft, cohesive, and no longer sticky (add more liquid or flour as needed).

Place the dough in a lightly buttered bowl, cover with plastic wrap, and let it rise somewhere warm until doubled, about 60-90 minutes.

Shaping

You will need 1/4 – 1/2 cup flavourful savoury filling of your choice, such as pesto or olive tapenade.

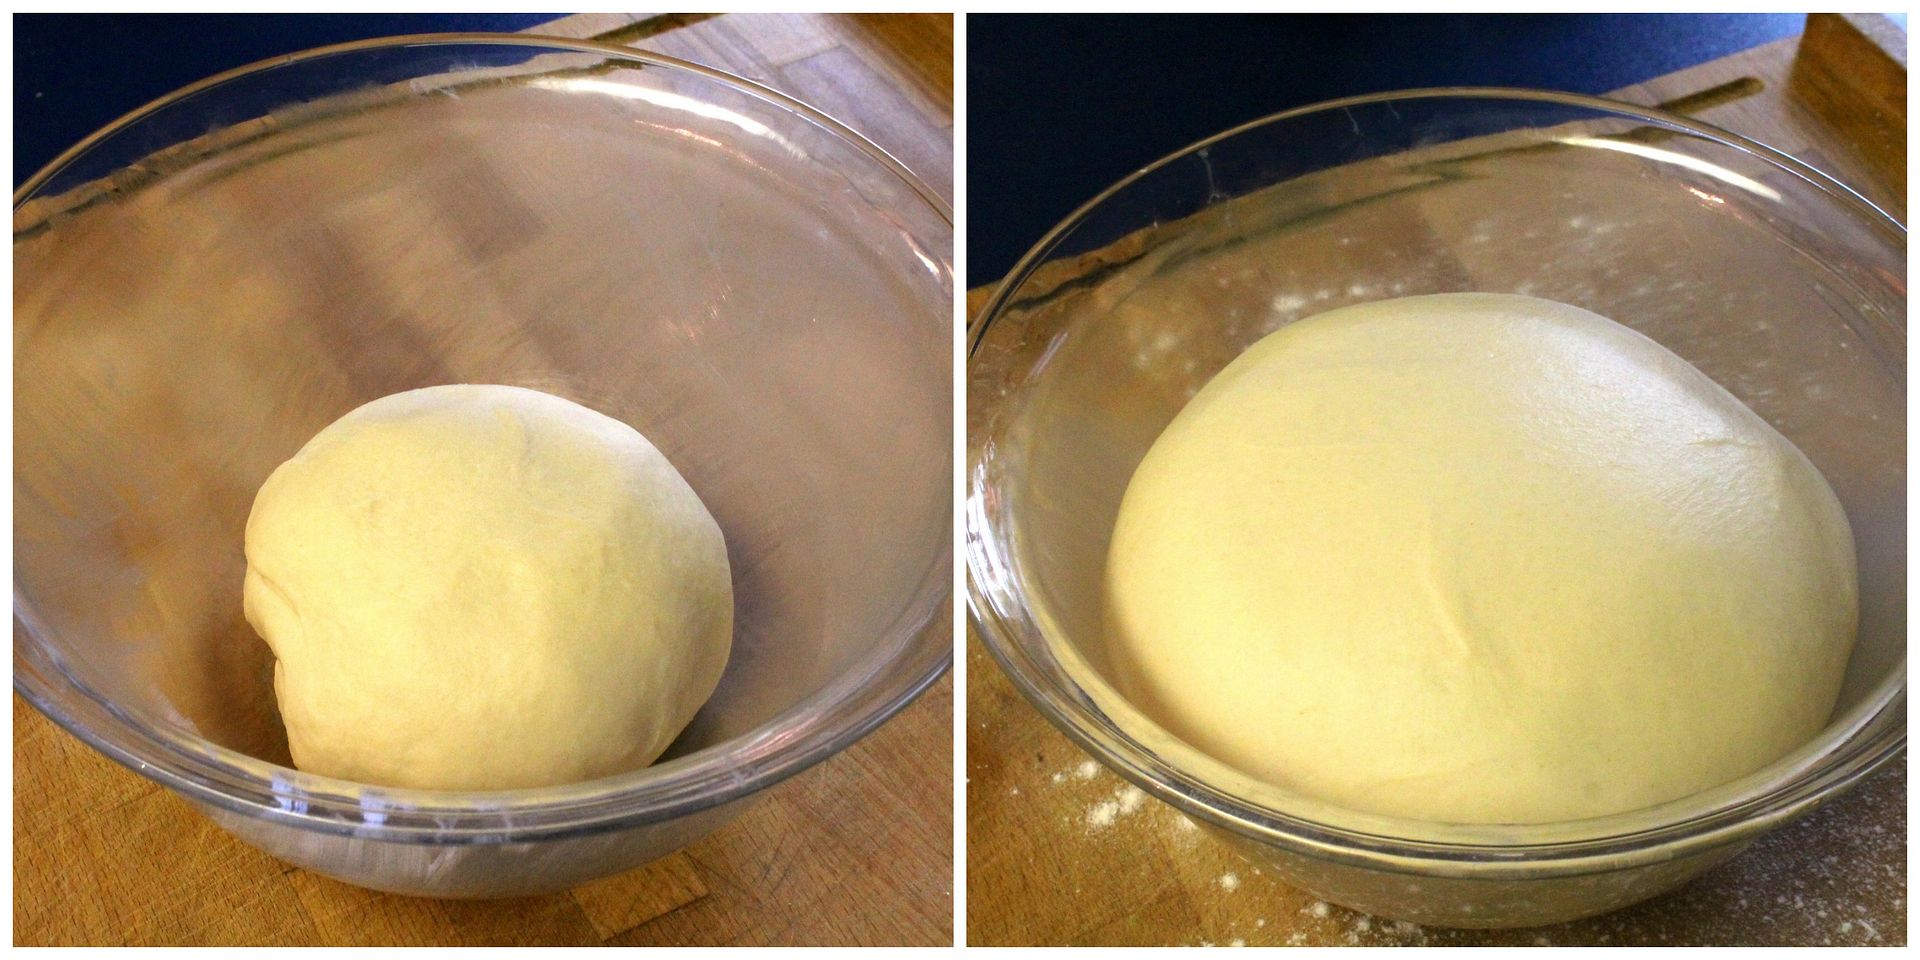
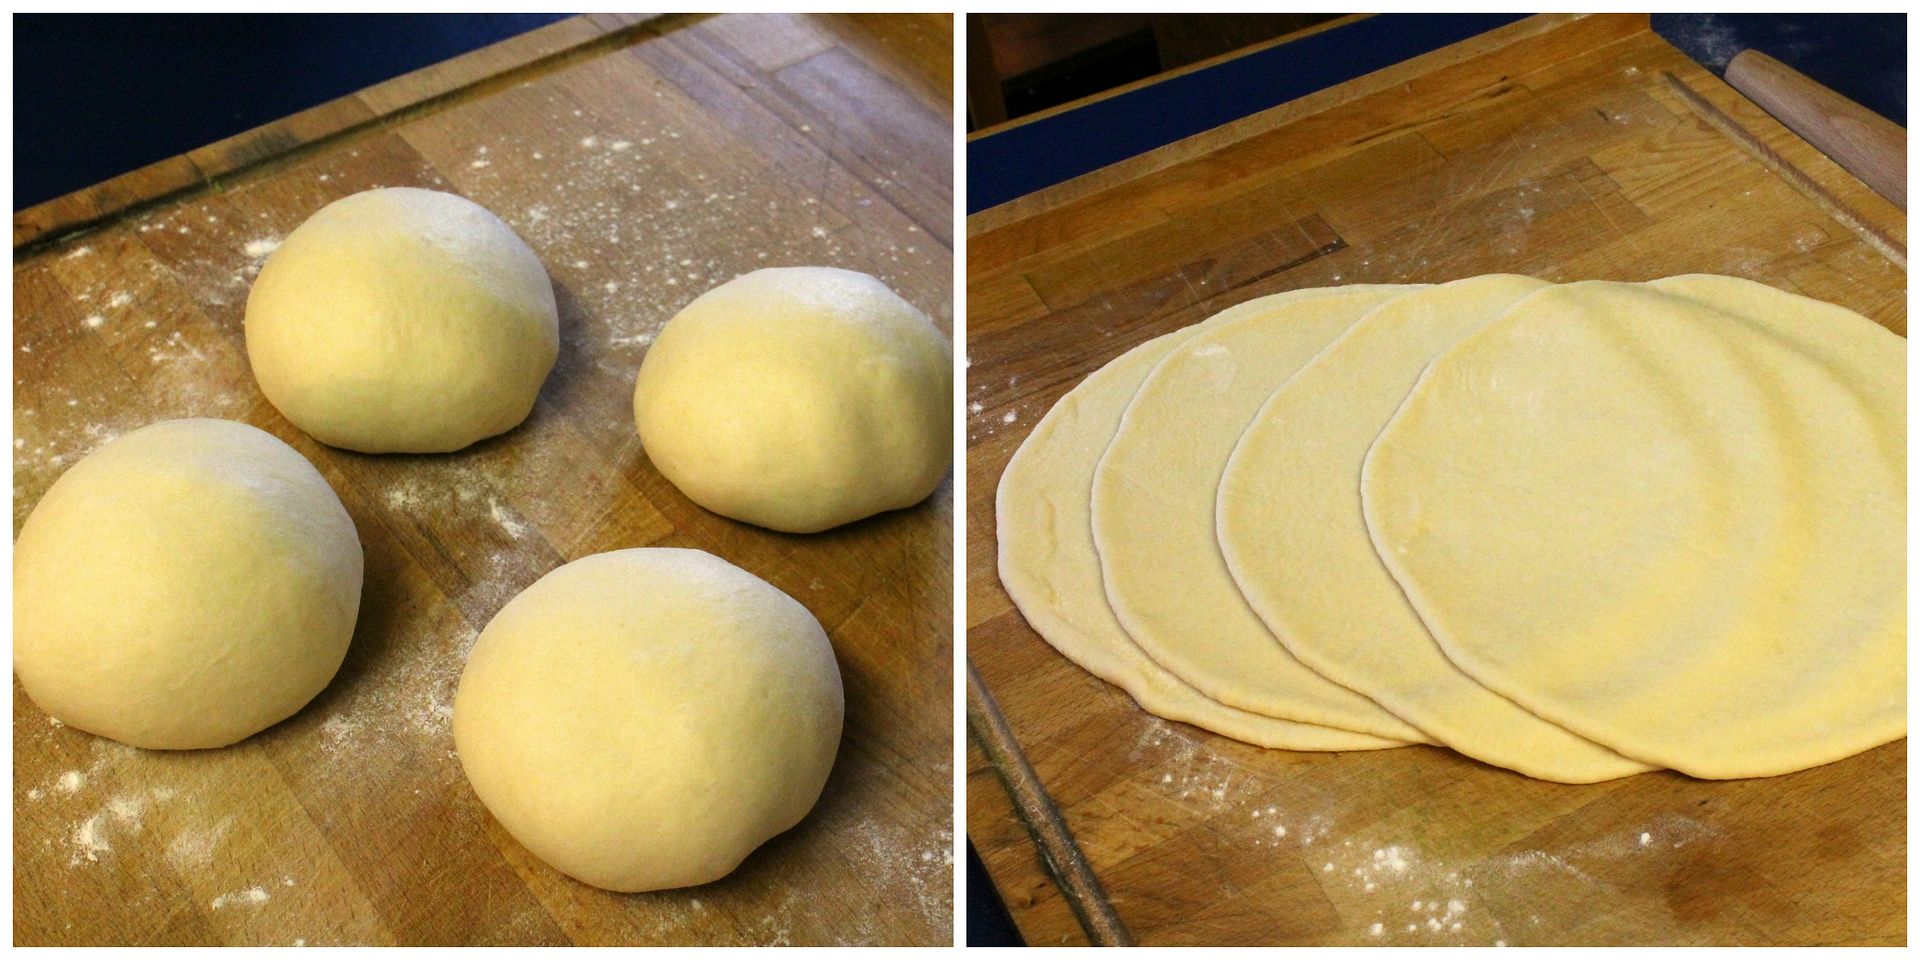
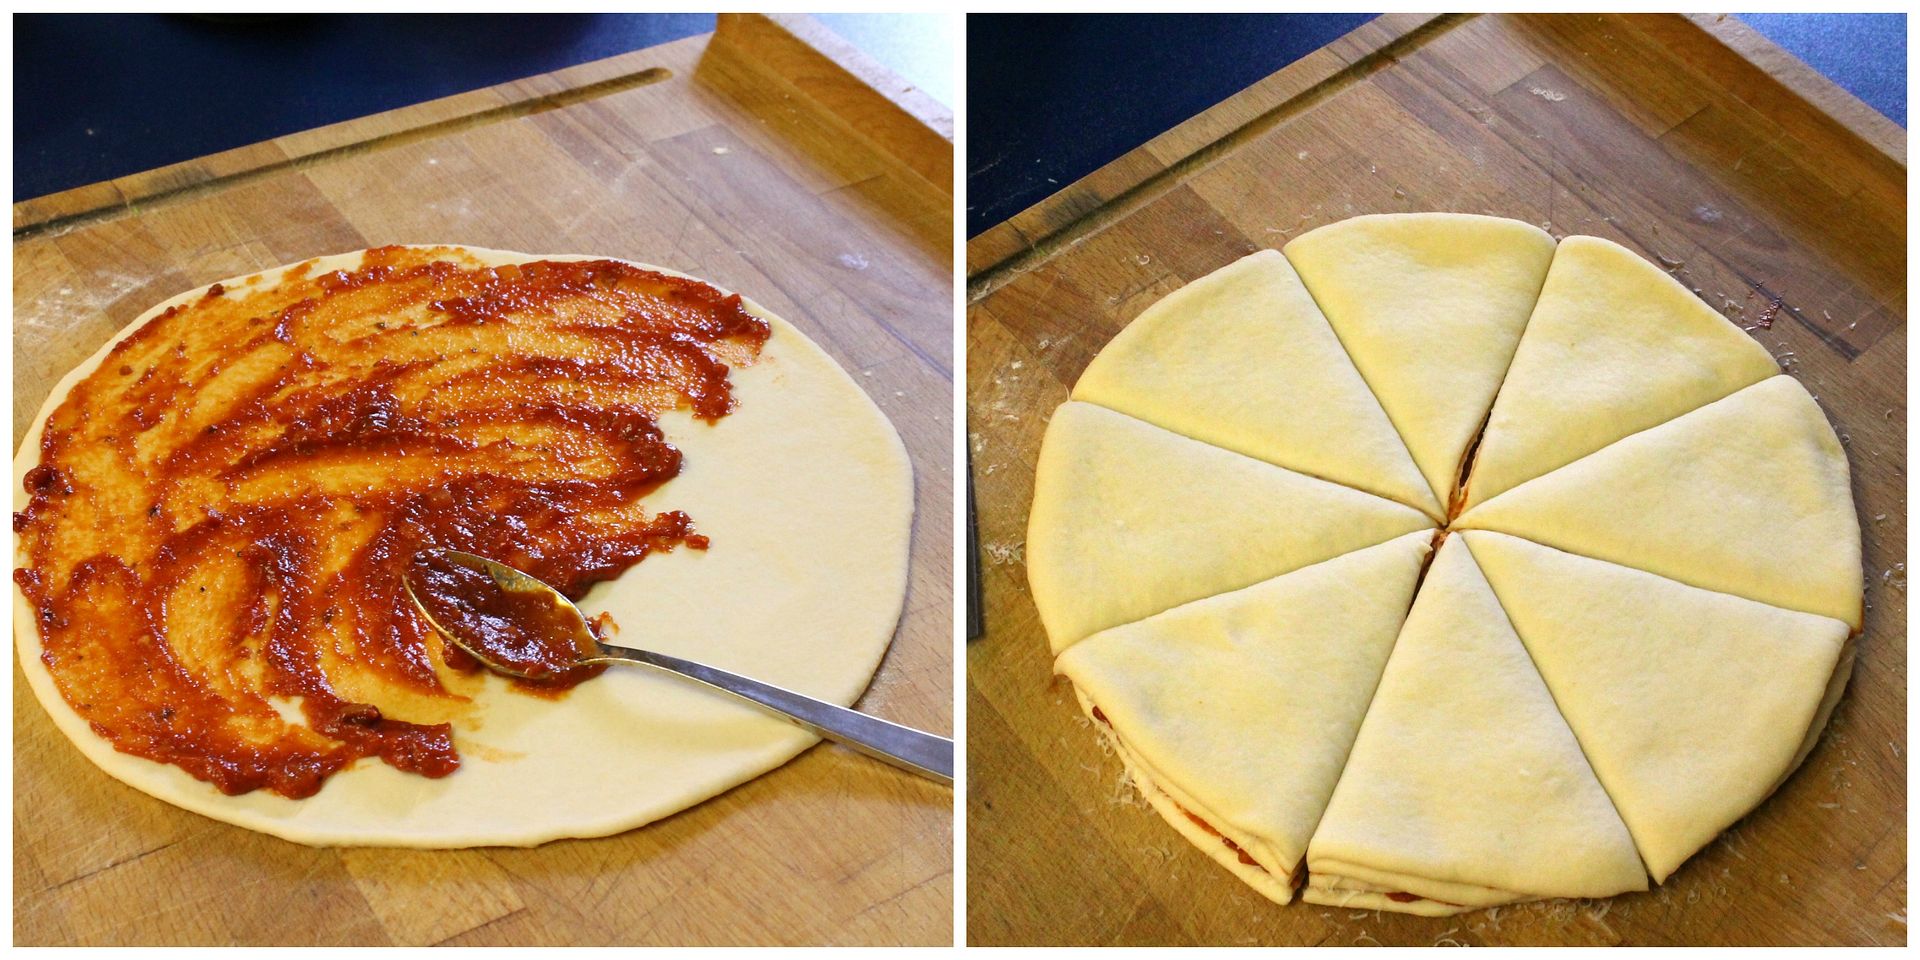
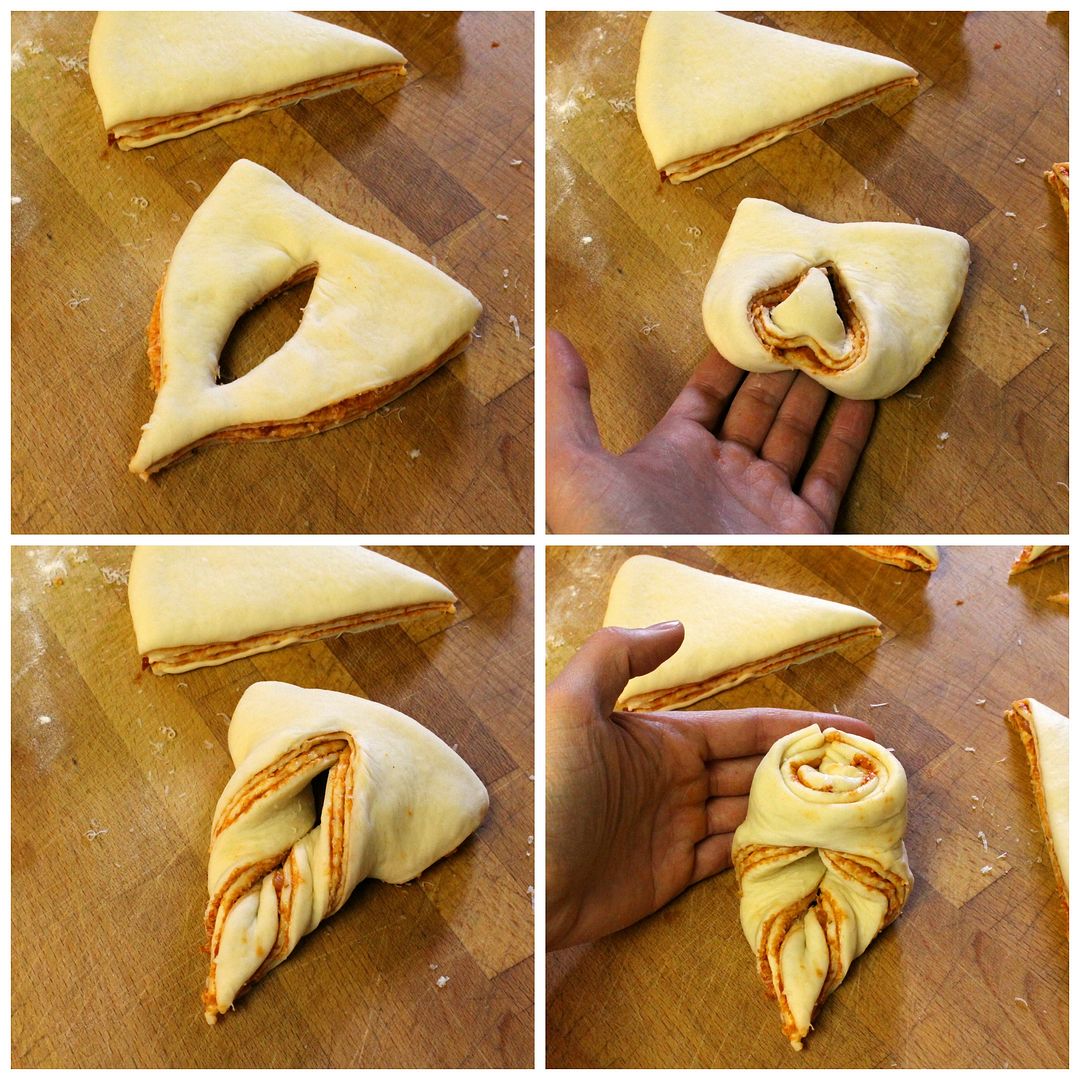
Gently punch down the dough and divide it into 4 equal pieces. Shape them into balls and roll each one into a 9″ or 10″ circle.Spread 3 of the rounds with the filling of your choice and stack them up. Place the 4th round on top and cut the stack into 8 equal wedges with a large sharp knife.Cut a slit in the center of each wedge and tuck the point of the wedge underneath and through the slit. Pull the tip through to form a twist, then curve the straight edge around to form a spiral.On a piece of parchment paper, arrange 4 twists in an X with their tips pointing out. Place the remaining twists in between so they point in 8 different directions. Cover lightly with plastic wrap and proof somewhere warm until puffy and the dough pushes back slowly when poked.
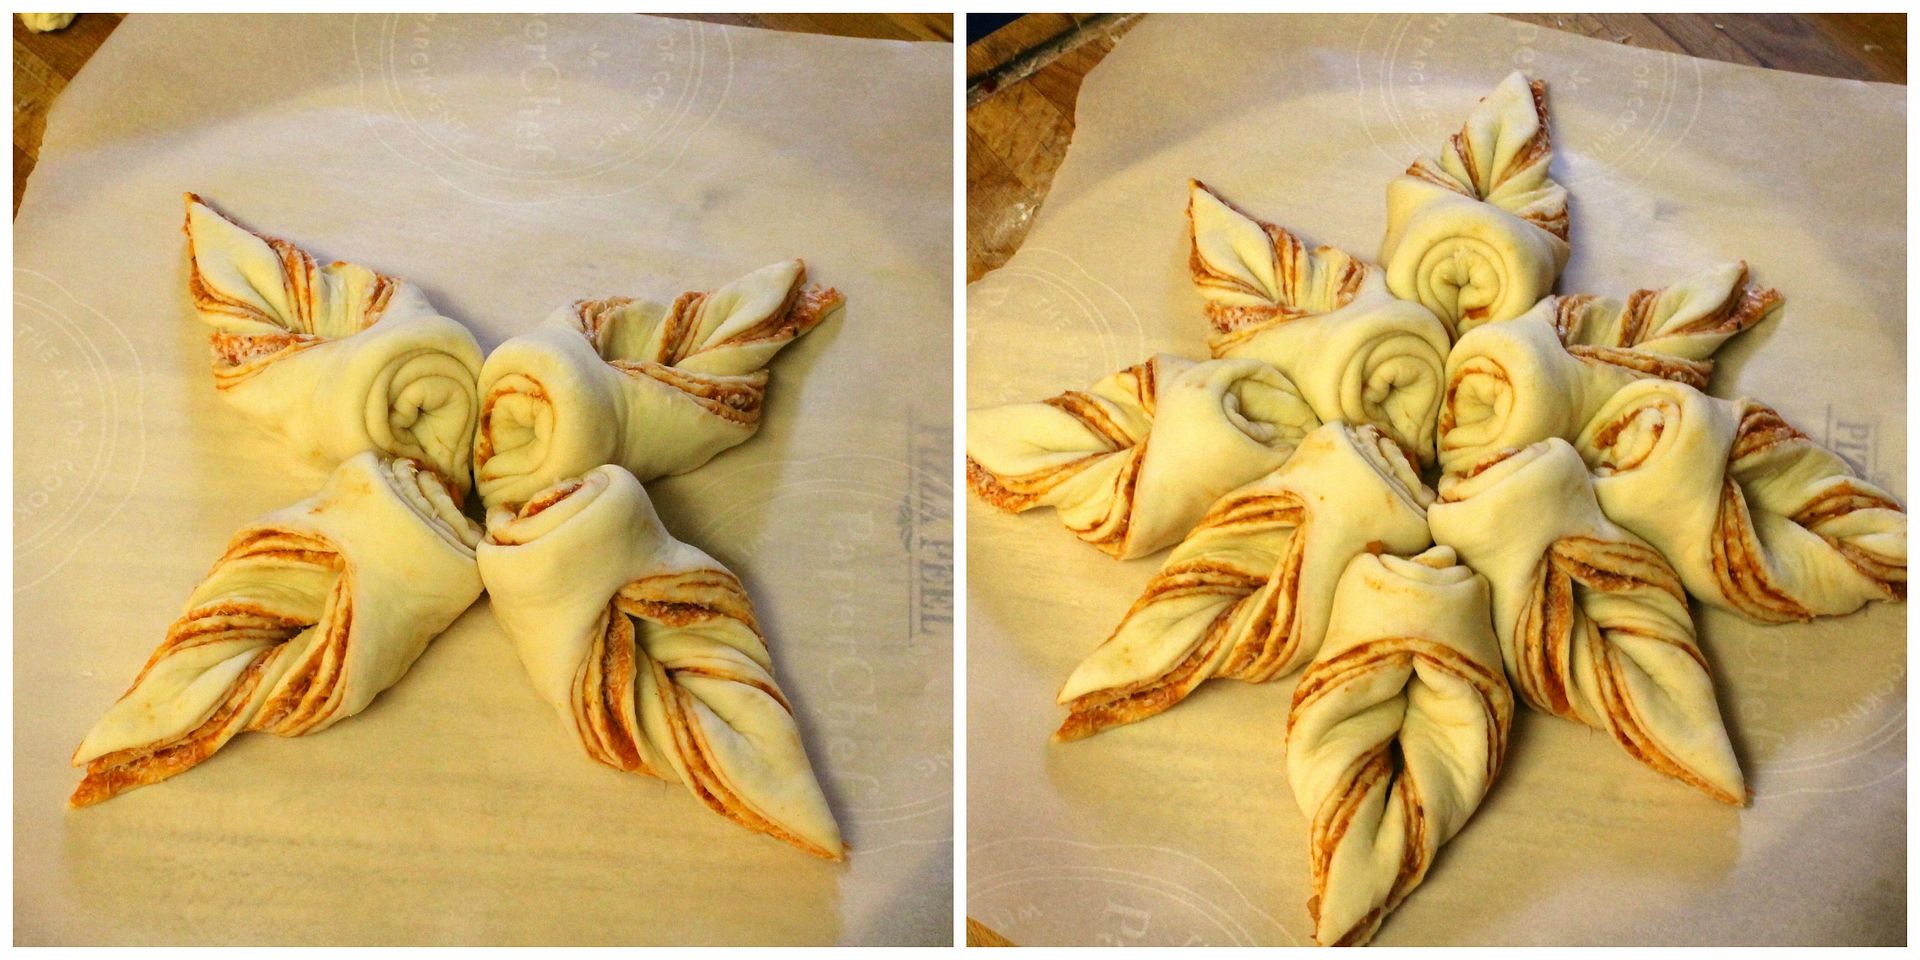
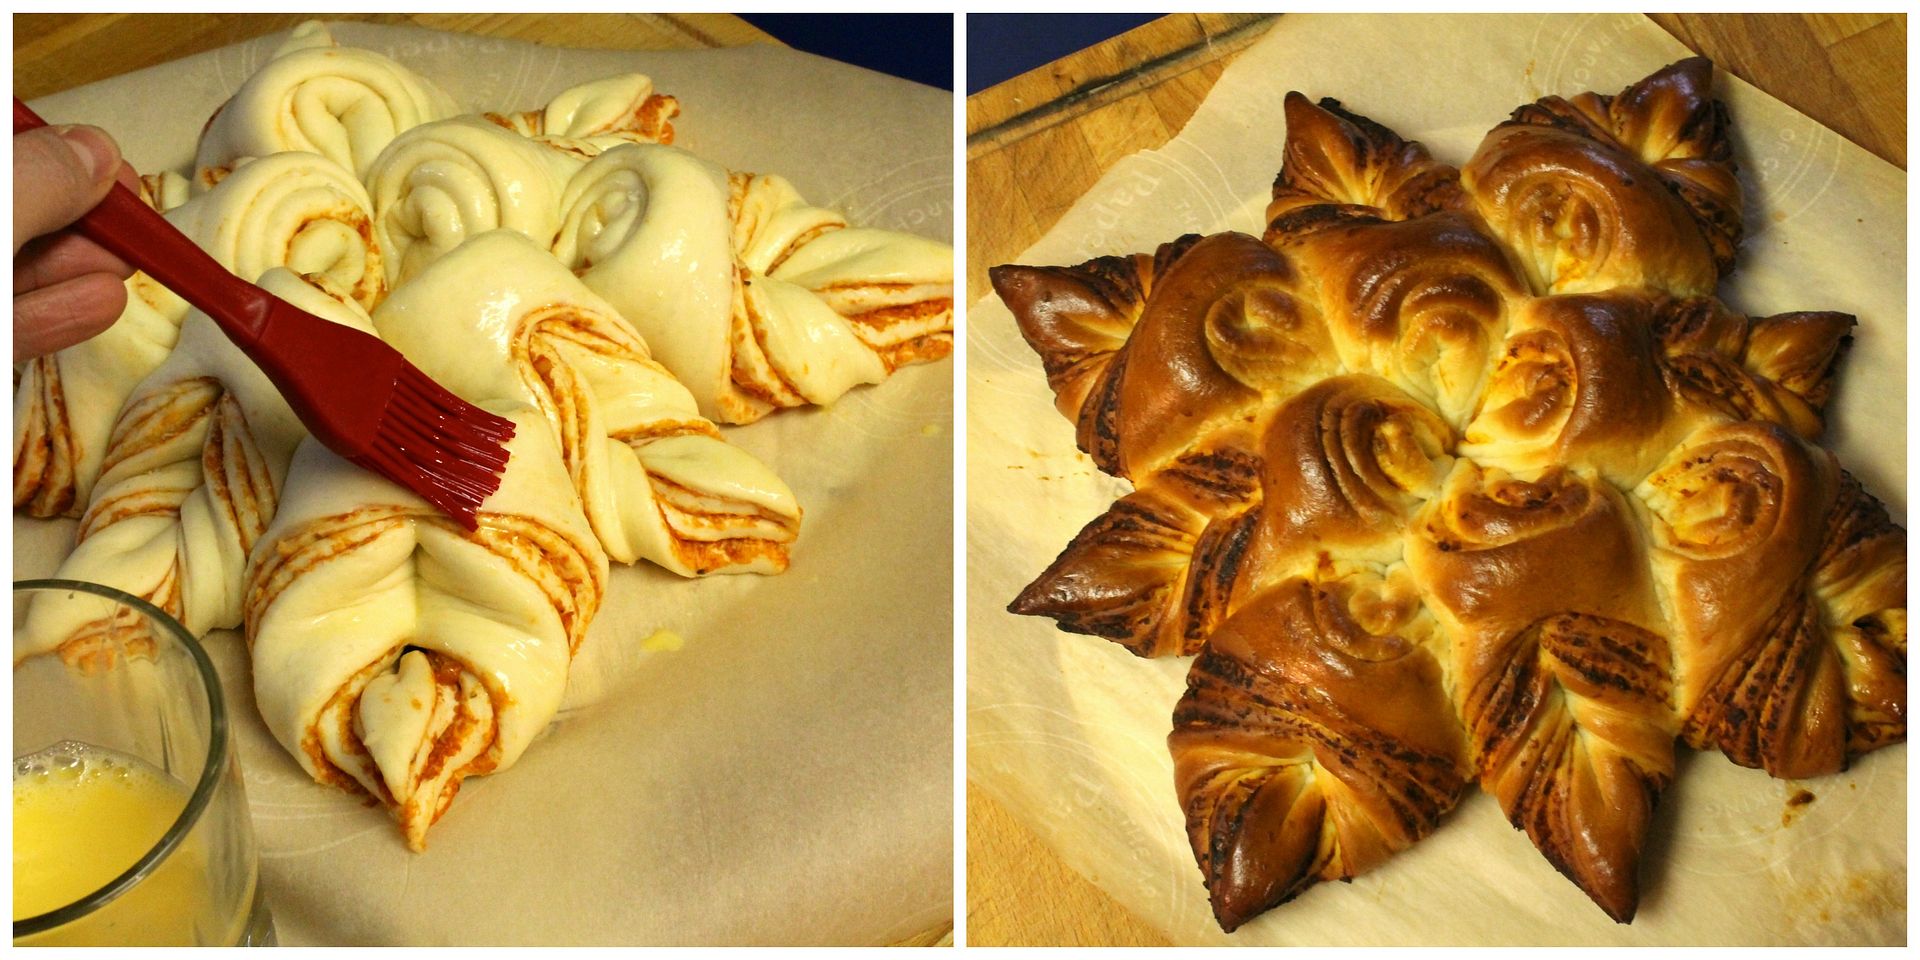
Whisk together an egg wash of 1 egg + 1 tbsp water and brush it over the bread, avoiding the cut surfaces where possible. Preheat the oven to 350˚F and bake the bread for 25-35 minutes, until done in the center (it should sound hollow when tapped on the top). Cover with aluminum foil it the bread is browning too quickly. (Note: this bread was too large for my rimmed baking sheet, so I baked it directly on a pizza stone. If necessary, you could bake it on an upside down baking sheet.)

Let the bread cool on a rack before pulling off individual points to devour.


{Sourdough} Irish Soda Bread

$
0
0

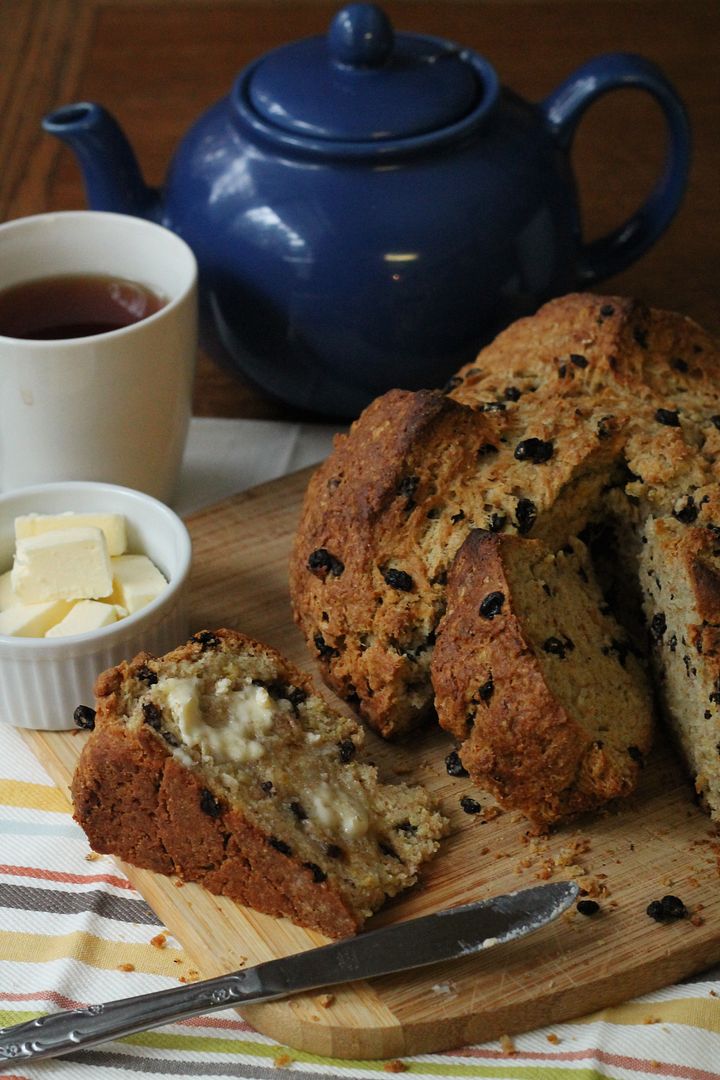
I’m not so good with the holiday themed recipes here – the only things I manage to post about with any seasonal timeliness and regularity are Christmas cookies and hot cross buns – so it didn’t even occur to me until a week ago that the Irish soda bread chosen for this month’s Sourdough Surprises coincides with St Patrick’s Day. I know it’s a few days late, but that doesn’t make it any less delicious.

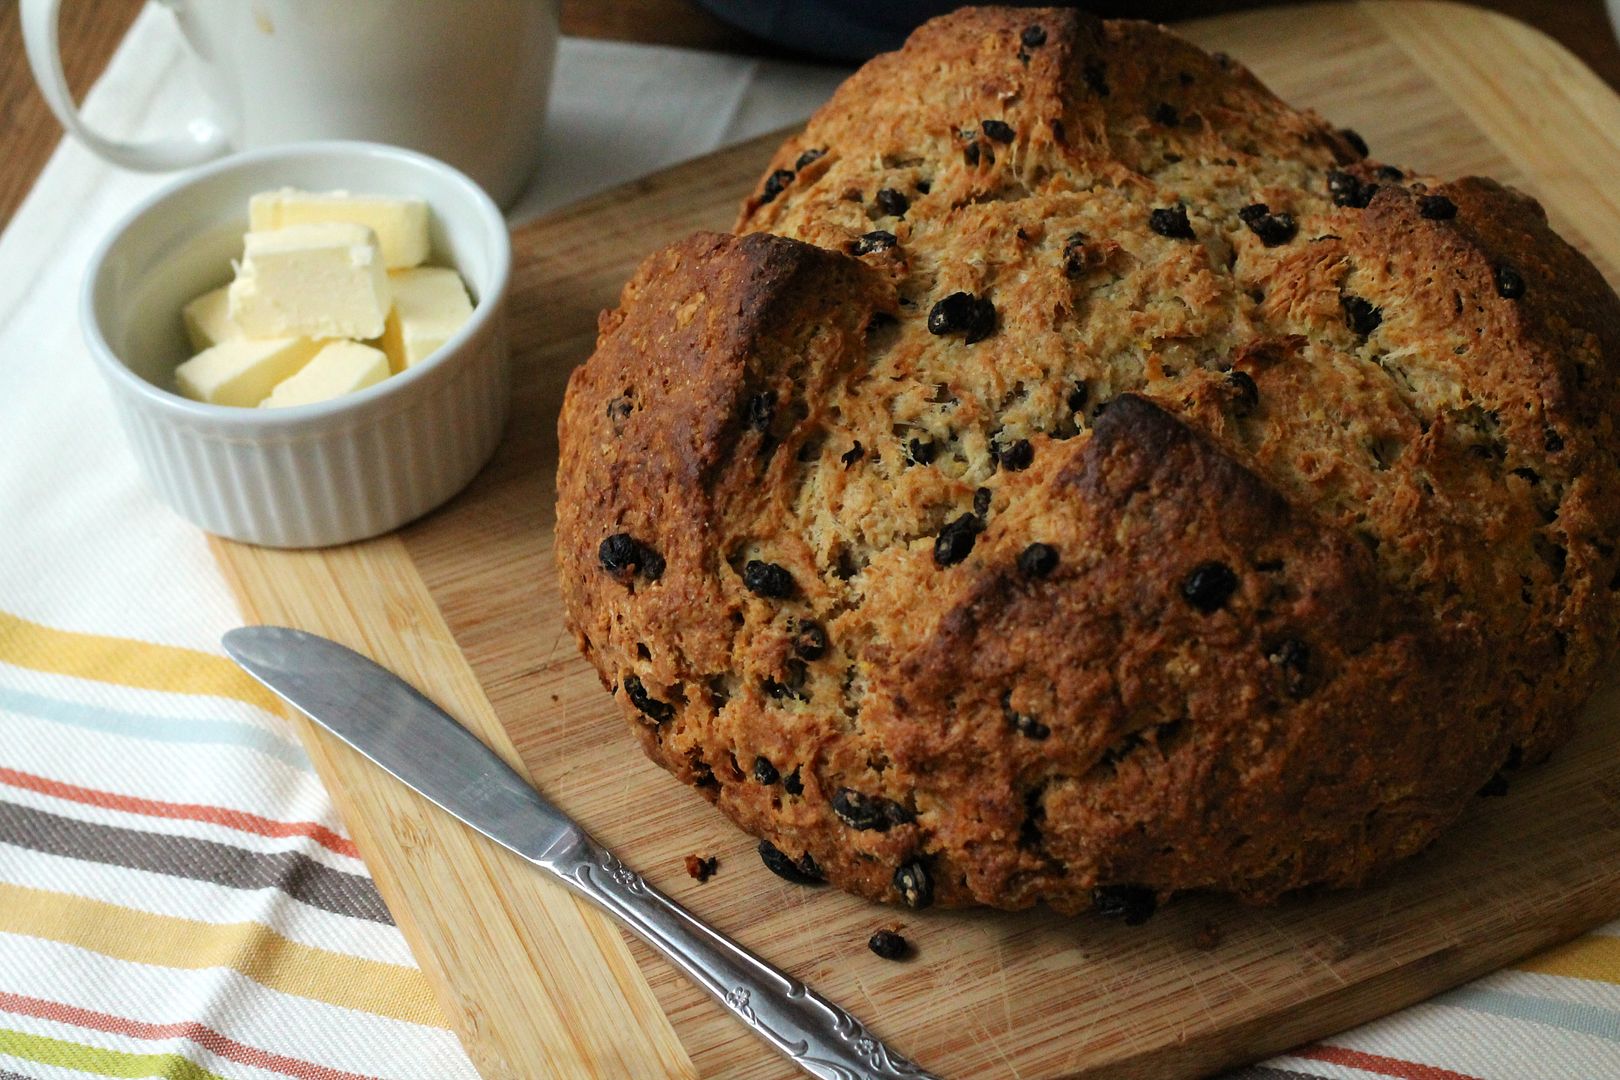
This Irish soda bread contains the traditional ingredients of currants and orange zest, along with a very non-traditional one: sourdough starter. This is a bit of an contradiction for a bread that is leavened with baking soda rather than yeast. Irish wheat is typically quite soft and low in gluten, making it not ideal for yeasted bread, which relies on a network of gluten proteins to trap gases in order to rise. It does, however, make for a great chemically leavened quick bread. An Irish soda bread is sort of like a gigantic scone (count me in!), often containing some percentage of whole wheat flour. I used mostly all purpose flour with a little bit of whole spelt flour to get the nubbly whole grain goodness while mimicking the low-gluten Irish wheat.

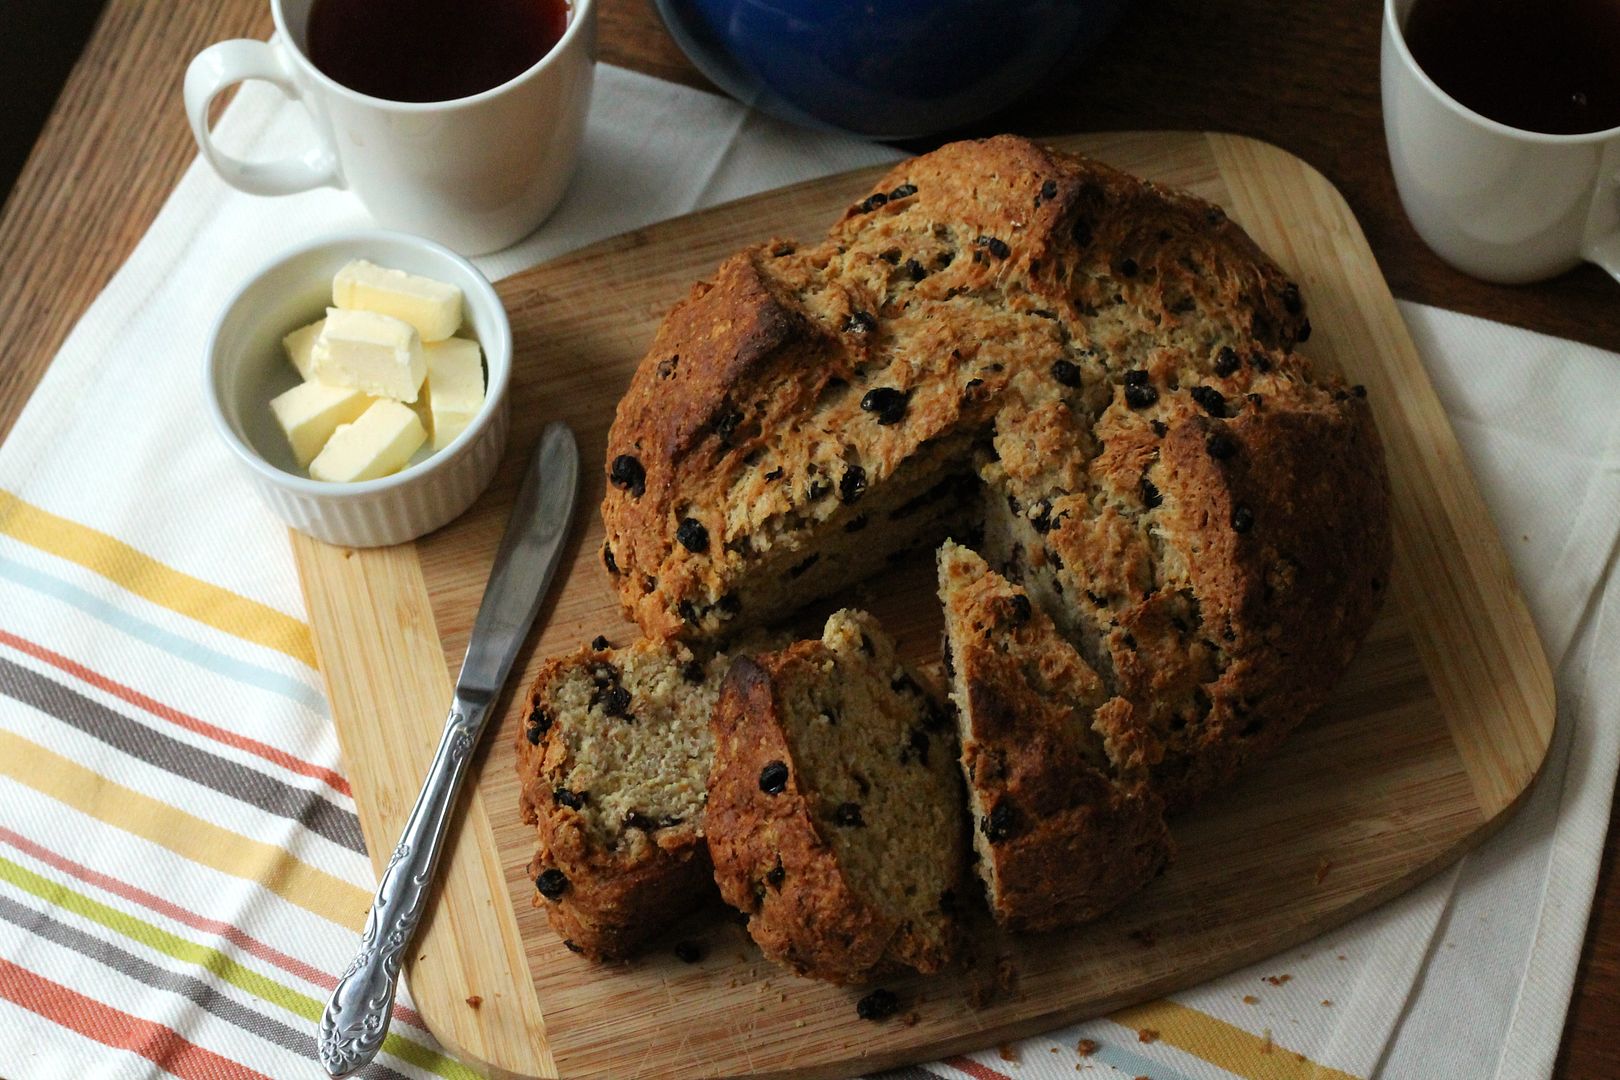
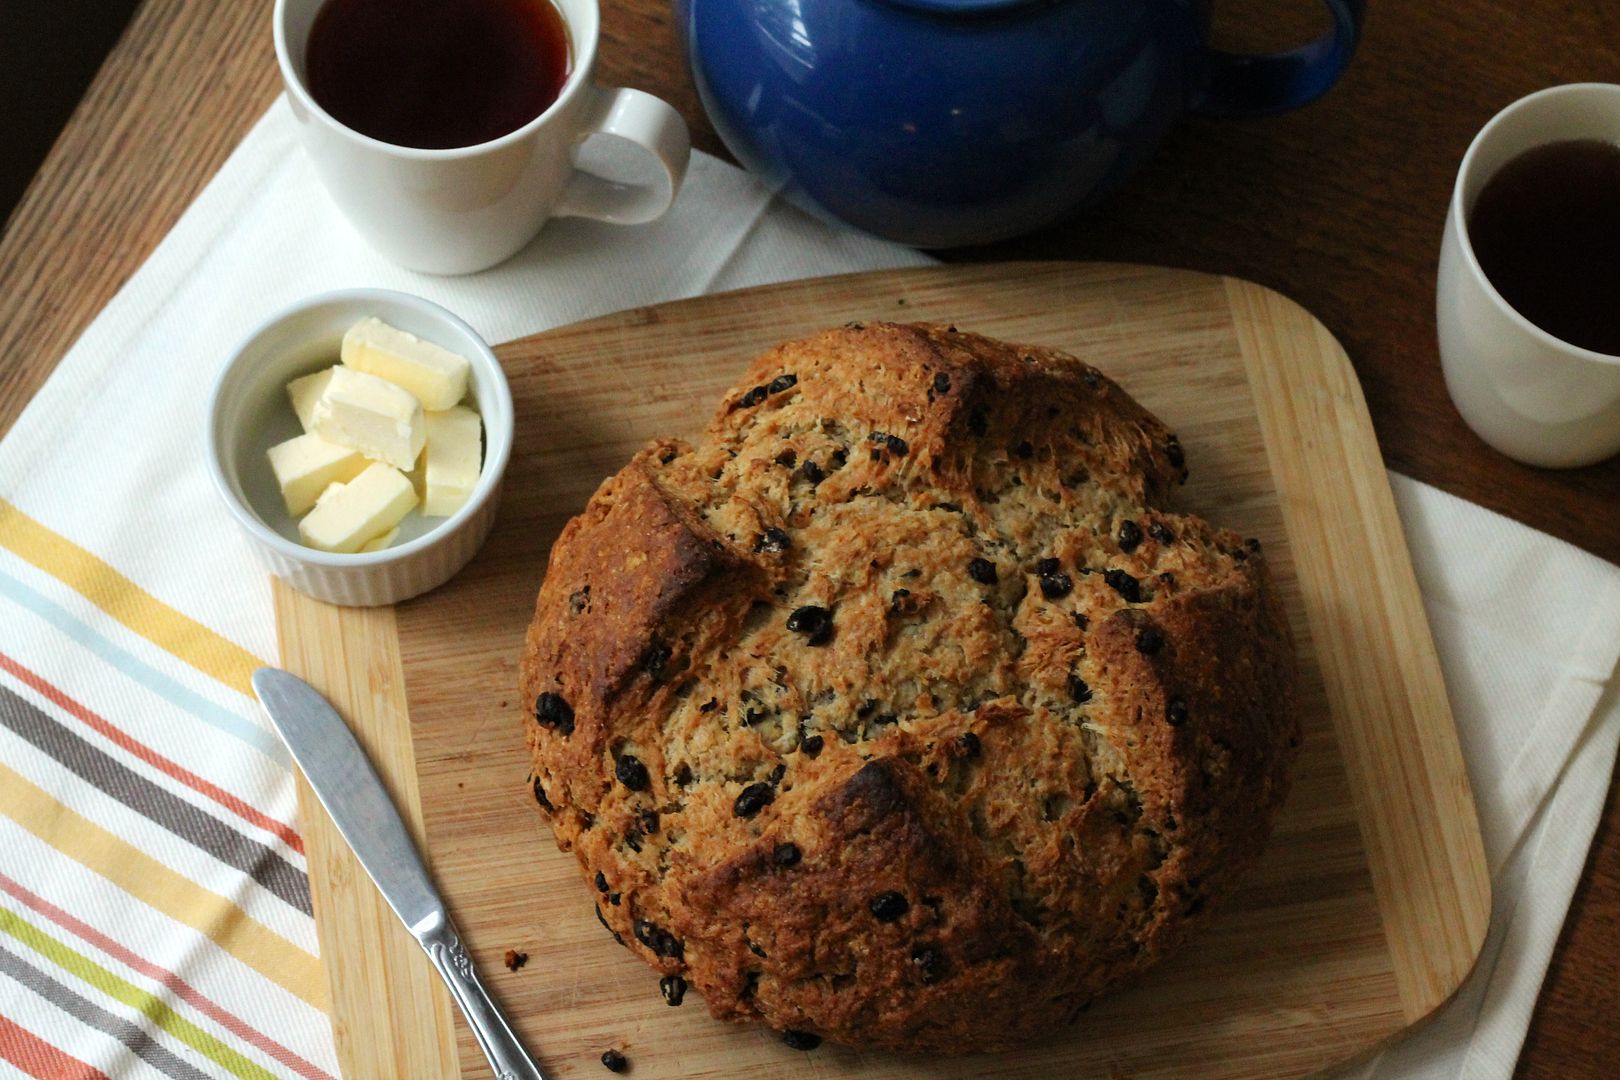
Cut into thick wedges and smeared with butter, this Irish soda bread was immensely satisfying with a cup of tea. And it was just as satisfying throughout the week as my mid-morning snack at work – which is to say, this loaf keeps extremely well for several days in an airtight container. It’s dense without being heavy (although the loaf is hefty, to be certain), crumbly without being dry, and it sits right at the junction of sweet and savoury so it could just as easily be eaten with jam as with a slice of cheese (Irish cheddar, perhaps?).

Because the sourdough starter is there primarily for flavour rather than leavening, it’s probably best to use mature or discard starter. I used very young starter and while it made a great loaf of bread, I didn’t get much sourdough flavour at all. That said, if you’re simply looking for a way to use up starter that would otherwise go to waste, this is the perfect application. The best part is that from start to finish, it took about an hour to make and bake. That’s not a lot of time to invest in something as rewarding as a loaf of bread! And if you’re not already convinced of its awesomeness, here’s a fun fact: the X cut into the top of Irish soda bread is to let the fairies out. What other loaf of bread can claim to contain fairies?

Check out the link below for more fairy bread made this month by the Sourdough Surprises bakers.

Sourdough Irish Soda Bread

Adapted from Examiner.com, with some inspiration from Ina Garten. Makes 1 large loaf, about 12 servings.

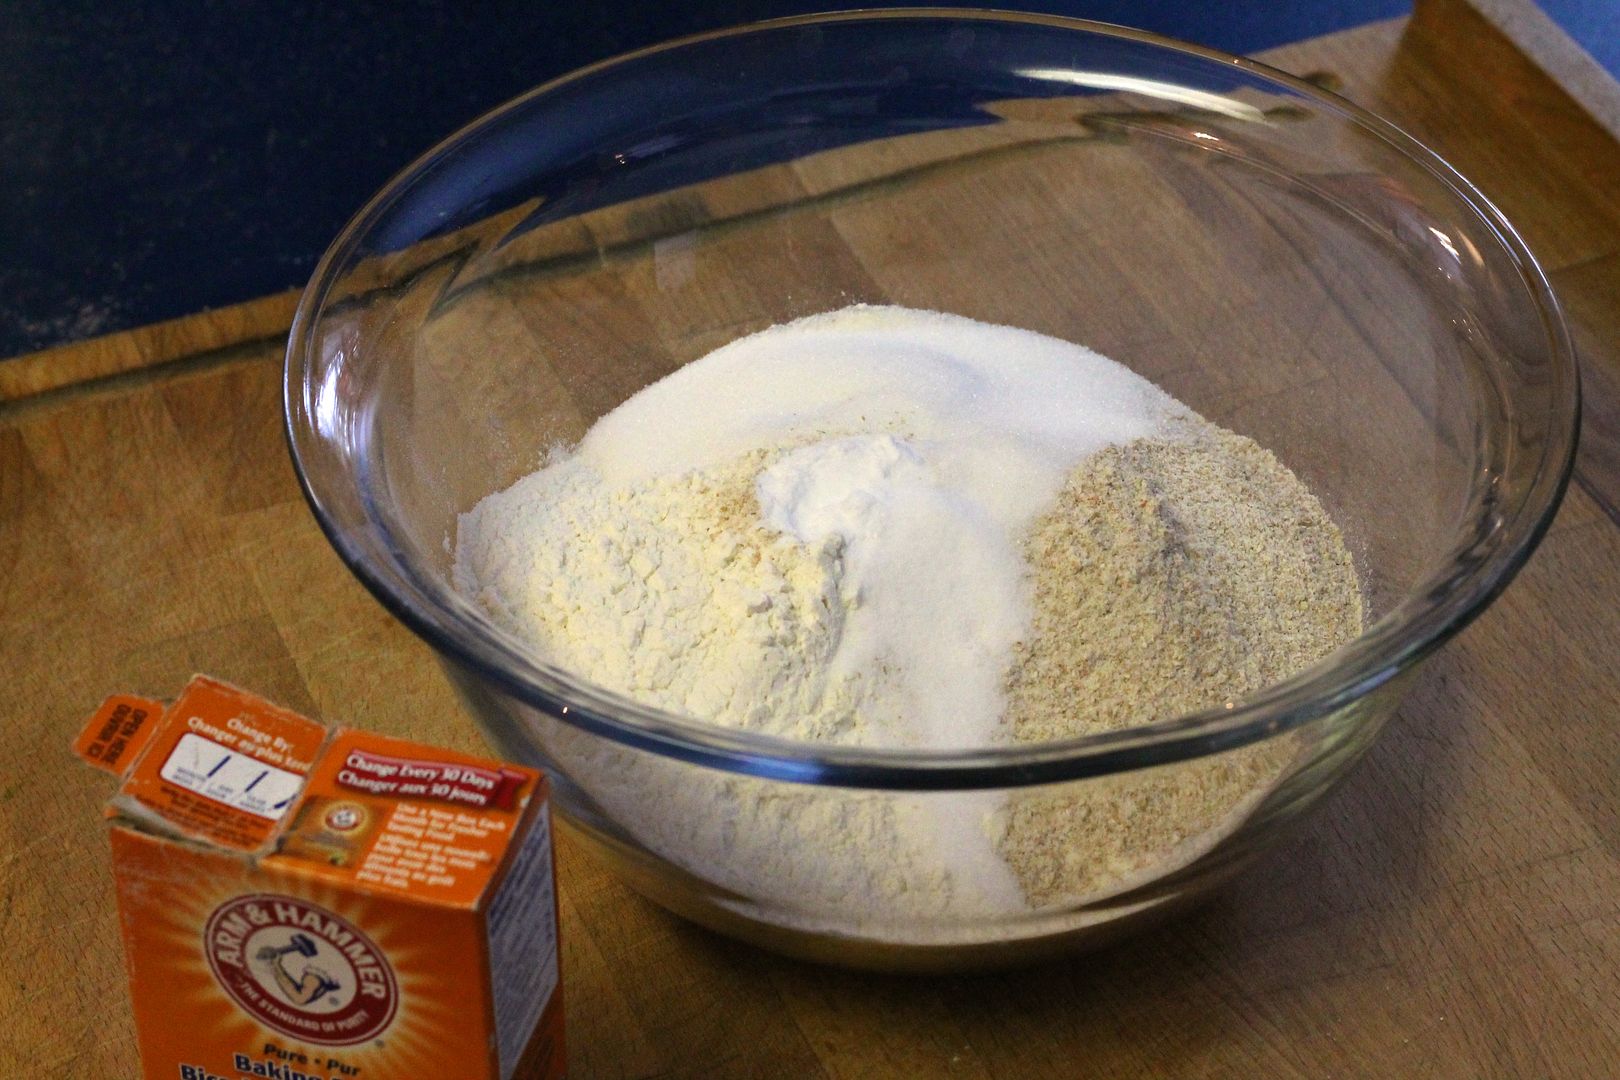
Preheat the oven to 375˚F. In a large bowl, stir together:

3 cups all purpose flour

1 cup whole spelt flour (or whole wheat flour)

1/3 cup granulated sugar

1 tsp baking soda

1 tsp salt

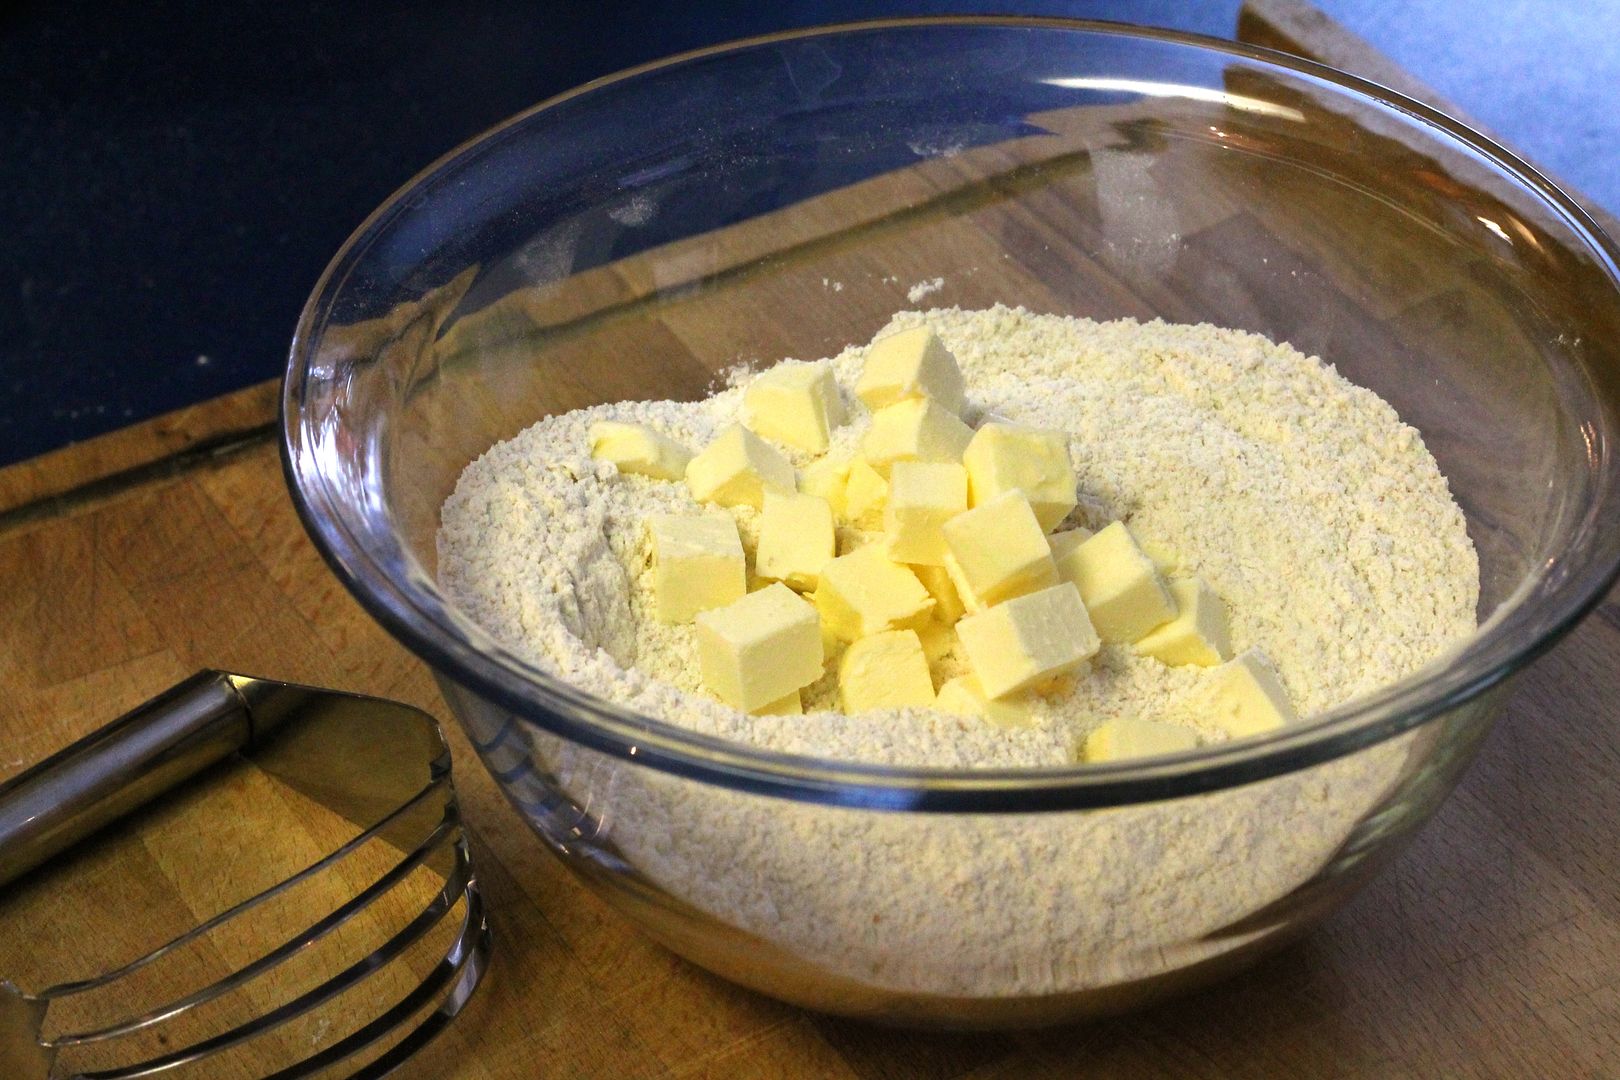
Add 1 cup cold, unsalted butter, diced

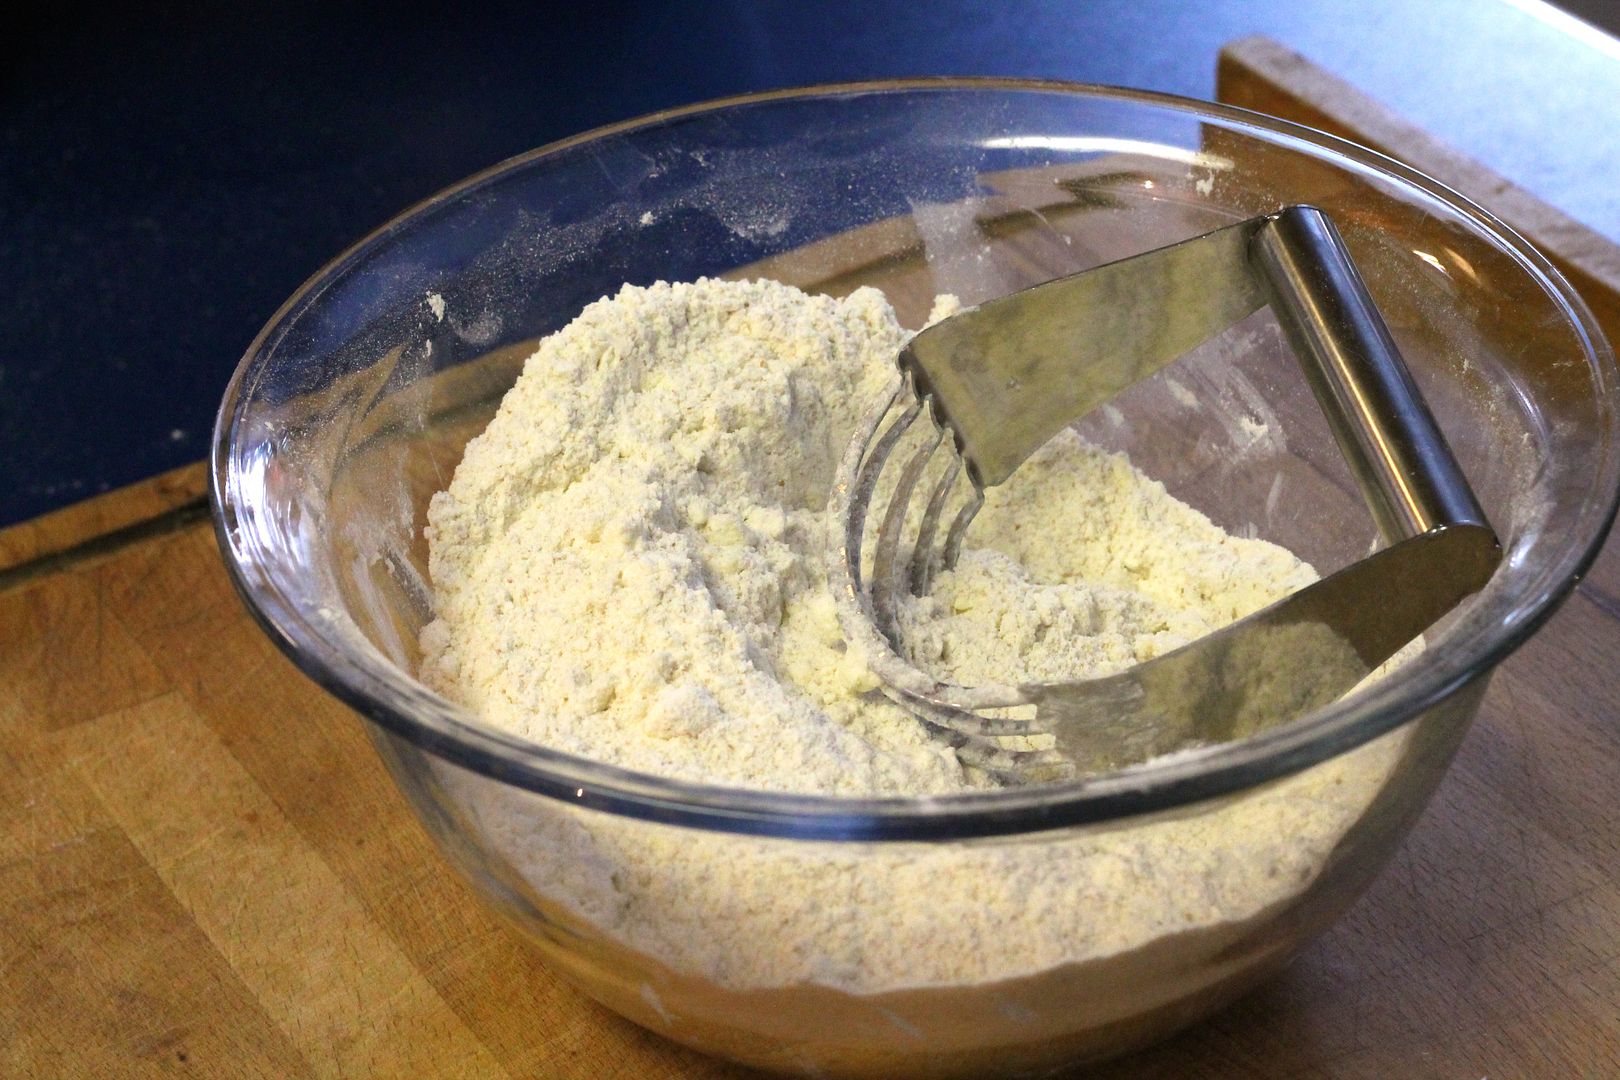
…and cut in with a pastry blender until in small bits resembling coarse bread crumbs.

Stir in:

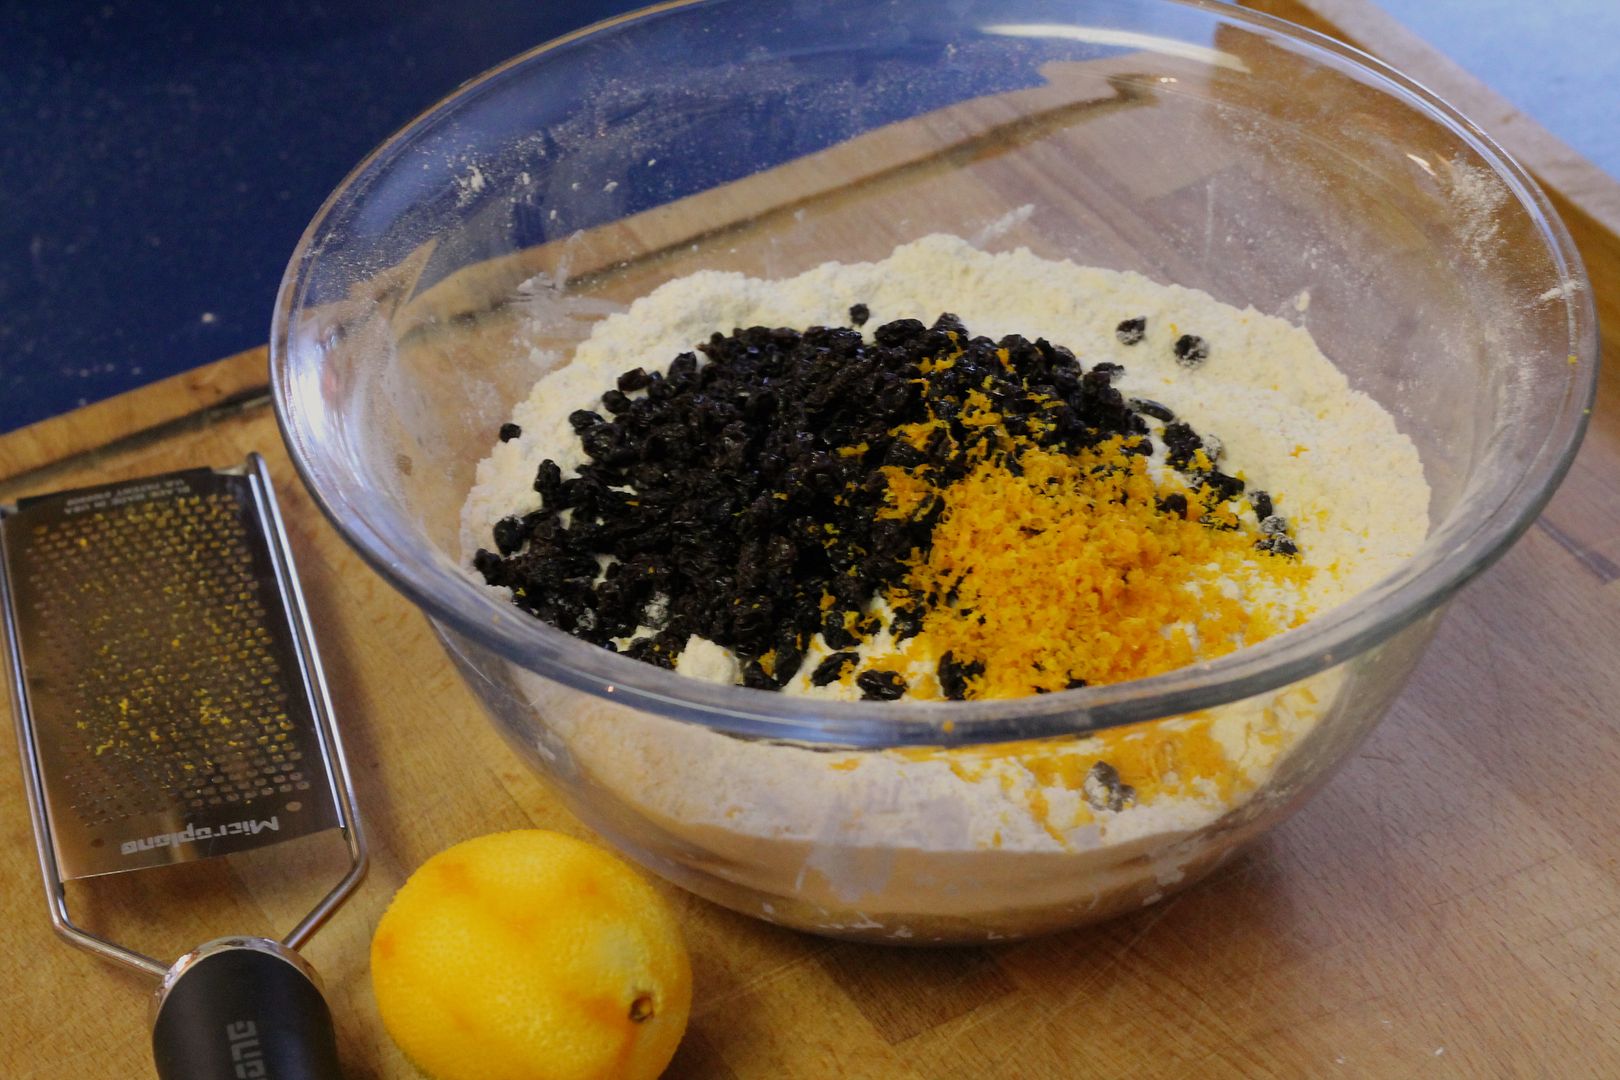
1 cup currants

1 tsp grated orange zest

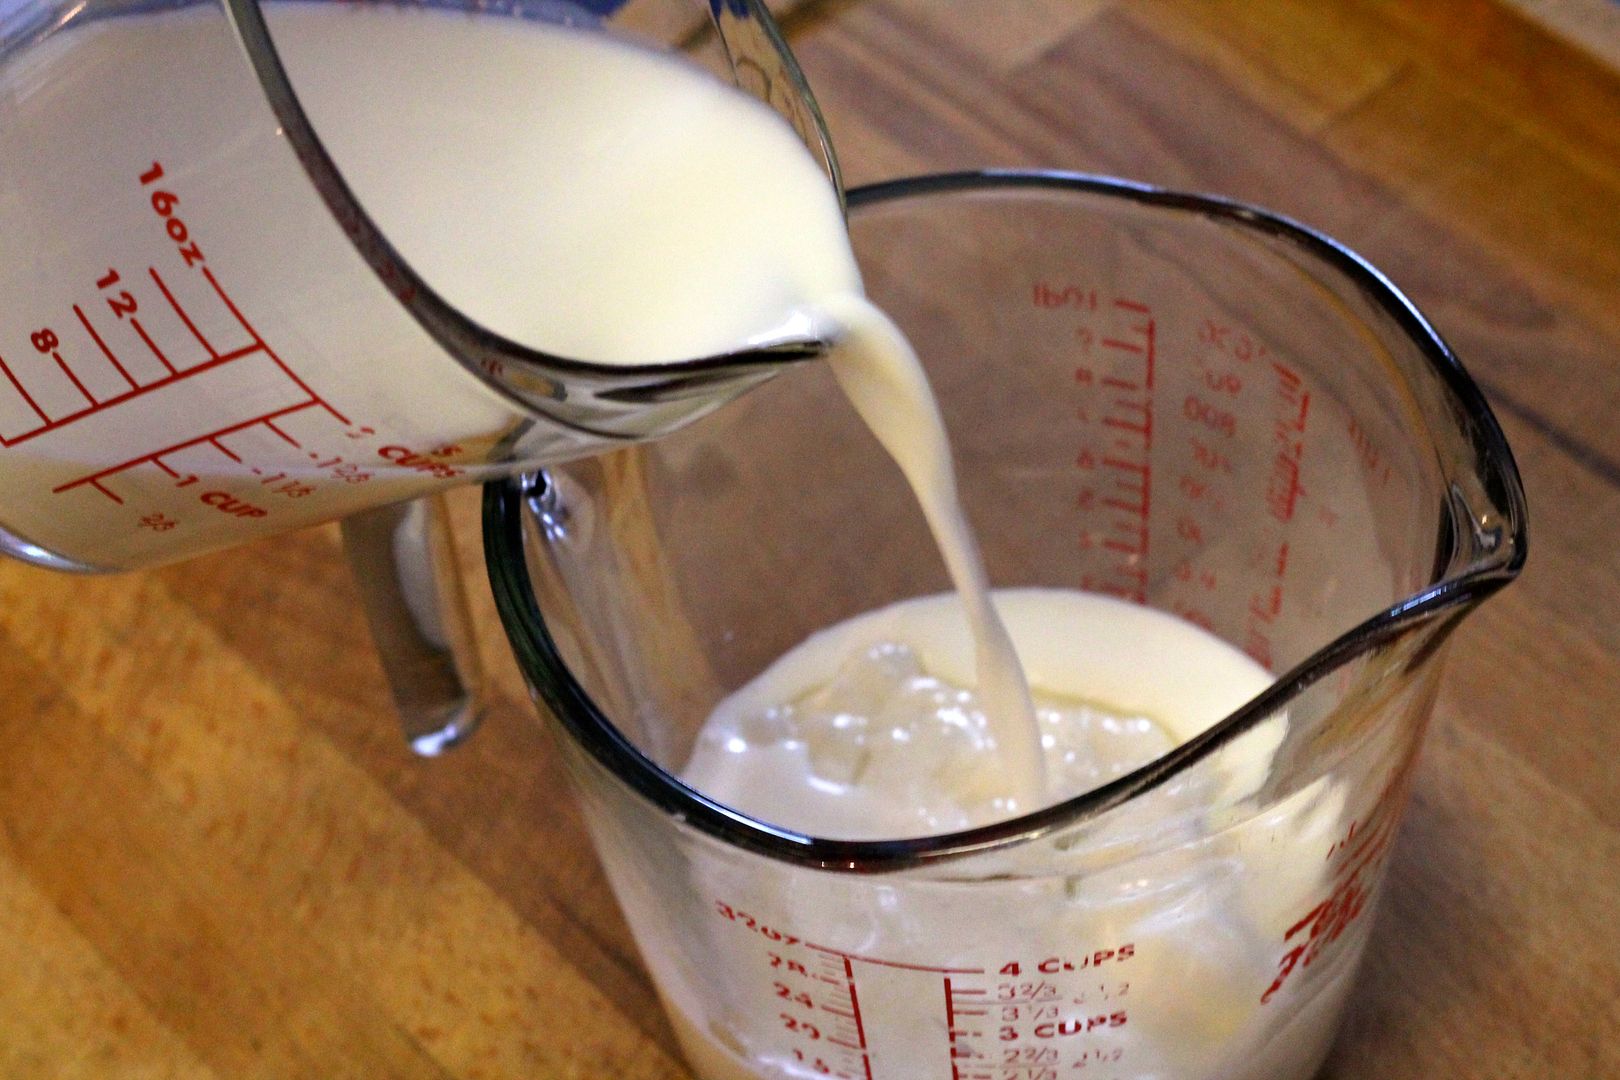
In another bowl or liquid measuring cup, mix together until dissolved:

1 cup mature or discard sourdough starter

1 cup + 2 tbsp buttermilk (easy substitution: 1 tbsp white vinegar + enough milk to make up the required volume)

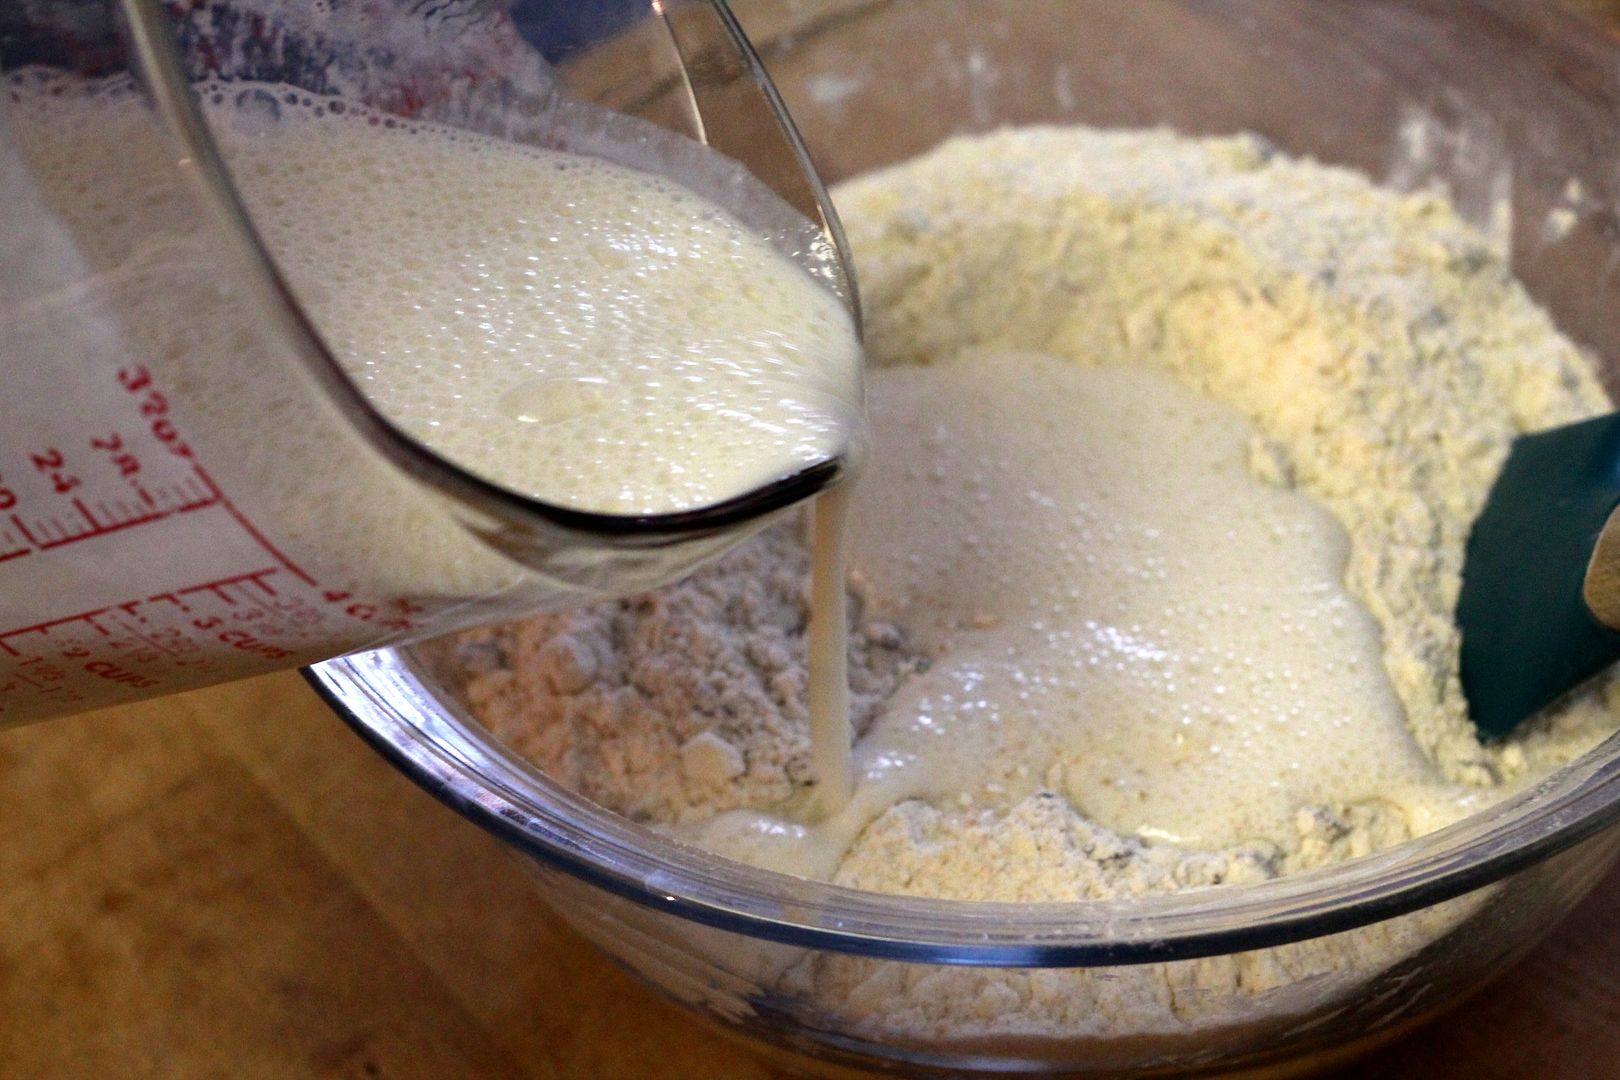
Pour the sourdough mixture into the flour mixture…

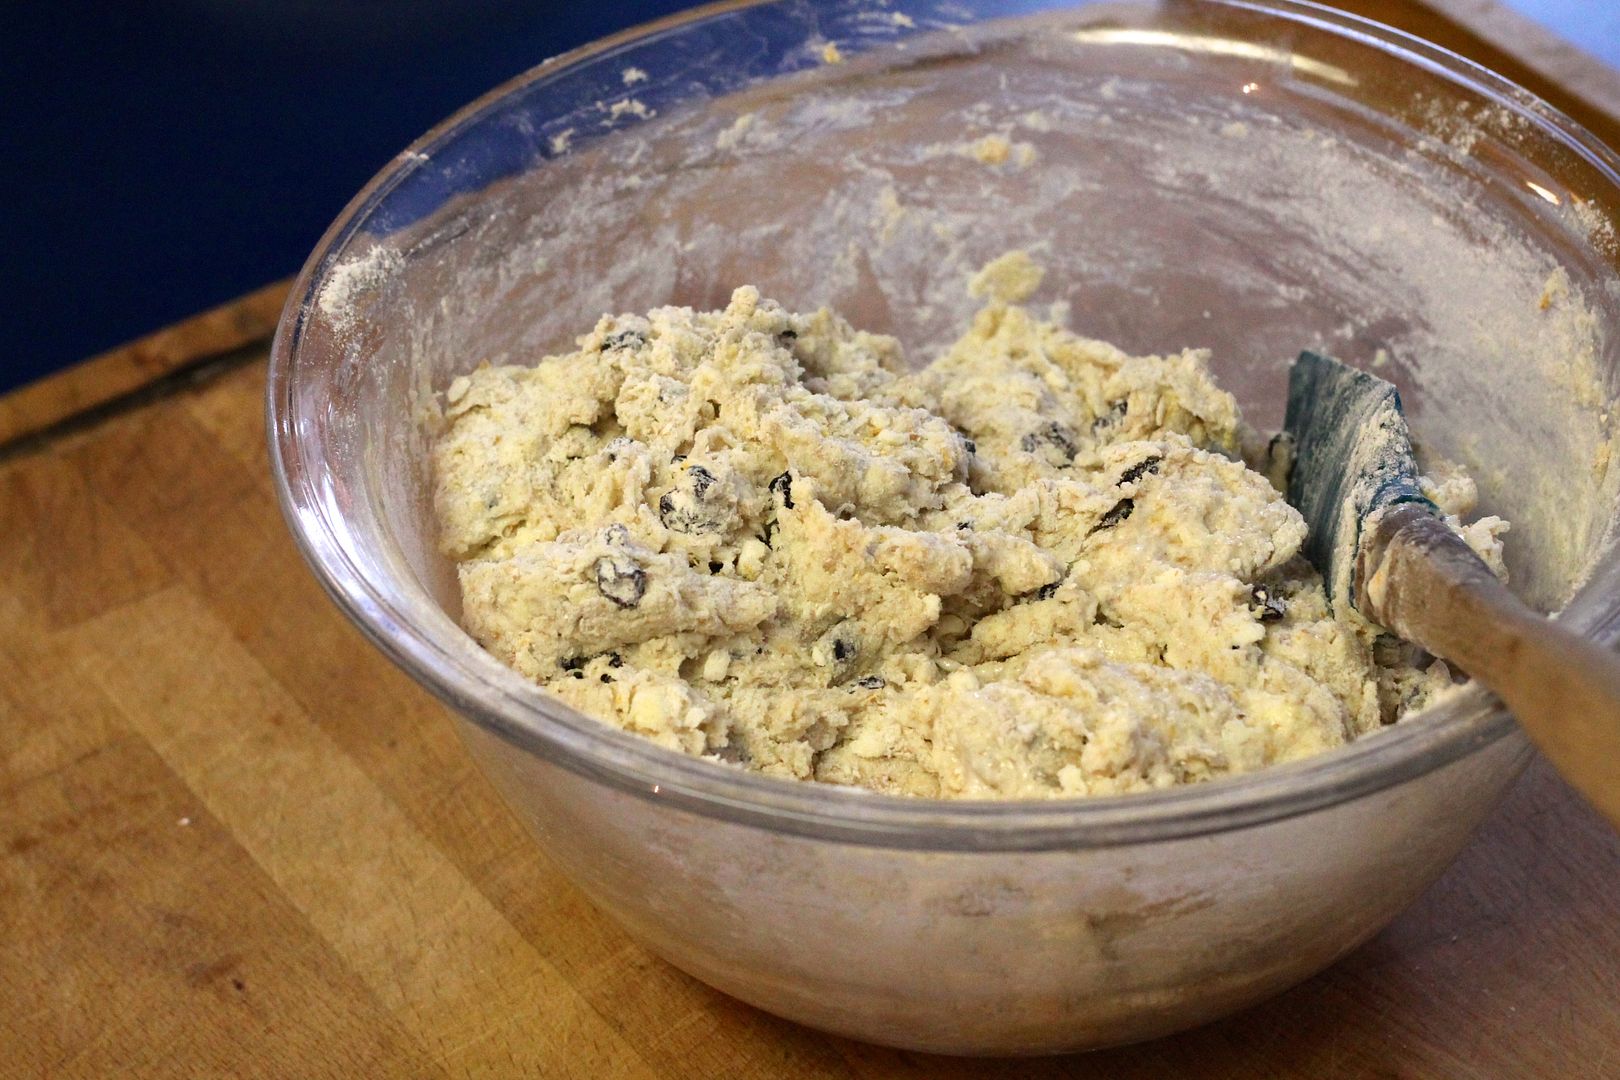
…and fold with a spatula until it starts to clump together in a shaggy dough.

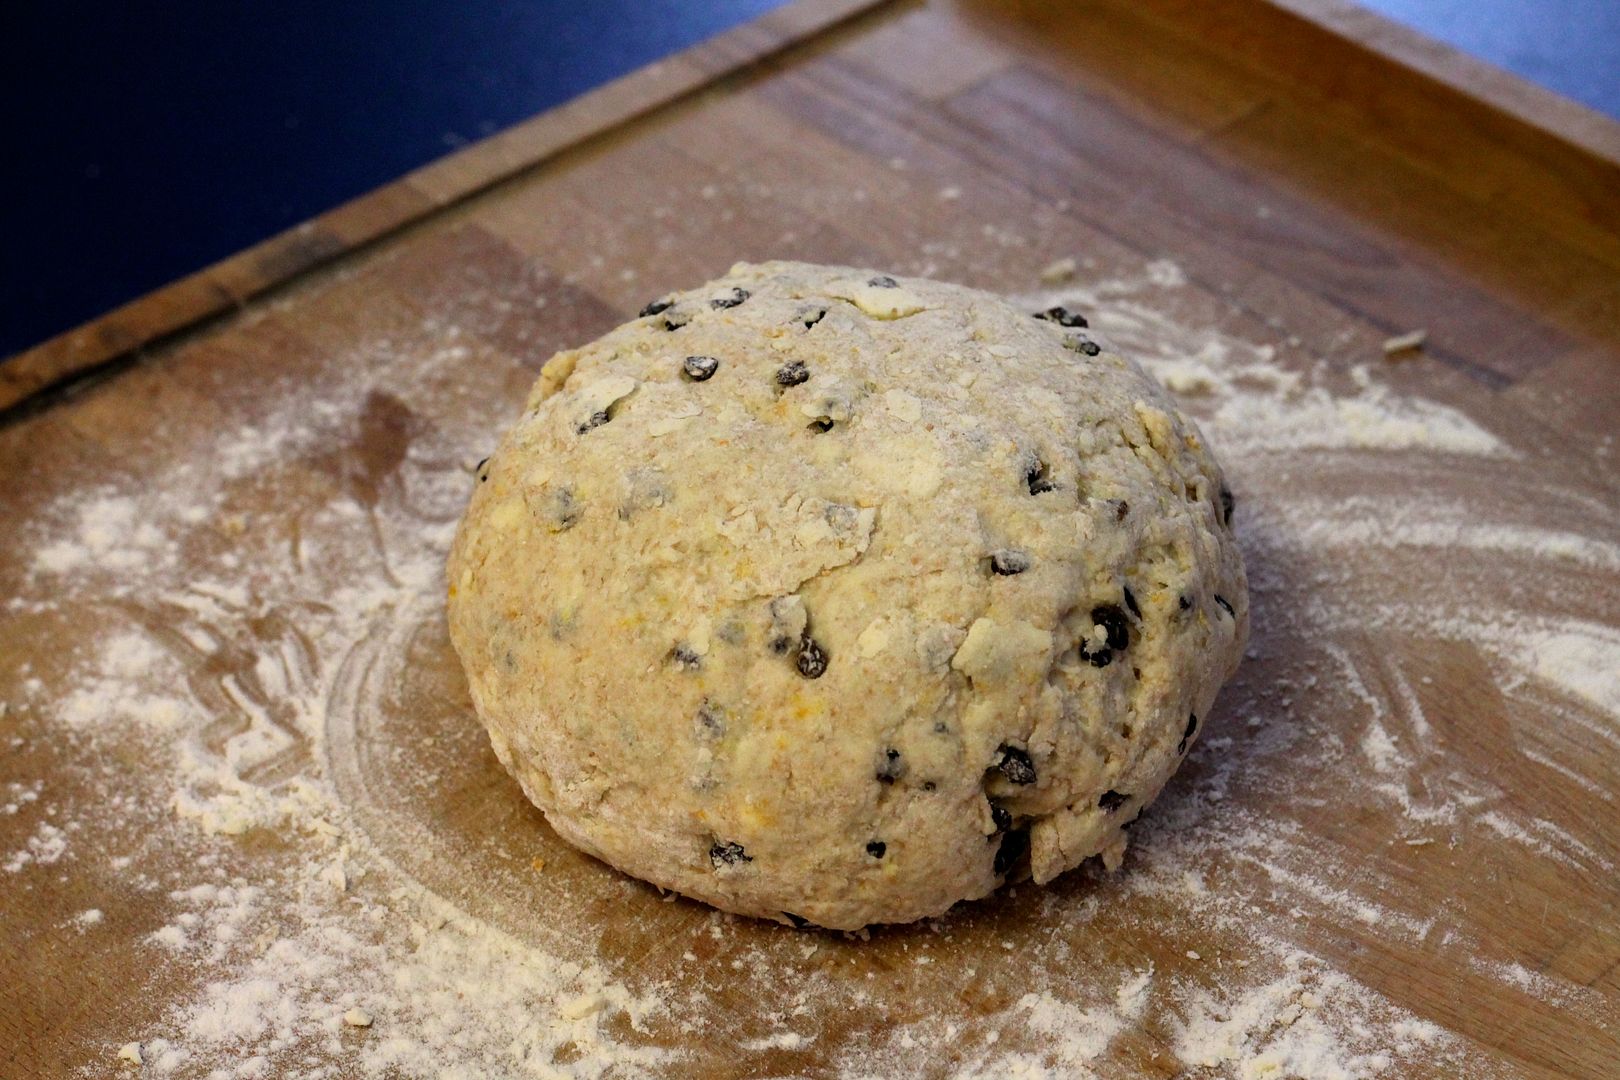
Turn out onto a floured surface and knead 4 or 5 times, just until it starts to come together, and form it into a round loaf.

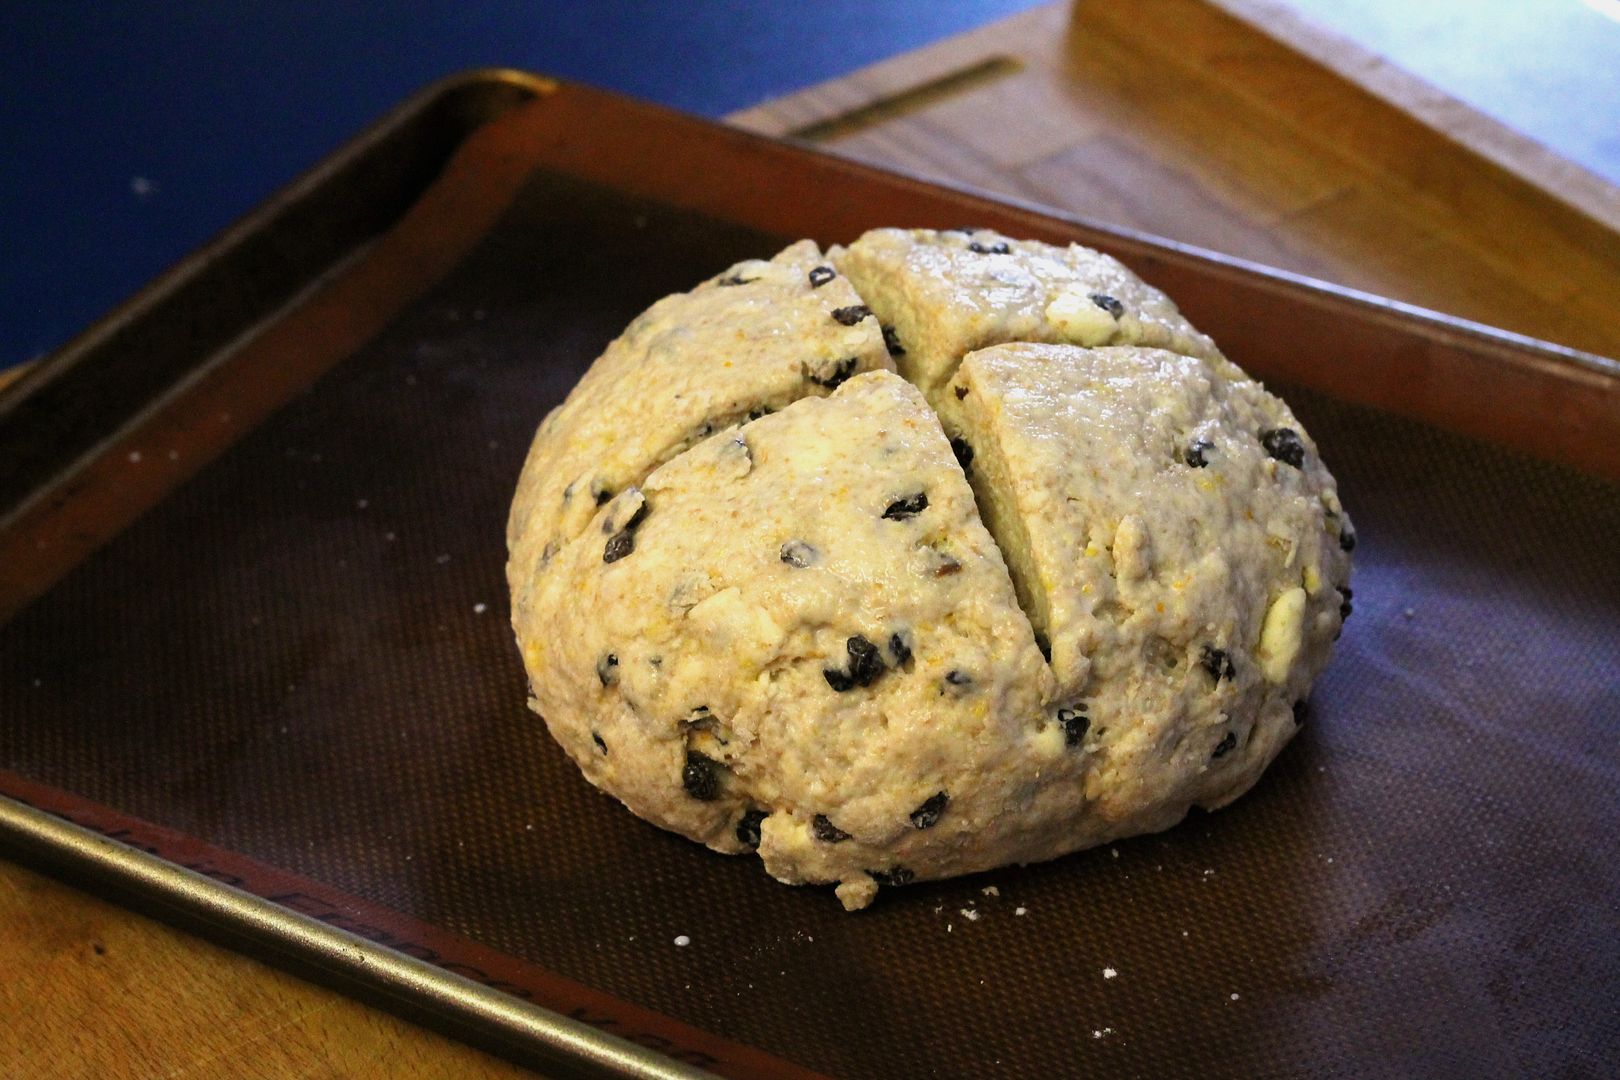
Place on a baking sheet lined with a silicone mat or parchment paper and cut an X in the top to let the fairies out. If desired, brush the top of the loaf with a little bit of milk.

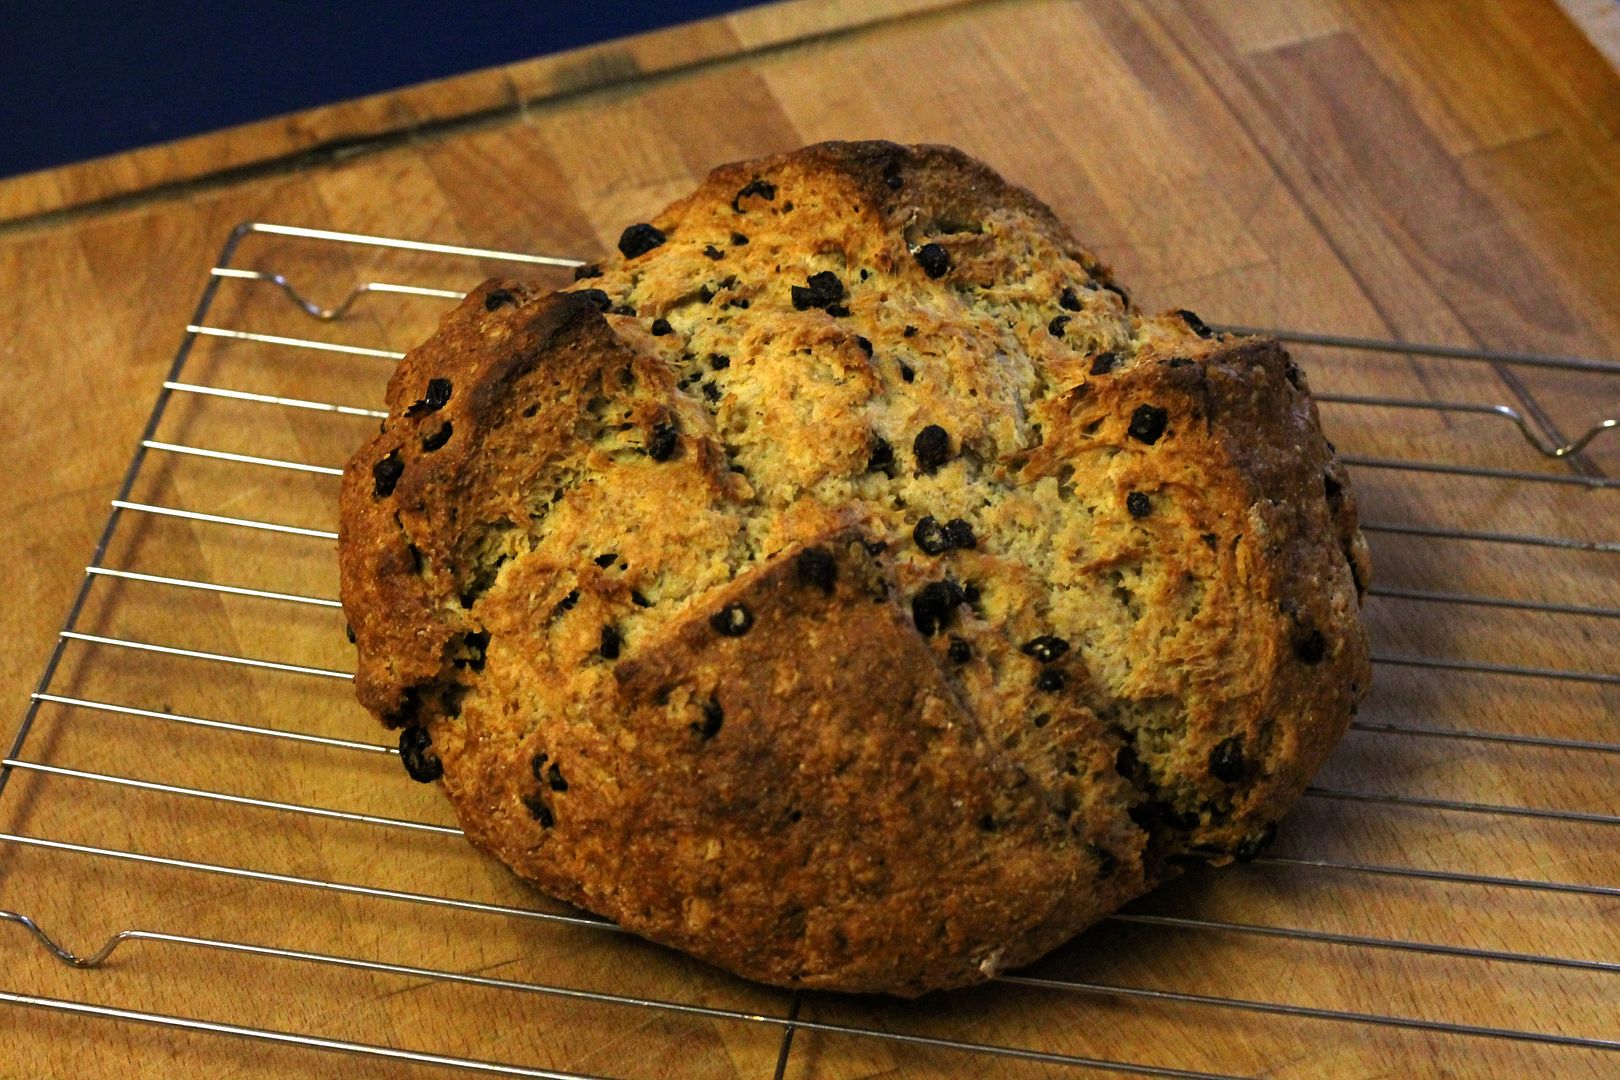
Bake in the preheated 375˚F oven until the crust is golden brown, a skewer inserted in the middle comes out clean, and the loaf is hollow-sounding when tapped on the bottom. Cool on a rack before cutting into wedges or slices, and serve with butter. Store in an airtight container at room temperature for up to several days.


Sourdough Cider Hot Cross Buns with Chocolate Chunks

$
0
0

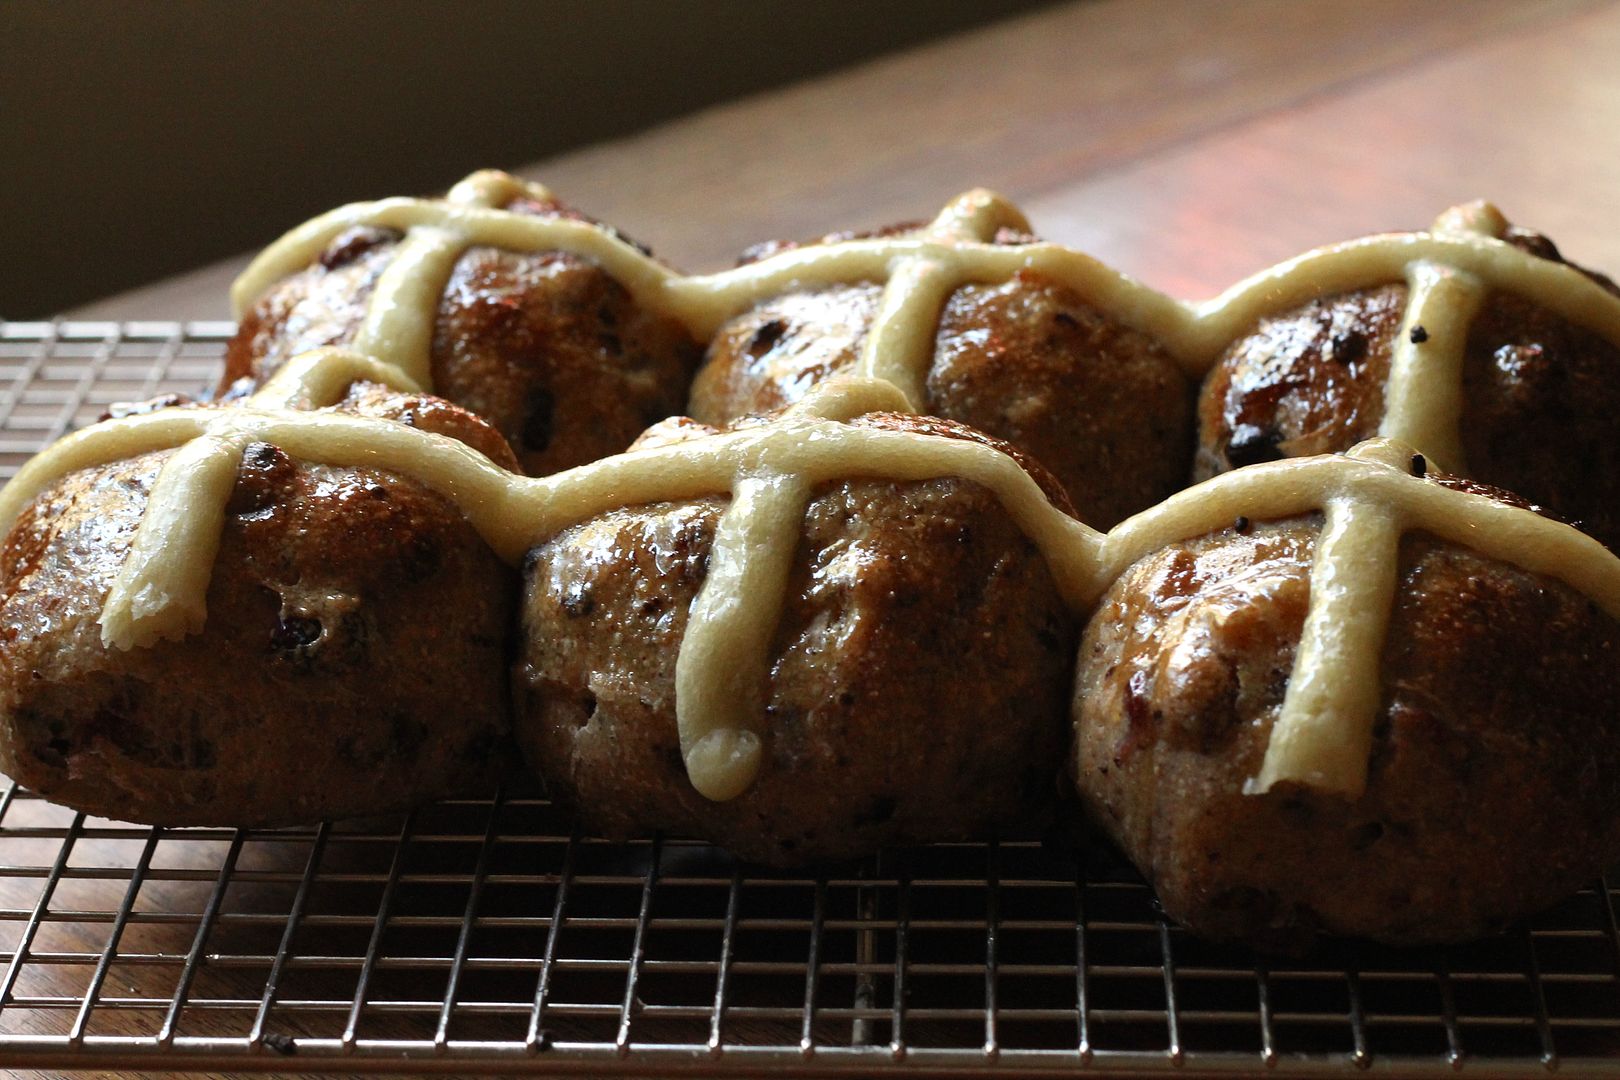
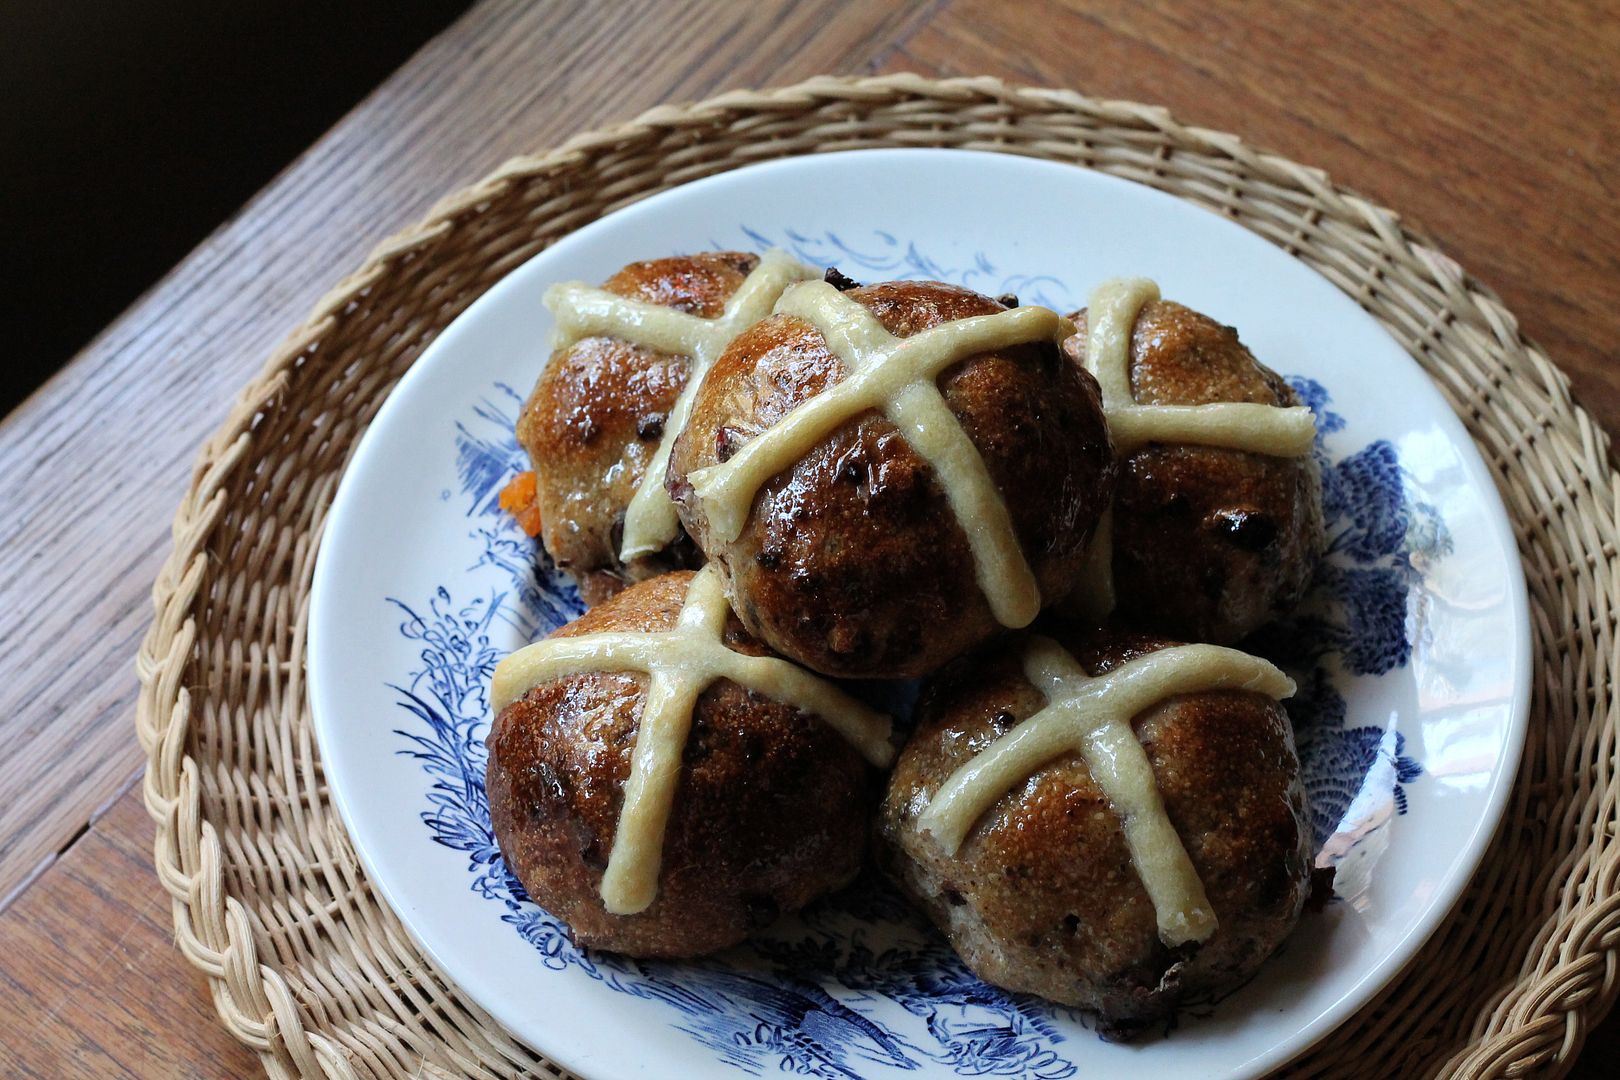
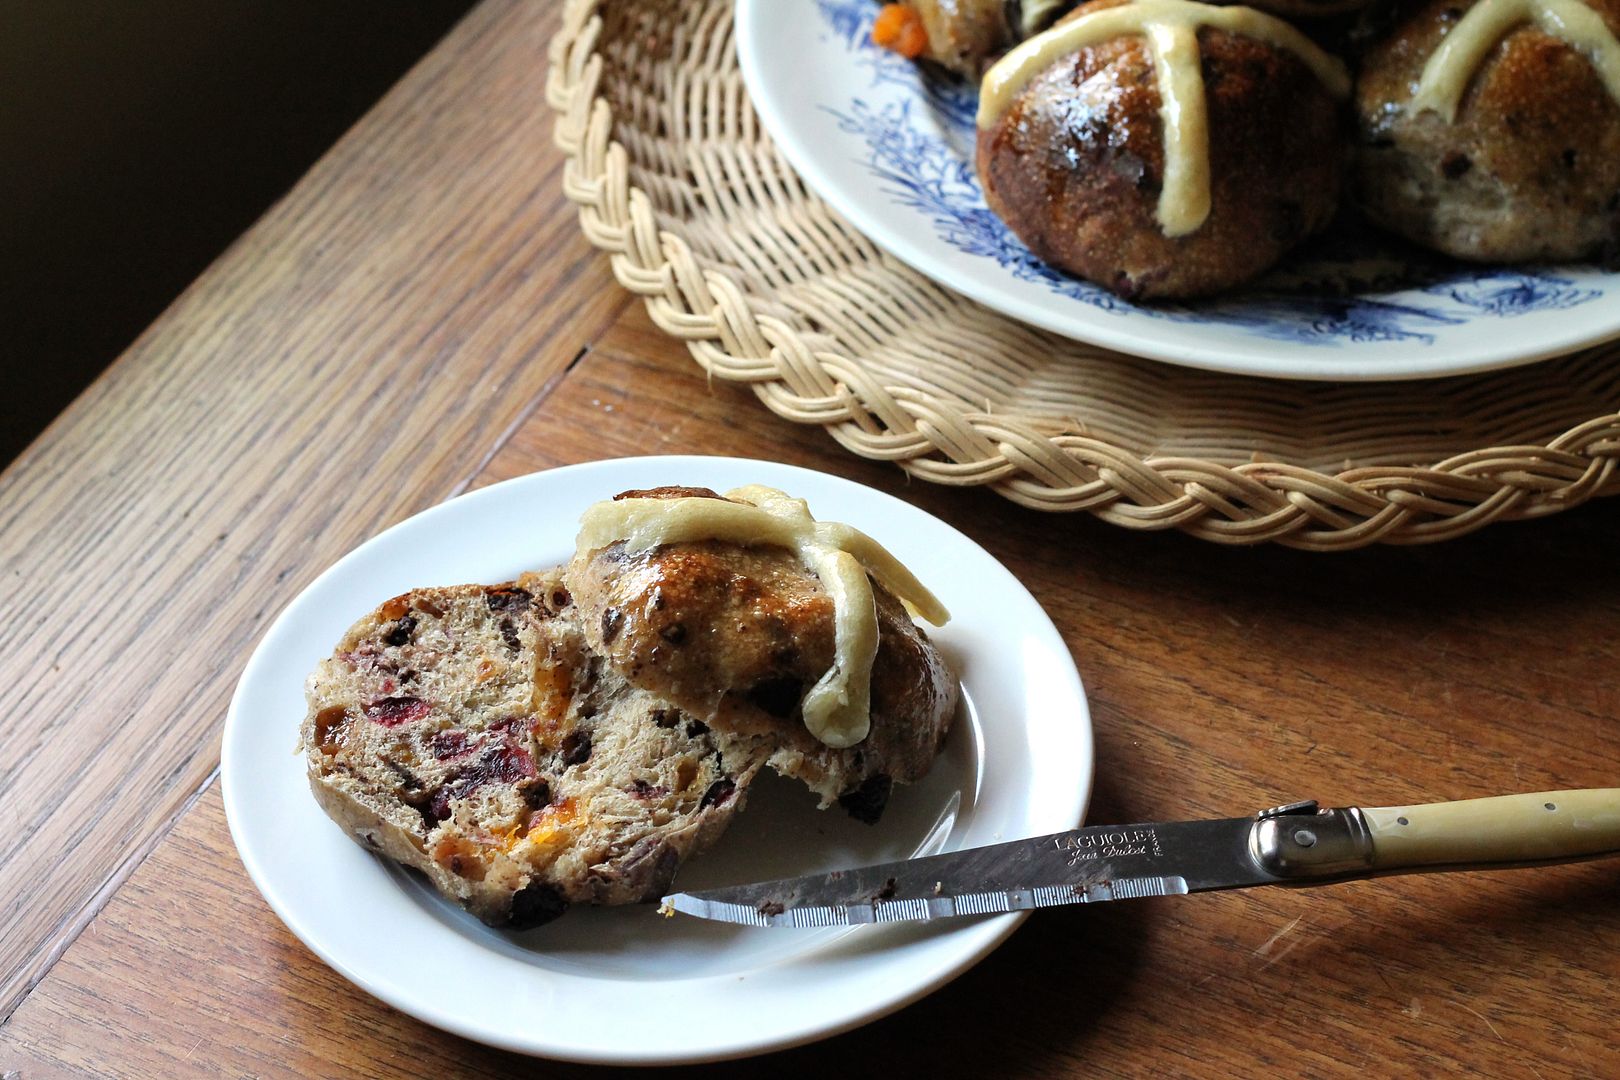
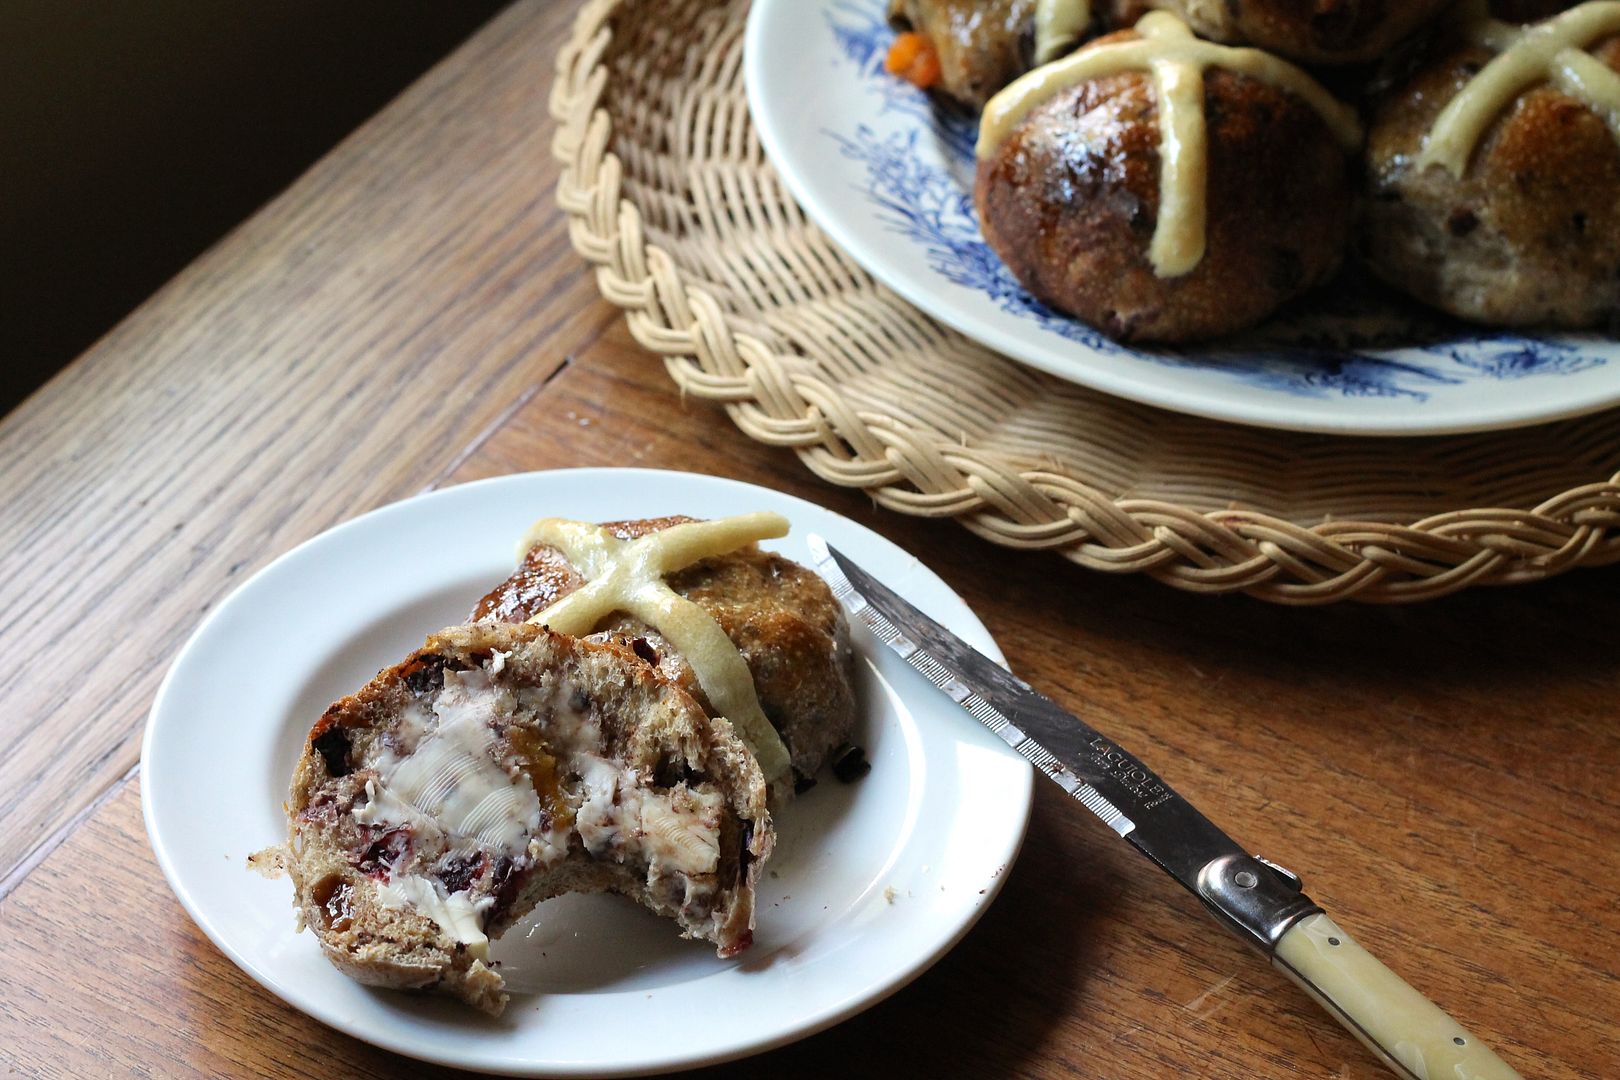
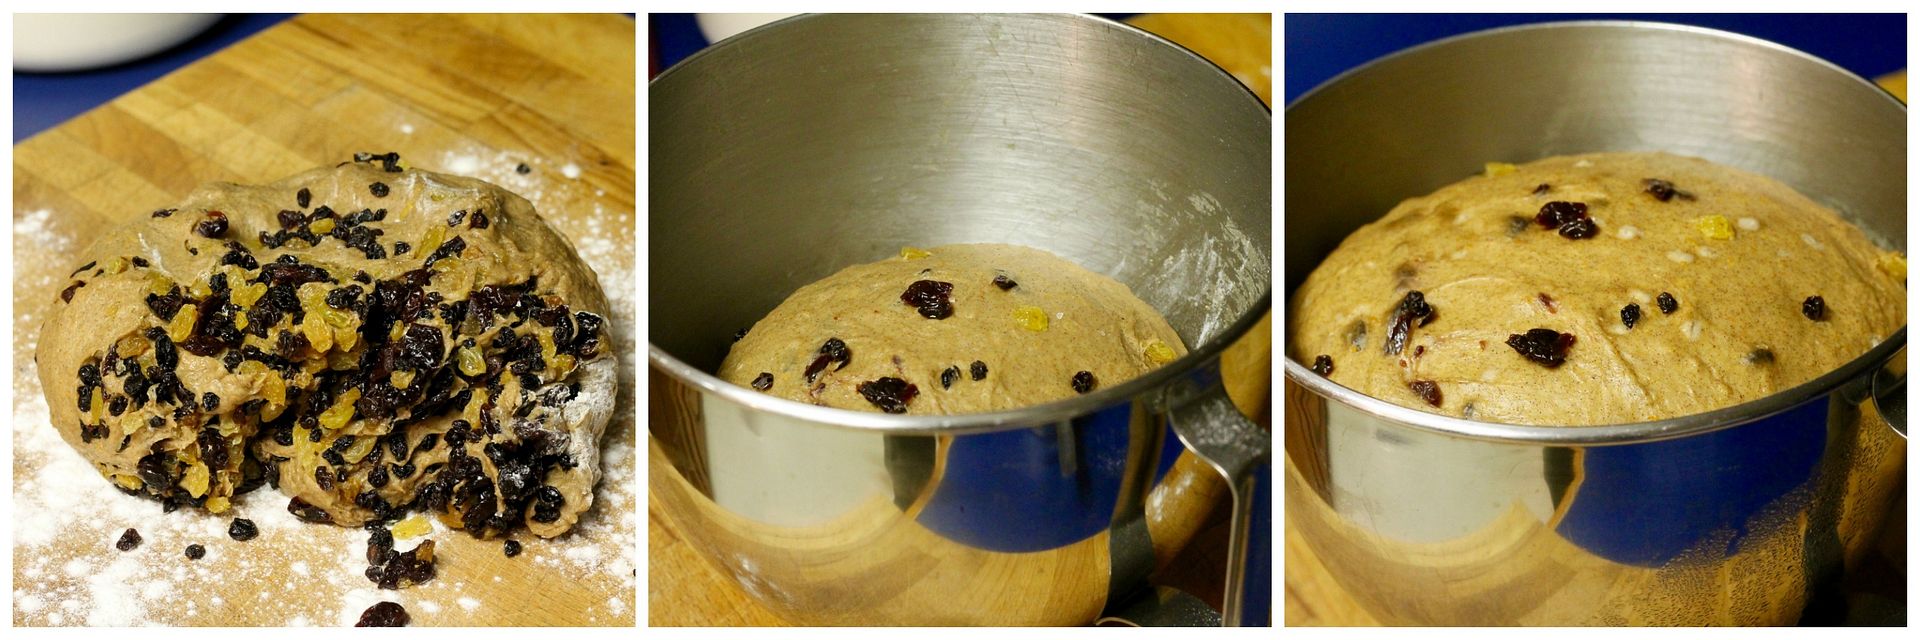
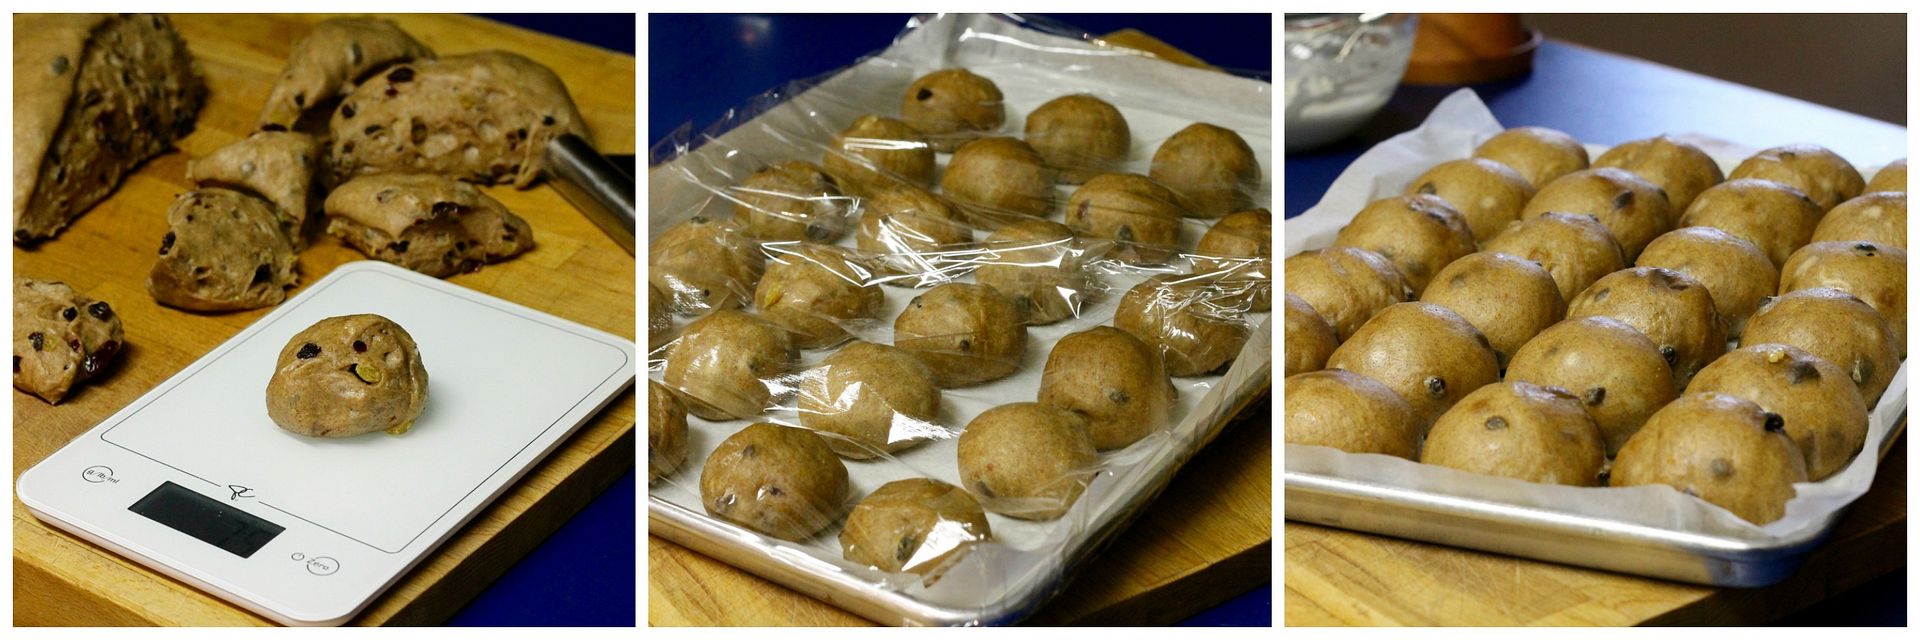
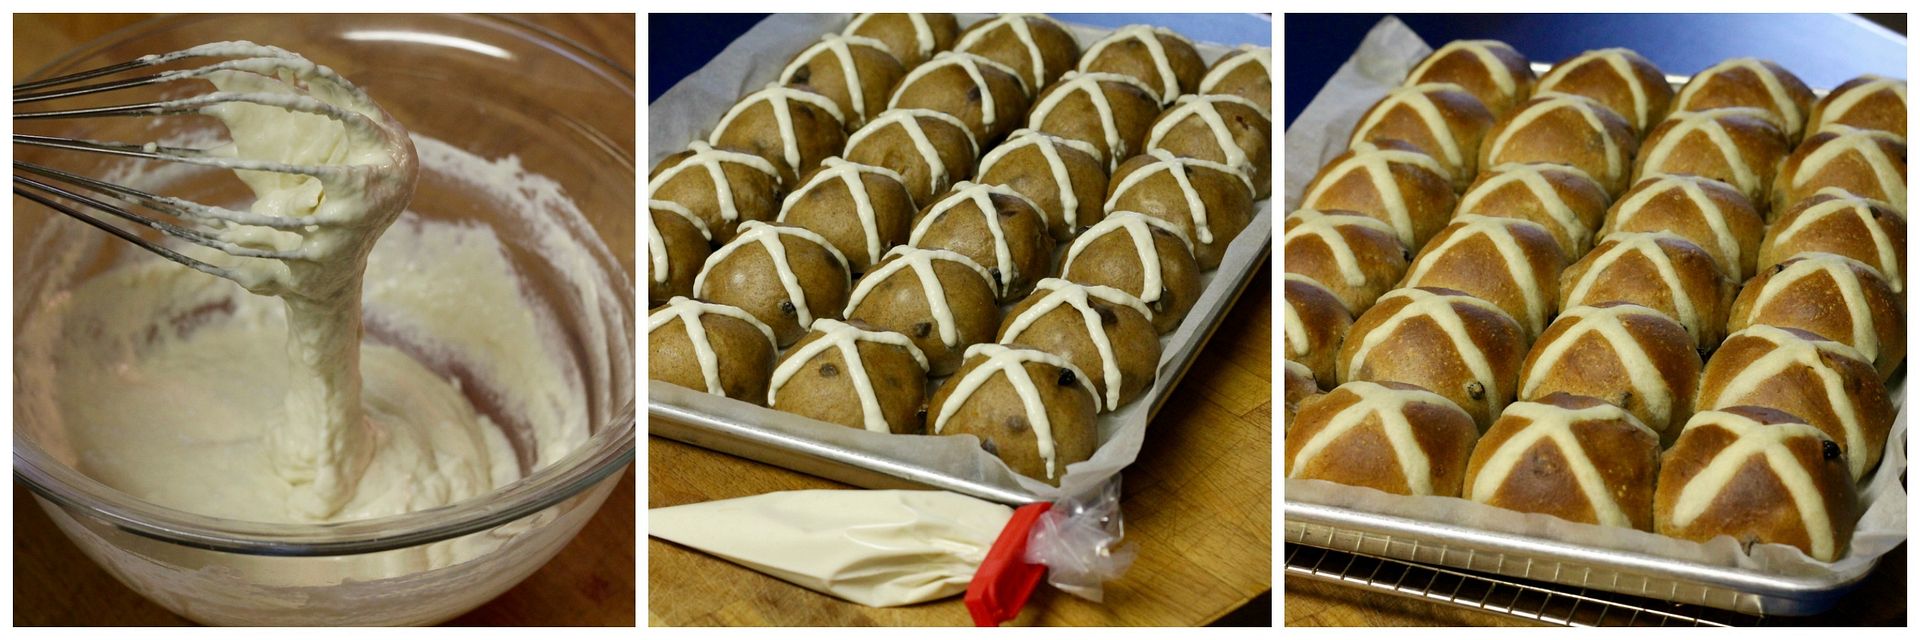
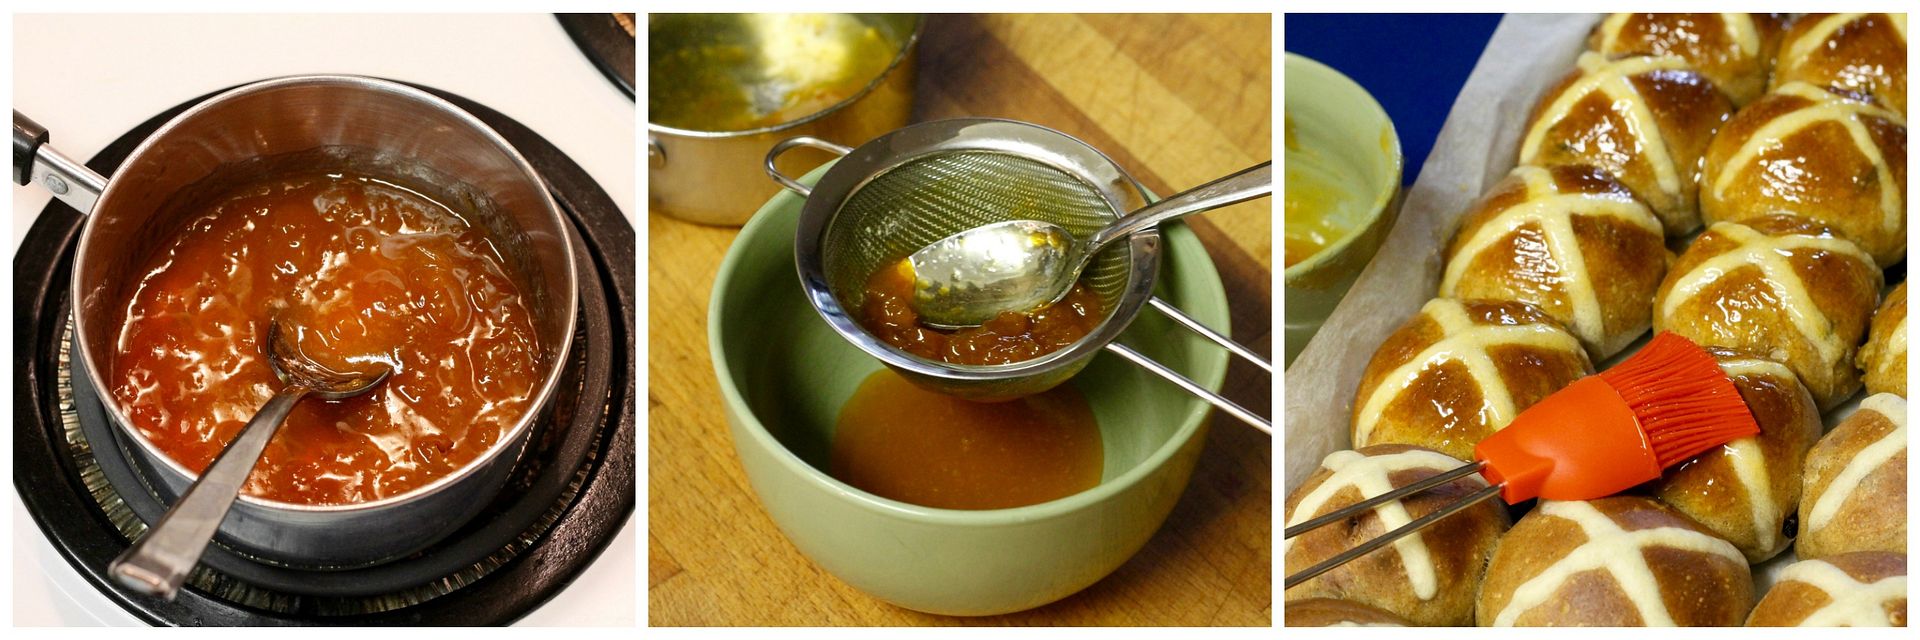
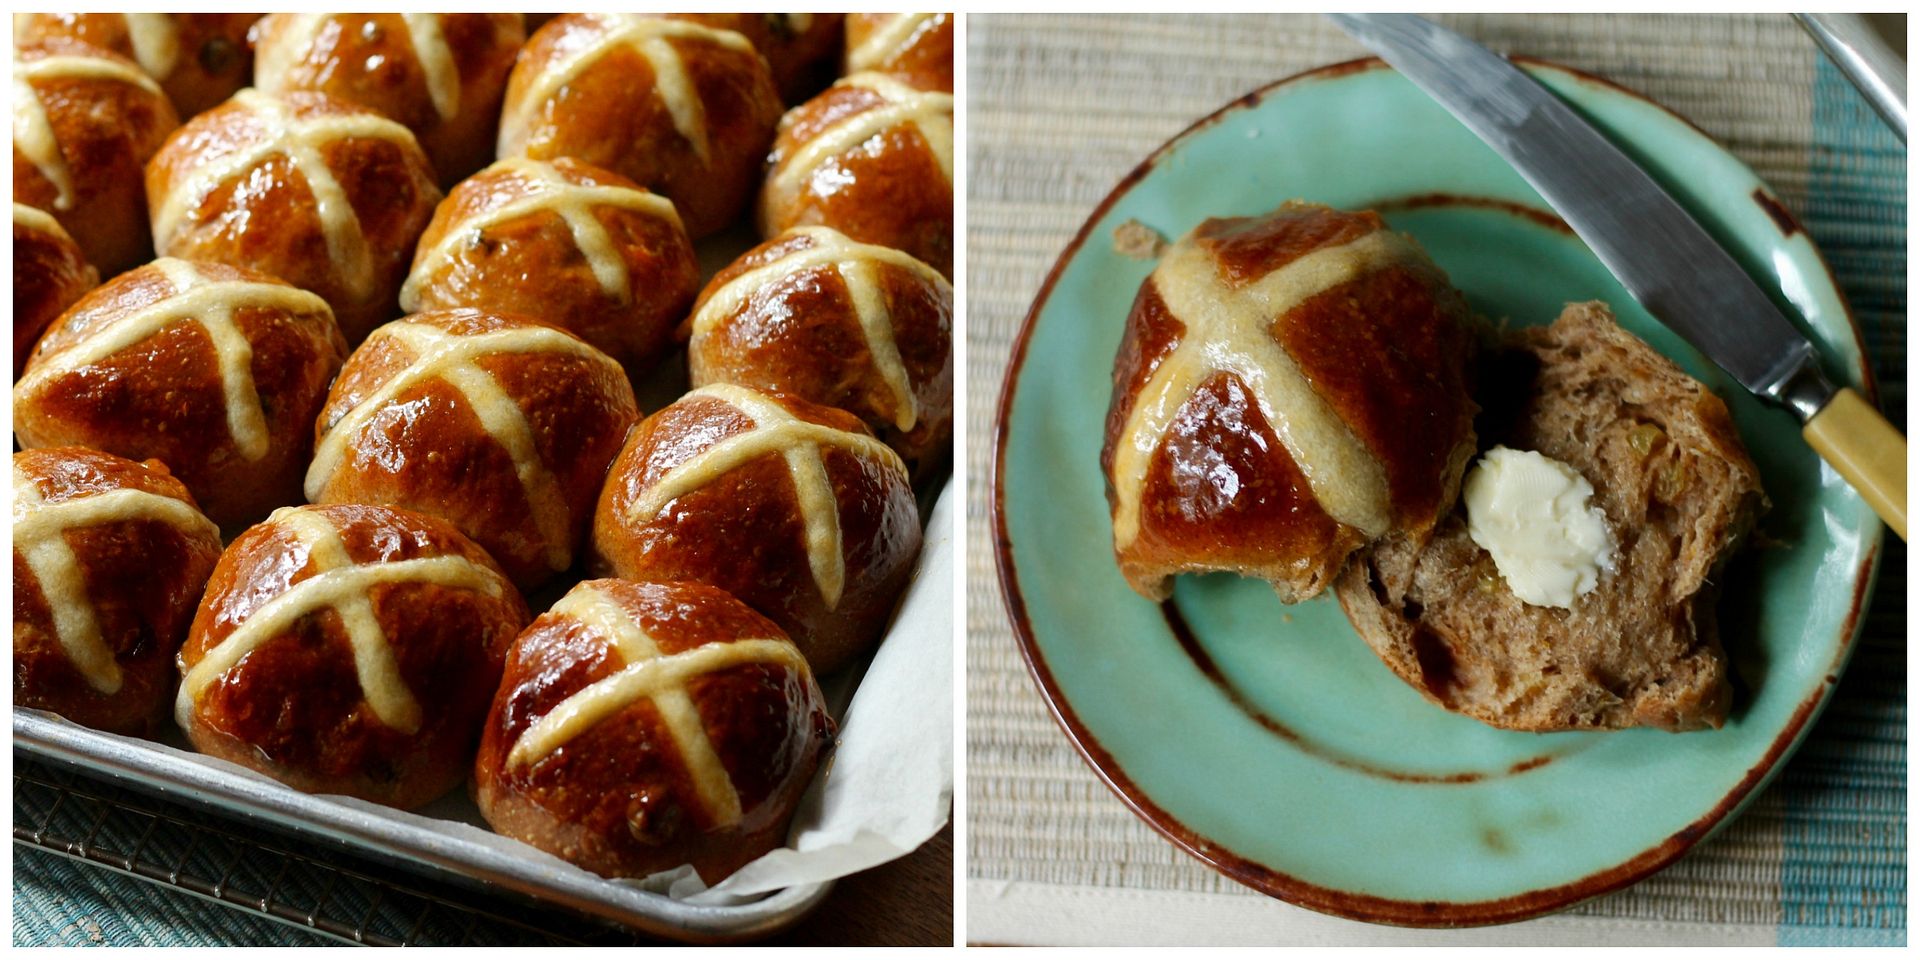
Sourdough Cider Hot Cross Buns with Chocolate Chunks | Korena in the KitchenAs I pointed out last month, Christmas cookies and hot cross buns are about the only seasonal things I manage to post about with any punctuality… and seeing as today is Easter Sunday, hot cross buns are most definitely on the menu. This month’s Sourdough Surprises project was sourdough hot cross buns, which I also tackled last year with a chocolate porter version. I decided to go a similar route this time around, adapting a recipe that used hard apple cider to make an overnight sourdough levain. And, because for me, Easter is all about chocolate, I added a generous amount of dark chocolate chunks to the dough.

Sourdough Cider Hot Cross Buns with Chocolate Chunks | Korena in the Kitchen

While these hot cross buns turned out to be quite delicious, their preparation was not exactly smooth sailing. First, the overhead light in my kitchen died (like, more-than-just-replace-the-lightbulbs dead) the morning I planned to make the dough, which meant that I was taking photos of the process with what amounted to mood lighting, so please excuse the wild fluctuations in light and picture quality in this post. Second, upon taking it out of the cupboard, I discovered that the candied orange peel I’d intended to use had gone moldy (luckily I had an orange in the fruit bowl and used some fresh grated zest instead). Third, as with last year’s buns, they took much longer than I expected. I should know by now that my sourdough starter likes to take its sweet time (especially in a dough enriched with fruit and spices, which can have a retarding effect on sourdough and yeast), but it still took all day for the first rise even when I tried to speed things up by putting the dough in a very warm place. So once again, these were a 36-hour project and yet another lesson in patience! And fourth, as I popped the buns into the oven, I realized I’d completely forgotten to add any butter to the dough. They turned out just fine without it, thanks (I think) to the fat in the yolks of the two eggs in the dough, but everything is better with butter, hot cross buns included.

Sourdough Cider Hot Cross Buns with Chocolate Chunks | Korena in the Kitchen

That said, for all the mishaps along the way, these are some tasty hot cross buns. Spicy, fruity, chocolatey, and flavourful, they are completely superior to anything you can buy at the store and well worth the effort. However, I like homemade hot cross buns so much that it’s painful to have to wait so long for them to do their sourdough thing, so I think next Easter I might go back to the yeasted version again (this one perhaps?) to save myself some suffering!

Sourdough Cider Hot Cross Buns with Chocolate Chunks | Korena in the Kitchen

For more Easter goodness, check out the hot cross buns made by the other Sourdough Surprisers:

 Sourdough Hot Cider Cross Buns with Chocolate Chunks

Adapted from Dan Lepard. Makes 12 buns.

Evening of Day 1

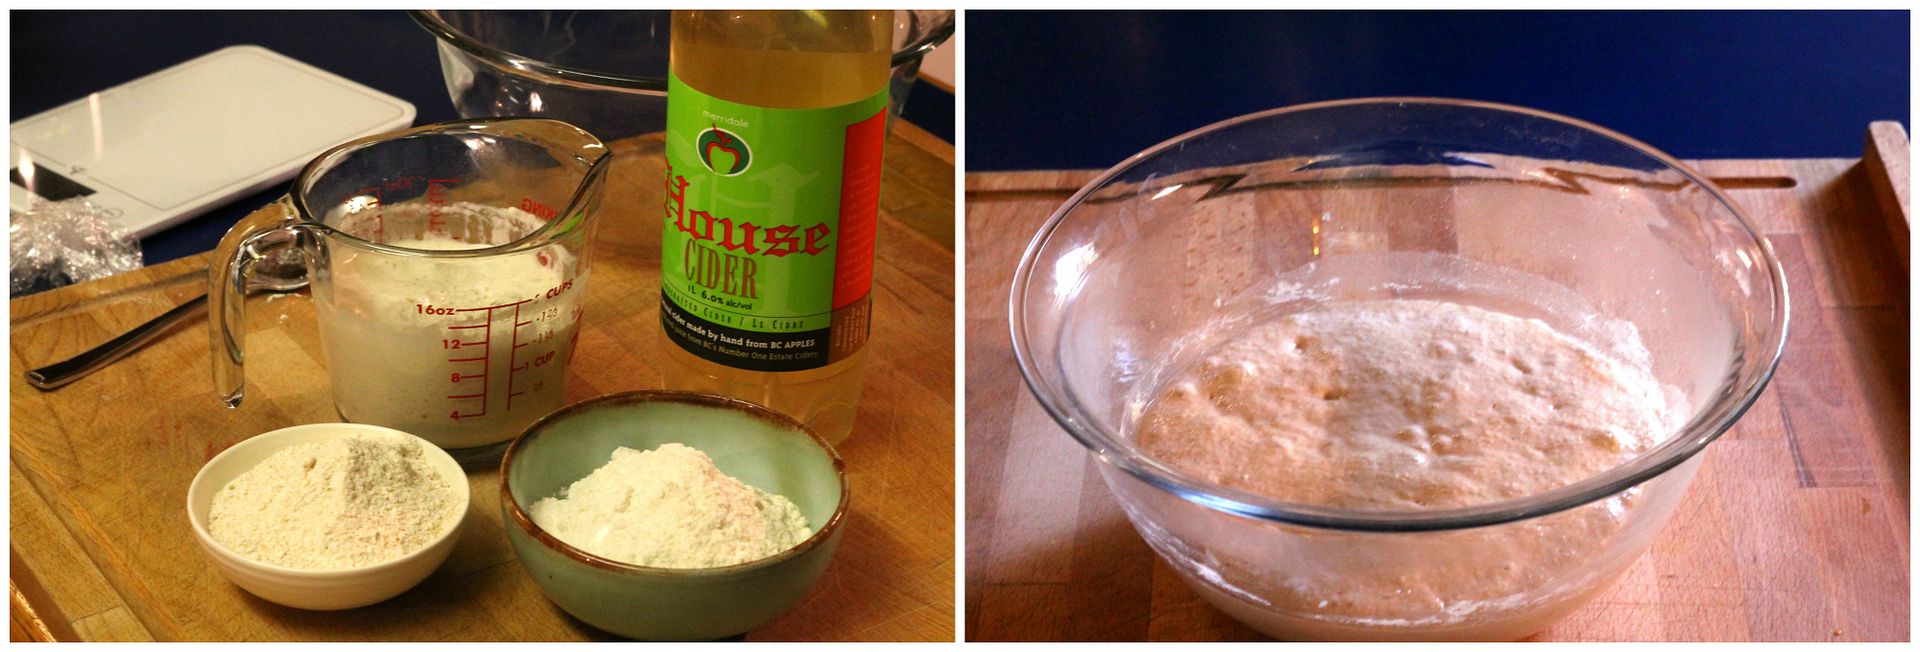
Prepare the levain by mixing together:

100g bubbly sourdough starter (100% hydration)

150 ml hard apple cider (such as Merridale Apple Cider)

100g bread flour

75 g whole wheat flour

Cover and let ferment overnight at a cool room temperature – it should be nice and bubbly by the morning.

cider levain

Morning of Day 2

In a medium bowl, combine:

200 g dried fruit, such as chopped apricots, cranberries, raisins, and diced candied orange peel (if you don’t have any candied orange peel, add 1 tsp grated orange zest to the fruit mixture)

100 ml boiling water

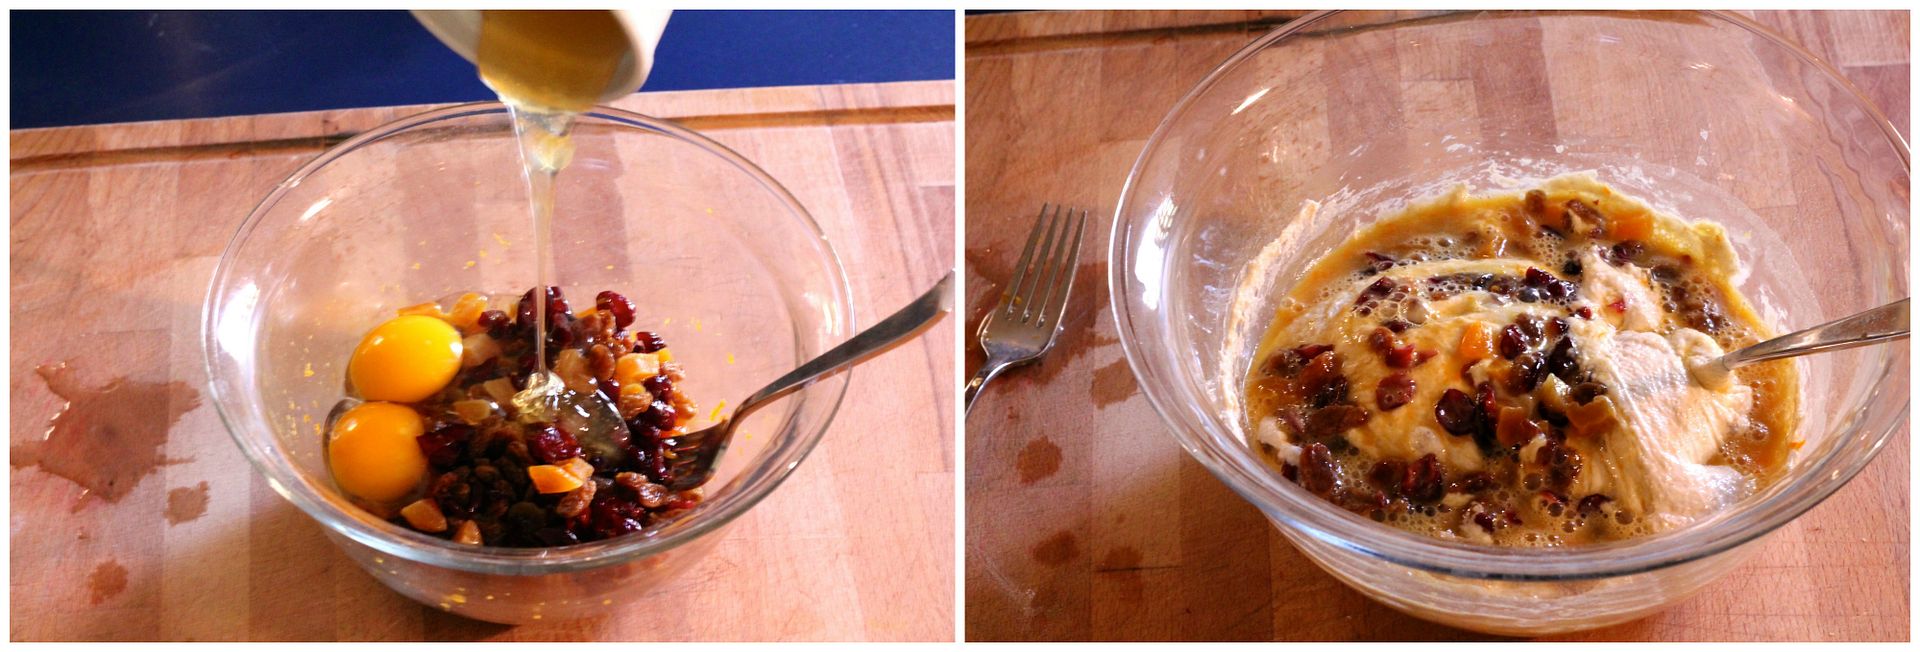
Let the fruit soak up the water for a few minutes until it looks plump, then stir into the fruit:

2 eggs

40 g melted unsalted butter

50 g honey

Stir the fruit mixture into the cider levain and set aside.

fruity levain

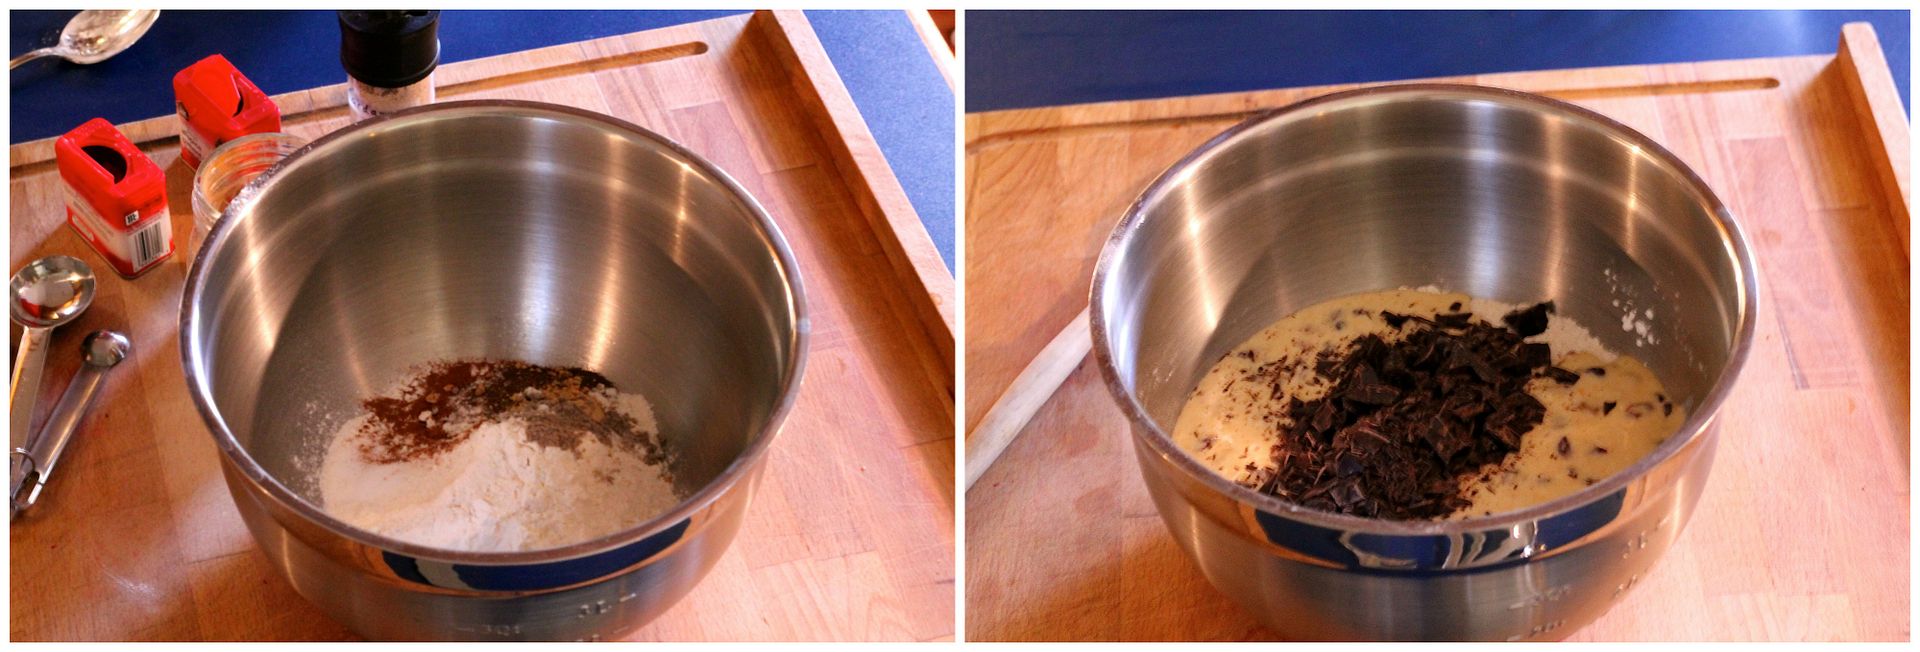
In a large bowl, combine:

250 g bread flour

25 g corn starch

1 tsp each cinnamon, allspice, and ginger

1/2 tsp cardamom

1 tsp salt

Add the fruity levain mixture to the flour along with 100 g chopped dark chocolate.

dough1

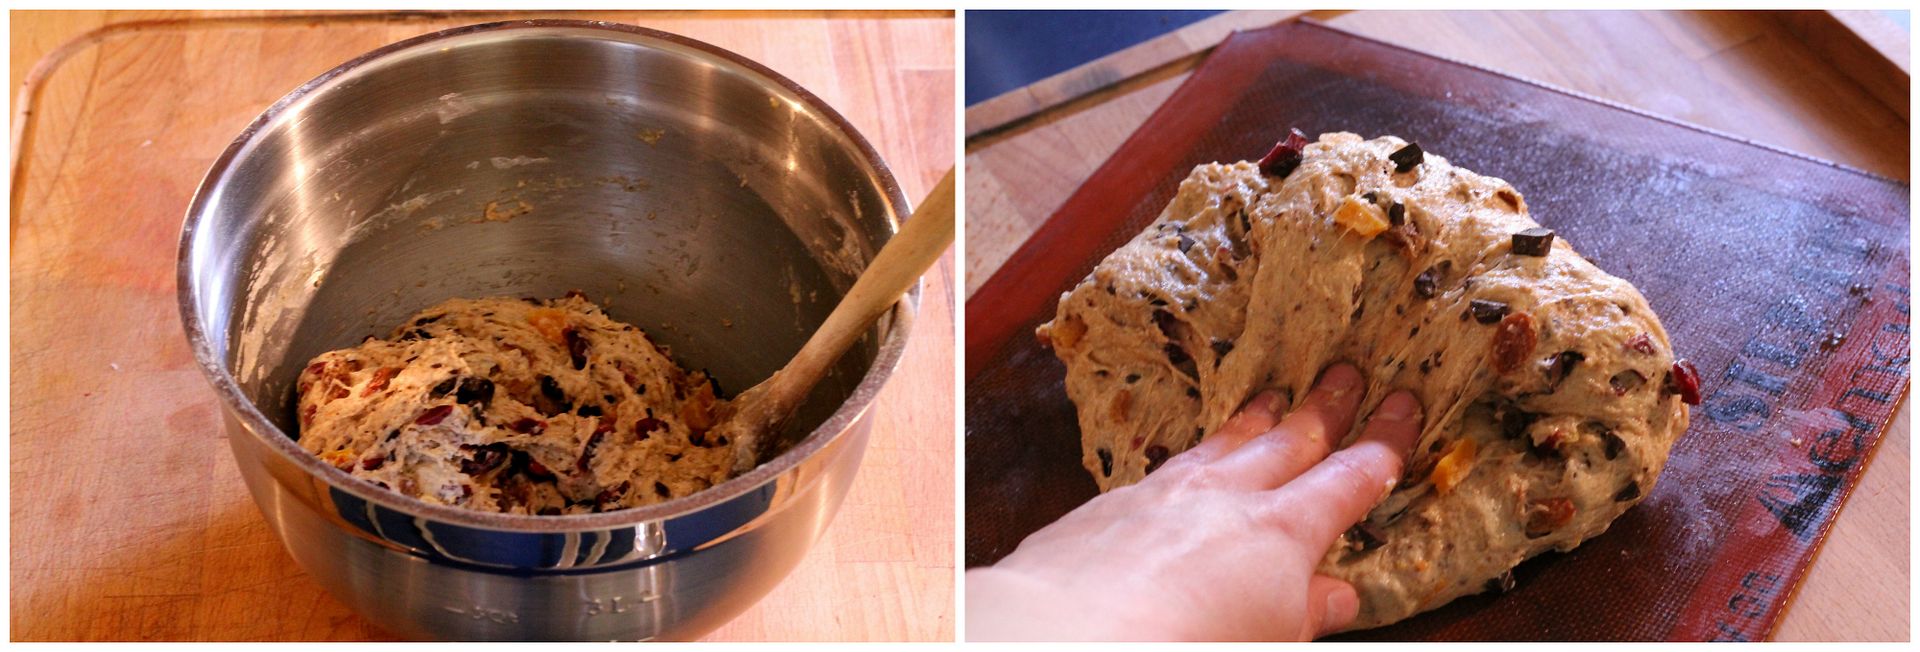
Stir to combine into a sticky dough, then turn it out onto a lightly oiled surface (I used my silicon baking mat) and knead it 10-20 times, just to get the gluten formation started. This dough’s high hydration level means it will do most of the work for you, without having to knead.

dough2

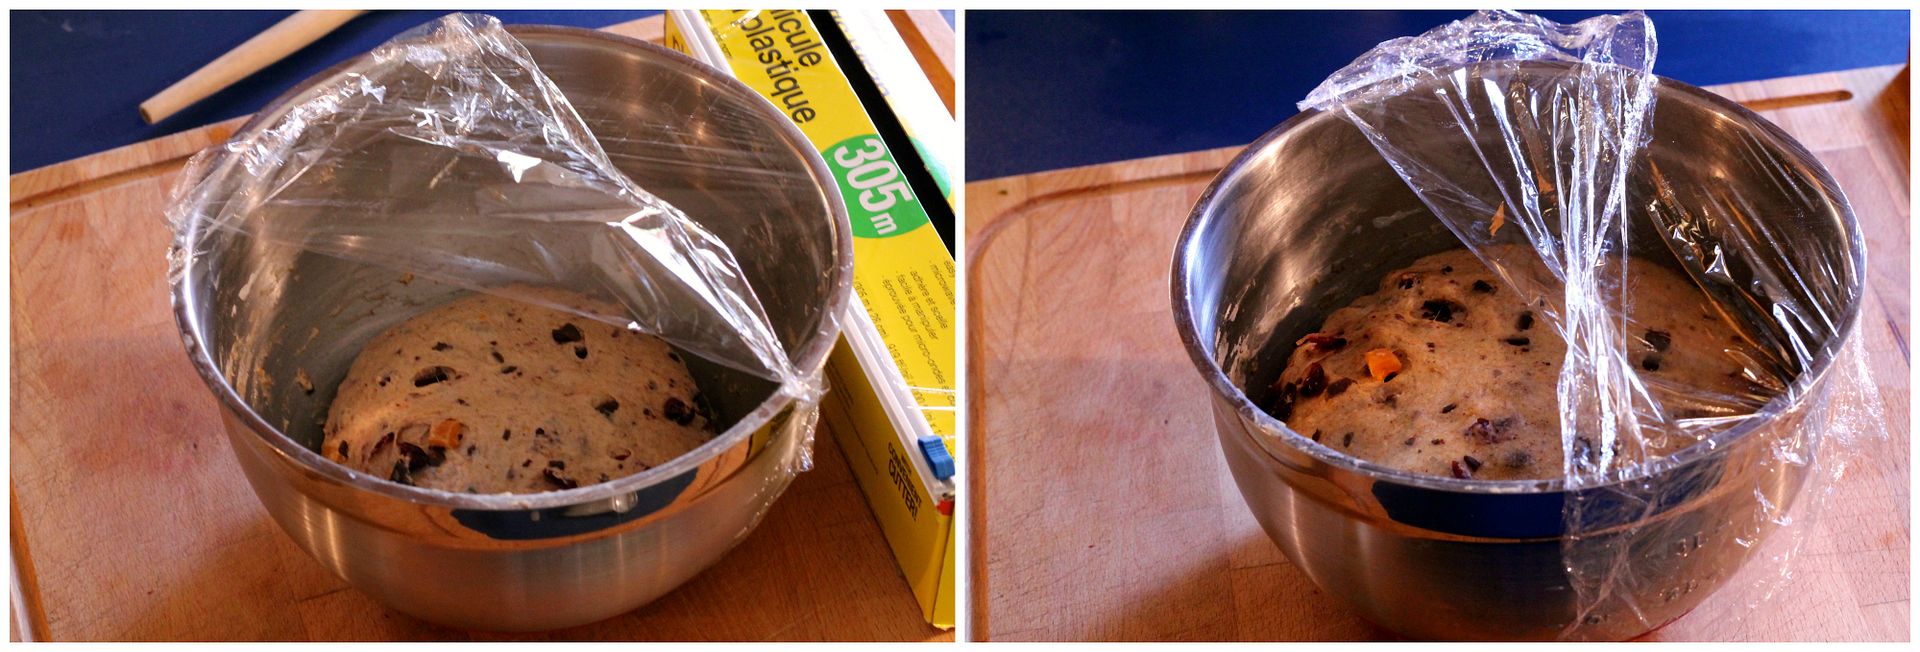
Place the dough back in the bowl, cover with plastic wrap, and let it rise at room temperature until doubled (several hours).

dough3

Afternoon/evening of Day 2

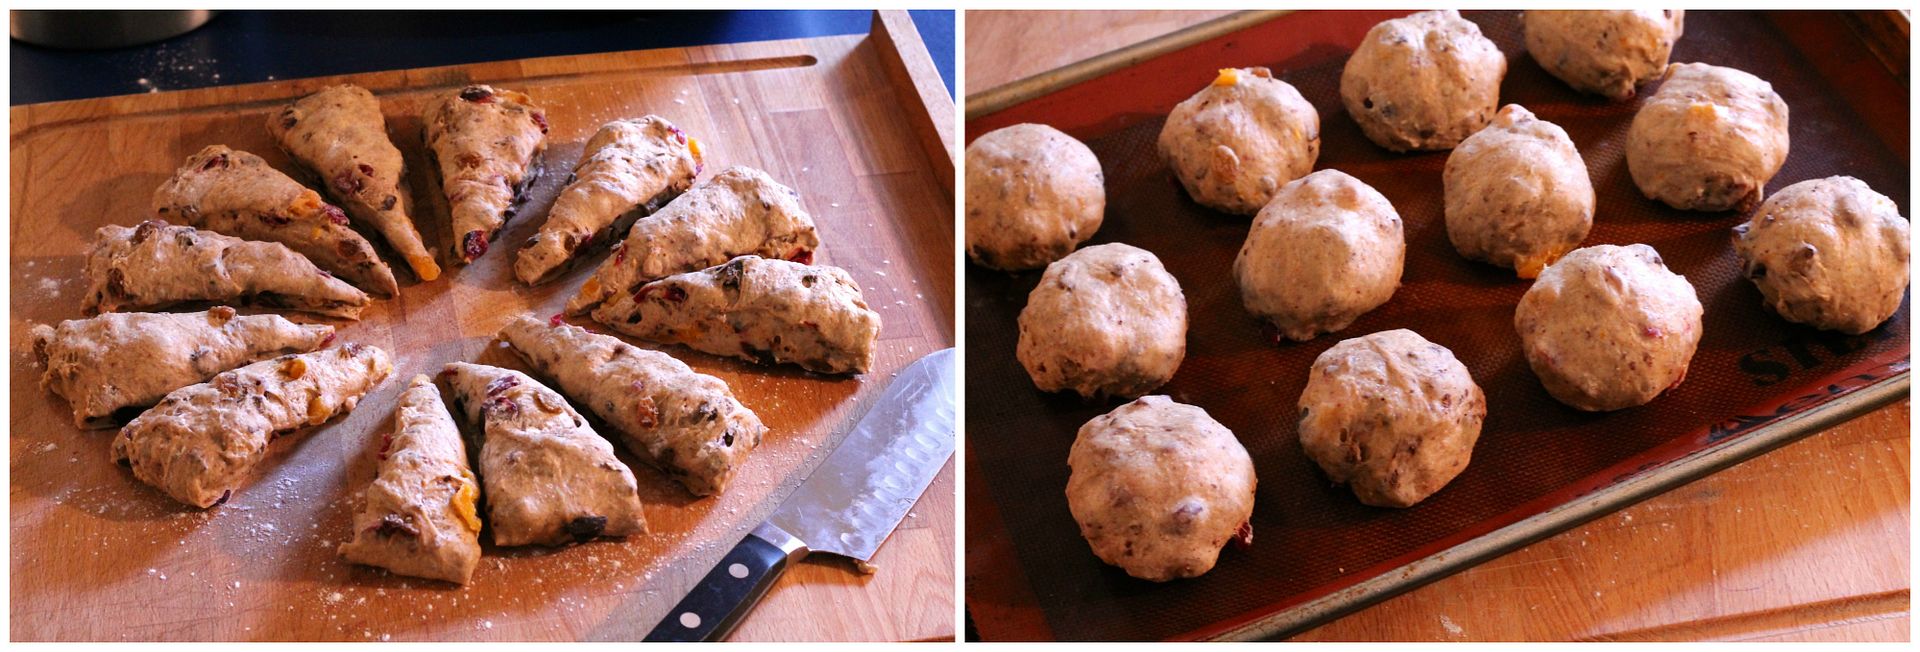
Gently knock back the dough and turn it out onto your work surface. Divide the dough into 12 equal portions (about 100 g each), shape each into a ball, and place about an inch apart on a baking sheet lined with a silicon mat or parchment paper. Cover lightly with plastic and let rise overnight at a cool room temperature, until the buns are almost touching.

shaped

Morning of Day 3

Preheat the oven to 425˚F (400˚F convention). To make the crosses on top of the buns, mix together:

150 g all purpose flour

50 m vegetable oil

about 125 ml water (add more or less as needed to get a pipeable consistency)

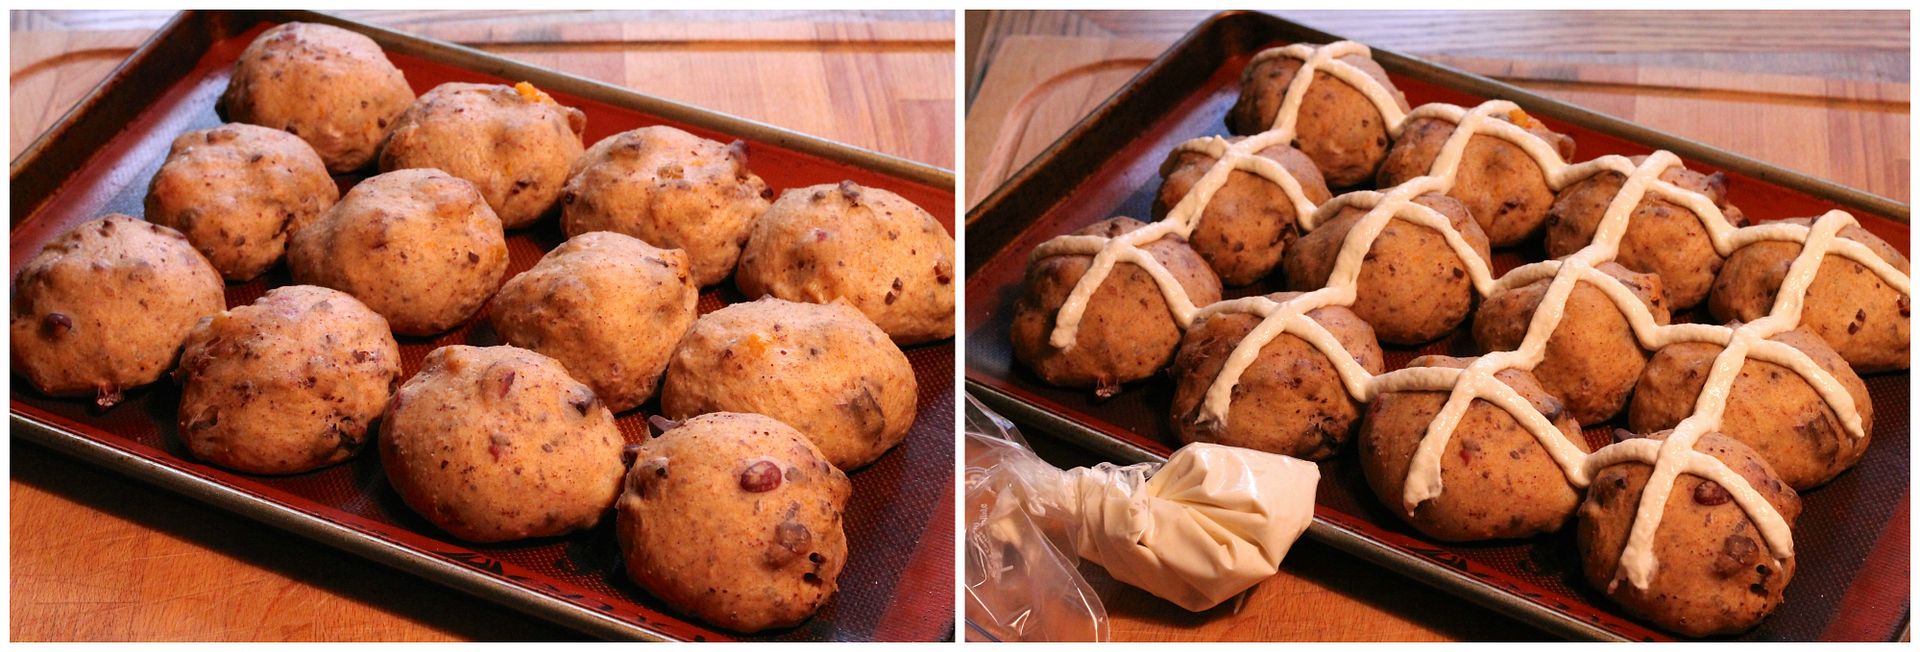
Scoop the paste into a Ziplock bag, snip off a corner, and pipe lines on the risen buns.

crossed

Bake in the preheated 425˚F (400˚F convention) oven for 15-18 minutes, until browned on top and hollow-sounding when tapped. Let cool on a rack.

While the buns are cooling, combine in a small saucepan:

25 g granulated white sugar

25 ml water

Bring to a simmer to melt the sugar, then brush the glaze over the almost-cooled buns.

baked

Serve split and spread with butter. Store leftover buns in an airtight container for up to 4-5 days (they toast up fantastically).

Hot cross bun, buttered | Korena in the Kitchen


Daring Bakers: Ukrainian Easter Paska

$
0
0

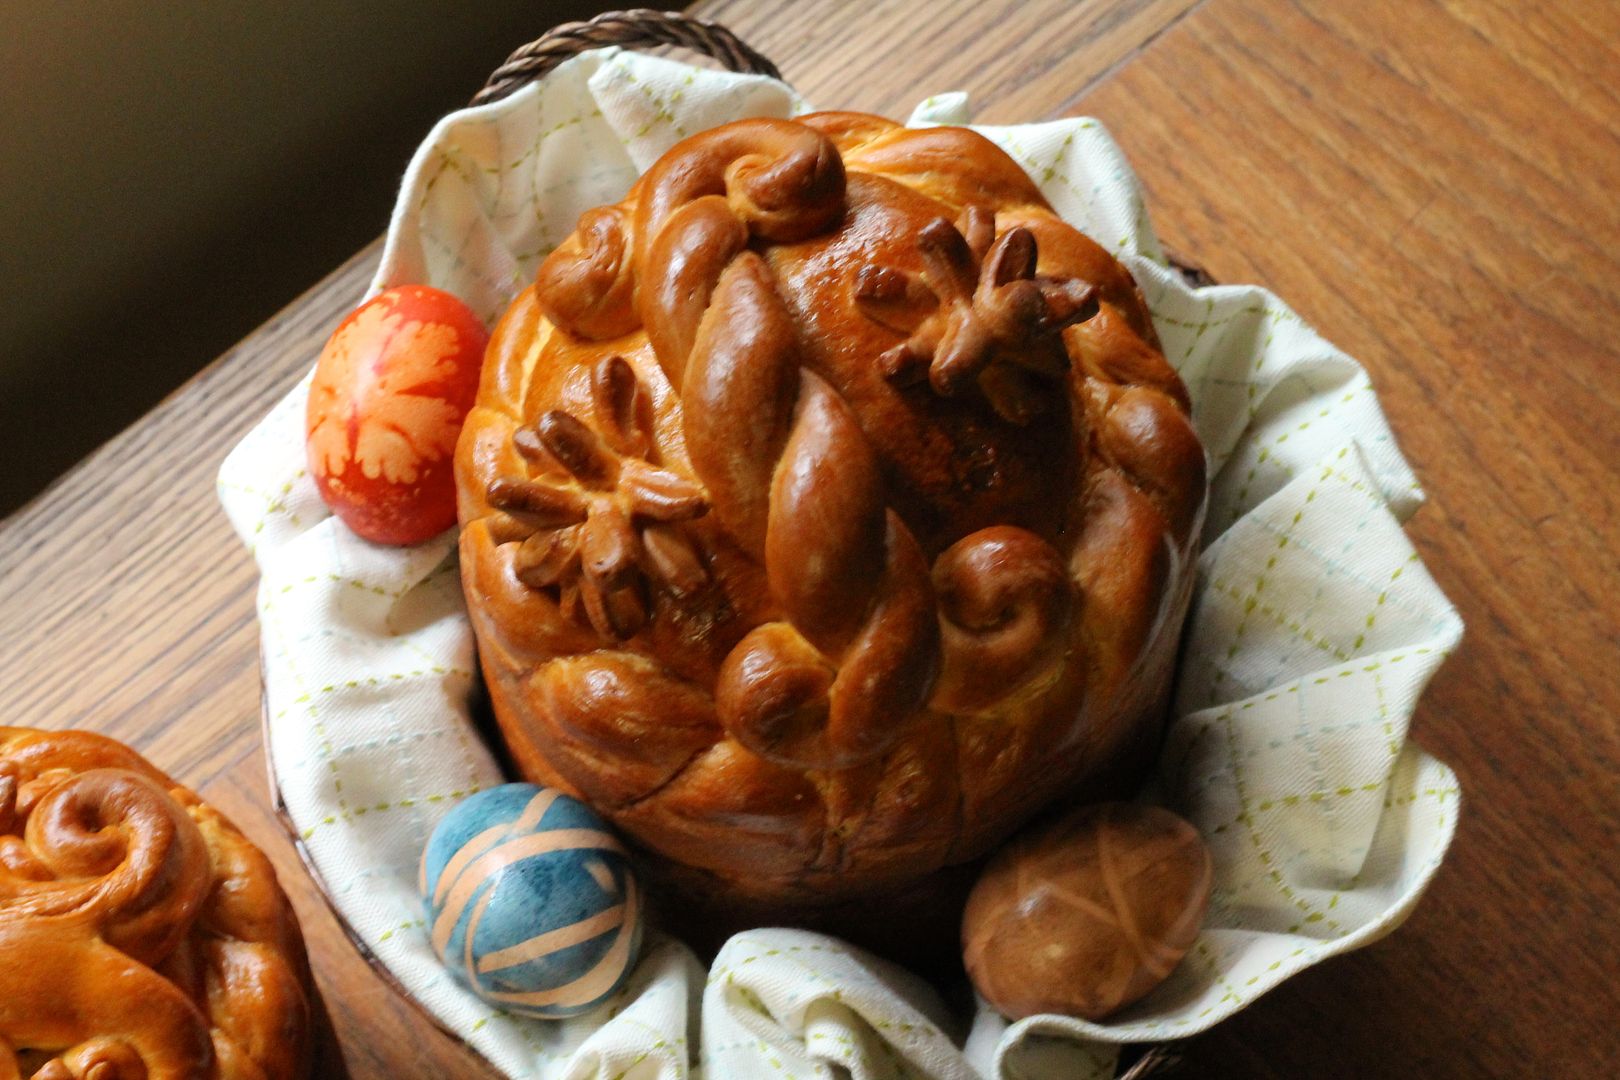
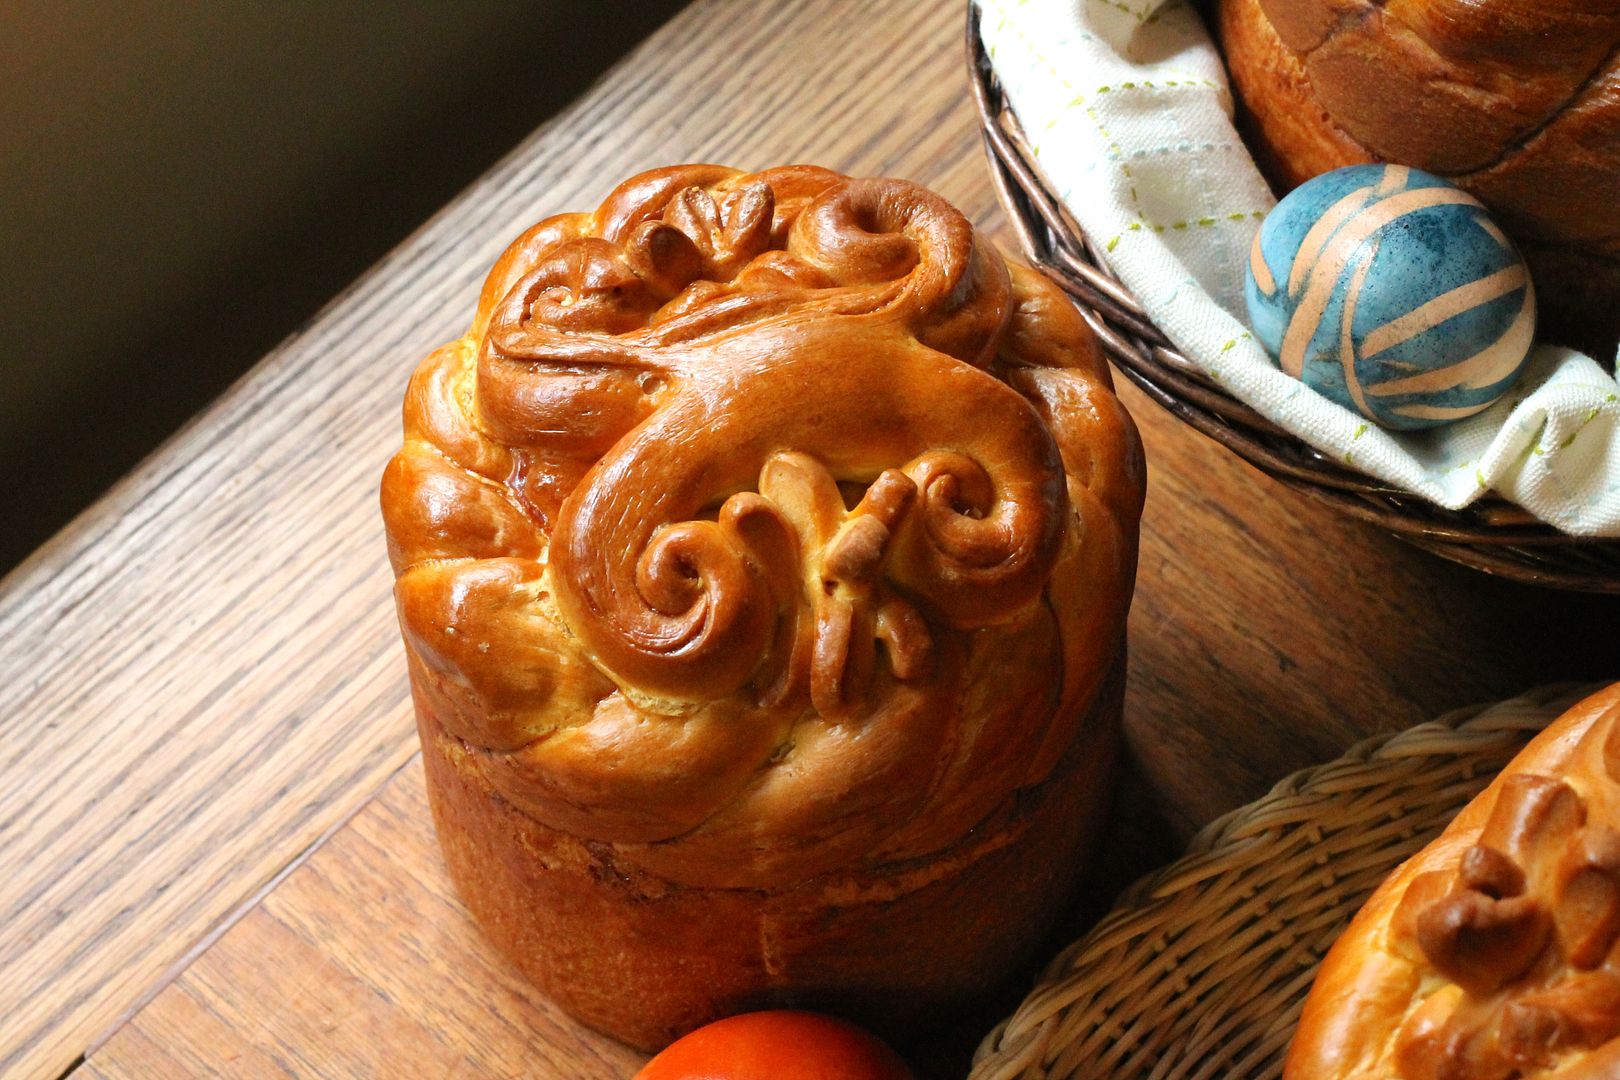
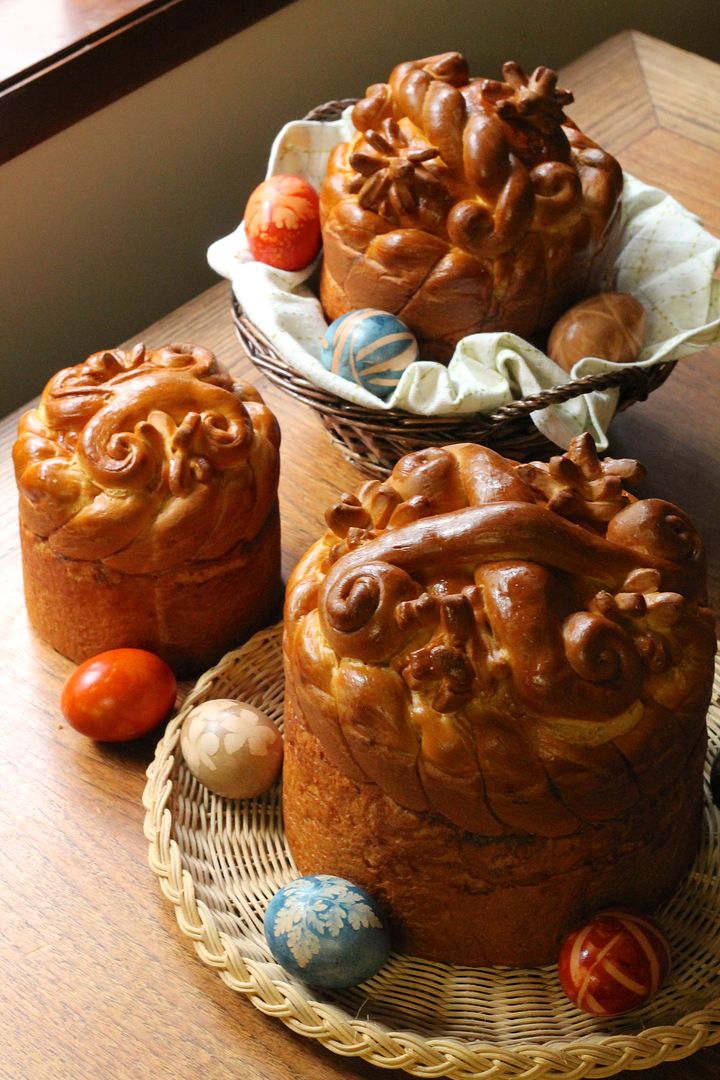
Ukrainian Paska | Korena in the KitchenThe April Daring Baker’s Challenge was hosted by Wolf of Wolf’s Den. She challenged us to Spring into our kitchens and make Easter breads reflecting cultures around the world.
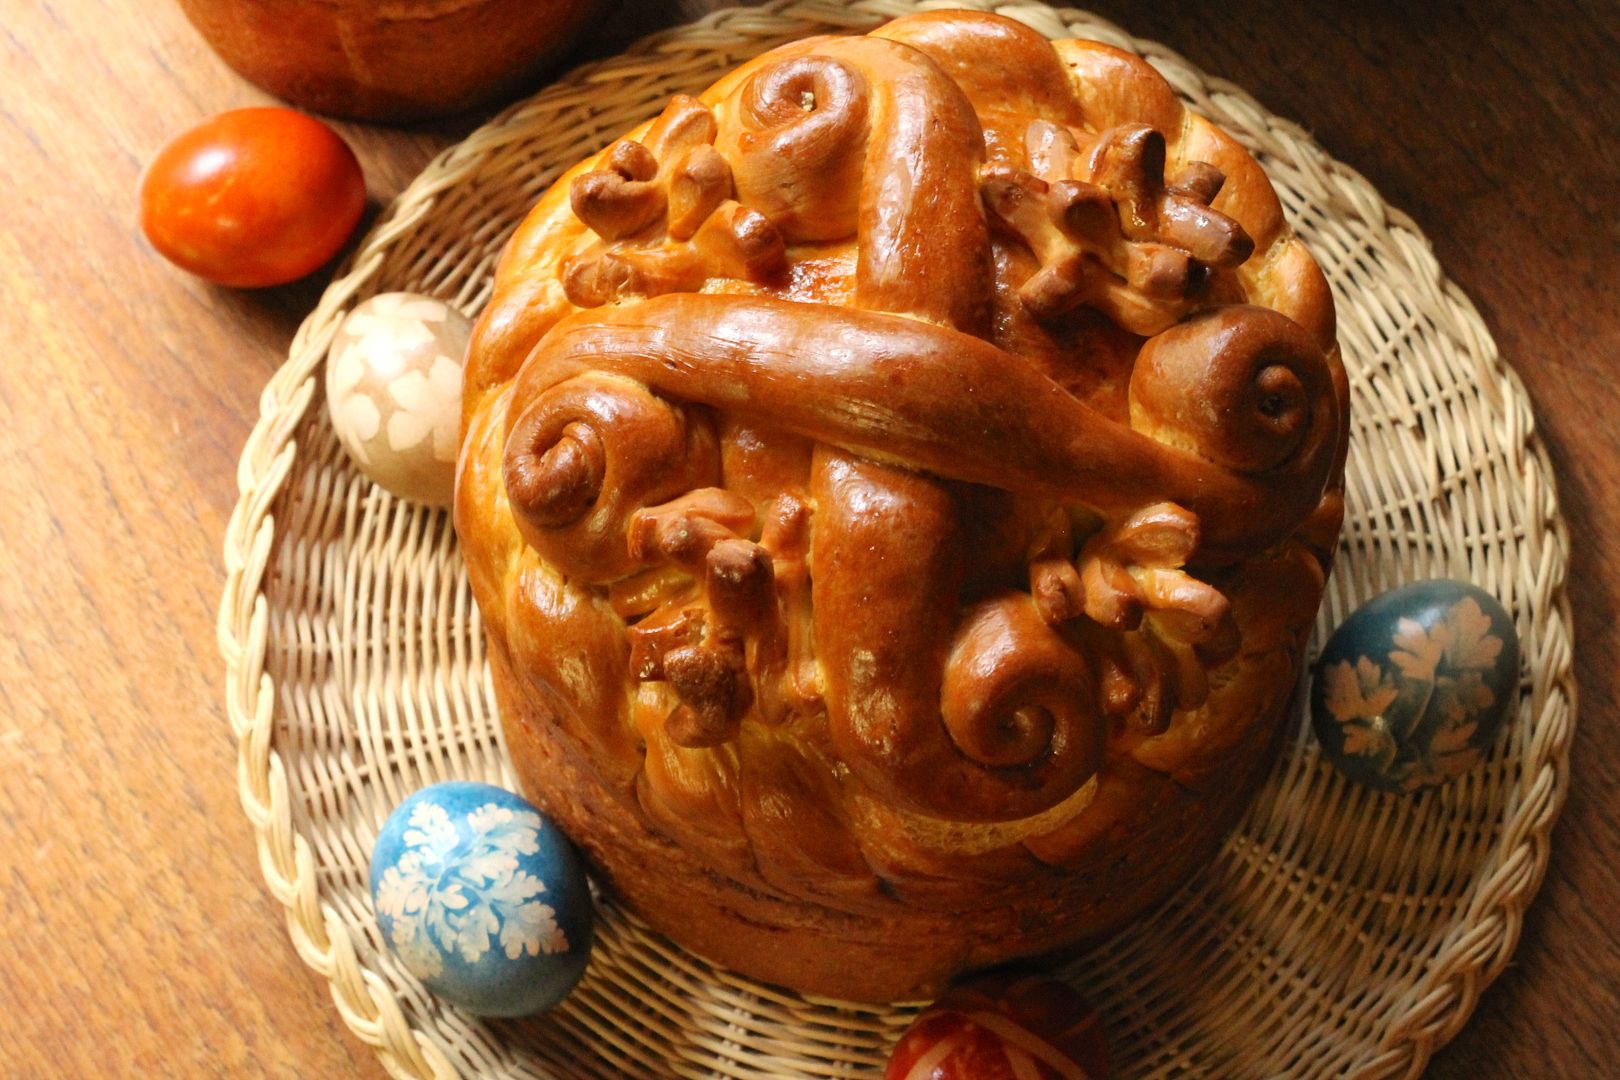
While I don’t personally celebrate Easter in a religious sense, I do look forward to any holiday that has a food tradition to go with it (see: Christmas baking). Paska, a special Eastern European Easter bread, is one such food tradition, and the egg-rich Ukrainian version with its intricately decorated top is one that I’ve been wanting to try for a while now. This month’s challenge was the perfect opportunity to do it.

Ukrainian Paska | Korena in the Kitchen

In pre-Christian times, paska was baked as an offering to the Pagan gods. It has since been adopted into Christianity, where it is taken to church in an Easter basket to be blessed by the priest. When looking for a recipe for this special bread, I did my usual, slightly obsessive, “must-scour-the-internet-for-the-best-version-ever” trick before choosing a Martha Stewart recipe which comes from a woman who is both curator of the Ukrainian Museum and Library and librarian at Saint Basil Seminary, a Ukrainian Catholic college in Connecticut. Quite the pedigree for a recipe!

Ukrainian Paska | Korena in the Kitchen

When I say paska is an egg-rich bread, I really mean it. This dough contains three whole eggs and eight egg yolks along with twelve cups of flour. Which is to say that unless you have an industrial-size mixer, you’ll be doing some hand kneading… ;) I started off mixing the dough in my KitchenAid, then had to transfer it to the largest bowl in my kitchen to finish incorporating the flour. Luckily, the dough is soft and smooth and easy to work with by hand, and it’s very satisfying to knead a giant ball of dough. According to traditional Ukrainian paska legend (I’m not making this up!), there are several things to keep in mind when making paska. First, it’s important to have only positive thoughts when making it so that the positive energy can enter into the baking, otherwise it might not turn out. Second, you can’t sit down while the dough rises or it might go flat. And third, you have to make an incantation as you put the paska in the oven to insure it comes out looking as pretty as it did when it went in. (I’m not going to lie – I did none of these things, except for maybe the positive attitude bit!)

Ukrainian Paska | Korena in the Kitchen

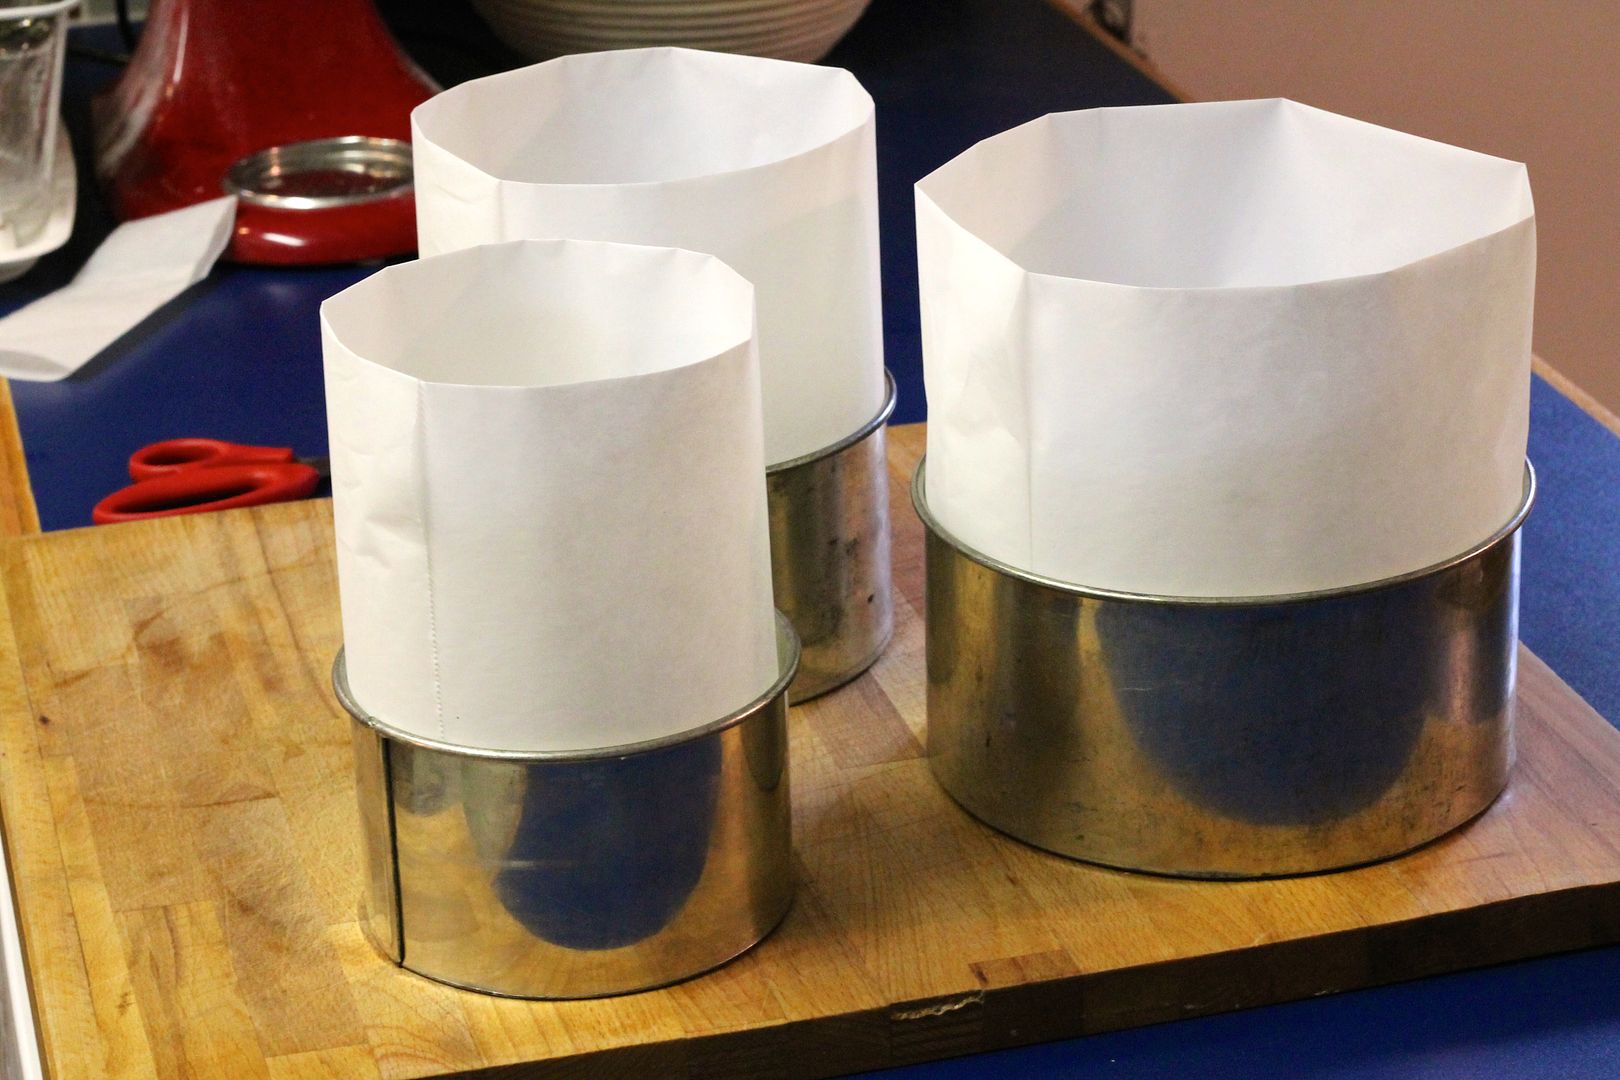
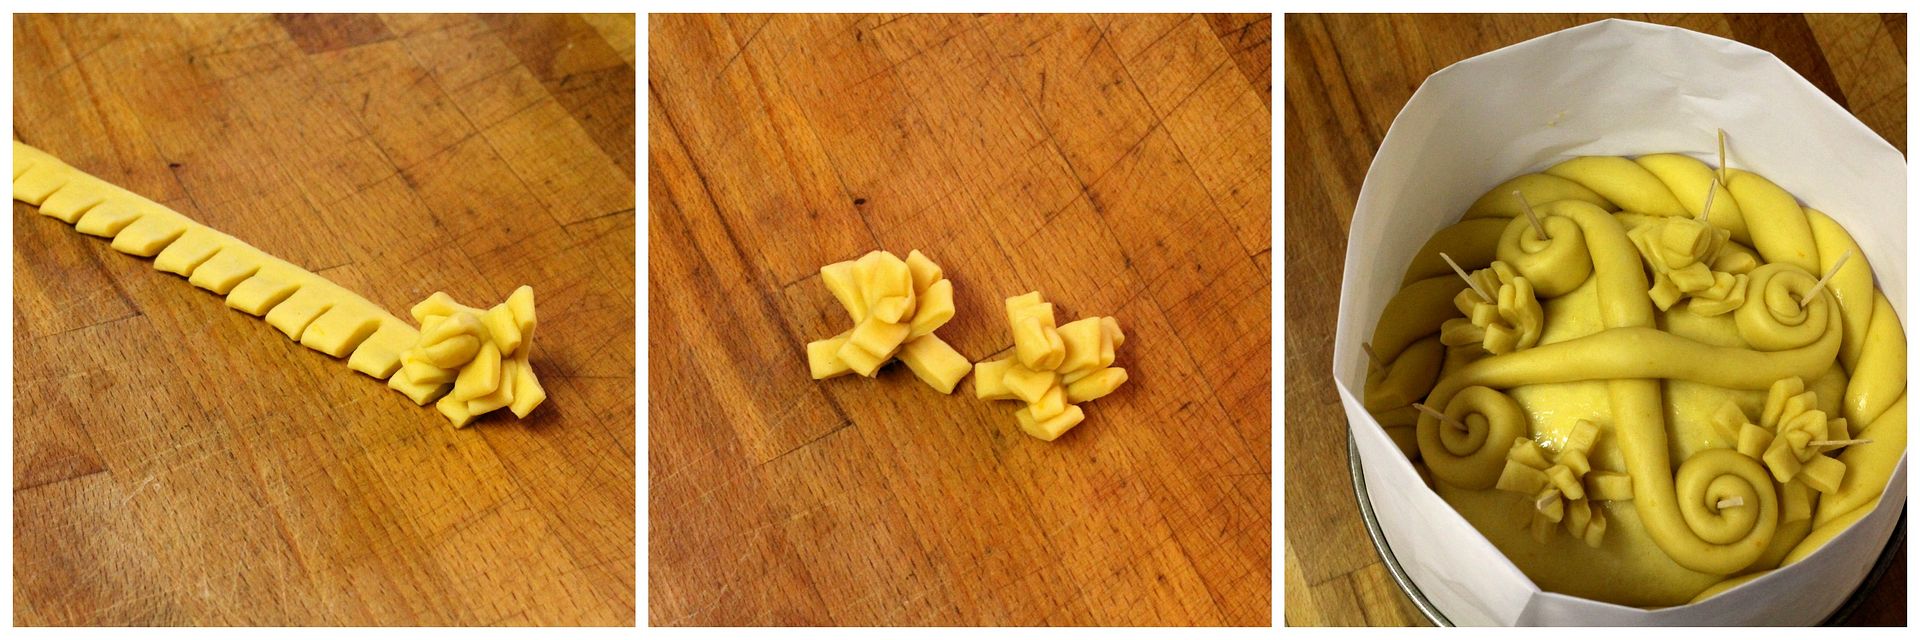
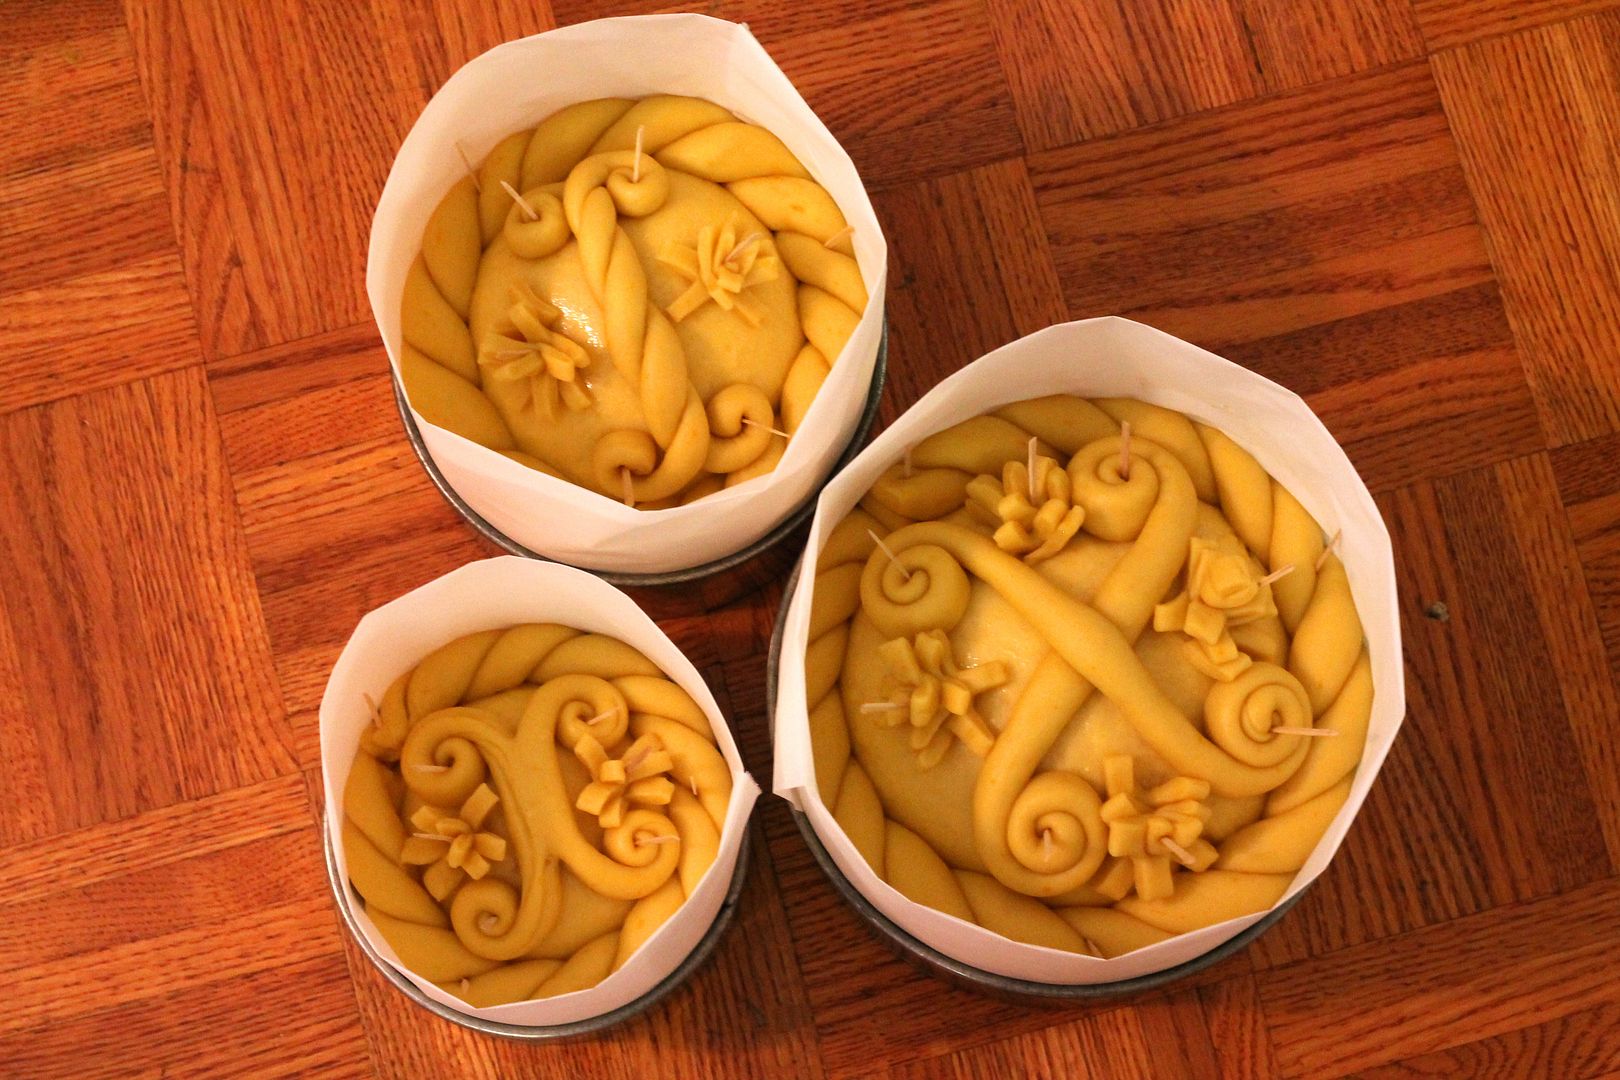
The decorative ropes, twists, rosettes, and crosses on top of the paska each symbolize something different for the coming year. The ones I used were the twist around the outside symbolizing eternity, the four-sided cross originally meaning the four corners of the earth but now taken to represent the Christian cross, a sort-of sun motif without enough arms, and the flower or rosette symbolizing fertility for a good harvest. These decorations are held in place on top of the paska with toothpicks during baking, which helps keep everything pretty so that you don’t have to rely solely on your incantation. ;) Oh – and about the baking tins: you can use pretty much anything to bake paska in, from cake pans to coffee cans to I-don’t-know-what-else. I found three deep, round cake tins in descending sizes at the thrift store that were too perfect not to buy (plus it happened to be fifty-percent-off day, so they were practically free!), even though any of the pans I already owned would have worked fine, too. ;)

Ukrainian Paska | Korena in the Kitchen

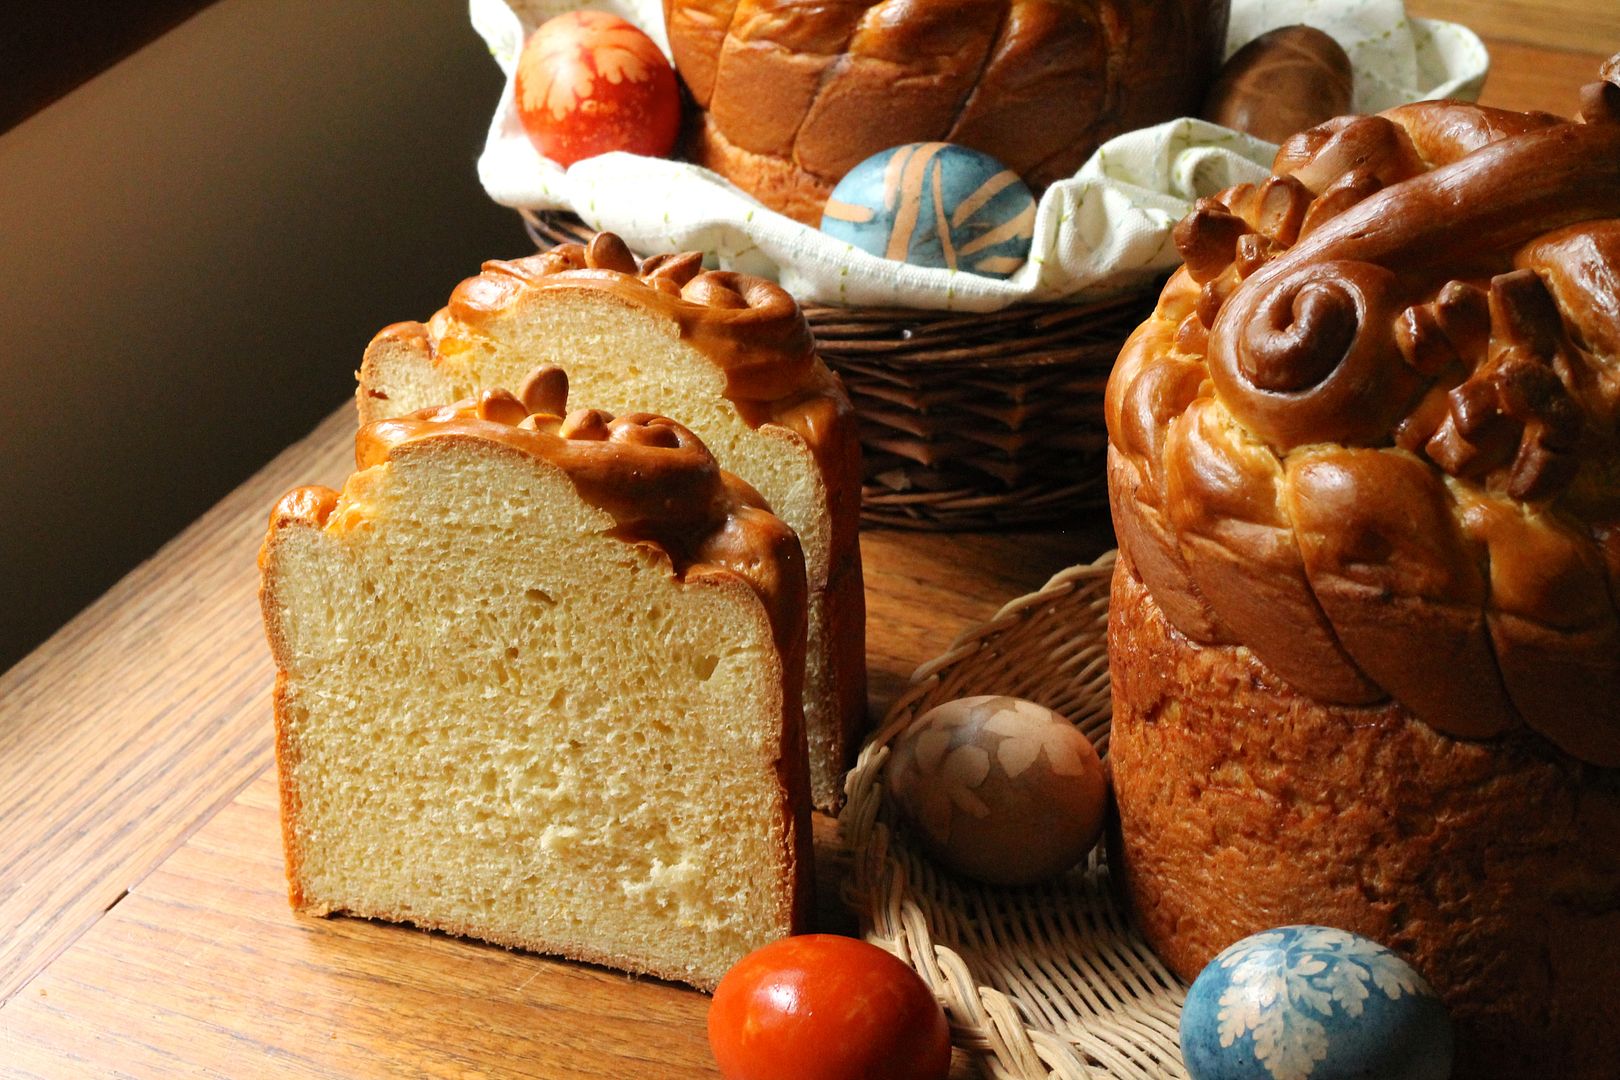
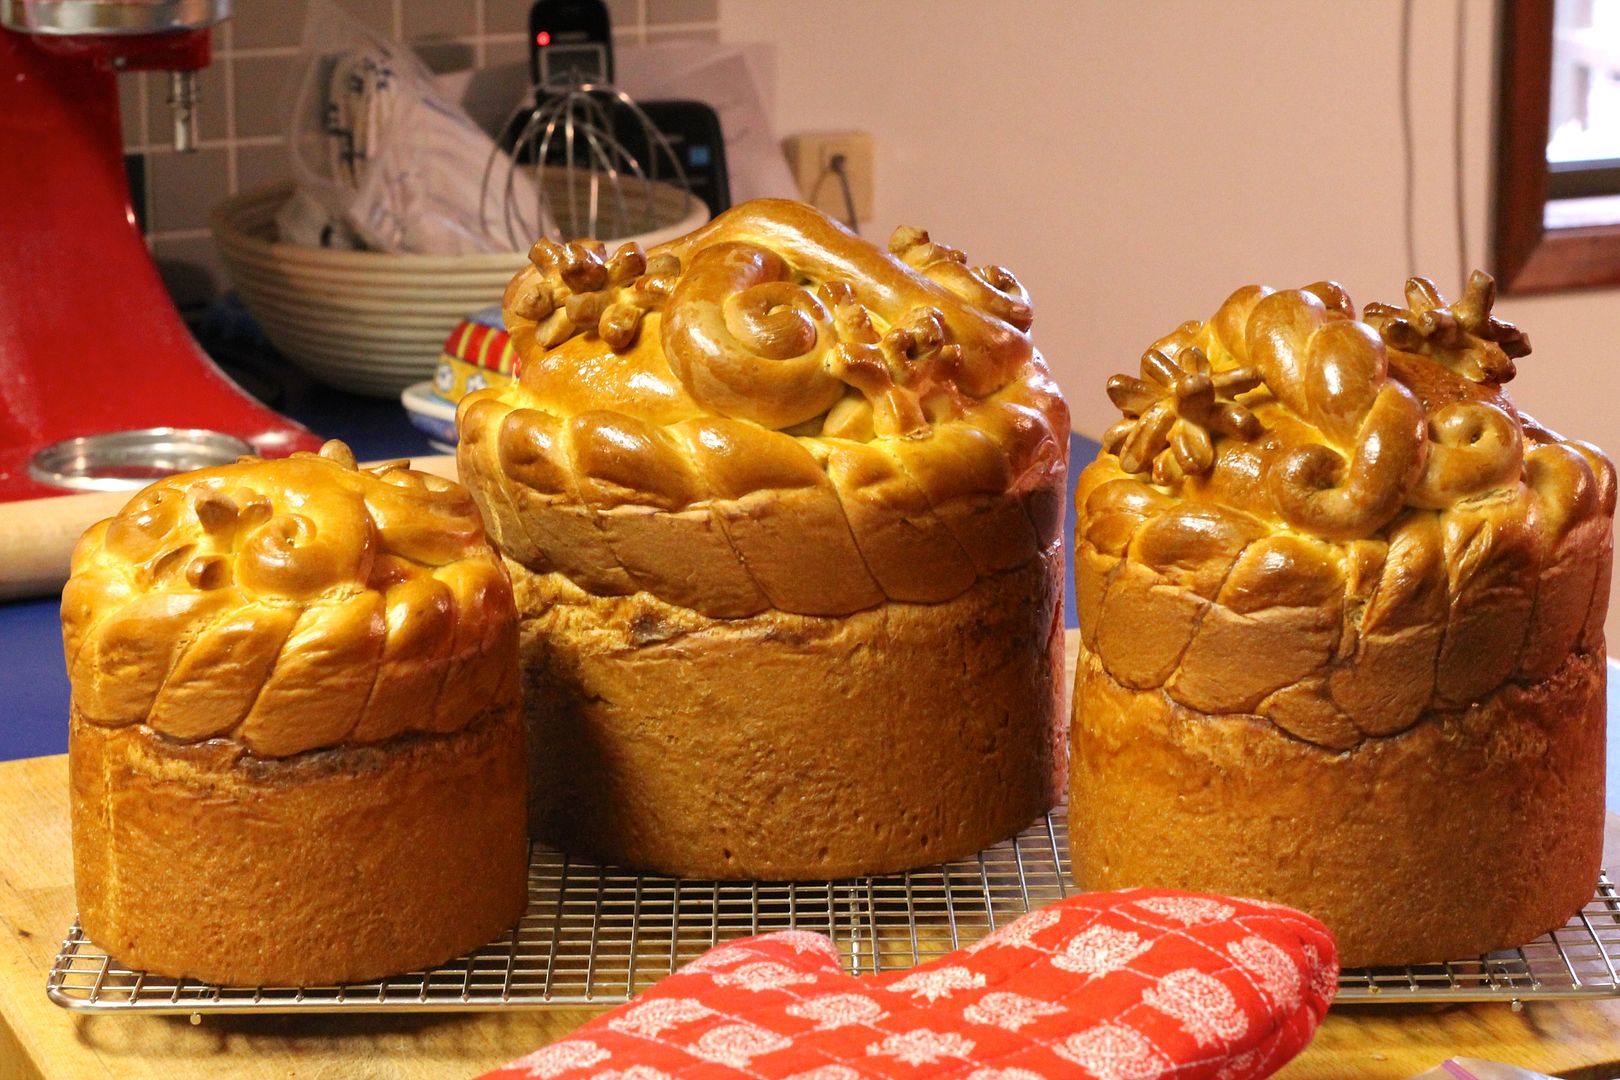
I loved making this paska. I couldn’t believe how beautiful it was coming out of the oven, and I was super pleased with how it turned out. The crumb is quite tight, almost more cake-like than anything, with a delicious citrusy-vanilla scent. To be honest, I found it a little bit dry on its own (surprising, considering how many eggs went into it), but it fully redeemed itself when spread with butter and apricot jam. It also made excellent toast and phenomenal french toast (with even more eggs!). The two larger loaves were well-received by family and friends, and I think in the future I will be adding paska to my Easter baking list along with hot cross buns.

Ukrainian Paska | Korena in the Kitchen

Thanks for the challenge Wolf! For more beautiful Easter breads from all over the world, check out the Daring Bakers.

Ukrainian Paska

Adapted from Martha Stewart. Yield is 2 large round loaves (each 9″ in diameter) or several smaller ones. Feel free to use whatever round baking tins you have available – mine were 8″, 6.5″, and 5″. I’ve given the ingredients in volume and by weight to make it easier to scale down the quantity, should you decided not to make paska to feed an army! For more decoration ideas, visit this page.

Sponge

In a large bowl, mix together:

4 1/2 tsp (16 g) active dry yeast

1 tbsp (12 g) all purpose flour

1 tbsp (16 g) granulated white sugar

3 tbsp (45 g) warm water

Let the mixture sit for 10 – 20 minutes until it is all foamy.

yeast, foaming

Stir in:

4 cups (544 g) sifted flour (if measuring by volume, sift first, then measure)

2 cups (455 g) warm milk

sponge ingredients

Cover the bowl with plastic wrap and let the sponge is a warm spot for 30 minutes, until doubled in size.

sponge, risen

Dough

In the bowl of a mixer fitted with the paddle attachment, combine:

3 whole eggs

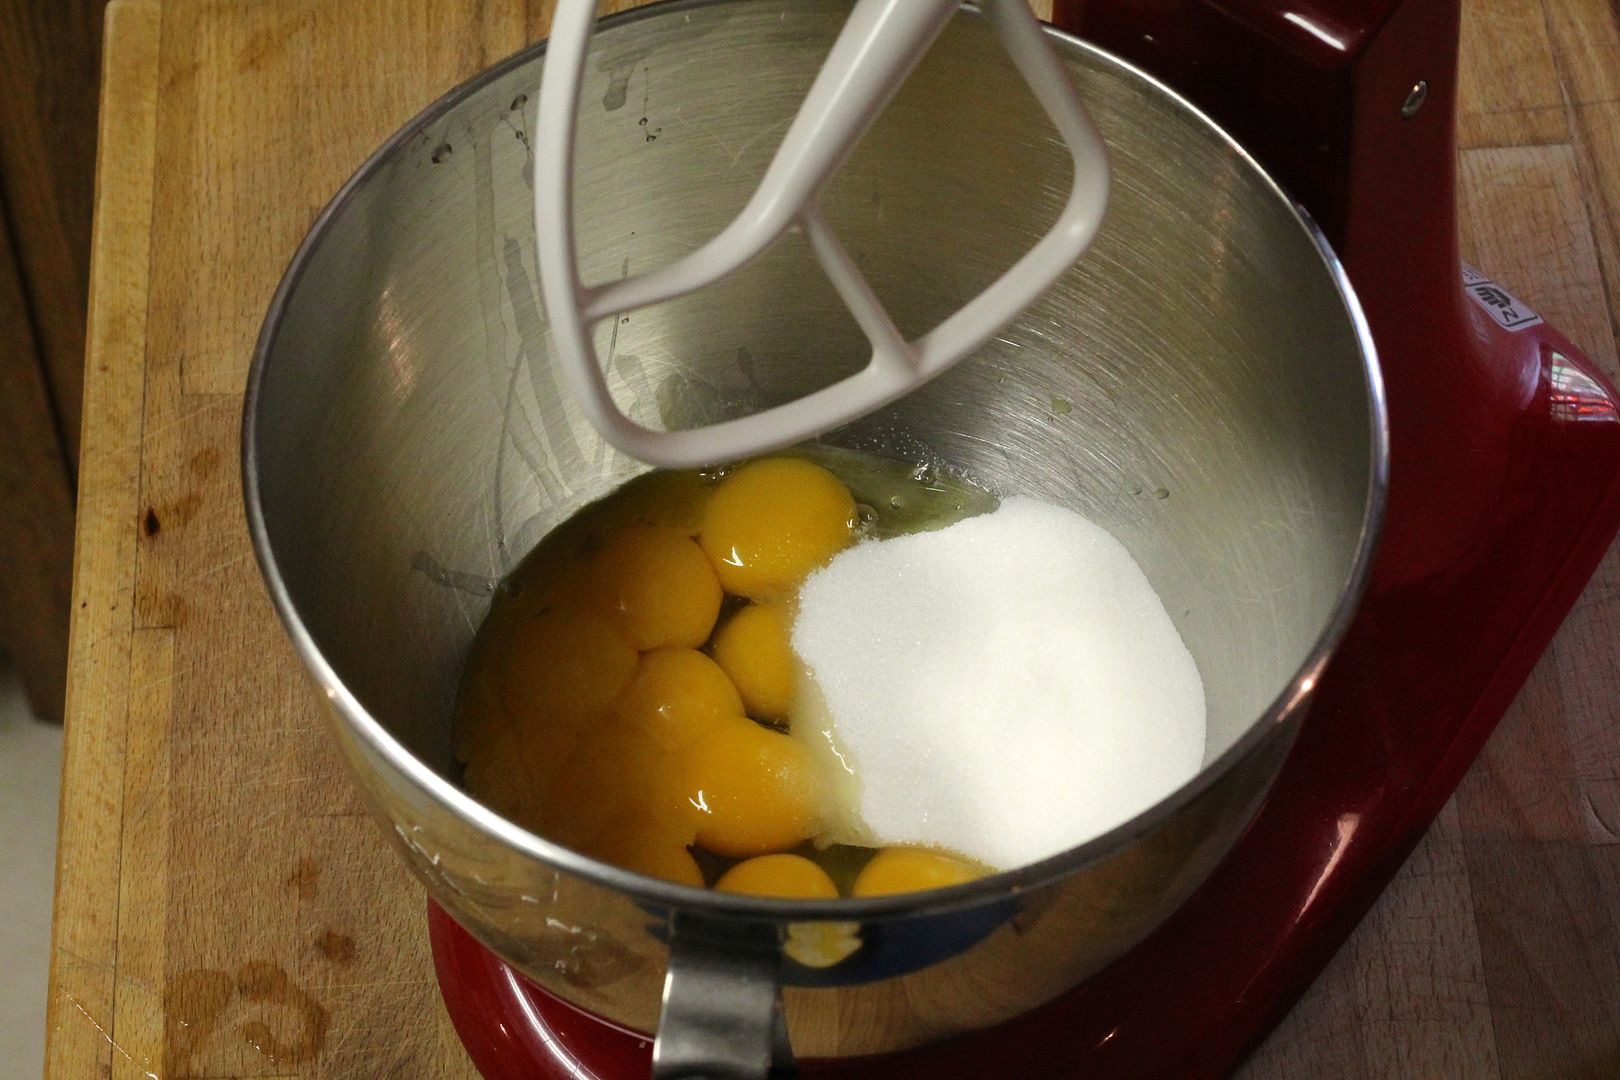
8 egg yolks

2/3 cup (140 g) granulated white sugar

 3 whole, 8 yolks

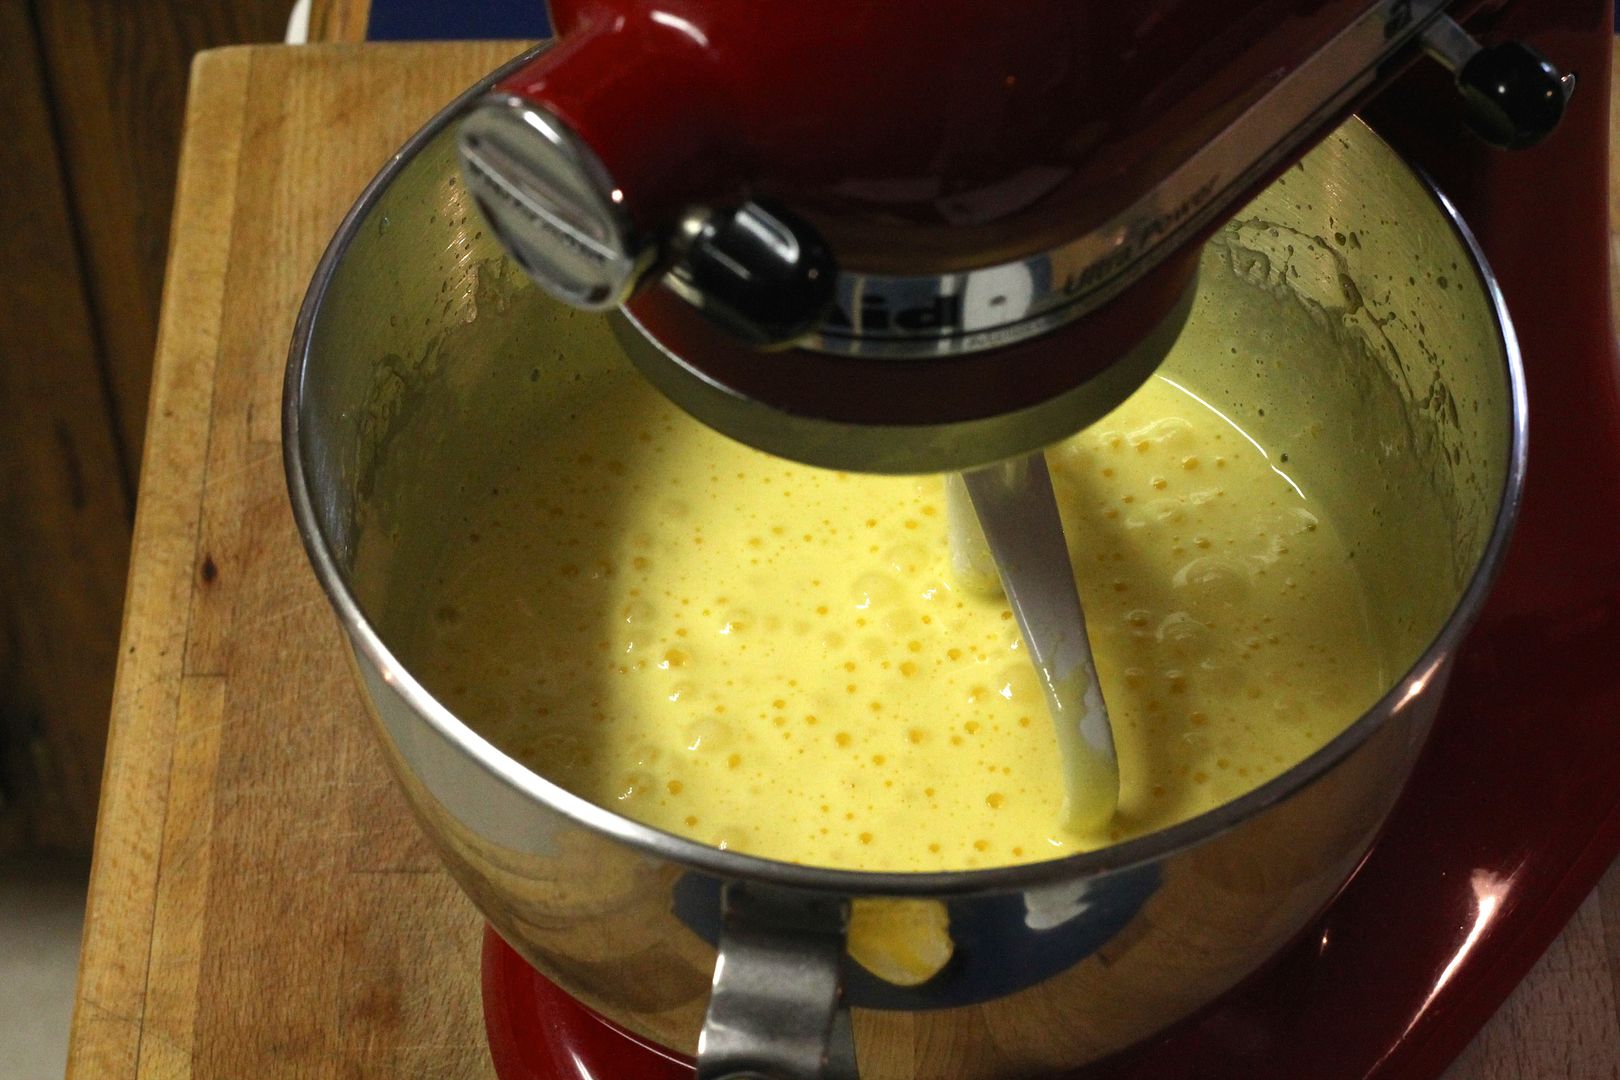
Beat on high until pale and thickened.

pale and thickened

Add the risen sponge mixture and stir to combine.

sponge added

Mix in:

1/4 tsp salt

1 tsp vanilla

the grated zest of 1 orange and 1 lemon

3 tbsp (30 g) rum or brandy (or bourbon, if that’s all you have in your cupboard…)

1/2 cup (113 g) melted unsalted butter

1/2 cup (108 g) vegetable oil

 fat and flavour

Change out the paddle attachment for the dough hook and gradually (1 cup at a time) stir in:

up to 8 cups (1088 g) sifted all purpose flour (again, if measuring by volume, sift first)

 add flour

You will probably run out of room in your mixer before you add even half of the flour.
too full

Transfer the dough to a very large bowl and work in enough flour with your hands until you have a soft dough that doesn’t stick to the bowl (you may not need all the flour – but if you need more, that’s OK too).

giant bowl with dough

Turn out the dough onto a work surface and knead the dough, adding in any remaining flour as necessary, until it is very smooth, soft, and elastic (about 15 minutes).

soft, smooth, elastic

Oil your giant bowl and place the dough inside, turning it over to coat it lightly with oil.

ready to rise

Cover with a tea towel and let rise somewhere warm for 1 – 2 hours, until doubled in volume.

risen double

To Shape

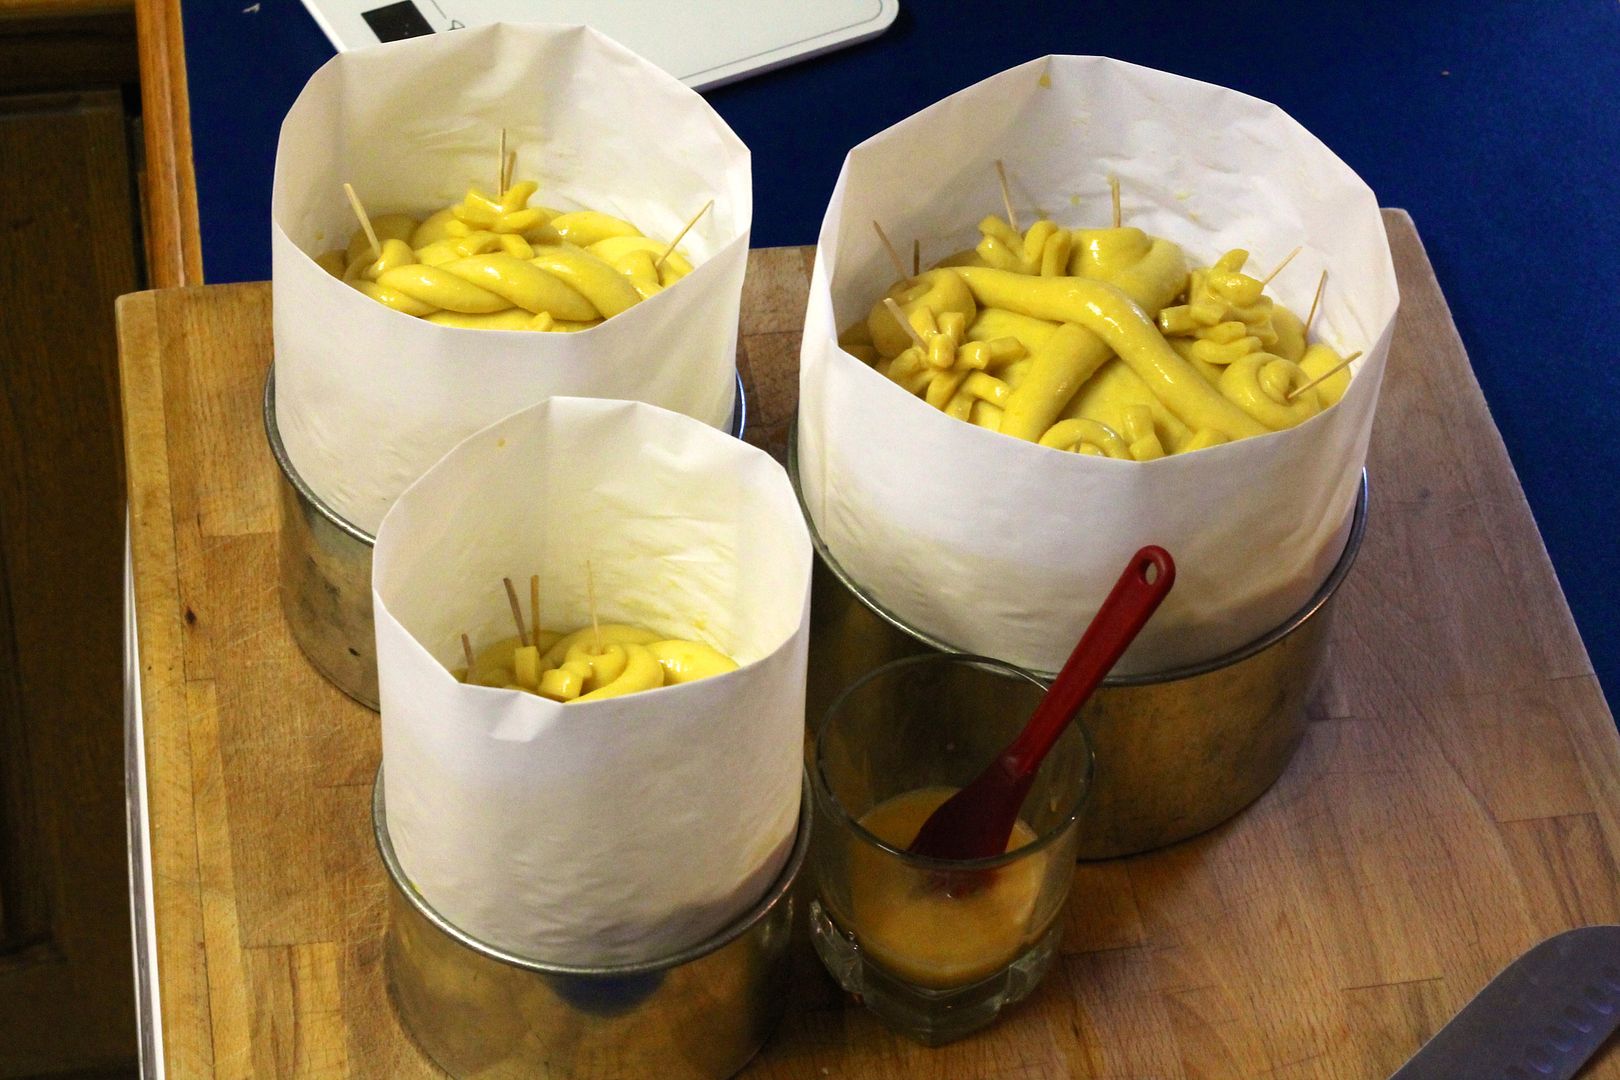
Prepare your baking tins (two 9″ round springform pans would be perfect) by buttering the bottom and sides, then fold a piece of parchment paper in half lengthwise to make a collar around the inside of the tin. Press it to stick to the buttered sides of the tin.

prepared pans

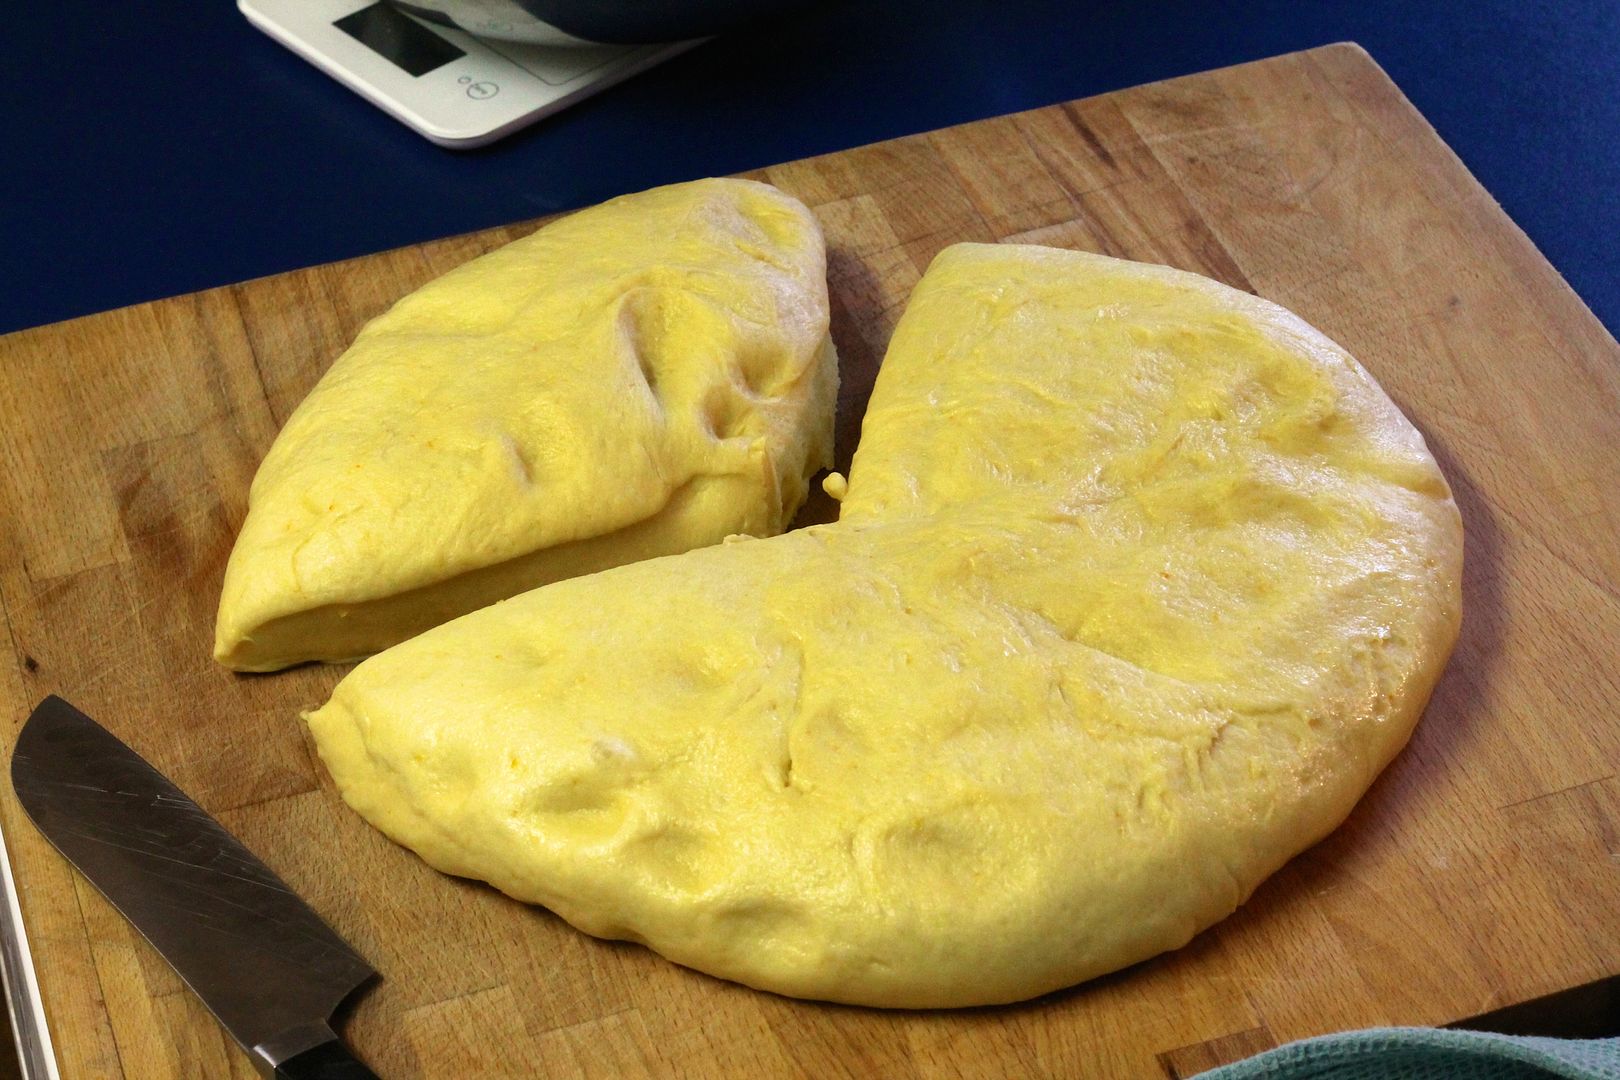
Gently punch down the risen dough and reserve 1/3 of it for the decorations.

punched, divided

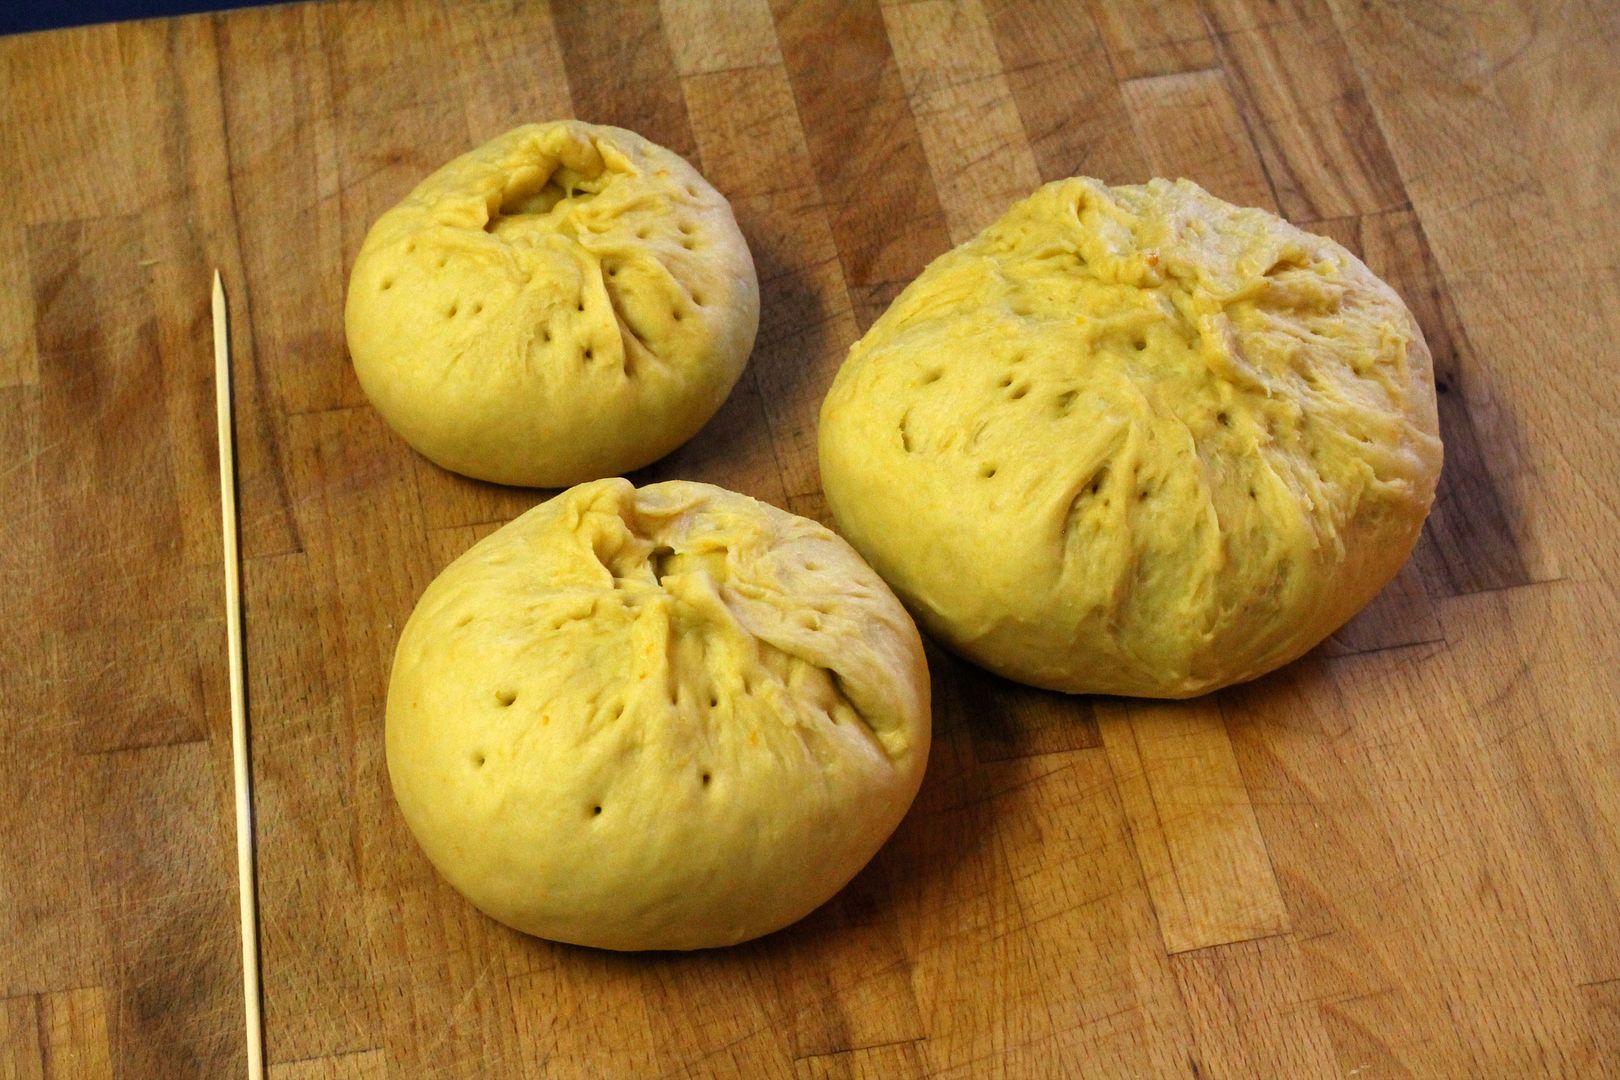
Portion off the remaining 2/3 of the dough (depending on how many tins you have) and form it into balls by pinching all the edges in towards the center. Poke the dough all over with a skewer  to remove any air pockets.

rolled and poked

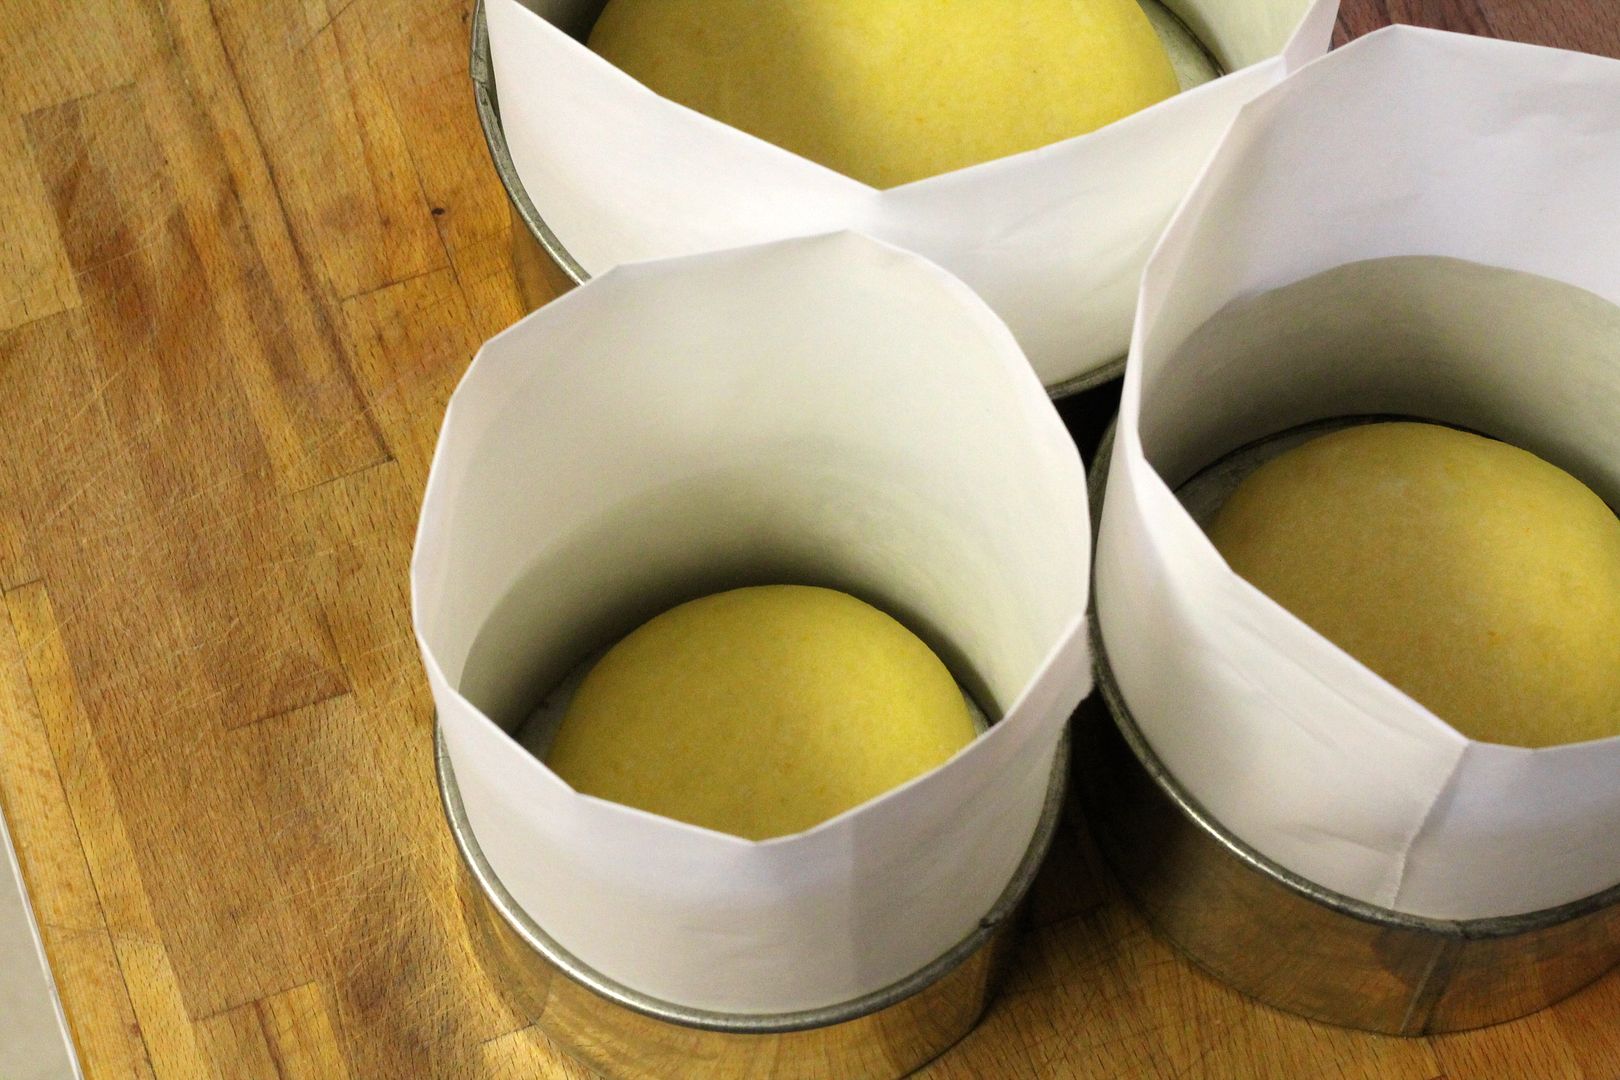
Place the dough smooth side up in the prepared baking tins. Cover the formed dough and the reserved dough with a tea towel and let rise for about 30 minutes.

second rise

After 30 minutes, shape the reserved dough into decorations for the paska. Mix together an egg wash of 1 egg + 1 tbsp water and use it to glue on the decorations.

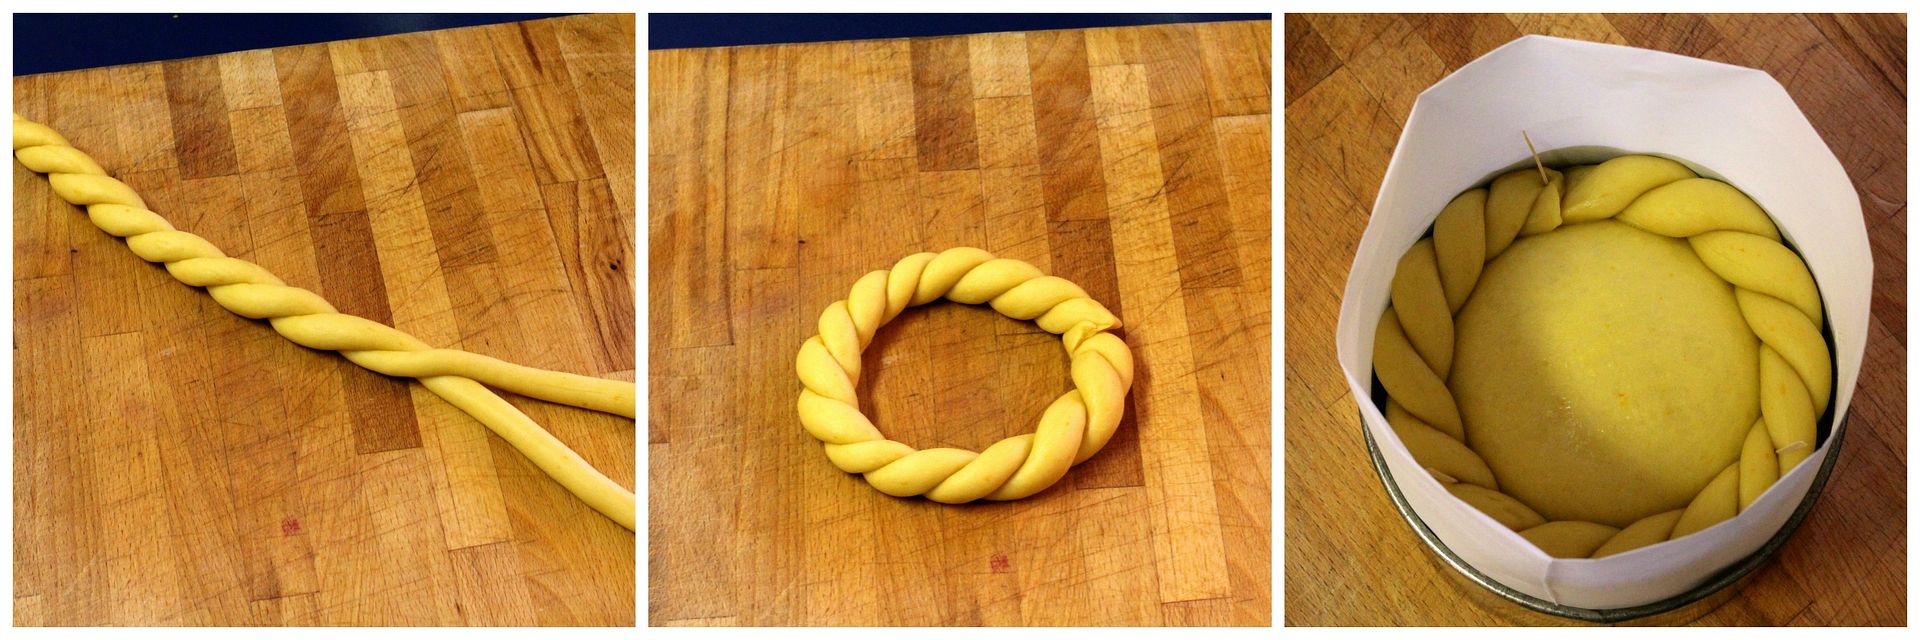
For each loaf, make a twisted rope around the edge by rolling out two long snakes of dough and twisting them together. Form the rope into a circle and lay it around the edge of the loaf.

eternity twist

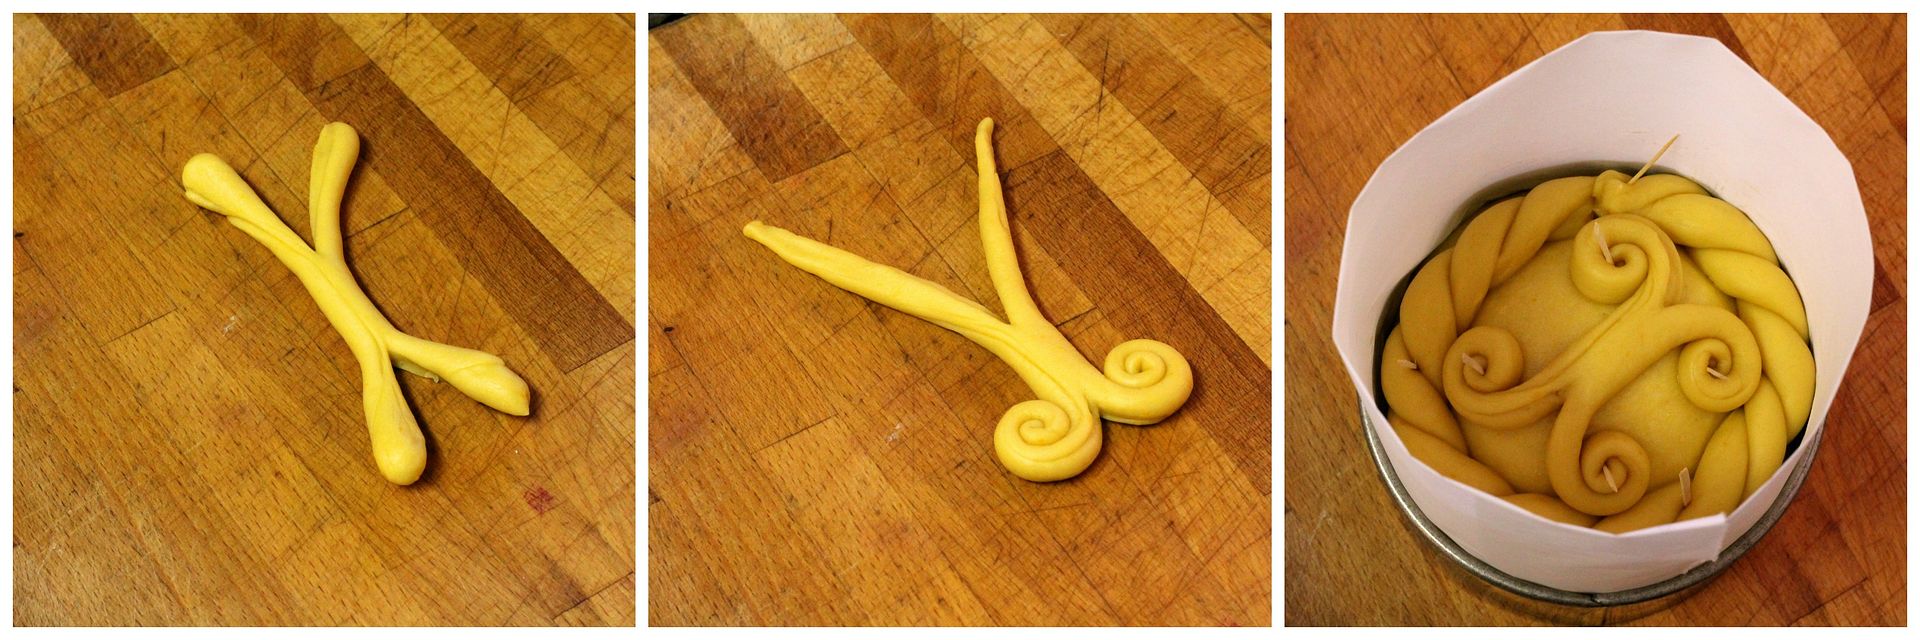
To make the 4-cornered cross, roll out a log of dough with fat ends. Split each end of the log into two strands, then roll them into tapered lengths and coil up each one.

4-corner cross

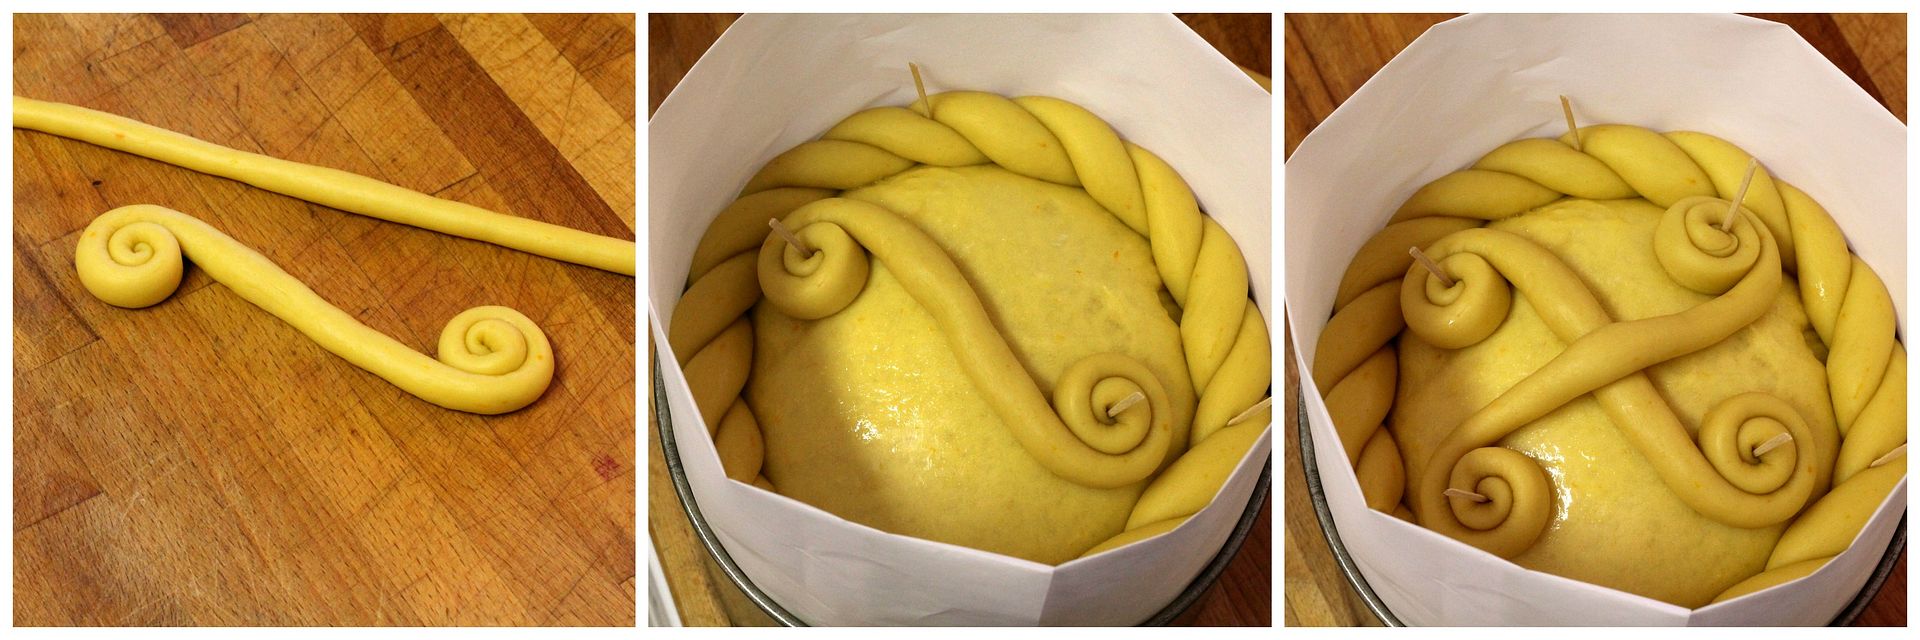
For a sun-motif (sorta – it should have a few more arms), roll out a strand dough into a thin snake. Coil the ends in opposite directions and attach to the top of the paska. Repeat with another strand of dough (up to 4 strands total) and arrange on top of the paska so it overlaps the first one and the ends point in all four directions, like a compass.

sun motif

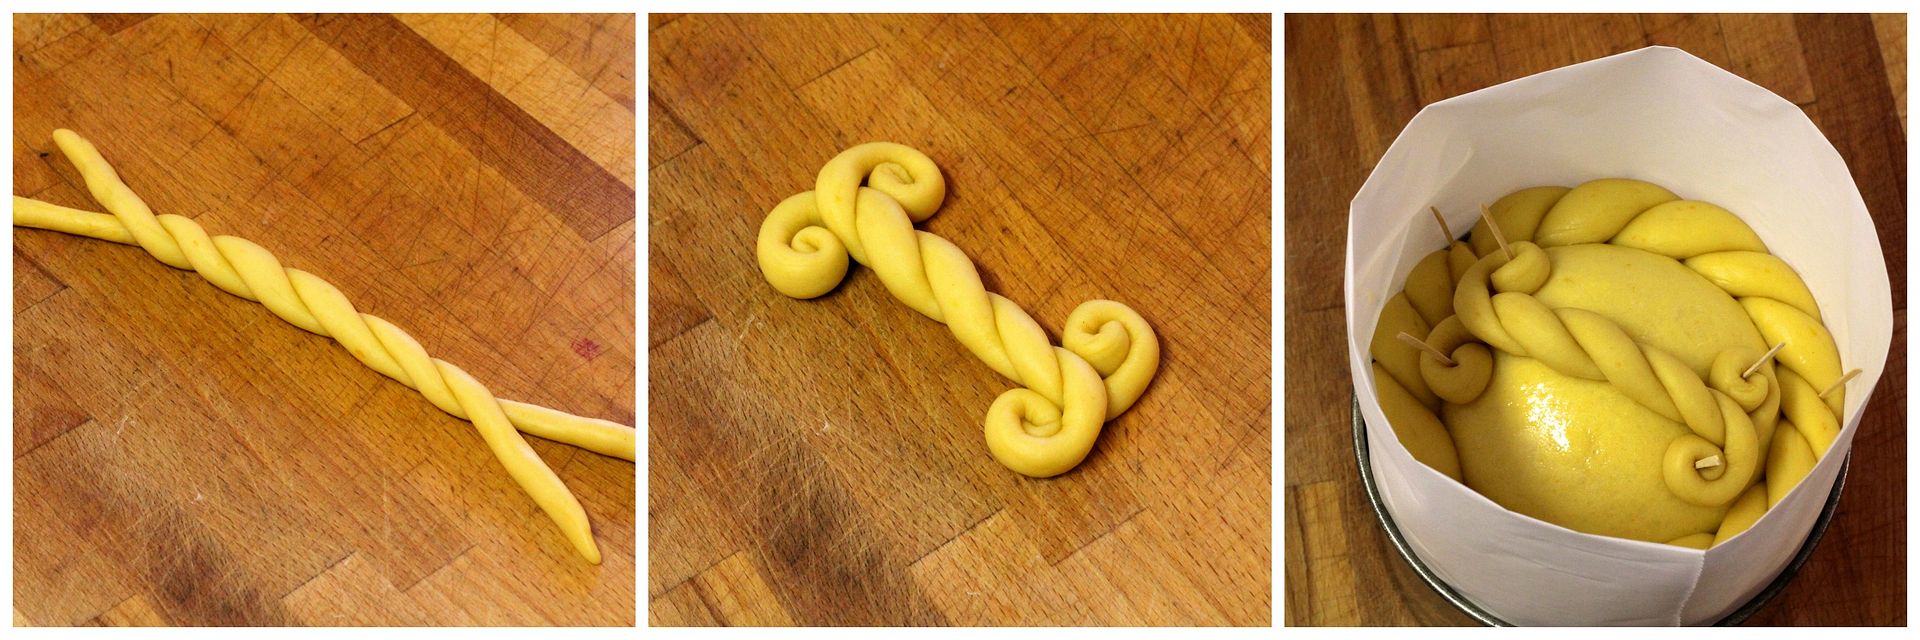
For the twisted strand, make two long thin stands of dough and twist them together, leaving several inches untwisted at each end. Coil up the ends. You could also make two of these and overlap them to make another 4-cornered cross symbol.

twist strand

To make a flower/rosette, roll out a long snake of dough, then flatten it with a rolling pin. Make little notches down one side with a knife, then roll it up from one end, letting the notched side fall open to form the petals. Pinch the closed end together to secure.

flowers for fertility

Secure all decorations with toothpicks so they stay put while rising and baking. Cover with a tea towel and let the decorated dough rise for about 30 minutes more, until it is a few inches from the top of the parchment paper collar. While the dough rises, preheat the oven to 350˚F (325˚F convection).

decorated, rising

Brush the risen dough with the remaining egg wash.

egg washed tops

Bake for 10 minutes in the preheated 350˚F (325˚F convection) oven, then reduce the heat to 325˚F (300˚F convection) and bake another 50 or so minutes, until well-browned on top and hollow-sounding when tapped. Leave in the tins until almost cool, then remove while still slightly warm and place on a rack. Carefully remove the toothpicks, and cool completely before slicing the paska into wedges.

baked and cooling

*     *     *

 This post has been YeastSpotted and submitted to Barbara and Sandra‘s Panissimo.


Baklava Sticky Buns

$
0
0

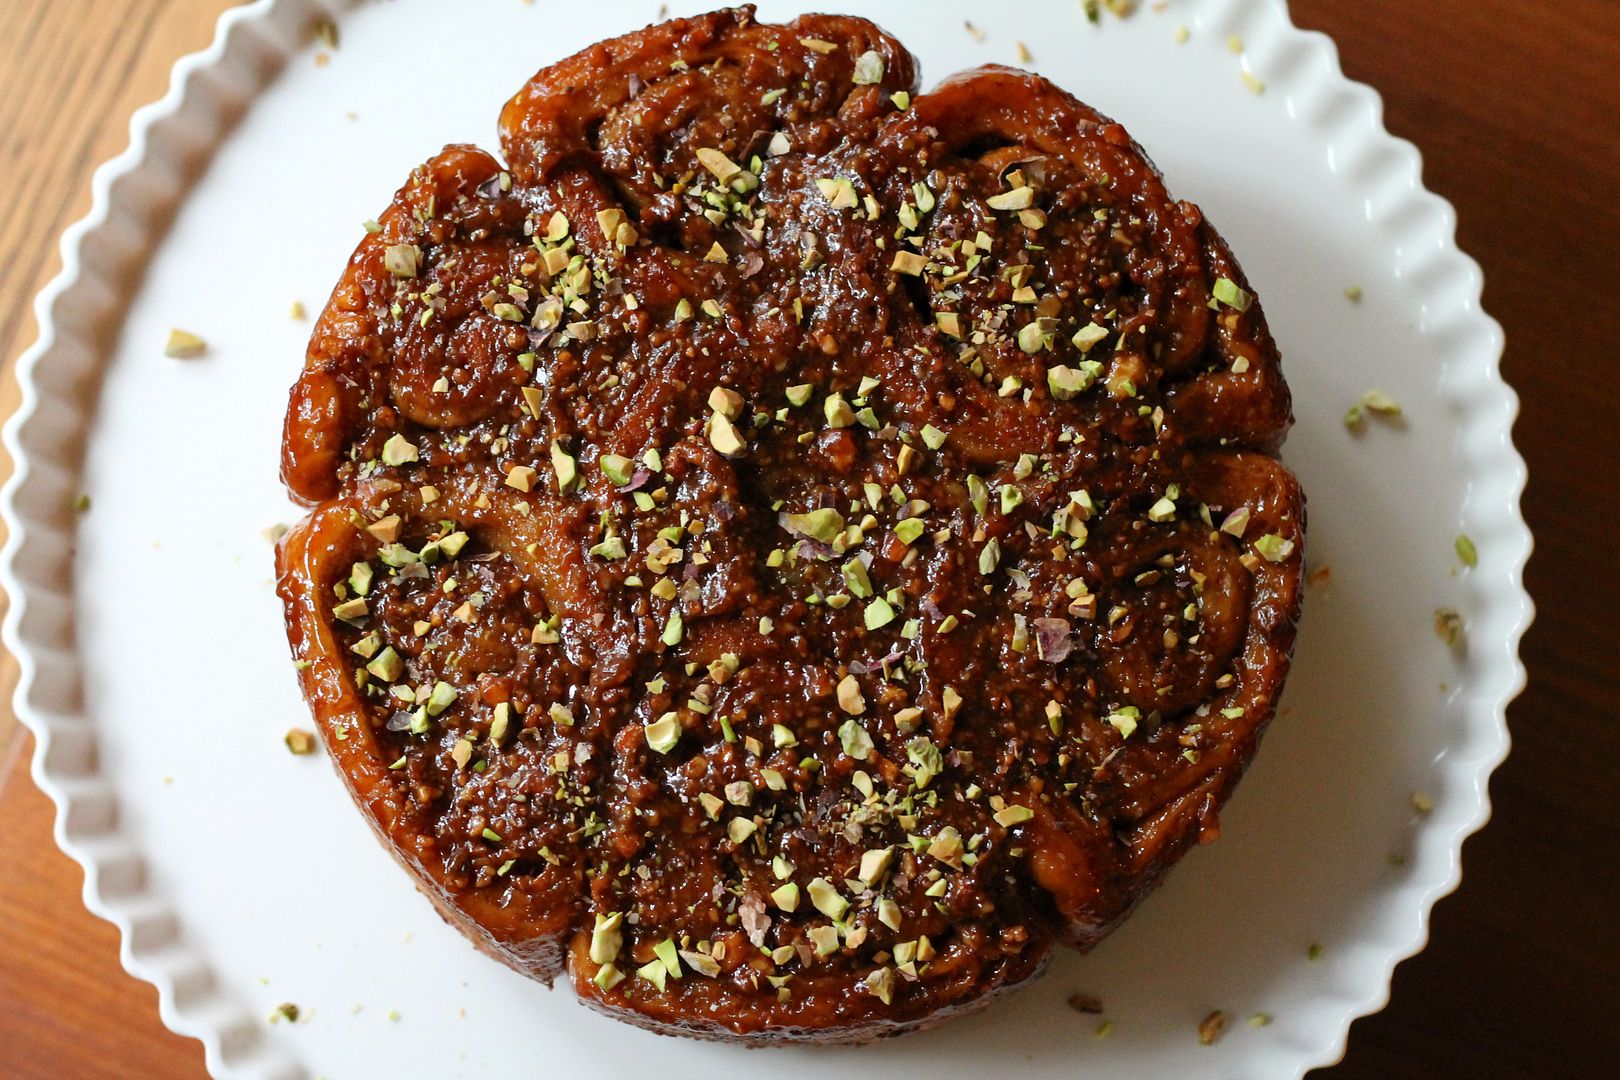
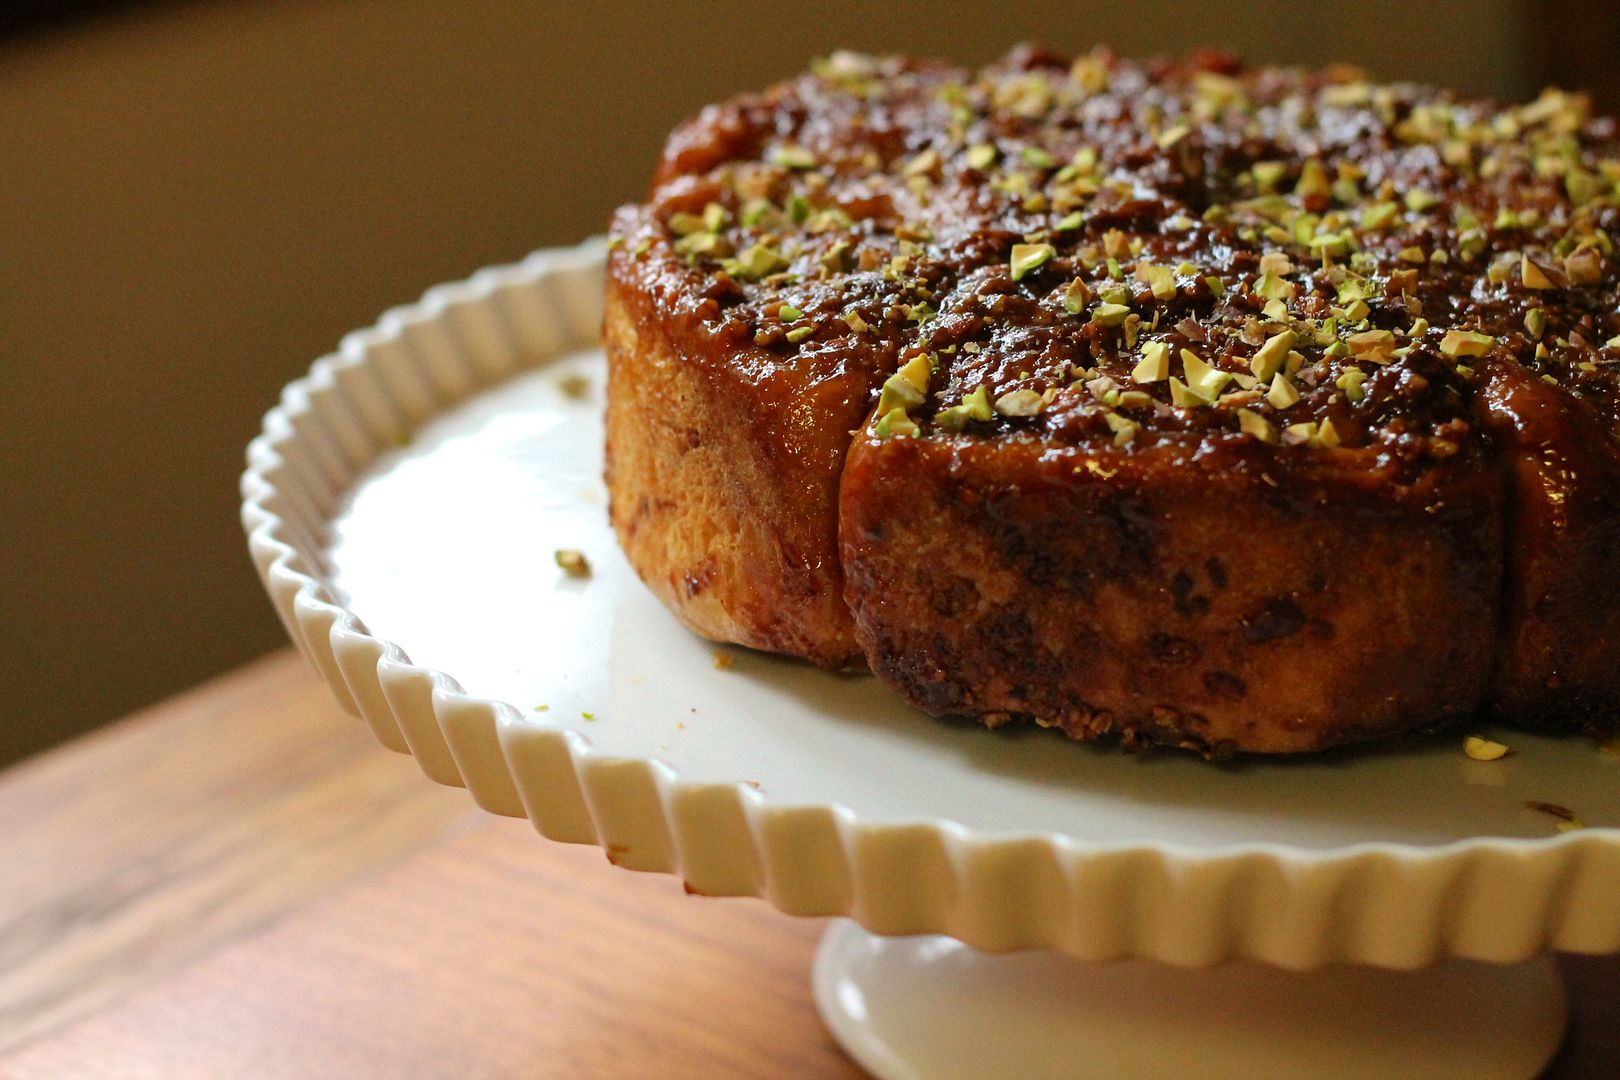
I often get a craving for baklava, but very rarely does it actually get satisfied. Unless you are in the vicinity of a decent Greek restaurant or willing to make it yourself, good baklava is hard to come by. Honestly, I think the last time I had some was when I made it with homemade phyllo (which was a project-and-a-half, let me tell you!) so it is long overdue. I made these sticky buns to serve along with the Montreal bagels I made for brunch last month, and as I couldn’t get baklava out of my head, I made them according to that flavour profile: a finely chopped nut filling of almonds, walnuts, and pistachios, and a sticky honey goo flavoured with cinnamon, cloves, and orange zest. These sticky buns might be missing the crunchy phyllo element, but they really do taste like baklava!

The thing with sticky buns is that you need to invert them out of the pan immediately after baking so that they don’t cement themselves to the pan, which means you need a serving plate to accommodate the pan you’re using. The yield for the recipe I based these on is a nine-by-thirteen-inch pan, but I don’t have an appropriate serving plate for that, so I baked them in two eight-inch round tins. I would recommend using two nine-inch pans instead, because the buns didn’t have much room to rise and with a little more space between them, the sticky honey goo would have more chance to soak up into each bun, rather than just concentrating on the top.

I made these with a little spelt flour in the dough to make them more “wholesome” (who am I kidding – they’re full of butter and sugar!), but whole wheat pastry flour would be a good substitute if you can’t find spelt. The filling and syrup are tailored to my particular taste for baklava, but could be easily altered to fit any flavour combination – I think a lavender-infused syrup would be a delicious adaptation.

Baklava Sticky Buns

Dough and syrup adapted from Barbara Bakes. Makes 14 – 16 sticky buns.

Dough

In a mixer bowl fitted with the dough hook attachment, combine:

1 1/2 cups whole spelt flour

2 cups all purpose flour

2 1/4 tsp instant yeast

3/4 tsp salt

In a saucepan over low heat or in the microwave, heat 1 cup milk and 1/2 cup unsalted butter, cubed, until the butter melts and the mixture reaches 120˚-130˚F. Pour into the flour along with:

3 eggs, lightly beaten

1 tbsp liquid honey

Mix on low speed to combine, scraping down the sides as necessary, then gradually mix in an additional 1/2 – 1 cup all purpose flour to make a soft, smooth dough. Knead on medium speed for about 5 minutes, until the dough is soft yet elastic and pulls away from the sides of the bowl.

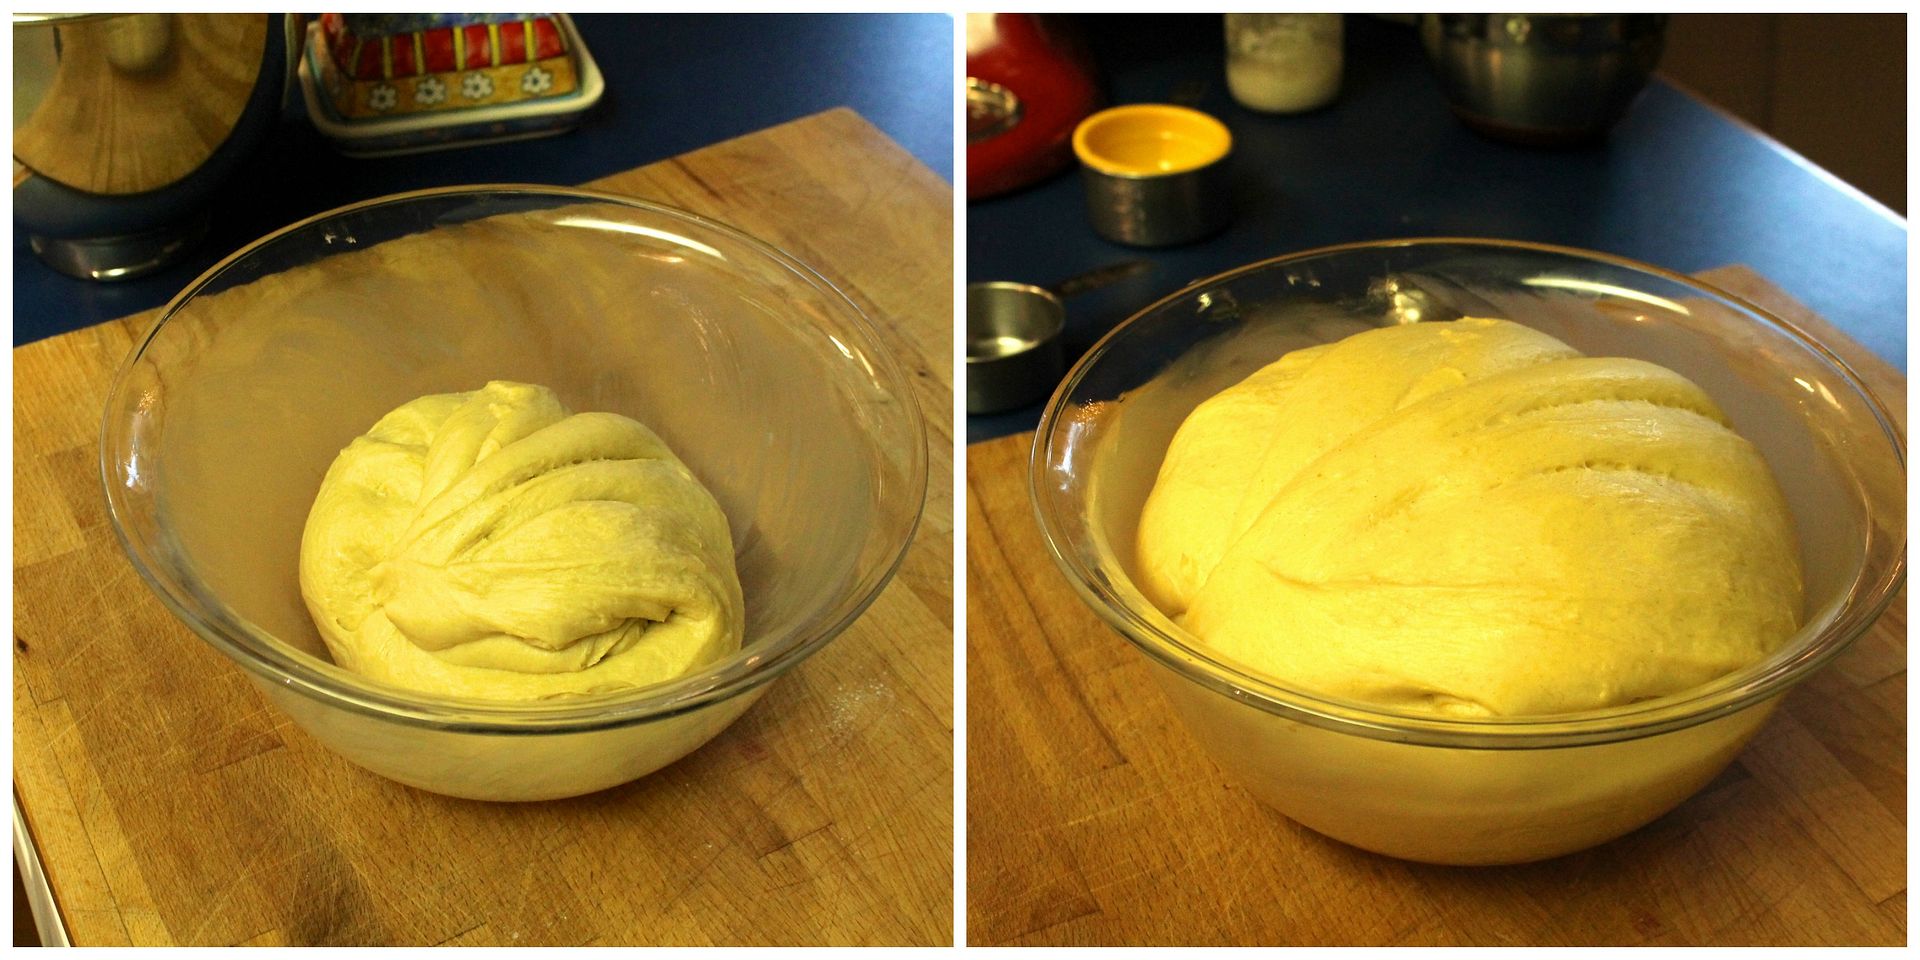
Place the dough in a lightly buttered bowl, cover with plastic wrap, and let rise in a warm place for about an hour, until doubled in size.

While the dough rises, make the sticky baklava syrup and filling.

Sticky Baklava Syrup

In a medium saucepan, combine:

1/2 cup unsalted butter, cubed

1/2 cup liquid honey

1/4 packed brown sugar

1 tsp ground cinnamon

1 pinch ground cloves

zest of half an orange (or lemon)

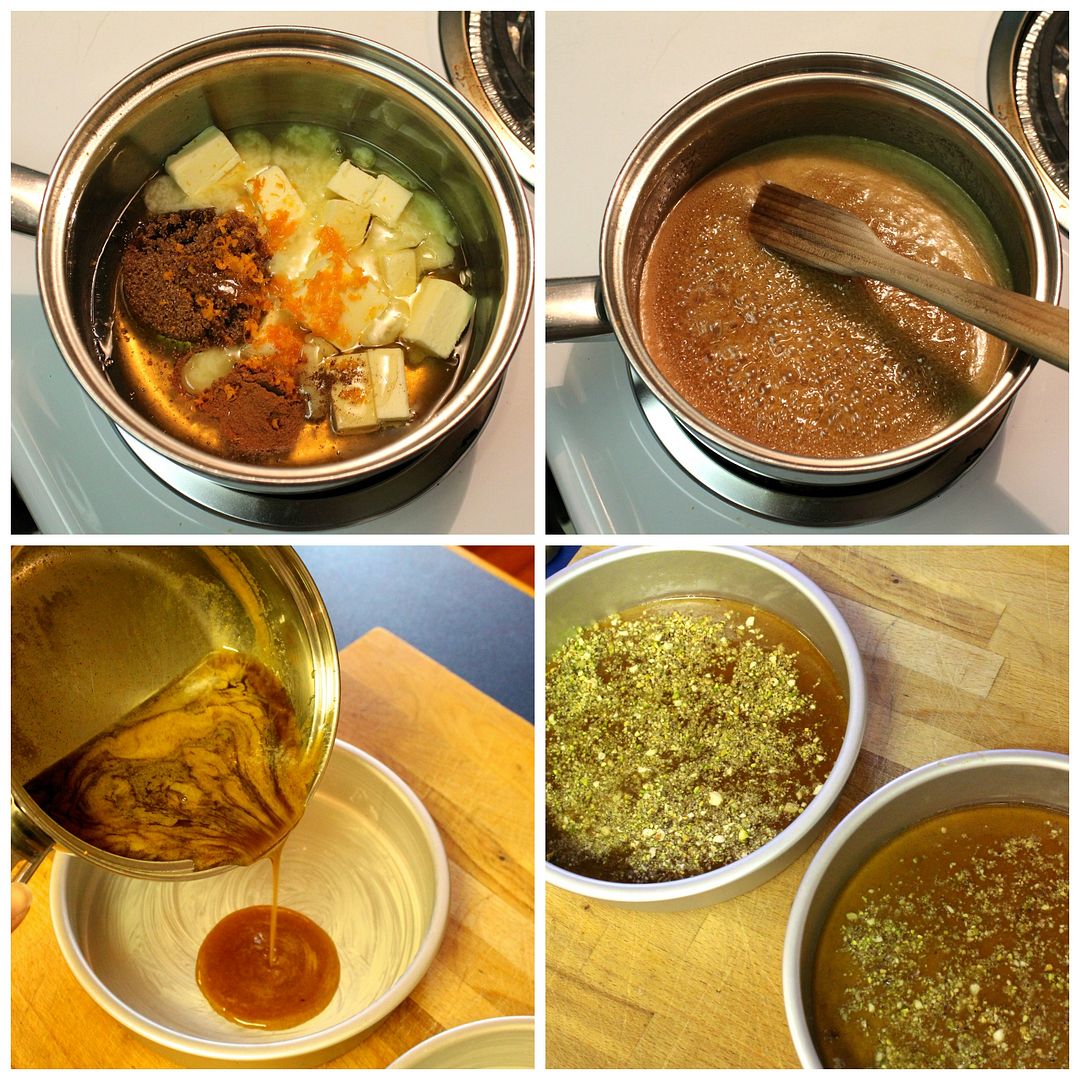
Bring the mixture to a boil over medium heat and cook for a minute, then pour it evenly between two buttered 9″ round cake tins (if desired, sprinkle each with a spoonful of the finely chopped nuts from the filling). Set aside.

Baklava Filling

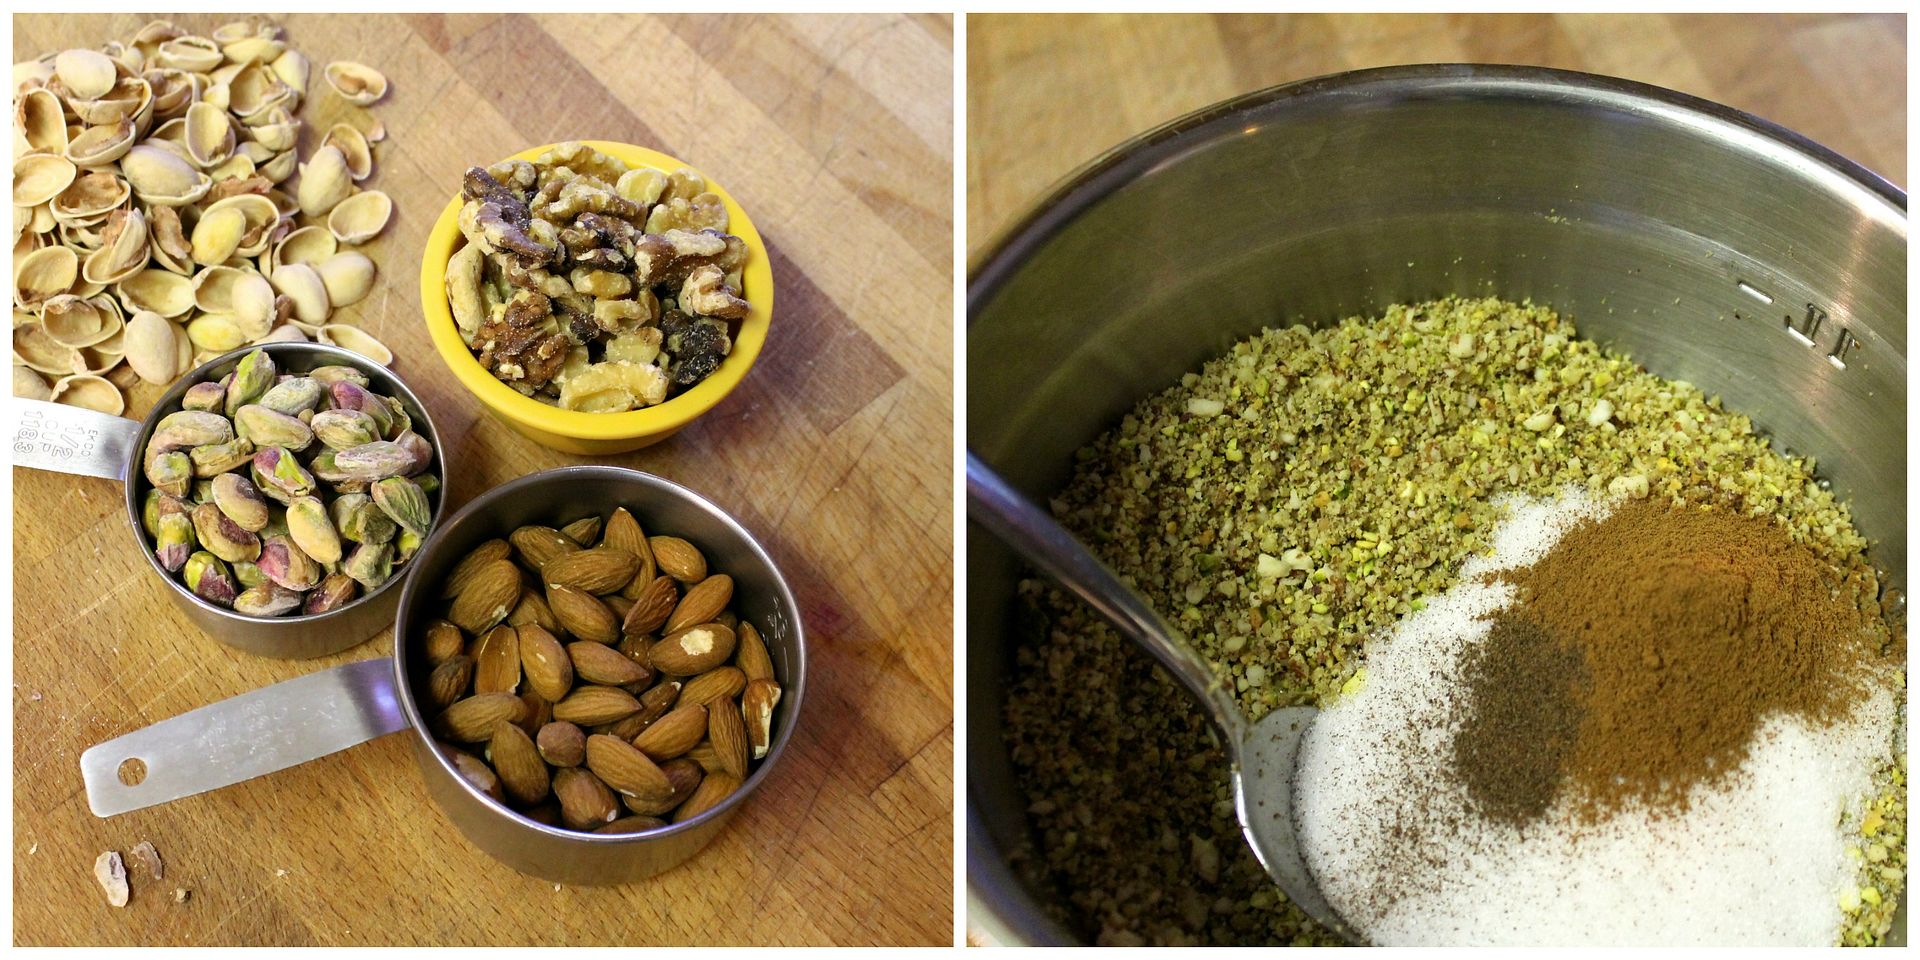
Process in a food processor until finely chopped but not powdered:

1/2 cup walnuts

1/2 cup shelled pistachios

1/2 cup almonds

Process each kind of nut separately to keep the walnuts from being pulverized before the almonds and pistachios are chopped. Stir in:

1/4 cup sugar

1 tsp cinnamon

pinch of allspice

Set the filling aside.

Assembly

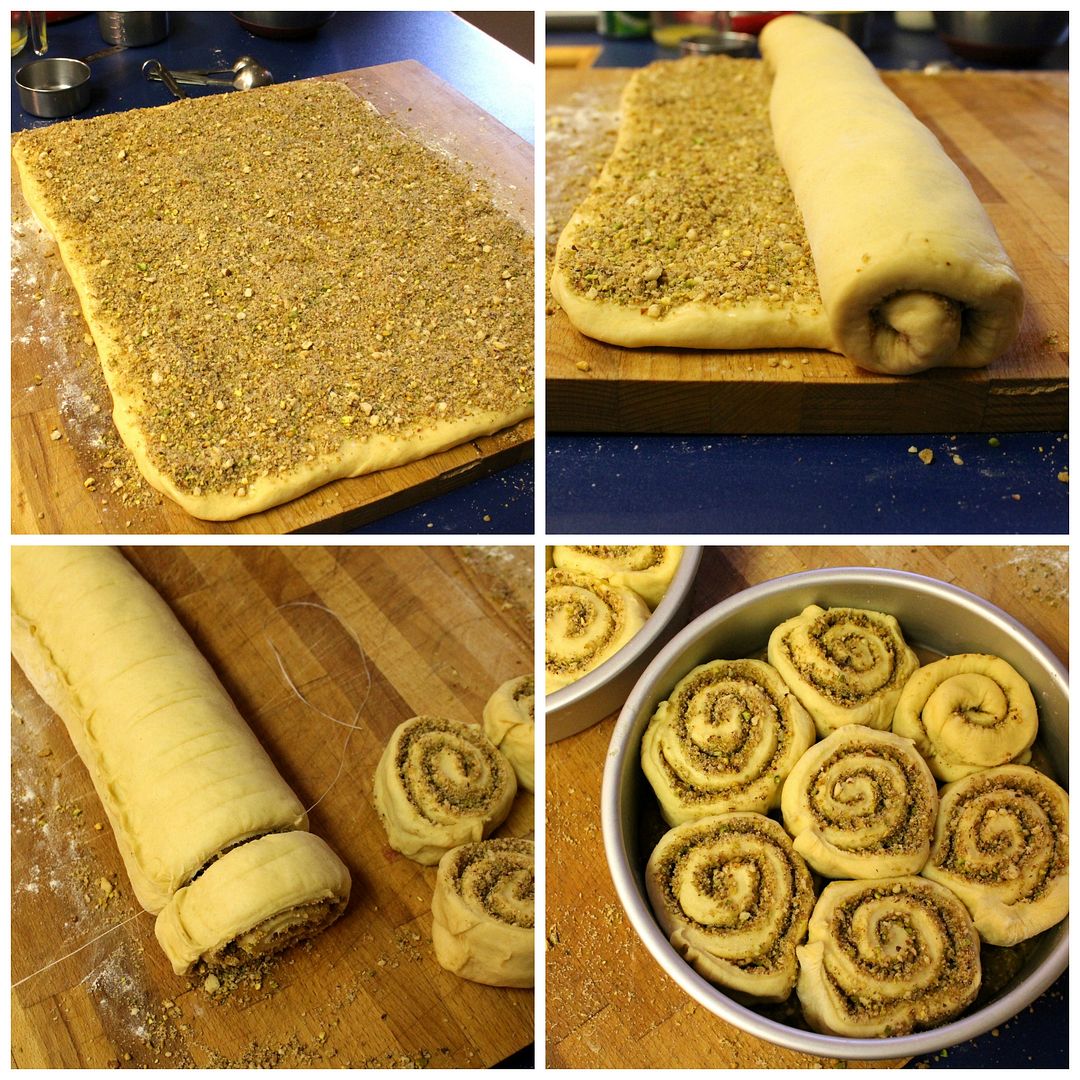
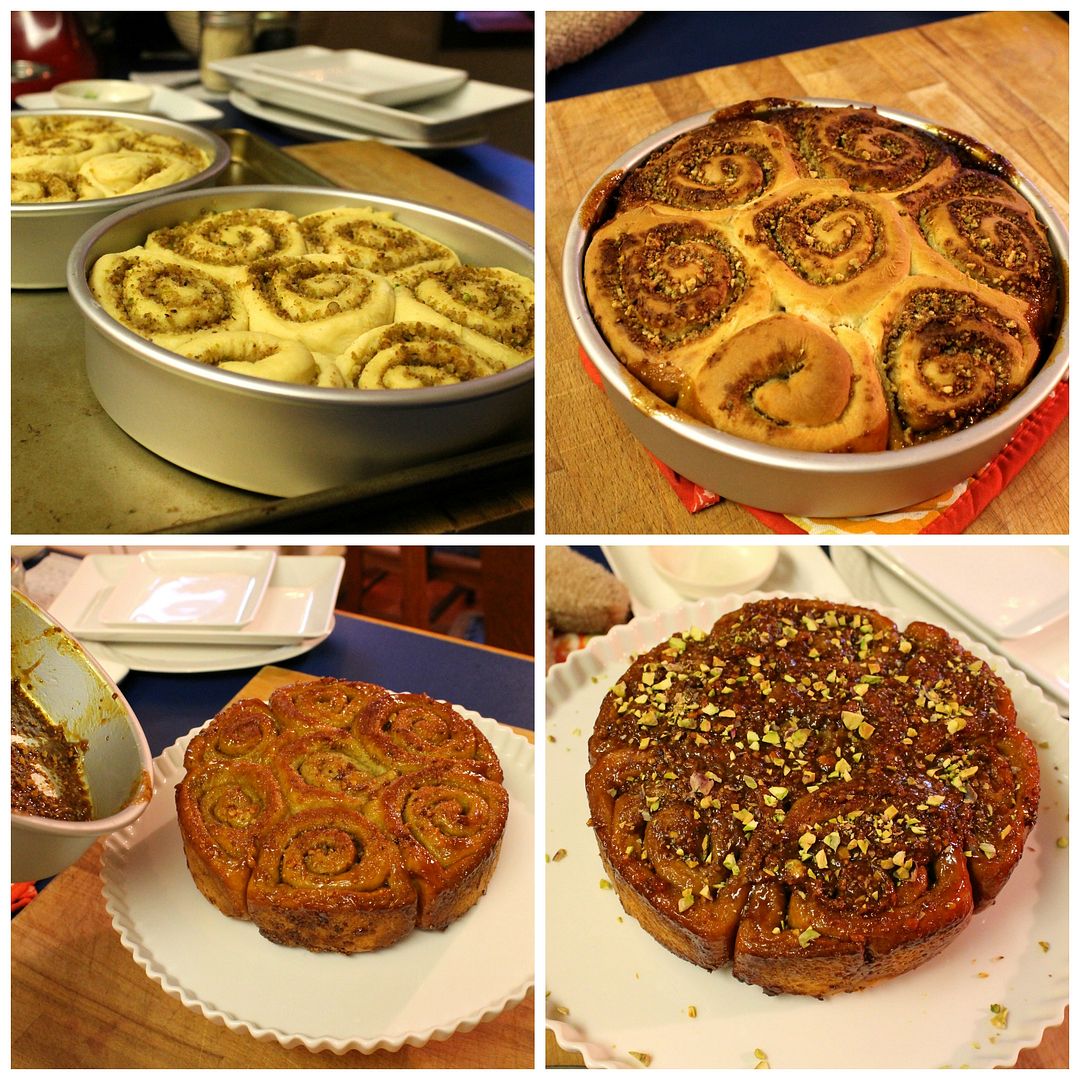
On a floured surface, gently roll/stretch the risen dough into a 12″ x 16″ rectangle. Brush the dough with 3 tbsp melted butter, then evenly sprinkle it with the nut mixture. Roll up into a cylinder from one long edge, pinching the roll closed to seal. Use a piece of thread (or dental floss!) to cut the cylinder into 14 – 16 pieces – it might be too soft to cut with a knife. Arrange the pieces on top of the syrup in the prepared pans. Cover each lightly with plastic wrap and let rise somewhere warm for about 30 minutes, until puffed (or let rise overnight in the refrigerator).

Preheat the oven to 375˚F. Place the pans on a baking sheet to catch any overflowing syrup and bake for 40 – 45 minutes, until the buns are golden brown on top and the one in the middle sounds hollow when tapped. Immediately invert the buns onto a serving platter, scraping out any stuck-on syrup with a spatula and spreading it over top of the buns. Sprinkle with some chopped pistachios for colour, and serve warm or at room temperature.

This post has been YeastSpotted and submitted to Barbara and Sandra‘s Panissimo, hosted in February by Sandra at Dolce Forno.


Sourdough Rosette Buns

$
0
0

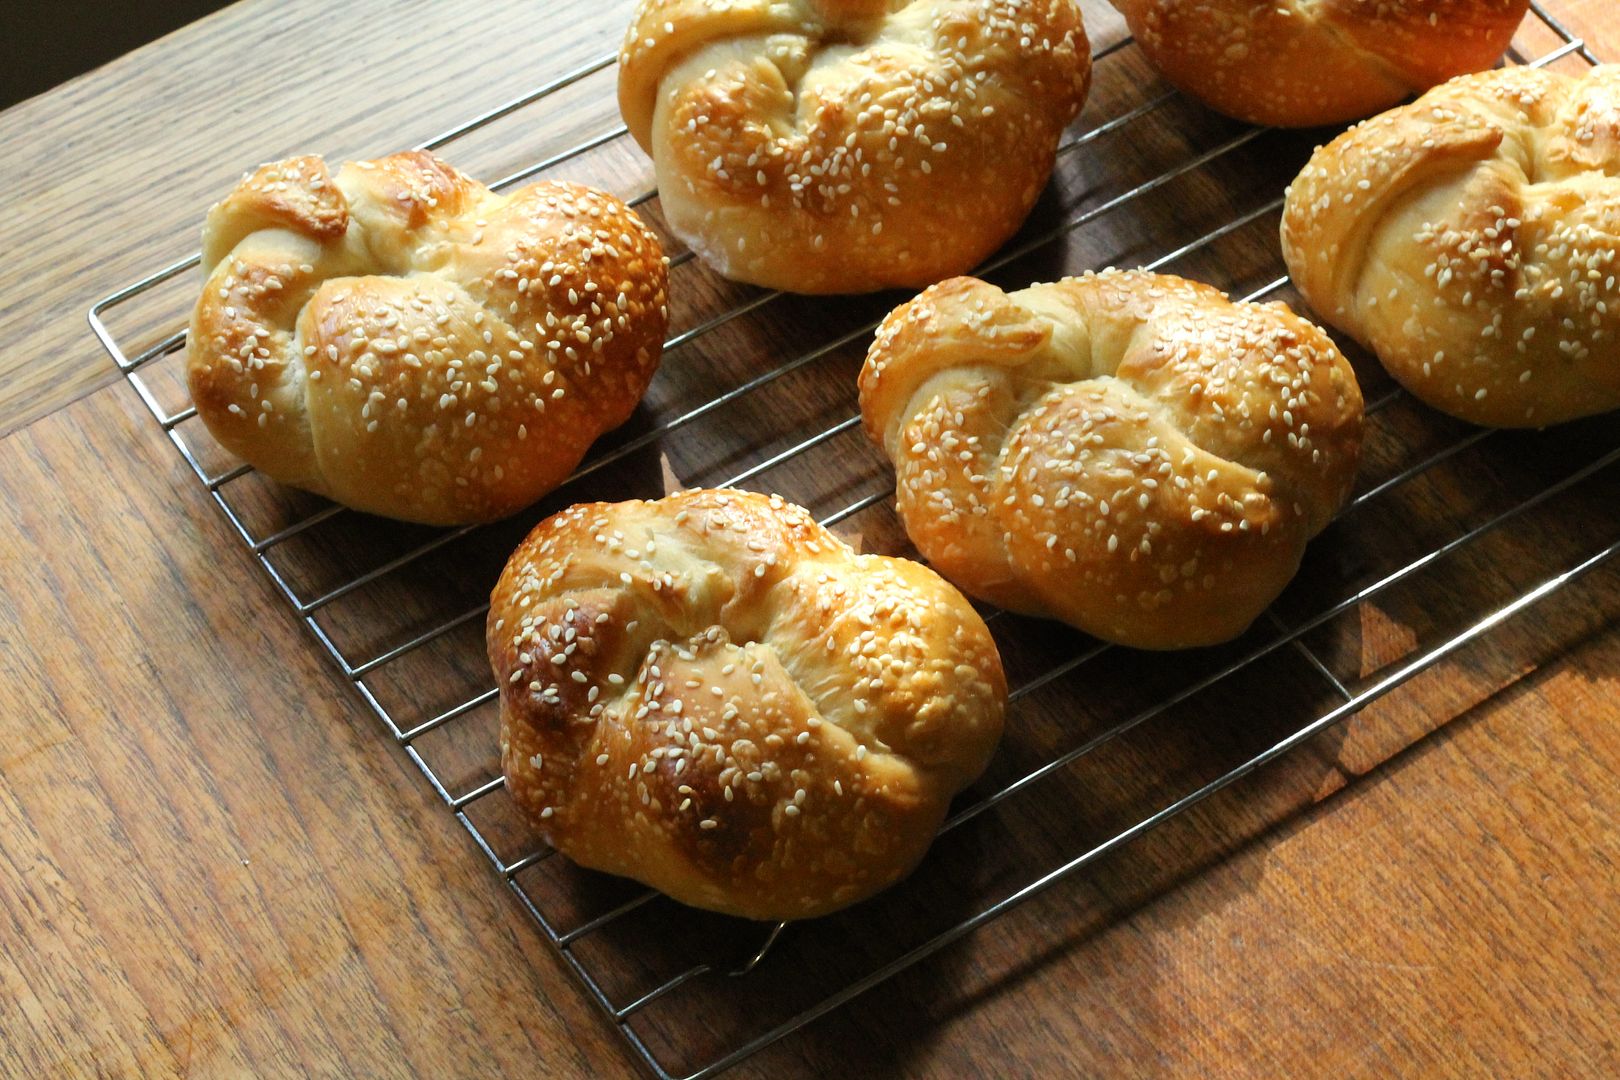
Sourdough Rosette Buns | Korena in the KitchenAfter being sorely neglected the past month or so, my sourdough starter got a workout this weekend: not only did I make these sourdough buns, but I also baked Barbara’s Perfect Italian Sourdough Loaf and used a bunch of discard sourdough in a batch of waffles for the freezer. When the sourdough urge hits, it hits hard.

Sourdough Rosette Buns | Korena in the Kitchen

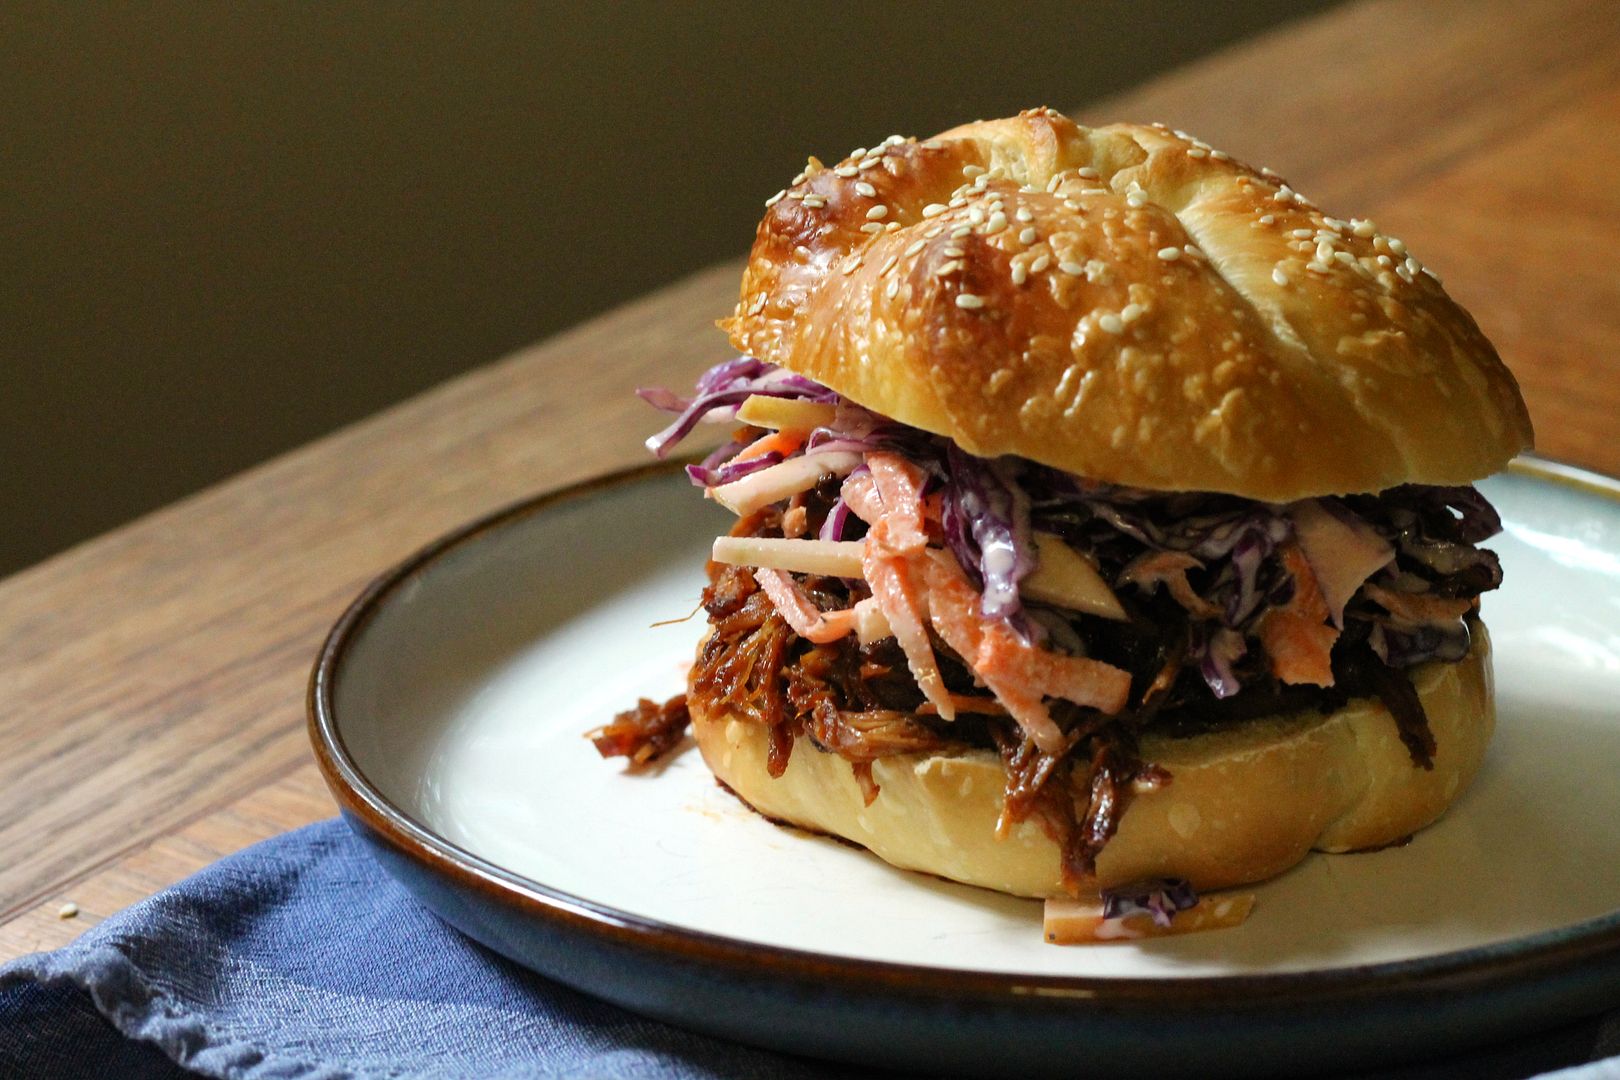
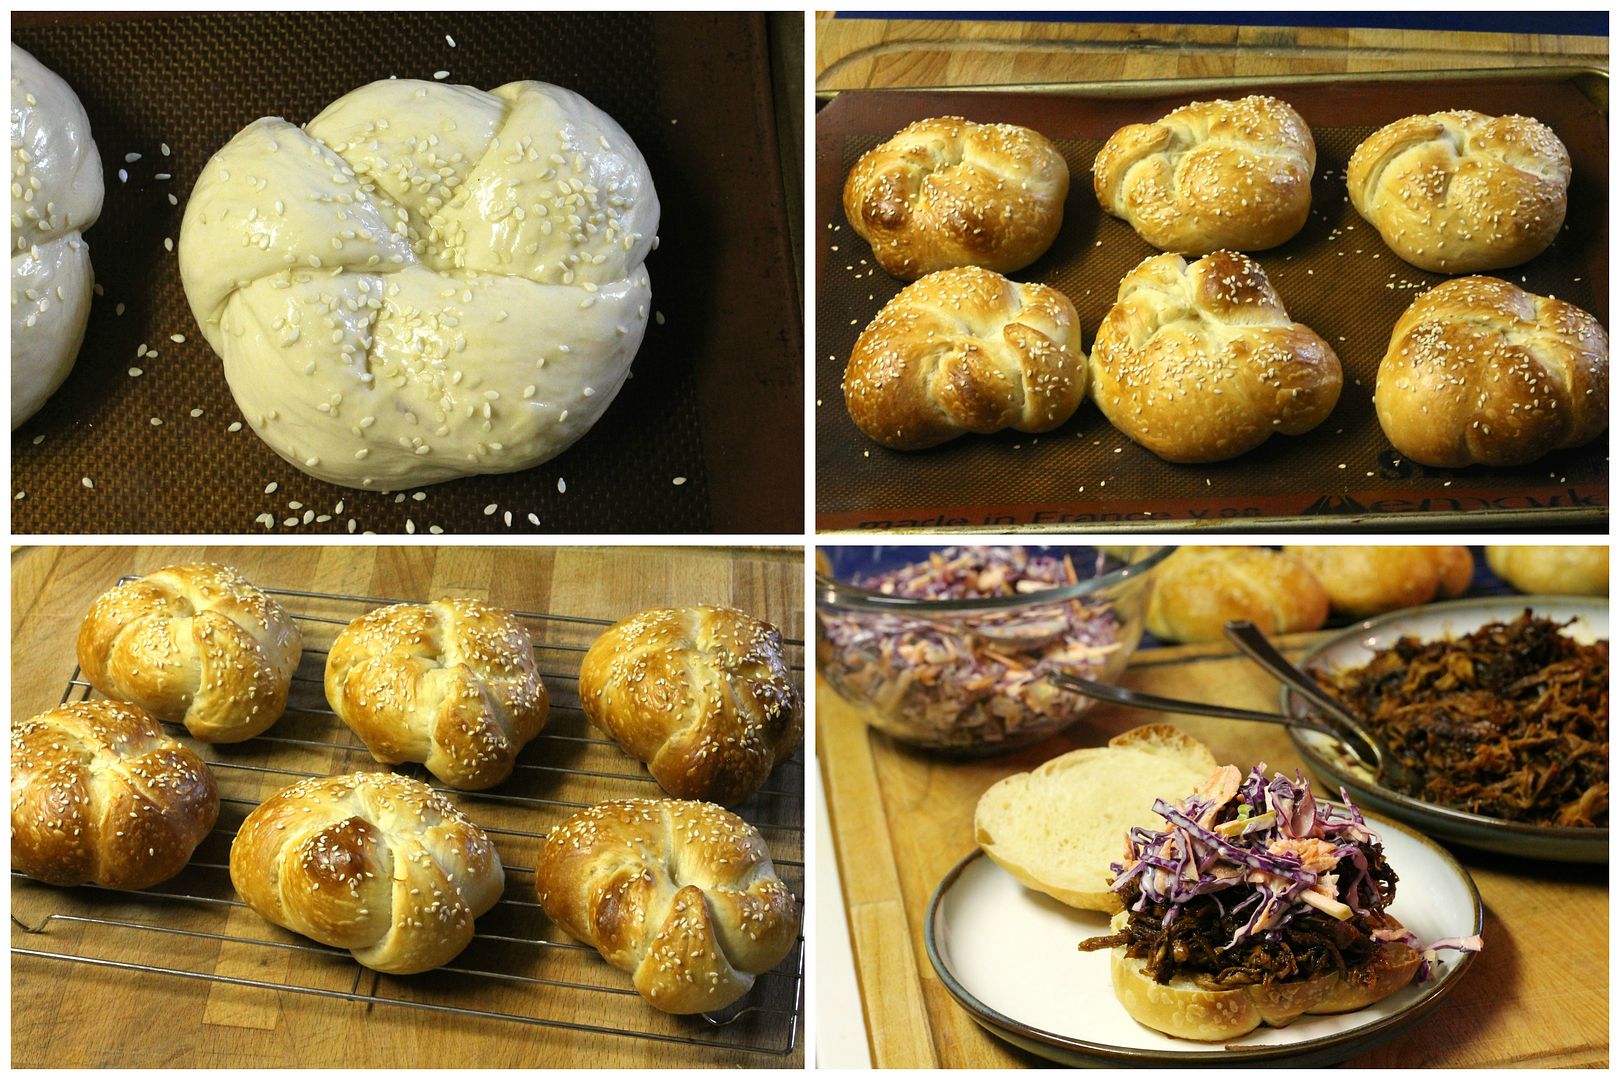
The Sourdough Surprises project this month was to make buns – for burgers, hotdogs, whatever. With a recent two-for-one sale on pork shoulder roasts at the local grocery store, I had it in mind to make pulled pork, for which I would need soft, delicious buns. I did a random internet search for “sourdough hamburger buns” and after being disappointed by the photos accompanying many of the recipes (what can I say, I eat with my eyes first – my favorite cookbooks have at least a picture per recipe, and my favorite food blogs have more pictures than words! She said, wordily.), I finally came upon one where the results looked as good as the description (which was “the perfect sourdough hamburger bun”).

Sourdough Rosette Buns | Korena in the Kitchen

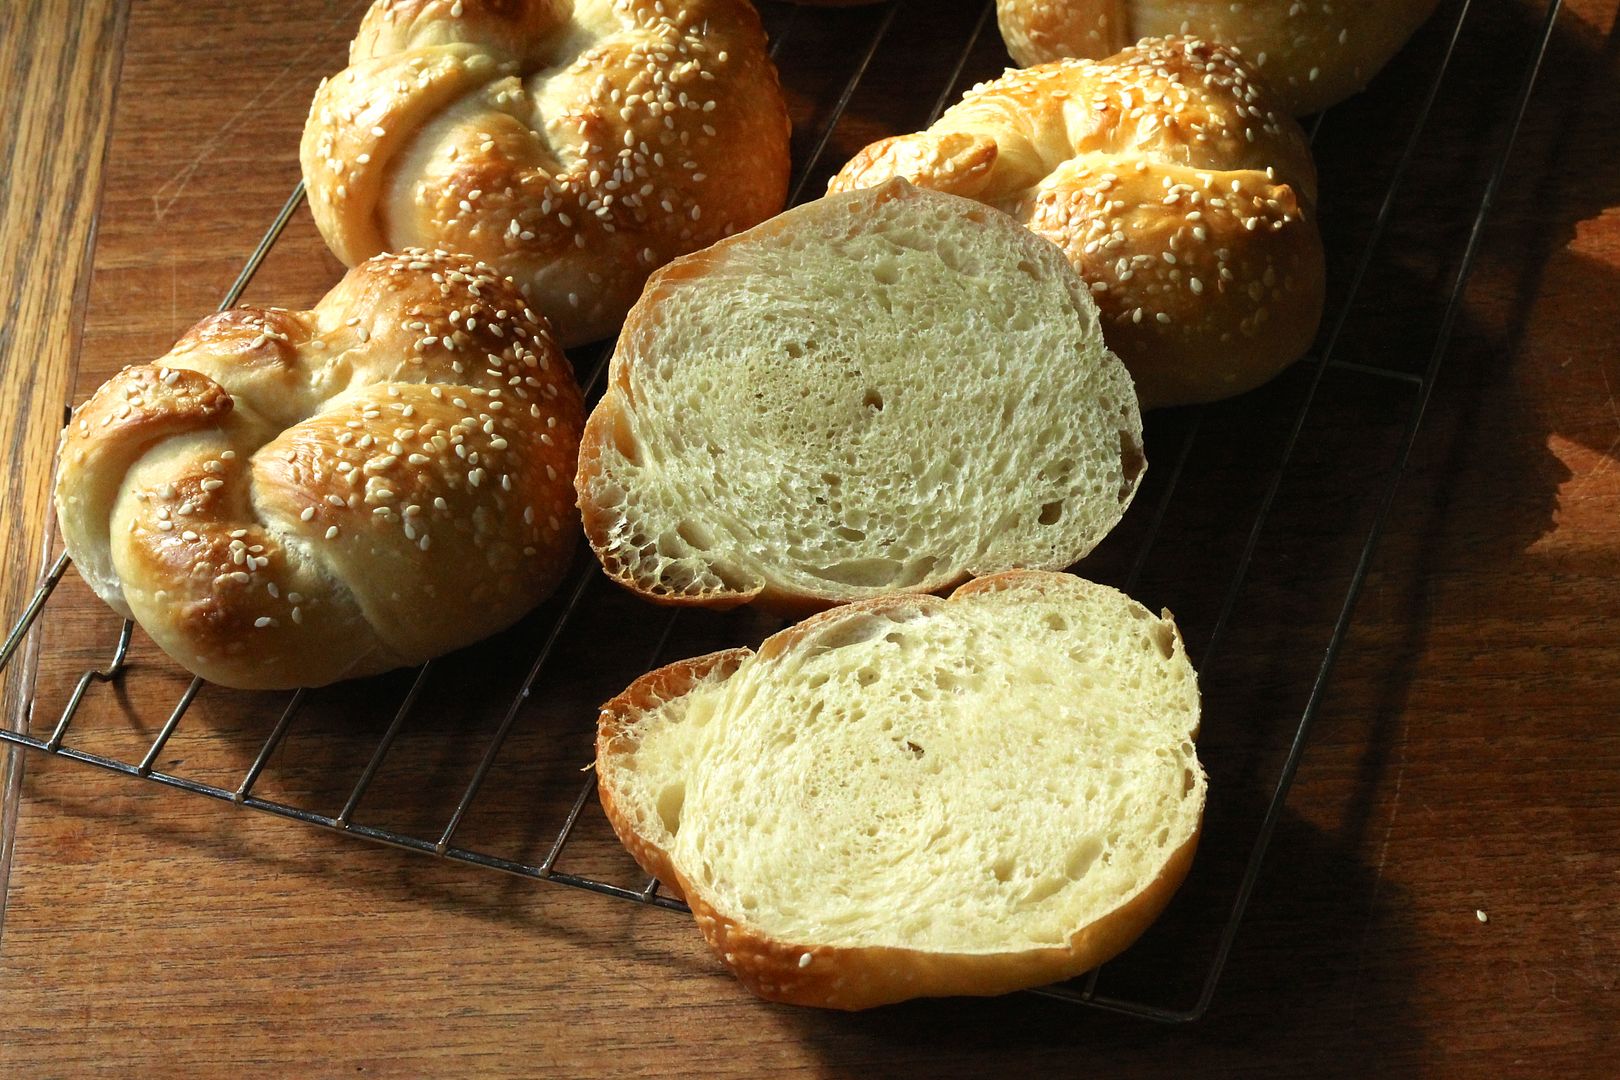
Are they perfect? Pretty close, I think. Their crumb is a matrix of small-to-medium holes, giving them a satisfying honey-comb structure to catch the juices of whatever you choose to fill them with, and they have a deliciously chewy texture – not so much that they are hard to eat, but enough so that they are texturally interesting. To fancy things up, I knotted them into rosettes, making them look sort of like kaiser rolls. They came a little bit un-knotted during proofing and baking, but it just adds to their home-made charm – a charm further enhanced by slow-cooker pulled pork and creamy coleslaw with apple. Can you say YUM?

Sourdough Rosette Buns | Korena in the Kitchen

For all your sourdough bun needs this summer, check out the Sourdough Surprises collection below:

Sourdough Rosette Buns

Adapted from Chilly Frosting. Makes 6 medium-sized buns. Recipe could easily be doubled. The original recipe stated the these buns could be made in a single day, but mine took all day to rise and then proofed overnight – your starter will determine how long they take.

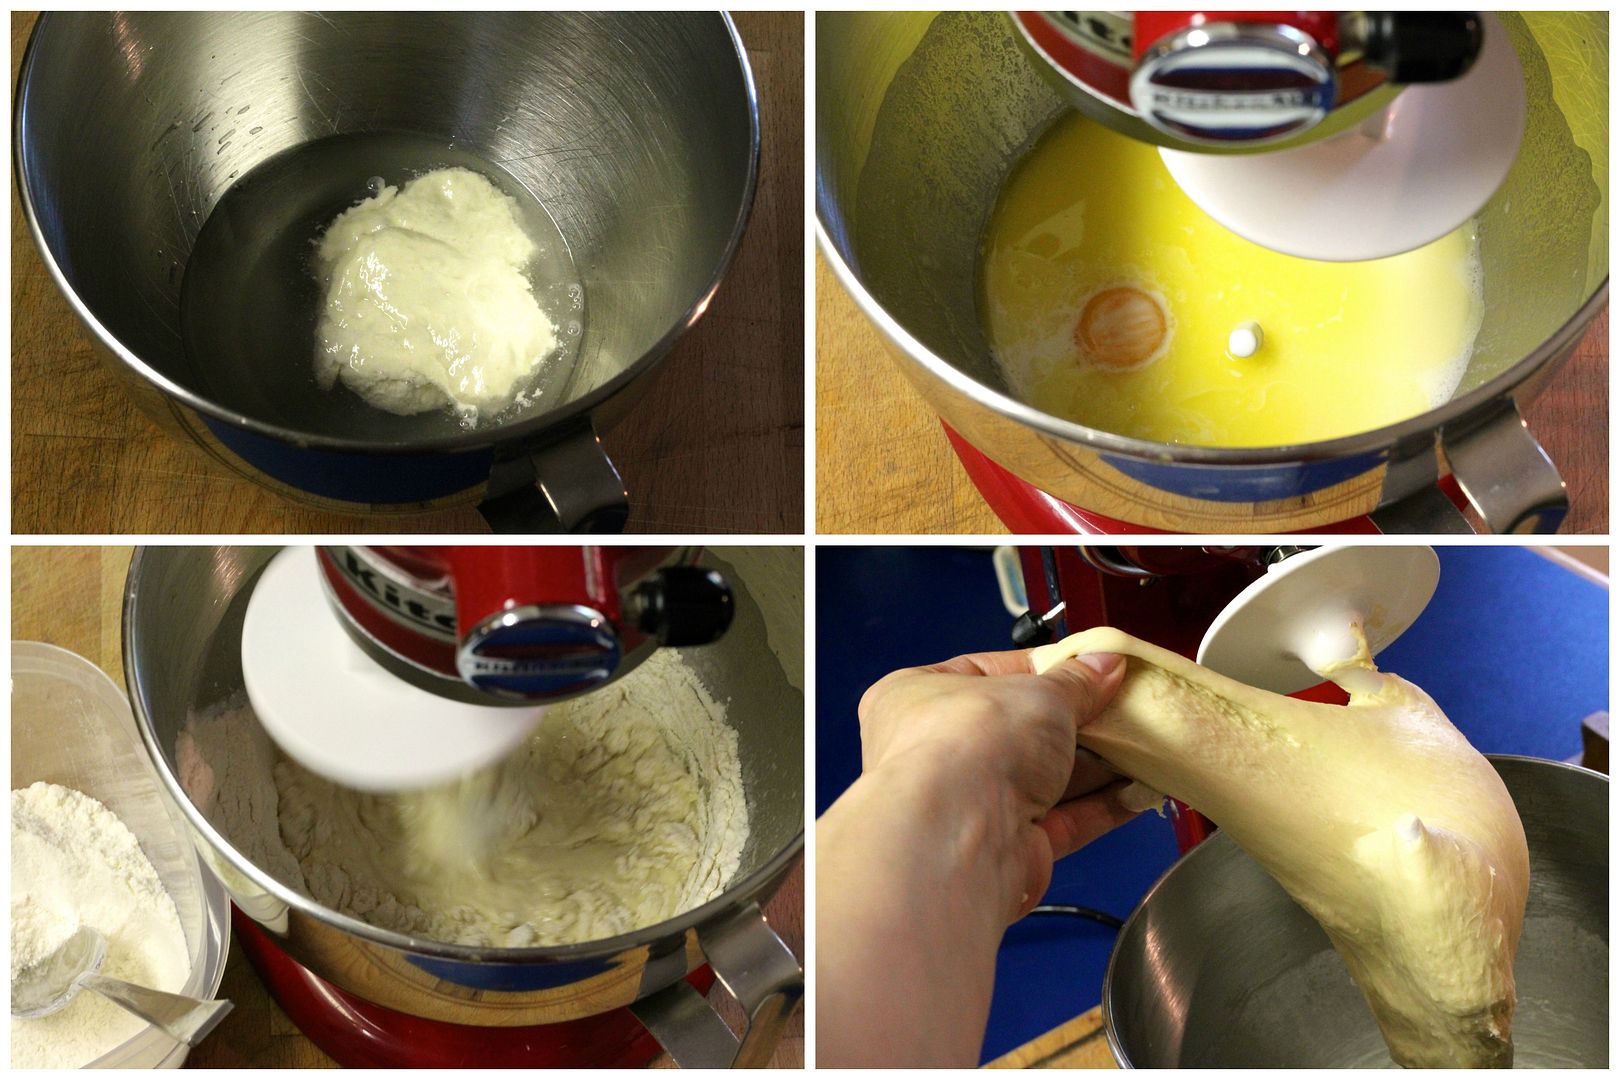
In the bowl of a stand mixer with the dough hook attachment, combine:

120 g active sourdough starter, 100% hydration

150 ml water

Stir to dissolve the starter, then add:

40 g granulated white sugar

40 g melted unsalted butter

1 egg yolk (reserve the egg white for glazing before baking)

8 g salt

Once mixed together, slowly add up to 330 g bread flour to get a dough that cleans the side of the bowl – you may need a little more flour, you may need less. Continue to knead with the dough hook on medium speed for about 10-15 minutes, until the dough is smooth and stretchy.

dough1

Gather the dough into a ball, cover the bowl with plastic, and let rest for 30 minutes.

After 30 minutes, perform a stretch and fold of the dough: grab one quadrant of the dough and stretch it up, then tuck it over on top of itself. Repeat in all 4 directions. Cover the bowl with plastic wrap again and leave at room temperature until doubled in size (several hours or all day).

stretch&fold

Turn the doubled dough out onto a lightly floured surface and divide into 6 equal pieces. Shape each one into a ball and roll each ball into a log about 12″ long.

shaping1

To form the rosettes, grasp the dough log in the middle with both hands and tie it in an over-hand knot. You will be left with two tails of dough: one sticking out from underneath, and the other sticking out from the top. Bring the underneath tail up and tuck it firmly into the middle of the rosette (make sure it goes all the way through the middle so it stays put while proofing and baking). Tuck the top tail underneath the bun, again making sure it is secured in the middle.

shaping2

Place the shaped rosettes on a silicone or parchment paper-lined baking sheet a few inches apart. Cover loosely (I used a large plastic bag) and let proof several hours (or overnight) at room temperature until puffy. A slight indent should remain when you poke them with your finer. If their tucked-in tails have come loose, just gently press them back into the centre.

proof

Preheat the oven to 375˚F (350˚F convection). Mix together a glaze of the reserved egg white + 1 tbsp water. Brush it gently over the surface of the buns and sprinkle with sesame seeds. Bake in the preheated 375˚F (350˚F convection) oven for 20-25 minutes, until a deep golden brown. Cool on a rack before slicing and filling – I recommend pulled pork!

baked


Tarte Flambée

$
0
0

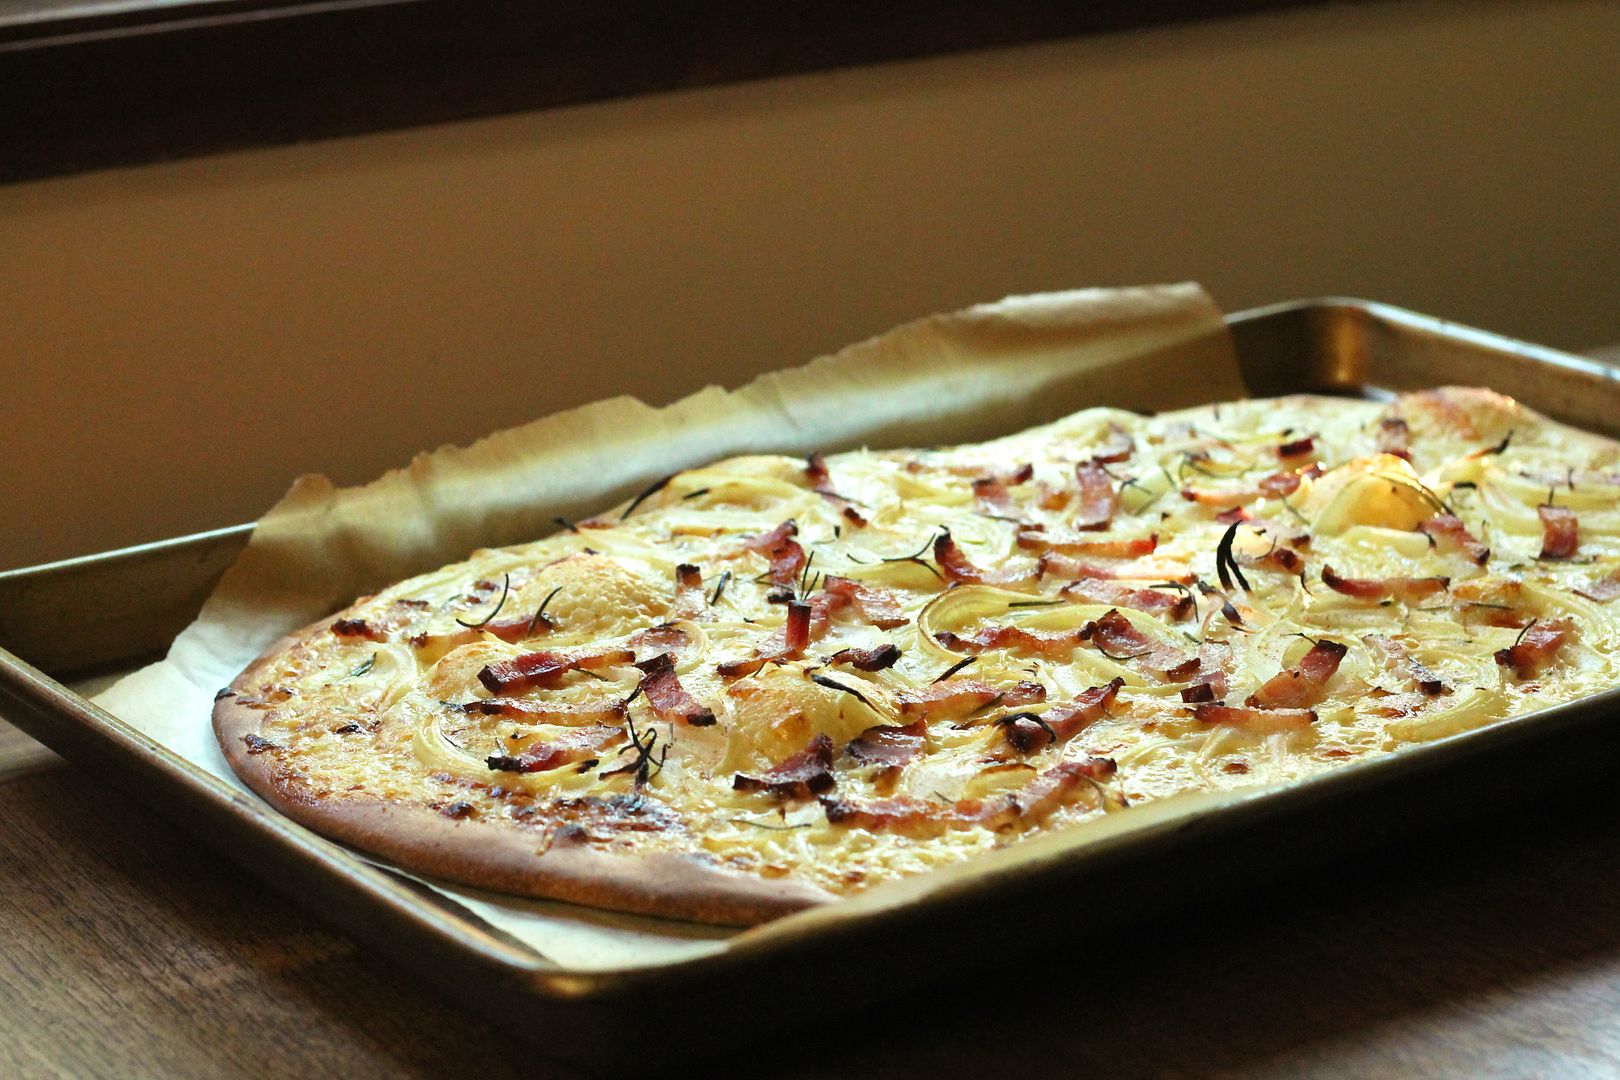
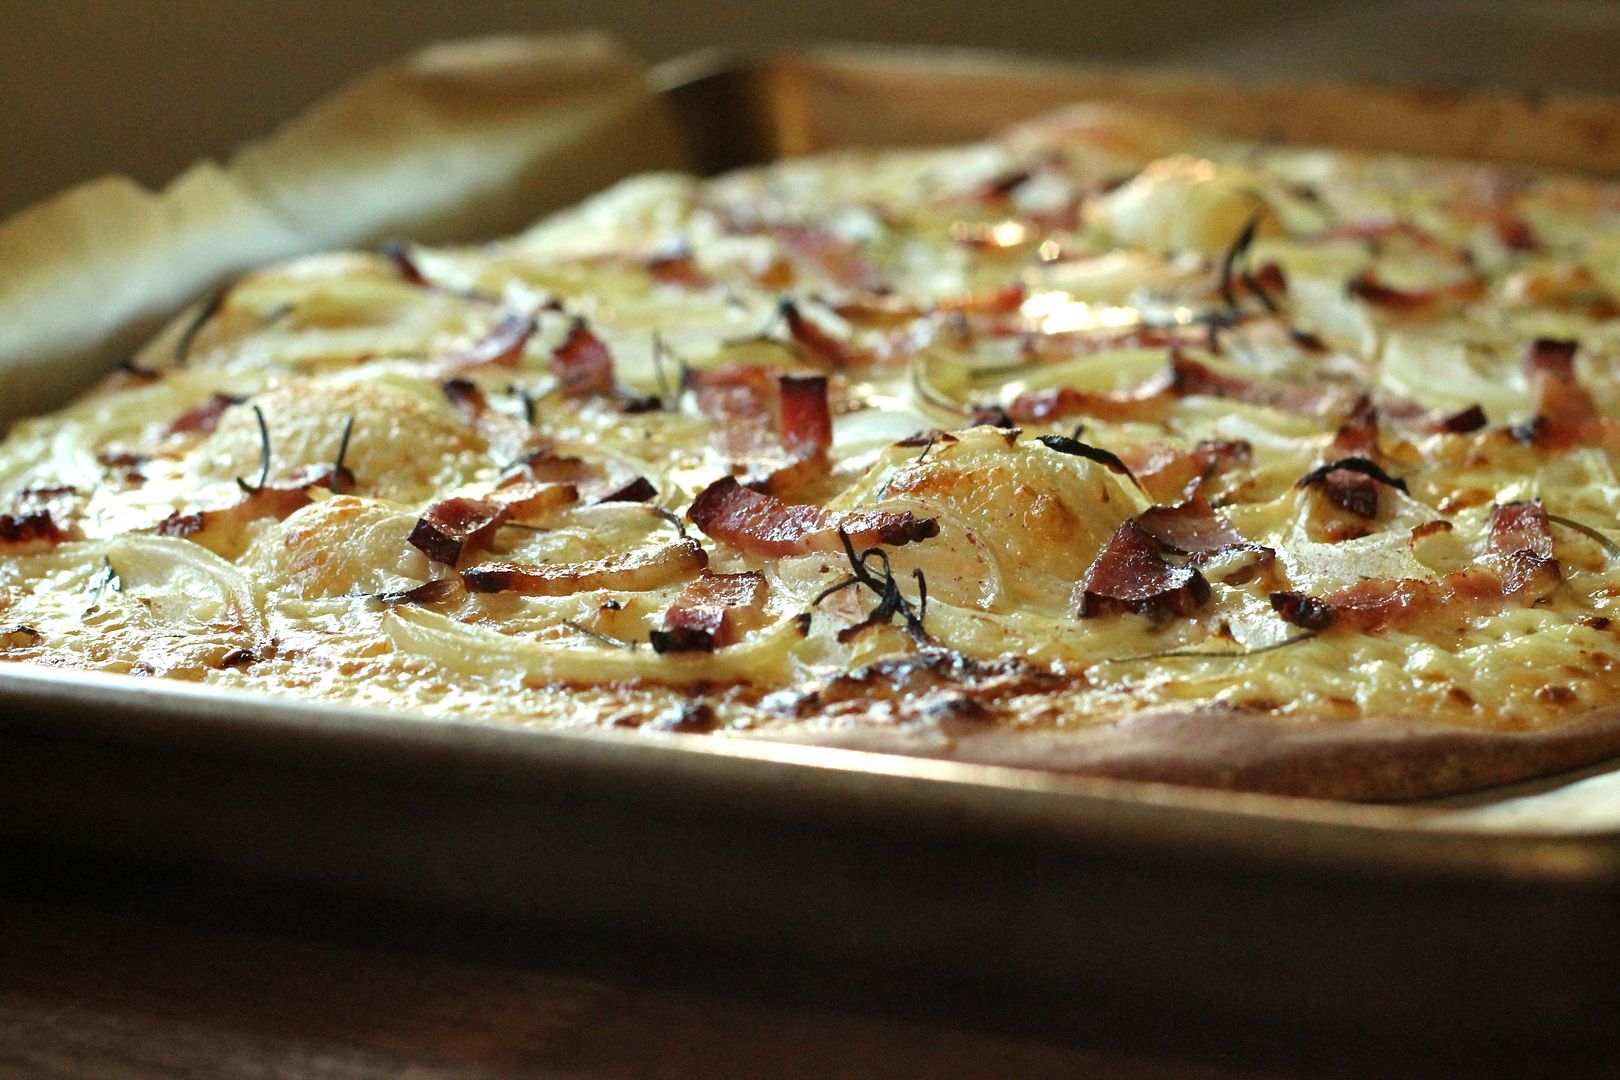
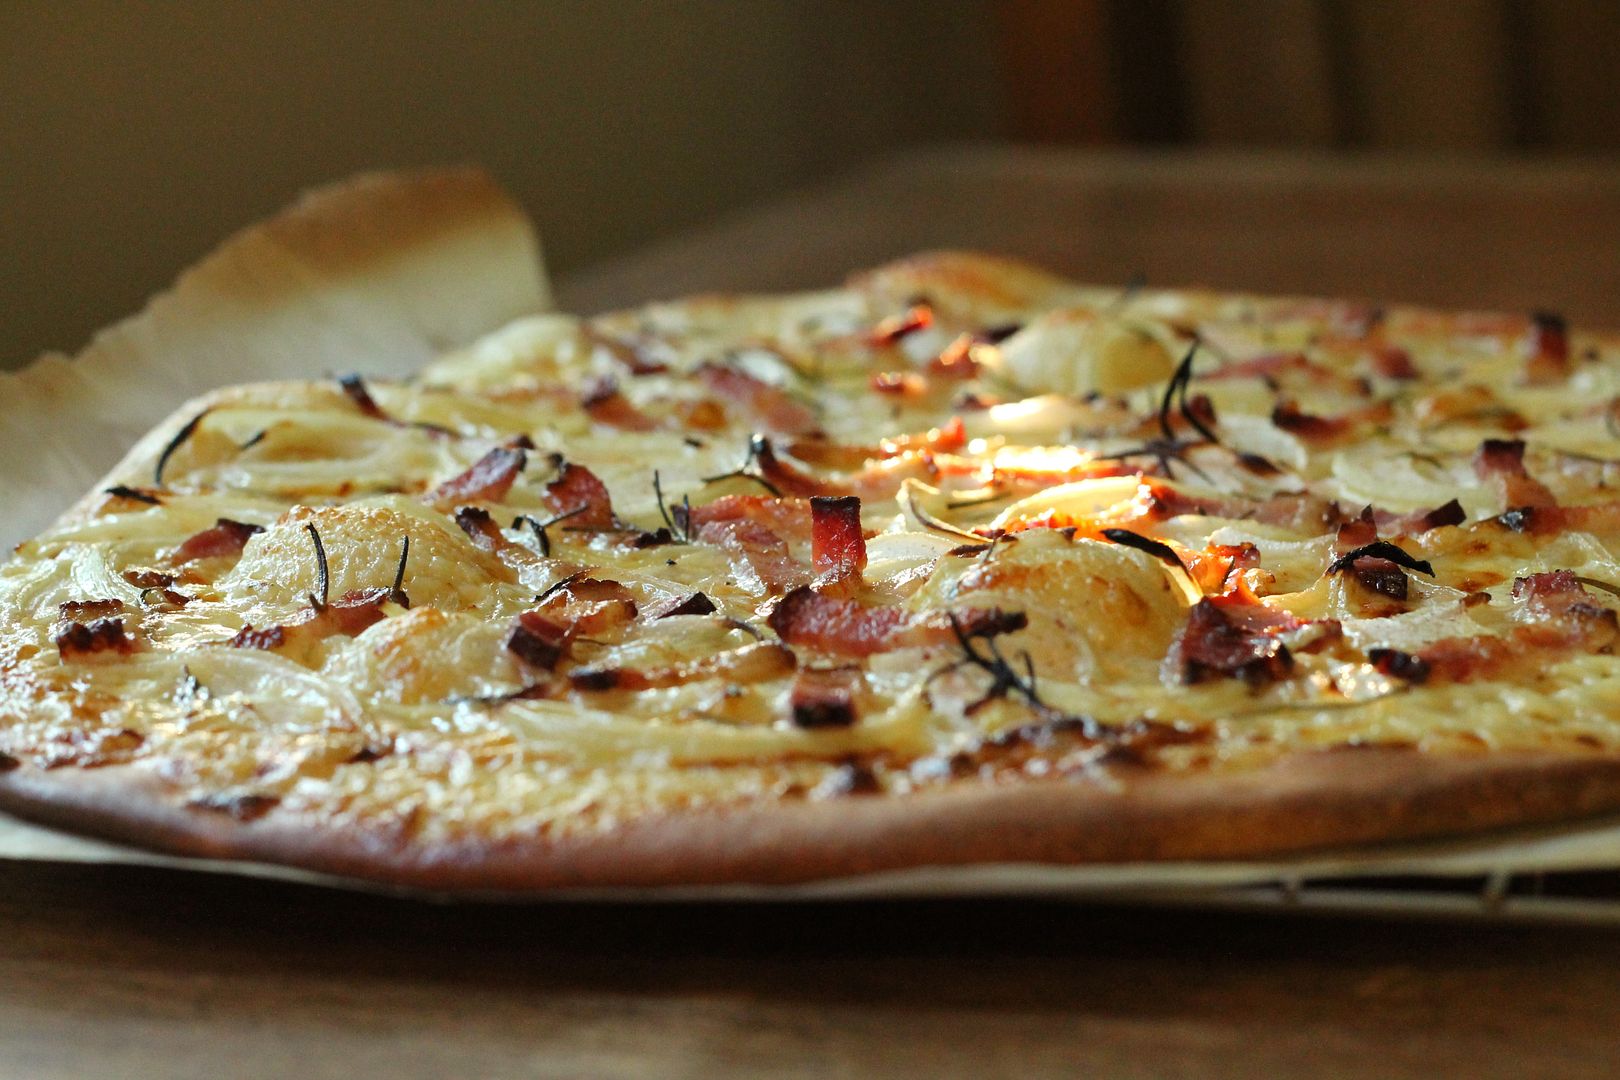
Tarte Flambée | Korena in the KitchenTarte flambée, also known as flammekueche in Alsatian or flammekuchen in German, is a regional specialty of Alsace in the eastern-most corner of France bordering Germany and Switzerland. It is essentially a pizza topped with bacon and thinly sliced onions, and as such is totally something I can get behind. I first came across it at a local bakery/vineyard – I can’t actually remember if we tried it, but it stuck in my mind nonetheless, and soon after when I saw a recipe for tarte flambée appear on the Homesick Texan blog (with jalapenos added to Texan-ify it) I knew that I would eventually be making it myself.

Tarte Flambée | Korena in the Kitchen

Tarte Flambée | Korena in the Kitchen

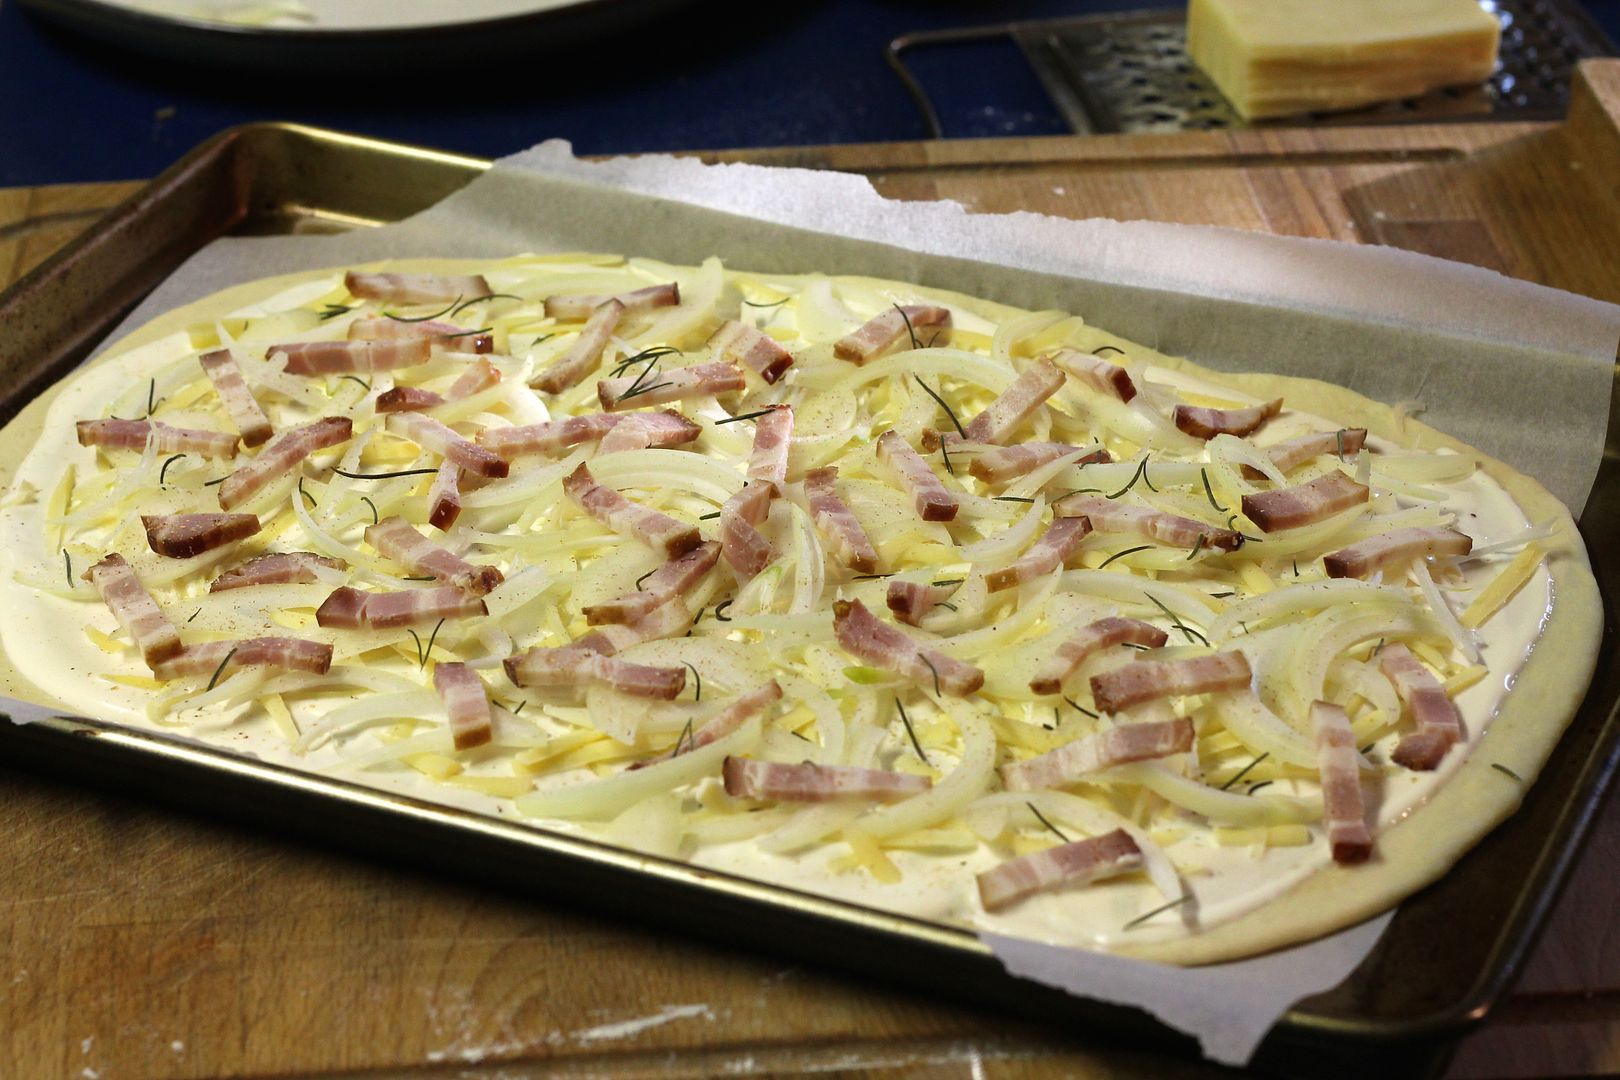
I forgot about it for a while, but then recently, for whatever reason, tarte flambée was all I could think about. As usual, I scoured the internet for the “best” recipe, but ended up back at the one on Homesick Texan, which comes from Luisa Weiss of The Wednesday Chef, who, being German, obviously knows more about German-influenced Alsatian cuisine than I do. Traditionally, the dough base is covered in fromage blanc, a fresh French cow’s milk cheese that doesn’t really have a Western equivalent. Luisa’s recipe uses crème fraîche instead (which is so freaking delicious!), and I added a little bit of grated Gruyère cheese because it never hurts. Upon the recommendation of some of the many other recipes I read, I also added a grating of fresh nutmeg and a scattering of rosemary sprigs.

Tarte Flambée | Korena in the Kitchen

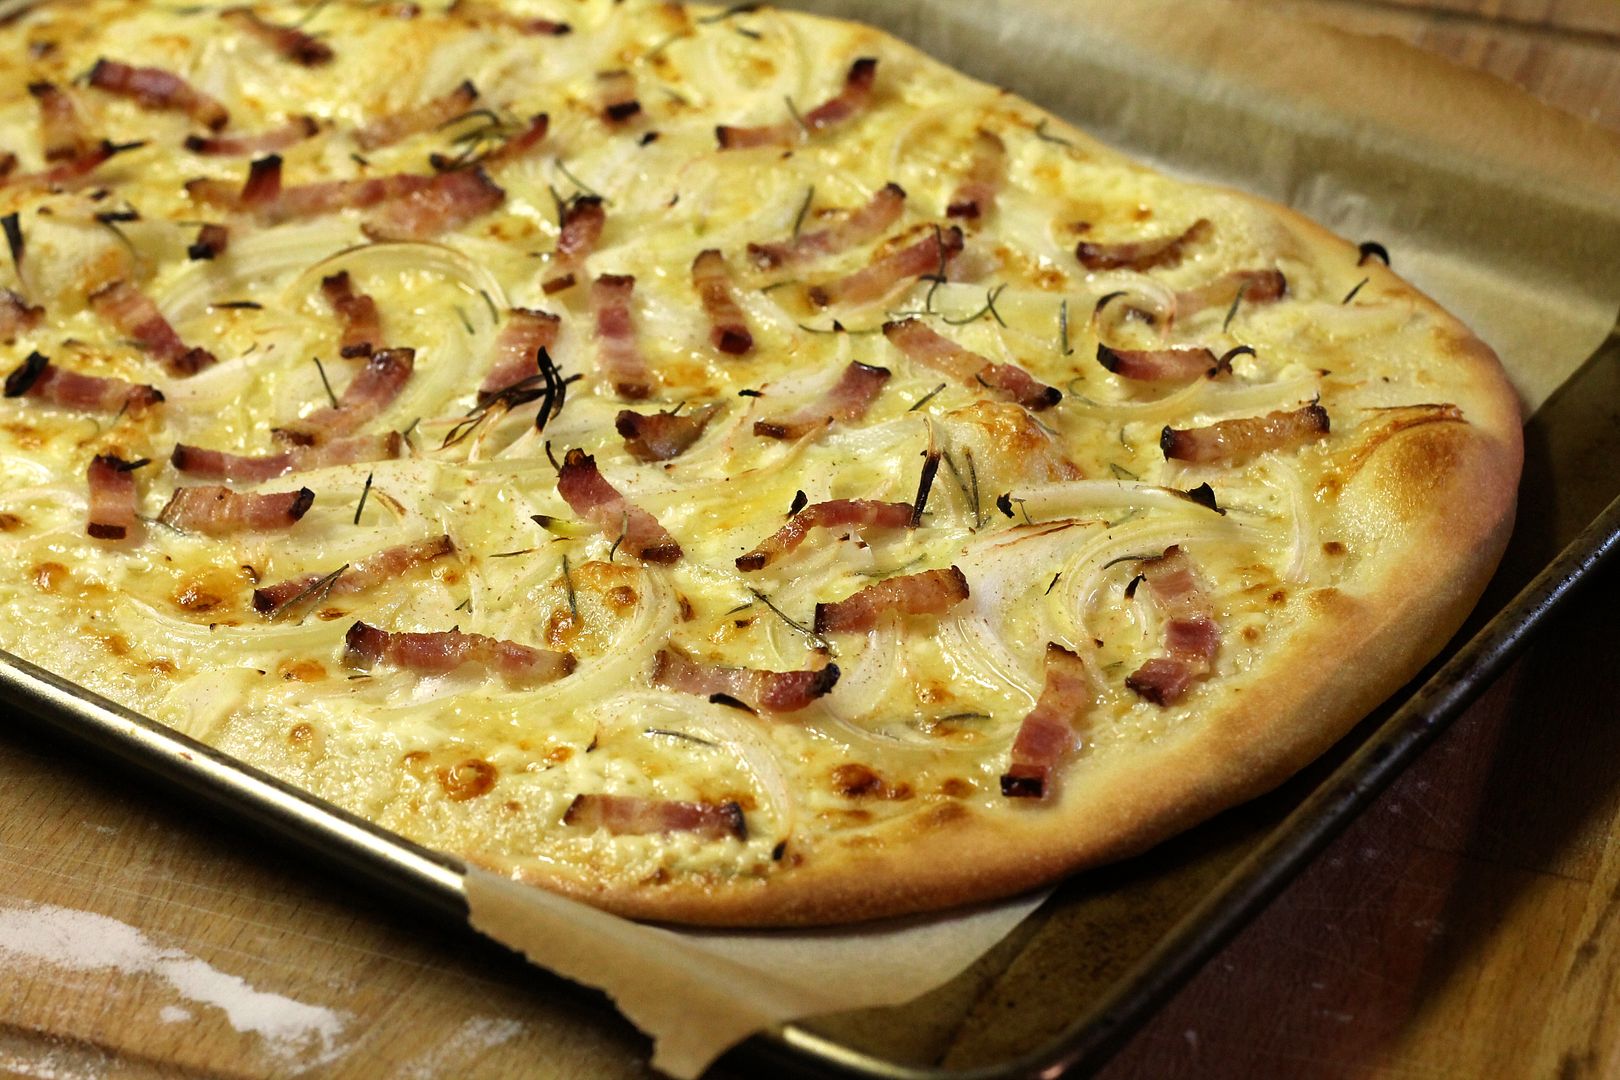
You can taste why this is a regional favorite: the bacon crisps up and the onions add a little bit of bite to contrast the rich bacon and cream. The dough base is a little bit dry on its own, but the crème fraîche adds moisture so that all together, it’s a pretty wonderful thing. Definitely worth a try on your next “pizza” night!

Tarte Flambée | Korena in the Kitchen

Tarte Flambée

Adapted from Luisa Weiss’s book, “My Berlin Kitchen“, via Homesick Texan. Makes 2 large flatbreads.

In a large bowl, combine:

3 cups all purpose flour

1 tsp instant yeast

2 tsp kosher salt

Add:

1 cup lukewarm water

2 tbsp olive oil

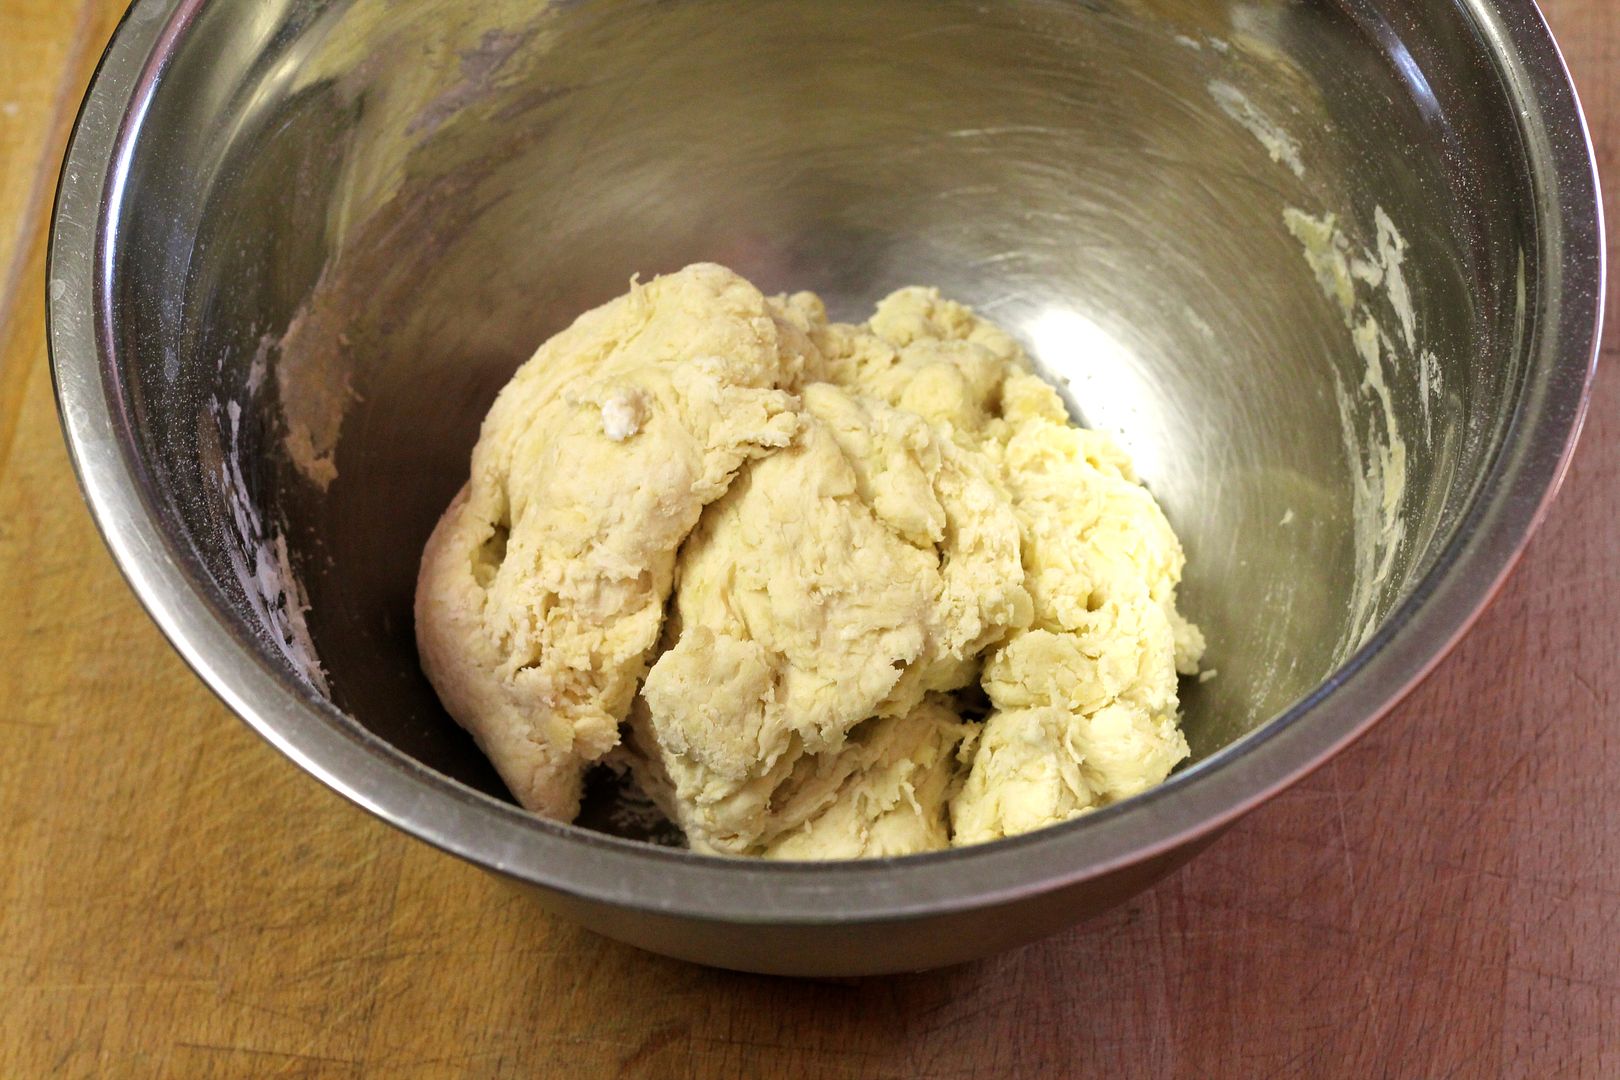
Stir until a ragged dough forms.

dough1

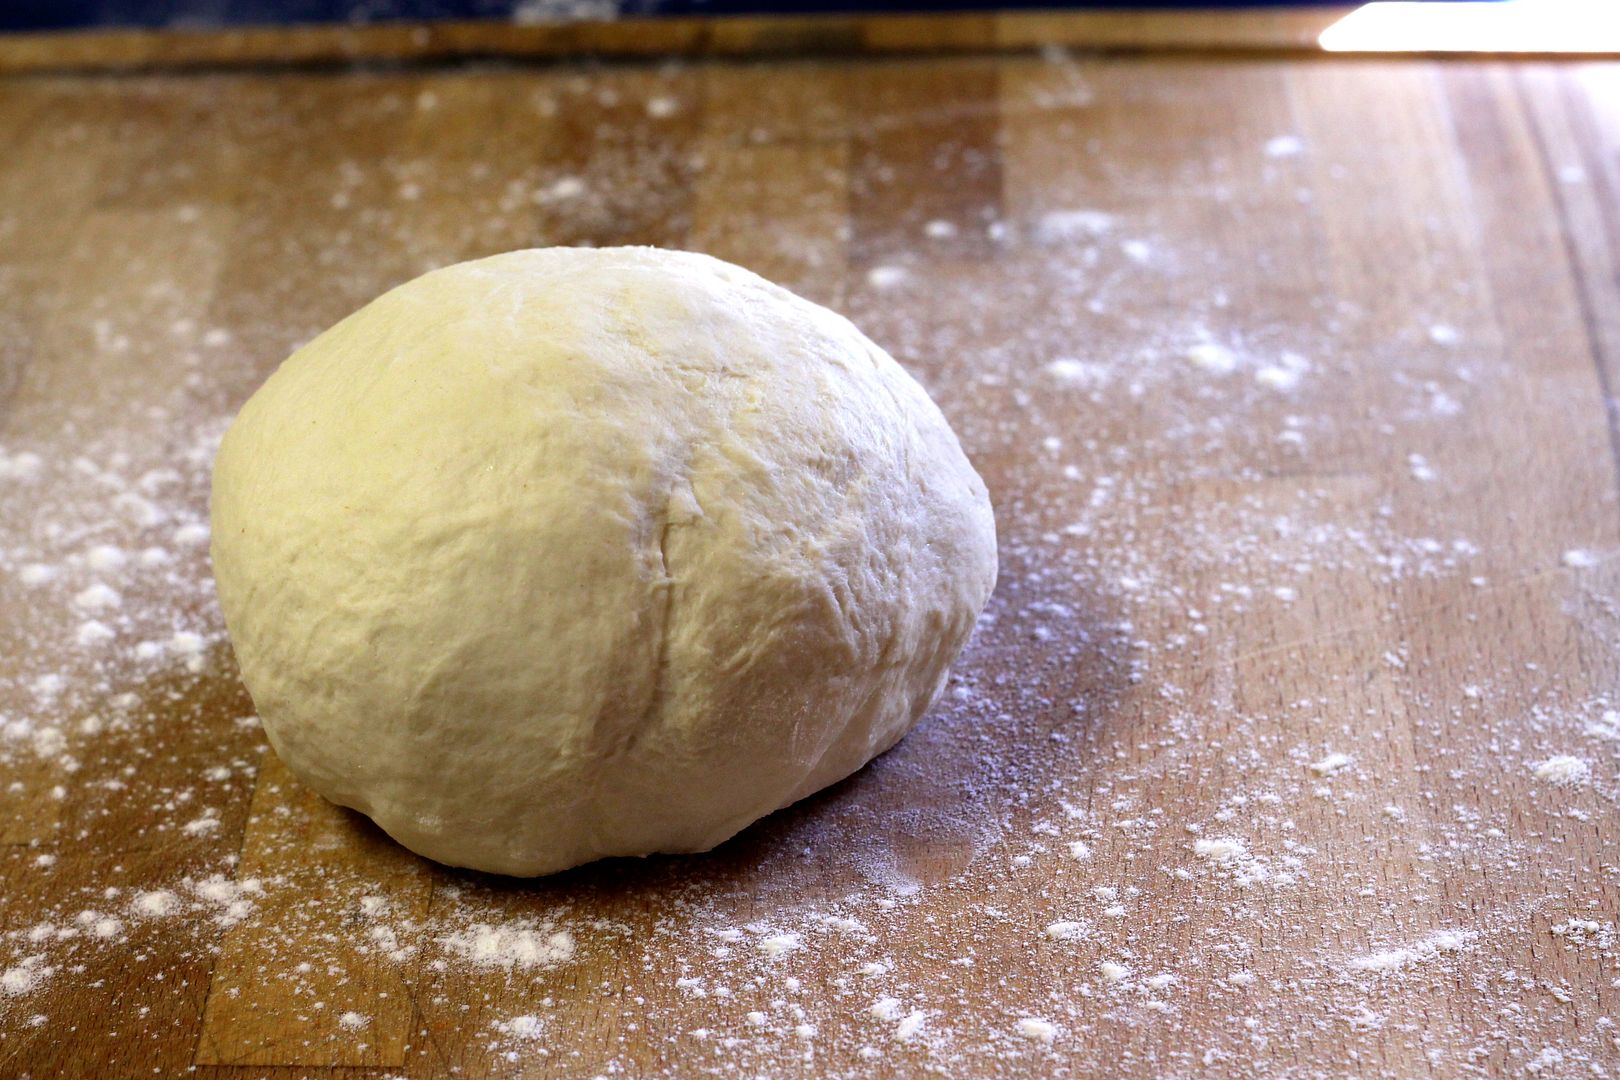
Turn the dough out onto a lightly floured surface and knead until it is smooth and elastic, about 5 minutes.

dough2

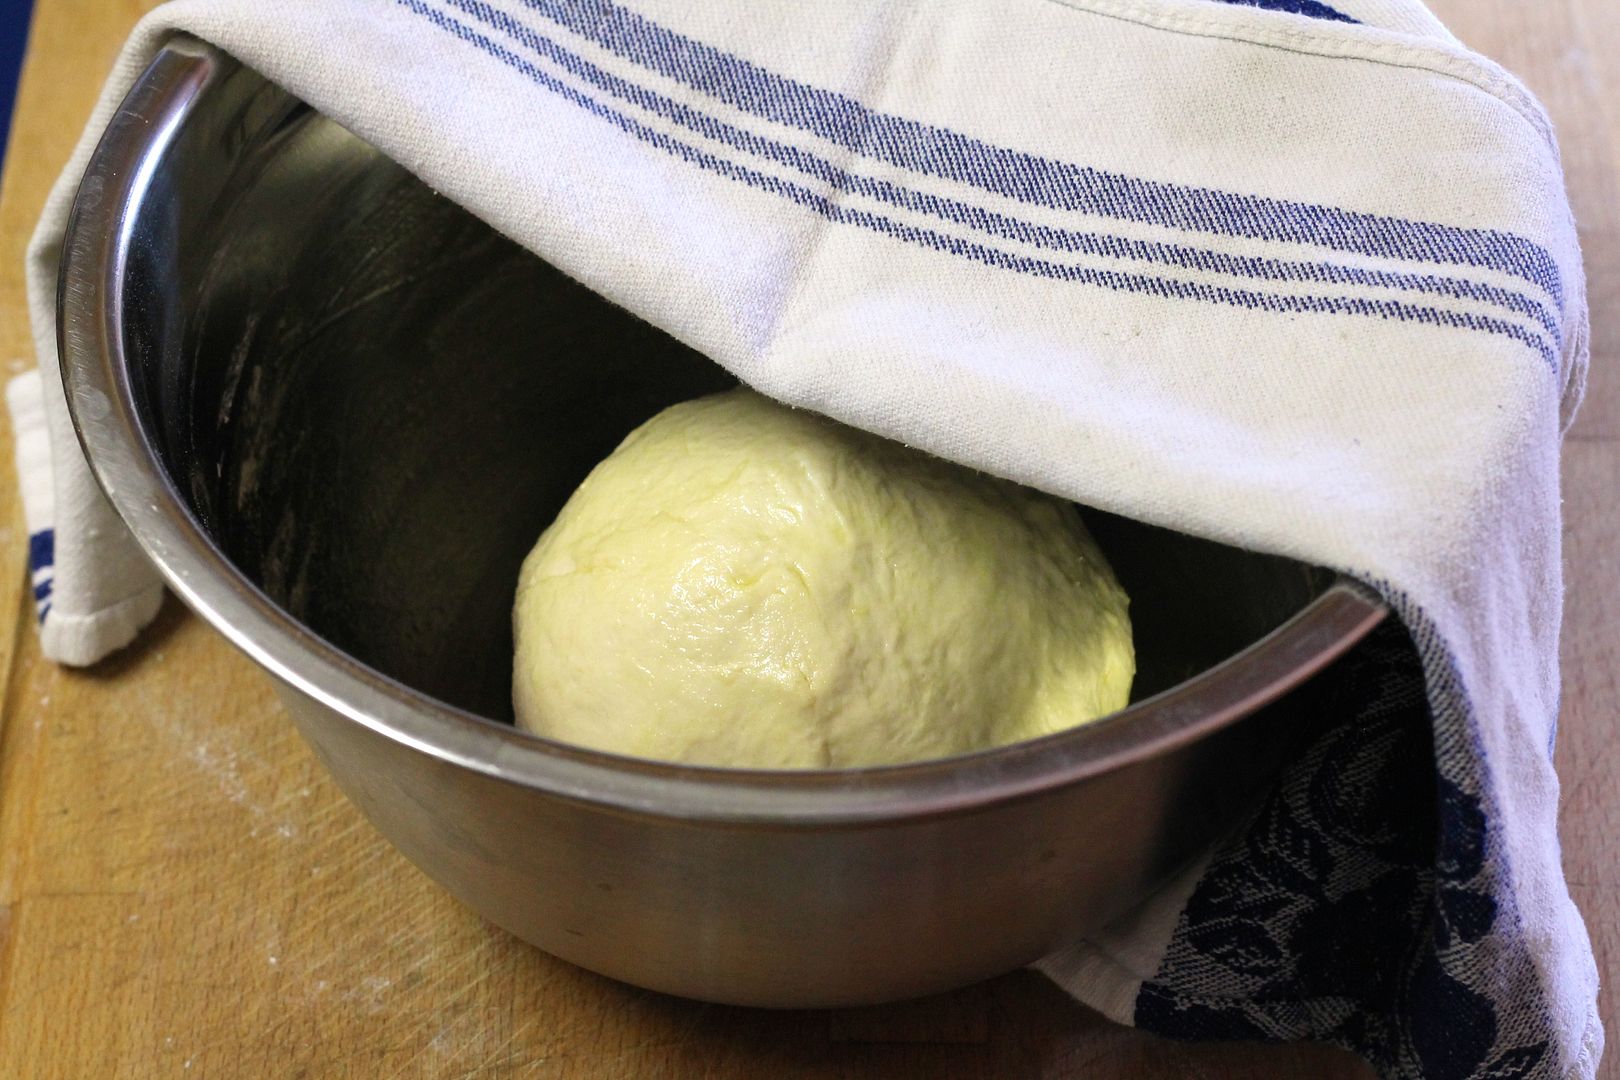
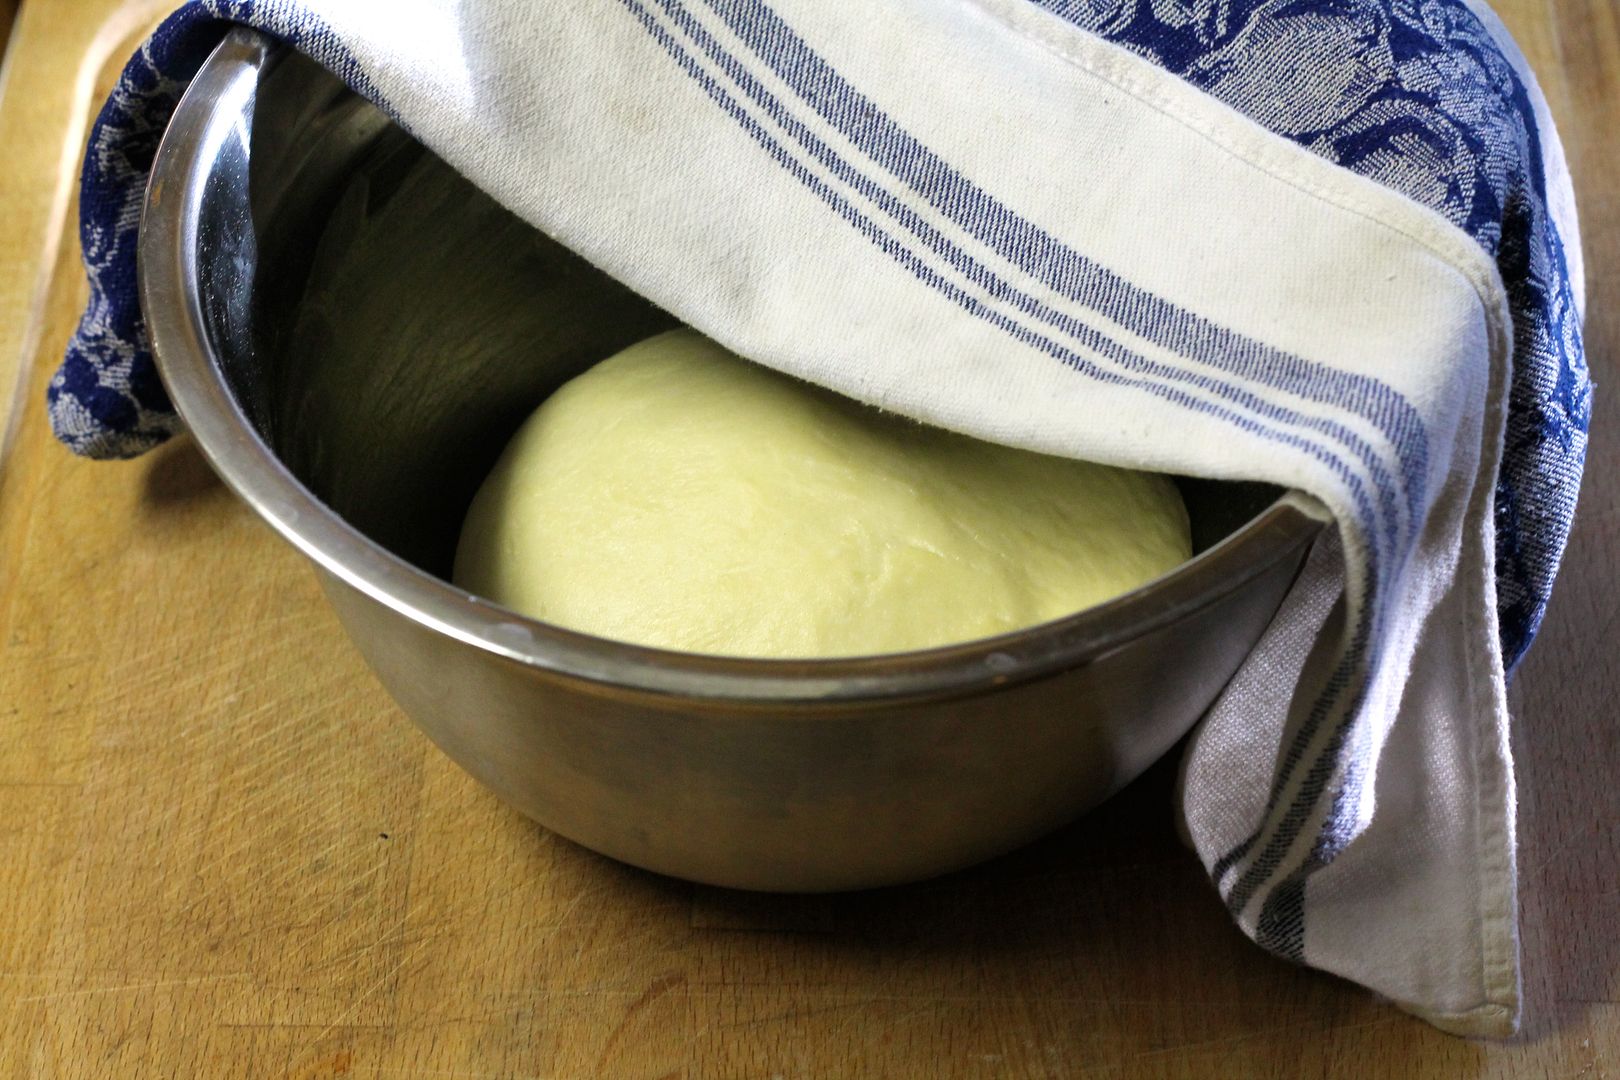
Place the dough in a lightly oiled bowl, cover with a tea towel…

dough3

…and let rise in a warm place until doubled, about 1 hour. (I got impatient and didn’t quite let mine double – it was still fine.)

dough4

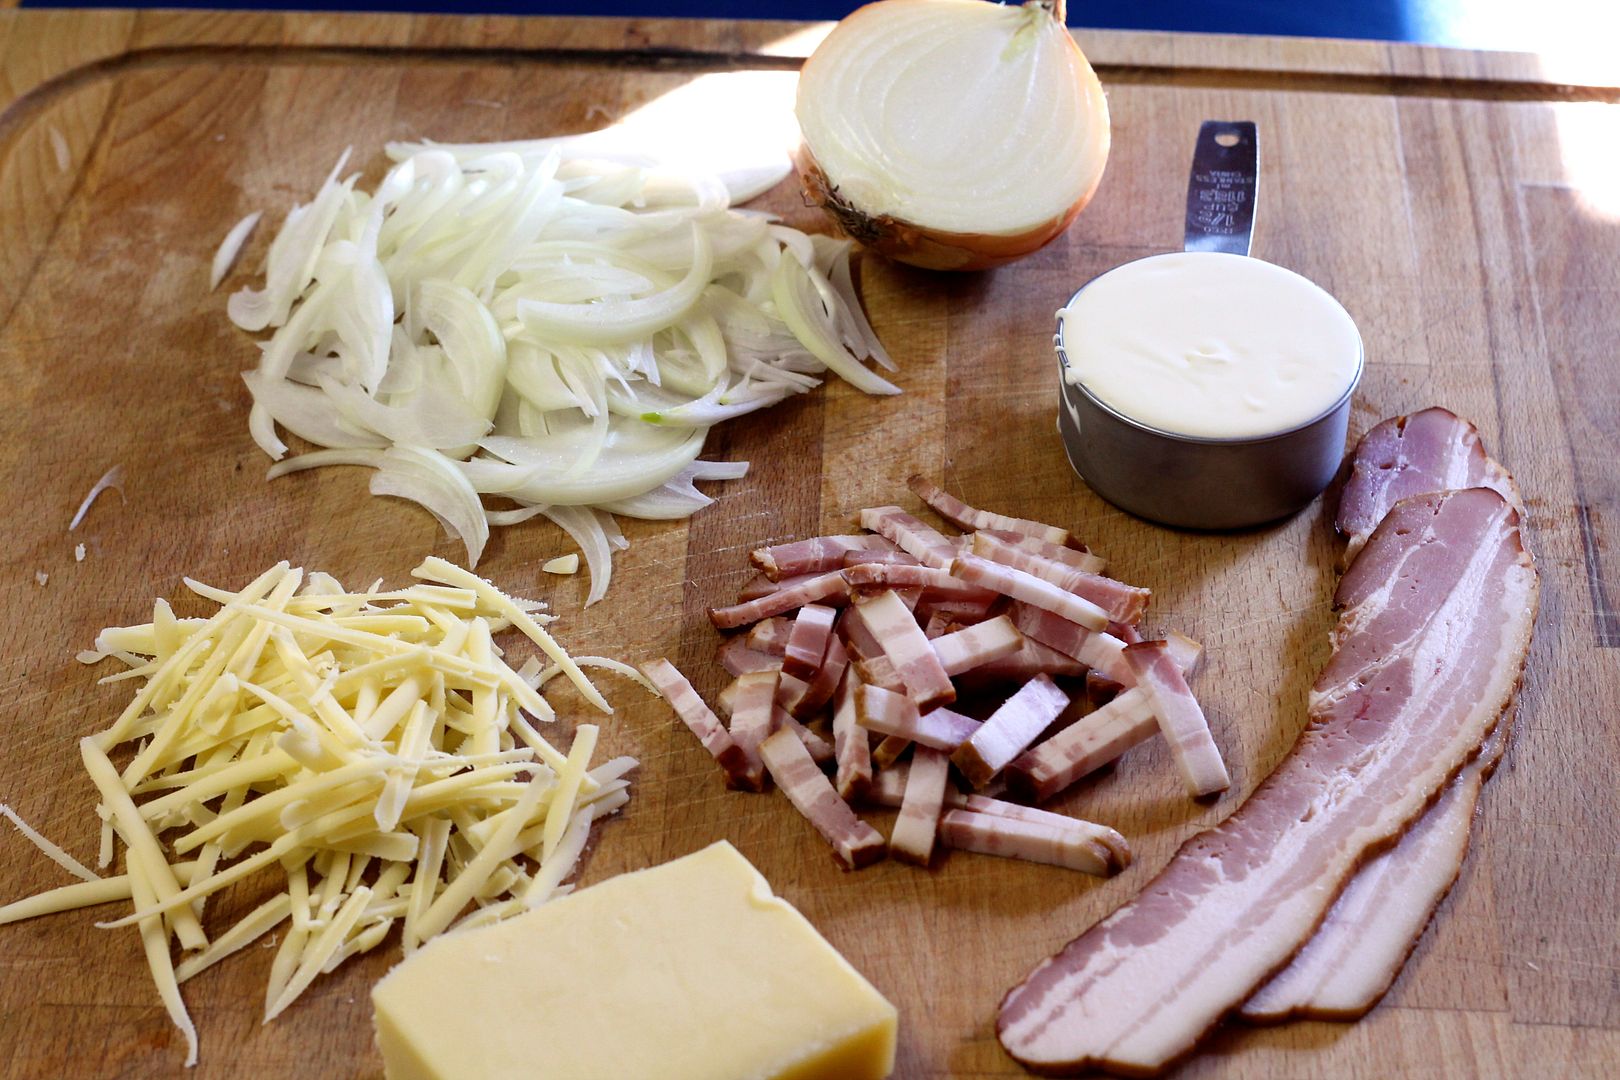
Preheat the oven to 500˚F (475˚F convection). You want it nice and hot, so let it preheat for about 30 minutes. While it preheats, prepare the toppings:

8 oz (1 cup) crème fraîche

2/3 cup grated Gruyère cheese

1 large yellow onion, sliced very thinly

6 oz (4 pieces) thick cut bacon, cut into lardons (1/4″ pieces)

toppings

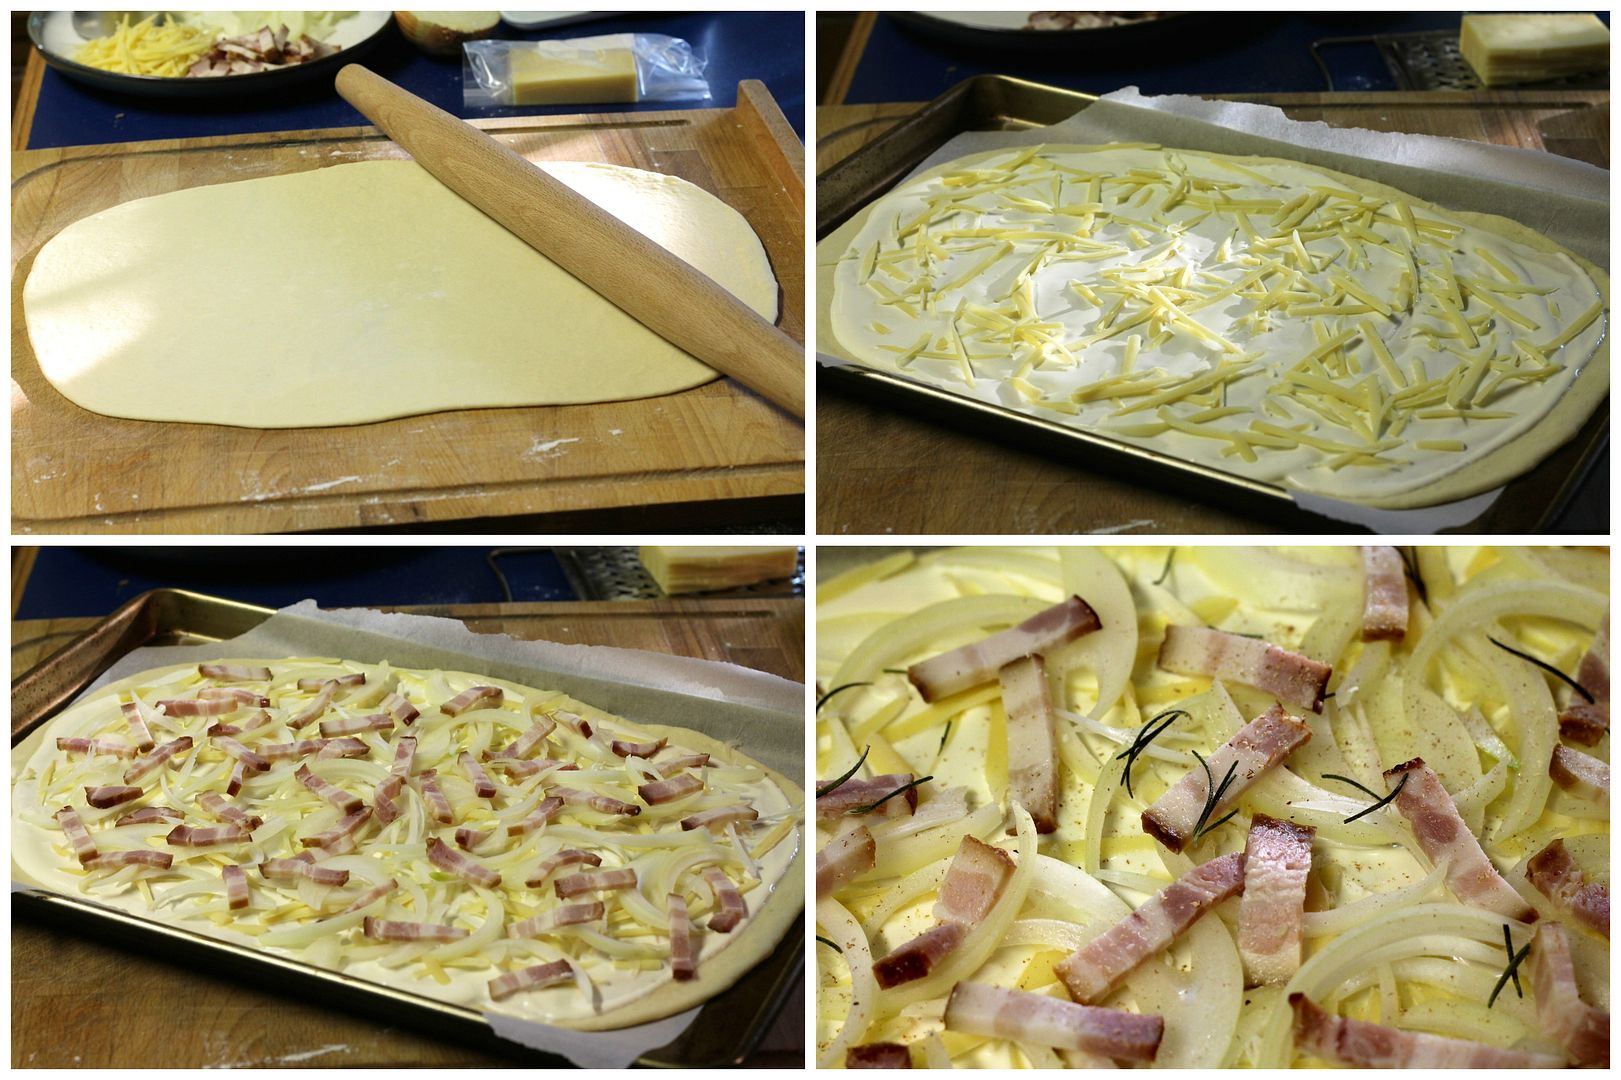
Line 2 large cookie sheets (mine are 18″ x 12″) with parchment paper. Punch down the dough and divide it in half. On a lightly floured surface, roll out one half of the dough until very thin and large enough to cover a cookie sheet. Place it on one of the prepared cookie sheets and top with half the crème fraîche, half the cheese, half the onion, and half the bacon. Sprinkle with a little freshly grated nutmeg and a few sprigs of fresh or dried rosemary.
assembly

Bake in the preheated 500˚F (475˚F convection) oven for 10-12 minutes, until the bacon is crisp and sizzling, the onions are cooked, and the crust is golden brown. While it bakes, prepare the second tart with the remaining ingredients. Allow the cooked tart to cool for about 5 minutes before cutting into squares to serve.

baked


Daring Bakers: Spelt, Date & Pecan Cinnamon Buns

$
0
0

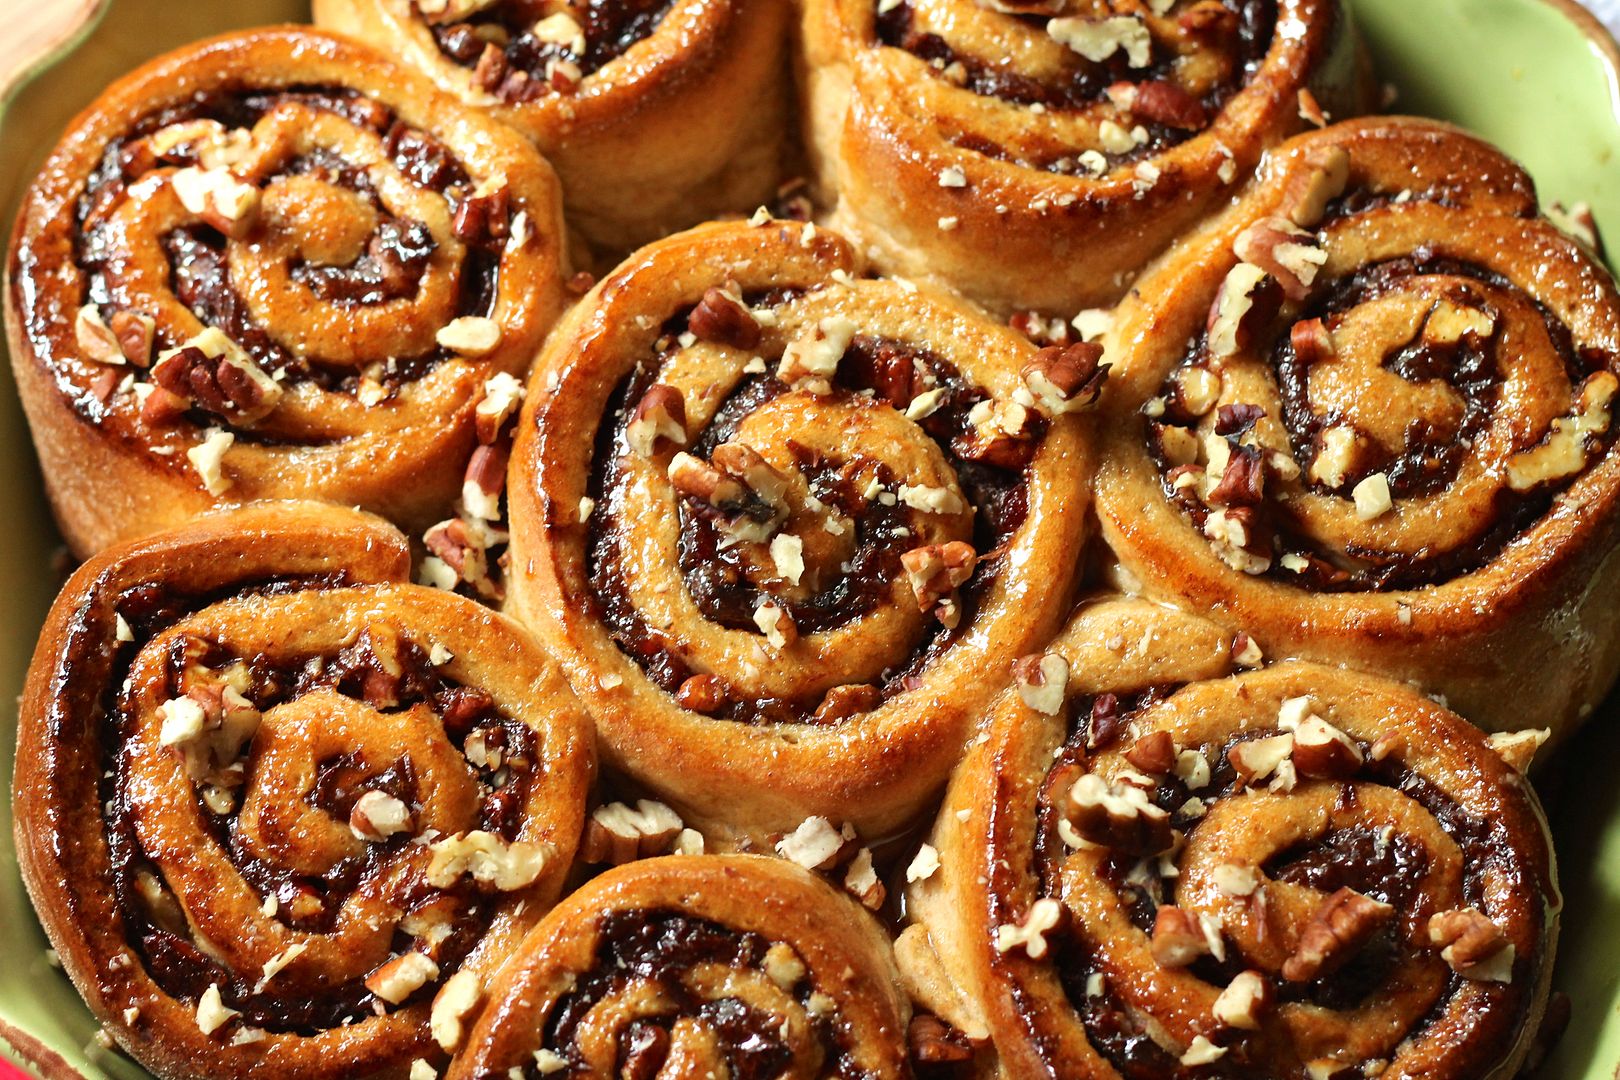
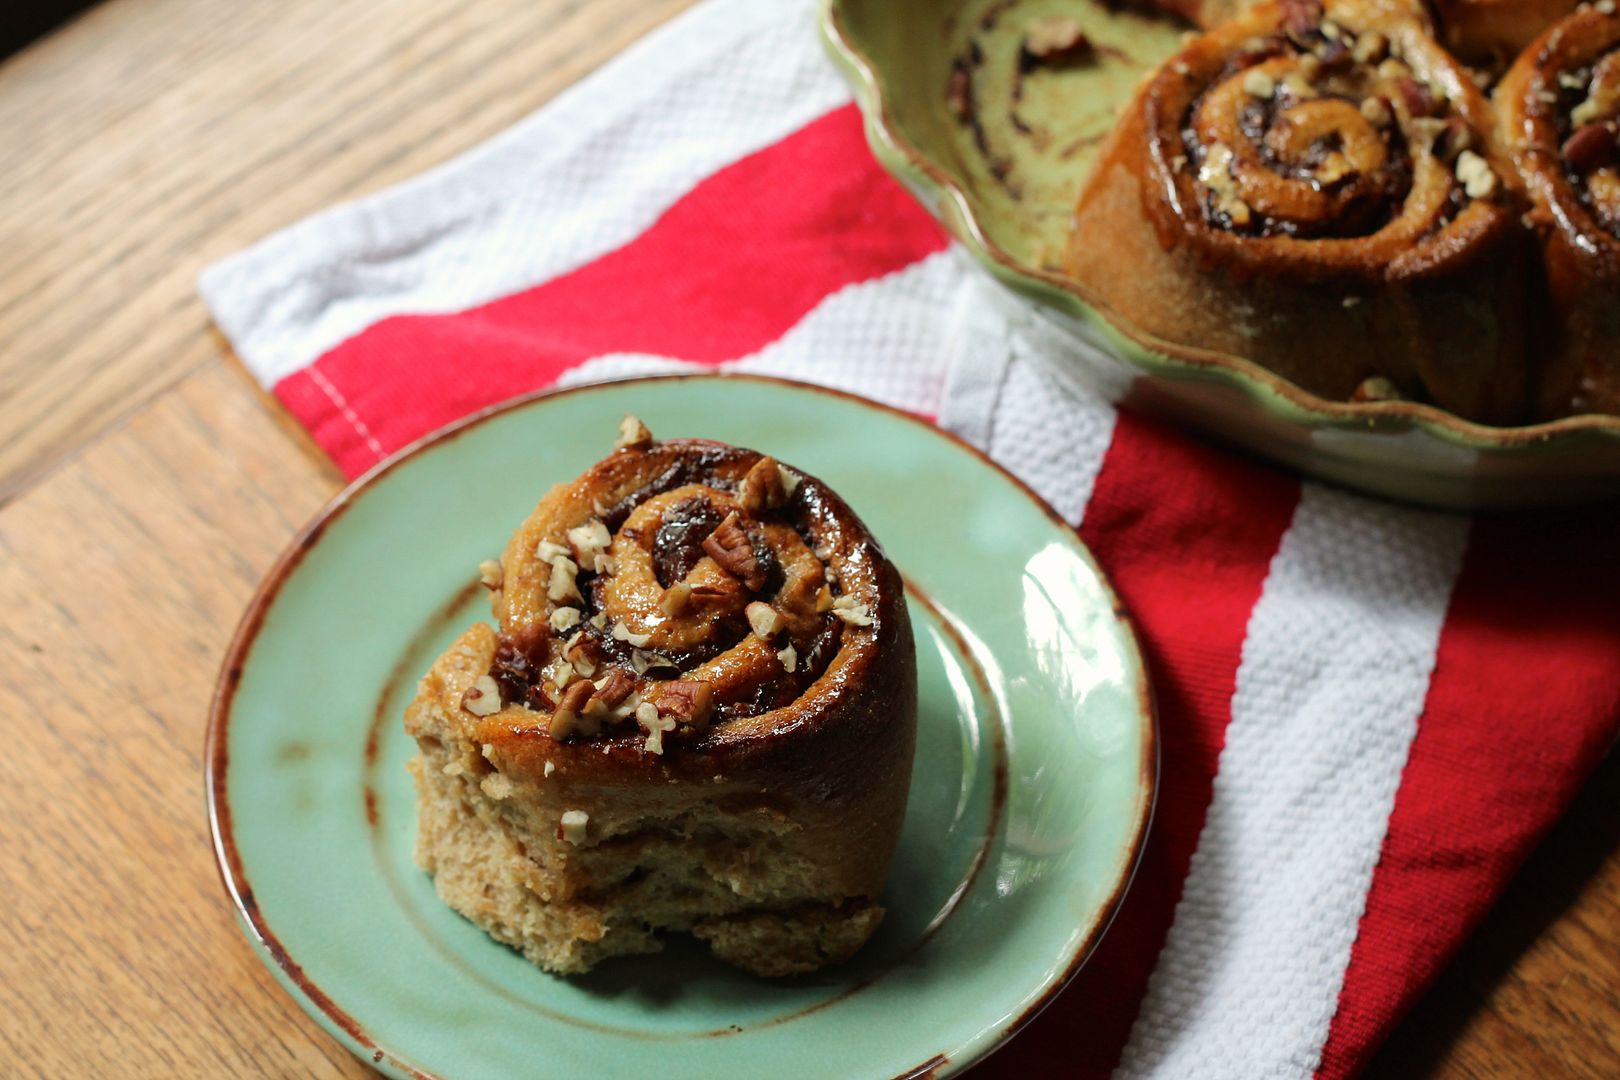
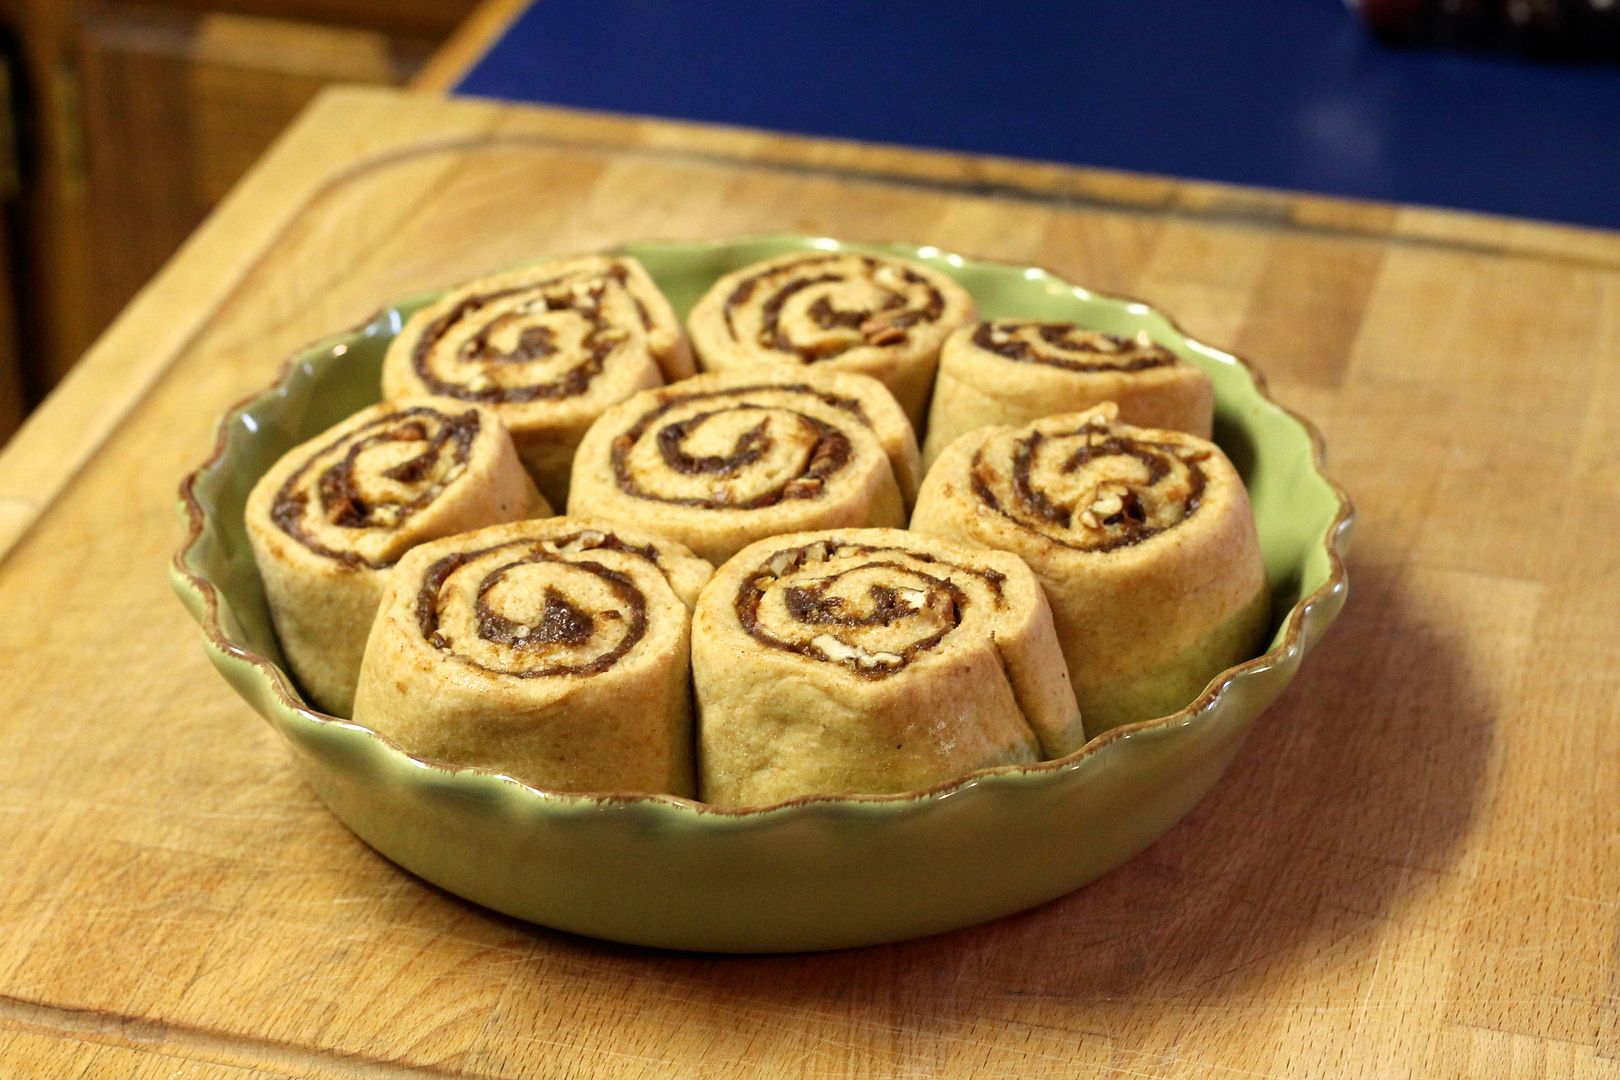
Spelt, Date & Pecan Cinnamon Rolls | Korena in the Kitchen

This month the Daring Bakers kept our creativity rolling with cinnamon bun inspired treats. Shelley from C Mom Cook dared us to create our own dough and fill it with any filling we wanted to craft tasty rolled treats, cinnamon not required!

Tell me, where has this month gone? How did it get to be the end of June all of a sudden? I swear, the last time I checked, it was the beginning of May, I was starting a new job (yay!), and this had just happened:
Engagement ring | Korena in the Kitchen

Surprise! That’s an engagement ring (made by Alexis Russell Design – I love love love her stuff), so my boyfriend Nate is now officially my fiancé Nate. I don’t particularly like that label because I think it sounds so temporary, whereas the decision to be married to a person is anything but. Semantics aside, however, we are thinking about next spring/summer for our wedding, and I’m already trying to figure out how I can make most of the food myself (at least the cake!) without turning into a raving lunatic/bridezilla. We’ll see how that goes…

Spelt, Date & Pecan Cinnamon Buns | Korena in the Kitchen

Honestly though, the past two months have felt more hectic than usual. I’ve been baking up a storm (so much cake – birthdays, baby showers, friend’s weddings, oh my!) but don’t have a lot to show for it in the way of blog posts, so when I saw that my friend Shelley was hosting this month’s Daring Bakers Challenge and that we were making cinnamon buns, I made the effort to actually document the project start to finish. When I made these, I was feeling extremely over-sugared and like I needed to subsist on nothing but brown rice and kale for a bit, so I decided on a “healthy” version of cinnamon buns. This recipe, made with spelt flour and without refined sugar, eggs, or dairy (if you don’t count the Greek yogurt “icing”) is a testament to the fact that you can still make a decadent treat that won’t put you into a diabetic coma. These were the best of both worlds: my inner crunchy granola hippie was really pleased about eating “healthy”, but my inner pastry snob was also totally satisfied.

Spelt, Date & Pecan Cinnamon Buns | Korena in the Kitchen

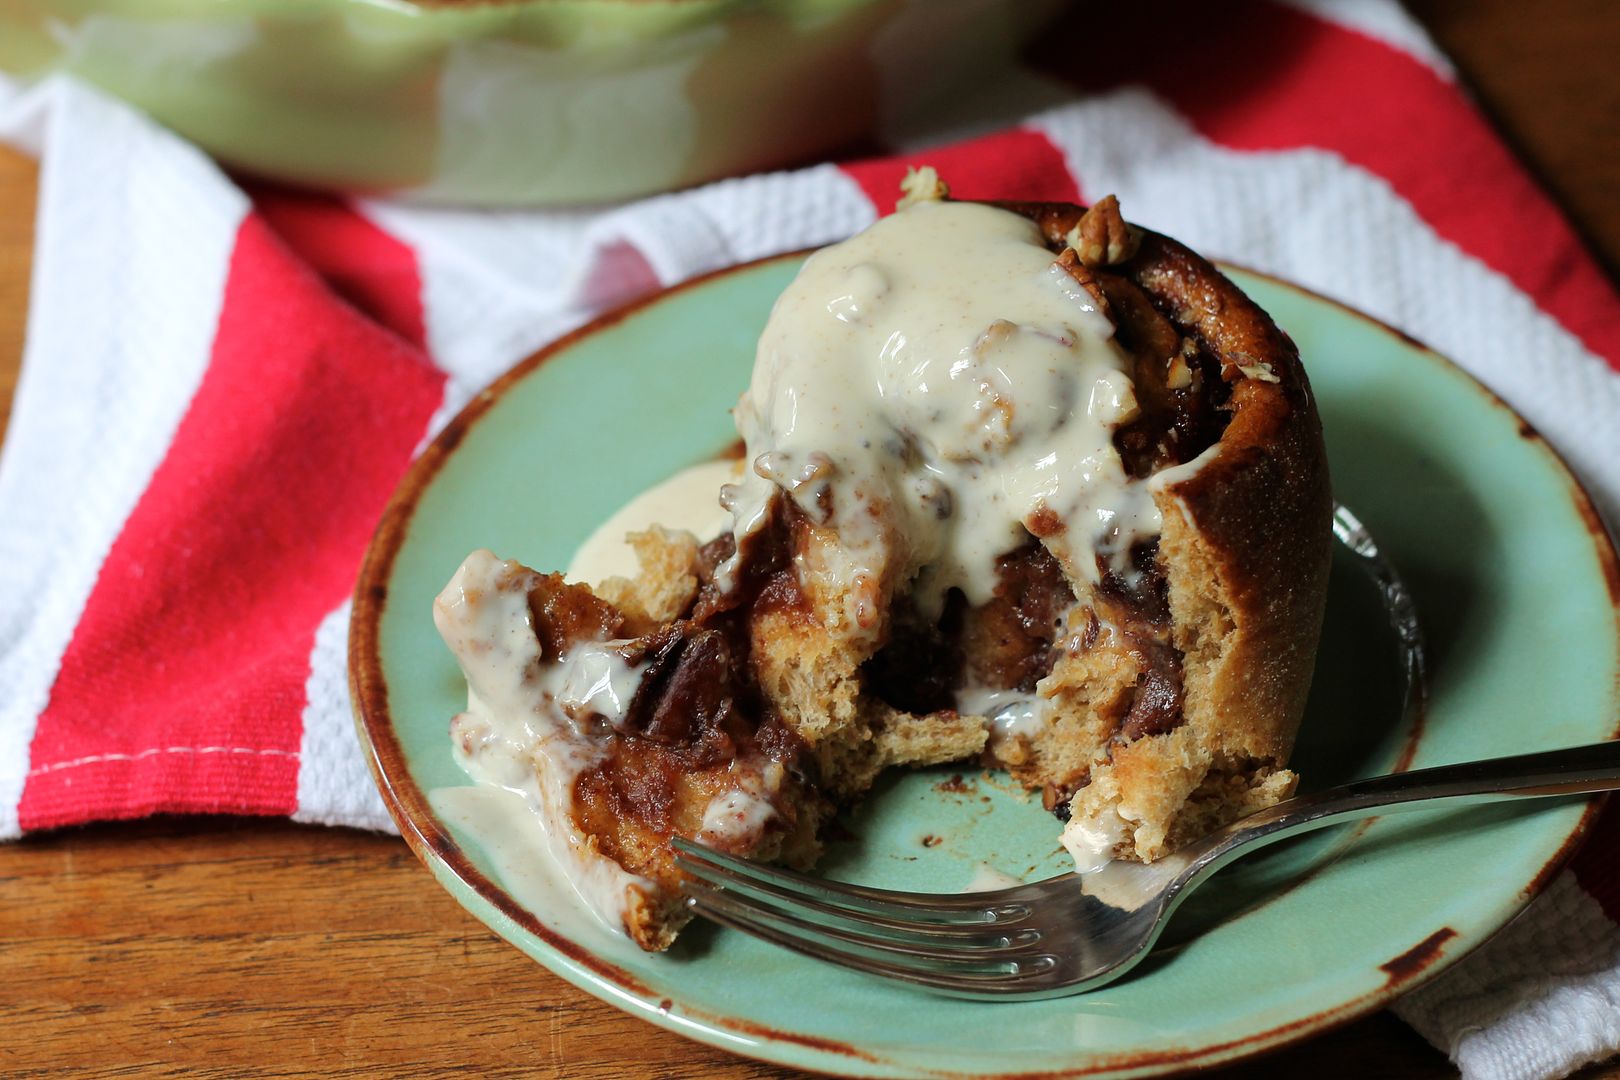
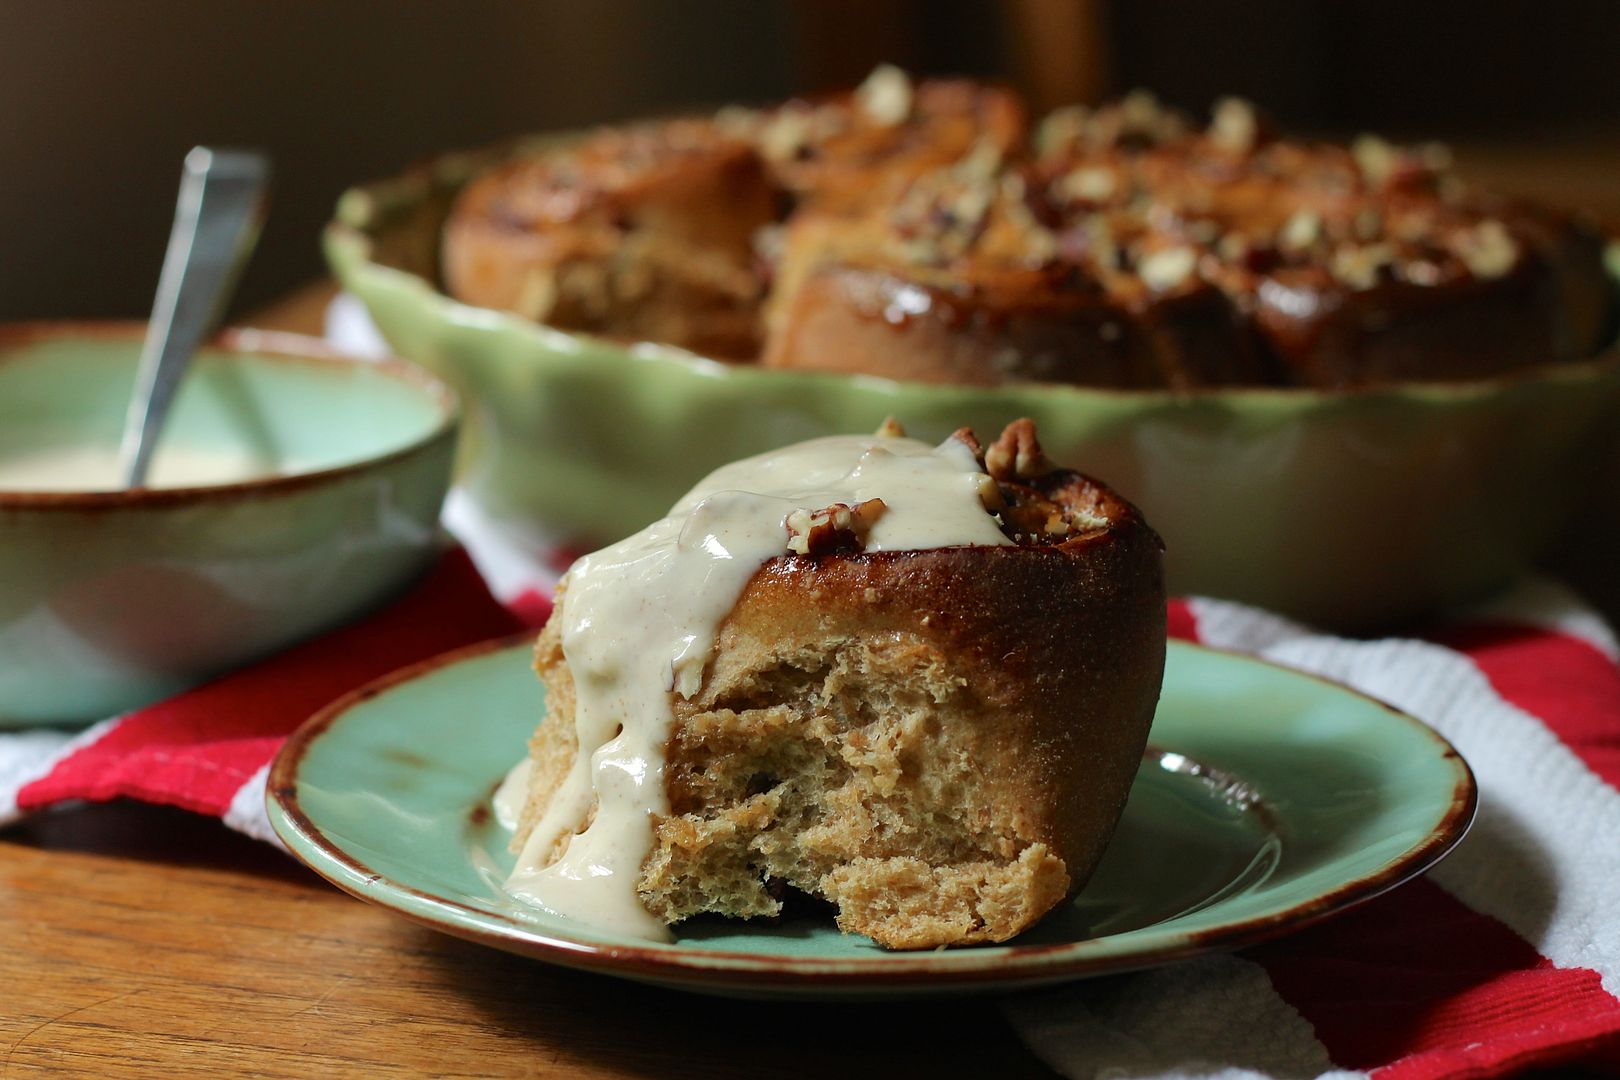
The yeasted dough made with whole spelt flour, apple sauce, and coconut oil is probably one of the nicest spelt doughs I’ve ever come across: soft, not dense, and it rose well. The date-cinnamon filling is the real revelation though. One of my beefs with regular cinnamon buns filled butter, cinnamon, and sugar is that the filling just disappears into the dough. Here, you make a spreadable paste (such an unappetizing word) of dates and cinnamon – no extra sweetener needed – and roll it up within the dough. Once baked, the filling stays moist and gooey, almost like thick caramel but not as sticky, and it remains distinct from the surrounding dough. The “icing” in this case is thick Greek yogurt sweetened with a little bit of maple syrup and more cinnamon. Considering the amount of sugar that these buns DON’T contain, they were the perfect sweetness and I really, really enjoyed them. They certainly aren’t a replacement for, say, these caramel pecan sticky buns, but there’s definitely a place for them in my recipe book!

Spelt, Date & Pecan Cinnamon Buns | Korena in the Kitchen

For more cinnamon buns and sweet rolls than you can shake a stick at (including some very creative flavours and shapes), check out the Daring Kitchen. Thanks for the challenge Shelley, you rock!

Spelt, Date & Pecan Cinnamon Buns

Adapted from My New Roots. Makes 8 buns.

Dough

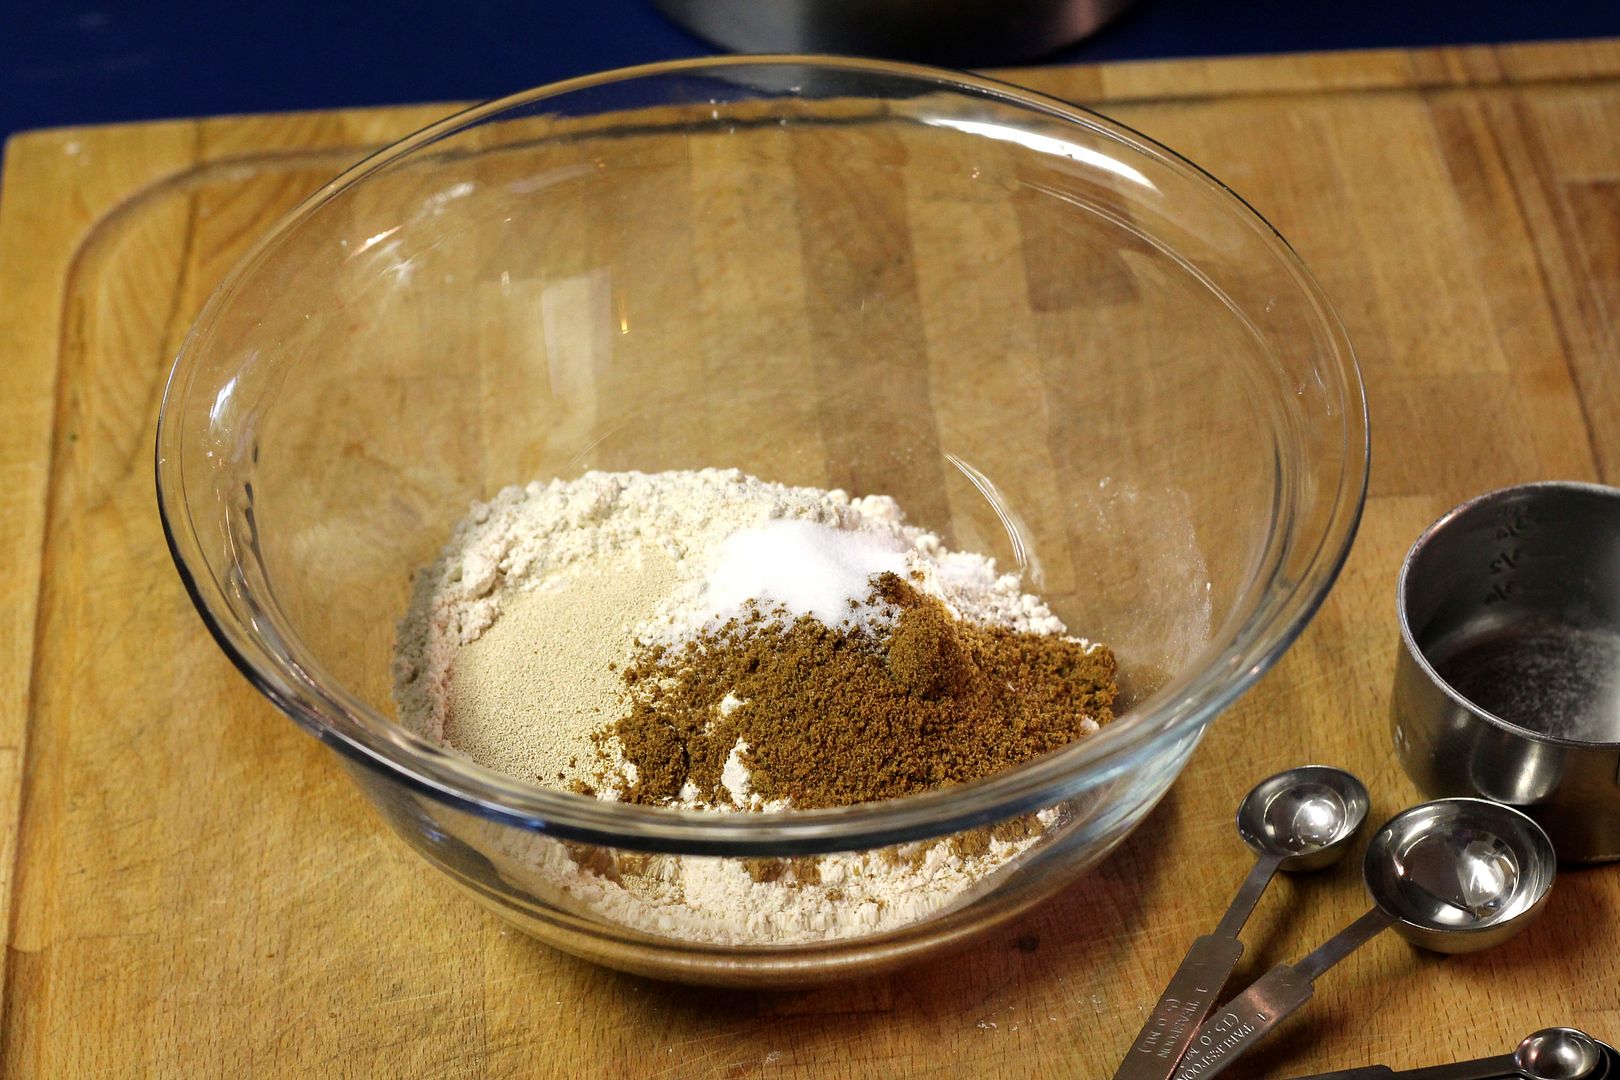
In a large bowl, mix together:

2 cups whole spelt flour (I used 1 cup whole spelt and 1 cup sifted spelt)

1 tbsp instant yeast

2 tbsp coconut sugar (or brown sugar)

1 tsp sea salt

 dough1

In a saucepan, combine:

3/4 cup + 1 tbsp unsweetened applesauce

3 tbsp coconut oil (or butter)

Heat over low heat until the coconut oil is just melted – you don’t want it too hot or it will kill the yeast when you add it to the flour mixture.

applesauce

Add the applesauce mixture to the flour mixture and stir with a wooden spoon to combine into a shaggy dough.

dough2

Turn out onto a spelt floured surface and knead for about 10 minutes, until the dough is moderately soft and elastic. Add more flour as necessary – the amount will vary depending on how thick or watery your applesauce was. I added between 1/2 – 1 cup extra spelt flour to get a soft yet workable dough.

dough3

Lightly grease a bowl with coconut oil, place the kneaded dough in it, and turn to coat with oil. Cover with plastic wrap and put it in a warm place (like the oven with just the light turned on) until doubled in size, about an hour.

dough4

While the dough rises, make the filling.

Filling

In a medium saucepan, combine:

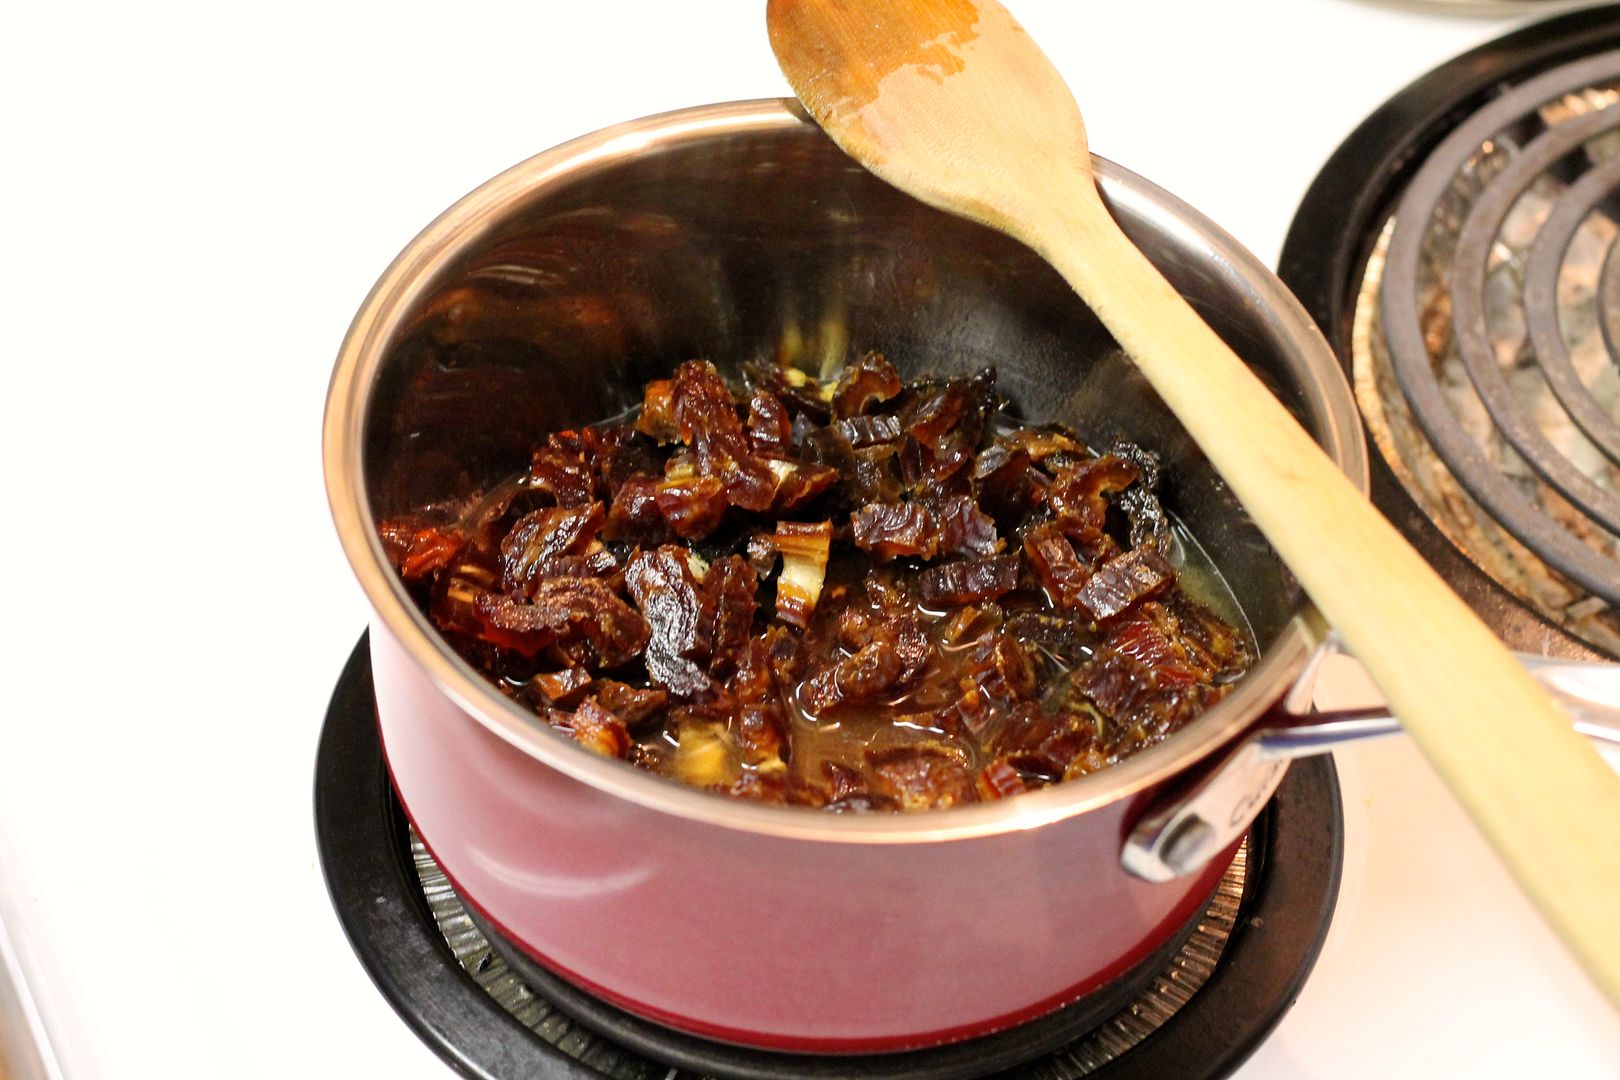
1 1/2 cup coarsely chopped dates

1/2 cup water

Bring to a simmer over medium heat, stirring to break up the dates and form a spreadable paste. Add up to 1/4 cup more water if necessary.

dates1

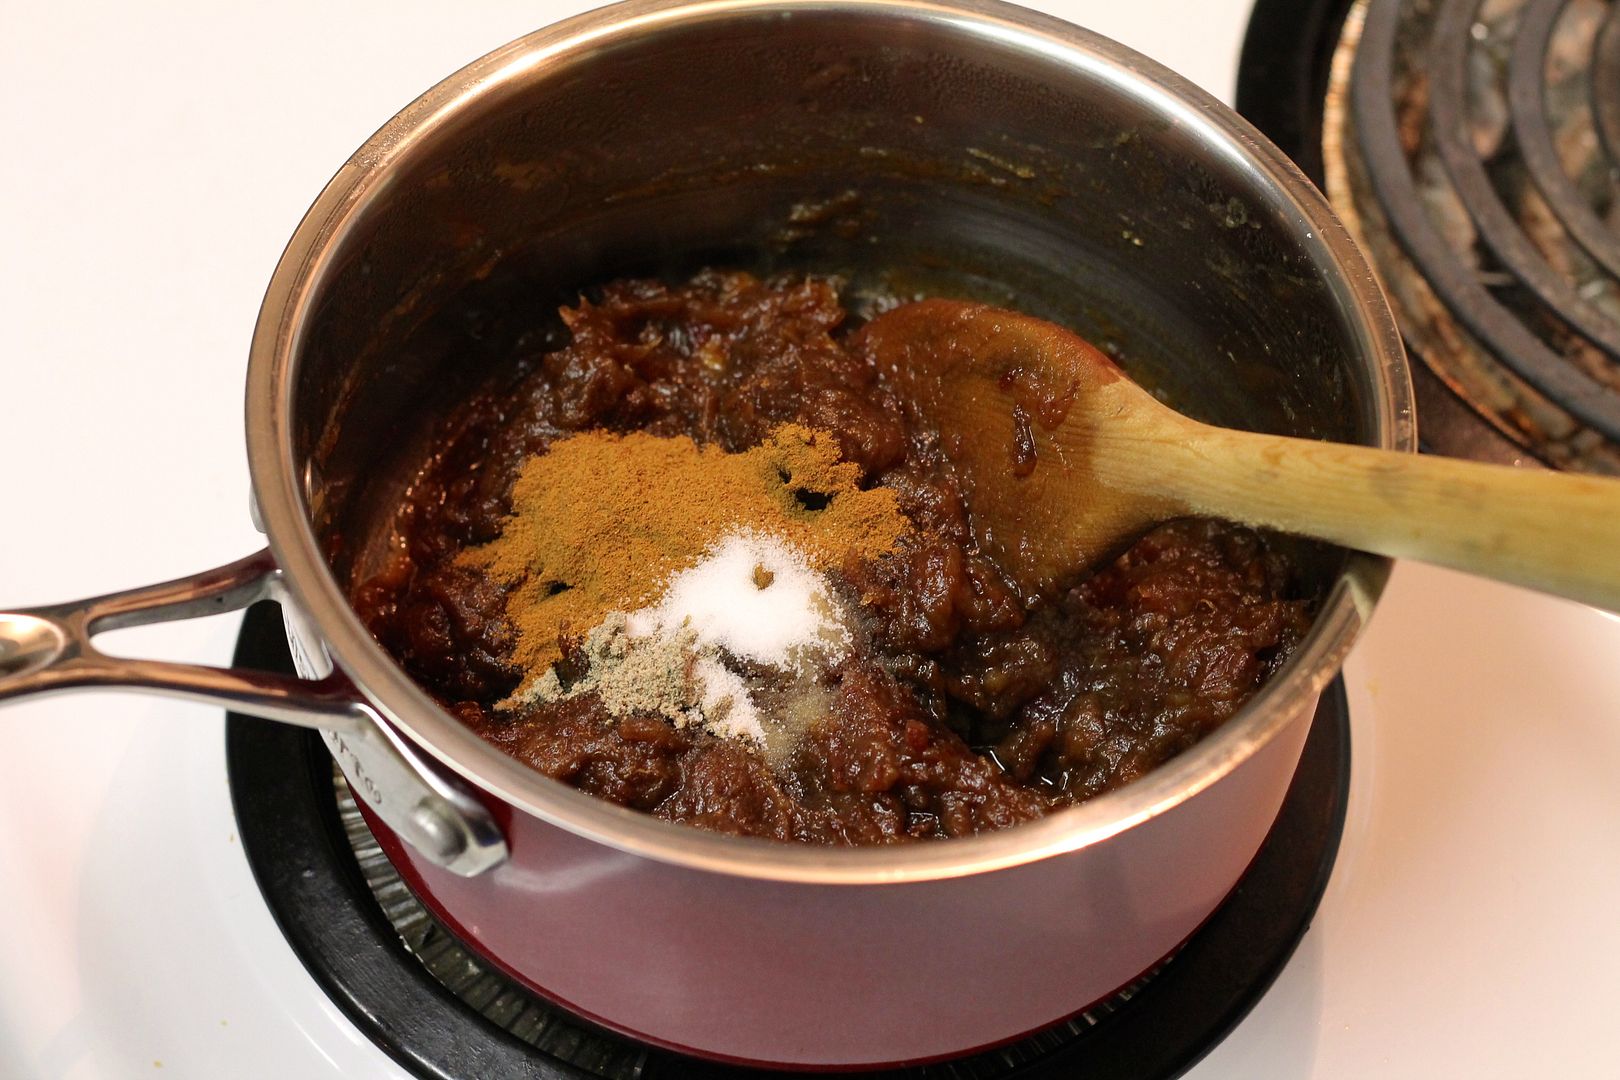
Stir in:

2 tsp cinnamon

1/4 tsp cardamom

1/4 tsp sea salt

 dates2

Set the filling aside to cool.

Assembly

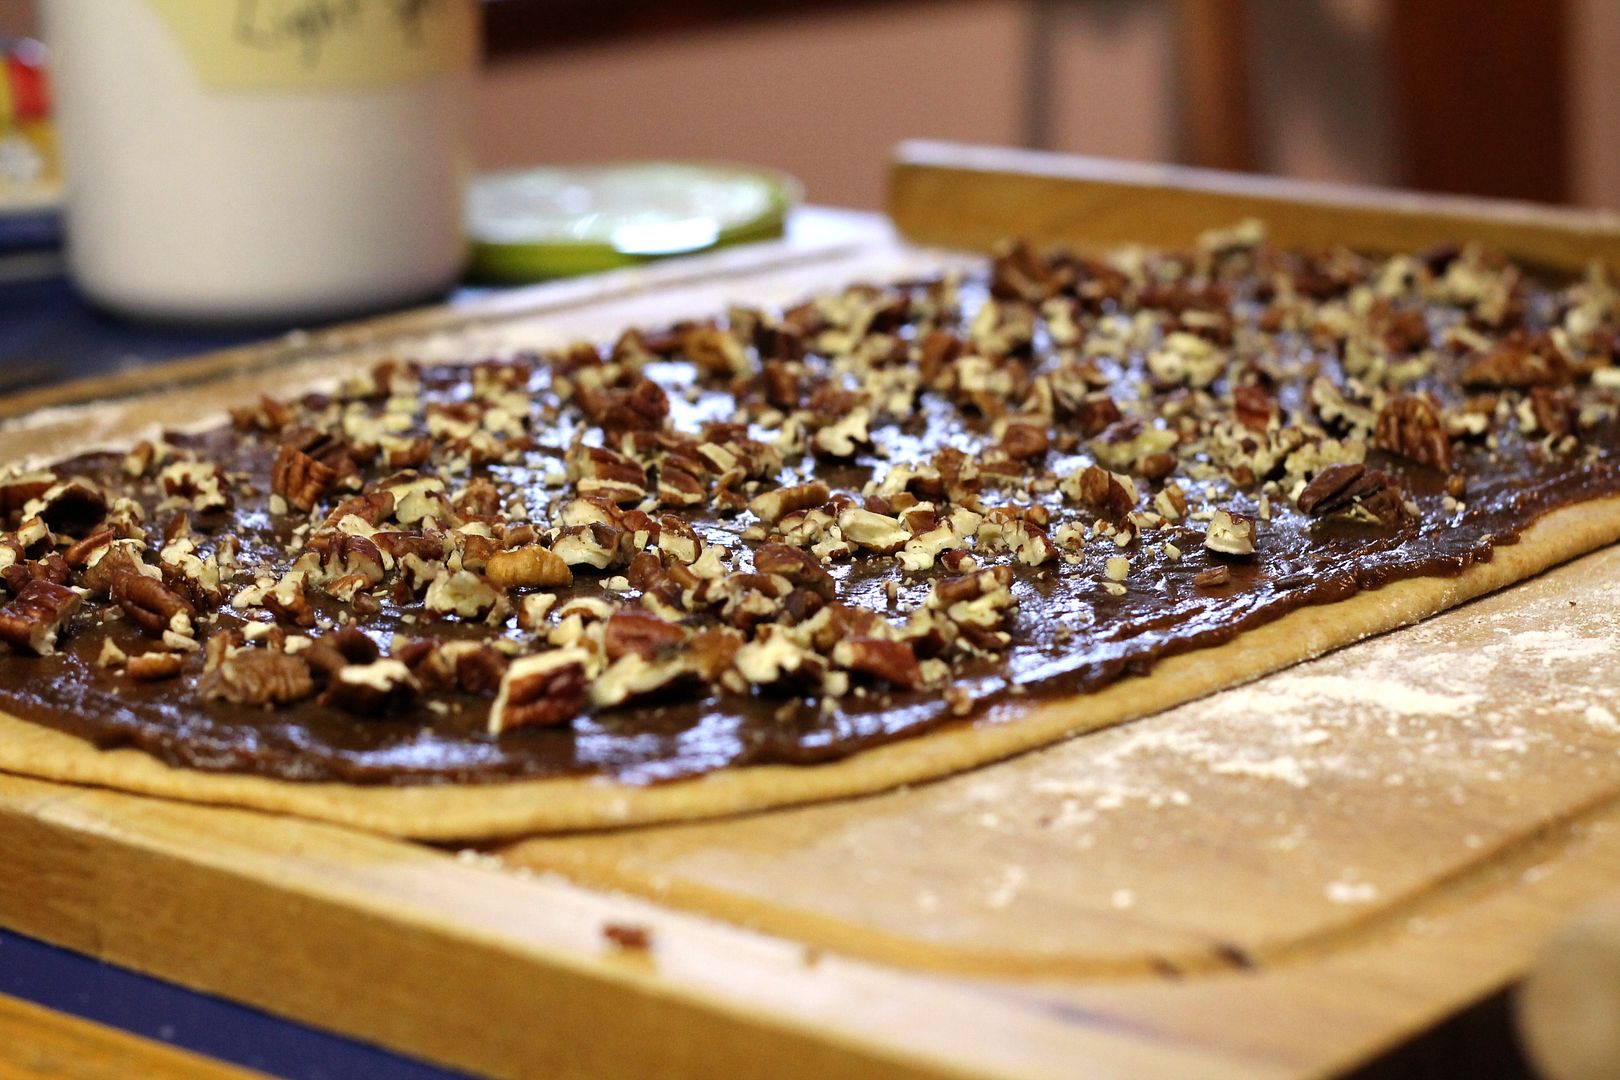
Turn the risen dough out onto a spelt floured surface and gently pat and stretch it into a rectangle. With a rolling pin, roll it out into a 9″ x 18″ rectangle. Spread the date-cinnamon filling evenly over the dough, right to the edges, and sprinkle it with 3/4 cup chopped pecans.

assemble1

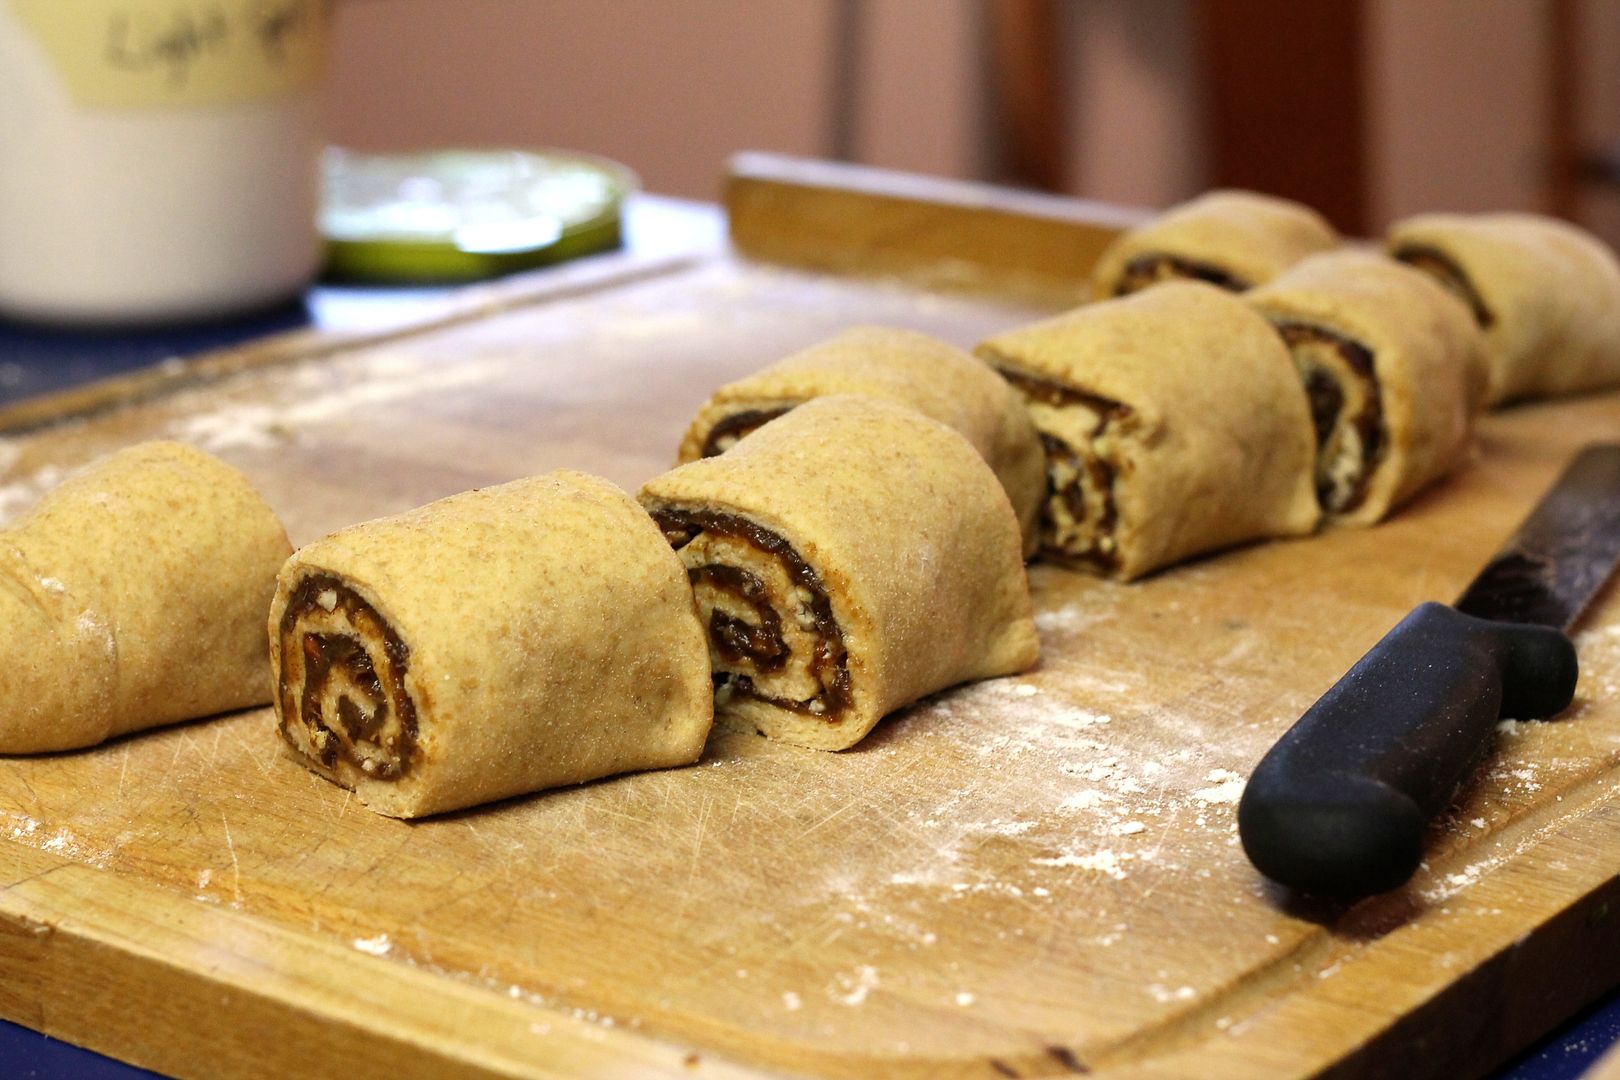
Starting at one long edge, roll up the dough into a tight cylinder to enclose the filling. Slice the cylinder into 8 pieces with a serrated knife.

assemble2

Transfer the pieces, cut sides up, to a 9″ round baking pan (a pie pan is perfect). Cover lightly with plastic wrap and put somewhere warm to rise for about 30 minutes, until indent pushes back very slowly when you poke the dough. Preheat the oven to 375˚F (350˚F convection).

assemble3

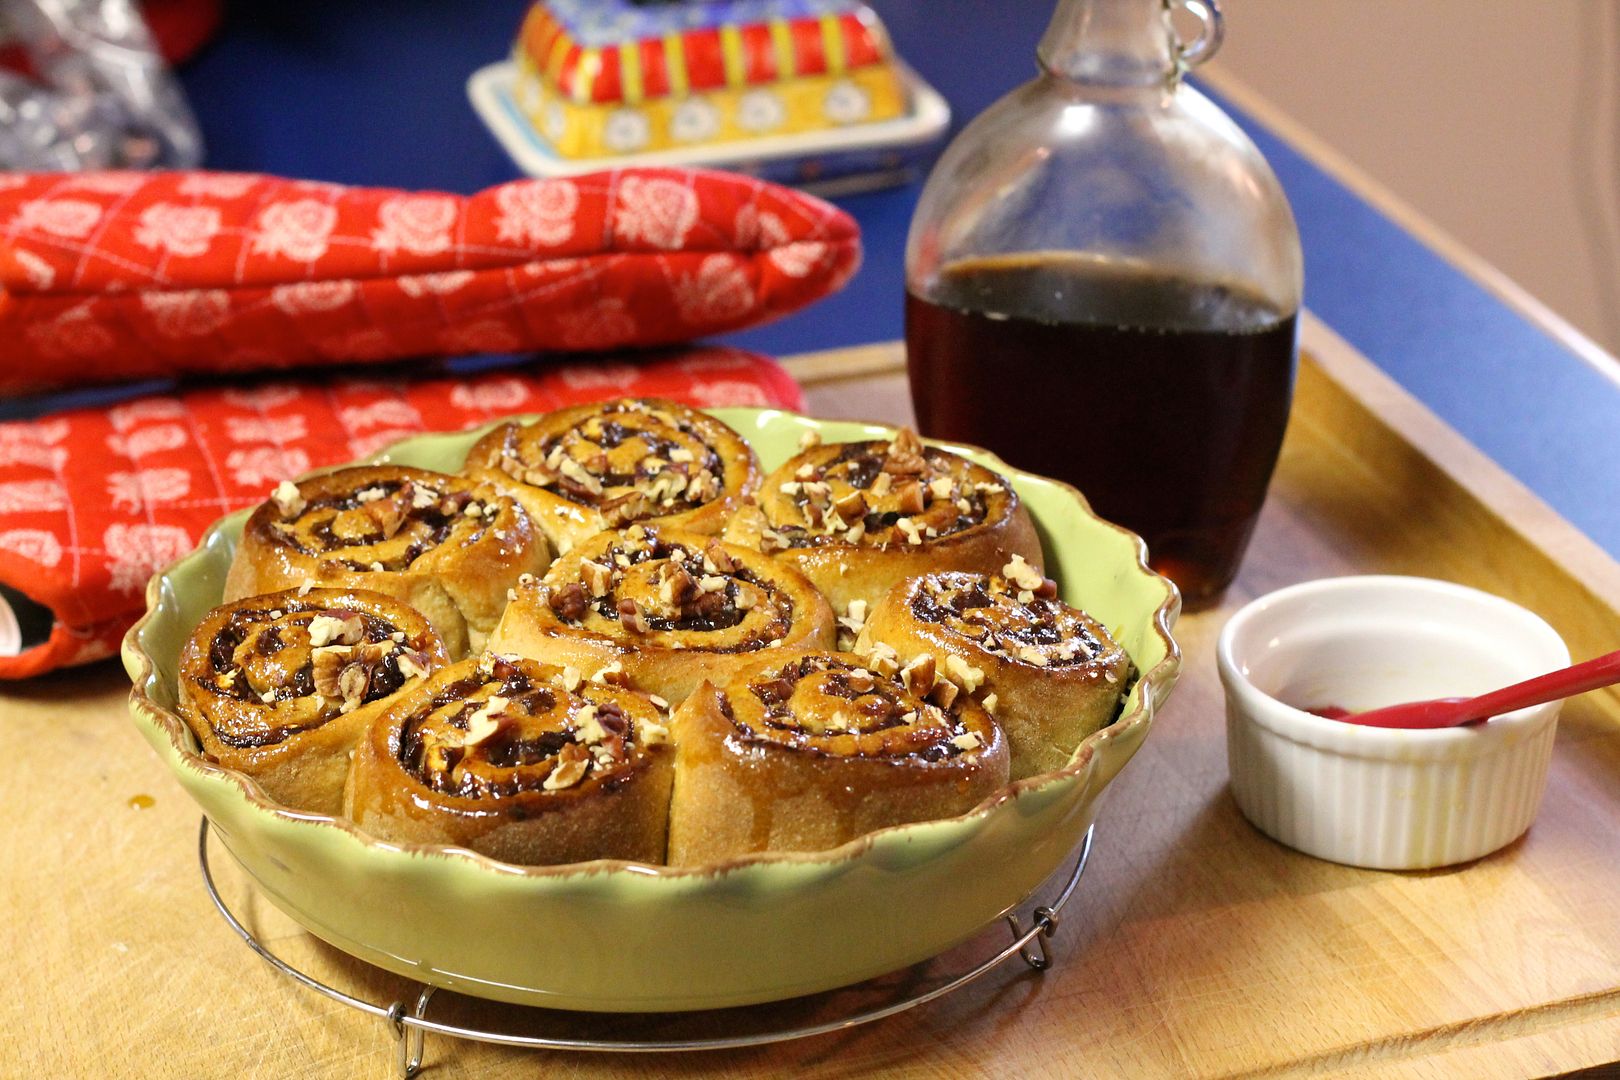
Bake the risen buns in the 375˚F (350˚F convection) oven for 30-35 minutes, until golden brow. Cover with foil if they brown too quickly. Remove from the oven and let sit for 5 minutes before glazing with 3 tbsp maple syrup and sprinkling with an additional 2 tbsp chopped pecans.

baked

“Icing”

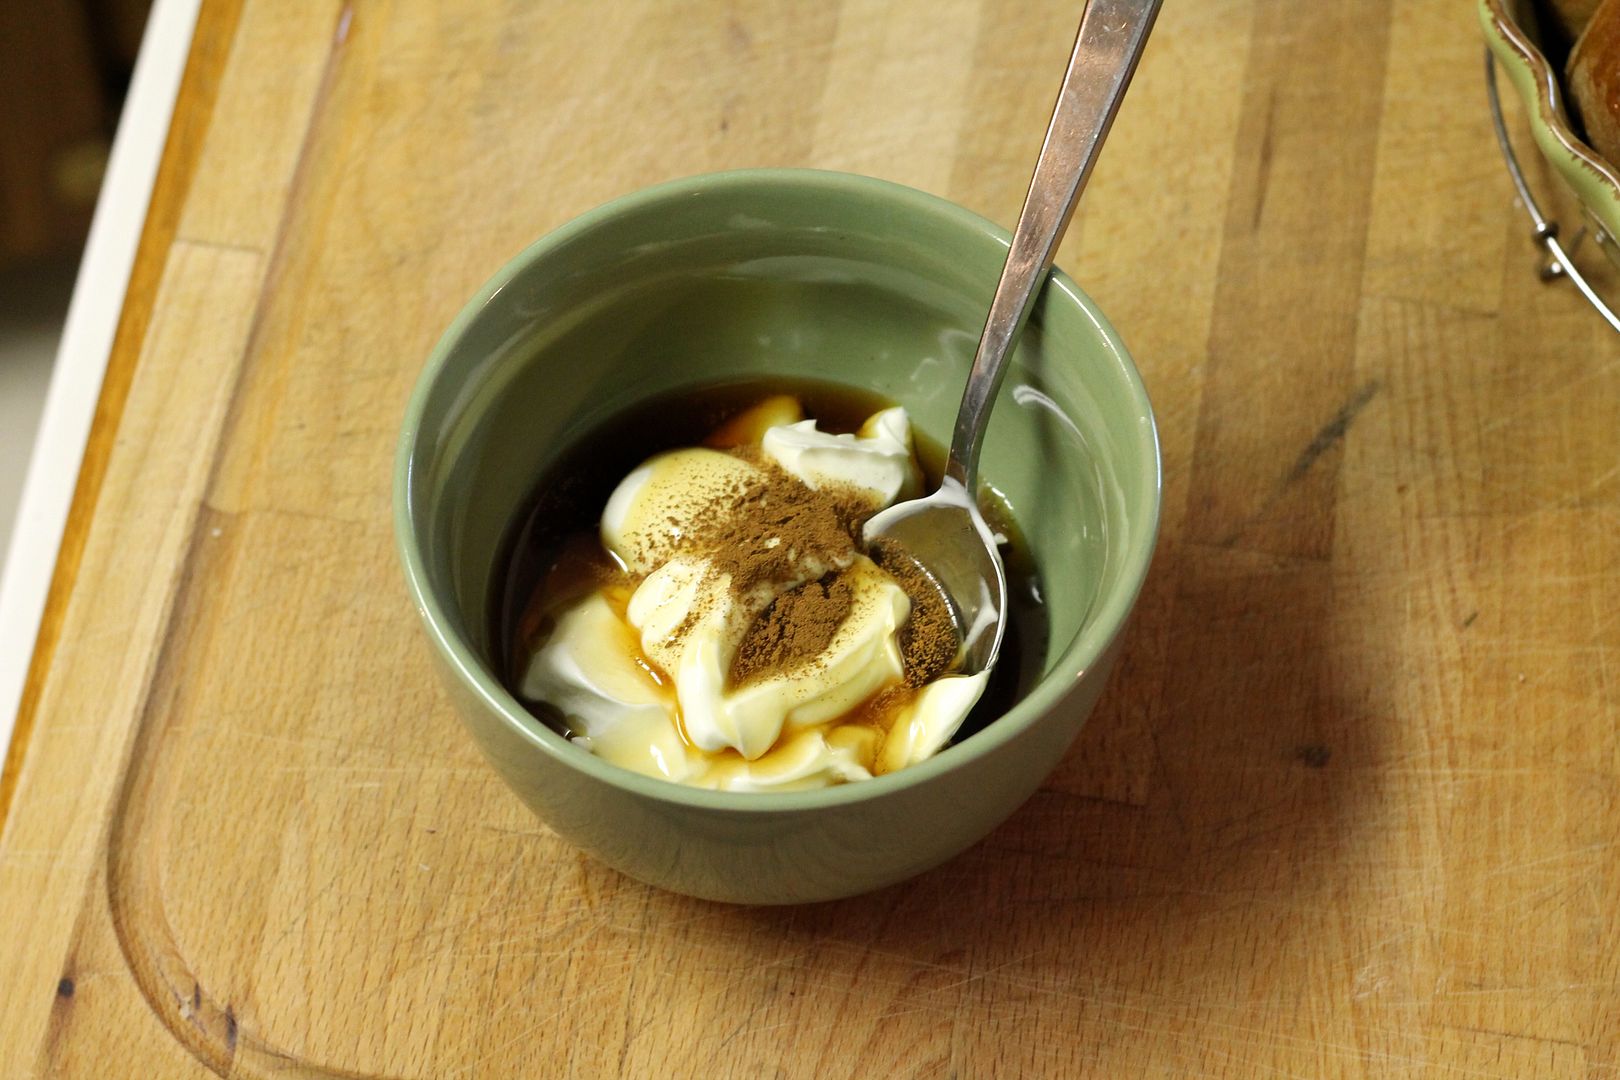
In a small bowl, mix together:

1/2 cup thick Greek yogurt

2 tbsp maple syrup

pinch cinnamon

 icing

Rather than spreading the icing over the whole pan of cinnamon rolls, spoon a dollop of icing on each individual bun as you serve them. Store any leftover buns and icing separately.

Spelt, Date & Pecan Cinnamon Buns | Korena in the Kitchen


Daring Bakers: Kürtőskalács {Chimney Cakes}

$
0
0

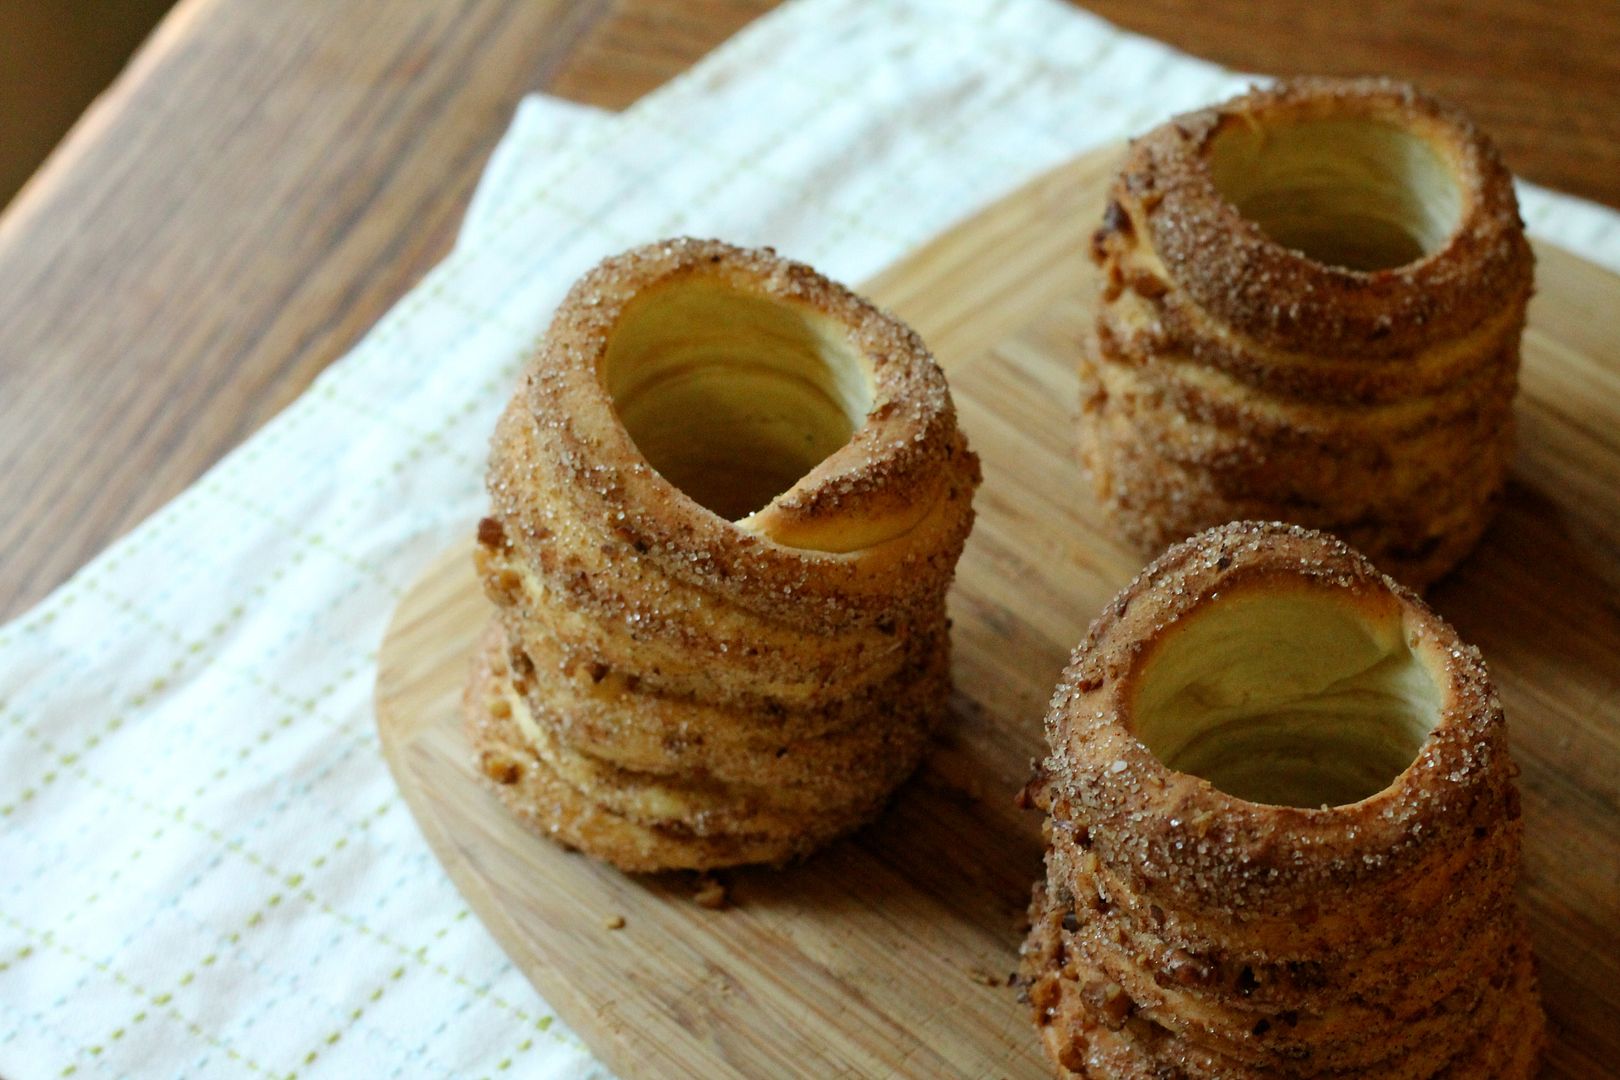
Kürtőskalács (Chimney Cakes ) | Korena in the Kitchen

The August Daring Bakers’ Challenge took us for a spin! Swathi of Zesty South Indian Kitchen taught us to make rolled pastries inspired by Kürtőskalács, a traditional Hungarian wedding pastry. These tasty yeasted delights gave us lots to celebrate!

Once again, the Daring Bakers have introduced me to a pastry I probably never would have come across myself, and given me a history lesson in the progress. Kürtőskalács or “chimney cakes” are a traditional yeasted pastry from Szeklerland, which is an ethnic Hungarian enclave in the Transylvanian region of present day Romania. The pastry is now common in many Hungarian-speaking regions as well as the Czech Republic.

Kürtőskalács (Chimney Cakes) | Korena in the Kitchen

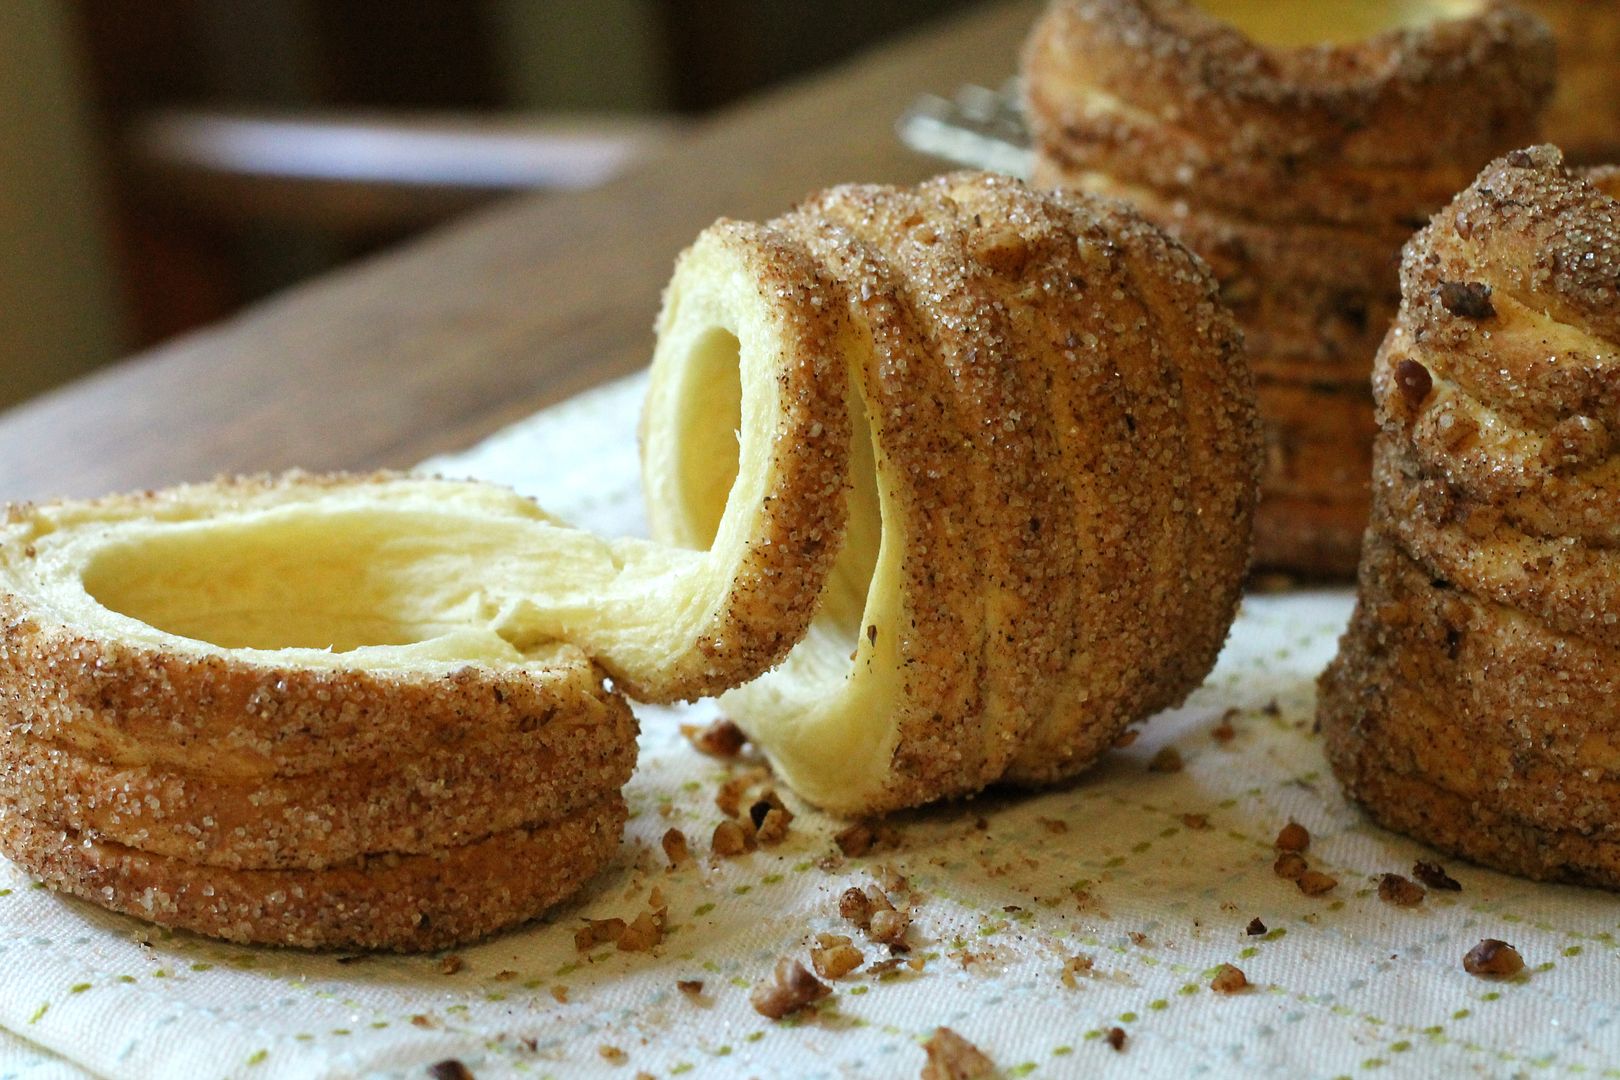
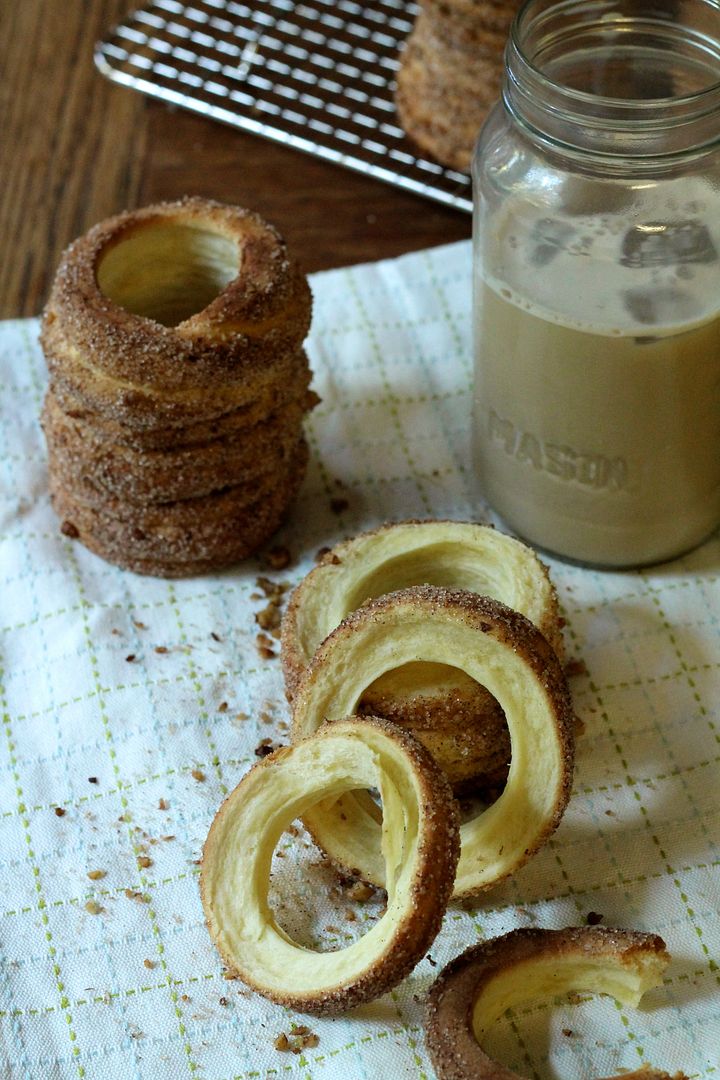
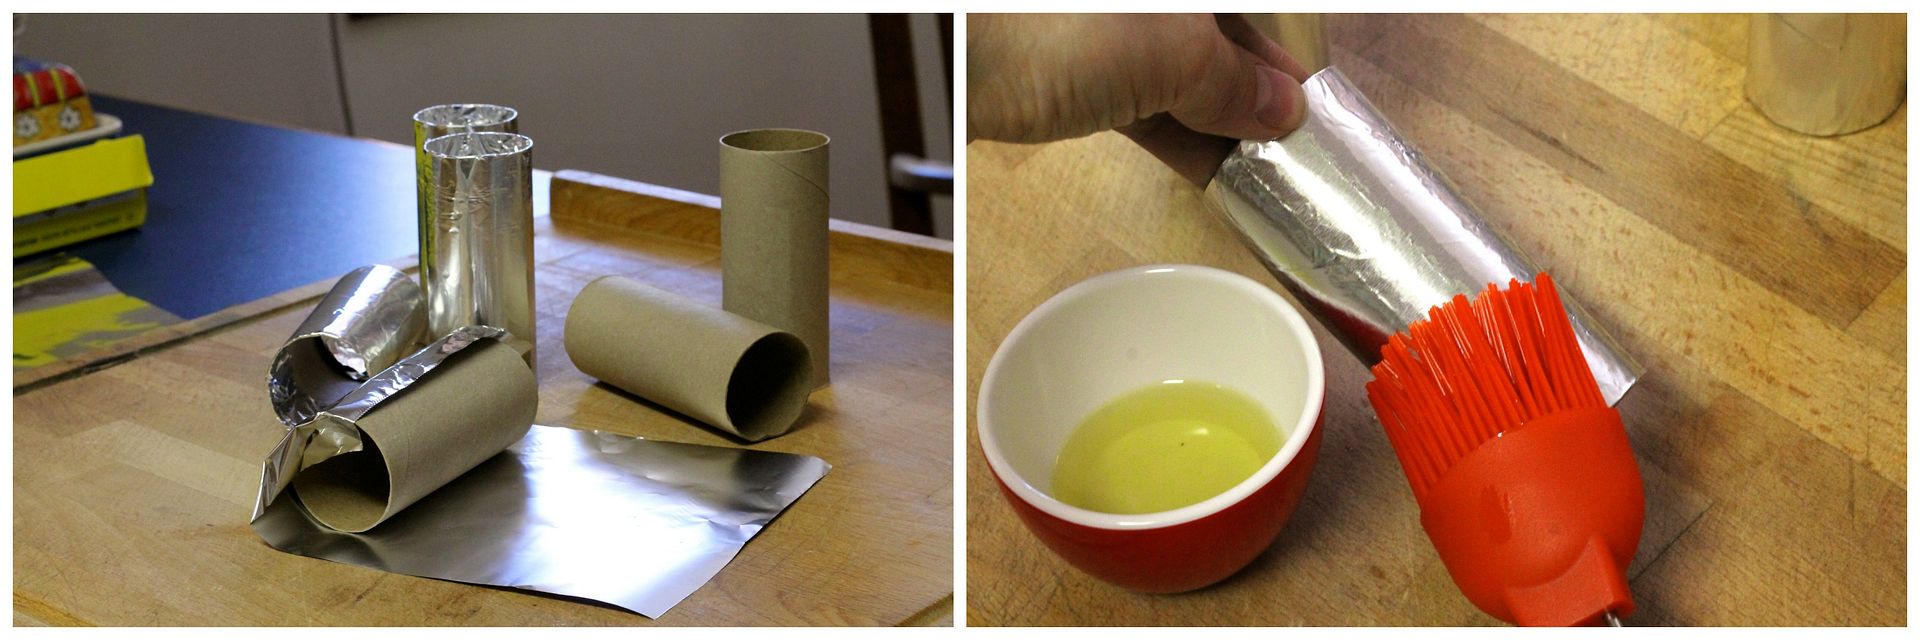
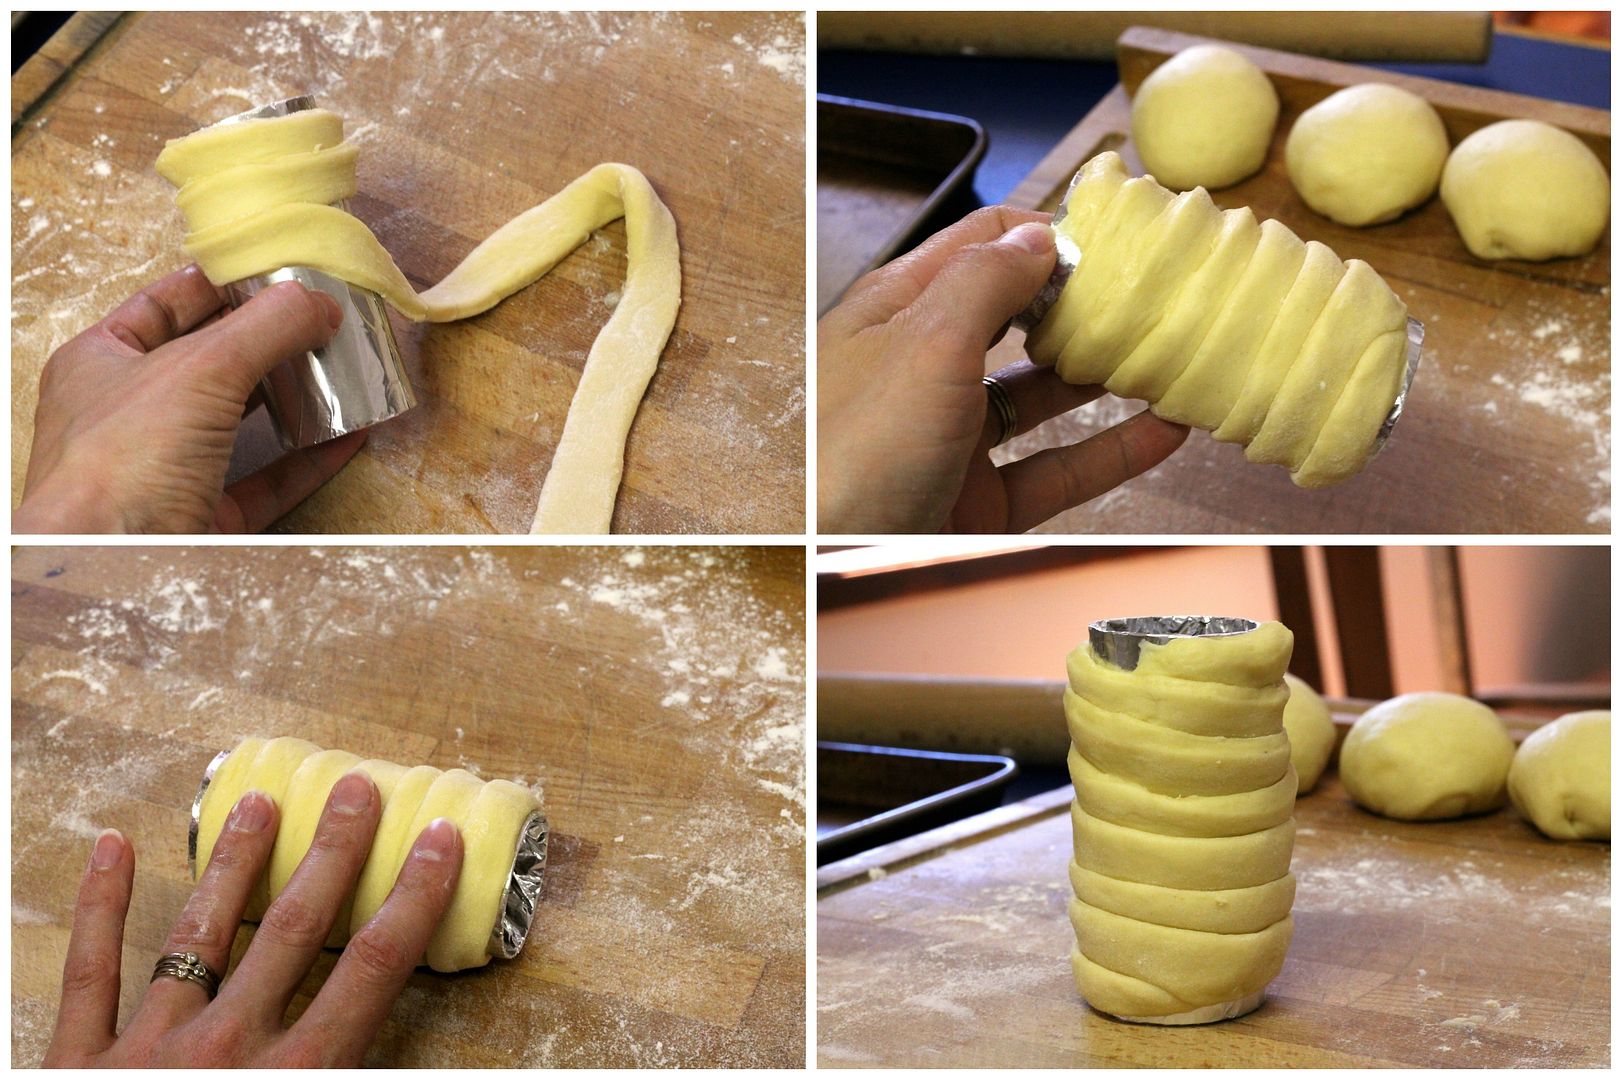
Like the related German baumkuchen, traditional Kürtőskalács is baked on a spit over an open flame. The enriched yeasted dough is cut into strips, wrapped tightly around a spit, and brushed with melted butter and sprinkled with sugar. When cooked over a fire, the sugar caramelizes and turns the crust a deep bronze colour while the dough bakes inside, creating a unique and delicious spiral treat. Most home bakers don’t have a spit over an open flame readily available, so luckily for us there are a few other ways to make this treat: you can wrap the dough around a foil-covered wooden rolling pin and bake it in the oven, or, as I did, use foil-wrapped toilet paper rolls to make smaller, individual spits baked upright in the oven. This produces a tasty, brioche-like pastry with a fun shape, but I definitely think that it would be that much better baked the traditional way. If it weren’t for the current fire ban in our area, I would have liked to try it wrapped around a stick and cooked over a campfire. Maybe for our next camping trip!

Kürtőskalács (Chimney Cakes) | Korena in the Kitchen

Despite the unorthodox cooking method, this recipe was very quick and easy to make. Next time, however, I would use less yeast and allow the dough to rise overnight in the fridge to improve the flavour, which I have reflected in the recipe below. I chose to roll the dough in a mixture of sugar, cinnamon, and finely chopped walnuts before baking, and the resulting pastry tasted sort of like something you’d find at the fair along with mini doughnuts – ie, delicious. It is best eaten warm, when the pastry is stretchy and elastic and fun to pull apart into rings, and it goes extremely well with coffee (iced, if you happen to bake this on a scorching hot summer day like I did!).

Kürtőskalács (Chimney Cakes) | Korena in the Kitchen

Thanks for this interesting baking project, Swathi!

Kürtőskalács / Chimney Cakes

Dough recipe adapted from Joe Pastry, baking method from Pearls of Baking. Makes 6 individual cakes.

Dough

In the bowl of an electric mixer, combine:

240 g (1 3/4 cups) all purpose flour

1 tsp instant yeast

30 g (2 tbsp) granulated white sugar

1/8 tsp salt

Add:

1 large egg

45 g (3 tbsp) melted unsalted butter

117 g (1/2 cup) warm milk

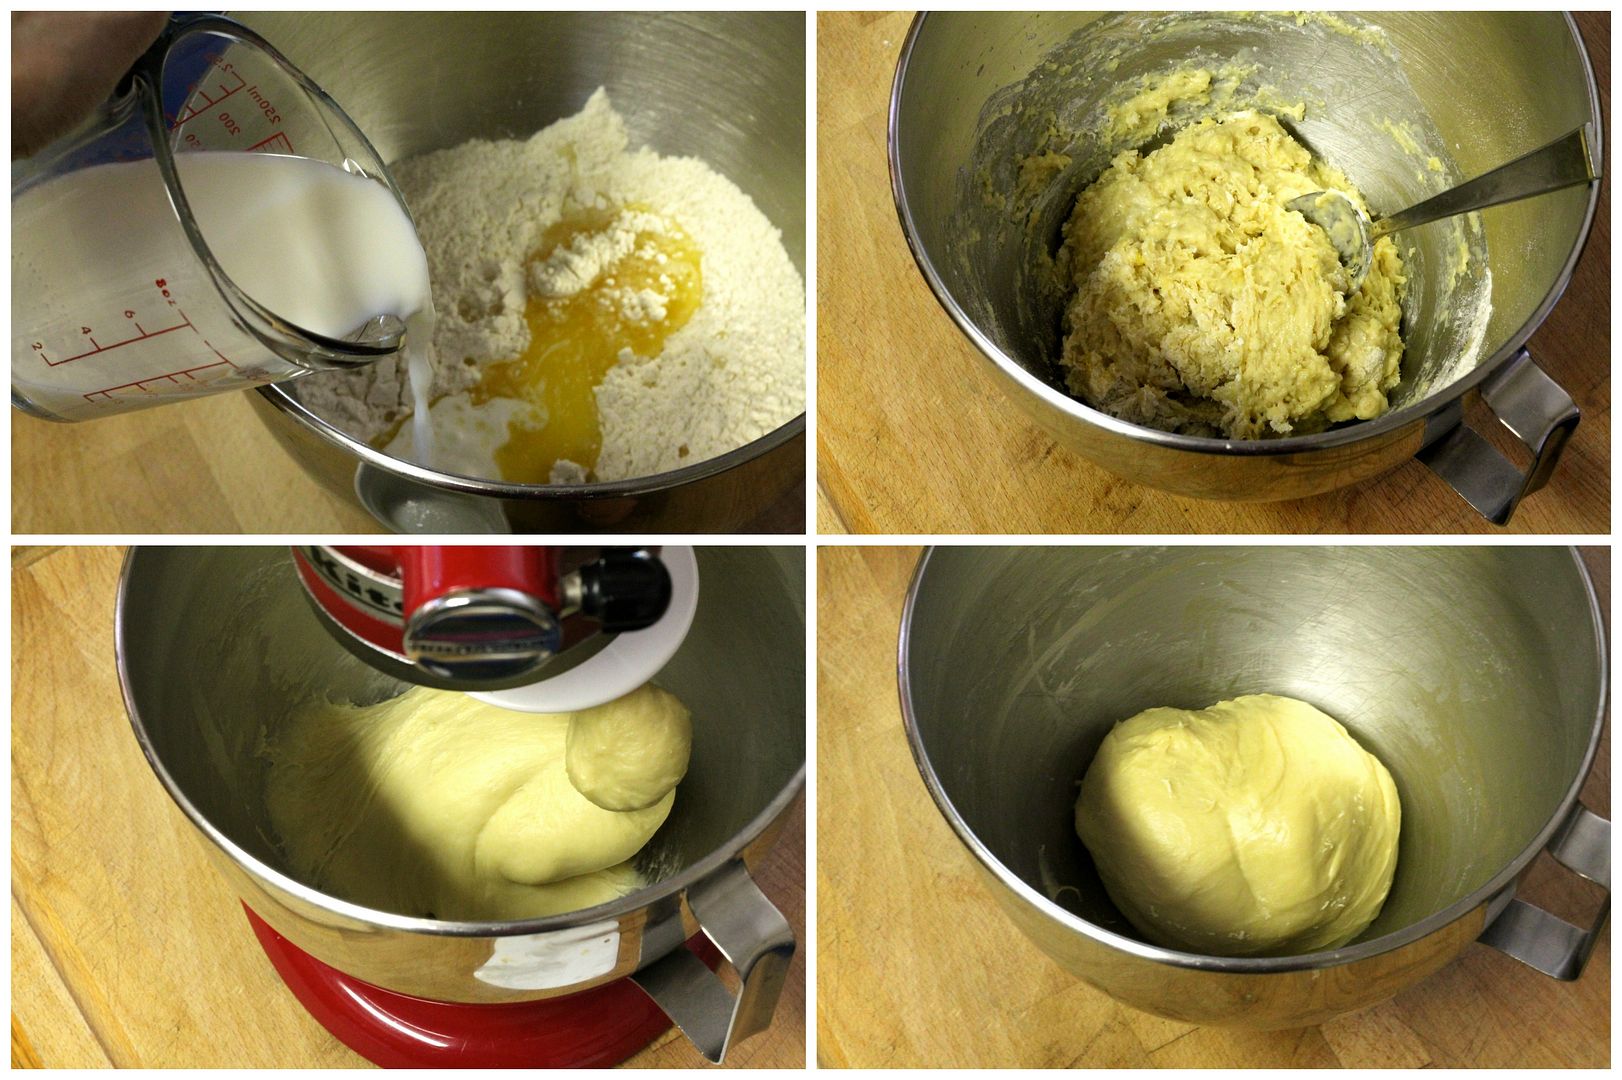
Stir with a spoon to combine into a rough, sticky dough, then knead with a dough hook for about 5 minutes until smooth and elastic.

chimney1

Cover the bowl with plastic and let it sit at room temperature for about 30 minutes to activate the yeast and start rising. After 30 minutes, put it in the fridge overnight or for at least 8 hours.

The next day, take the dough out of the fridge and let it come to room temperature and double in volume, if it hasn’t already.

Assembly

You will need:

6 toilet paper tubes

aluminum foil

50 g melted unsalted butter (also used for the topping)

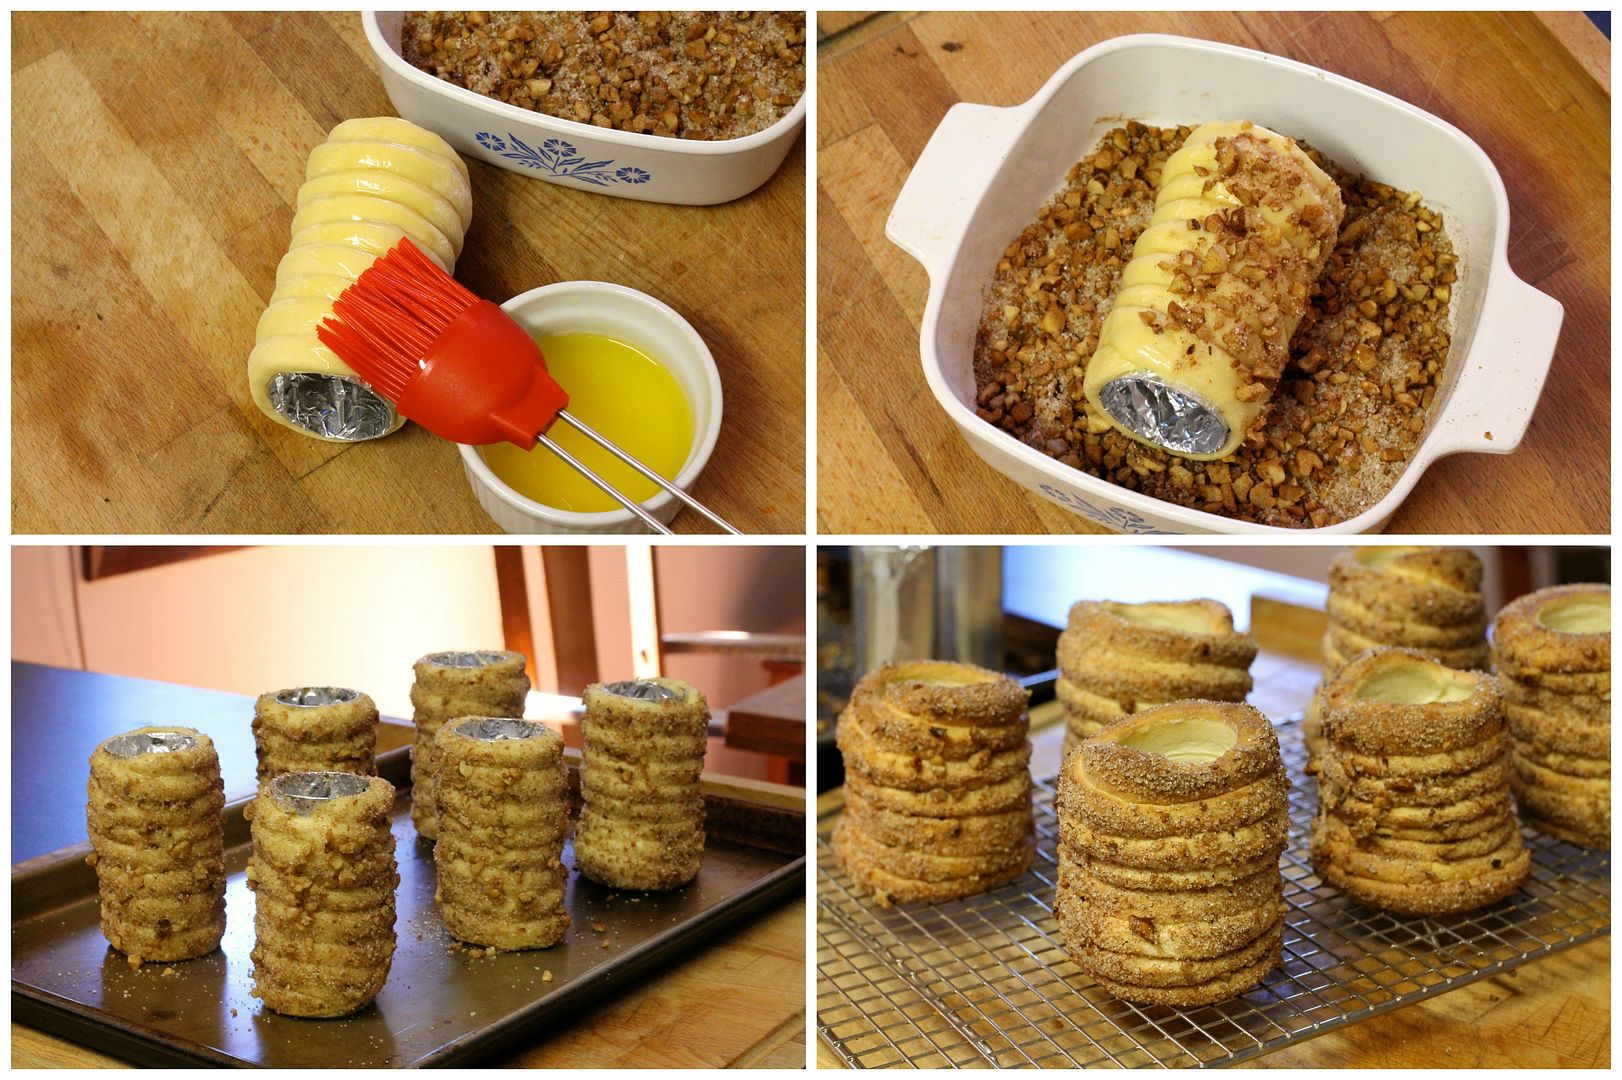
Preheat the oven to 375˚F (350˚F convection). To make the spits, wrap each toilet paper tube with aluminum foil. Brush each with some of the melted butter and set aside.

chimney2

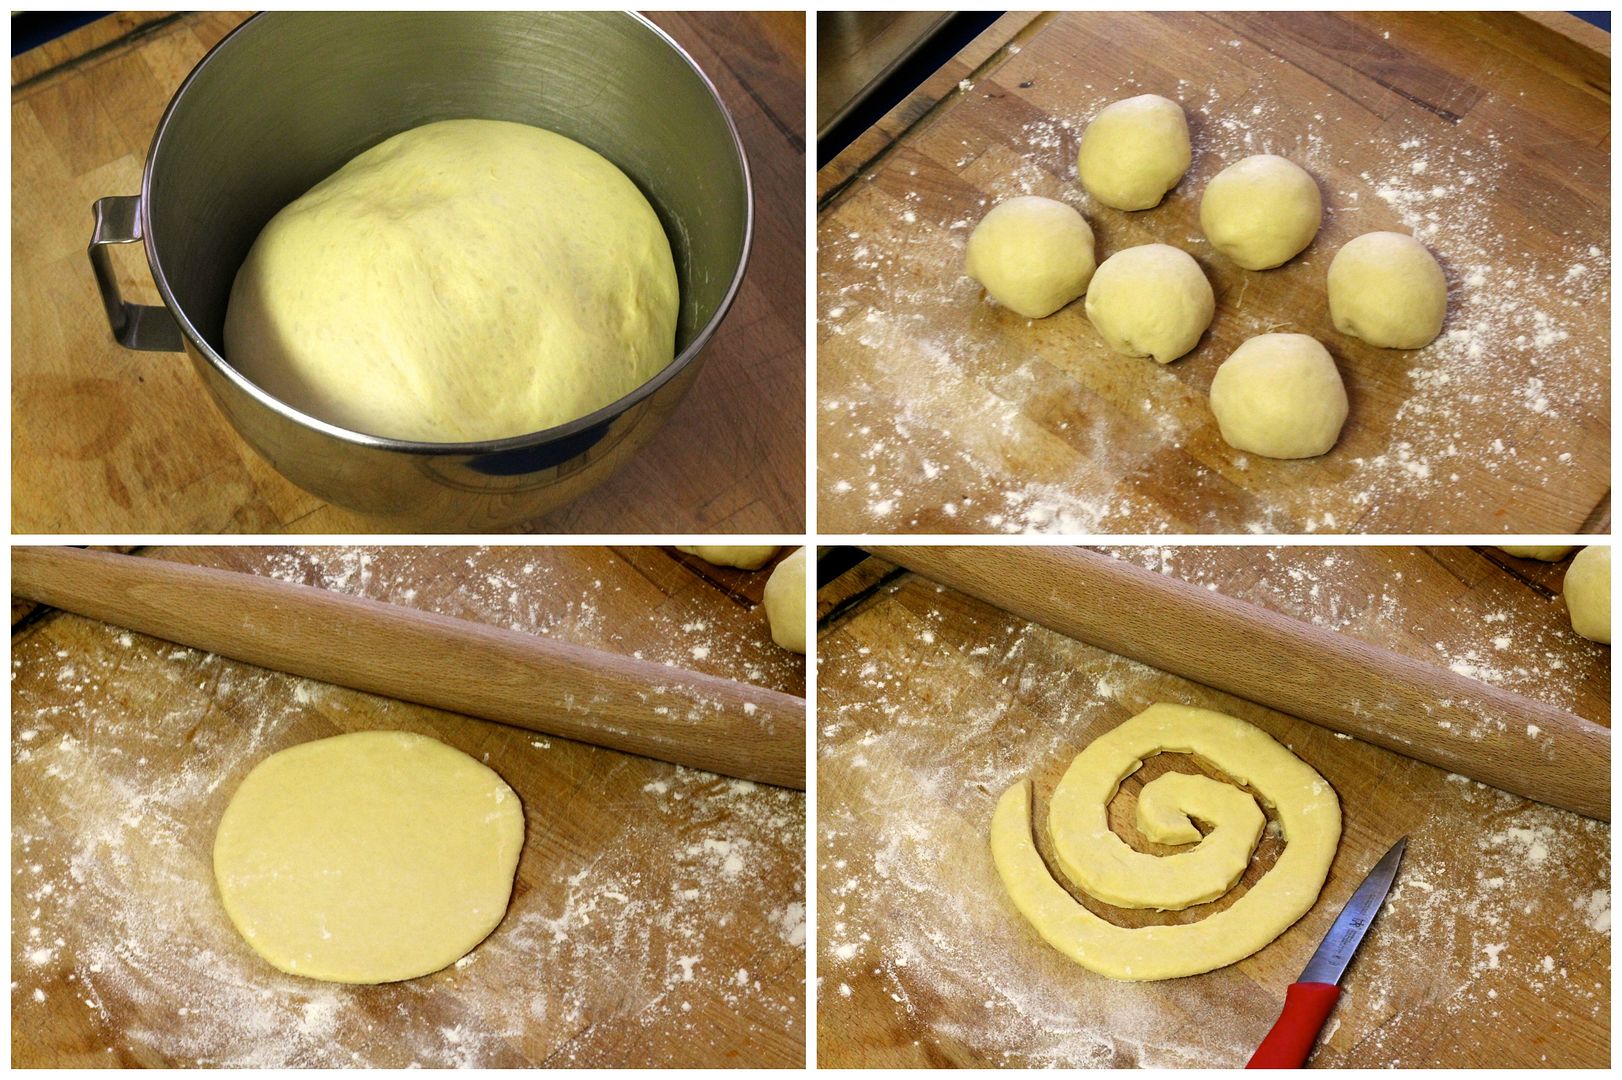
Punch down the dough and divide it into 6 equal pieces. Form each into a ball and roll out into a 6″ circle about 1/4″ thick. With a paring knife or pastry cutter, cut the dough into a spiral strip about 1/2″ wide.

chimney3

Wrap the strip of dough tightly around one of the foiled, buttered tubes, overlapping the dough slightly and tucking the ends underneath to prevent them from coming loose. Gently roll the wrapped spit on your work surface to adhere the dough. Repeat with the remaining dough and spits.

chimney4

Brush each unbaked chimney cake with the remaining melted butter and roll it in a mixture of:

125 g (1/2 cup) granulated white sugar

60 g (about 1/2 cup) very finely chopped walnuts

2 tsp cinnamon

Place the chimney cakes upright on their spits on a baking sheet and let them proof at room temperature until puffy, about 20-30 minutes. Bake in the preheated 375˚F (350˚F convection) oven for about 20 minutes, until golden brown. If necessary, flip them upside down halfway through the baking time if the tops appear to be cooking faster than the bottoms.

Transfer the baked chimney cakes to a cooling rack and remove the spits. Cool slightly and serve warm.

chimney5


Blackberry Cream Cheese Ensaimadas

$
0
0

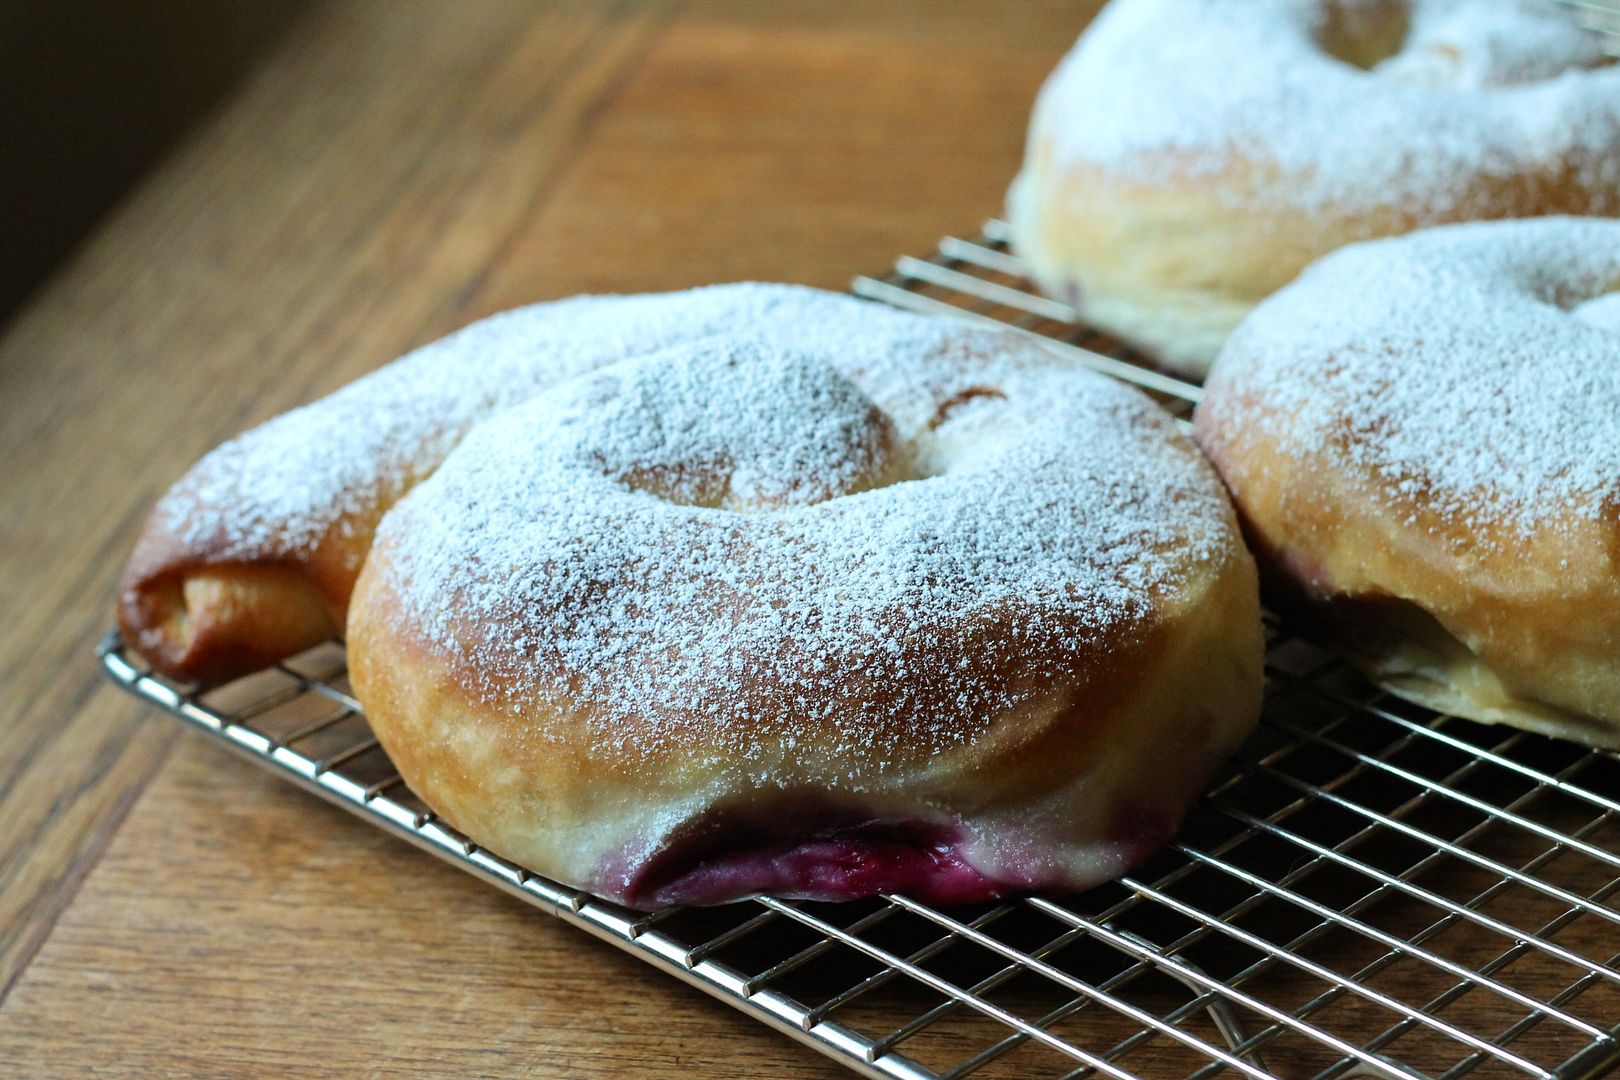
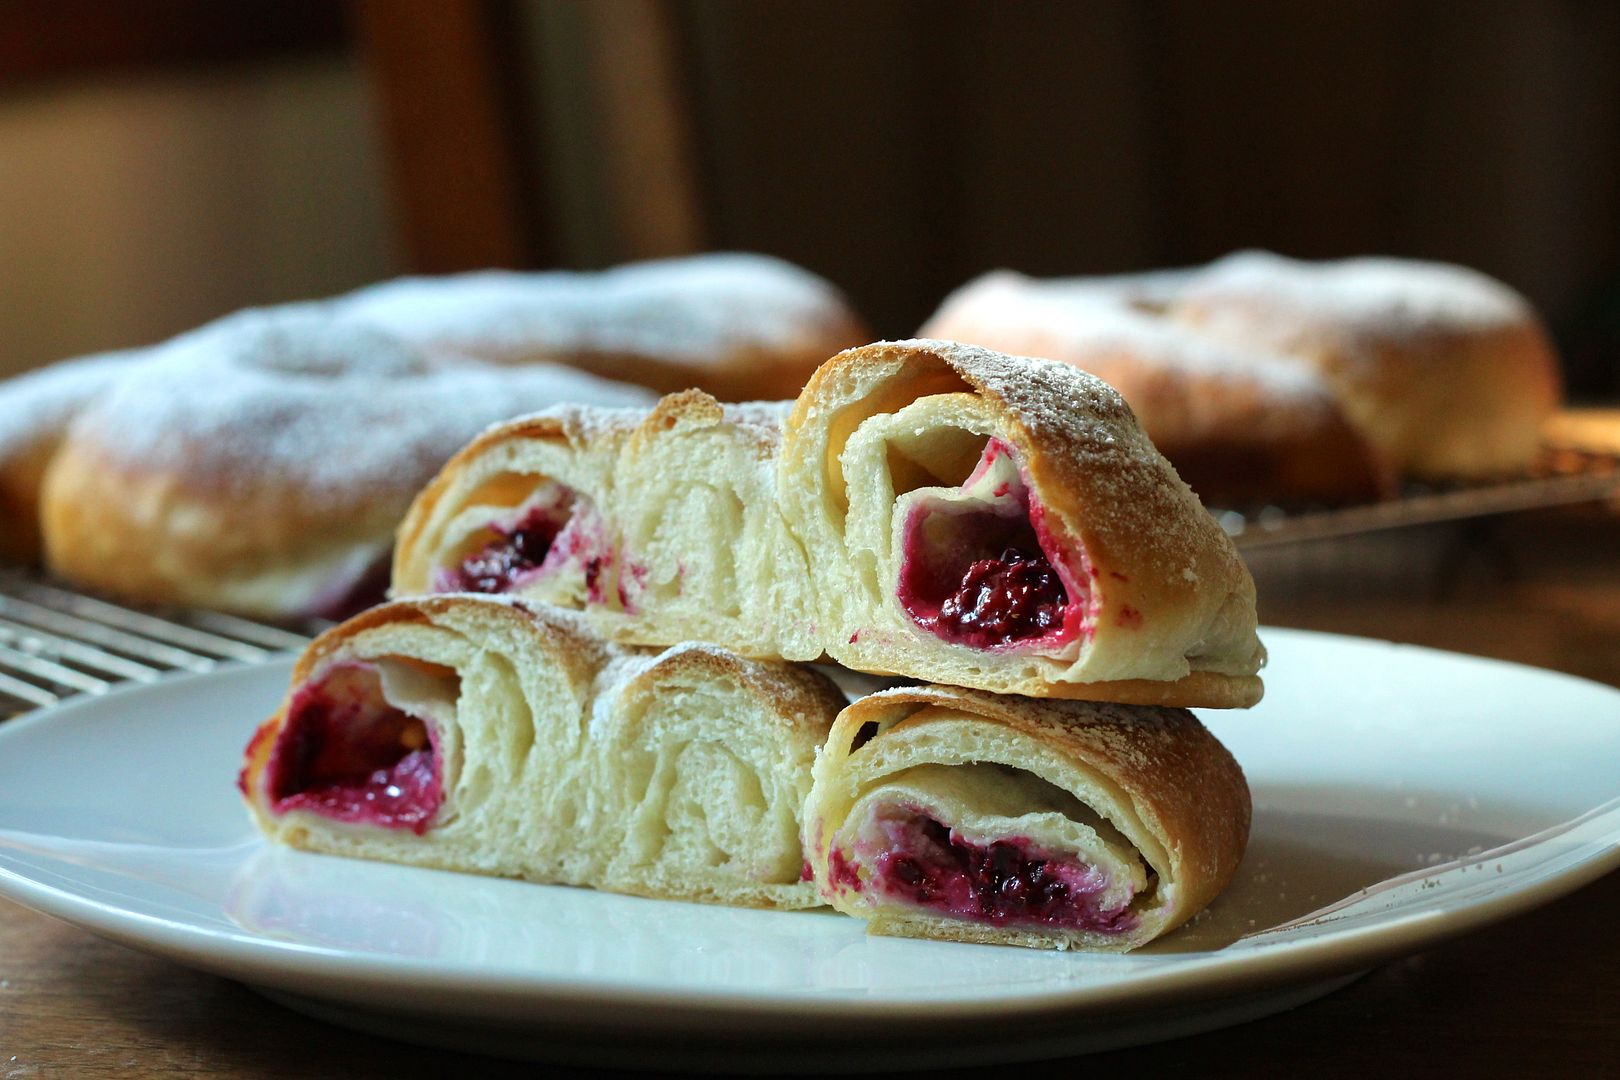
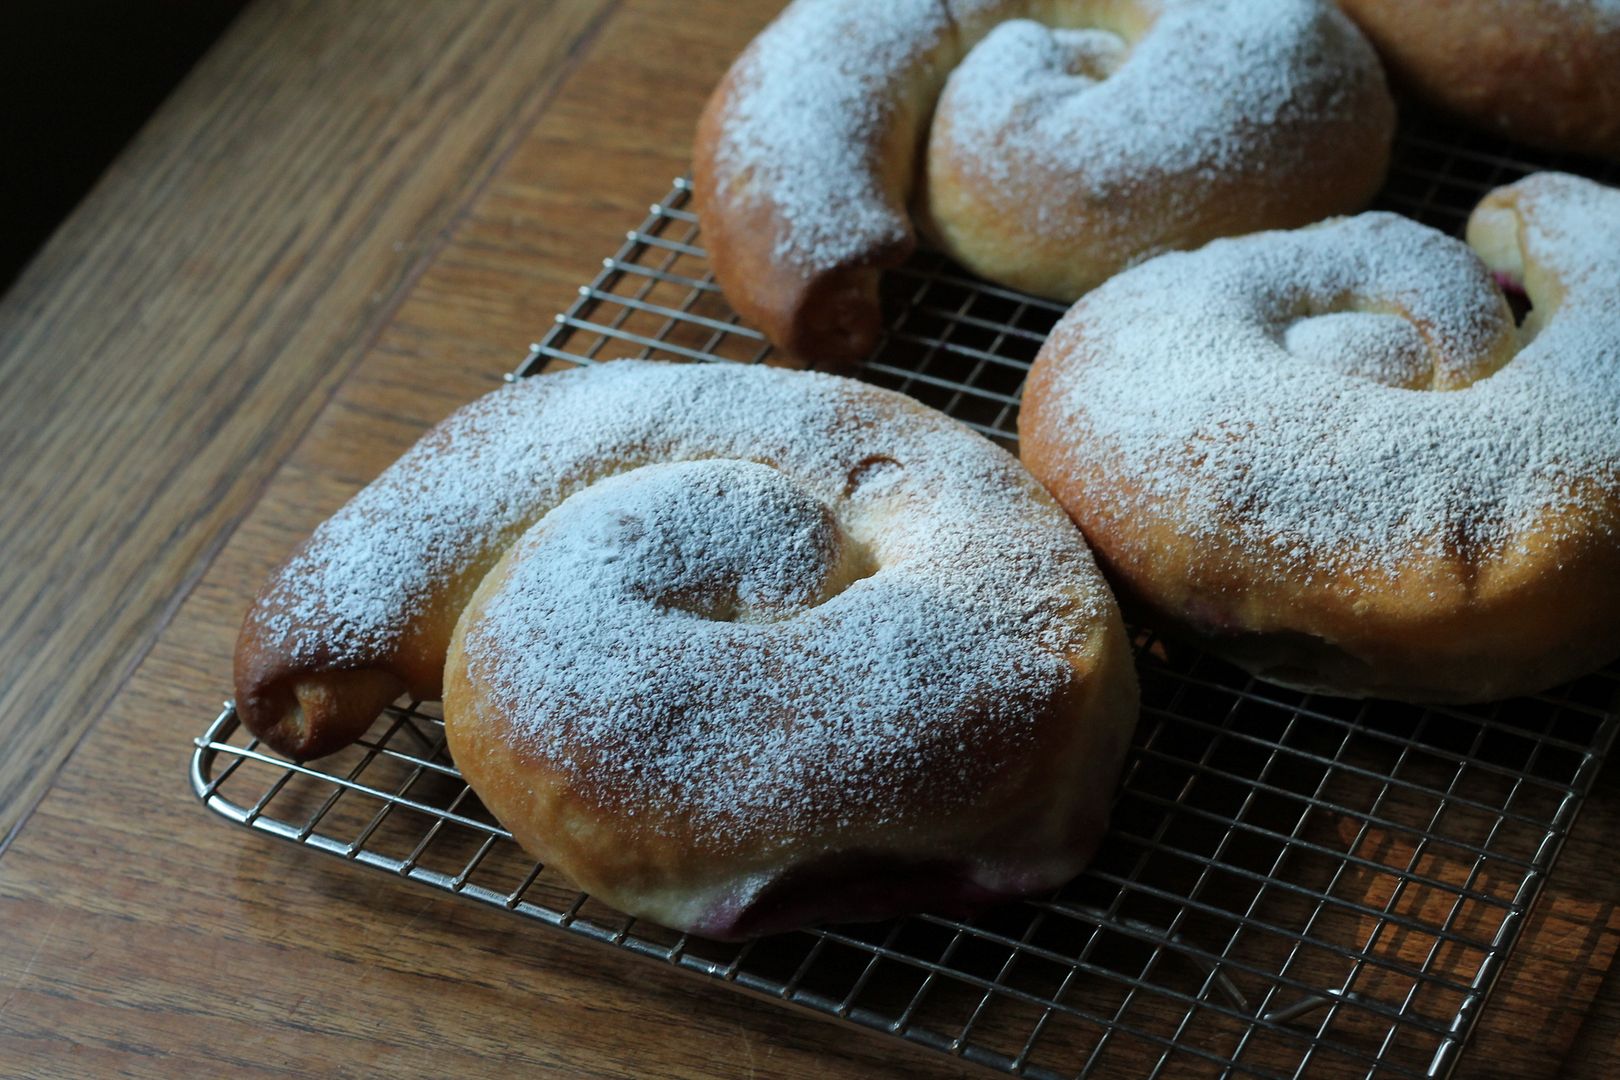
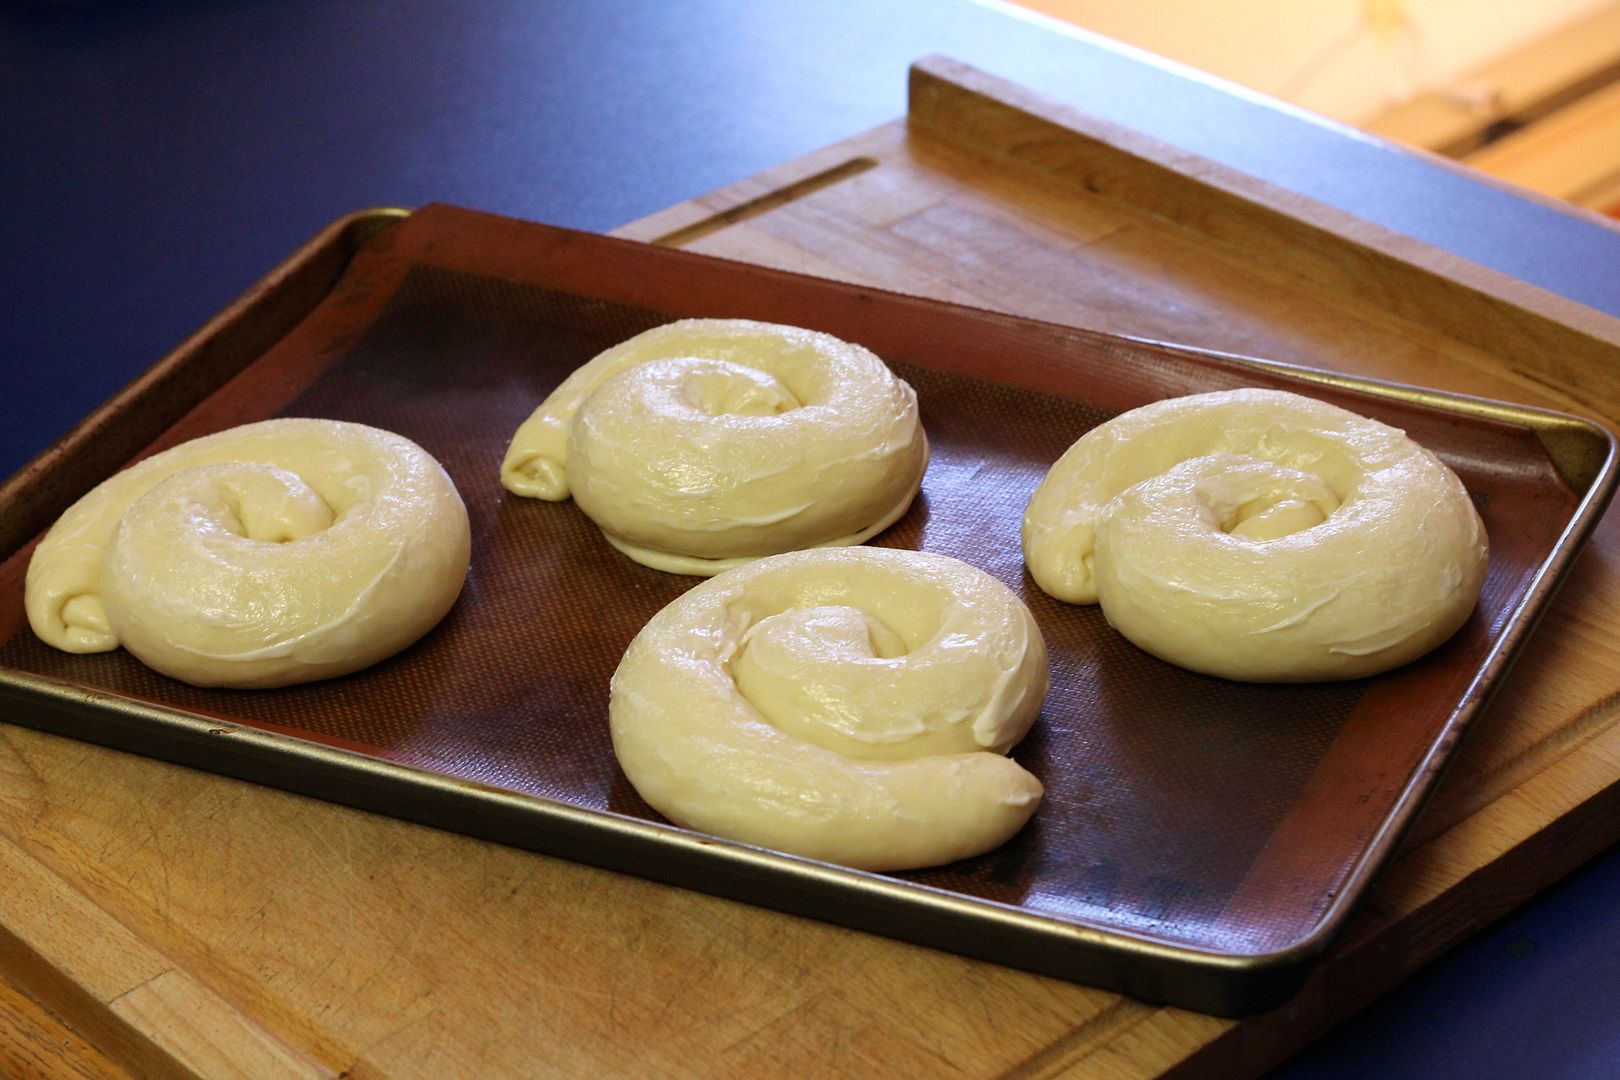
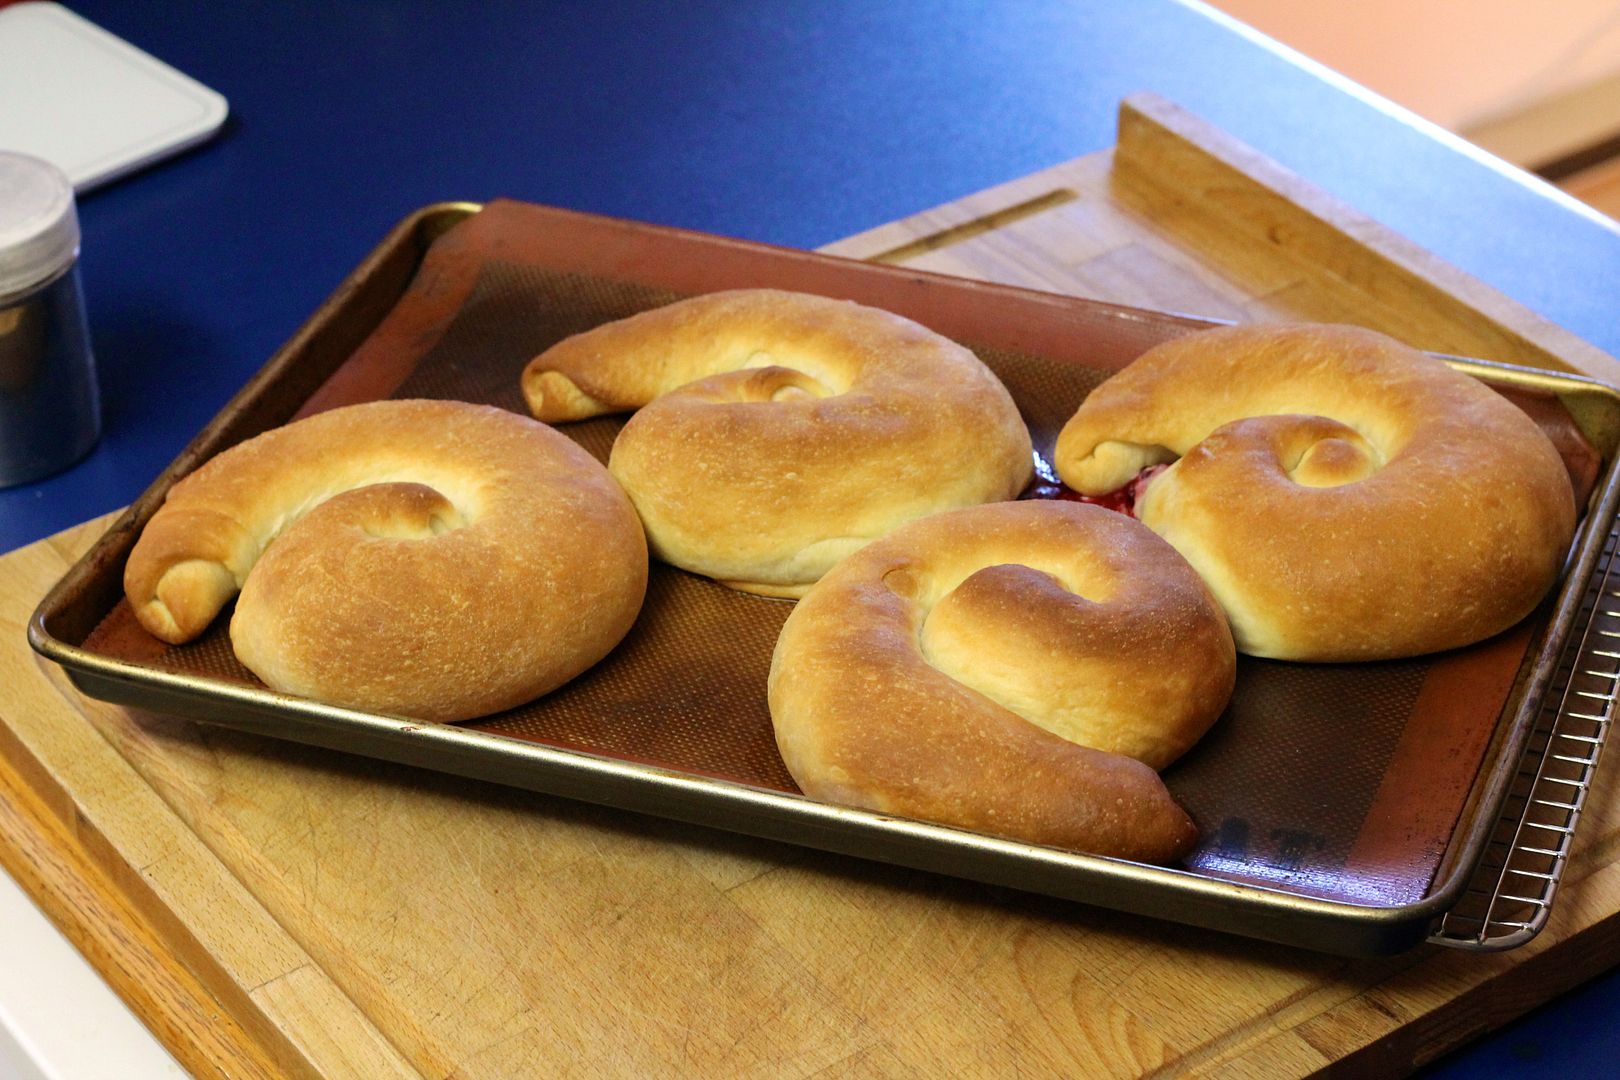
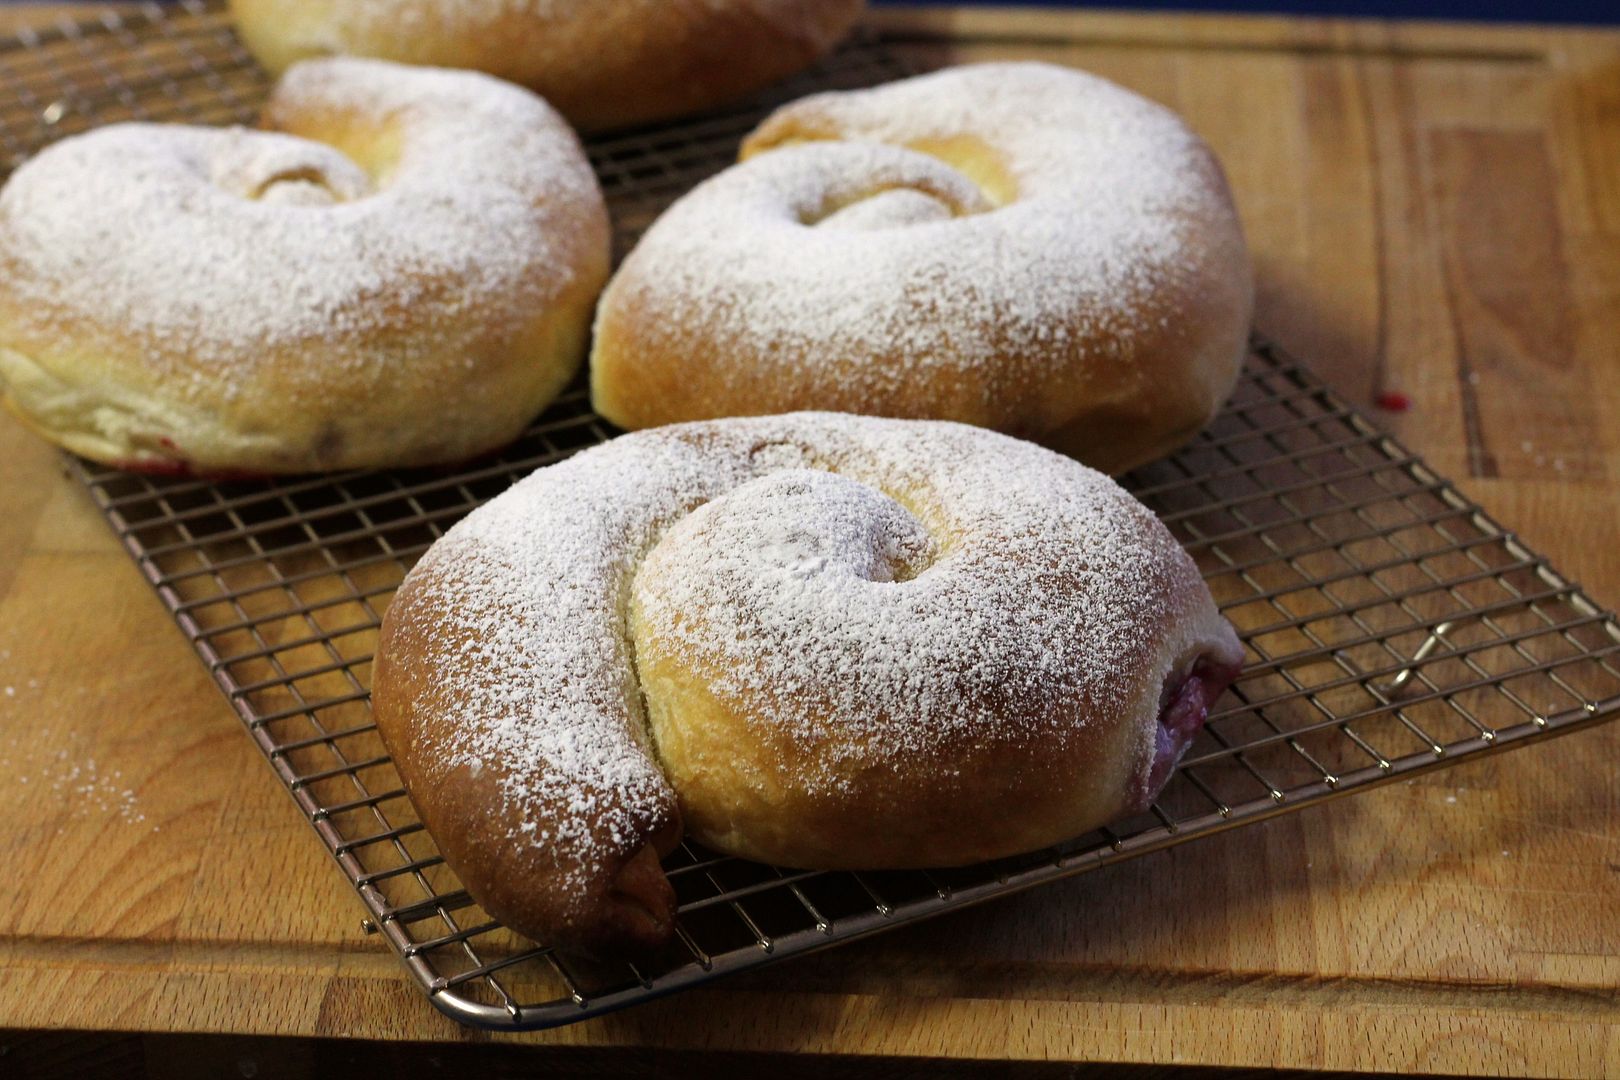
Blackberry Cream Cheese Ensaimadas | Korena in the KitchenEnsaimadas, a coiled Spanish pastry of enriched yeasted dough, were the second half of August’s Daring Bakers Challenge, and I’m happy to share that these blackberry and cream cheese filled babies are probably the best thing I’ve made in a long time. Thank you Swathi for this recipe!

Blackberry Cream Cheese Ensaimadas | Korena in the Kitchen

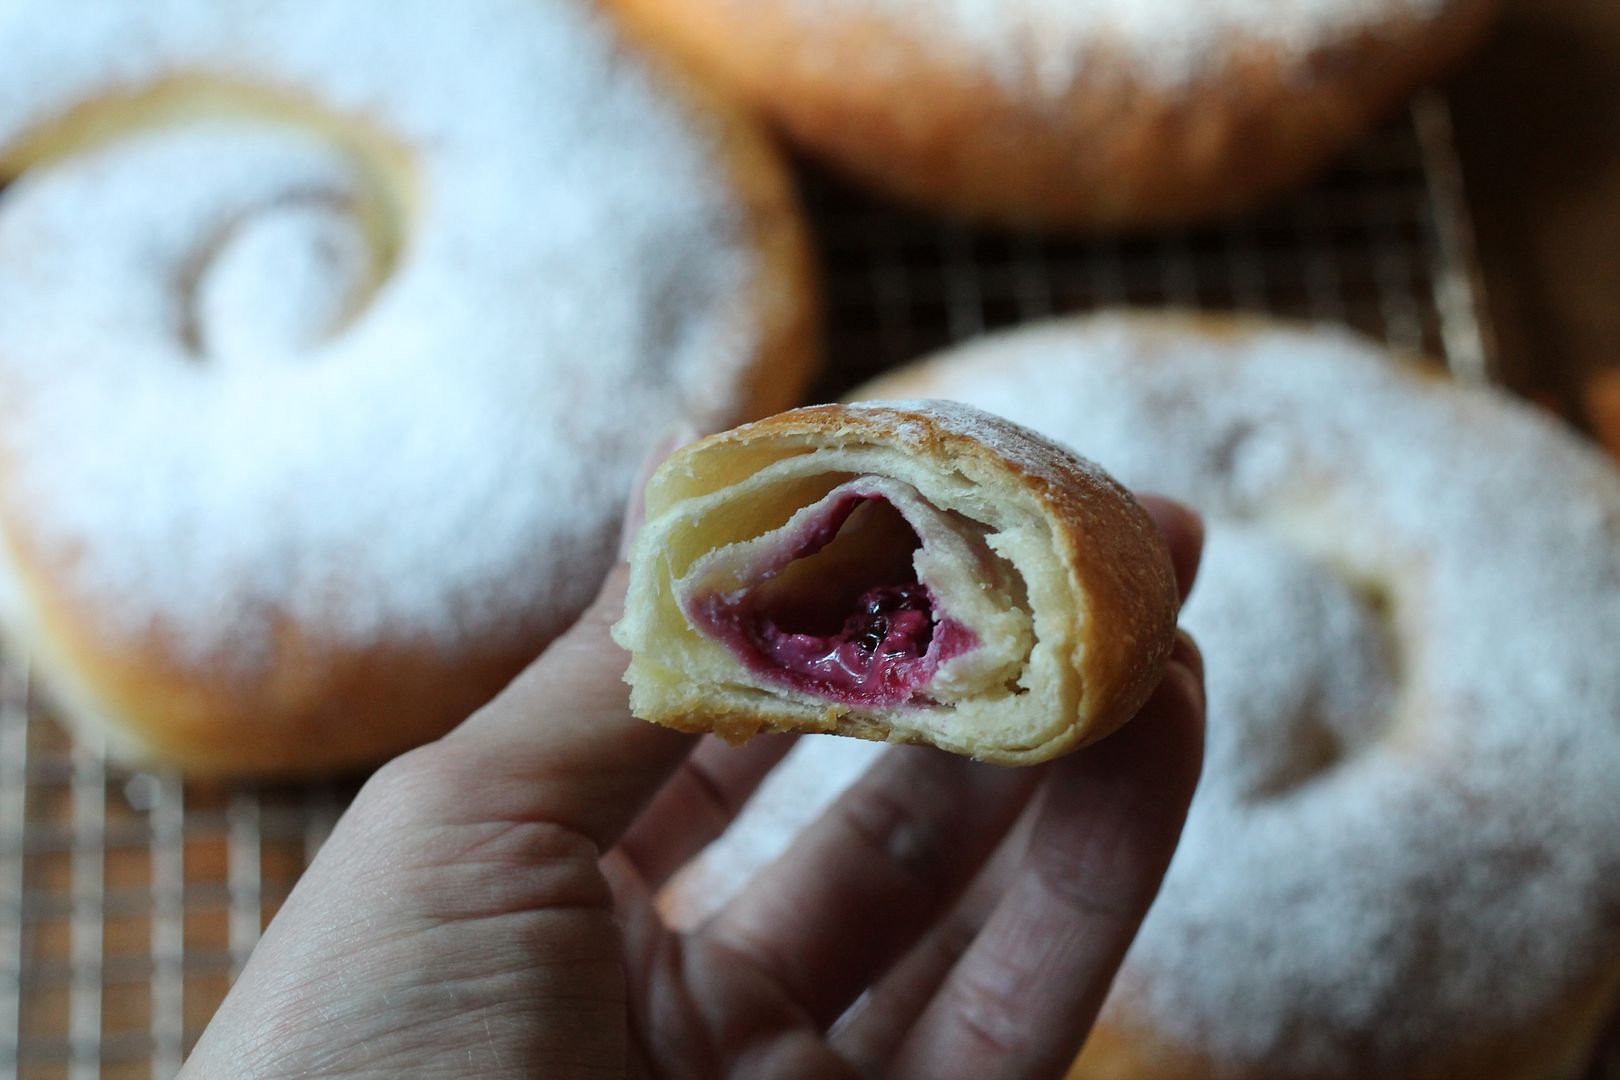
The name “ensaimada” comes from the Spanish word for lard (“saim”), which is the traditional ingredient in these pastries. The dough is stretched out super thin, slathered with lard, and then rolled up into a log and coiled into a snail shape. Similar to a croissant or puff pastry, the layers of fat and dough bake into a beautiful laminated masterpiece with a pretty rad cross-section. I used butter rather than lard (I have nothing against lard – I’m just not a huge fan of the scary preservatives in the commercial stuff you buy at the store and wasn’t ready to render my own) and subbed in freshly picked blackberries and cream cheese for the customary filling of candied pumpkin.

Blackberry Cream Cheese Ensaimadas | Korena in the Kitchen

I modified the dough recipe slightly to include less yeast plus an overnight rise in the fridge for more flavour, and the final result was pretty fantastic: the bread itself is lightly sweet with a soft, slightly chewy interior and an almost crisp exterior. I think the key is working the rather sticky dough enough to really develop the gluten so that you can stretch it out super thin to make lots of butter-dough layers – otherwise you just end up with a puffy brioche. Not that there’s anything wrong with that, but if you’re going to the trouble to make ensaimadas, it’s nice if that’s actually what you end up with!

Blackberry Cream Cheese Ensaimadas | Korena in the Kitchen

Ensaimadas can also be made into one giant swirl and cut into wedges to serve, which would look pretty impressive, but I imagine it would get kind of unwieldy to deal with – you might have to get out the bedsheet, povitica-style, to help stretch and roll up the dough. Either way, this pastry would be perfect with a cup of coffee for a leisurely breakfast or brunch. It is definitely going on the “make again” list!

Blackberry Cream Cheese Ensaimadas | Korena in the Kitchen

Blackberry Cream Cheese Ensaimada

Adapted from La popotte de Manue. Makes 4 large individual ensaimadas, each serving 1-2 people, depending on their appetites!

In the bowl of an electric mixer, combine:

300 g (2 1/2 cups) all purpose flour

1 tsp instant yeast

1/2 tsp salt

60 g (1/4 cup) granulated white sugar

To the flour mixture, add:

1 egg

28 g (2 tbsp) olive oil

118 g (1/2 cup) warm water

ensaimada1

Stir with a spoon to form a rough dough, then knead the dough with the dough hook for about 10 minutes, until it is smooth and elastic. It should be tacky but not sticky, and will pull away from the sides of the bowl.

ensaimada2

Cover with plastic wrap and let it sit at room temperature about 30 minutes to let the yeast start working, then refrigerate overnight or at least 8 hours, during which time it should rise to about double in volume. Let the dough come to room temperature (and finish rising, if it hasn’t already doubled) before continuing.

ensaimada3

Meanwhile, prepare the cream cheese filling. In a small bowl, combine:

115 g (1/2 cup) cream cheese

24 g (3 tbsp) icing sugar

dash of vanilla

pinch of salt

Mix until smooth and set aside.

ensaimada4

Divide the risen dough into 4 equal pieces and shape them into balls. Cover so the dough doesn’t dry out. Have ready 125 g (1/2 cup) very soft unsalted butter.

ensaimada5

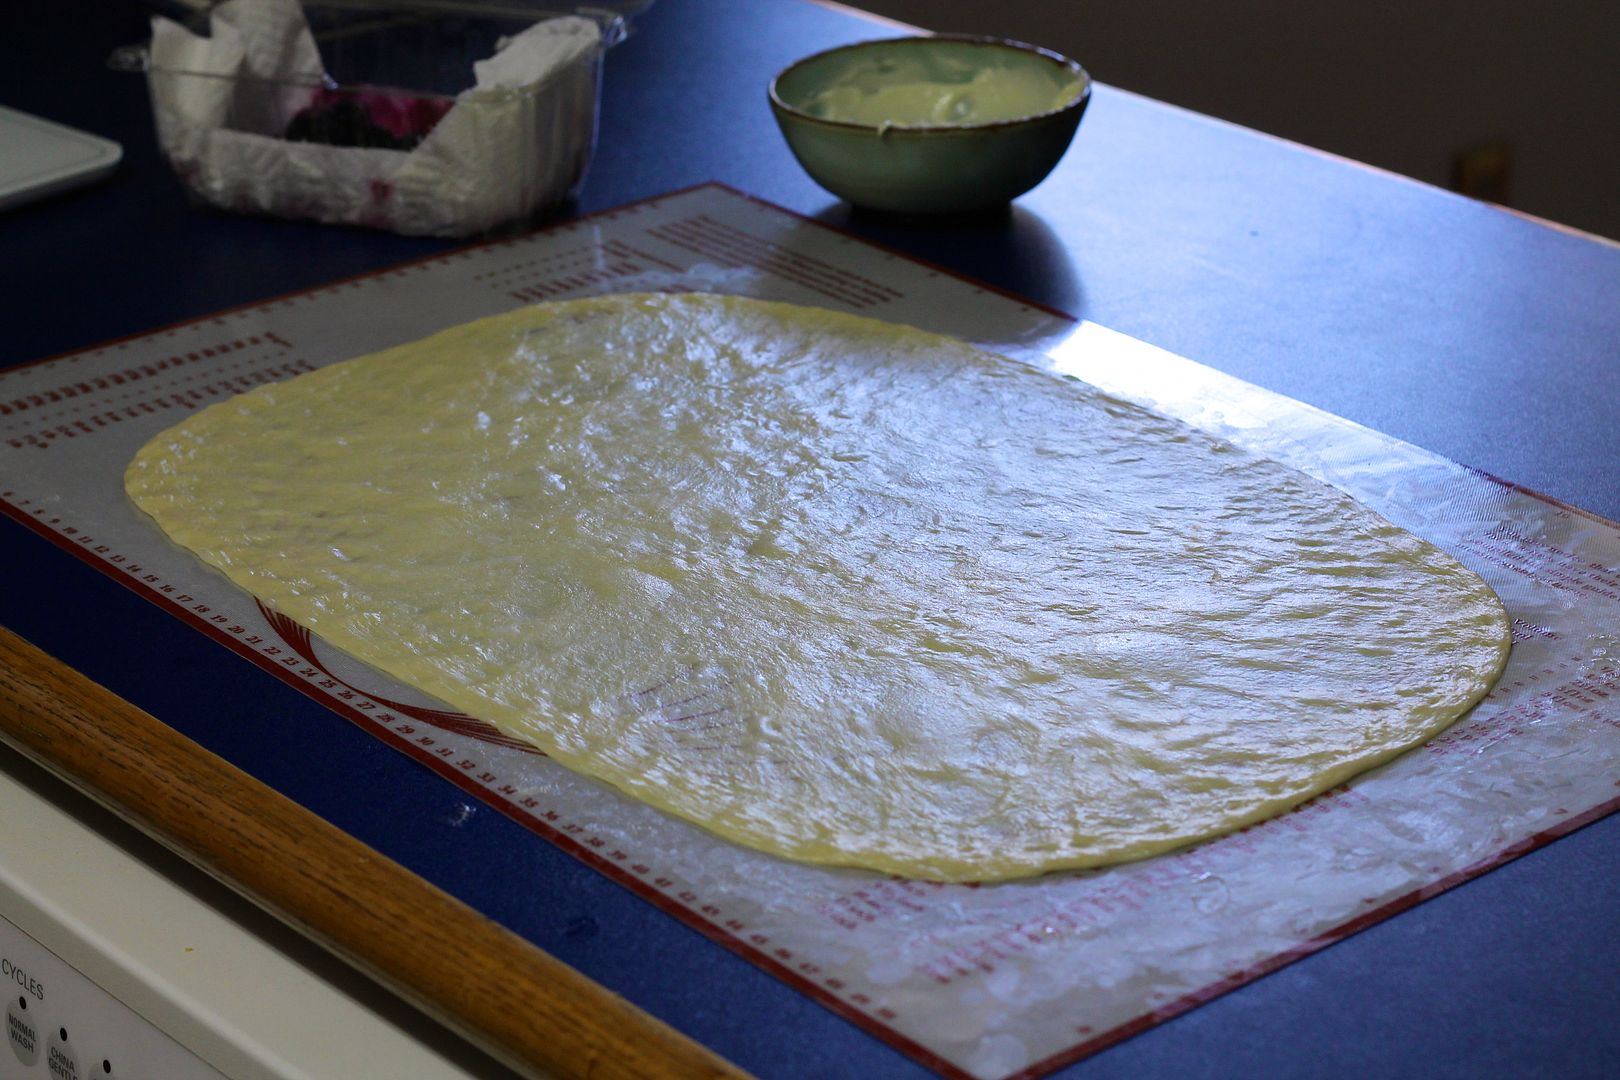
Lightly grease your work surface with a little butter. Take one portion of dough and smear it with a little butter on both sides. With buttered hands, gently stretch the dough from the middle outwards into a rectangle roughly 18″ x 9″. It should be very thin and transparent.

ensaimada6

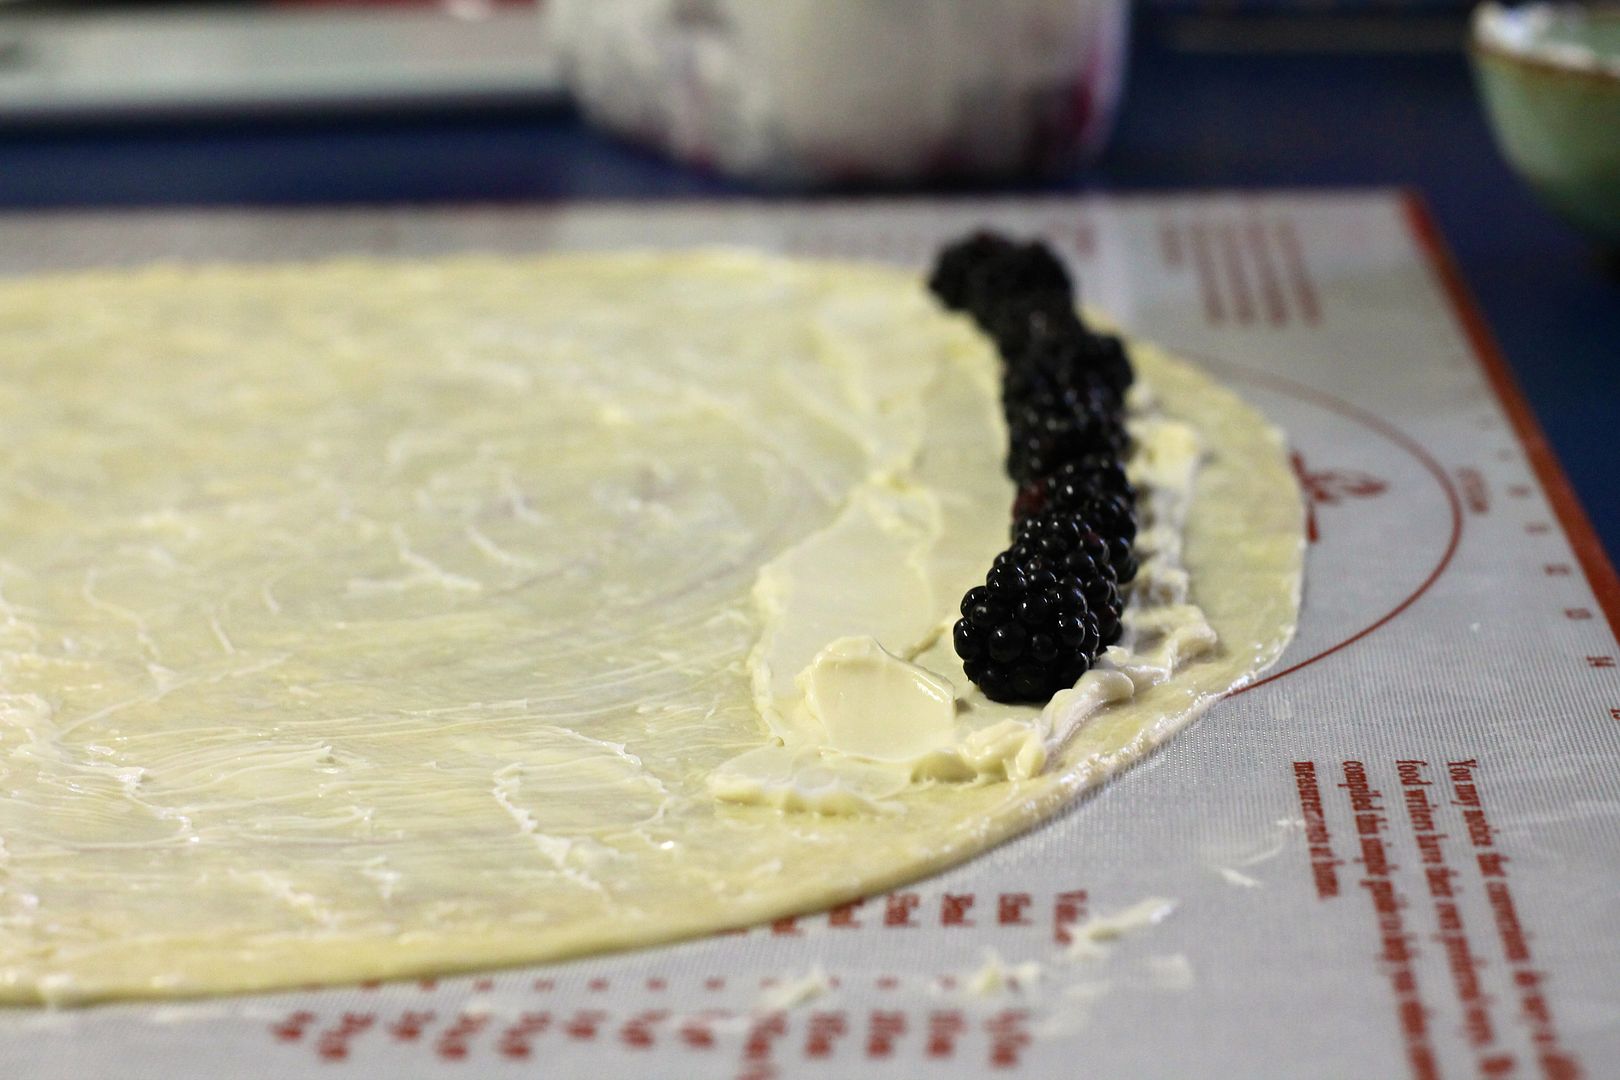
Slather the surface of the dough with a thin layer of butter. Spread 1/4 of the cream cheese mixture along one long edge of the dough and top it with a line of blackberries.

ensaimada7

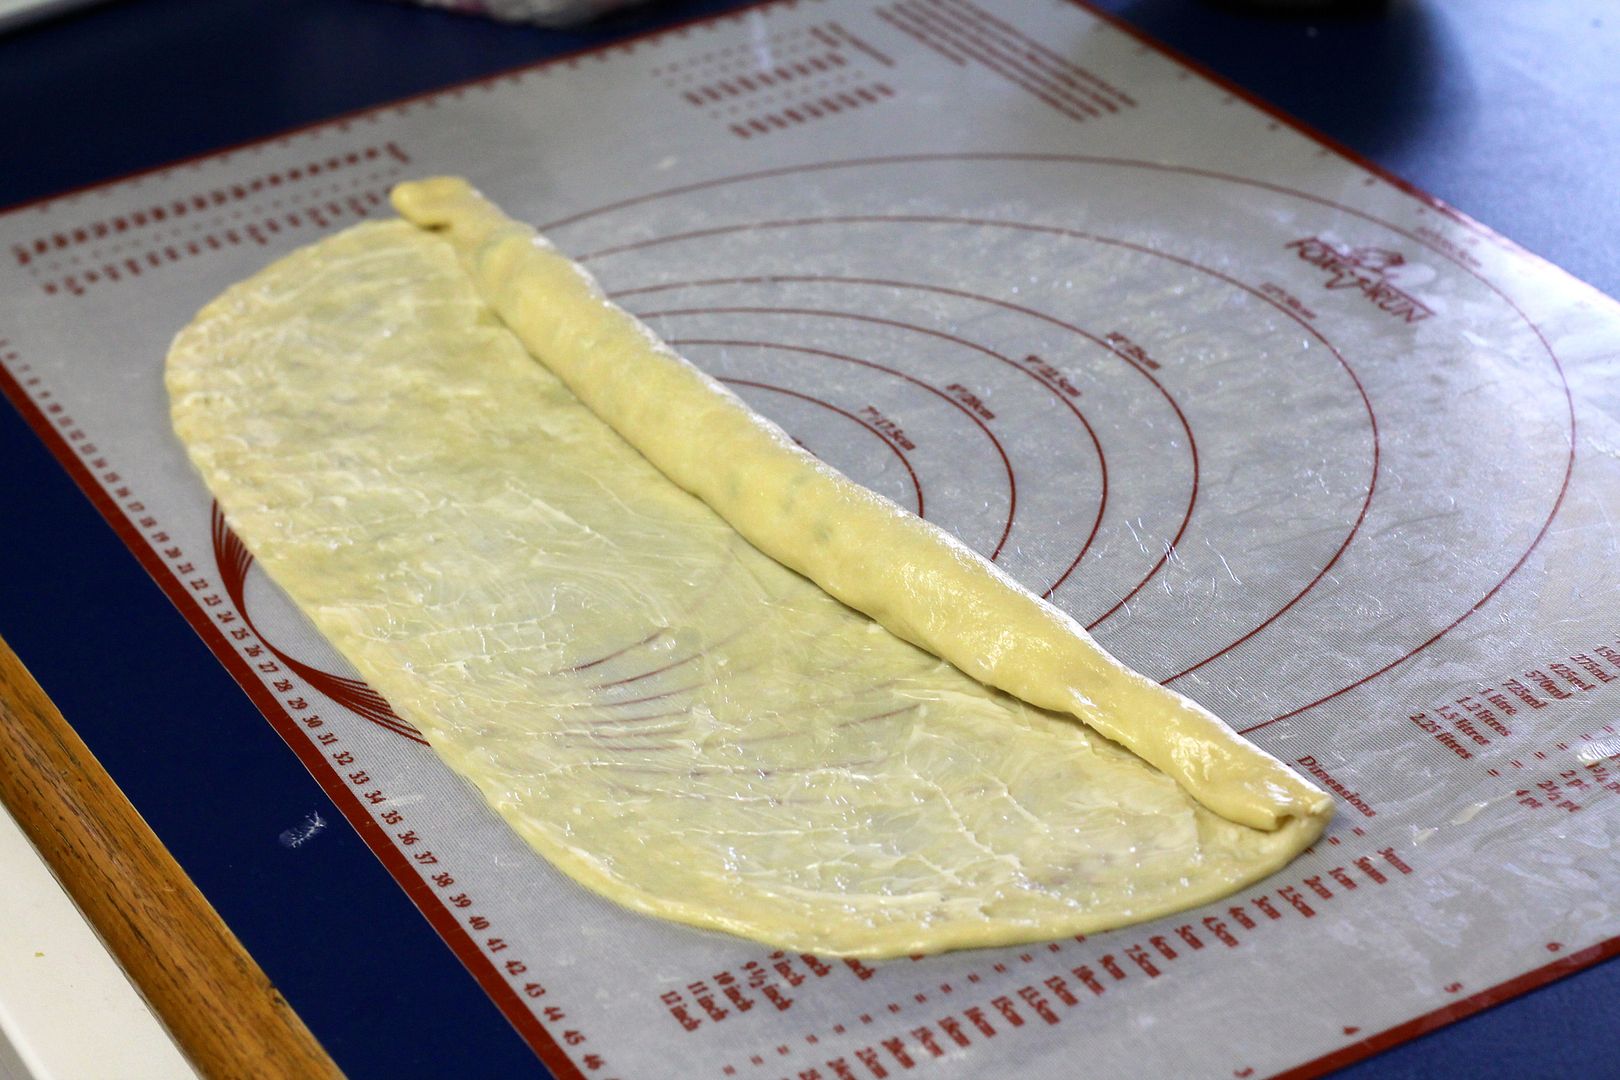
Tightly roll up the dough into a log to enclose the filling.

ensaimada8

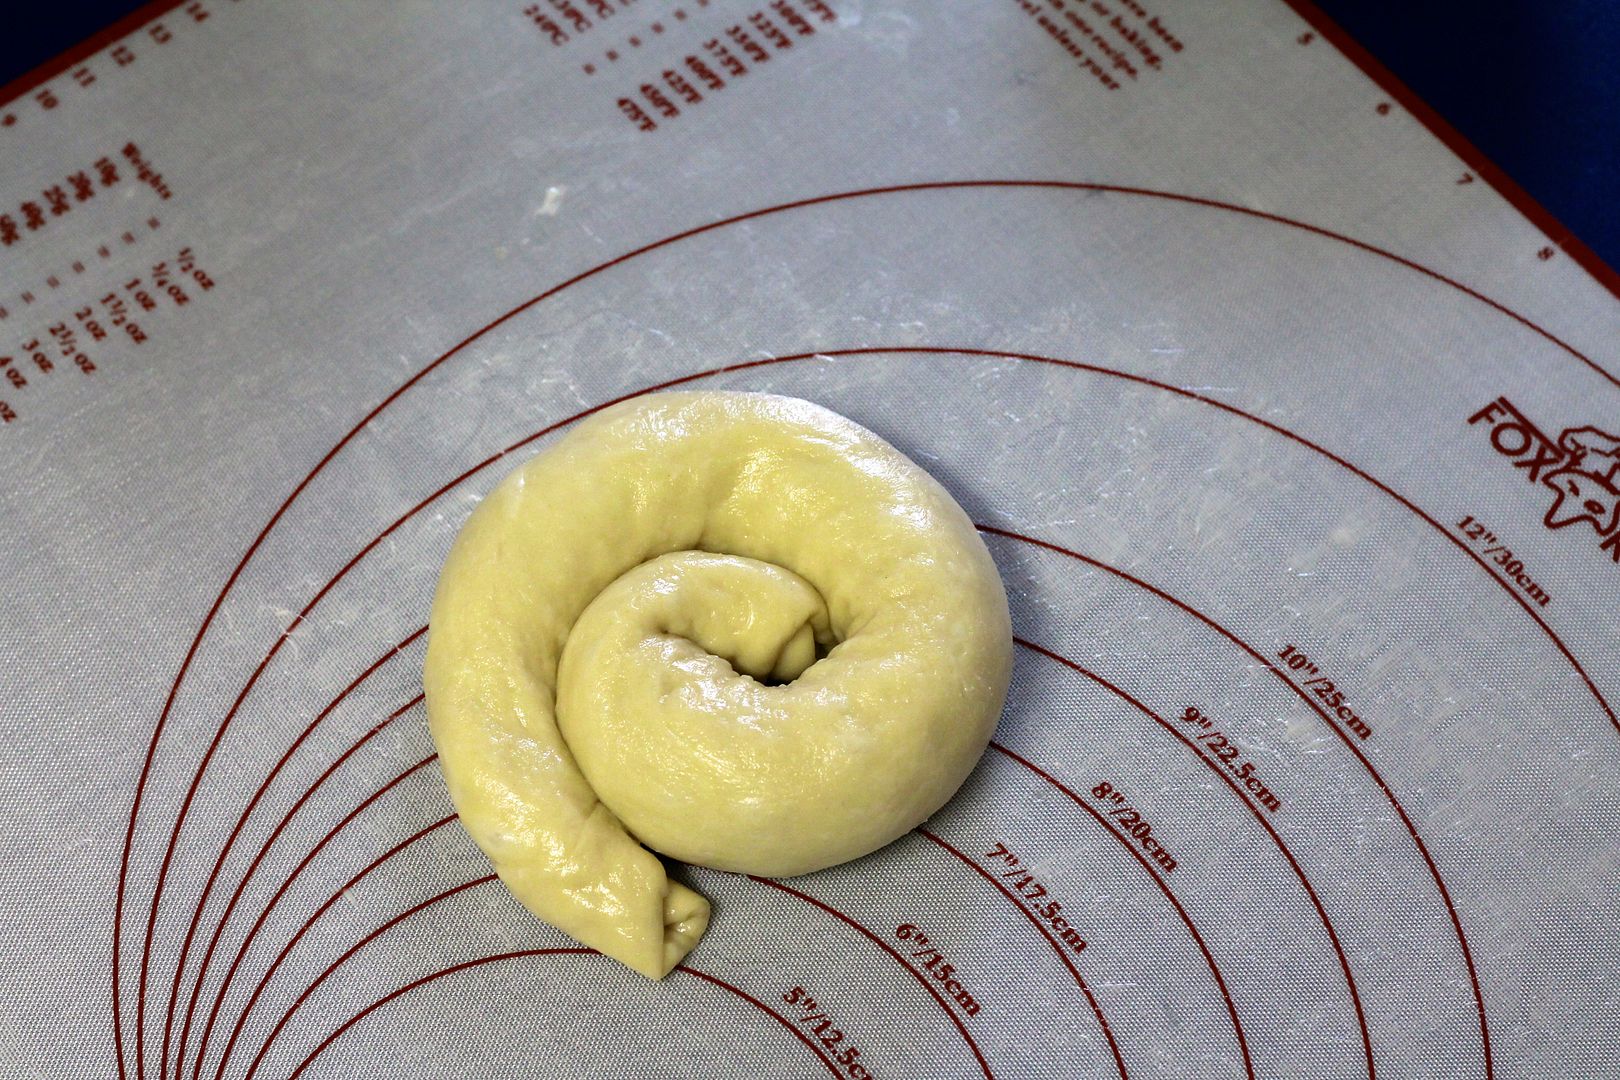
Shape the log into a loose snail-shaped coil (not too tight or it will prevent it from rising properly) and place on a baking sheet lined with parchment or a silicon mat. Repeat with the remaining dough, butter, and filling.

ensaimada9

Smear any remaining butter on the shaped dough, cover loosely with plastic wrap, and allow to proof for about 30 minutes, until puffy. While the ensaimadas proof, preheat the oven to 350˚F (325˚F convection).

ensaimada10

Bake the proofed pastries in the preheated 350˚F (325˚F convection) oven for about 20 minutes, until golden brown and baked all the way through (lift them up with a spatula to check that the bottoms and middles are done).

ensaimada11

Immediately dust with icing sugar and place on a rack to cool. Serve warm or at room temperature. They will keep for up to 1 day in an airtight container at room temperature.

ensaimada12


Blackberry Cinnamon Buns

$
0
0

Blackberry Cinnamon Buns | Korena in the Kitchen

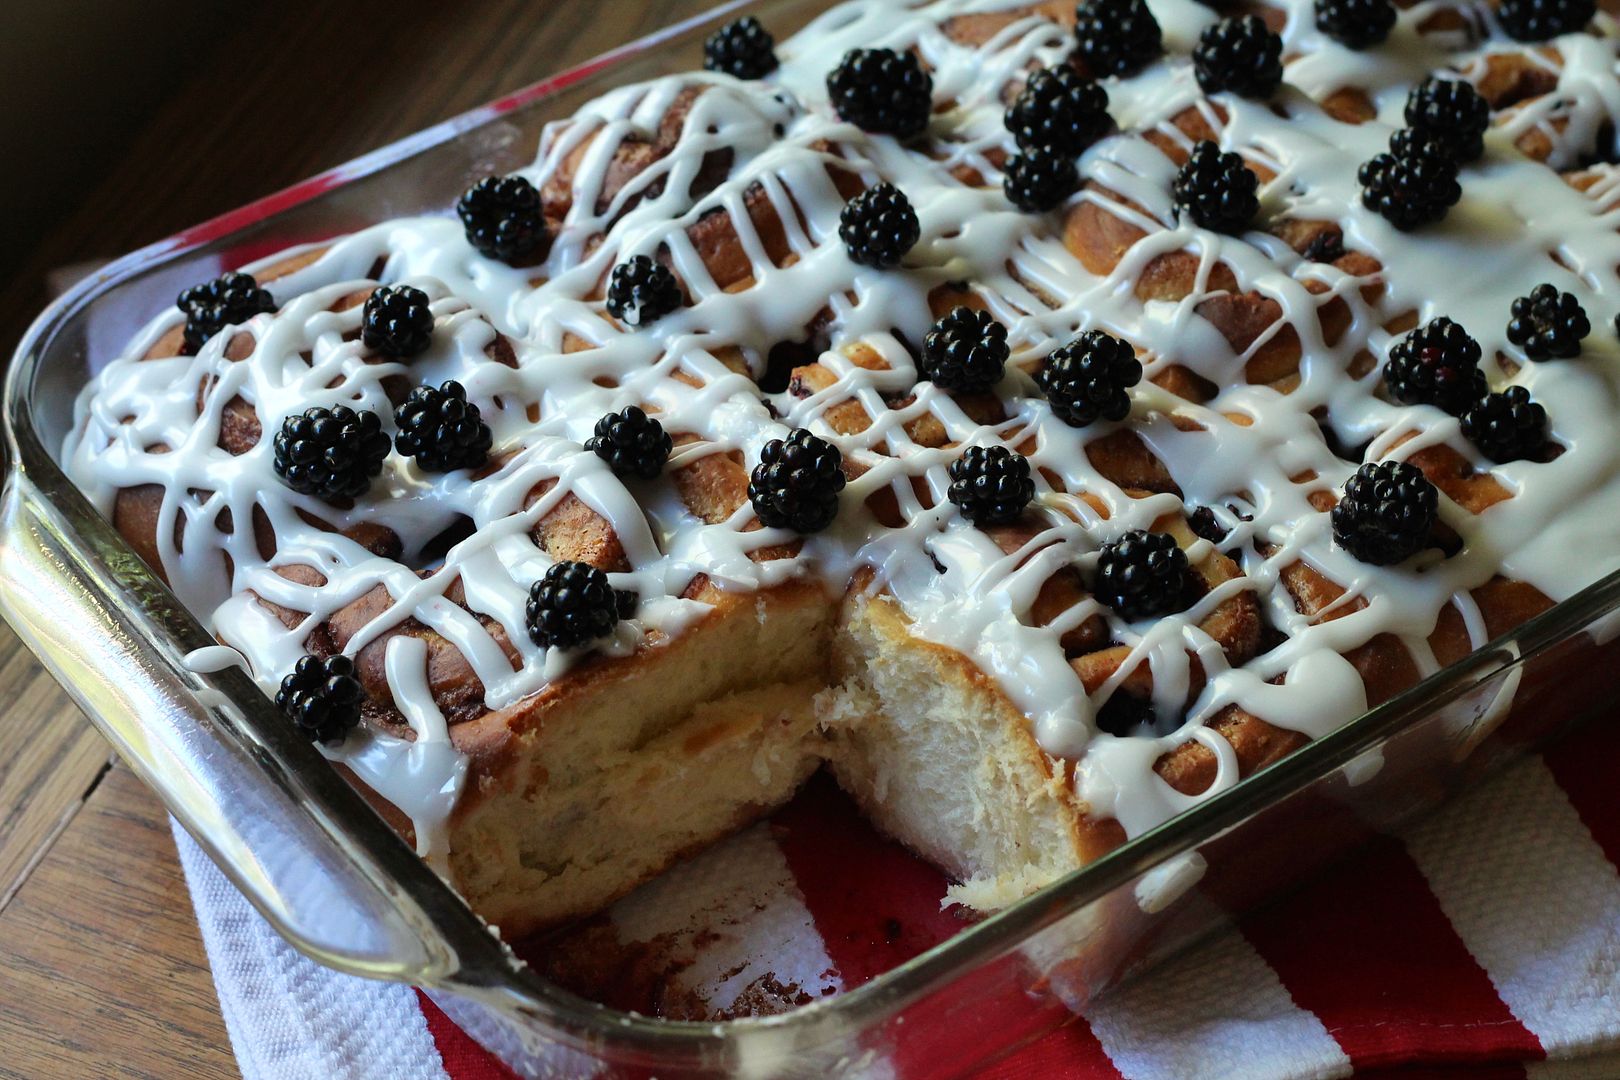
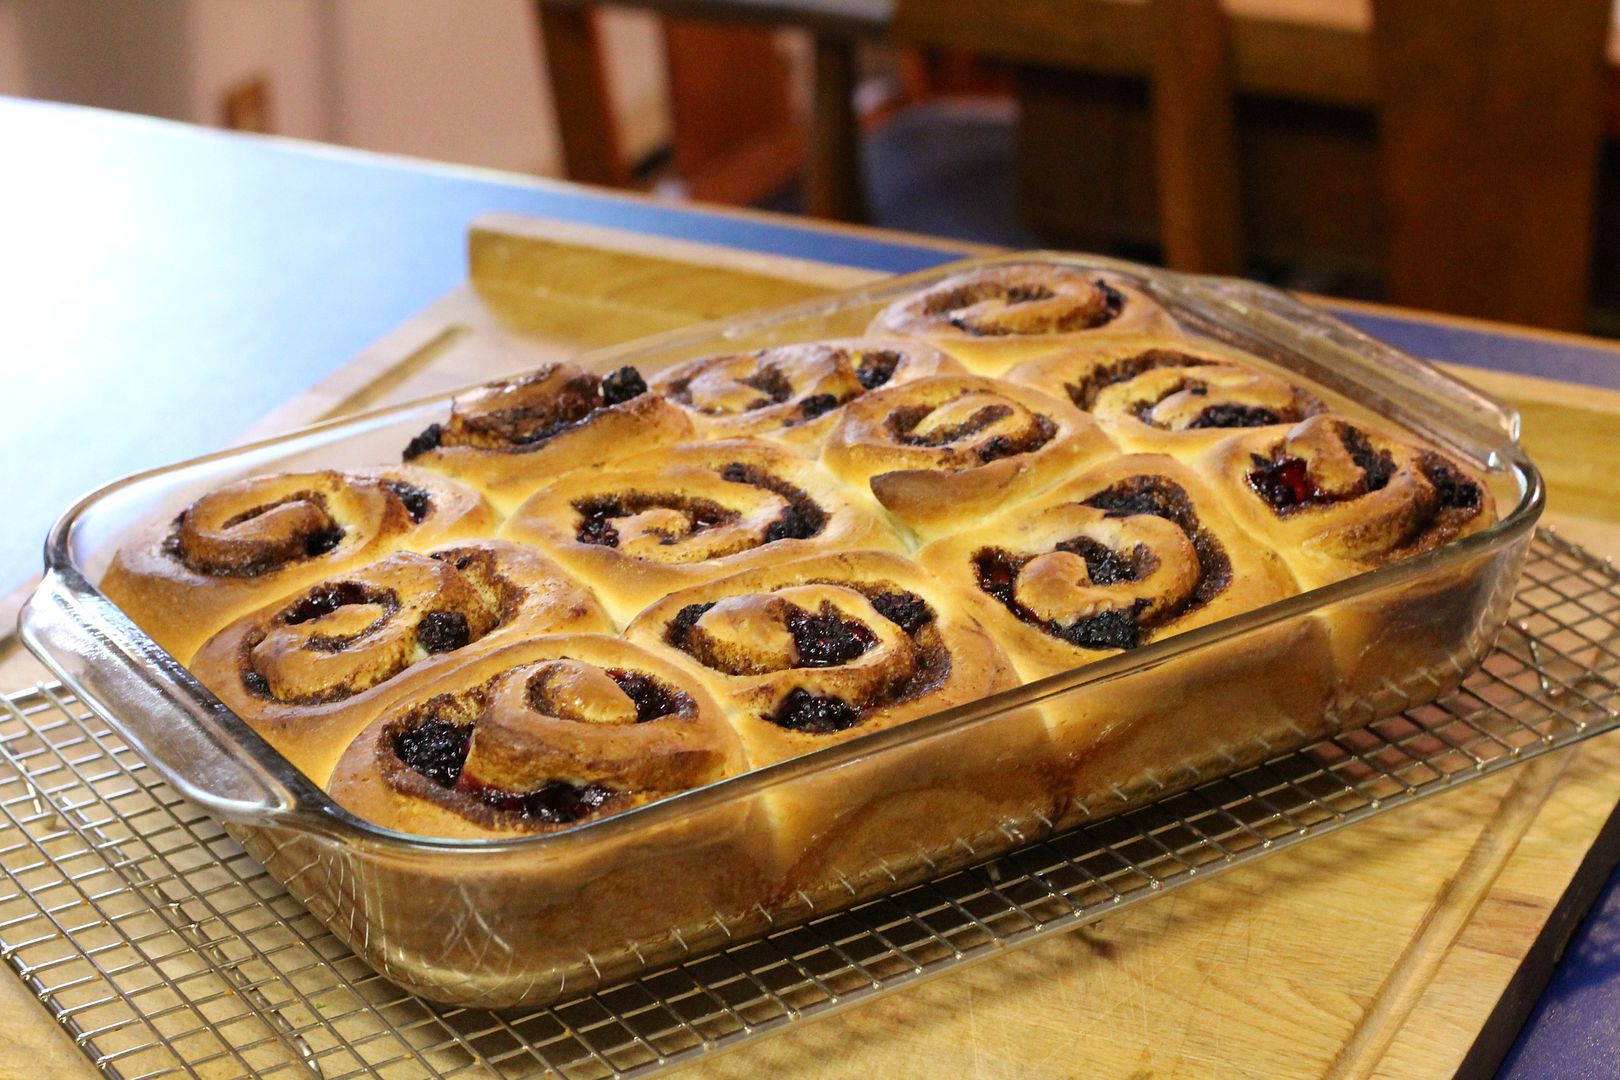
Several weeks ago we were invited to Nate’s aunt’s house for a “bun throw”, which, as it turns out, has nothing to do with actually throwing buns – it’s more of a family brunch. Nevertheless, I figured buns were appropriate, so I made cinnamon buns. But not just regular cinnamon buns: I added blackberries.

Blackberry Cinnamon Buns | Korena in the Kitchen

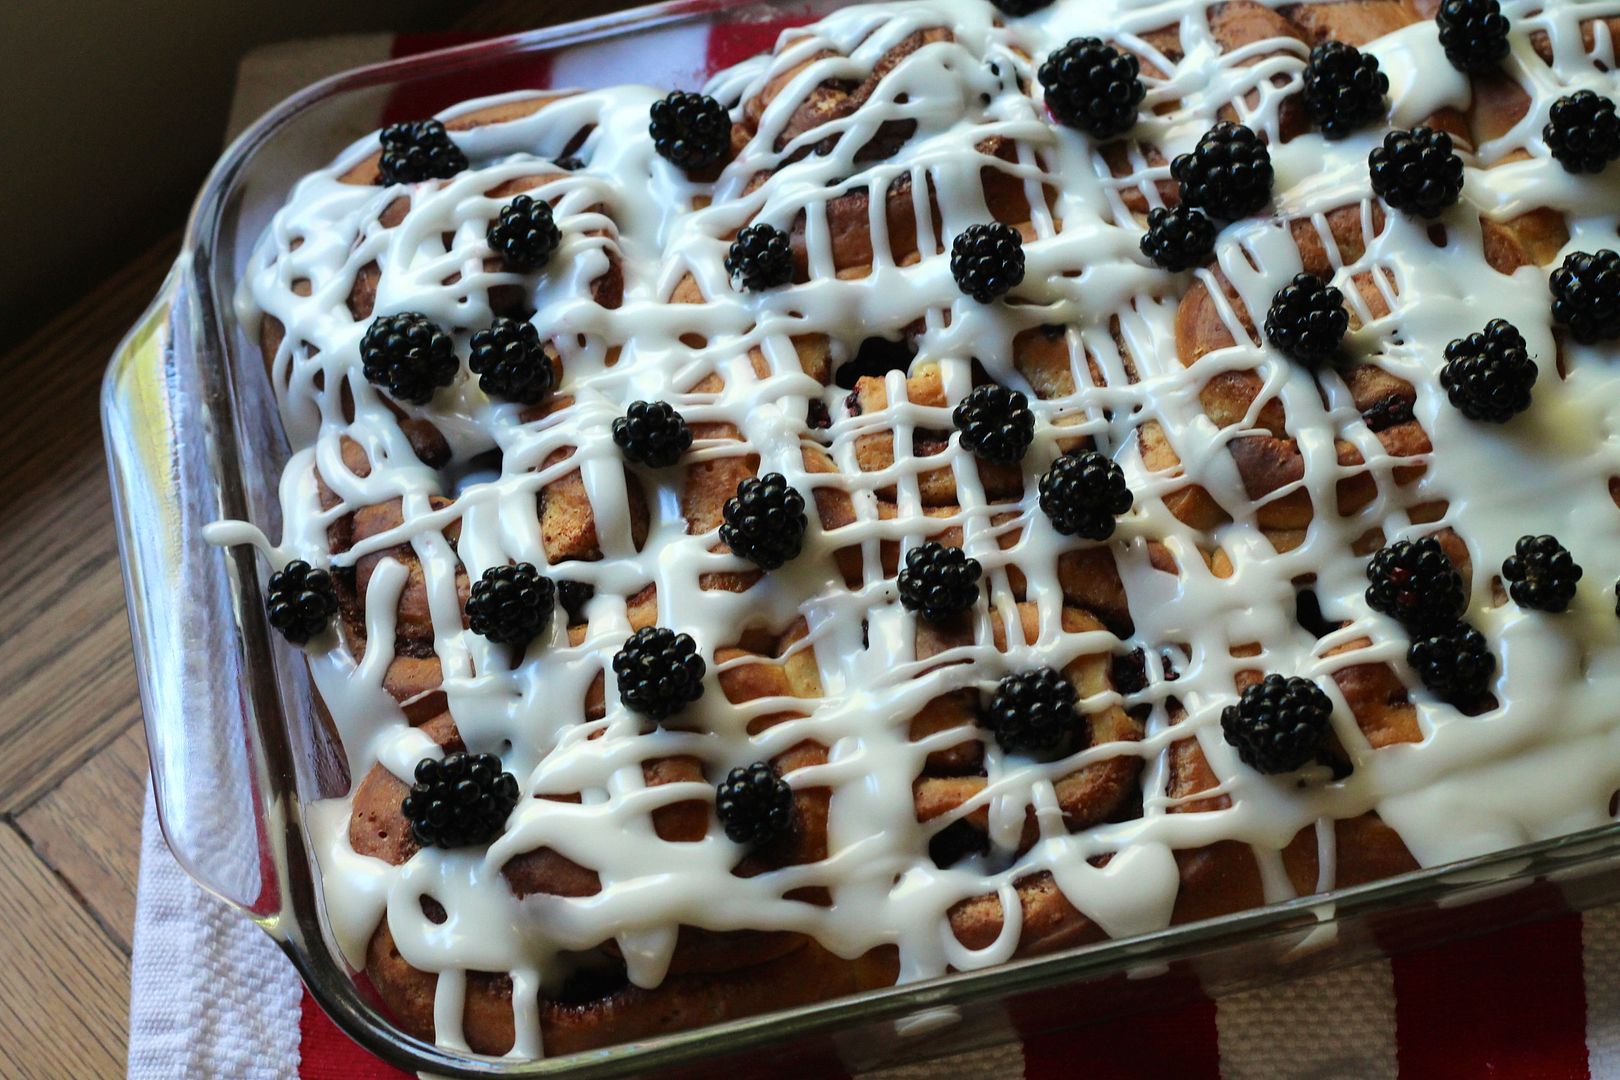
Now I know that might not seem like a big deal, but man oh man were they good! I can’t take credit for the idea of adding blackberries to cinnamon buns (that goes to Julie) but I can tell you that it is an extremely good one: light, fluffy, gooey cinnamon buns studded with jammy berries, topped with icing and more fresh berries. It takes a plain old cinnamon bun to a whole new level. It might have helped that these were based on Peter Reinhart’s cinnamon buns, which are widely known to be very very good, but I’m pretty convinced that the blackberries are to thank.

Blackberry Cinnamon Buns | Korena in the Kitchen

These buns did not last long at the bun throw, nor did the second batch that I took to work the next day. Suffice to say they are delicious, and so I apologize for not sharing them sooner, ie: when blackberries were still in season. Just consider me ten-and-a-half months early for next year’s blackberry harvest. ;)

Blackberry Cinnamon Buns | Korena in the Kitchen

Blackberry Cinnamon Buns

Adapted from The Bread Baker’s Apprentice by Peter Reinhart. Makes 12 large buns.

In the bowl of an electric mixer with the paddle attachment, cream together until light and fluffy:

92 g (6 1/2 tbsp) granulated sugar

78 g (5 1/2 tbsp) unsalted butter, soft

7 g (1 tsp) salt

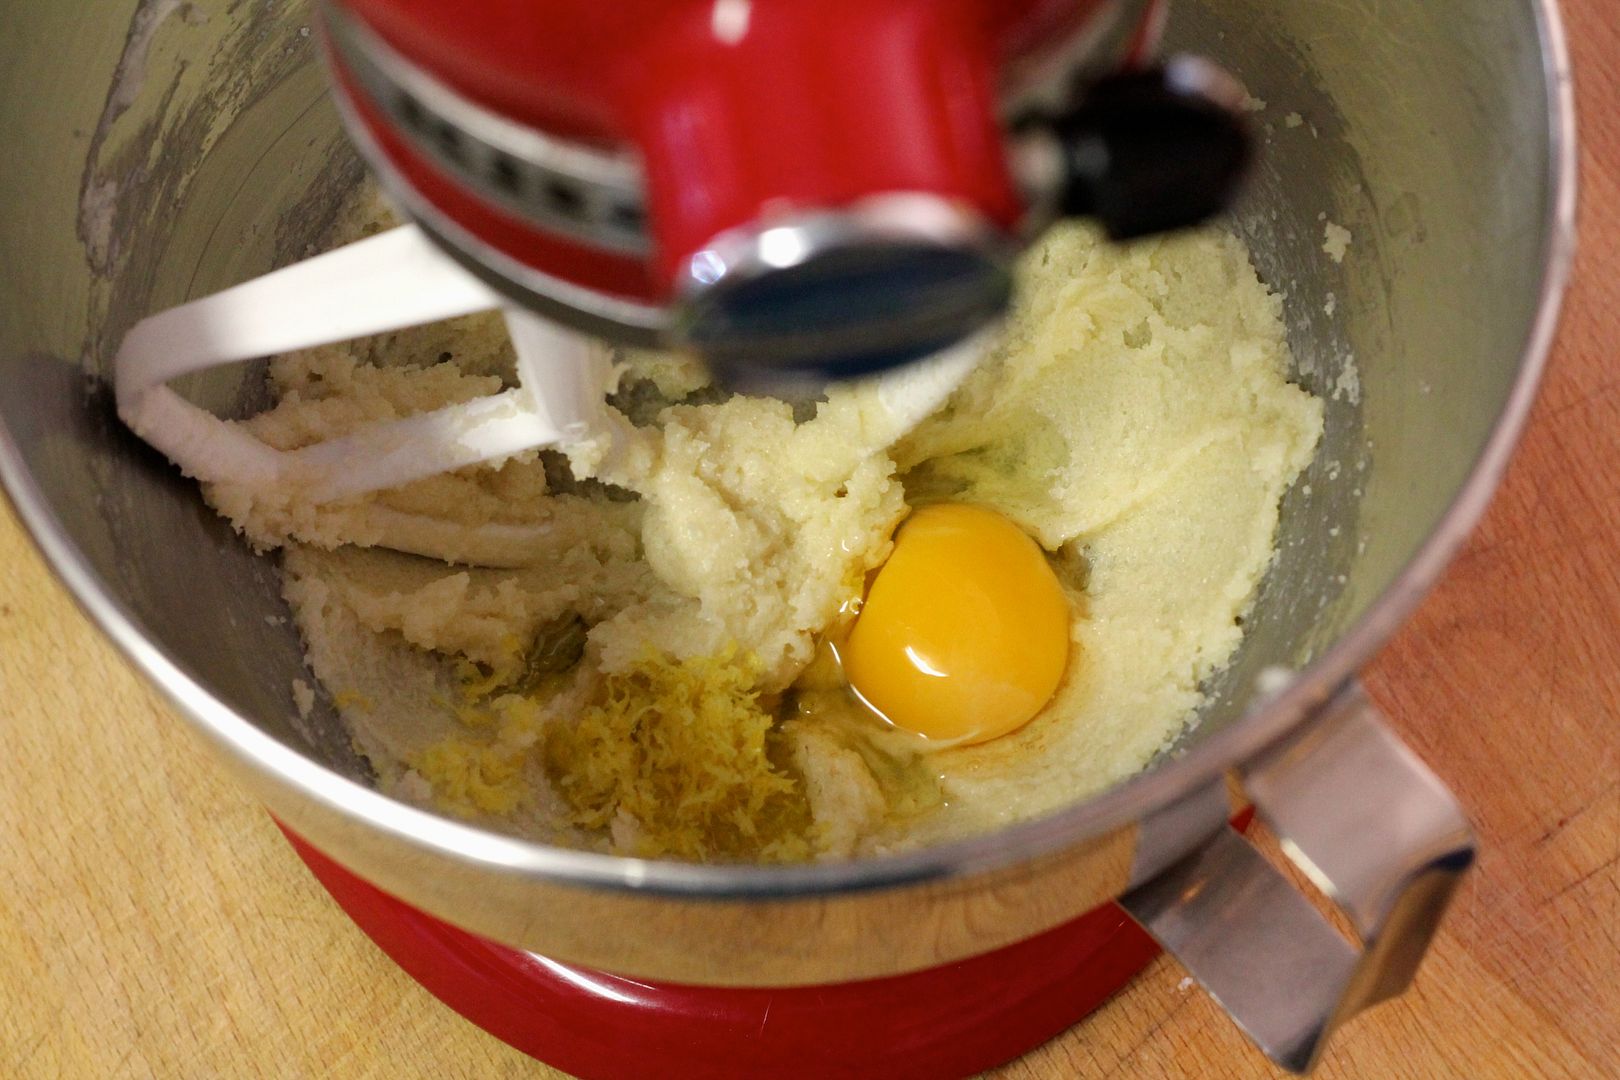
Beat in 1 egg and 1 tsp lemon zest until combined.

cinnamonbuns1

Add:

454 g (3 1/2 cups) all purpose flour

6 g (2 tsp) instant yeast

255 g (1 1/8 cups) milk, barely warm

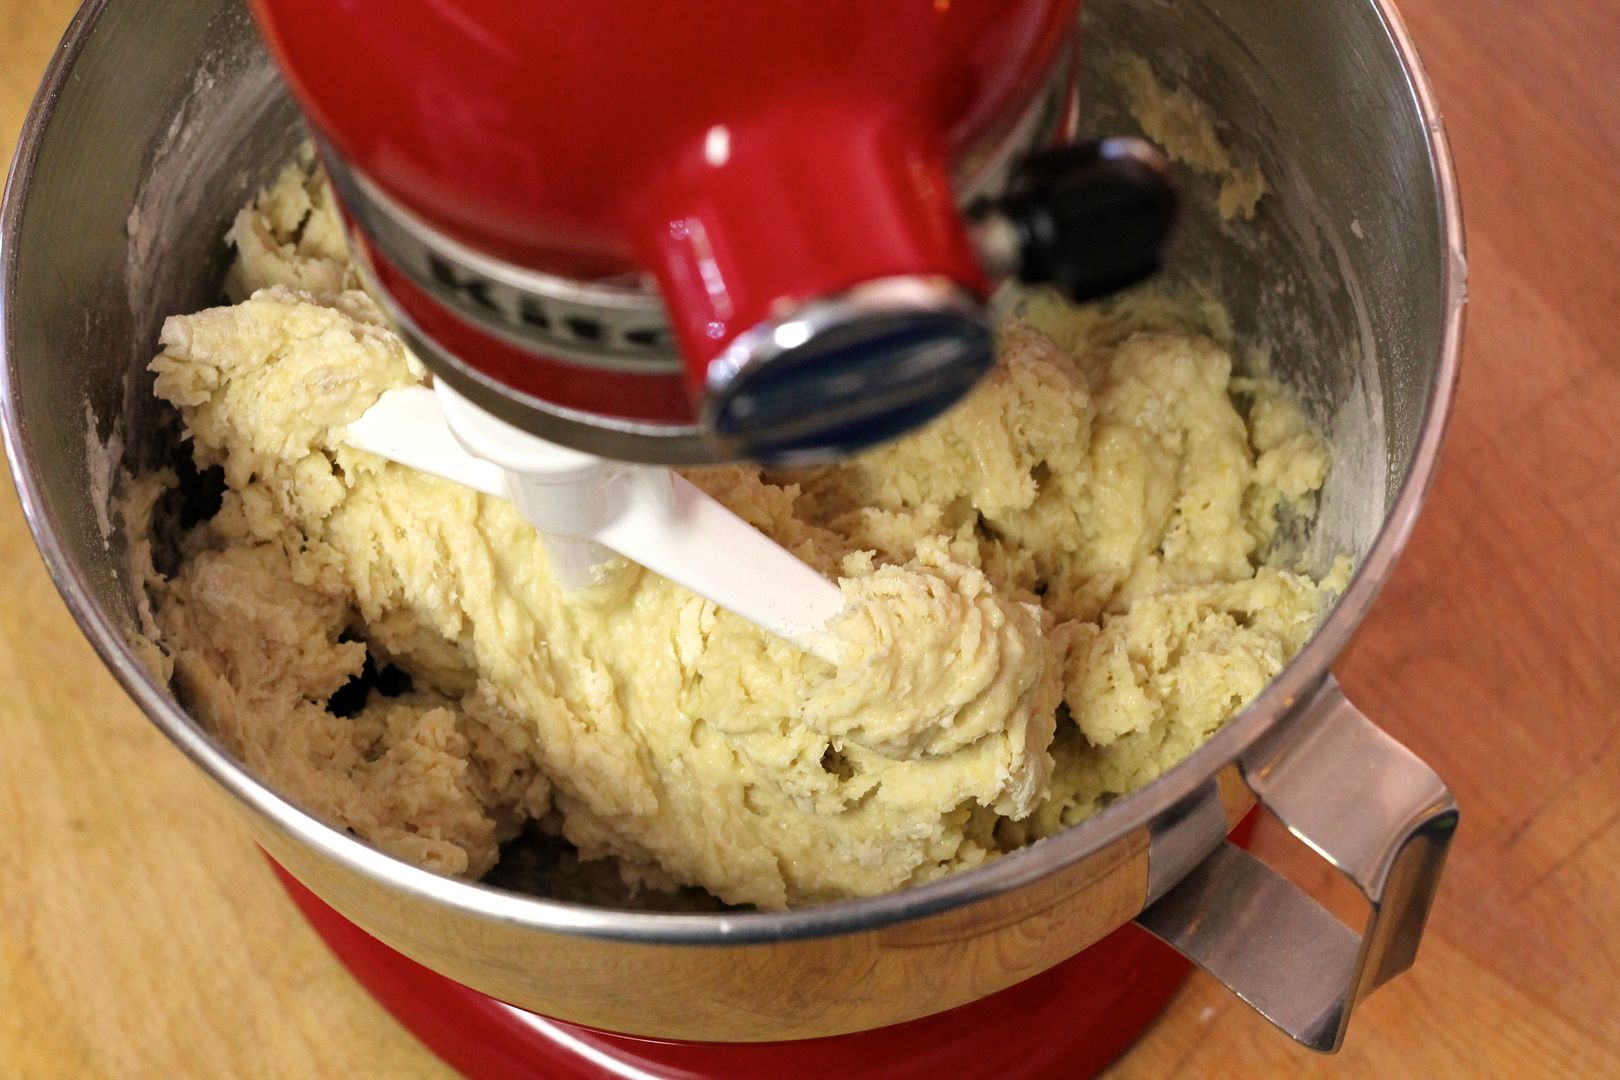
Stir until a rough dough forms.

cinnamonbuns2

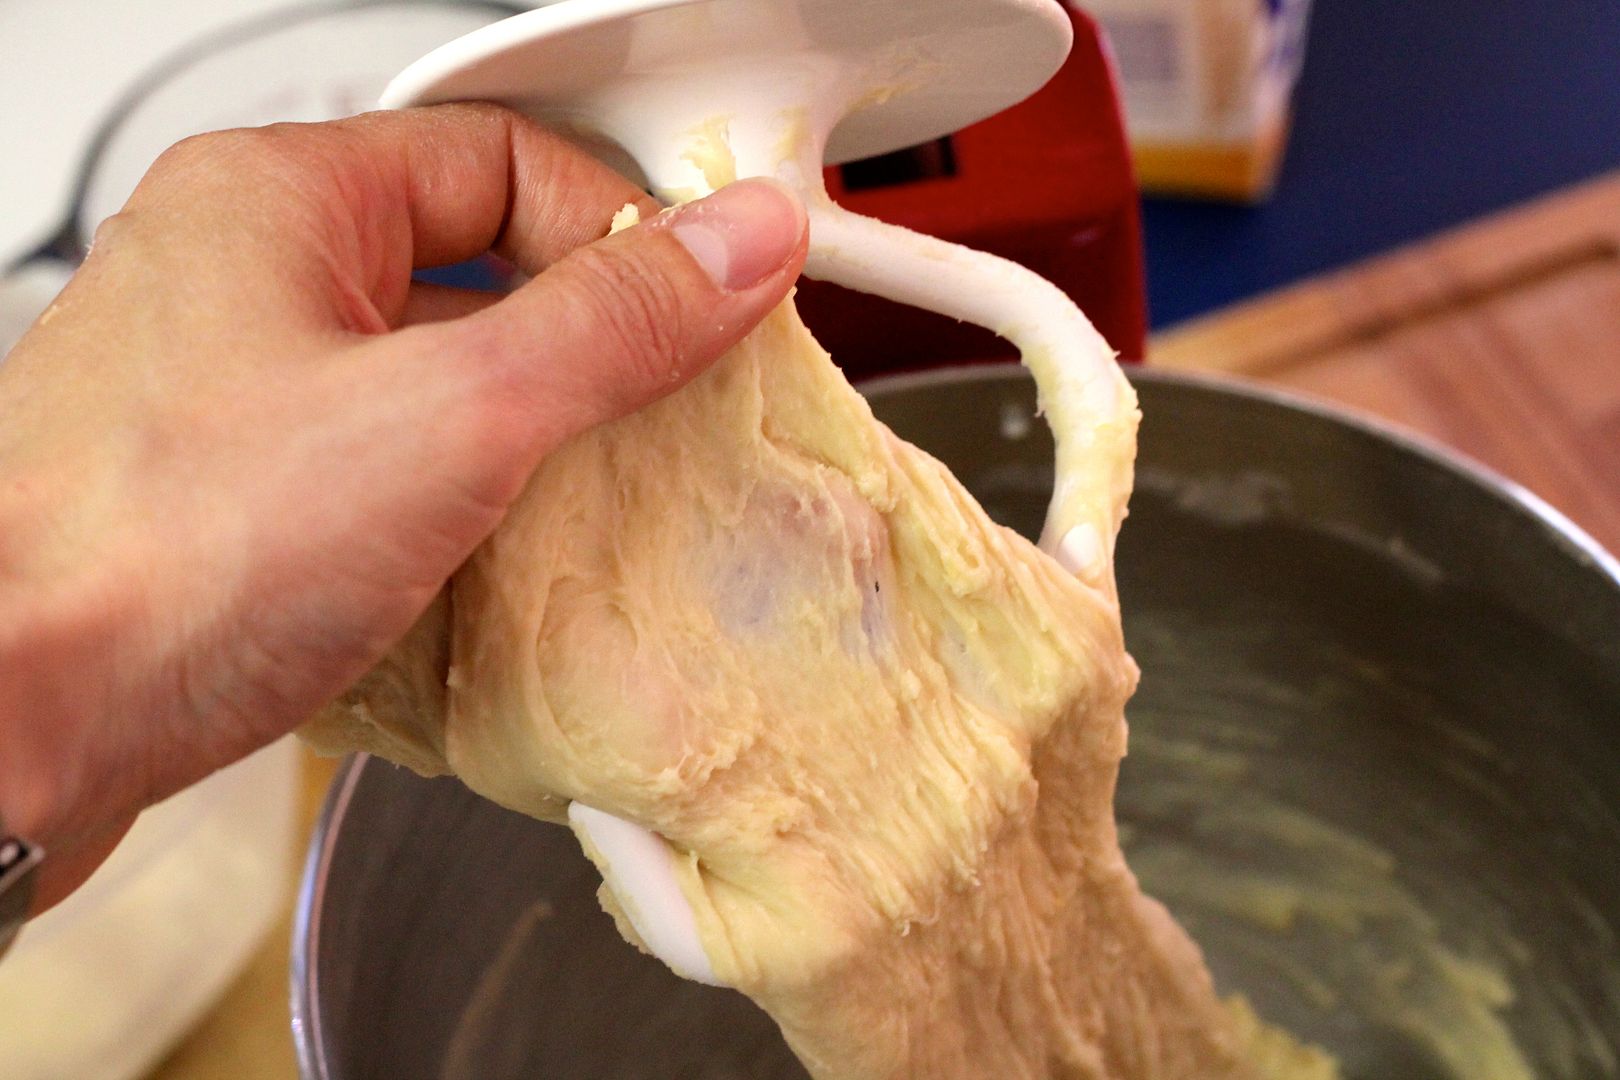
Switch to the dough hook and knead on medium speed for about 10 minutes, adding a few extra spoonfuls of flour if necessary, until the dough is very smooth, elastic, and tacky. You should be able to stretch it thin enough to be transparent without breaking.

cinnamonbuns3

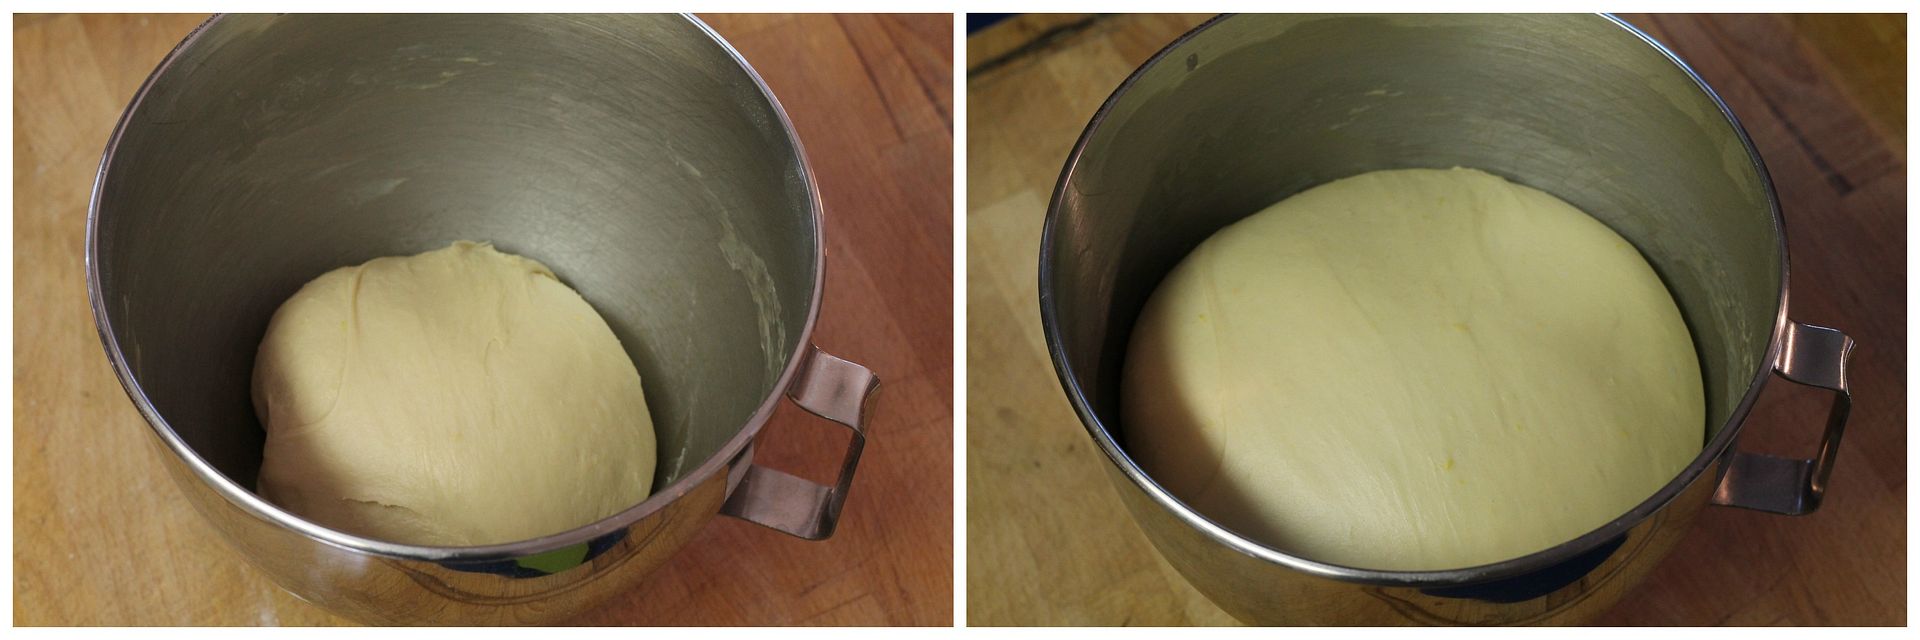
Form the dough into a ball, cover the bowl with plastic wrap, and let it rise at room temperature for about 2 hours, until doubled in size.

cinnamonbuns4

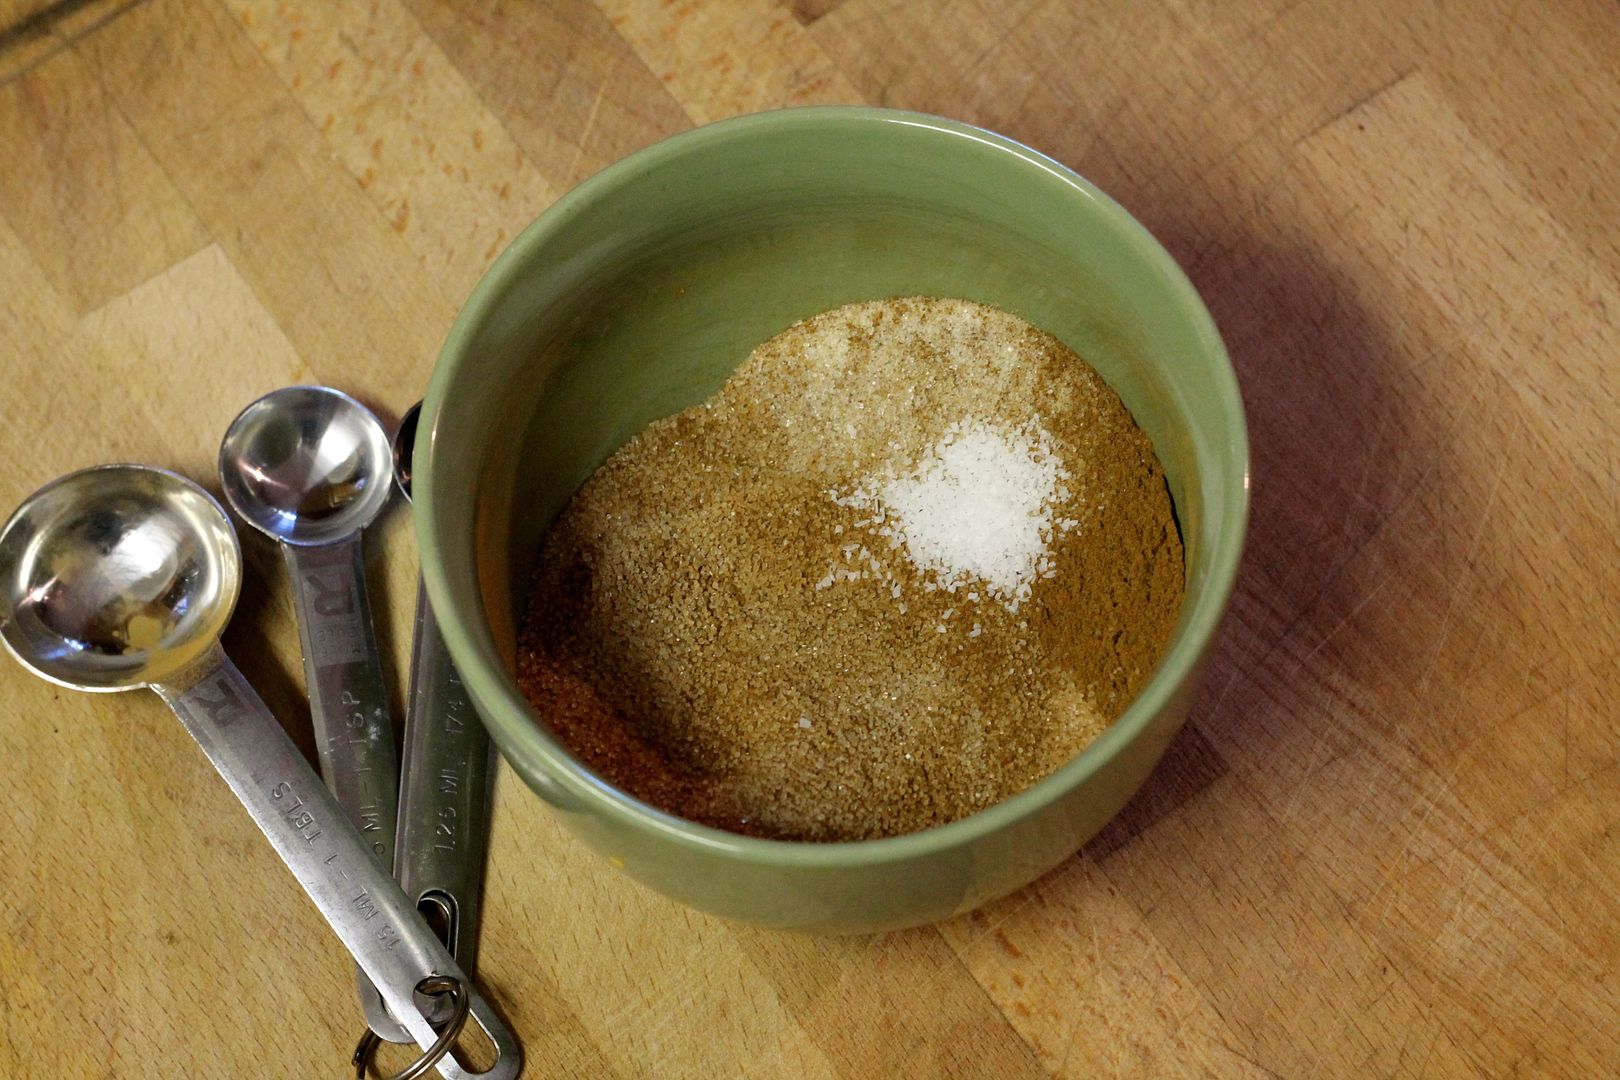
While the dough rises, mix together the cinnamon sugar in a small bowl:

120 g (6 1/2 tbsp) granulated sugar

15 g (1 1/2 tbsp) cinnamon

generous pinch salt

Set aside.

cinnamonbuns5

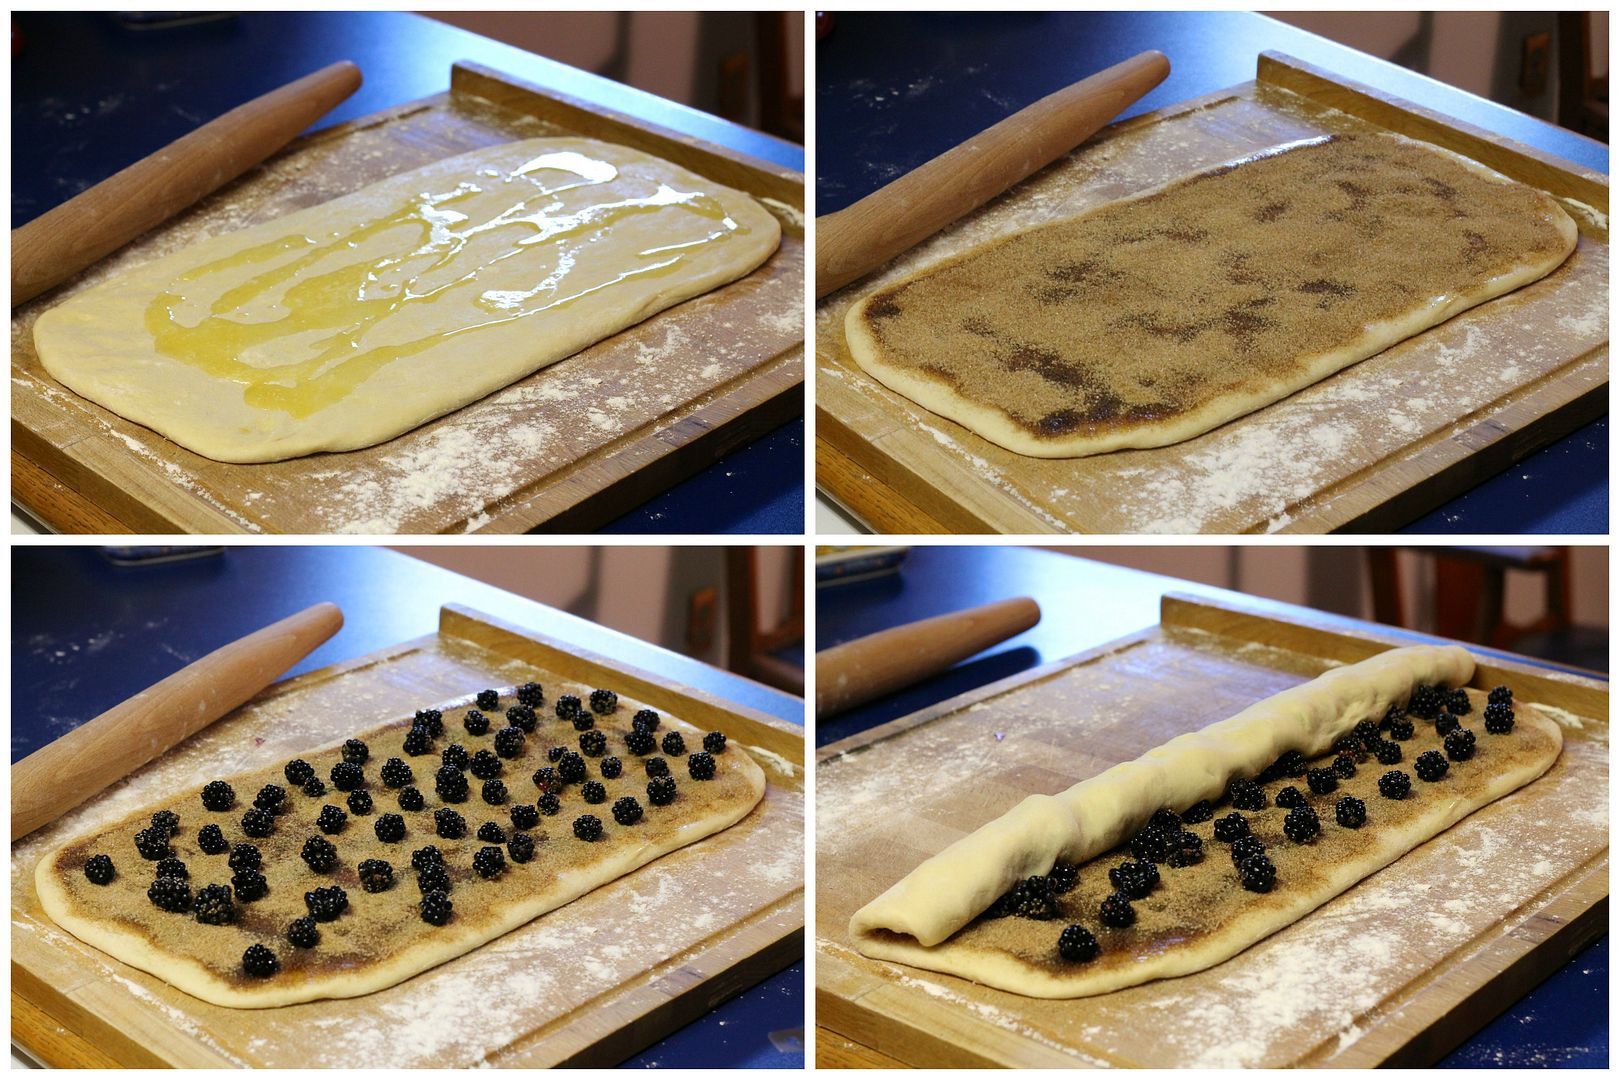
Turn the risen dough out onto a lightly floured surface and stretch/pat/roll it into a 9″ x 18″ rectangle. Drizzle 30 g (2 tbsp) melted unsalted butter over the dough and spread it out, then sprinkle the dough evenly with the cinnamon sugar (it should be quite a thick layer). Top the cinnamon sugar with 135 g (1 cup) blackberries. Starting at one long edge, roll up the dough, jelly-roll style, to enclose the cinnamon sugar and blackberries. With a serrated knife, cut the dough into 12 equal pieces.

cinnamonbuns6

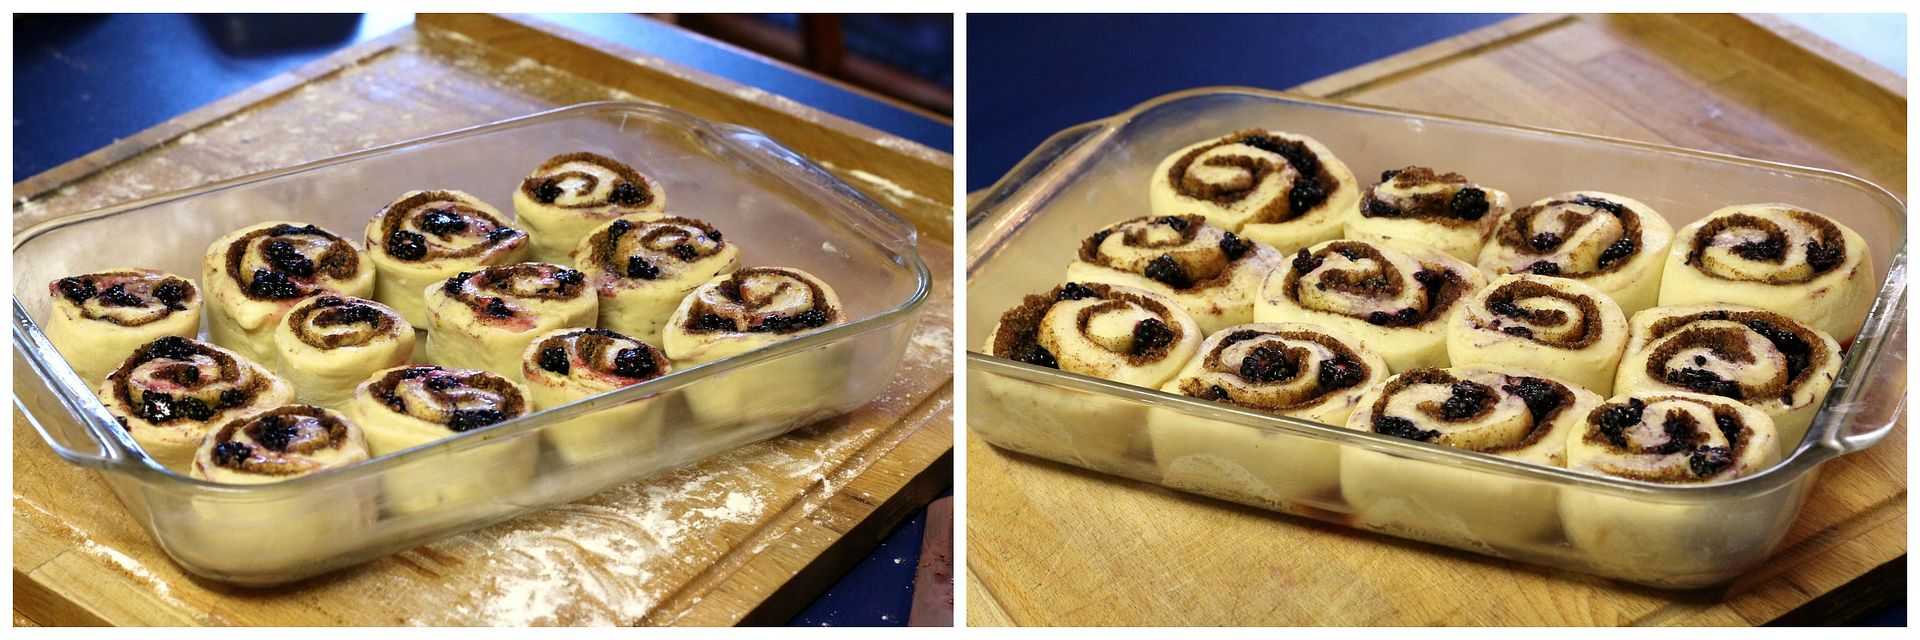
Butter a 9″ x 13″ baking pan and arrange the cut pieces in it, leaving space between each piece. Cover with plastic wrap and let proof until the buns are touching and nearly doubled in size. Alternately, you can chill the shaped buns in the fridge for up to 2 days, in which case you’ll need to bring them to room temperature to finish proofing (3-4 hours) before baking.

cinnamonbuns7

To bake, preheat the oven to 350˚F (325˚F convection). Bake the buns in the middle of the oven for 30-40 minutes, until golden brown on top and done in the middle. They should sound hollow when tapped. Cool on a rack while you prepare the glaze (wait at least 20 minutes before serving).

cinnamonbuns8

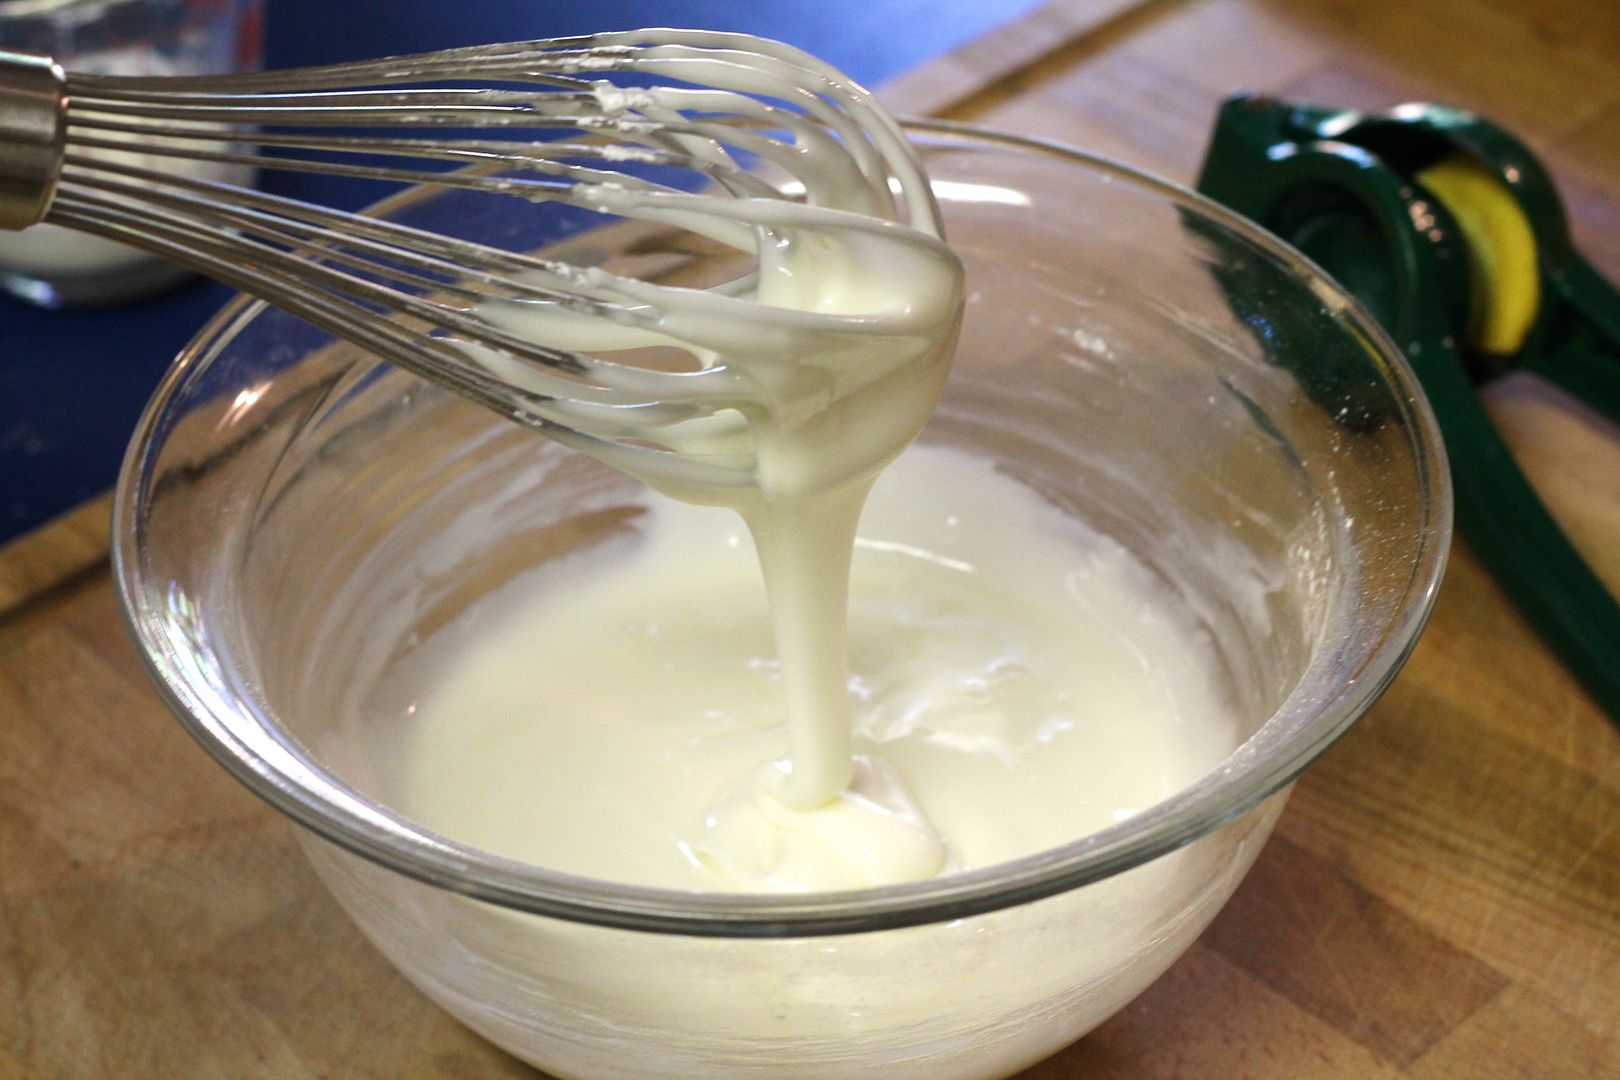
In a medium bowl, stir together:

280 g (2 cups) icing sugar

squeeze of lemon juice

pinch of salt

3-4 tbsp warm milk

Only add enough milk to make a thick but pourable glaze.

cinnamonbuns9

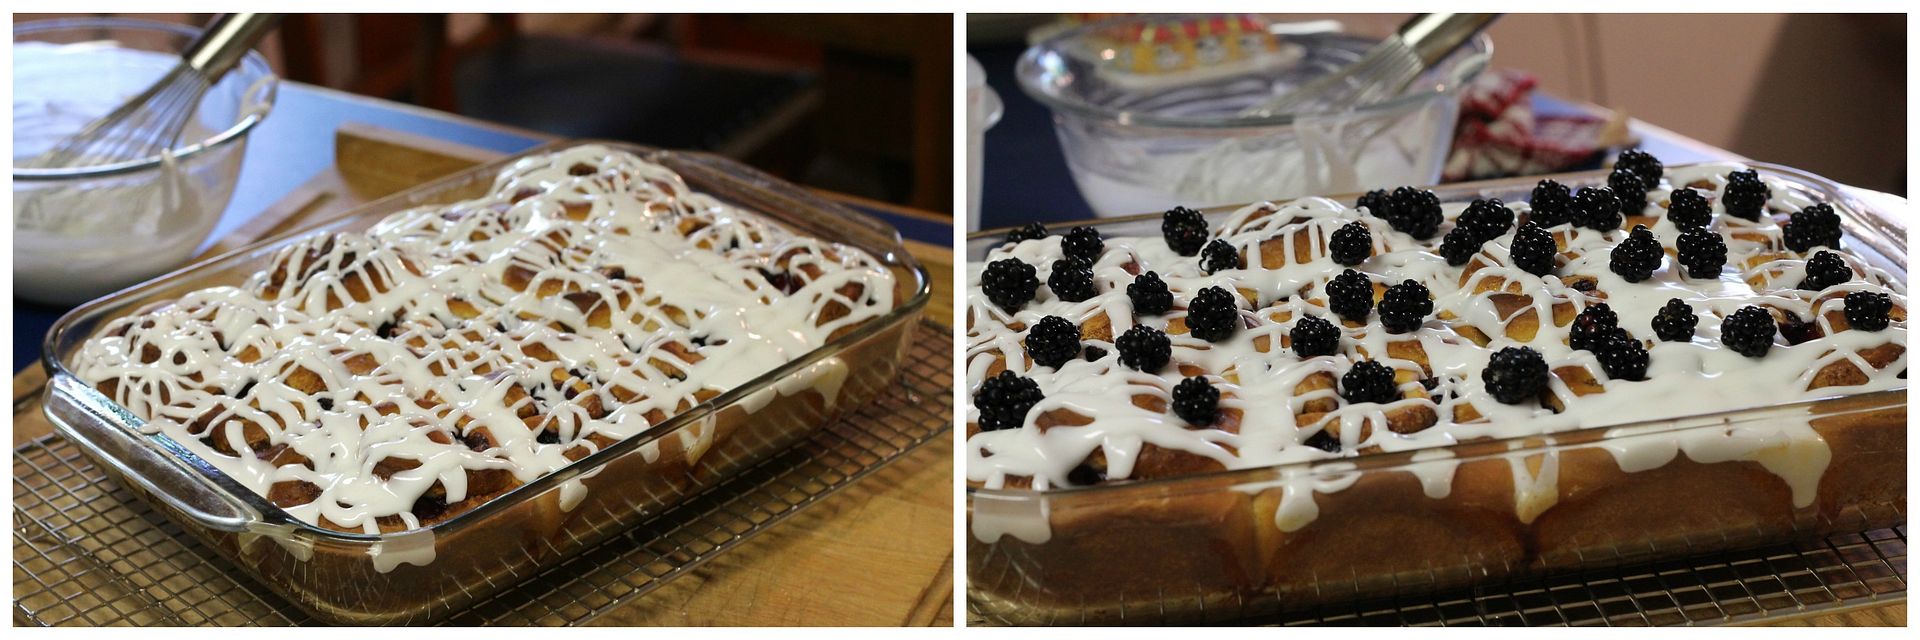
Drizzle the glaze over the warm buns and serve topped with some additional fresh blackberries.

cinnamonbuns10


Whole Wheat Sourdough Croissants

$
0
0

Whole Wheat Sourdough Croissants | Korena in the KitchenAlmost a year ago exactly, David Lebovitz posted a recipe for whole wheat croissants on his blog. I have been meaning to make them ever since, and I finally found an excuse to do it for this month’s Sourdough Surprises project. I haven’t baked with the group for a few months and my poor, poor starter has definitely been suffering because of it: when I pulled it out of the fridge at the beginning of the month, knowing that I’d need to revive it after not feeding it for a very long time, the top had actually turned grey. My heart sank because I thought I’d killed for real, but upon closer inspection it smelled fine and I was able to scrape off the grey layer (which was just discolouration and not anything more sinister). A few aggressive discards and feeds later, it was back to its happy, bubbling self. Moral of the story: despite appearances, a well-established sourdough starter is actually really really hard to kill!

Whole Wheat Sourdough Croissants | Korena in the Kitchen

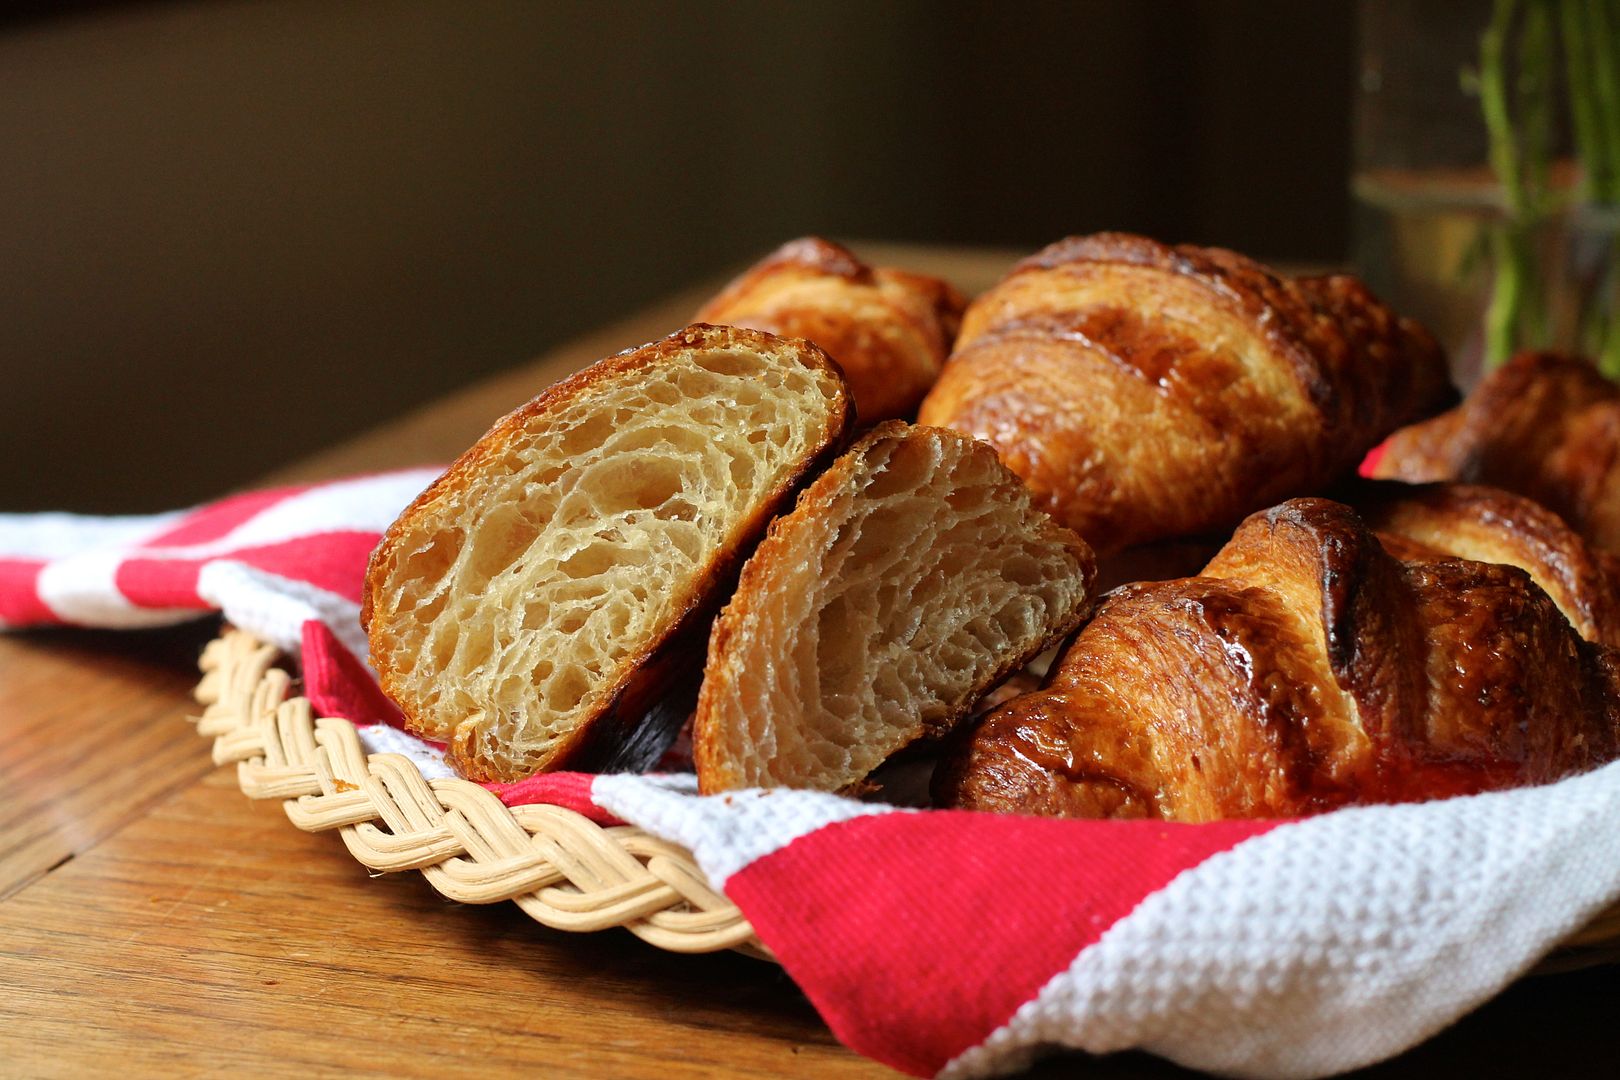
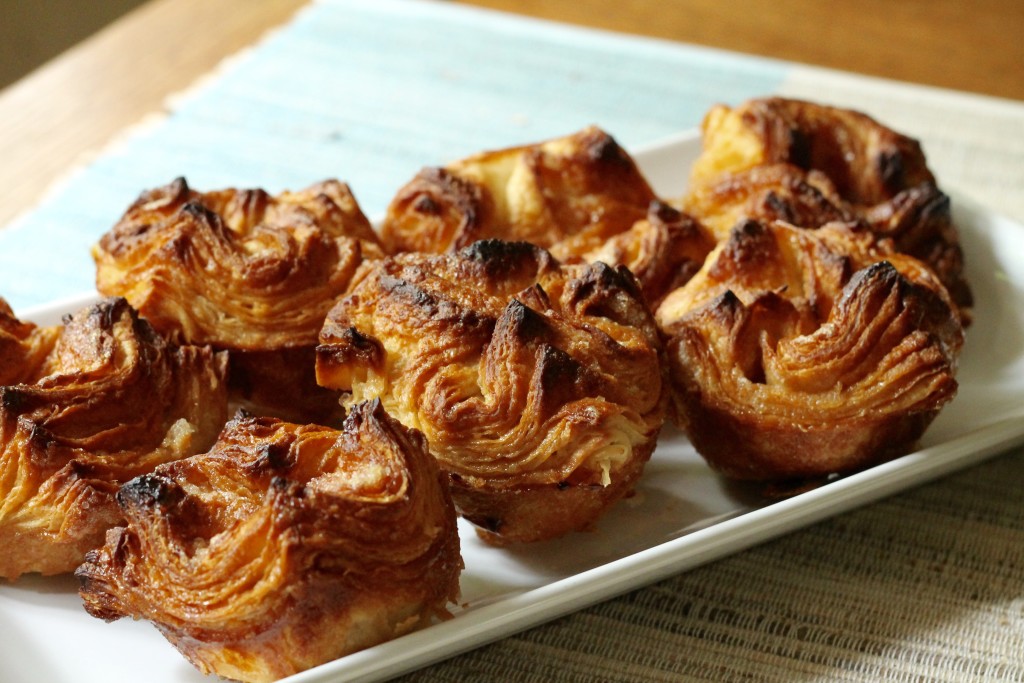
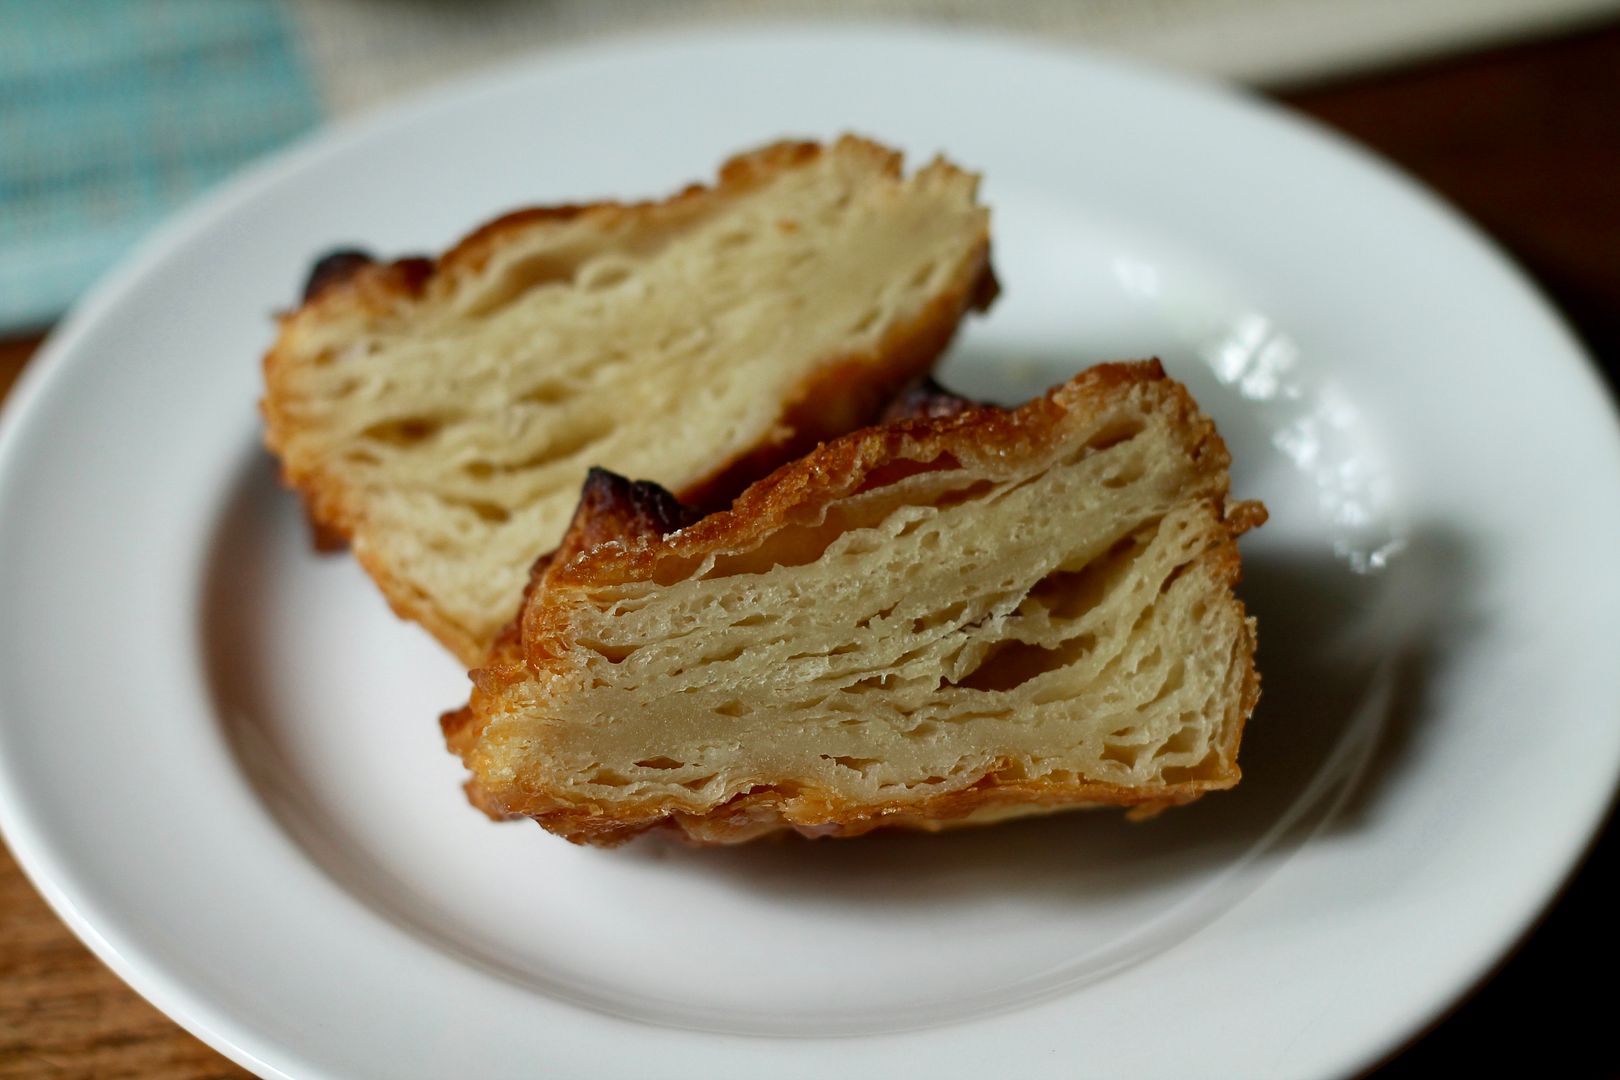
Even though I wanted to use David’s recipe, I turned to txfarmer on The Fresh Loaf for advice, because she is both a sourdough connoisseur and the Croissant Queen of the internet. I combined her sourdough croissant formula with David’s whole wheat croissant formula, and what I ended up with is very tasty indeed: flavourful and rich, with a flaky-crisp crust and soft, buttery inside. I proofed the croissants in an overly-warm spot, where they leaked a little bit of butter and expanded out rather than up so they don’t have that perfectly round cross-section, but they came out of the oven looking much better than I expected. Not to mention, they are delicious and made my whole house smell like a bakery (and also somehow like dark chocolate, even though they don’t contain a speck of it. Speaking of which, this recipe would make a mean pain au chocolat!).

Whole Wheat Sourdough Croissants | Korena in the Kitchen

In this formula, the sourdough is more for flavour than anything else, with the addition of a bit of commercial yeast in the dough to make sure things actually keep moving on schedule. This is important because the activity of the sourdough starter slows down considerably with all the chilling and resting of the dough that is necessary to keep the butter within it from melting. In most cases when making bread, slower activity = more time = more flavour, but here you run the risk of too much time, resulting in over-fermentation where the sourdough goes from extra flavourful to extra sour – not exactly welcome in a delicious breakfast pastry. I did all the mixing, folding, and shaping one day, then kept the croissants in the fridge overnight to proof and bake the next day, and not only was the schedule convenient, but the flavour was pretty much perfect.
Whole Wheat Sourdough Croissants | Korena in the Kitchen

Click the link to see all the croissants made this month by the Sourdough Surprises group!

Whole Wheat Sourdough Croissants

Adapted from David Lebovitz and txfarmer. Makes 16 small croissants – you could easily make 12 larger ones instead.

In the bowl of an electric mixer, combine:

320 g recently fed, active starter, 100% hydration

137 g whole milk, at room temperature

67 g granulated white sugar

10 g salt

3.55 g (1 1/8 tsp) instant yeast

22 g very soft unsalted butter

166 g strong bread flour

196 g whole wheat flour

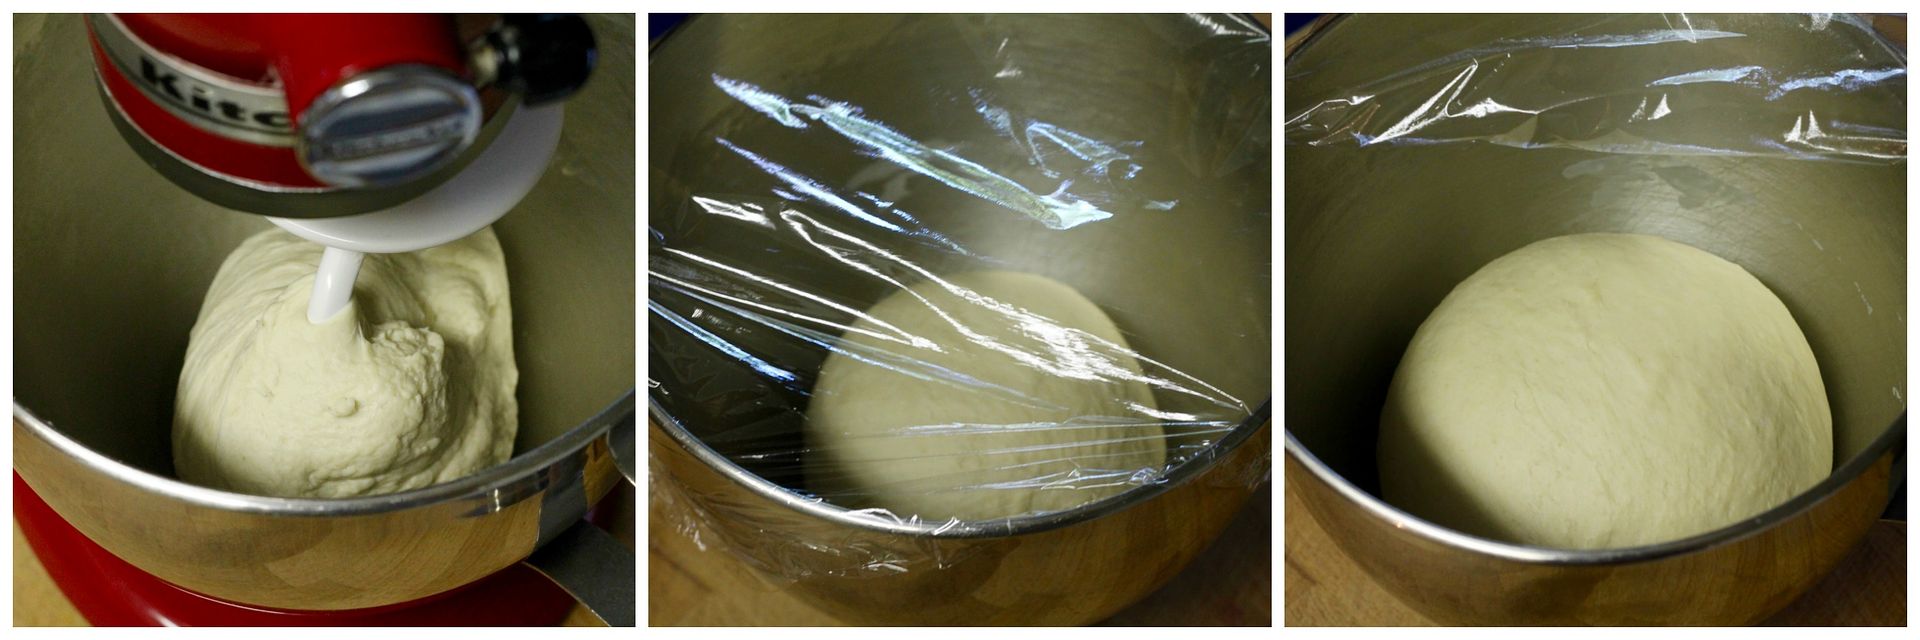
Mix together to form a shaggy dough, then knead with the dough hook on medium-slow speed until the dough comes together and starts to become elastic. Don’t over-knead at this stage – all the rolling and folding you are going to do will develop the dough as well, and too much kneading early-on will make it much harder to roll out. Pat the dough flat, cover with plastic, and refrigerate for at least 2 hours.

sdcroissants1

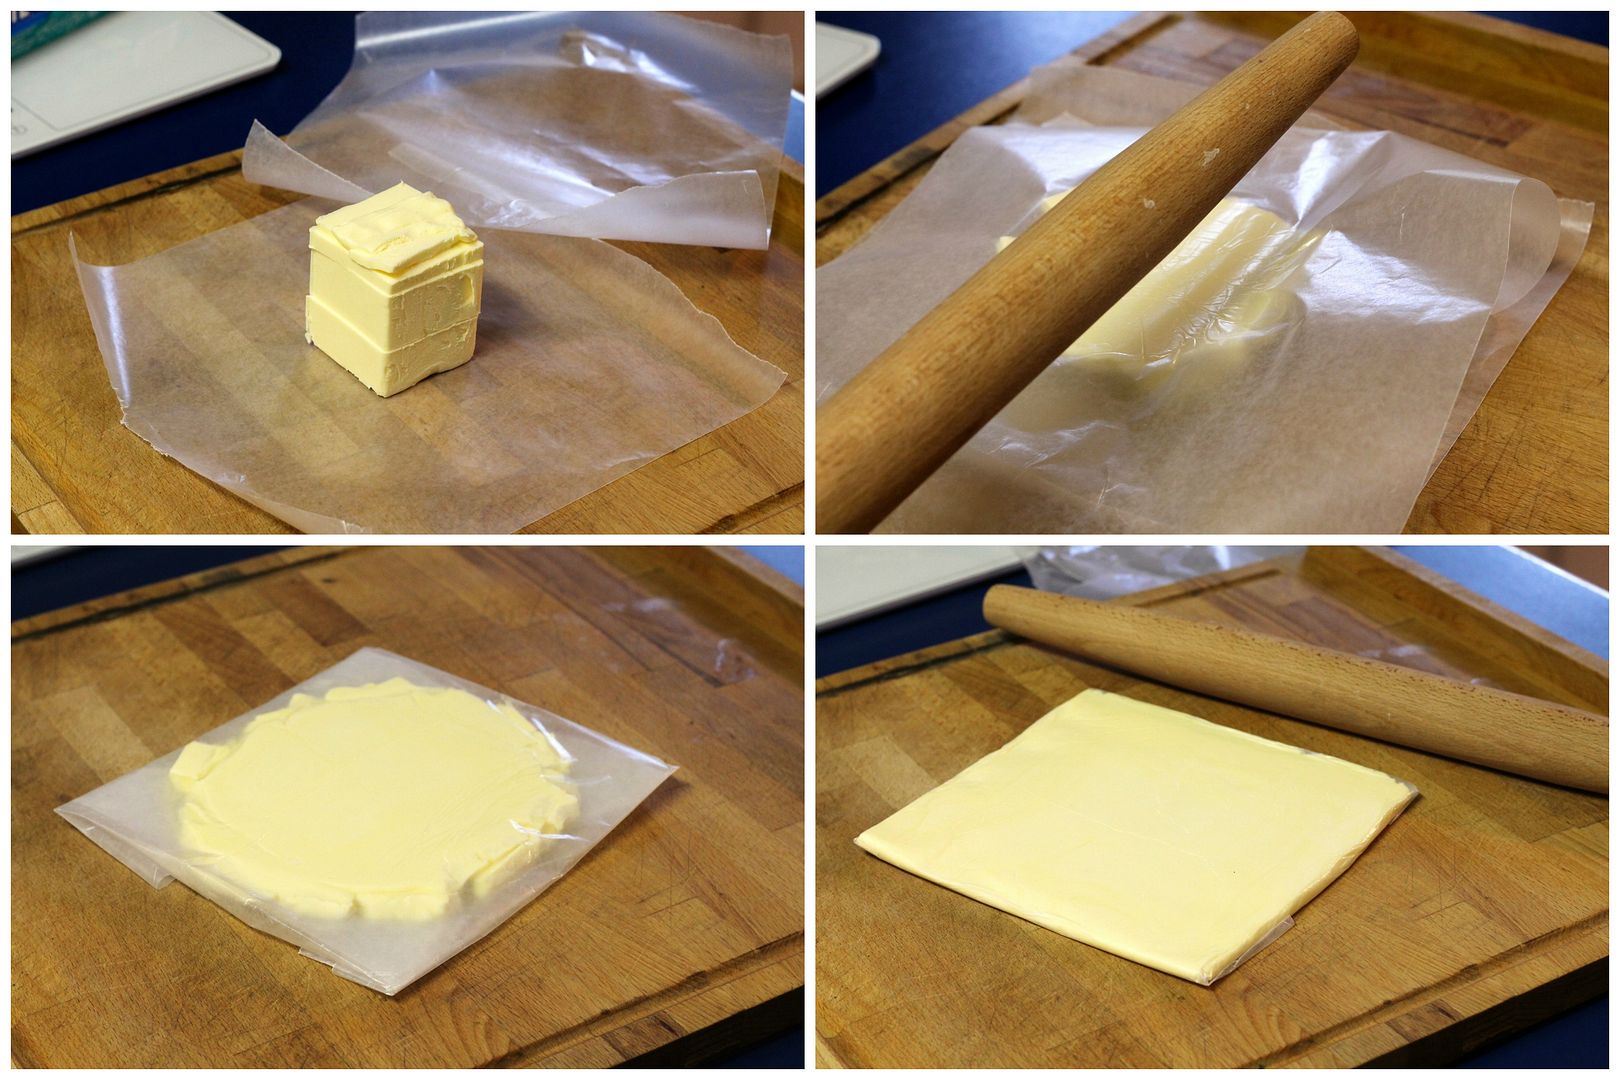
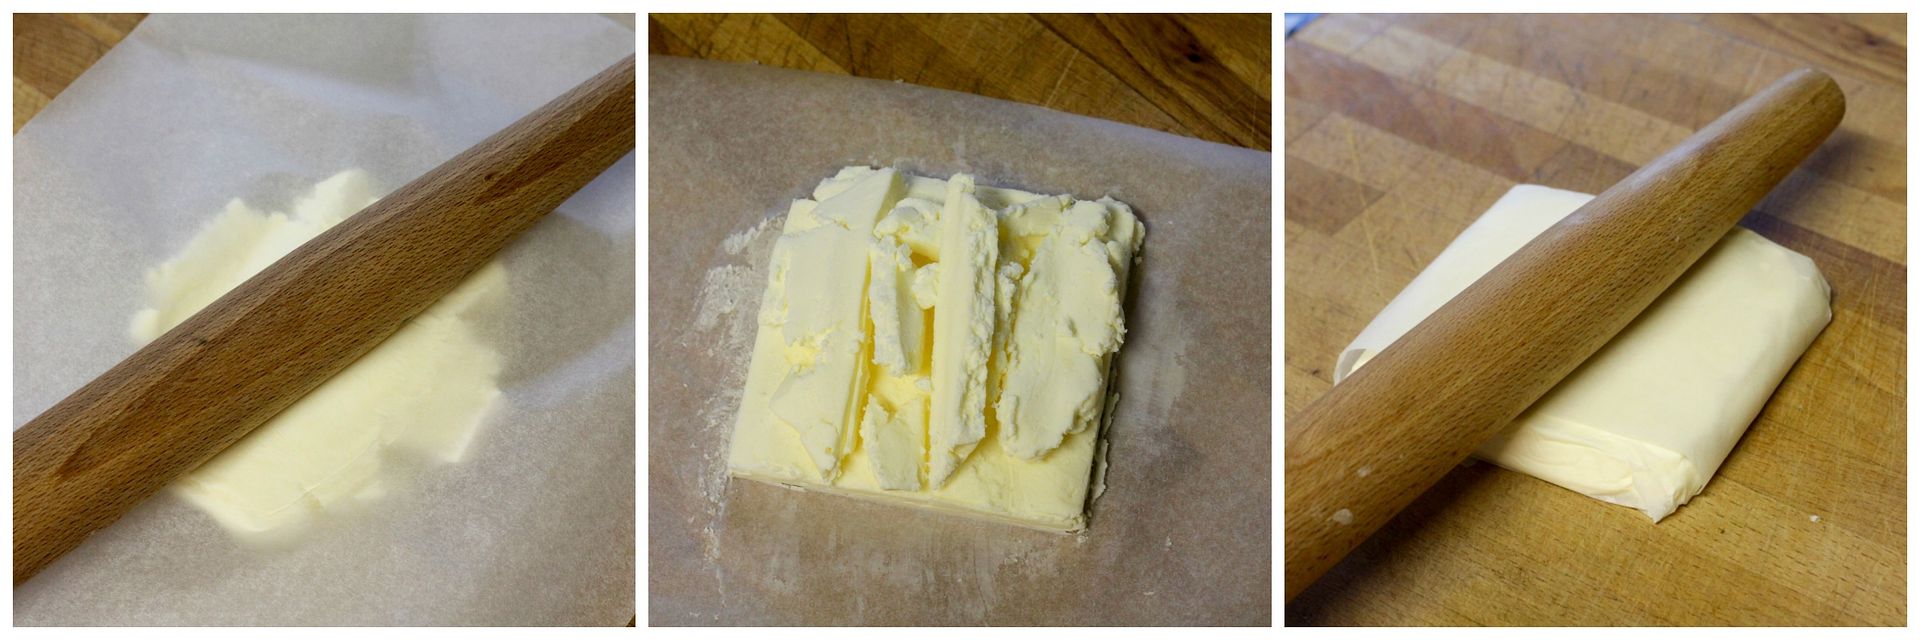
While the dough rests, prepare the butter. Place 287 g cold unsalted butter between two sheets of waxed paper. With a rolling pin, pound on the butter to flatten it into a square (eventually you’re aiming for about 7 inches square). This will help make the butter pliable without melting it. Once the butter is a bit flatter and more malleable, fold the waxed paper into a 7 inch square envelope enclosing the butter, and roll the butter like cookie dough out to the edges and corners of the envelope to make a perfectly-sized square.

buttah

Check the consistency of both the refrigerated dough and beaten butter – you want them to be about the same, so chill/rest at room temperature either one as required before continuing.
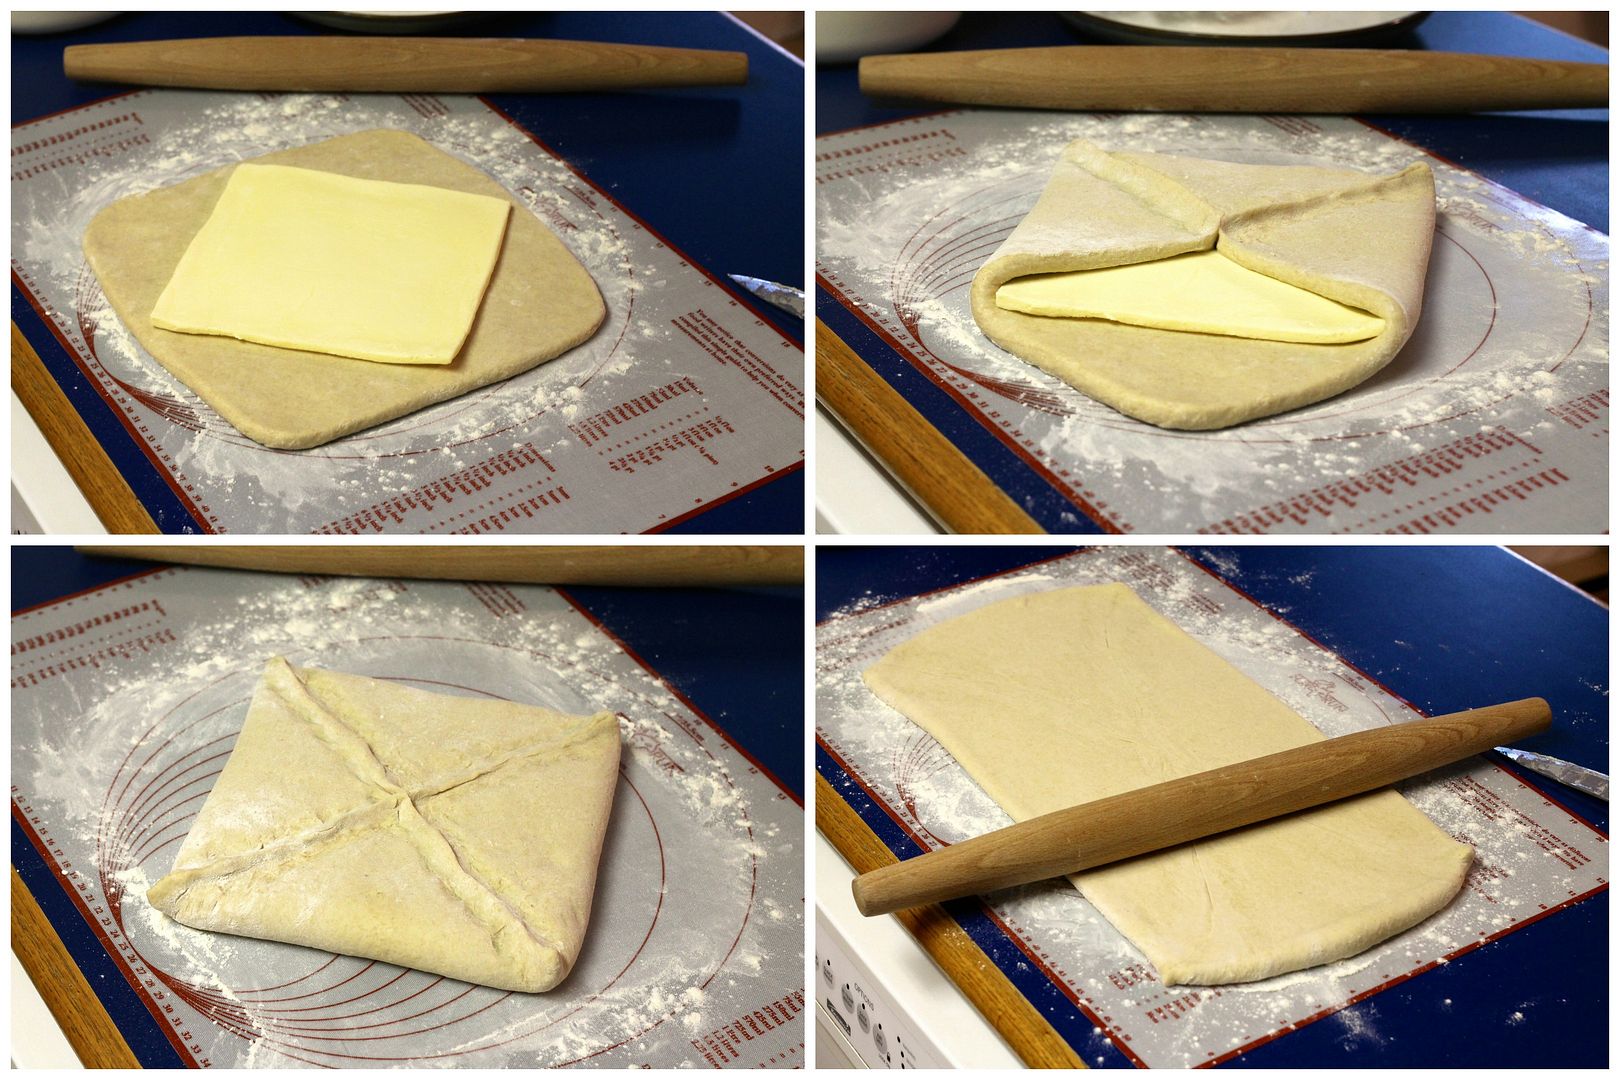
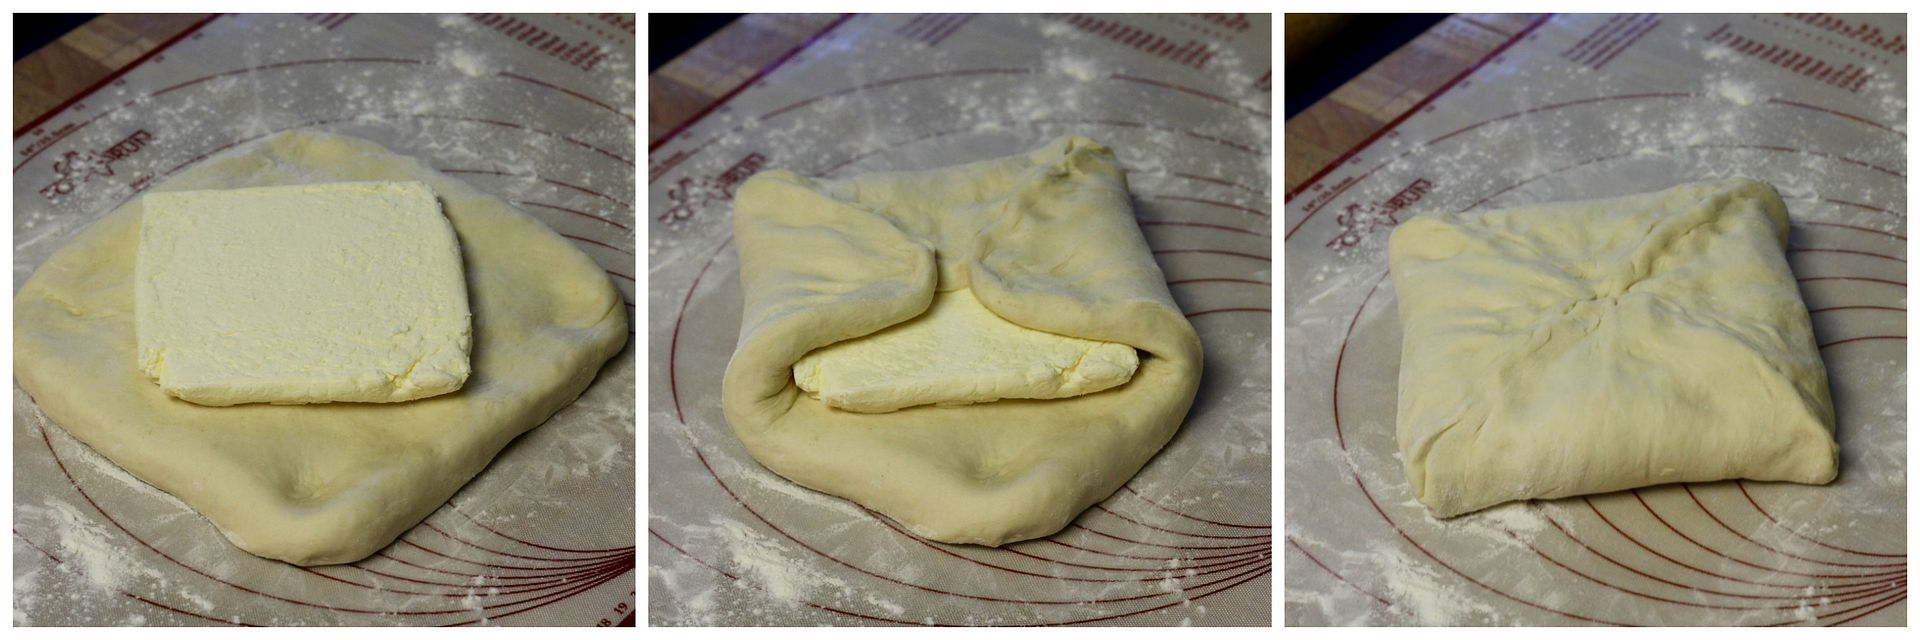
Place the dough on a lightly floured surface and roll/stretch it into an 11 inch square – it should be large enough to fit the butter block in the middle. Fold the corners of the dough over the butter and seal the seams tightly to completely enclose the butter. With a rolling pin, roll the dough into an 8 x 24 inch rectangle.
sdcroissants2

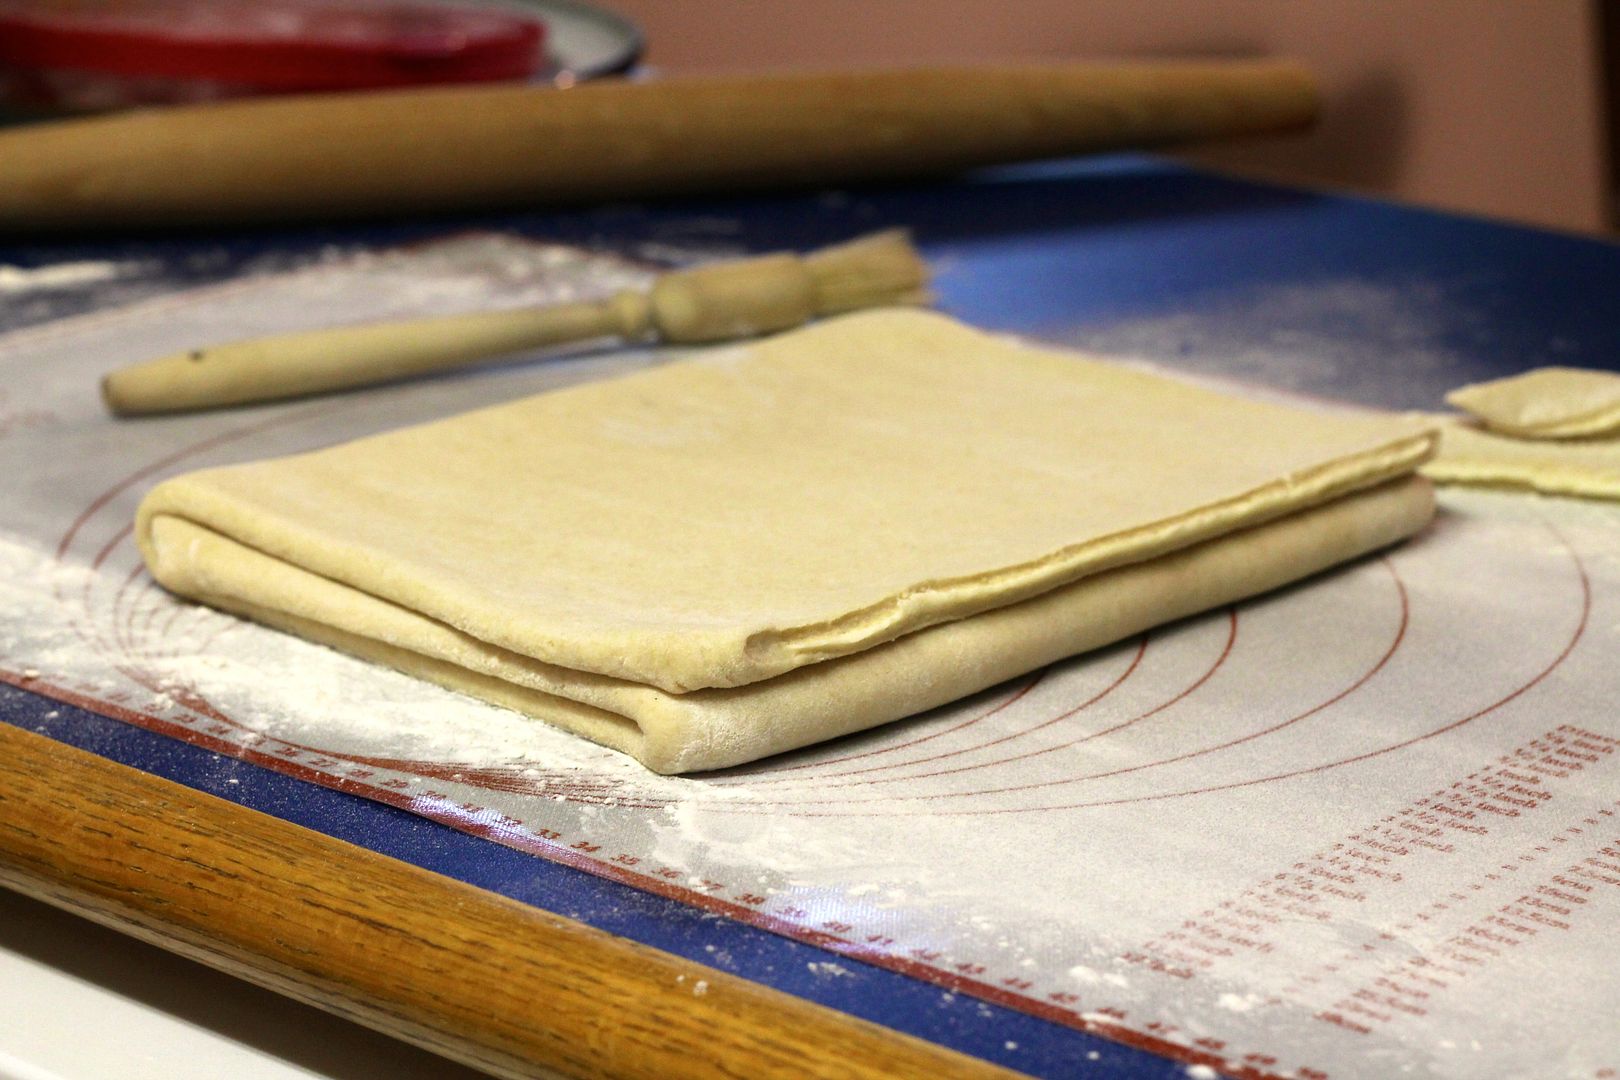
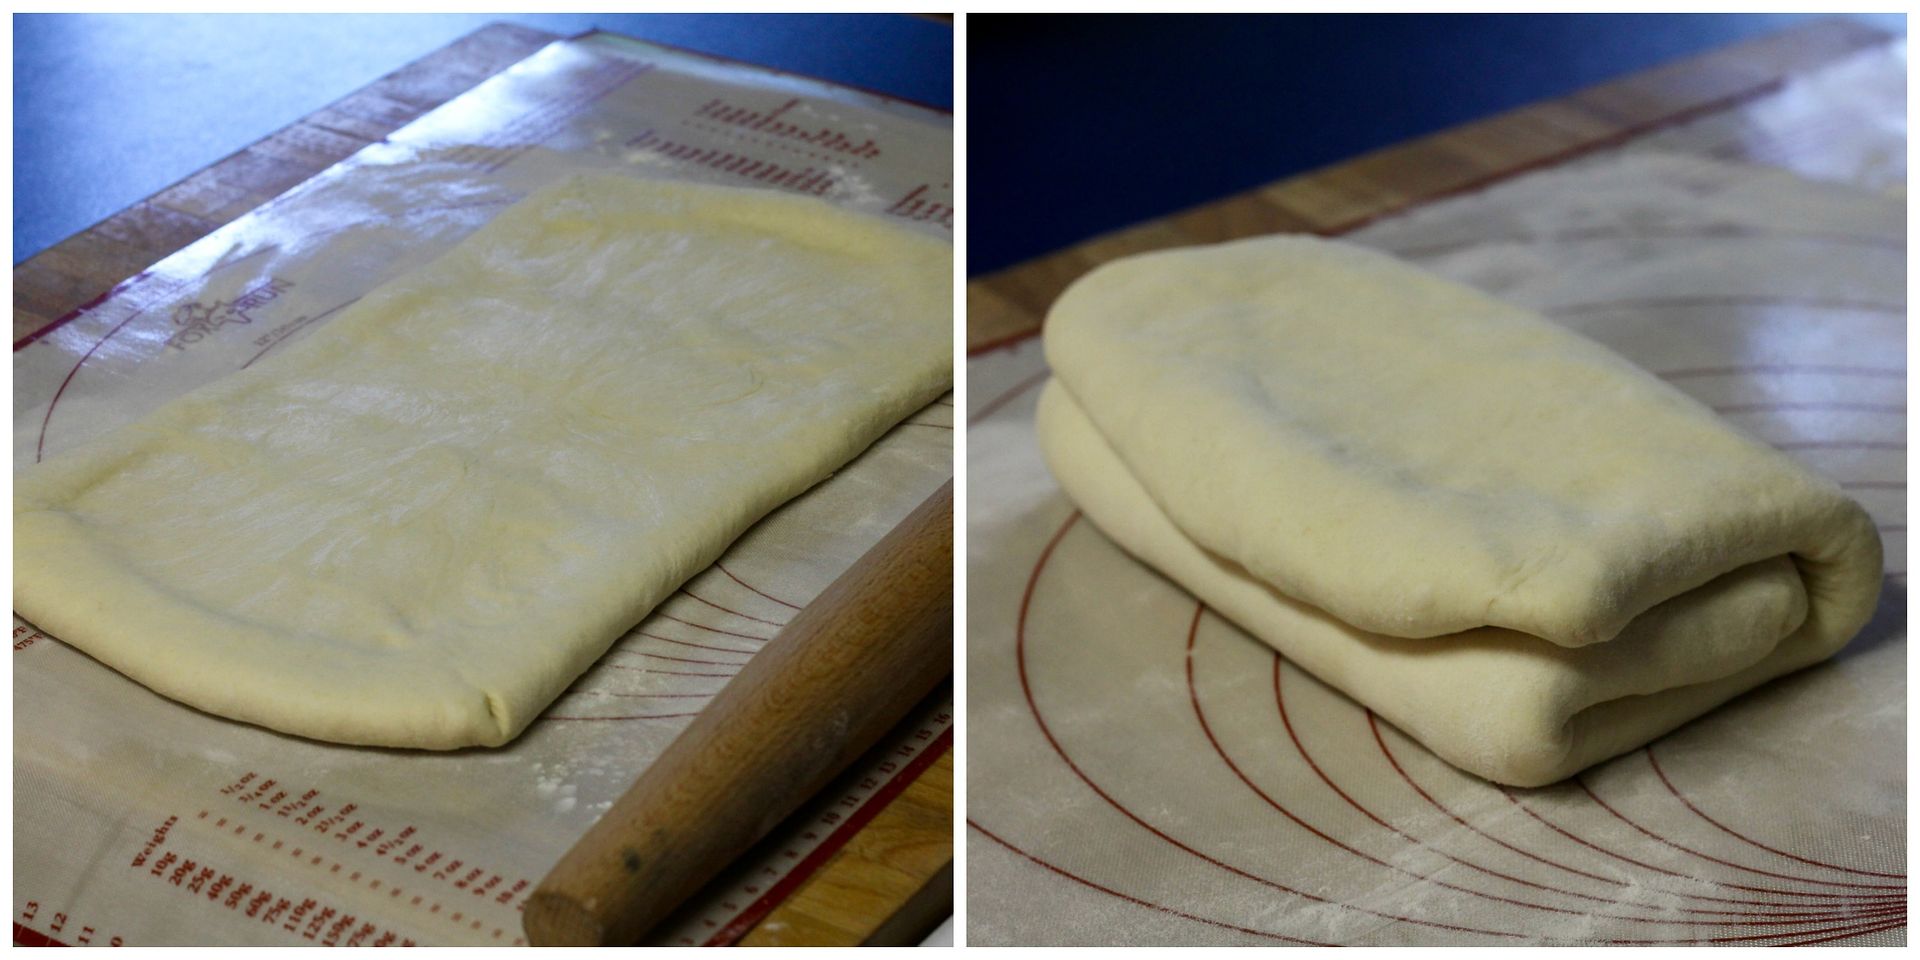
With a knife, trim the short ends of the dough to expose the butter – this will help make your layers more distinct, with no “trapped dough” in the final product. Fold the dough into thirds, like a letter, then wrap in plastic and chill for about an hour.
fold1

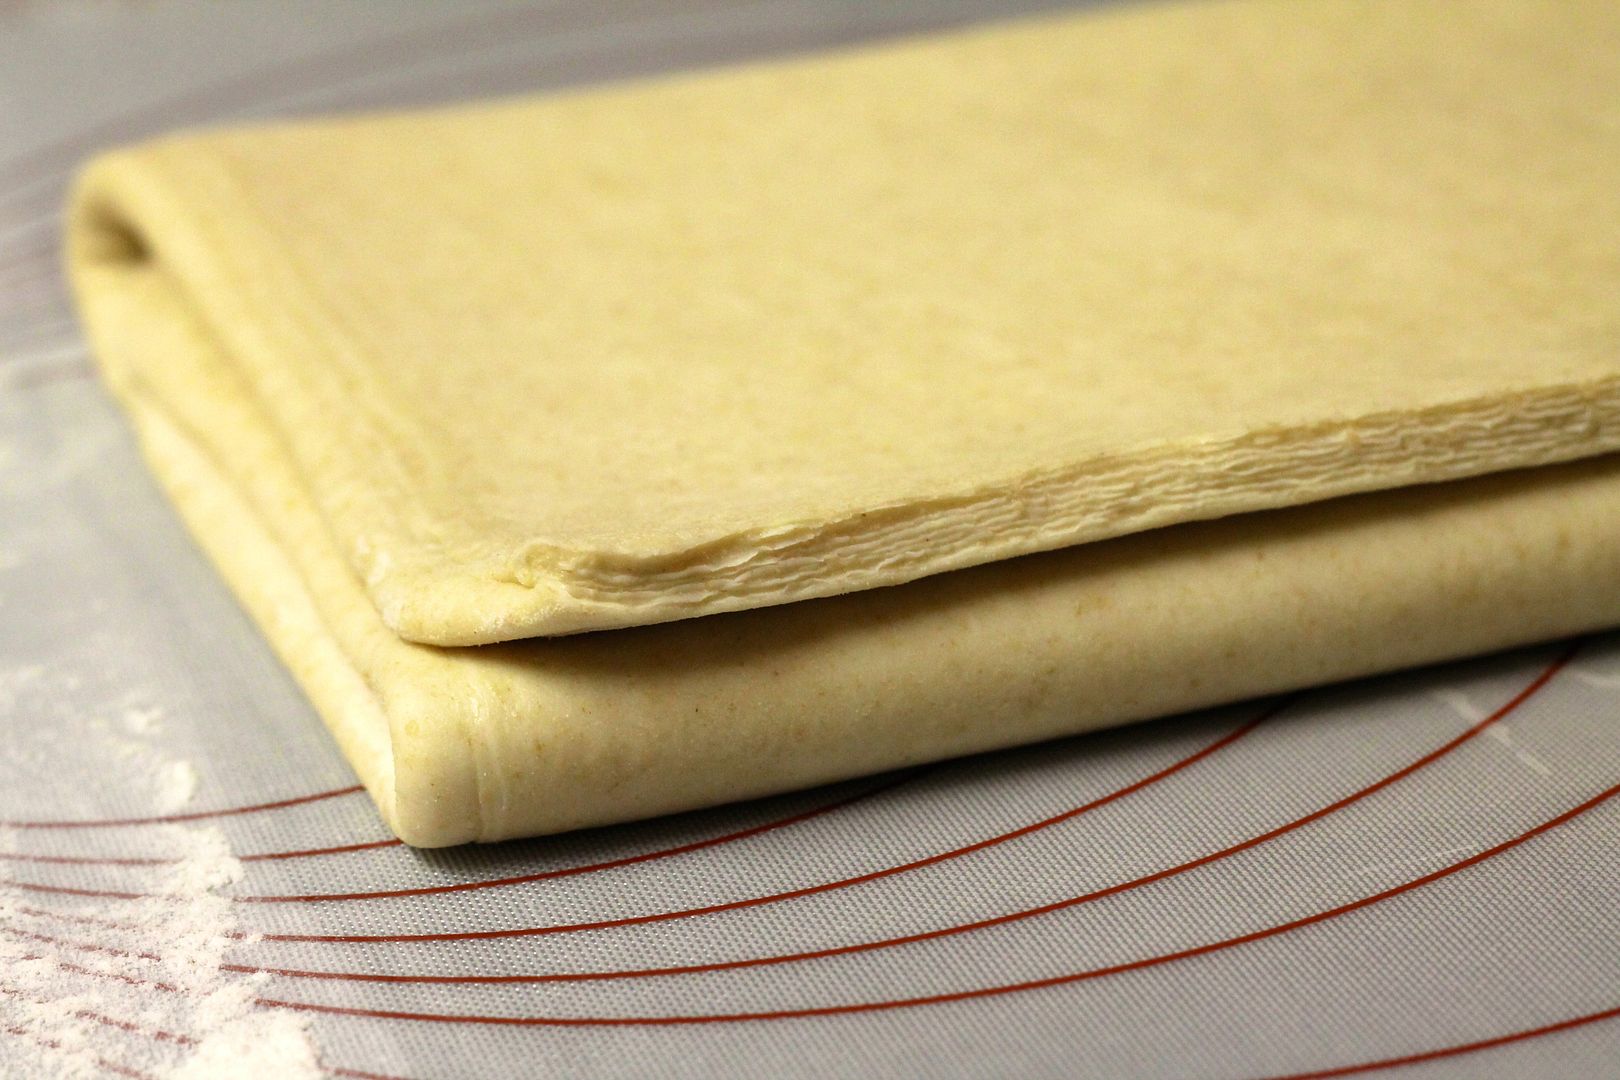
Repeat the rolling, trimming, and folding 2 more times, for 3 folds total. When rolling, make sure you roll from the center out towards the short ends to evenly distribute the butter inside the dough, and use a pastry brush to brush away any extra flour on the dough when folding. By the third fold you should see lots of lovely layers of butter and dough in the cut edge.
fold3

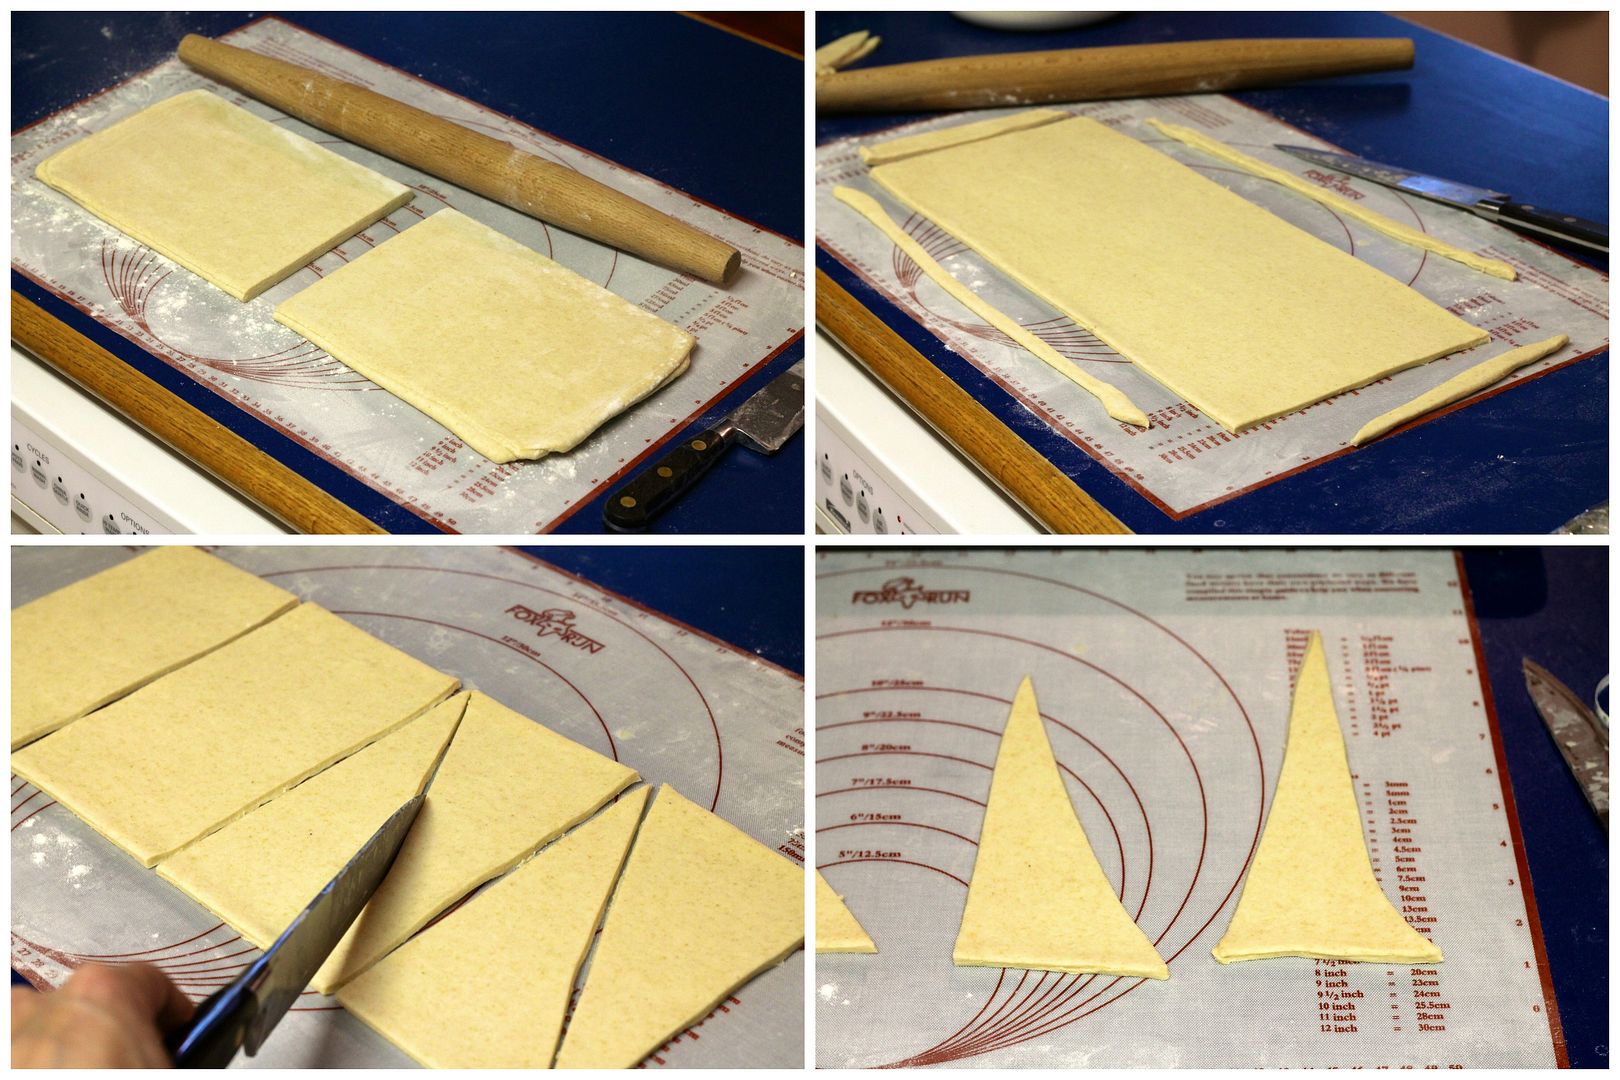
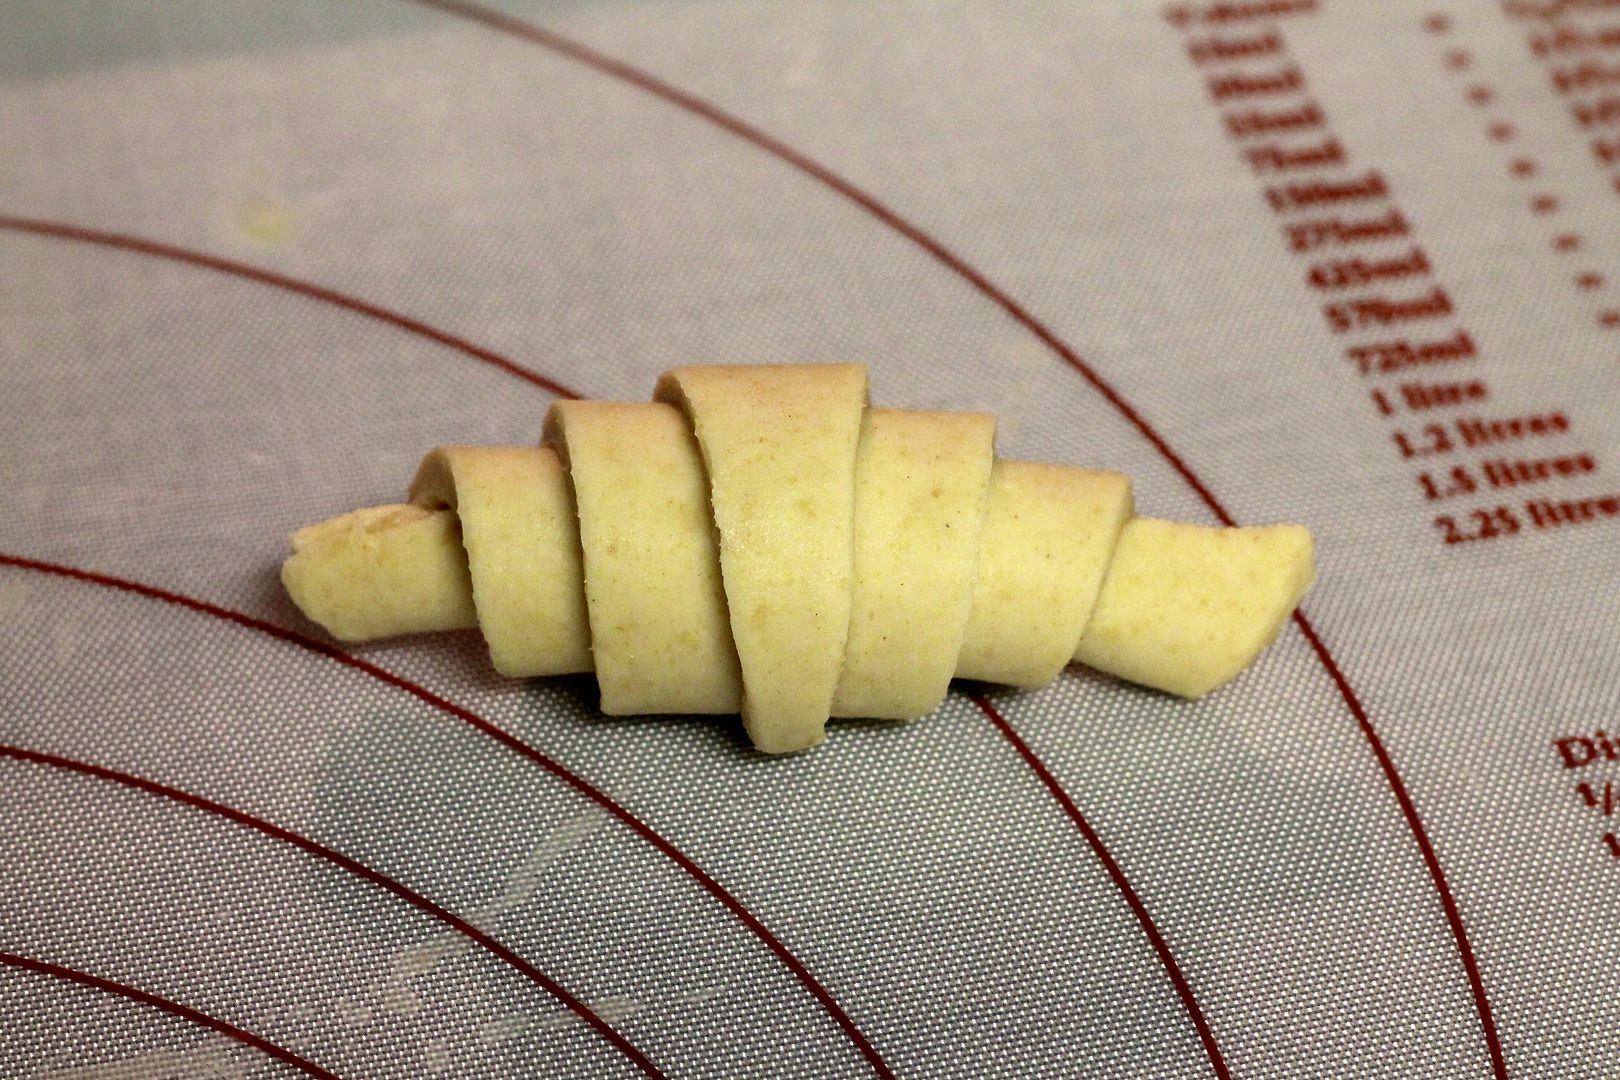
After the third fold and rest, you are ready to shape the dough. Roll it into a 9 x 36 inch rectangle or split the dough in half and roll each into a 9 x 18 inch rectangle (this is what I did). Carefully trim all 4 edges to expose the butter layers. Cut the dough into 8 rectangles total (4 1/2 x 9 inch), then cut diagonally across each rectangle to make 16 right-angle triangles total (if you’re working with a half batch, that’s 4 rectangles and 8 triangles). Stretch the shorter side of the triangle to make the two longer sides more equal, then roll it up from the base into a croissant.

(If you want slightly larger croissants, cut the dough into 6 rectangles total/12 triangles.)

sdcroissants4

Ideally, you want 7 little steps:

shapedcroissant

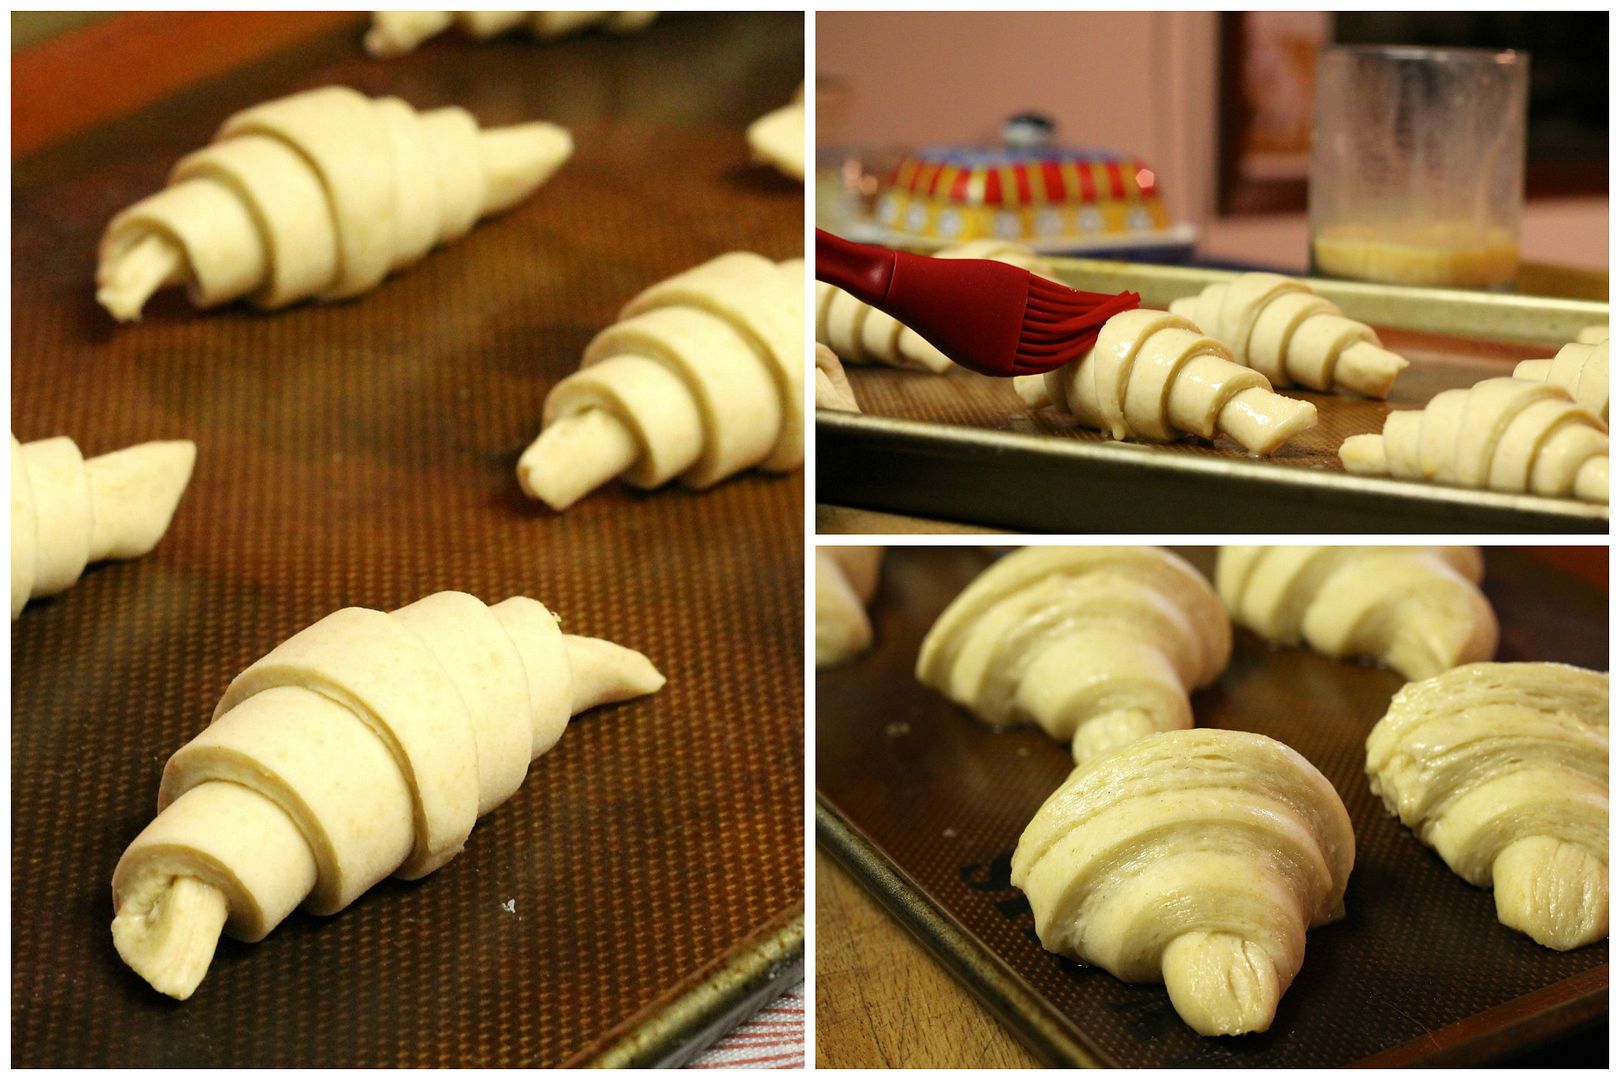
Place the croissants on a baking sheet lined with a silicon mat or parchment paper. At this point, you can cover and refrigerate overnight, or you can go ahead an proof them to bake. Brush the croissants with an egg wash of 1 egg beaten with 1 tbsp water. Cover the croissants lightly with plastic wrap and proof them at room temperature until they are very puffy and jiggly, with obvious visible butter layers in the cut edges (this might be 3 hours or more, depending on temperature).

sdcroissants5

Brush them once more with egg wash and bake in a preheated 425˚F (400˚F convection) oven for 10 minutes, then reduce the heat to 350˚F (325˚F convection) and bake for 15 more minutes, until they are a deep, glossy, mahogany brown. Cool slightly on a rack and eat them while they are still warm.

baked


Chinese BBQ Pork {Sourdough} Steamed Buns

$
0
0

Chinese BBQ Pork Sourdough Steamed Buns | Korena in the Kitchen

Despite the fact that I have a notification on my phone that pops up every Sunday at noon reminding me to “Feed sourdough!!!”, I still manage not to do it for weeks on end and that poor little culture of yeasts ends up grey and lifeless in the back of my fridge. Luckily for me, I realized this while I still had enough time to revive it to use in this month’s Sourdough Surprises project: Chinese steamed buns. Sourdough isn’t a traditional ingredient in steamed buns, but many recipes incorporate “old dough”, so sourdough fits right in.

Chinese BBQ Pork Sourdough Steamed Buns | Korena in the Kitchen

I filled the buns with homemade Chinese bbq pork, or char siu, which is very simple to make with a mixture of fairly common Asian condiments and some pork shoulder, and, as I don’t have a bamboo steamer, steamed them using a metal vegetable steamer. I’ve never had proper dim sum, so I have nothing to base this on, but these were pretty darn good: chewy, fluffy, slightly sweet dough and deliciously savoury-sweet (and not bright red) pork filling. I would have preferred the filling to be a little bit saucier, but that’s easily remedied with a little extra liquid. Definitely a day well spent in making these!

Chinese BBQ Pork Sourdough Steamed Buns | Korena in the Kitchen

Check out the Sourdough Surprises steamed bun collection:

Chinese BBQ Pork Sourdough Steamed Buns (Char Siu Bao)

Adapted from Andrea Nguyen’s Asian Dumplings, via several sources. Makes 16 buns. I suggest making the bbq pork the day before, then on the day you want buns, make the dough and while it rises, make the pork filing.

Chinese BBQ Pork (Char Siu)

Trim the fat from 2 lbs of pork shoulder, then cut into 1 1/2″ slabs (I got 2 pieces). Place in a large Ziplock bag.

In a medium bowl, combine:

3 garlic cloves, minced fine

3 tbsp granulated sugar

3/4 tsp Chinese 5 spice powder

generous 1/4 cup hoisin sauce

3 tbsp honey

2 tbsp + 1 tsp rice wine or dry sherry

1/4 cup soy sauce

1 tbsp sesame oil

Set aside about 1/3 of the marinade, then pour the rest over the pork in the Ziplock bag. Press out all the air, seal it up tight, and refrigerate for 6 hours to overnight, turning occasionally. Remove it from the fridge about 45 minutes before you are ready to cook it.

bbqpork1

Preheat the oven to 475˚F (450˚F convection). Line a baking sheet with aluminum foil and place a roasting rack on it. Lay the marinated pork on the rack with at least 1″ between the pieces (discard the used marinate). Roast in the 475˚F (450˚F convection) oven for 30-35 minutes, turning it over and basting with the reserved marinate every 10 minutes, until glazed, slightly charred, and the internal temperature is at least 145˚F. Be prepared for smoke – the oven is hot and the marinade that drips off the pork is likely to burn as it has lots of sugar in it.

bbqpork2

Rest the roasted pork for 10 minutes before slicing into thin slices (if serving right away). Can be wrapped tightly and refrigerated for a few days, or frozen up to 3 months.

Sourdough Famian (Dumpling) Dough

This is not a true sourdough recipe, as I also used yeast – but the starter gives the buns some nice flavour and enhances the texture, and would be a good way to use up discard starter.

In a medium bowl, mix together:

3/4 cup mature sourdough starter

1/2 cup lukewarm water

1 1/2 tsp instant yeast

2 tbsp canola oil

Set aside.

In the bowl of a food processor (fitted with a dough blade if you have one), pulse together:

2 1/2 cups all purpose flour

2 tbsp granulated sugar

2 tsp baking powder

With the motor running, pour the sourdough mixture in through the feed tube and process until the dough clumps together in a ball, about 1 minute.

Place the dough in a lightly oiled bowl, cover with plastic, and let rise in a warm place for about 30-45 minutes, until doubled.

dough1

BBQ Pork Filling

In a small bowl, mix together:

1 tbsp granulated sugar

1 pinch salt

1 pinch ground white pepper

1 tbsp soy sauce

2 tsp oyster sauce

1 tbsp water

Stir to dissolve the sugar and set aside.

In a medium skillet, heat 2 tsp canola oil over medium heat. Add 2 chopped green onions and sauté for about 30 seconds, until fragrant. Add 1/2 lb Chinese bbq pork, diced small, and stir to combine. Pour in the sauce mixture and cook for about 2 minutes, until the pork is heated through.

In a small bowl, mix together:

1 1/2 tbsp cornstarch

1 tbsp Chinese rice wine or dry sherry

2 tbsp water

Add to the mixture in the skillet and stir until thickened enough to mound together, adding a few more tablespoons of water if it becomes too thick and gloopy. Set aside to cool to room temperature.

filling

Assembly

Turn the risen dough out onto a lightly floured work surface and divide it in half. Cover one half to keep it from drying out, and cut the remaining half into 8 equal pieces. Form each piece into a ball and flatten with your palm into a 1/4″ thick disc. With your fingers, pinch the dough around the edges to form a circle a little larger than 3″ across, with thin edges and a thicker part in the middle (about a 1″ circle). This thick bit in the middle is the “belly” and will keep the bottom of the dumpling from breaking. If you have one, you can use a small Asian rolling pin to roll out the edges – a standard rolling pin is probably too large to do this.

dough3

I’m right handed, so this is how I pleated the dumplings: hold the prepared dough in your left hand and scoop 1 heaping tablespoon bbq pork filling in the middle of the dough on the thicker belly. With your right hand, fold and stretch one side of the dough over the filling into the middle. Hold the dough in place with your left thumb. With your right hand, fold and stretch the dough just beside where you made that first fold in towards the middle to make a pleat, and hold it in place with your left thumb. Continue like this, stretching the dough to cover the filling (it is quite stretchy and forgiving) and holding the pleats in place with your thumb, until you have a neat little package. Pinch/press the pleats to seal, and place the dumpling on a 3″ square of parchment paper (you’ll need 16 squares total). Place the formed dumpling on a baking sheet covered with a tea towel and continue with the remaining dough and filling to make 16 buns. Set the formed buns in a warm place to rise until puffy, 10-30 minutes depending on the temperature of your kitchen.

assembly

When the buns have risen, prepare your steaming apparatus by bringing a few inches of water to a gentle simmer in a pot. Place the buns in the bottom of the steamer insert, leaving about 1″ between them and the sides of the steamer. Place over the simmering water, cover, and steam for about 15 minutes, until puffed, shiny, and cooked through. Let cool for at least 5 minutes before serving hot or at room temperature. Re-steam leftover buns for about 5 minutes.

steamed

Daring Bakers: Asian Coconut Custard Buns

$
0
0

Asian Coconut Custard Buns | Korena in the KitchenThe February Daring Bakers’ challenge is hosted by Julie of One-Wall Kitchen. She challenged us to an easy, simple filled bun using no-knead dough.

This month’s Daring Bakers’ Challenge recipe is known by many names – bao, mantou, nikuman, siopao and others – but the common denominator is that is it an Asian-style bun, stuffed with a filling (often Chinese bbq pork) and baked. At first I wasn’t too excited because I had so recently made the steamed version of this recipe with the Sourdough Surprises group, but then I remembered Suz’s custard-filled steamed buns, and suddenly I knew that I wanted to make a baked version.

Asian Coconut Custard Buns | Korena in the Kitchen

When I first envisioned these, I was thinking of a filling of vanilla custard and blueberries, but then I ran out of regular milk and had to use coconut milk in the custard instead. It tasted so good that I changed tacks and went full-on coconut. They ended up being sort of like a honey bun, which is a delicious Asian sweet bun filled with a mixture of coconut, butter, and honey or sugar.

Asian Coconut Custard Buns | Korena in the Kitchen

There are countless dough recipes for Asian buns like this, but I chose one that uses tang zhong, aka water roux. This is a technique for making super soft bread where you cook a portion of the dough’s flour and water into a thick paste or roux. For whatever reason (science!) it not only makes the resulting bread pillowy and light, it also stays fresher longer.

Asian Coconut Custard Buns | Korena in the Kitchen

The recipe below makes six quite large buns. If I were to make it again, I’d divide the dough into eight buns and make one-and-a-half times the custard, because it was my favourite part. Or maybe it was the sticky honey brushed on top of the baked buns, or the toasted coconut folded into the custard. I guess what I’m saying is: they were tasty.

Thanks for the challenge Julie! Check out the Daring Kitchen for more siopao/bao/etc.

Asian Coconut Custard Buns

Makes 6 large buns, but I would recommend making 8 smaller buns and using 1 1/2 times the filling.

Coconut Custard

In a small pot combine 128 g full fat coconut milk plus the seeds and pod from 1/2 a vanilla bean. Place over medium heat until it just boils.

milk1

Meanwhile, in a medium bowl, whisk together until pale yellow:

2 egg yolks

28 g granulated sugar

1 1/2 tbsp corn starch

pinch salt

Remove the vanilla bean pod from the just-boiled coconut milk, then pour the coconut milk in a steady stream into the egg mixture, whisking constantly.

custard1

Pour the whole thing back into the pot and place over medium heat again. Cook, whisking constantly, until the mixture boils and just comes to a boil – this ensures that the cornstarch is fully cooked and won’t taste starchy.

custard2

Remove from the heat and whisk in 14 g unsalted butter, cubed, until smooth and creamy. Scrape into a bowl and press plastic wrap to the surface of the custard to prevent a skin from forming. Refrigerate until completely cool (I left it overnight).

custard3

In a small skillet over low heat, toast 25 g unsweetened flaked coconut, stirring occasionally, until golden brown and fragrant. Let cool, then stir into custard.

custard4

Dough

Adapted from The Girl Named Kay.

To make the tang zong, whisk together in a small pot:

25 g bread flour

1/4 cup water

1/4 cup full fat coconut milk

Whisk until no lumps remain, then place over medium-low heat and cook, stirring constantly, until the mixture thickens and just starts to bubble. Remove from the heat and scrape into a bowl. Press plastic wrap to the surface and let cool to room temperature (or can be kept up to 3 days in the fridge. Do not use if it starts to turn grey.)

tangzhong

For the dough, in the bowl of an electric mixer with the dough hook attachment, combine:

350 g bread flour

55 g granulated sugar

2 tsp instant yeast

1 tsp salt

Make a well in the middle and add:

1/2 cup warm full fat coconut milk

1 egg

the cooled tang zhong

dough1

Mix into a sticky dough, then knead with the dough hook until it becomes cohesive. Add 30 g unsalted butter, room temperature, and continue to knead the dough for about 10-15 minutes until it is smooth, and comes away from the side of the bowl. It will still be quite sticky but very elastic – you should be able to stretch a “window pane” in it (ie: thin enough to be transparent without tearing). Cover the bowl with plastic wrap and let rise until doubled in size, 1-2 hour depending on the room temperature, or you can let it rise overnight in the fridge, which is what I did (allow it to warm up to room temperature for a few hours before continuing).

windowpane

Turn the dough out onto a lightly floured surface and divide into 6 equal pieces. Shape each into a ball and let rest for a few minutes.

Roll each ball into a 5-6″ circle, making the edges slightly thinner than the center. Scoop one-sixth of the chilled coconut custard (about 1 healed tbps) into the middle of the dough, the bring the edges in and twist to seal. Place seam-side down on a baking lined with a silicon mat or parchment paper. Cover with a cloth and let rise somewhere warm for 1-2 hours, until large and puffy – if you poke the dough, it should spring back slowly. While the dough rises, preheat the oven to 350˚F (325˚F convection).

shaping

Mix together an egg wash of 1 egg + 1 tbsp water and brush over the tops of the dough. In a small bowl, whisk together 3 tbsp flour with enough water to make a thick yet pipable paste. Place the paste in a piping bag or Ziplock bag, snip off the tip, and pipe a spiral on each egg washed bun, starting from the center and working out.

spiral

Bake in the preheated 350˚F (325˚F convection) oven for 20-25 minutes, until the tops are a deep golden brown and the bottoms sound hollow when tapped. While the buns are still warm, brush them with 1 tbsp honey, heated until runny, then sprinkle with unsweetened flaked coconut. Cool on a rack.

honey&coconut

These buns will keep up to 3 days at room temperature in a sealed container.

cooling


Honeyed Hot Cross Buns

$
0
0

Honeyed Hot Cross Buns | Korena in the KitchenI know, I know, Easter was so two weeks ago. But seeing as I’ve posted about hot cross buns every year since I started this blog, I couldn’t NOT post about this year’s version. Just bookmark this recipe for next year and call it advance preparation.  ; )

Honeyed Hot Cross Buns | Korena in the Kitchen

In the past I’ve gotten inventive with using chocolate, beer, and cider in my hot cross buns. This year, I went for a pretty classic version which includes home made candied orange and lemon peel. I candied the peel with honey instead of sugar, and used the left-over citrus-infused honey syrup to brush over top of the baked buns, giving them a shiny, sticky, delicious finish. I used currants and raisins in these, but they would also be great with dried cranberries and chopped dried apricots, or a combination of all four.

Honeyed Hot Cross Buns | Korena in the Kitchen

Honeyed Hot Cross Buns

Adapted from Poires au Chocolat. Makes 12 buns.

Honey-Candied Peel

Using a vegetable peeler, peel the rind off of 1 orange and 1/2 a lemon (organic is best when you are eating the peel), trying to avoid as much of the bitter white pith as you can.

peels1

Place the peel in a small saucepan and cover it with cold water. Place it on the stove and bring it to a boil. Boil for about a minute, then drain the water and reserve the peels. Place them back in the pan, cover with more cold water, and repeat. Repeat once more for three times total. On the third time, reserve the peels in the strainer.

peels2

In the pot, combine 100 ml water and 100 g honey. Place it over medium heat and bring it to a boil, then add the blanched peel and simmer until the peel starts to look translucent and the syrups boils with very small bubbles, about 10 minutes.

peels3

Cool for a few minutes, then remove the peel from the syrup and place on a rack to drip. Reserve the syrup.

peels4

Once the peel is cool, slice it into thin strips and then dice it into small pieces.

Hot Cross Buns

In a small pan, combine 225 ml milk and 50 g unsalted butter. Heat over low heat just until the butter melts and the milk starts to steam. Remove from the heat and set aside to cool to lukewarm.

milk

In the bowl of an electric mixer, mix together:

450 g bread flour

7 g instant yeast

1 tsp cinnamon

1/2 tsp ground ginger

1/2 tsp fine sea salt

1/4 tsp grated nutmeg

1/8 tsp ground cloves

Set aside.

dry

Mix the lukewarm milk with:

1 egg

30 g honey

Stir in:

the chopped candied peel

100 g dried currants

100 g raisins

(This prevents the dried fruit from clumping.)

wetmix

Pour the milk mixture into the flour mixture and knead with the dough hook on medium speed until the dough is smooth, elastic, and tacky, about 10 minutes. The dried fruit might seem to fall out of the dough as you knead, this is fine, just incorporate it back into the dough every few minutes, and when the dough is fully kneaded, do a few turns by hand to make sure the fruit is evenly distributed.

inKA

Shape the dough into a ball, place in the bowl, and cover with plastic wrap. Let rise until double in size (this can take place at room temperature, or overnight in the fridge).

risen

Place the risen dough on a lightly floured surface and deflate it gently. Divide it into 12 pieces (about 87 g each) and shape each into a smooth ball by stretching the edges of the dough underneath and pinching to secure.

shaped

Place smooth side up on a baking sheet lined with a silicon mat or parchment paper with about 1 inch between the buns. Cover lightly with plastic wrap and let them proof somewhere warm until they are almost touching (alternatively, proof them in the fridge overnight and proceed with baking the next day to have fresh hot cross buns for breakfast).

proofed

Preheat the oven to 400˚F (375˚F convection). When the buns are proofed, mix together a paste of 2 tbsp all purpose flour + ~5 tbsp water for the crosses. Add the water slowly – you want a consistency that is thin enough to pipe, but thick enough that it won’t run off the buns. Place the paste in a piping bag or small ziplock bag with the corner snipped off and pipe crosses on the buns.

crosses

Bake the buns in the preheated 400˚F (375˚F convection) oven for 15 minutes, then reduce the heat to 325˚F (300˚F convection) and bake for 5-10 minutes more, until hollow-sounding on when tapped. While the buns are still hot, brush them with the reserved honey syrup, then remove to a cooling rack.

glazed

Serve split with butter. If you want to freeze them, split them first, then they can be thawed in the toaster.

Honeyed Hot Cross Buns | Korena in the Kitchen

Daring Bakers: Sweet or Savoury Sourdough Focaccia

$
0
0

Sourdough Focaccia | Korena in the KitchenFor the month of April Rachael of pizzarossa and Sawsan of Chef in Disguise took us on a trip to Italy. They challenged us to try our hands at making focaccia from scratch.

As soon as I saw this month’s Daring Bakers challenge, I knew exactly what I wanted to make: raisin focaccia. While not as well known as savoury, rosemary and salt topped focaccia, apparently this sweet version is a well-loved breakfast item in the Ligurian region of Italy. I’d had a recipe bookmarked for quite a while, and this seemed like the perfect chance to finally make it, so I did. However, I should have known better when the recipe only specified three minutes of kneading and no bulk fermentation. The resulting focaccia was pretty “meh” tasting, and it lacked so much in structure that it fell apart when I tried to take it out of the pan. Sadly, raisin focaccia round one was a big ol’ FAIL.

raisin focaccia fail | Korena in the Kitchen

But I was still dreaming of what raisin focaccia could be like: crisp olive-oil rich edges with an airy, chewy center, dotted with sweet plump raisins and a caramelized-sugar-scattered top. And then I got it in my head to try making it with sourdough. So I turned to my tried and true focaccia recipe and converted in to sourdough (which was pretty easy, given that the recipe starts with an overnight biga that very closely resembles a 100% hydration sourdough starter). The recipe makes two ten-inch focaccias, so I did one with a savoury asiago cheese, sundried tomato, and thyme topping, and one with raisins mixed in and sugar on top.

Asiago & Sundried Tomato Sourdough Focaccia | Korena in the Kitchen

asiago cheese, sundried tomatoes and thyme

Raisin Sourdough Focaccia | Korena in the Kitchen

raisin

Round two was a much better success, but, due to user error, still not a home run. I missed the step in the recipe where it said to turn down the oven by 50 degrees, so the toppings on my focaccias got rather burnt and the crusts were just a little overly crisp. But the flavour was spot on with a nice sourdough tang due to the long fermentation time, and OMG the airy crumb!!! This is probably the best crumb of any artisan bread I’ve ever made:

Sourdough Focaccia | Korena in the Kitchen

Thanks for a fun and challenging challenge, Sawsan and Rachael!

Sourdough Focaccia

Makes 2 x 10″ focaccias. Adapted from the LA Times and Elra’s Baking.

In the bowl of an electric mixer, combine:
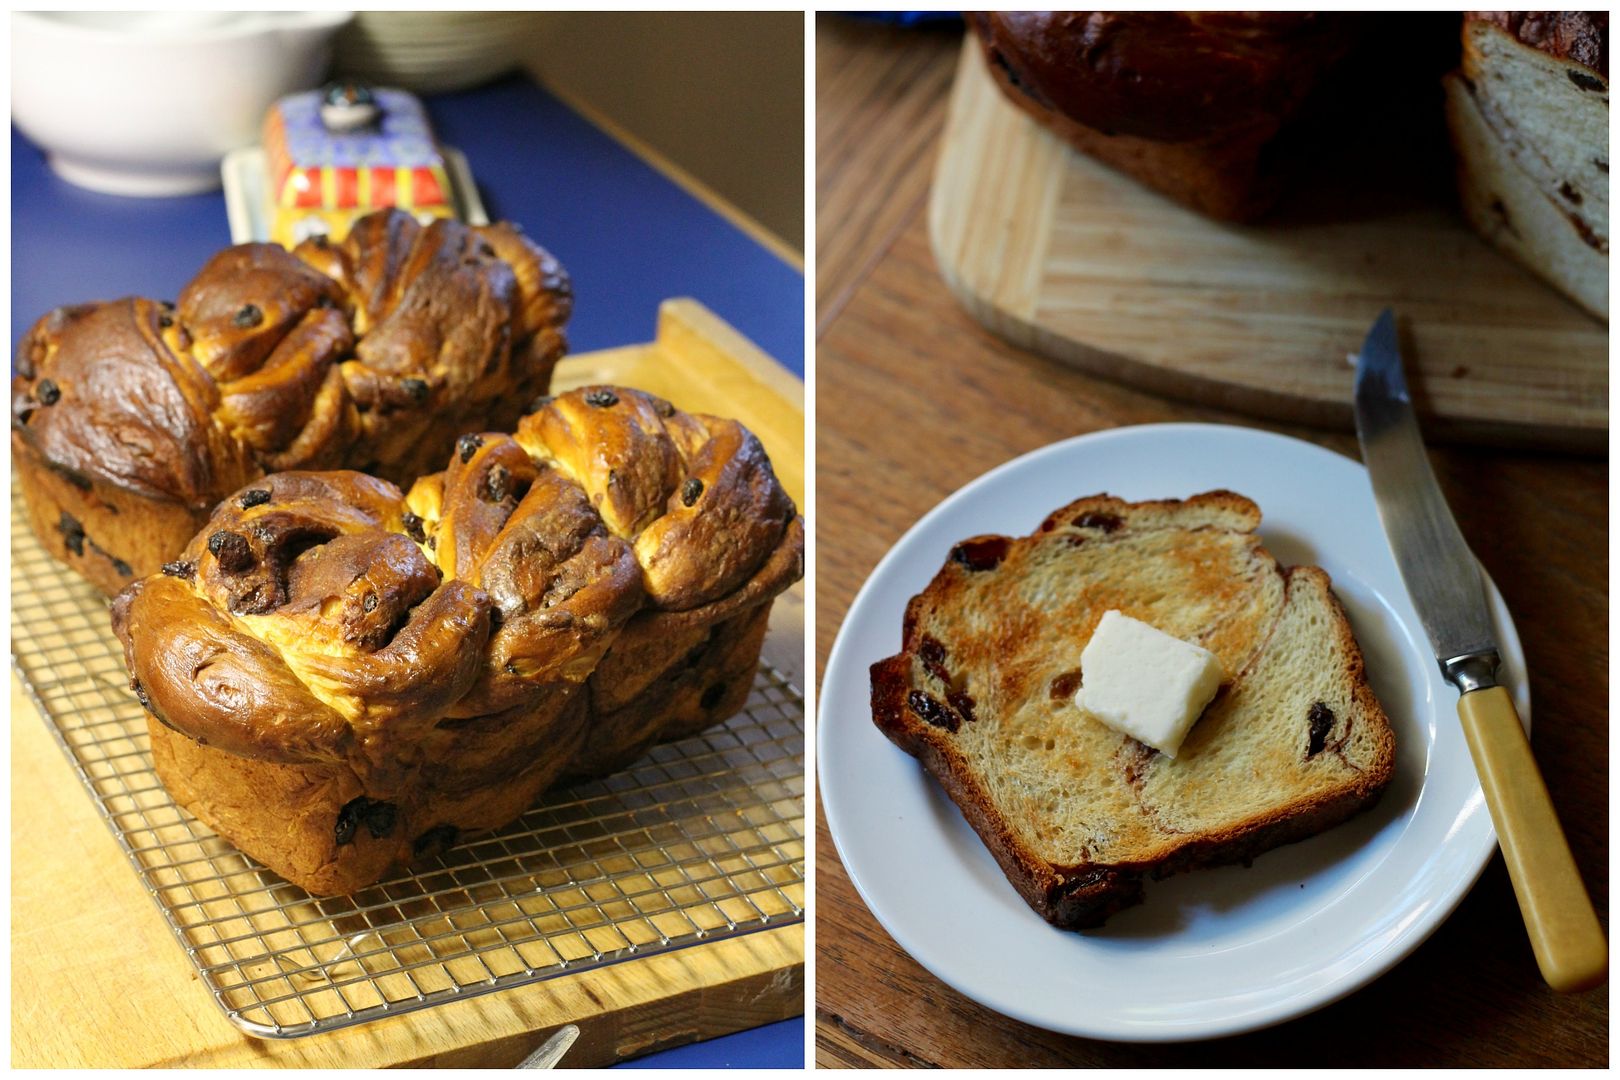
190 g 100% hydration active sourdough starter

313 g water

1 tbsp olive oil

sdfocaccia1

Stir this together until the starter dissolves, then with the dough hook mix in:

425 g all purpose flour

20 g rye flour

sdfocaccia2

Mix until you get a shaggy mass, then add 3/4 tbsp kosher salt. Continue kneading the dough until it is smooth and very elastic and stretchy. It should be too wet to really hold its shape, but will be starting to pull away from the sides of the bowl. Add a few more tbsp of flour if needed to get the dough to the right consistency.
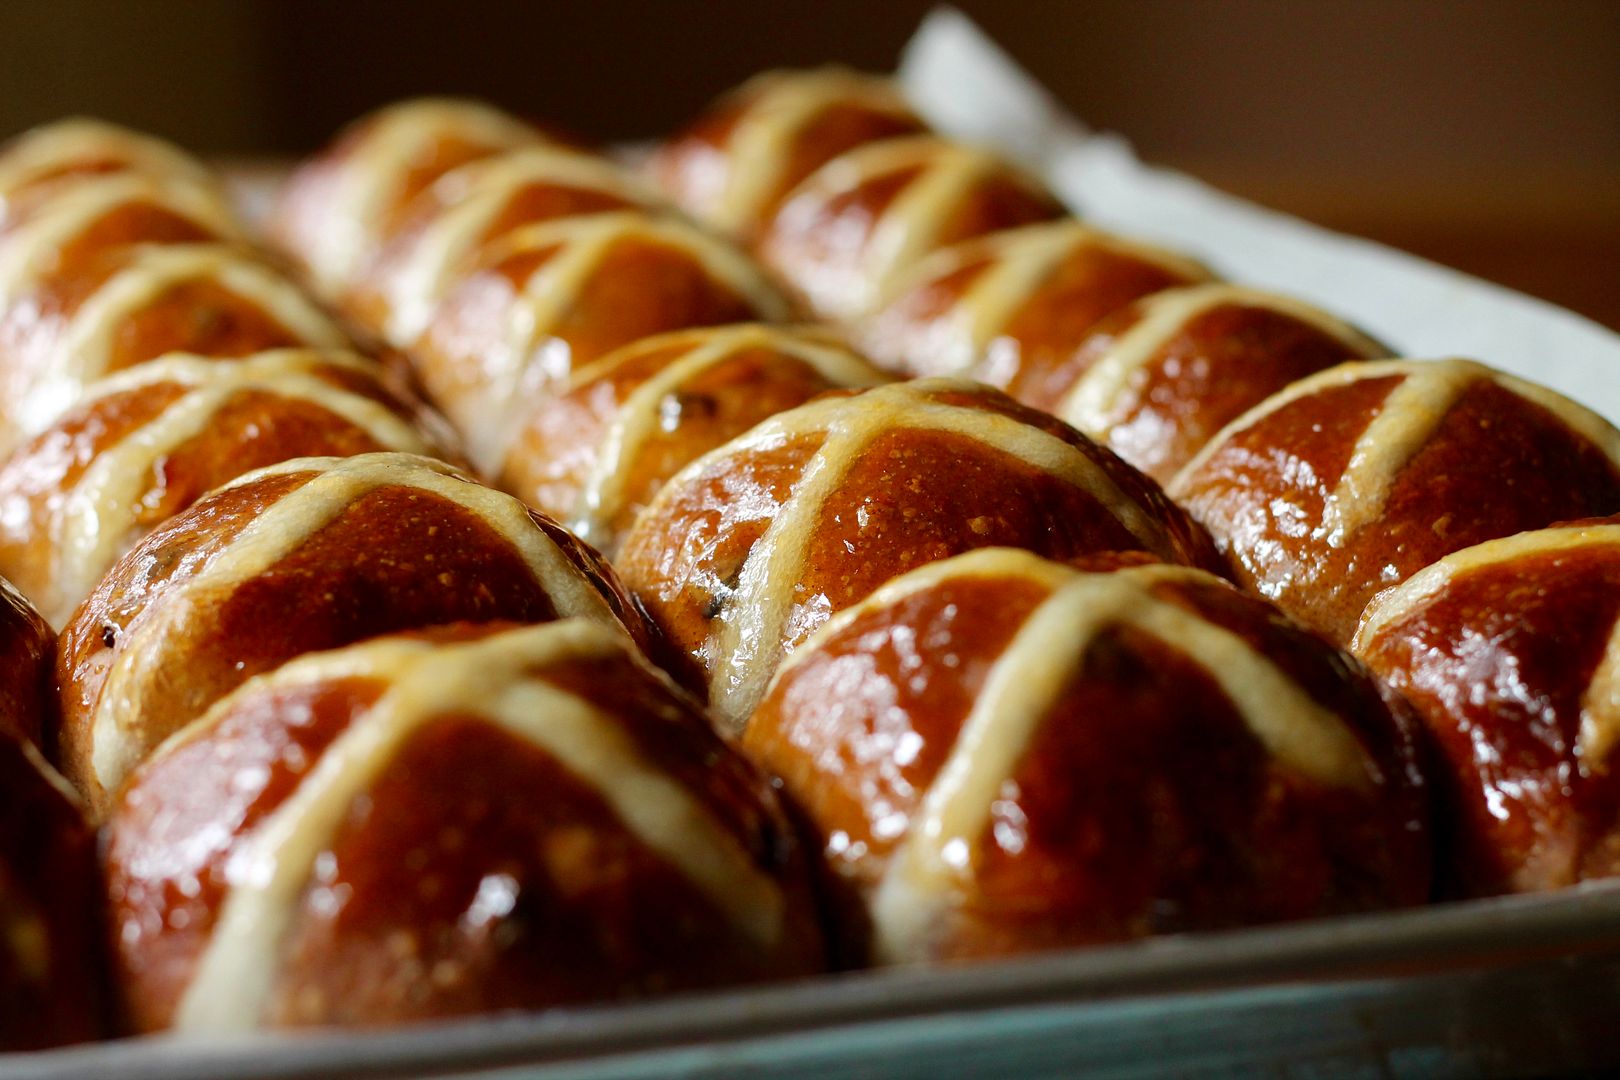
sdfocaccia3

At this point, I divided the dough in 2 parts (about 500 g each) and added 1 cup of raisins to half the dough. For a full recipe of raising focaccia, add 2 cups of raisins to the full amount of dough. For savoury focaccia, skip this step!

raisinfocaccia1

Scrape the dough into a bowl or container that has been lightly oiled with olive oil. Cover and let rise at room temperature until doubled in volume. How long this takes will depend on the activity of your starter. Mine took about 6 hours.

rise1

Once the dough has doubled, stretch and fold it from all 4 corners, then cover it again and leave it until it doubles once more, either a few more hours at room temperature or overnight in the fridge (which is what I did).

Prepare two 10″ baking pans (either square or round) by pouring 1/4 cup olive oil in the bottom of each and swirling it around to cover the bottom evenly. Place half the dough in each pan, being careful not to deflate it when you transfer it from the bowl to the pan. Very gently try to coax it out towards the edges of the pan, then let it rest somewhere warm, covered with plastic wrap, until it relaxes enough to reach the edges of the pan (about 30 minutes).

sdfocaccia4

Top the focaccia with goodies of your choice. Start by pressing the toppings into the center of the focaccia and moving outwards in concentric circles, pressing down and out on the dough. This will help coax it out towards the edge of the pan without deflating the dough unnecessarily. You want the toppings to be imbedded in the dough (I should have done a better job of this).

For the savoury version, I used:

60 g asiago cheese, cubed into pieces about the size of my pinky fingertip

4 sundried tomtoes, diced

a small handful of fresh thyme sprigs

fresh ground pepper

savouryfocaccia1

For the raisin version, I used about 2 tbsp raisins for one focaccia.

raisinfocaccia2

Cover the pans with plastic wrap and let then proof somewhere warm for about 30-60 minutes (or longer, if your dough was chilled overnight), until the dough is puffy and has risen up around the toppings. Preheat the oven to 450˚F (425˚F convection) while the dough proofs.

If the toppings have popped out of the dough, poke them back down again gently (I didn’t do this enough). Drizzle each focaccia with about 2 tbsp olive oil, then sprinkle the savoury version with a good pinch of coarse kosher or other flaky salt.

savouryfocaccia2

Sprinkle the raisin version with about 2 tbsp turbinado or other large-grained sugar.

raisinfocaccia3

Turn the preheated oven down to 400˚F (375˚F convection) and bake the focaccias in the center of the oven for 30-40 minutes, until golden brown and crisp. Let cool in the pans for about 10 minutes, then remove to a rack and cool slightly. The focaccia is best served warm, but can be stored for a few days in an airtight container and re-heated in the oven (although I’ll admit to devouring the day-old, un-re-heated focaccia with as much gusto as when it was freshly baked!).

bakedfocaccia

Cinnamon Raisin Swirl Bread

$
0
0

Cinnamon Raisin Swirl Bread | Korena in the Kitchen

The bakery in the town I grew up in made a delicious cinnamon raisin bread, and on the occasions that I could convince my mum to buy a loaf, I would eat practically the entire thing myself, toasted and slathered with butter. Now, being an adult, I can, of course, go to the store and buy a loaf whenever the urge strikes – but in this particular instance, the urge also struck to make it myself.

Cinnamon Raisin Swirl Bread | Korena in the Kitchen

This recipe comes from Cooks Illustrated, so of course it is exacting and detailed and actually, pretty much perfect. It is the nicest dough I’ve worked with in a long time – it was beautifully soft, rose like a champ, and was easy to work with – and the shaping method for getting the cinnamon swirl inside the loaves is genius. Plus, the baked loaves look darn impressive with their swirly, twisty profile.

Cinnamon Raisin Swirl Bread | Korena in the Kitchen

The smell of it baking in the oven will stop you in your tracks and I’m absolutely certain it would make mind-blowing french toast, but we never got that far – we ate all of it toasted and slathered with butter.

Cinnamon Raisin Swirl Bread | Korena in the Kitchen

Cinnamon Raisin Swirl Bread

Adapted oh-so-slightly from Cooks Illustrated. Makes 2 loaves.

Dough

Cut 113 g (8 tbsp) unsalted butter into small cubes and toss with about 1 tbsp bread flour. Set the butter aside to soften while you mix the dough.

In the bowl of a stand mixer, combine with a whisk:

580 g (3 3/4 cup less 1 tbsp) bread flour

78 g (3/4 cup) nonfat dry milk powder

66 g (1/3 cup) granulated sugar

1 tbsp instant yeast

butterflour

In a small bowl, whisk together:

340 g (1 1/2 cups) warm water (110˚F)

1 large egg

Pour the liquid mixture into the flour mixture and mix with the dough hook on medium-low speed until a shaggy dough forms, scraping down the sides of the bowl as necessary. Cover the bowl with plastic and let the dough rest for 20 minutes, for the flour to fully absorb the liquid.

Once the dough has rested, mix in 1 1/2 tsp salt and knead the dough on medium-low speed until the dough is smooth and elastic and pulls away from the sides of the bowl, leaving them clean (this took about 15 minutes for me).

dough1

With the mixer running, add in the softened butter cubes a few at a time, allowing them to mix into the dough before adding more. The dough will start to fall apart as you add the butter, but will become cohesive again when it is all mixed in. Continue kneading until the dough once again cleans the sides of the bowl.

dough2

Knead in 213 g (1 1/2 cups) raisins until they are evenly distributed throughout the dough (do this by hand if it is easier). Using your hands, lift one edge of the dough and fold it in towards the centre, then turn the bowl 90˚ and repeat. Repeat to make 8 fold total (this will help make the gluten structure of the dough long and stretchy).

raisinsfold

Cover the bowl with plastic wrap and place it in a cold oven on the middle rack. Fill a baking dish or large glass measuring cup with 3 cups boiling water, place it in the oven beside the dough, and close the door – this will make a nice warm proofing box for the dough. Allow the dough to rise for 45 minutes, until at least doubled in volume.

riseoven

Remove the risen dough from the oven (leave the warm water in there), press down gently to deflate it, and fold the dough 8 more times. Re-cover and return to the oven to rise again until doubled in volume, about 45 minutes more.

rise1

Filling

In a bowl, whisk together:

113 g (1 cup) icing sugar

3 tbsp ground cinnamon

1 tsp vanilla extract

1/2 tsp salt

Set aside.

filling

Assembly

* Required equipment: a spray bottle filled with water

Grease two 8 1/2″ x 4 1/2 ” loaf pans and set aside.

Transfer the risen dough out onto a lightly floured container and divide it two.

risedivide

One piece at a time, pat the dough into a rough 6″ x 11″ rectangle. Fold the long sides in to the middle in thirds, like you are folding a letter, to give you a skinny 11″ long rectangle of dough.

shaping1

From one of the short ends, roll up the dough into a ball. Dust the ball lightly with flour and roll it out with a rolling pin into a 7″ by 18″ rectangle about 1/4″ thick (if the dough shrinks back when you are rolling it, let it rest for a few minutes to relax the gluten).

shaping2

With your spray bottle, spray the surface of the dough lightly with water. Spread 1/2 of the cinnamon-sugar mixture evenly over the dough, leaving a 1/4″ border along the long sides and 3/4″ border along the short sides. Spray the filling lightly again with water – it should be speckled over the entire surface.

shaping3

From one short edge, roll the dough into a tight cylinder and pinch the seam closed to seal. Dust lightly with flour on all sides and place seam-down to rest while you repeat with the second piece of dough.

shaping4

One loaf at a time, cut each cylinder in half lengthwise with a large knife or bench scraper, straight down the middle. Lay the 2 strands of dough side by side with their cut sides up and gently stretch each strand until it is 14″ long.

shaping5

Pinch the strands together at one end. To make the twist, lay the left strand over the right, still keeping the cut sides up, and repeat, left over right, until the dough is twisted along its length. Pinch the ends together and transfer, cut side up, into one of the prepared loaf pans. Repeat with the other loaf.

shaping6

Cover the loaves loosely with plastic wrap and return to the oven with the (now lukewarm) water. Let rise for about 45 minutes, then remove and continue rising at room temperature while the oven preheats (about another 45 minutes, or until almost doubled in size).

Remove the water from the oven and preheat it to 350˚F (325˚F convection). Once the loaves are risen, brush them with a mixture of 1 egg beaten with 1 tbsp water.

riseeggwash

Bake in the 350˚F (325˚F convection) oven until the crust is well browned, about 25 minutes, then reduce the oven temperature to 325˚F (300˚F convection). Tent the loaves with aluminum foil to prevent them from getting overly browned and bake until their internal temperature is 200˚F, another 15-20 minutes.

bakefoil

Let cool for 5 minutes in their pans, then turn them out onto a rack to cool completely before slicing. Can be stored at room temperature in a zipper lock bag for a few days. I highly recommend this bread sliced thick, toasted, and smeared with lots of butter.

bakedsliced

Hot Cross Buns V6.0

$
0
0

Hot Cross Buns V6.0 | Korena in the Kitchen

On the Saturday of Easter weekend, we painted our living room. Painting a room doesn’t seem like a big job until you start, and then it becomes apparent just exactly how huge of an undertaking it really is – or rather, just how much prep work there is, what with all the buying of tools and prep and sanding and taping and cutting-in of edges before you even get to the actual painting. All this to say that by Saturday night, I was so exhausted I could barely see straight – yet somehow I still managed to be shaping spicy, citrusy, dried fruit-laden dough into hot cross buns at 11:30 at night, as one does when one doesn’t think Easter is Easter without hot cross buns. So yes, like last year, we are talking about hot cross buns two weeks after the fact.

Hot Cross Buns V6.0 | Korena in the Kitchen

Previously, I’ve gotten pretty fancy with hot cross buns, however this year because of my aforementioned stupor, I kept these classic and simple. In fact, I revisited the very first hot cross buns I ever made, simplifying the process a little and making a full twenty-four buns, which is a lot of buns, even for someone who likes them as much as I do. This version can easily be made in a single day, or you can proof the shaped buns overnight somewhere cool and pop them in the oven in the morning for fresh hot cross buns for breakfast (this is what I did, hence the late-night bun shaping session). They contain grated lemon and orange zest rather than candied citrus peel, a hefty dose of cinnamon along with cloves, nutmeg, and cardamom, plus currants, golden raisins, and tart dried cherries. My favourite part is perhaps the sticky apricot glaze on top, which makes them very delicious and rather messy to eat. I hope you’ll try them… next year!

Hot Cross Buns V6.0 | Korena in the Kitchen

(The living room turned out great, by the way, only now we are a little afraid to put anything on the walls in case we ruin the paint job, so the room is a little bare-looking at the moment…)

Hot Cross Buns

Adapted from Martha Stewart. Makes 24 buns.

In a saucepan, combine:

1 cup whole milk

3/4 cup unsalted butter, cubed

Place over low heat until the butter melts and the mixture reaches about 110˚F. Pour it into the bowl of an electric mixer and stir in 4 1/2 tsp active dry yeast. Set aside for several minutes until the yeast blooms and becomes foamy.

step1

Add:

1/2 cup granulated white sugar

4 large eggs, lightly beaten

grated zest of 1 lemon

grated zest of 1 orange

step2

Stir with a whisk to combine, then switch to the dough hook attachment.

In a medium bowl, combine:

5 3/4 cups all purpose flour (make sure you spoon it into the cup and then level off the top with a knife when measuring)

3 tbsp cinnamon

1 1/2 tsp nutmeg

1/2 tsp cardamom

1/4 tsp ground cloves

Gradually mix the flour into the yeast mixture on low speed, scraping down the side of the bowl as necessary, until you have a soft, sticky dough. Turn off the mixture and let the dough autolyse for about 20 minutes – essentially, this will help activate the gluten.

step3

After the autolyse, add 1 tbsp coarse salt to the dough and knead for about 5 minutes on medium speed until smooth and elastic. Knead in:

1/2 cup currants

1/2 cup chopped tart dried cherries

1/2 cup golden raisins

step4

Turn the dough out onto an unfloured surface and fully knead the dried fruit in by hand. Shape it into a ball, place it in a large bowl, and cover with plastic. Place the dough in a warm place (a cold oven with a bowl of hot water is a good spot) and let rise until doubled in size, about an hour and a half.

step5

Turn the dough out of the bowl and divide into 24 equal portions (about 75 g each), shaping each portion into a ball. Arrange the balls of dough on a parchment paper-lined baking sheet (18″ x 13″) about 1 inch apart, cover loosely with plastic wrap, and let rise somewhere warm until the buns are touching and doubled in size, about 1 1/2 to 2 hours. Alternatively, you can put them in a cool place (ie, the fridge) and let rise overnight (you may need to let them finish rising fully in a warm place for a bit though).

step6

While the buns rise, mix together the cross paste. In a medium bowl, whisk together:

1/2 cup flour

1 tbsp vegetable oil

pinch salt

1/4 cup water

The mixture should be like thick pancake batter – add a splash or two of water if it is too thick. Let rest for about an hour to relax and become more pipeable.

Preheat the oven to 375˚F (350˚F convection). Put the cross paste in a piping bag, cut off the tip, and pipe thin Xs on top of the risen buns. Bake the buns for 18-25 minutes, until golden brown.

step7

Meanwhile, heat 1/2 cup apricot jam in a small pot over medium heat until it boils. Press through a sieve, then brush over the baked buns while they are still hot.

step8

Transfer the buns to a cooling rack and serve warm or at room temperature. Buns keep for several days in an airtight container, or can be frozen – revive them by splitting and toasting.

fin

Kouign Amann

$
0
0

Kouign Amann | Korena in the Kitchen

Kouign amann. Pronounced “queen ahmahn”, also known as “delicious”. Layers of yeasted dough, butter, and sugar, baked until puffed, holey, and caramelized, like an amazing caramel croissant/danish hybrid. It’s been on my “to make” list for a few years, and the Daring Kitchen challenge this month finally gave me a reason to try it.

Kouign Amann | Korena in the Kitchen

From Brittany in France, kouign amann literally means butter cake in Breton and is traditionally made with the region’s famed salted butter. I used “fancy” cultured butter instead (it was on sale and cheaper than regular butter) and a pinch of salt, and believe me, no one was complaining.

Kouign Amann | Korena in the Kitchen

The construction of kouign amann dough is no different than croissant dough, except you sprinkle in some sugar into the last two turns of the dough. The sugar makes the dough rather more challenging to handle, because being hygroscopic, it attracts moisture and therefore makes things sticky. The sugar also tends to tear the dough a bit, so rolling it out that final time is a messy job – but totally worth the effort. The sticky dough transforms into gloriously caramelized layers, syrupy in the middle and crunch around the edges. In Brittany they are served with a glass of apple cider, but they go just as well with a cup of coffee and a weekend morning.

Kouign Aman | Korena in the Kitchen

Kouign Amann

Adapted from Rose Levy Berenbaun via Leite’s Culinaria and The Kitchn. Makes 12 pastries.

In the bowl of an electric mixer, whisk together:

390 g bread flour

2 tsp instant yeast

1 3/4 tsp fine sea salt

Pour in:

327 g water, cool room temperature

28 g cooled melted butter

Mix with a wooden spoon until you get a shaggy dough.

dough1

With the dough hook, knead the dough on low speed for about 4 minutes, until smooth and silky. The dough should clean the bottom and sides of the bowl.

Shape the dough into a ball and put back in the mixer bowl. Cover with plastic wrap and let it rise at room temperature for 1 hour.

dough2

When the dough has risen, prepare the roll-in butter. Place a block of 227 g cold salted cutter or cultured butter between 2 sheets of parchment paper, then bash it with a rolling pin. This will mechanically soften the butter without melting it. Once it is flat and about 1/2 a inch thick, trim it into a 5″ square, piling the trimmings into the middle of the butter square. Fold then parchment paper around the butter to create a tight, neat package, then again bash it with a rolling pin to flatten. The folded parchment paper will help keep it in a 5″ square.

butter

Check the consistency of the dough and the consistency of the butter – you want them to be similar, so you can either chill or leave at room temperature one or the other to achieve this.

Turn the dough out onto a lightly floured surface and press it into an 8″ square. Place the butter square diagonally in the center, so the points of the butter square face the straight sides of the dough square. Fold the dough to encase the butter and pinch the seams together to seal well.

butterpackage

Seam-side up, roll the dough to a 7″ x 13″ rectangle. Keep the surface lightly floured, and roll the dough from the middle to each end with even pressure to keep the butter evenly distributed between the layers of dough.

Fold the bottom up and top down in thirds, like a letter. This is turn #1.

turn1

Orient the dough so that the one of the short, open edges is facing you, then repeat the rolling and folding for turn #2. Place the folded dough on a plate, cover loosely with plastic wrap, and chill for about 1 hour. If your kitchen is very warm, you may need to refrigerate between each turn rather than after the second.

Measure out 250 g granulated sugar (I used raw cane sugar because it is delicious) and set aside about 1/4 cup of it. Clean off your work surface. For turn #3, sprinkle about 1/4 of the larger amount of sugar on your work surface. Set the dough on top, short edge facing you, and sprinkle with another 1/4 of the sugar. Roll out into a 7″ x 13″ rectangle, pressing as much of the sugar into the dough as possible and scooping up any that falls off. Fold in thirds (turn #3). Again, sprinkle another 1/4 of the sugar under the dough and the remaining 1/4 on top, and again, roll out and fold (turn #4). Place on the plate, cover with plastic, and chill for an hour.

turn3

While the dough chills, rub the insides of a 12-cup muffin tin with butter.

Sprinkle your work surface with half of the reserved sugar and roll out the dough into a 12″ x 16″ rectangle. This will be messy, as the dough will be sticky and the butter may start coming through the top layer of dough, but persevere.

Trim off the edges to expose the butter layers and sprinkle with the last of the sugar. Cut into 12 equal squares and fold the points of each square into the middle to create a clover-leaf pattern.

finalshaping

Tuck each one into the muffin tin, cover lightly with plastic wrap, and let rise at room temperature until puffy, about 1 hour.

risen

Preheat the oven to 400˚F (375˚F convection).  Place the muffin tin on a baking sheet to catch any overflows of butter, and bake the pastries for about 12 minutes, then rotate the pan and bake for another 8-15 minutes, until deeply caramelized. The internal temperature of the pastries should be 215˚F.

Allow to cook in the pans for a few minutes, then use a butter knife to loosen the pastries from the muffin tin and place on a rack to cool. Don’t allow them too sit too long in the muffin tin or they will be impossible to remove.

baked

Serve warm or at room temperature. Store at room temperature in an airtight container for up to 2 days – you can crisp them up in a 350˚F oven for a few minutes if desired.

Viewing all 71 articles
Browse latest View live