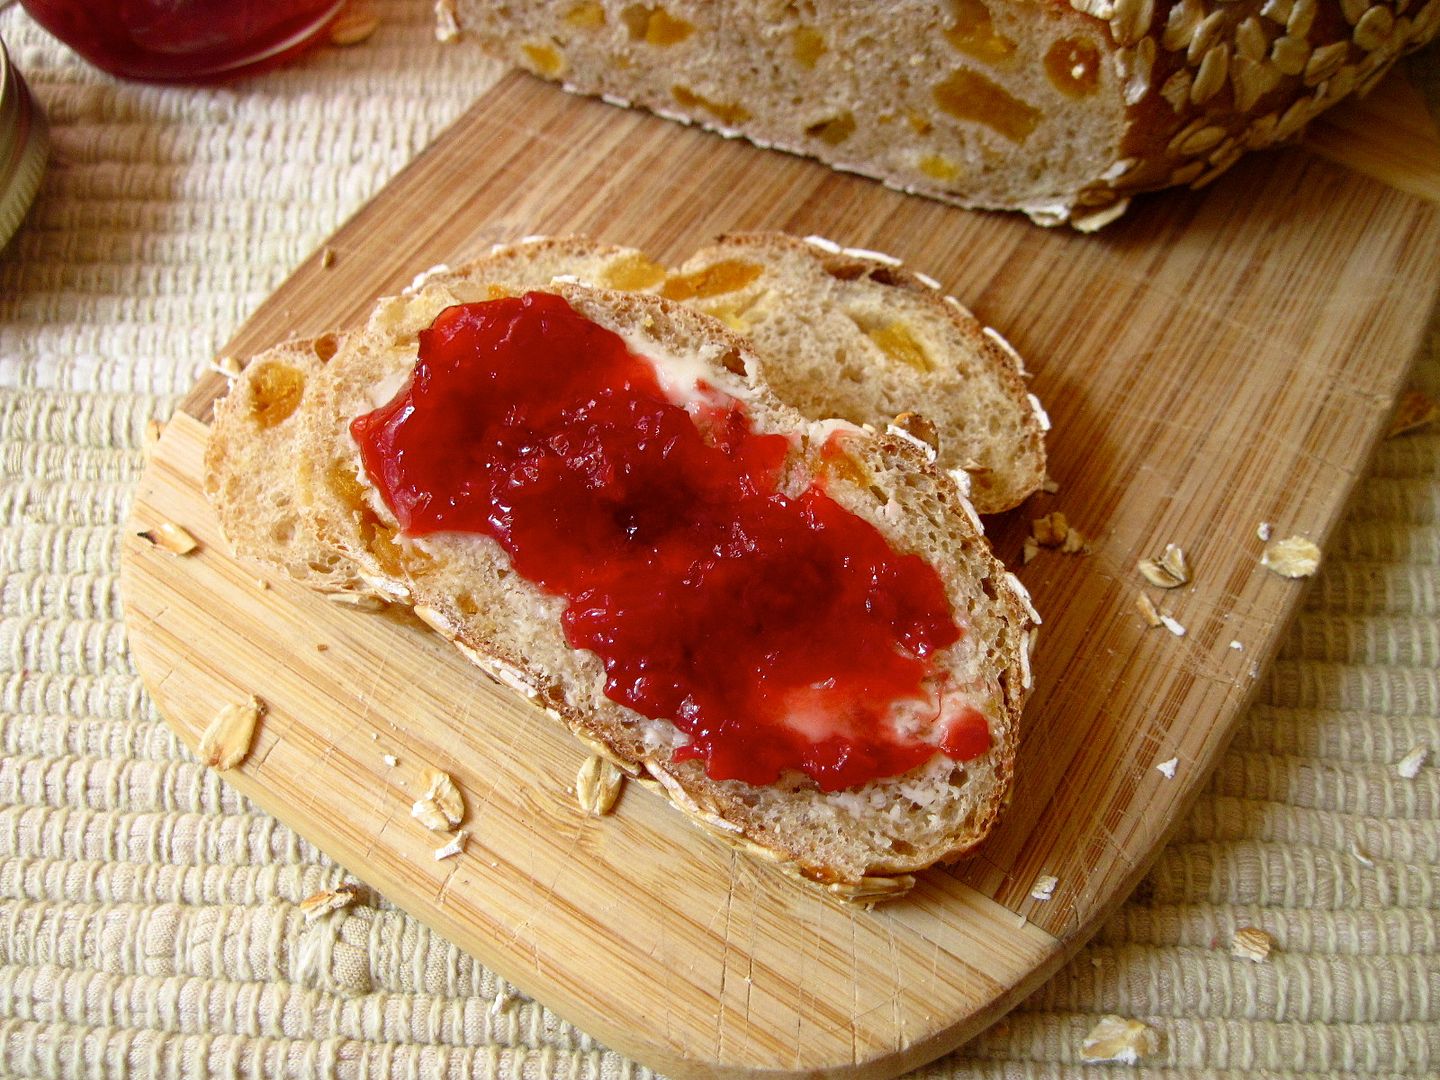
 Once upon a time, my good friend and fellow tea partier Lynette was also my roommate. Being a tidy sort, one of her cardinal housekeeping rules was Everything Shall Have Its Own Place in The Fridge. This comes to mind frequently when surveying the inside of my own over-stuffed, disorganized and messy fridge, so last week I finally did something about it. During the subsequent clearing-out and re-organizing, I discovered two things: 1) I have neglected my poor sourdough starter at the back of the fridge for too long (luckily, nothing a good feeding couldn’t fix), and 2) I have a very large collection of half-empty jars of jam. These two things added up to one obvious solution: time to bake bread!
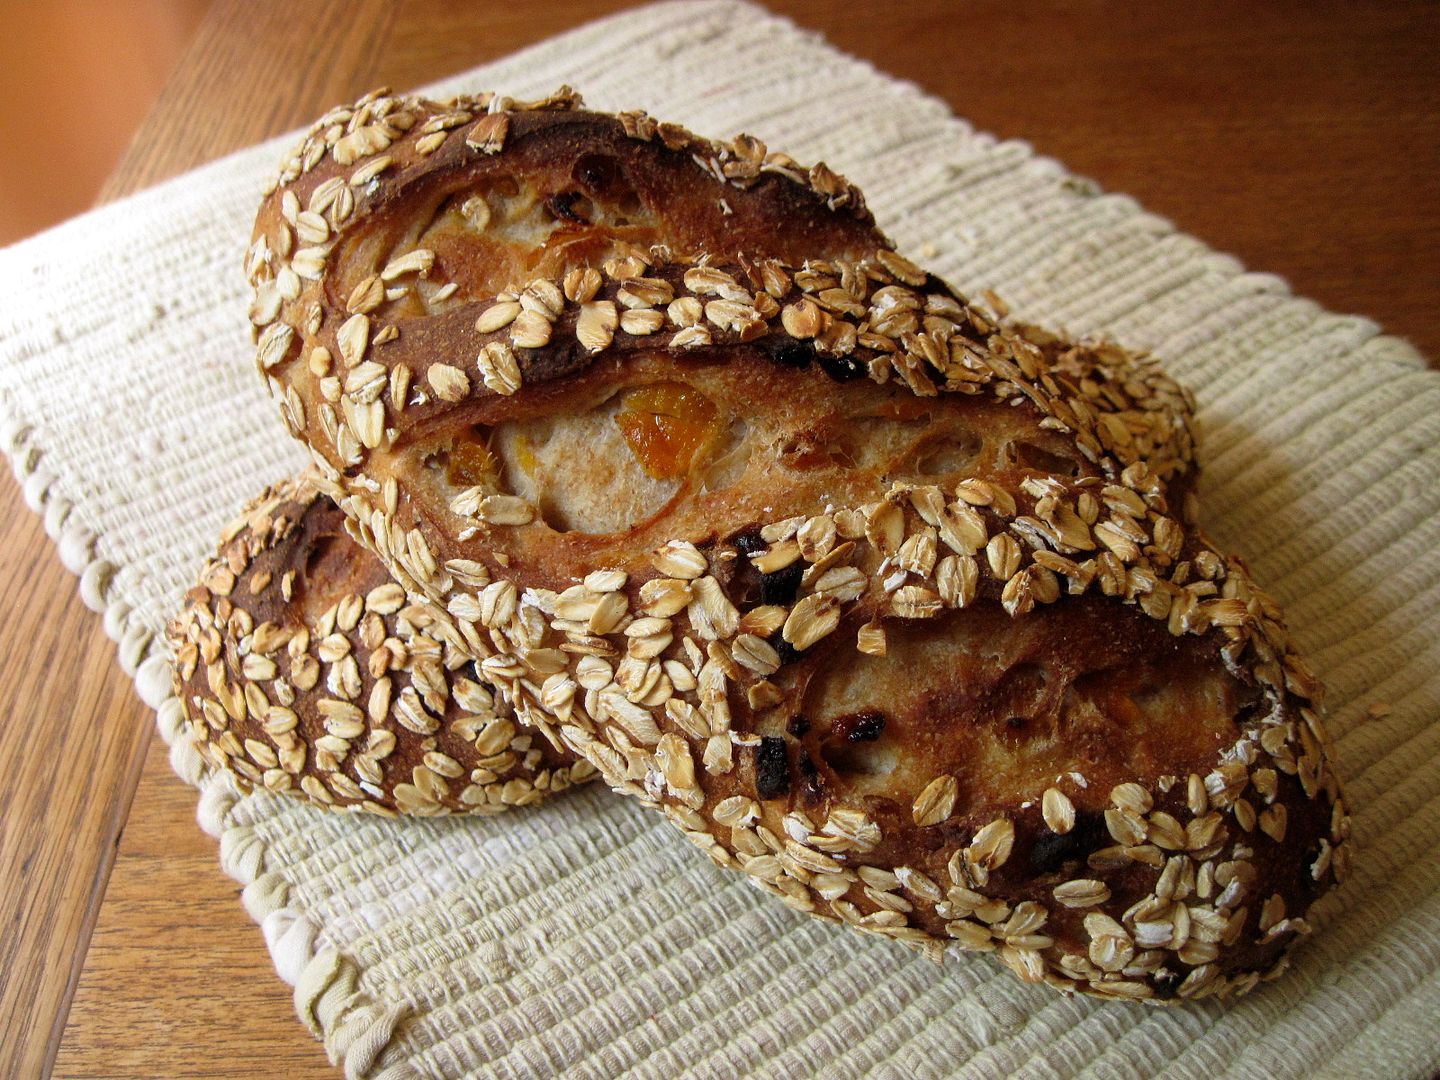
I borrowed Richard Bertinet’s book “Dough” from Nate’s mum several months ago and took this as a chance to actually make something out of it. The recipes use conventional yeast, and I planned on adapting one to use my sourdough starter, but I got too impatient waiting for it to revive fully for baking and ended up using regular yeast (but I did mix up some starter so I can try a recipe with sourdough). The recipes and techniques in the book are all very approachable for the home baker – seasoned bread nerd or not – and most of them are variations on several master recipes, with extra ingredients added in or special shaping techniques used. Rather than the long, slow fermentation and minimal kneading that is used in many current artisanal bread recipes, Richard employs a wonderful slap-and-fold kneading technique (which I’ve used before) to develop the gluten and create a flavourful, airy bread in a relatively short amount of time. A DVD showing Richard mixing, kneading, and shaping the dough is included with the book – I never get tired of watching the skill with which a master baker handles dough!
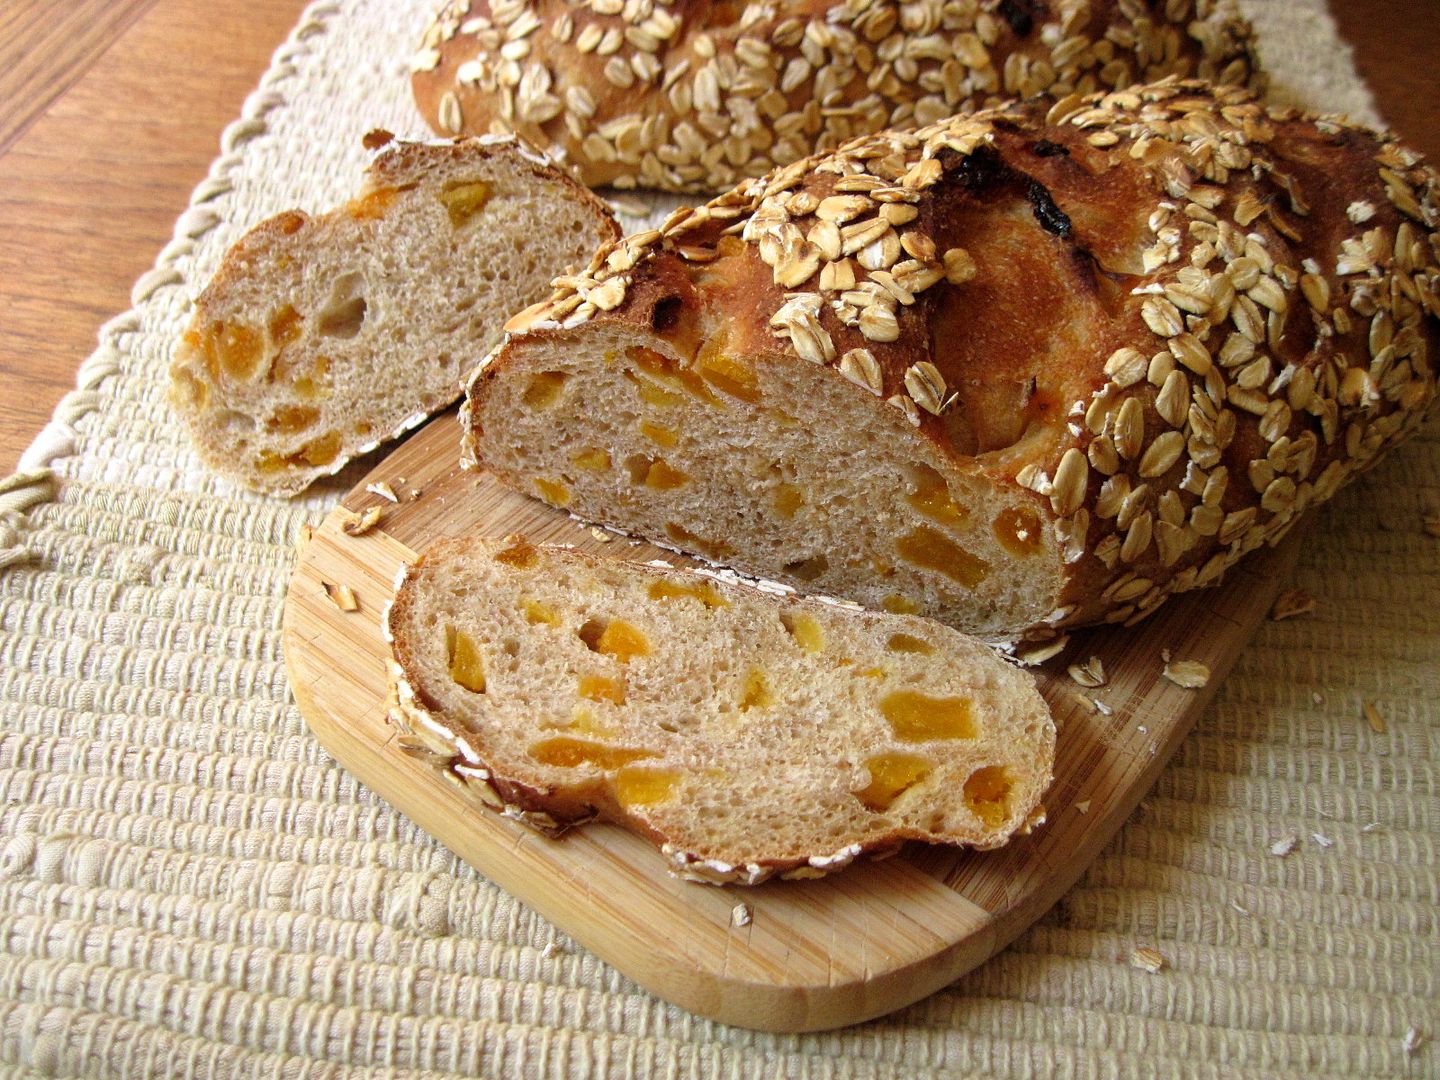
I chose this apricot and oat bread with a whole wheat base because it sounded good and breakfasty, like it would be a nice platform for jam. It is, but it’s also pretty wonderful with cheese or on its own with a smear of butter. It’s a bit dense so thin slices are best, and it makes great toast. I haven’t been baking bread regularly for a few months now – it was becoming too easy to eat nothing but bread all the time – and this loaf reminded me that I love doing it. I’ve said it before, but bread is kind of magical – and not just because it keeps the jam population of my fridge in check. ![]()
PS – I decided to break new ground and make a video of the kneading technique used in this recipe – the sound is kind of terrible (I don’t actually have a lisp) and please excuse the messy counter in the background, but you can see my film debut below. ![]()
Sourdough Apricot Oat Bread
Adapted from Dough by Richard Bertinet. Makes 2 loaves.
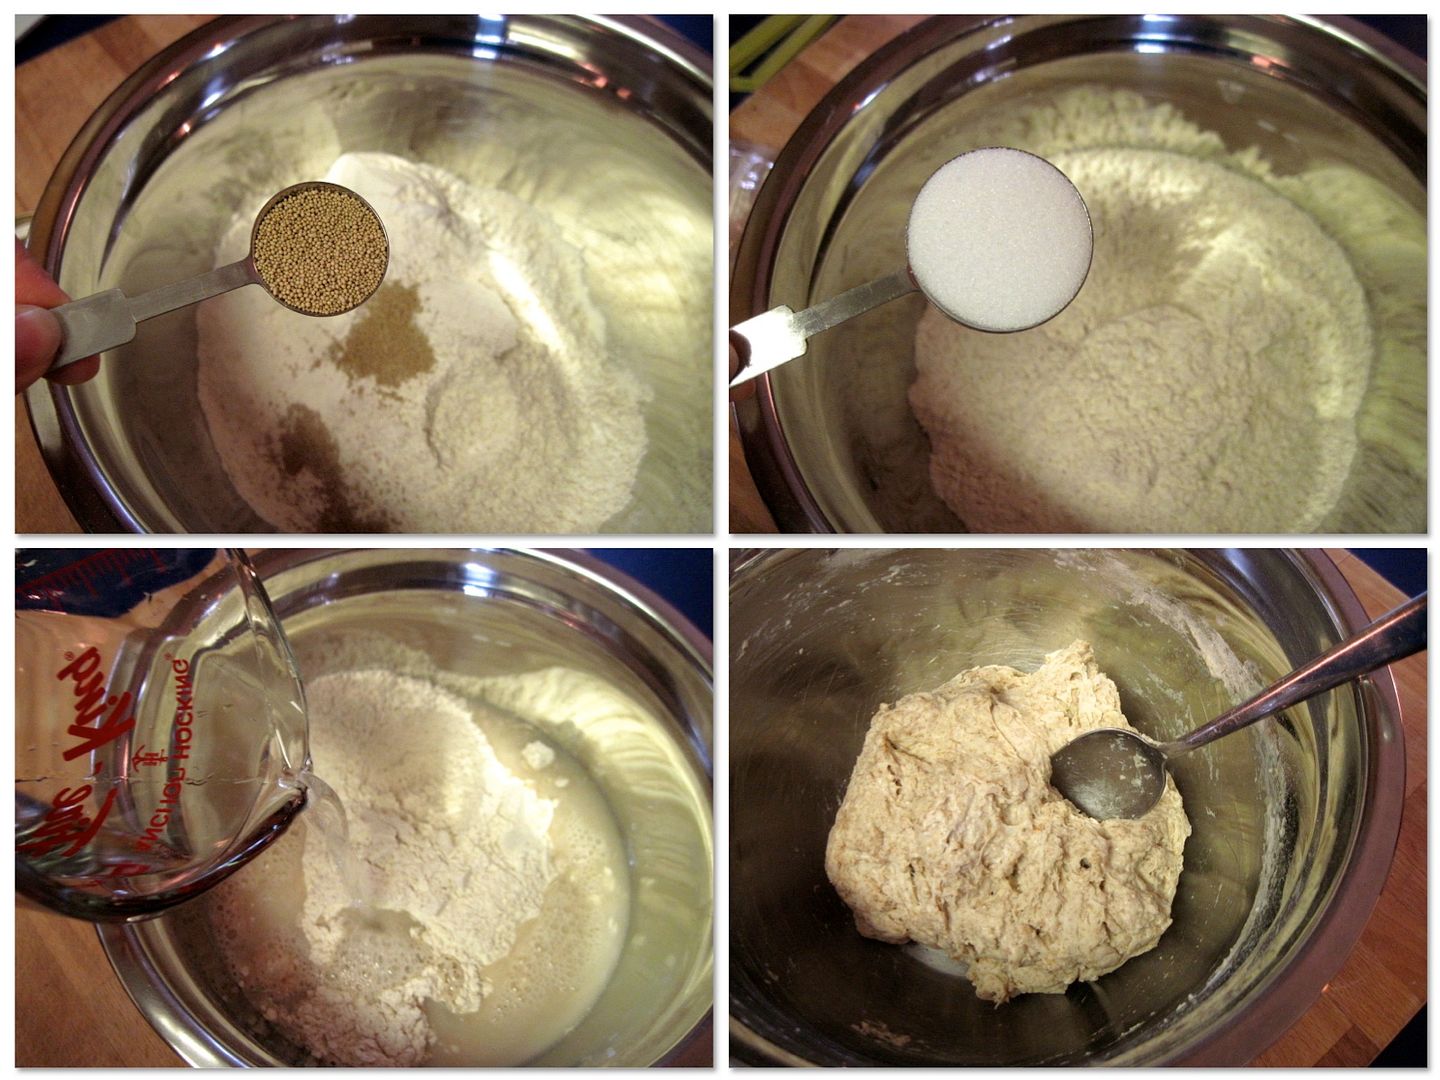
In a large bowl, mix together:
10 1/2 oz whole wheat flour
7 oz white bread flour
1/4 oz (1 1/2 tsp) instant yeast (or 1/3 oz fresh yeast)
Once the yeast is mixed into the flour, add:
1 tbsp fine-grain salt (adding the salt and yeast separately minimizes the chance for the salt to kill the yeast)
Then stir in:
12 1/2 oz room temperature water
Mix until the dough starts to form, about 2 – 3 minutes. It will be very soft and sticky but don’t add any more flour.
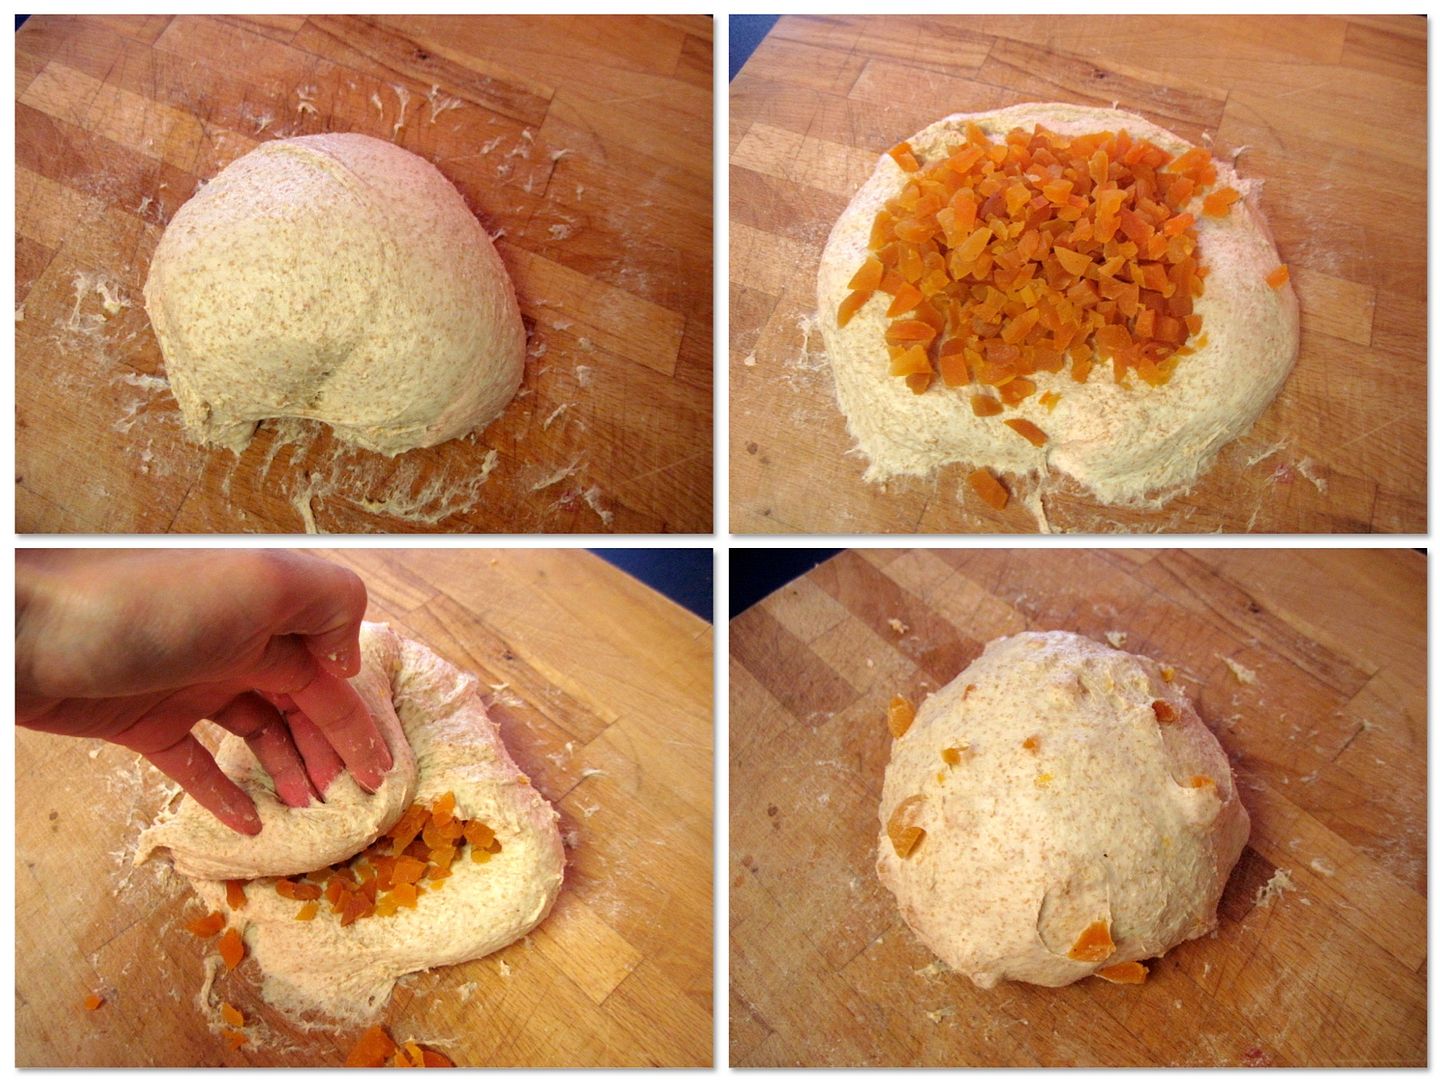
Scrape the dough out onto an unfloured surface and begin Richard’s slap-and-fold kneading technique: reach underneath the dough with your fingers (palms facing up), lift it up, then flip it over and slap it back down onto the counter by quickly turning your hands over so they are facing palm down. Drag/stretch the dough up towards you, then fold it back over onto itself, trapping air underneath it, and tuck the edges in, which brings you back to your starting point. Repeat, trying to stretch the dough and trap as much air in it as possible. Continue this until the dough starts to become smooth, elastic, and easy to handle – it is quite remarkable when a sloppy mass of flour and water turns into such a responsive dough literally beneath your hands! I found this dough a bit firmer than others I’ve used this technique with, and it only took about 5 – 8 minutes of kneading.
Flatten out the dough and add 7 oz chopped dried apricots into the center. Fold over the dough to seal in the apricots, then continue with the slap-and-fold kneading (you’ll have to be rather careful at first) until they are evenly distributed through the dough and it no longer sticks to the counter.
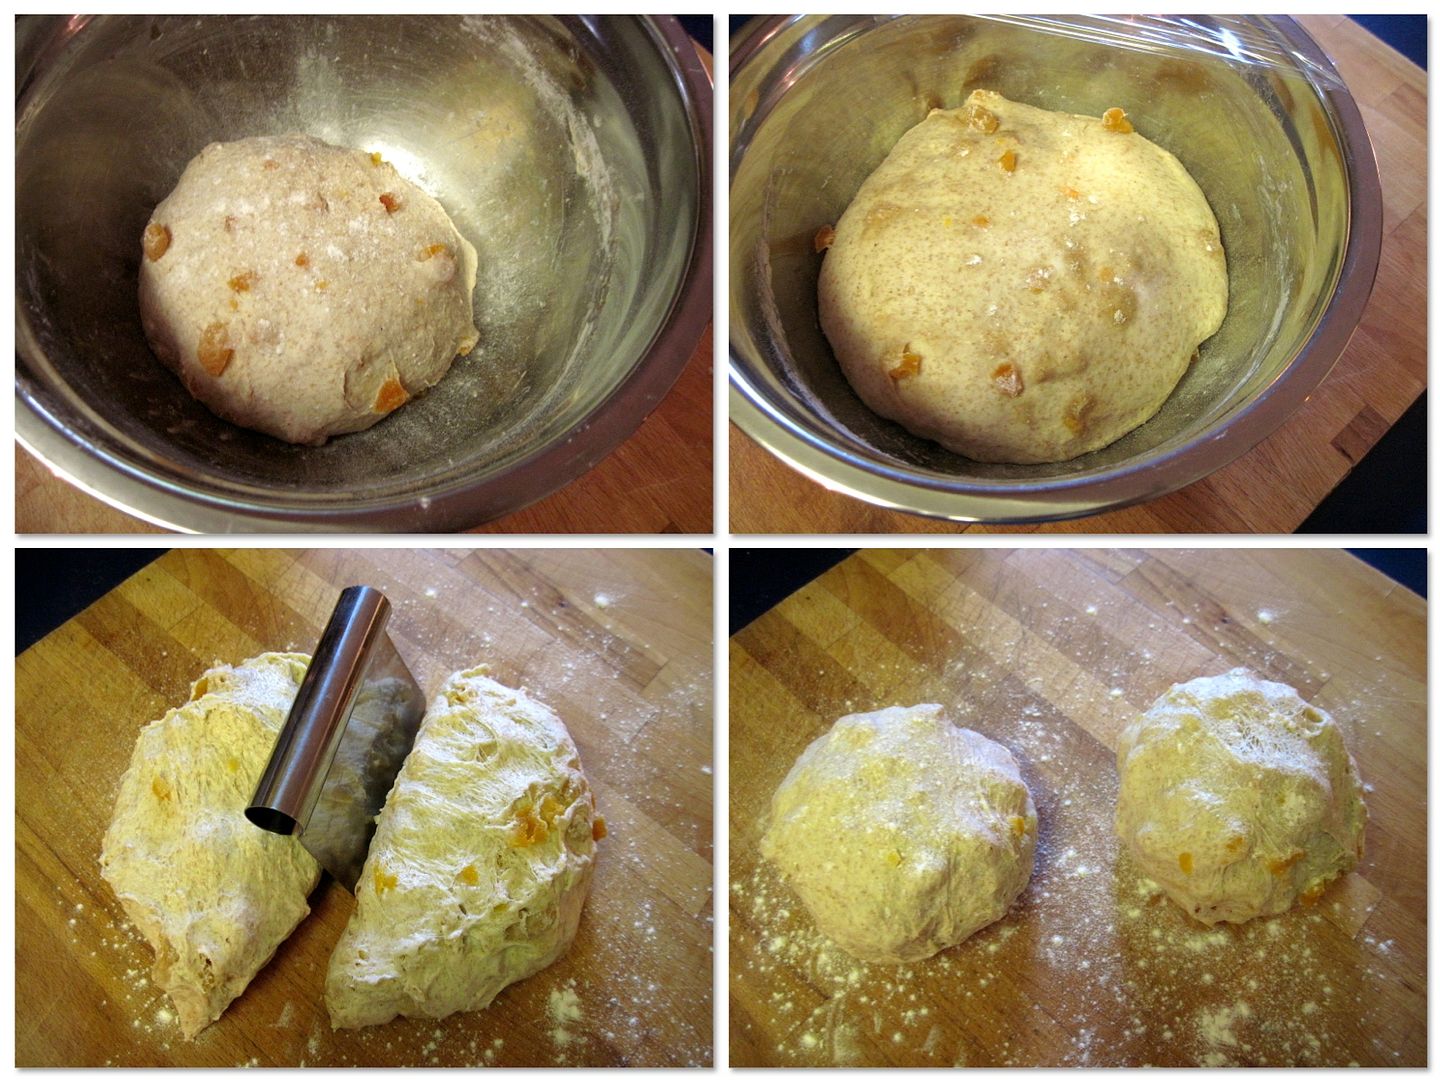
Tuck the sides of the dough underneath to form a round ball and place the dough in a bowl. Richard tells you to sprinkle a little flour over the top of the dough but I found it actually caused the dough to try out a bit on the outside, so I would suggest skipping the flour or brushing it with a little bit of water to keep it moist instead. Cover the bowl with plastic, and let it sit somewhere warm until doubled in size – an hour or more, depending on temperature. (This rise took a really long time for me because I used active dry yeast instead of instant – silly girl!)
Gently turn the risen dough out of the bowl onto a floured surface. With a bench scraper, divide the dough in two pieces and form each into a ball by tucking the edges underneath. Cover with a towel and let rest for 10 minutes.
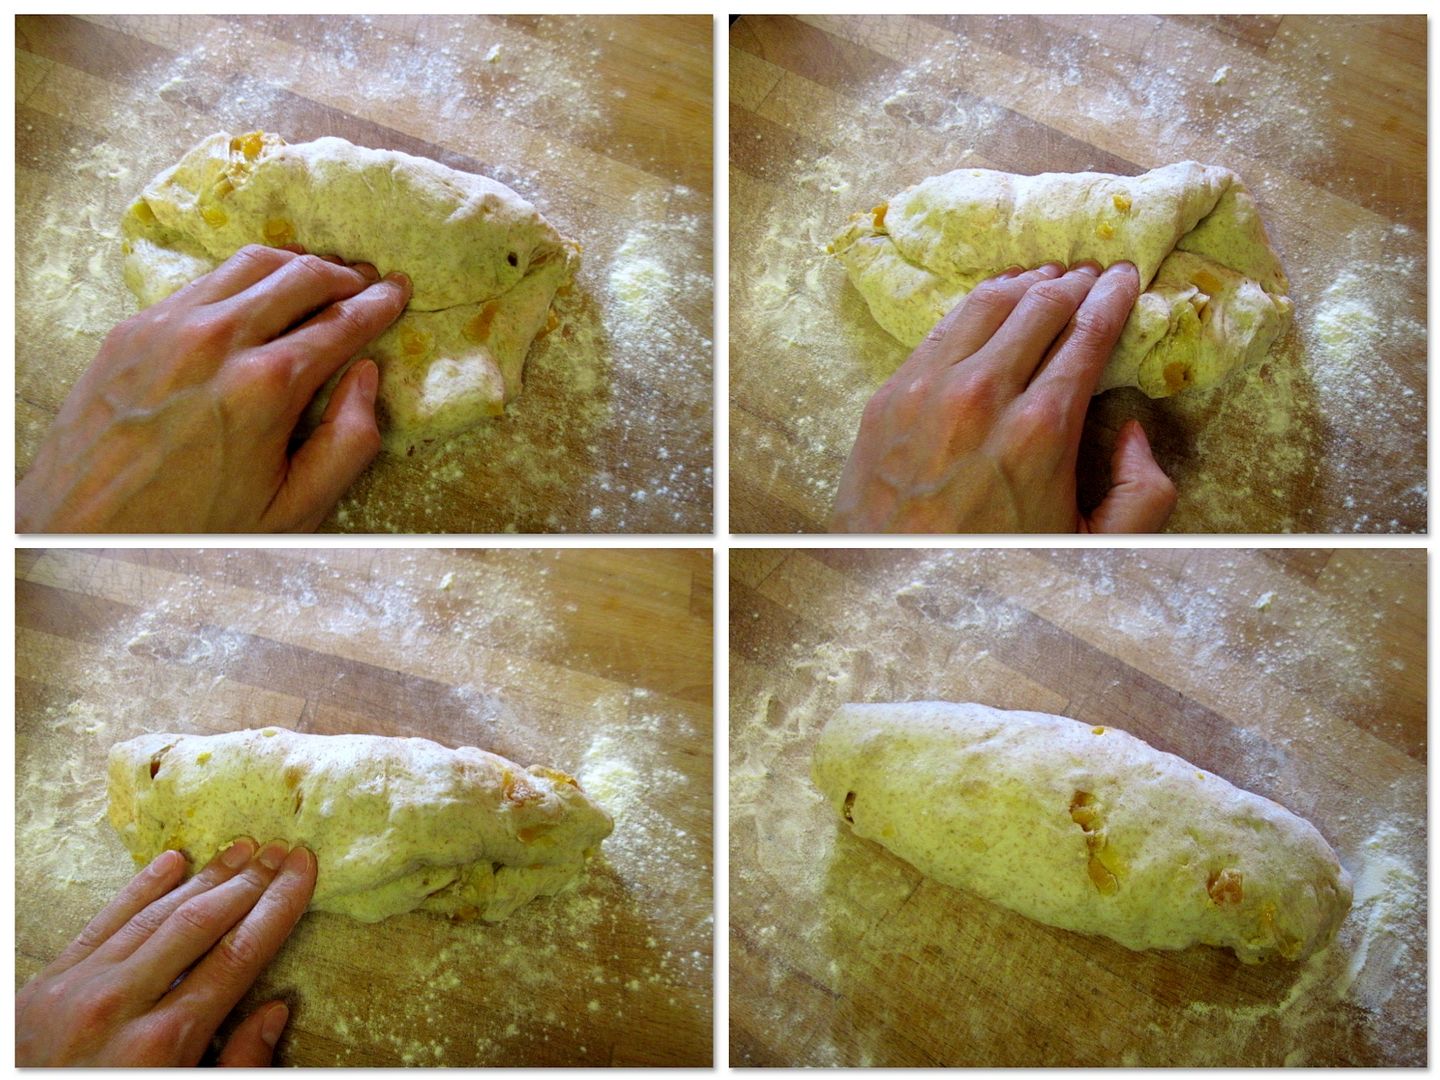
To form the loaves, flatten each ball into a circle. Fold one edge in to the middle and press with your fingertip or the heel of your hand to seal. Tuck the opposite edge in to the middle and press to seal. Now fold the dough in half along the seam you just made, and use the heel of your hand to secure it. Turn it so the seam is on the bottom. You should have a torpedo-shaped loaf about 6-inches long.
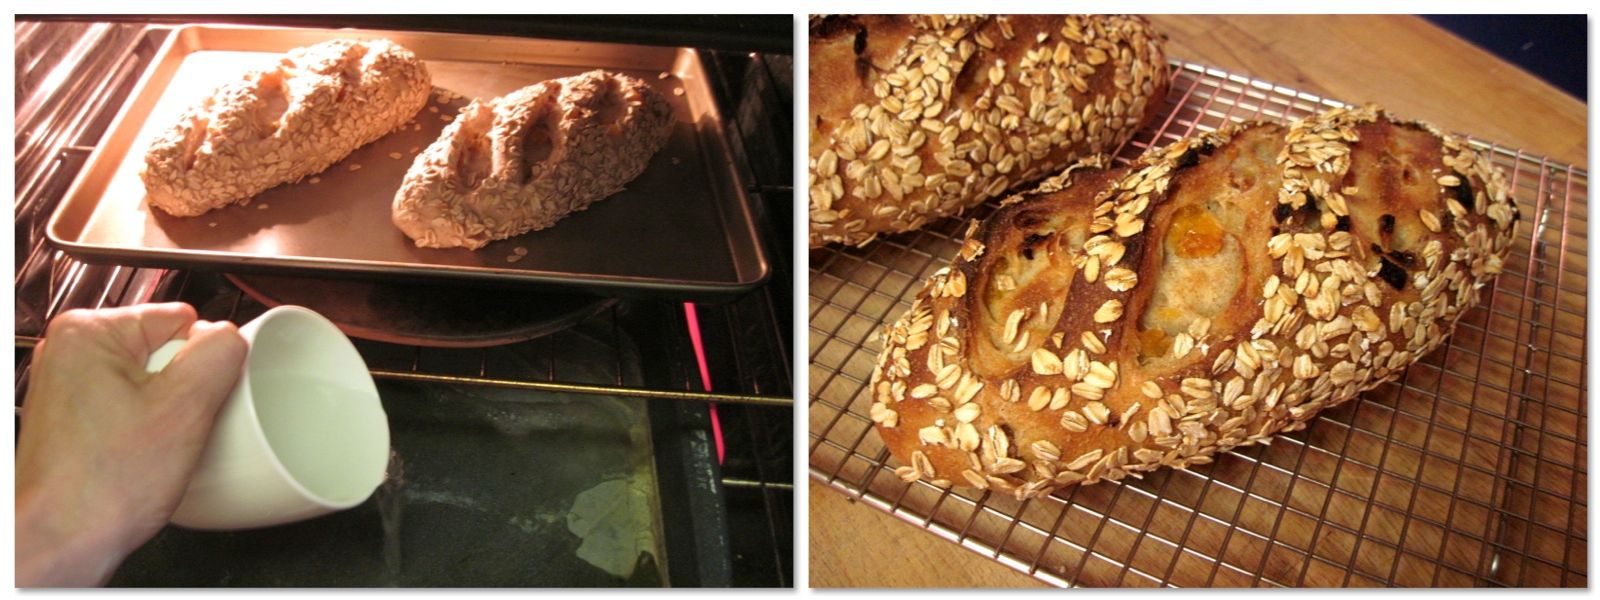
Place 3 oz rolled oats on a plate. Brush each loaf with a little bit of water then roll them in the oats, pressing the oats to adhere. Place the loaves on a baking sheet and with a sharp knife or razor blade, cut a few deep slashes on top of each loaf. I use a homemade lame, which is a razor blade stuck on the end of a disposable wooden chopstick (which I whittled down to fit into the razor blade). Cover the loaves lightly with plastic wrap and set aside to proof until almost doubled in size (about 1 hour). While the loaves proof, preheat the oven to 475˚F with a rack in the middle and a metal roasting pan on a lower rack.
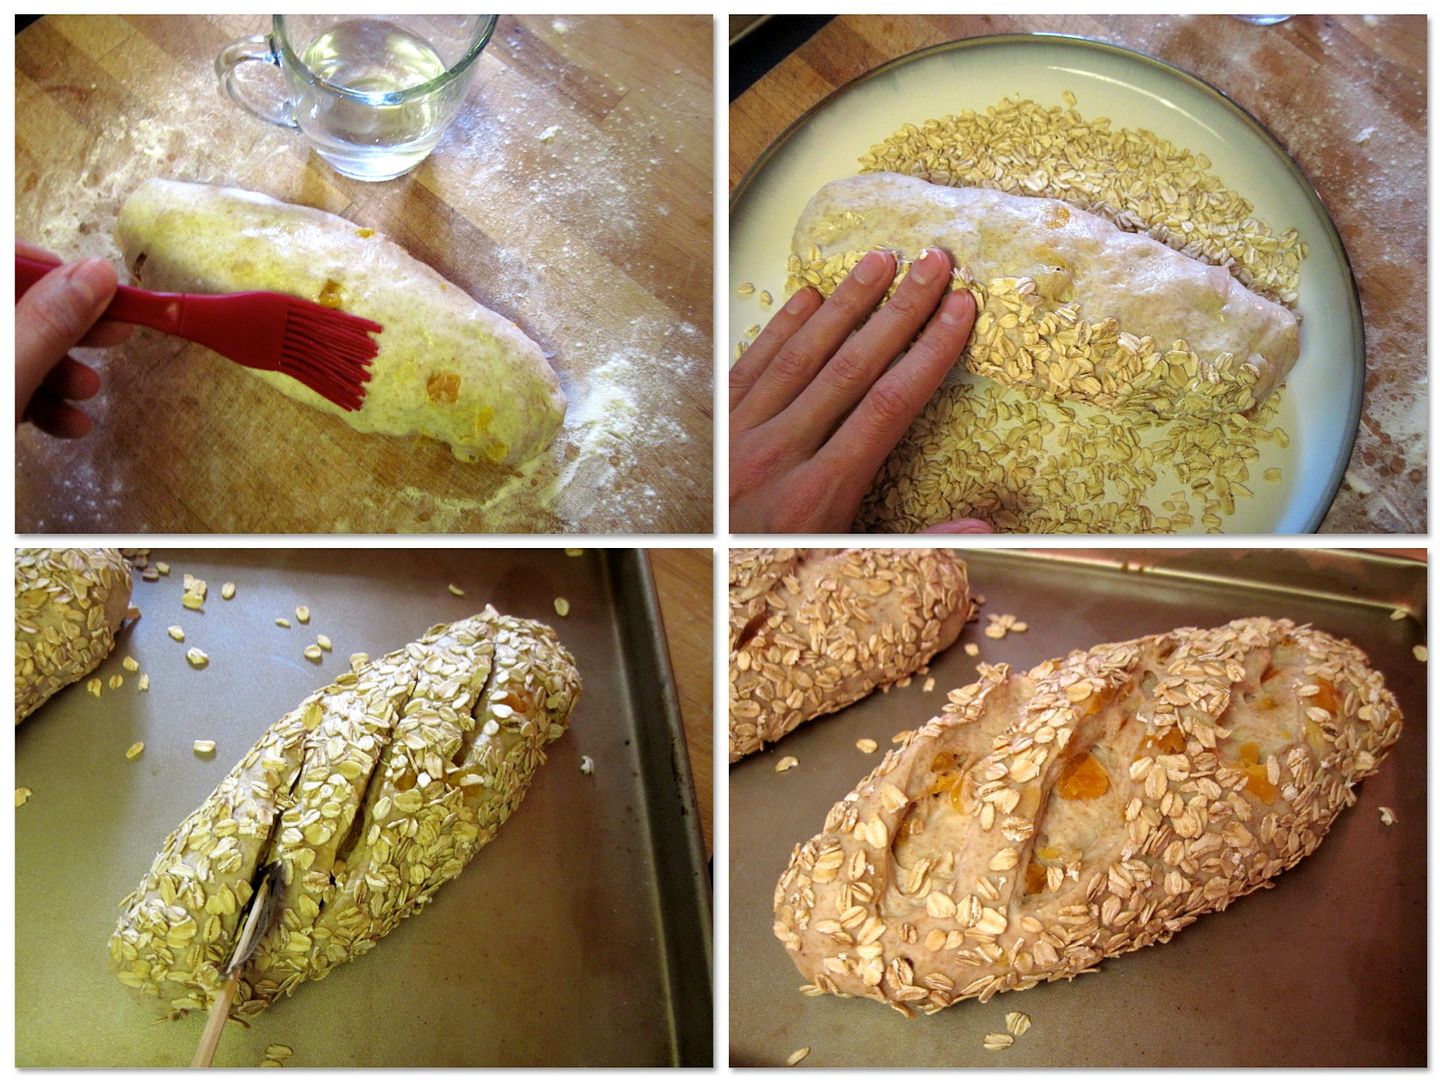
Place the proofed loaves in the preheated 475˚F oven and pour a mugful of hot tap water into the metal roasting pan to create steam. Turn the oven temperature down to 425˚F and bake the loaves for 25 – 35 minutes, until well-browned and hollow-sounding when tapped on the bottom. Cool completely on a rack before slicing.
This post submitted to YeastSpotting and Panissimo, created by Barbara and Sandra and hosted this month by Barbara.
